Statues…Standing Silently

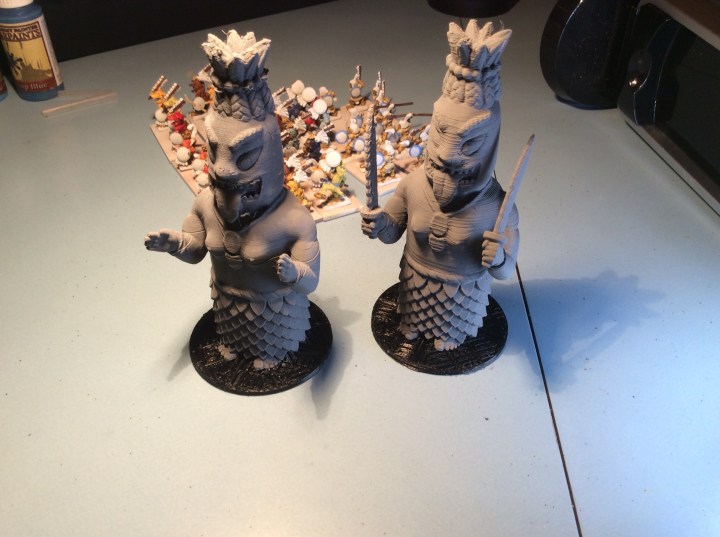
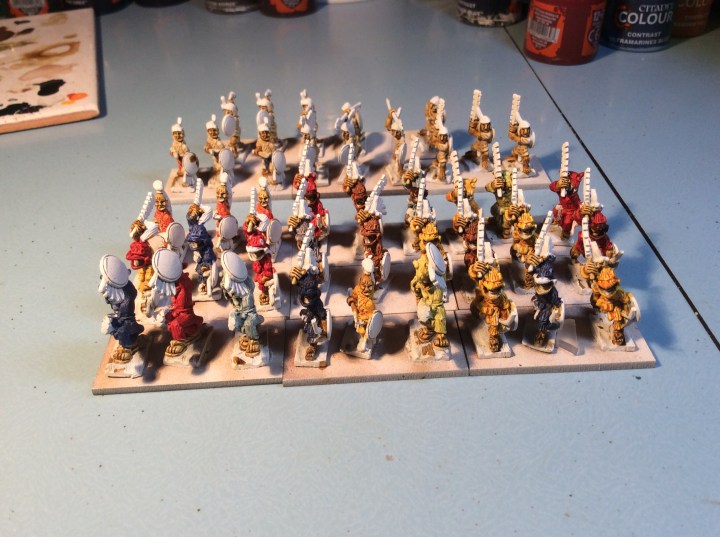
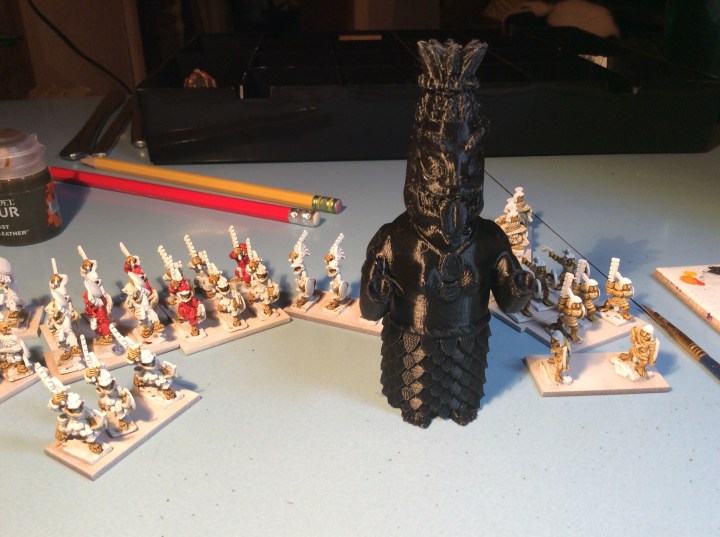
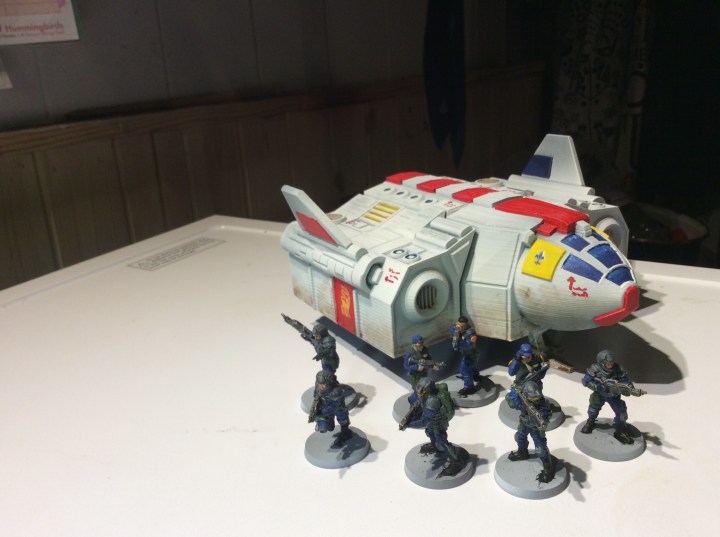
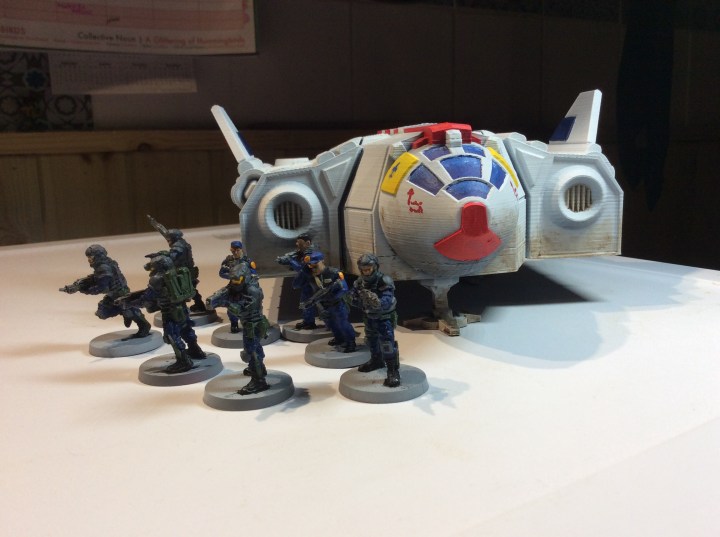
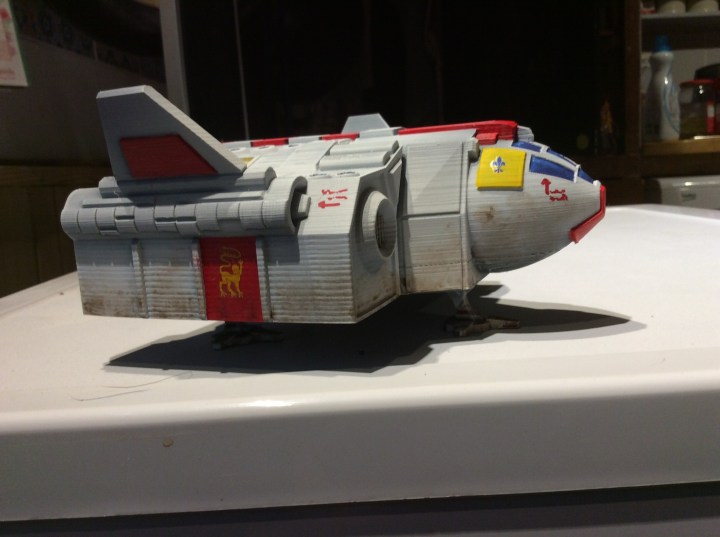
Well, as I can’t print anything, more on that later, I decided to paint something. The nearest thing to hand were the statues.

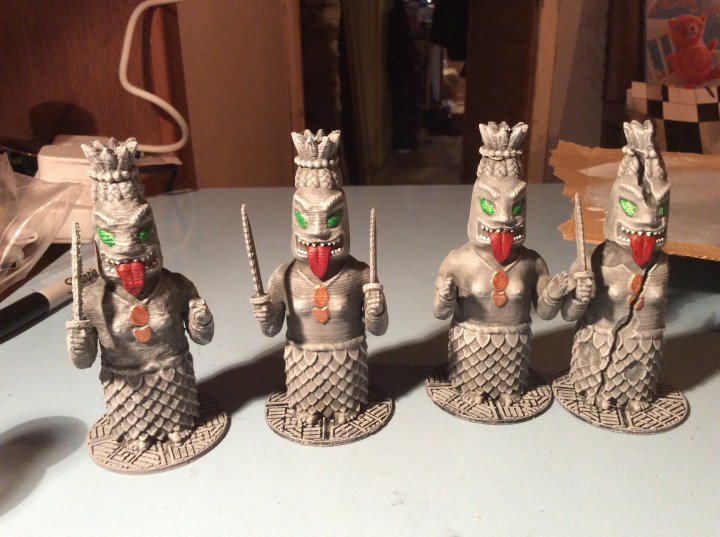
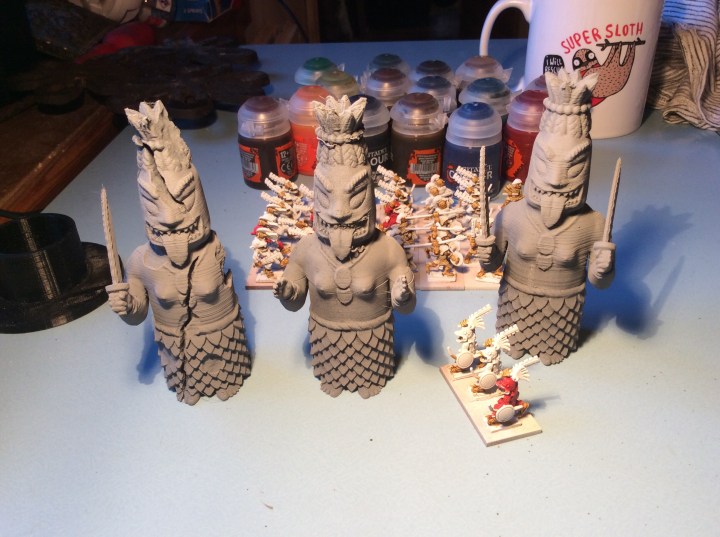
I bet you can’t tell which one was done with the lowest resolution 😉. To be honest I could have binned it but decided against it as it is a weathered stone statue. The photo was taken quite closely, but at a metre away the lines don’t really show that much. I will get a green wash around the bottom to show damp. I did consider covering some in creepers etc, but I am not so sure. In the past I have used string, died a shitty brown and soaked in PVA. This is draped over things and left to dry. Once dry ‘leaves’ are added. The problem is it can look either: ok, good or totally crap. Probably why I am not going to bother.

These statues came from Thingiverse for free, but as I have printed a fair bit from Terrain4Print, I decided to help him out through Patreon.

Still coughing my guts up, but thankfully not as much as yesterday.

Regarding the printer, as I said yesterday, I contacted the manufacturer through Amazon, they came back this morning asking for further information through photos or videos. I have sent these back to their technicians and we will have to see what they come back with.

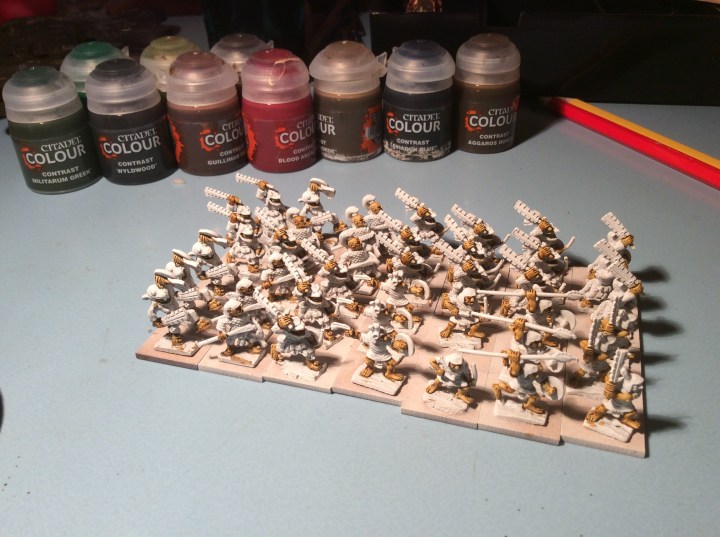
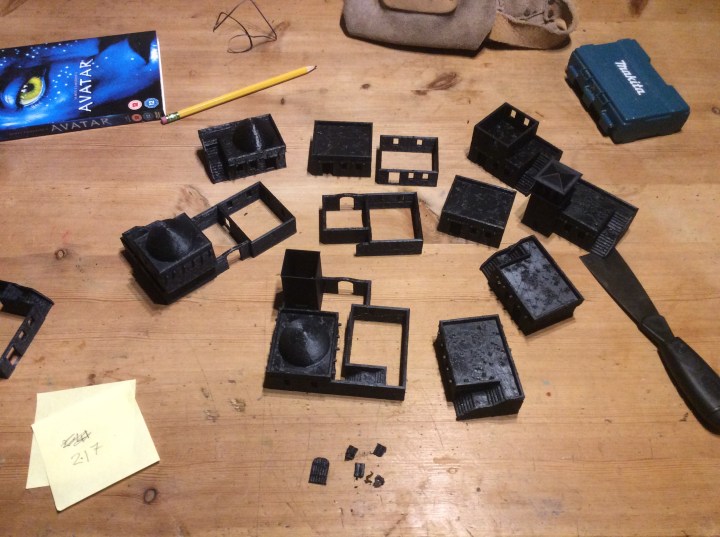
Tomorrow I will probably spray the desert houses and make a start on them this weekend.

in a total change of direction (and doing my bit for Shetland Tourism) the Northern lights are out…

https://www.shetlandwebcams.com/cliff-cam-3/

Picking them up on the Sumburgh cliff cameras

Scalian Cavalry… A bit of progress

Tonight I spent ages trying to work out what colours to paint the riders.

In the end I looked at what contrast paint colours I had, in the end it was down to Blue, green or yellow… obviously yellow won 😉. The command mini with the sword is done in orange to mark him out as a leader. I will need to tidy up the skin on them with white to get the yellow to cover over the green splodges.

Because I want these out of the way I am pretty much throwing the paint on. Problem is I can see where the green was and it is bugging me, otherwise I reckon it would have been left the way it was.

Shortly after taking the above photo I decided that they looked boring, so made changes to the command bases.

I used the Black Hat back banners to make the standards and also to give the leader a back banner too.

I will get them painted white when I tidy up things.

I eventually got the last statue sprayed.

I really do need to get the printer dialled back in. The lines on this are really obvious. The printer sat for about two months so it might need a bit of TLC to get it back on track again.

Friday tomorrow so hopefully I can get these lizards finished over the weekend.

Aztecs… Feathers and Statues

I managed a bit more tonight, mainly painted all of the feathers I could find. I went for yellow and after finished painting them I realised that most of the feathers in Codex Mendosa were green!

I will get the ends painted different colours, Black for the peasants and brighter colours for the rest.

I also printed off the final statue,

This is as it came off the print bed. The raft really does work, and you can see the built in support fir the elbows. I will get it sprayed tomorrow.

I want the Aztecs finished tomorrow if at all possible. We shall have to see how I get on!

Aztecs…Further Work

So I managed a bit more on these today, they are nice chunky figures, but there are some bits that are a right pain to get a brush into, well there are when you base them prior to painting 🙄.

I chose colours based on the various codexes. I think it is Codex Mendoza that states the peasant shield was a white field with a blue border (the white needs to be added) so to tie them all in the rest have the same blue on their ‘belt’ . I will crack on with some more tomorrow. I reckon they are going to be quite colourful when they are finished.

I managed to print off the bases for the statues this evening (this reminds me I must collect the other two and then switch off the printer.

I still haven’t decided what colour to do these, natural stone or painted… I am not sure… I will do a bit of looking up and see what there are pictures of.

Rainbow Aztecs

Okay so maybe not quite rainbow coloured, but quite bright non the less.

Not that you can really see from the above. Still a long way to go, but the contrast paint seems to be doing a reasonable job on this scale. I have now got sixteen pots of the stuff. Because I am a pillock I have got two pots of Blood angel red, I will take the unopened one back tomorrow to exchange it for a different colour. One of the other colours I cannot stand. It is a very bright green. The one thing I must do before returning the pot is to write down what I have got so I don’t balls up again.

I also fired up the printer again today and did another couple of statues…

I gave them a blast with a grey rattle can to mainly act as an undercoat, but also to allow them to be photographed easier. The middle one is from last night, the other two are today’s print. I put them on a raft and they printed really well. I put a base of Aztecs near them to let you see the size if them. These were printed at 70% of the original size and they are still quite large. The hands come separately and fit nicely into the wrist socket.

My original idea was to base them in a group, but looking at the size of them I think I will go for individual bases. I will print of some 50mm textured bases tomorrow and get these stuck down. To be honest I will probably print off one more. There is a worn version which I think I will give a go.

I printed off five more Lizardmen today too, but disaster struck and only one is useable, one is missing a weapon, one is missing a base and the other two are basically spaghetti monsters. Next time I print them one at a time👍.

Tomorrow will crack on with the Aztecs as I want them finished ASAP.

Aztecs… and He’s Off

I made a start on these tonight, gave them ten hours or so for the spray to cure a bit more.

I got a bit bored painting skin, but on the upside the contrast paint Aggaros Dunes works well for a darker skin tone.

I Love the miniatures but I really wish I had mixed up the types. For some reason, unbeknown to me, I put them on the bases as they came out of the packets. So each base has identical miniatures on it. I really don’t know whether or not I can be bothered to take them all off. The suit wearers will have different coloured suits so at least there will be some variation.

I wrote types on the bottom which was very organised of me, however I mixed up the Quachic veterans with the apprentice warriors. I just must remember to paint the Quachic veterans in their yellow suits.

I also printed off a couple of statues…

The more mathematically astute of you will note there is only one visible. That is because the sister to this one fell over at the 7 hour mark. I swore! I did learn something though, these will need a raft to help. The elbows come with built is supports, the second one’s support fell over and then in time the main body somehow collapsed as well, probably the spaghetti monster that engulfed it caused it to lift from the bed. The total print time for both was 9 hours 10 minutes.. I printed them at 70% to fit in with the 15mm minis. She is the Goddess of War, a very suitable subject. The STL files have a new version and a crumbling version as well as a damaged on too. My initial intention is to have four of them in matched pairs.

The hands are printed separately, one holds a sword the other is either a fist or an open hand. Once again this came from Terrain4Print free from Thingiverse. I will either tip him through there or become a Patron as I have a lot of his stuff.

Whilst waiting for the print to finish I made a start on the clothing on the warriors. The peasant tunics are pretty much all painted, still a long way to go on the rest.

Tomorrow shall involve more printing as well as more painting.

Fleet Rescue – Almost Done

Tonight I decided to paint… to be honest I reverted to my childhood and used my fingers… or finger to be more exact.

I have the security and marine contingent completed now (apart from the bases). These will go with the two pilots to give me a full crew.

I was reading my set of four graphic novels/comics and noted that the unarmoured minis above could also act as police officers.

I dirtied up the ship a bit as the only place it could ever possibly be clean is in space…. but once it hits dirt then it will get grimy fast. I started with a brush and it looked like I had painted it on with a brush so out came the finger 🖕(I used that one as I could hold a paintbrush too).

To be honest I don’t know whether I overdid it or didn’t do enough… but you know what, its where it is and I am not going to repaint it as it has taken me long enough to get the brushes out. It still needs a mat varnish cover to hide the shine in the transfers – speaking if transfers I have a packet full of the things from when GW sold them for their 5th edition Brettonians… I could only find one and it was blue and yellow. I actually wanted black and white 😱.

On the painting front, I followed the advice of Tangibleday and got a nice painting light.

It is an Ottlite. It has a white light and us handy for taking with me wherever I am painting. Not the cheapest thing in the world. But works well and is small enough to carry about.

Next up will be the Firefries, I think, as I want something a bit quick to get me motivated again. Just under two weeks left of this job, but I have an interview for another school on 3rd July.

Finally… we got a second hand fridge on Friday as the one we had was too small for 5 of us. So we got it home to find the dimensions weren’t exact… to cut a long story short, after removing all of the cladding in the passageway and chipping stones from the wall it still didn’t fit! Luckily we managed to get it into the porch. The joys of living in a 200 year old Croft house!

Mobile Infantry III

Well I got a bit more done on these little chaps…

It was mainly highlighting on the grey uniforms – not that you can tell from the photo…

The other bit of news is…

They now have a way to get down to a planet 😁

This took a very long time to print, but I got there in the end!

I have also had a mess around with 3D Builder and have made an extended 16 seater. According to Cura it will take 18 + hours to print. I added all the bits together in one ship apart from the roof and the rear hatch.

I also had a mess around making a lighter recon craft using the two engine pods and the nose cone. If I remember tomorrow I will get some shots of the STL files.

Back to work tomorrow…

Mobile Infantry II

I managed a bit more on these chaps today…

Still a fair way to go but getting there.

I also carried on printing their ride:

This is in various bits that are glued together. The sides will have panels, the left hand side being printed now. Something went wrong with the interior bit, it separated. It could be a printer glitch or a slicer glitch. The nose didn’t have the same problem so I am in the dark.

This is the interior of the craft. You can see the flaw line on the right hand side. It is just about noticeable on the left hand side.

This is more work by Terrain4Print, again from Thingiverse, so cost at zero to purchase it. I will see what his Patreon costs are as I think he deserves something for his hard work.

I haven’t downloaded it yet, but there is a crashed version of this too. Once this is built I may do a second one and use 3D builder to splice on some weapon pods.

Happy with the way it is going so far. I am running out of this spool, hopefully I will have enough to get the wings and rear hatch done.

Tomorrow I am off gallivanting again. This time to have a look at the WW2 defences of Lerwick. We have some of the best preserved outside of France. This includes a bunker design that is only ever found in France…

I will endeavour to take photographs…

Desert House 5…Update

Well the shell is finished…

The roofs are on there temporarily. I will decide on which roofs to add later. The tower needs to have its top and roof added. So how did it get on…..

These bits were supposed to be attached. The window shutters were out too far I would guess and I forgot to extend the door into the doorway to secure that. But apart from that it seems fine.

Now I could give another one a bash, something a bit more complex again, they are cheap enough, bit as Dave pointed out I need to be able to paint everything = some of these bits are going to be tricky!

Problem with doing some more is that there are quite a few already!

I reckon I can squeeze another couple in before I have to stop printing and start painting. I also need to print half a dozen roofs as well as a whole pile of doors and window shutters.