Yes I actually got around to putting a paintbrush to some miniatures this evening.
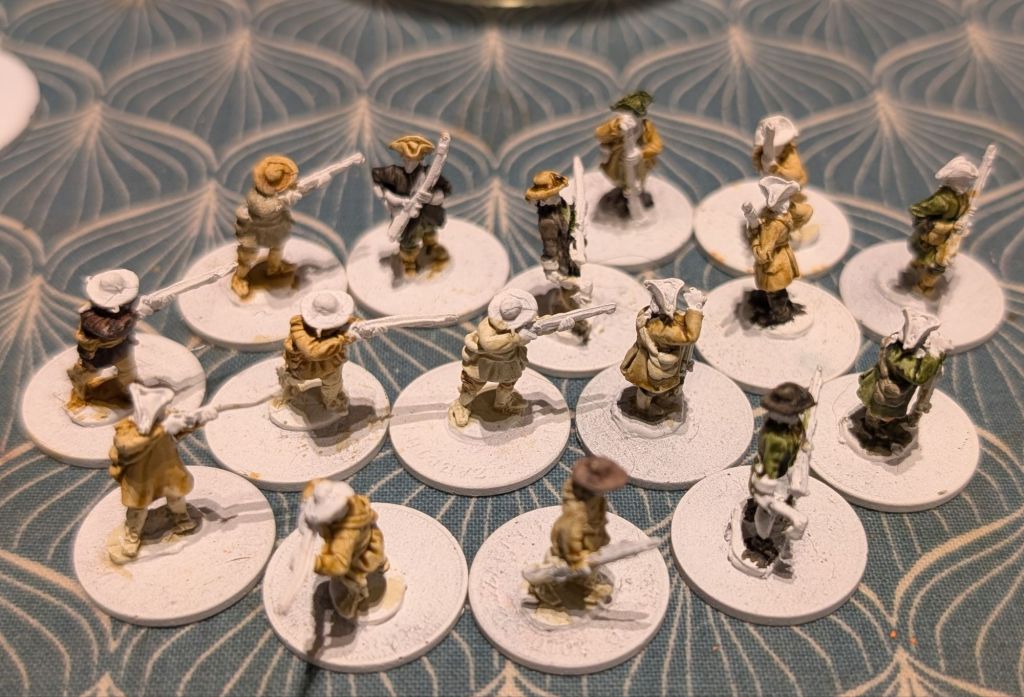
Sixteen Militia part done. These are very rough and ready but look okay at a distance of about three metres.
I will hopefully carry on tomorrow evening. That will leave another fourteen at the white stage. I actually can’t remember who the manufacture is. Part of me thinks Blue Moon as they come in packs of thirty.
I also got my Florentine troops undercoated. They will be next up I think.
Well that is me technically done with my most amazing little school. Technically because I am still the principal there until August 12th. By amazing I mean the most awesome children, parents and staff. It was really hard to step out of the door for the last time. The last six months have been a nightmare roller-coaster of emotions with today being a bloody nightmare. But you are not here to listen to me ranting.
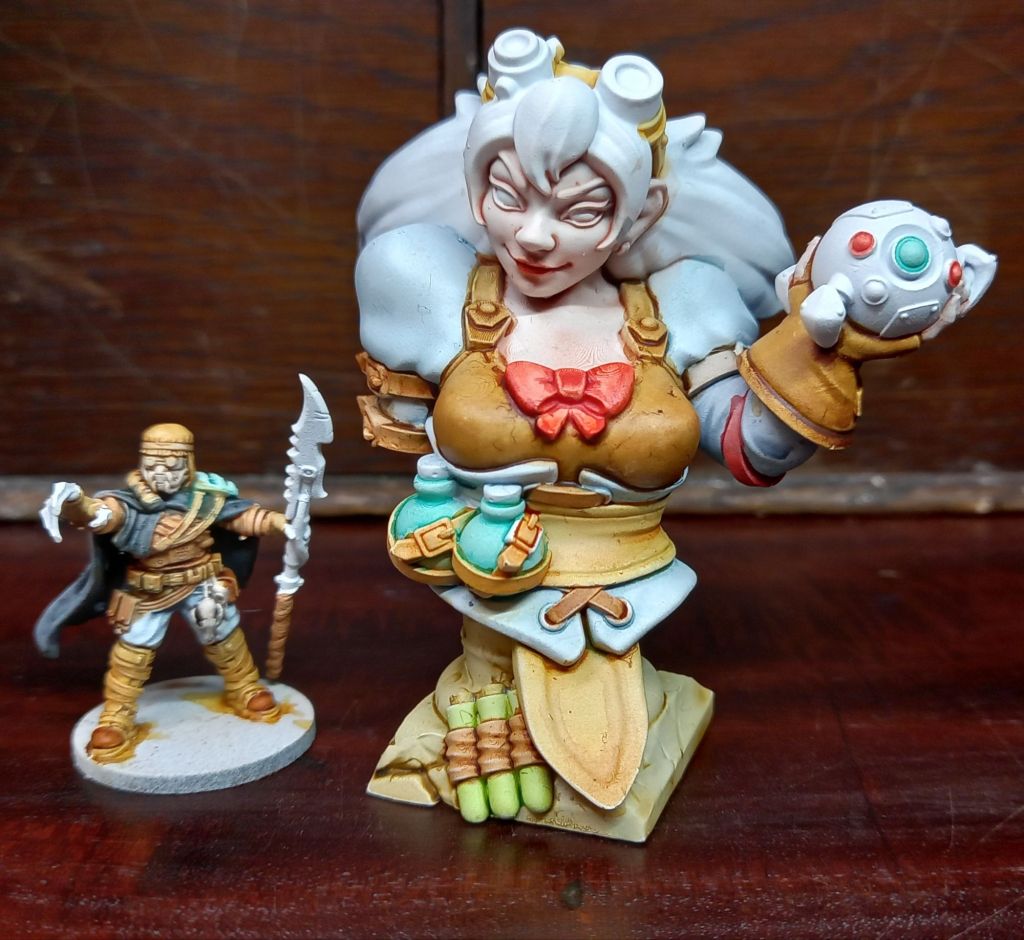
I really couldn’t be arsed to do anything this evening, but forced myself and managed to get some more done on Mizzy.
There is definitely less white showing now. Really just the hair and device as the main bits and the metallics and corks.
One thing that struck me this evening was that I was worried that I was wasting paint. But then it dawned on me that I am putting one small drop of paint and about 4-5 times the amount of medium.
I reckon I will get her finished sooner rather than later… well plucking up the courage to do the eyes may take a while, so look for July 2025 as a rough plan.
Well after a totally Shite day work wise I came home and decided to be productive.
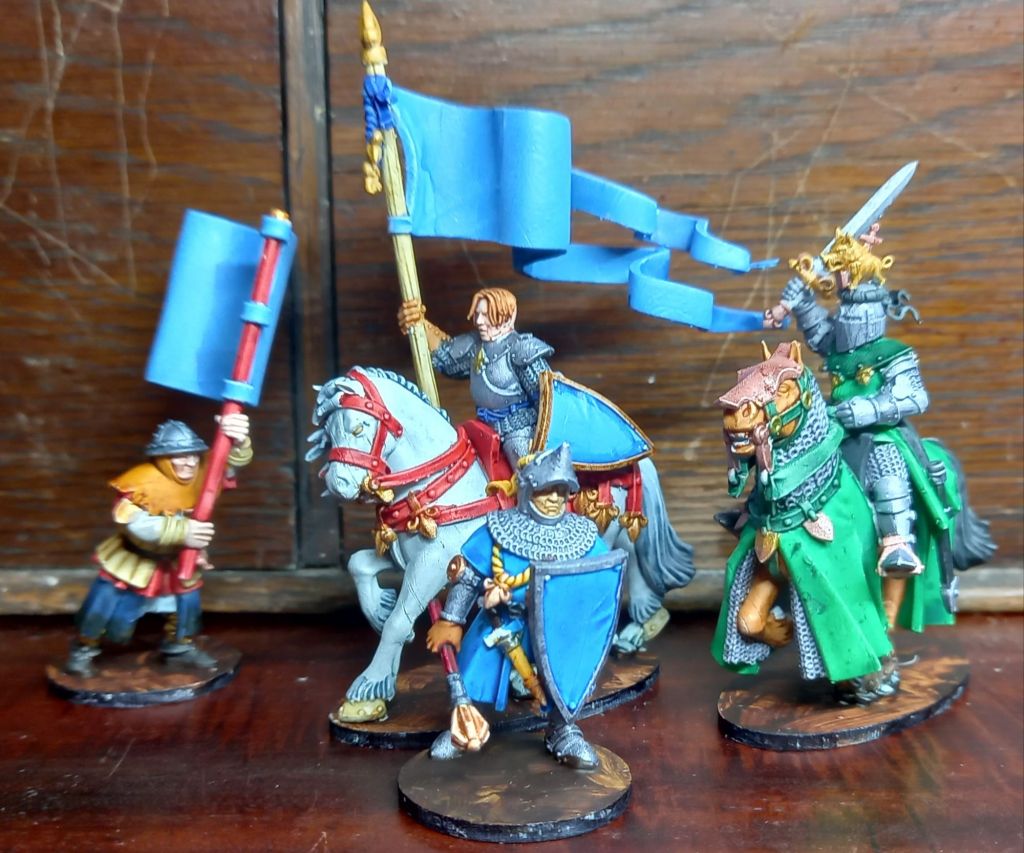
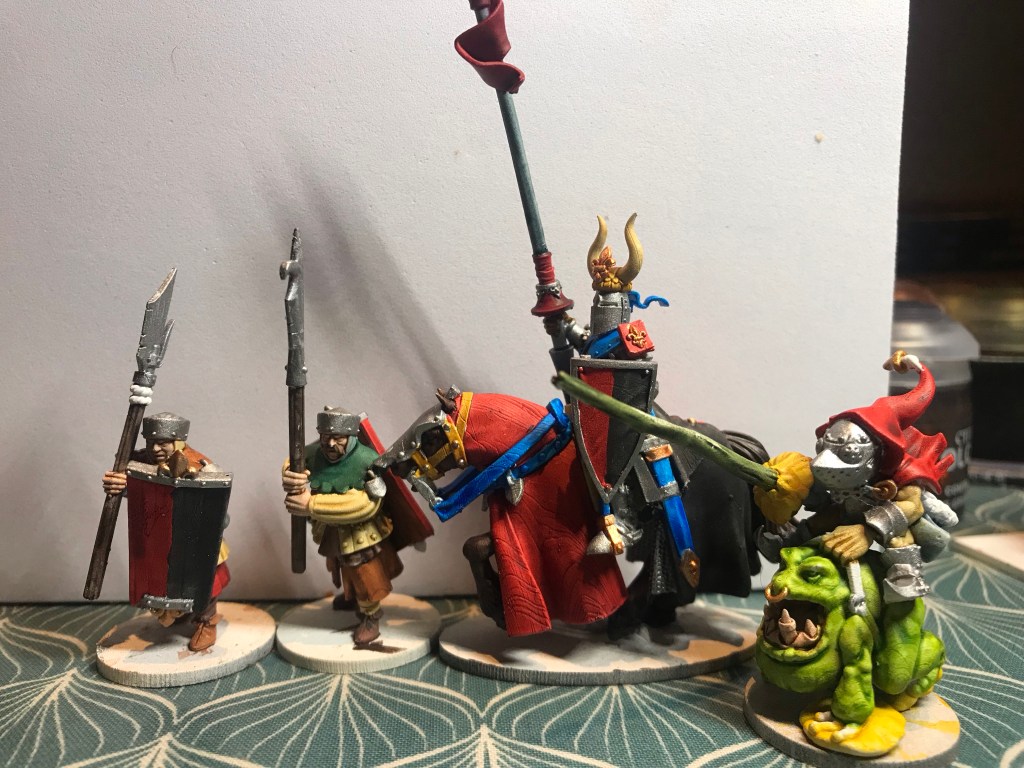
This lot are now finished, apart from some form of symbol on the two banners and shield (oh and the green one needs a shield).
I know green is a bit of a rare colour in these kinds of fantasy miniatures but this isn’t Brettonia so the green rule doesn’t apply. Interestingly enough after the 13th century green was actively avoided into the 15th century. It came back in the 16th, long after people had the need for it on a shield.
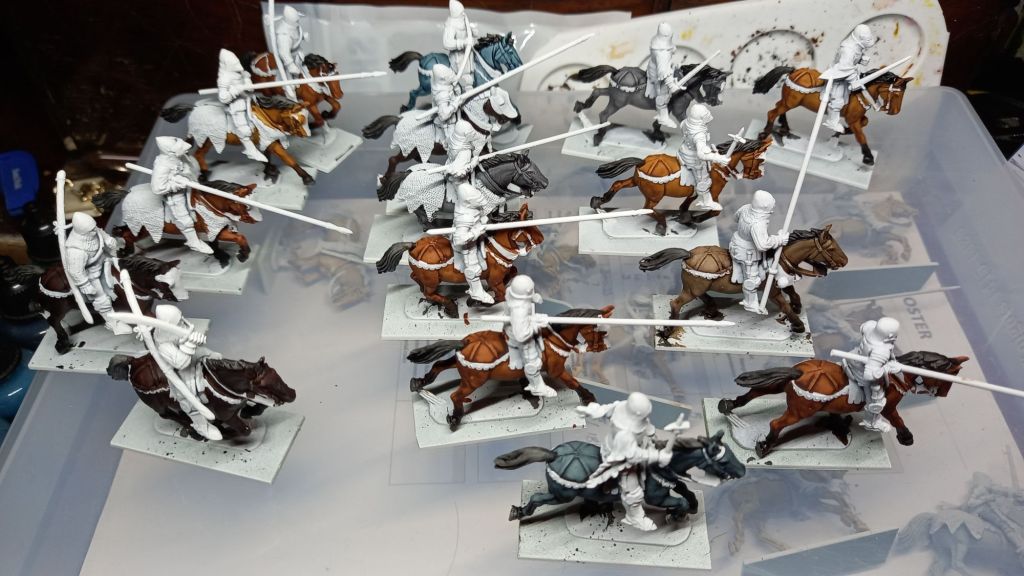
So I had a mooch about and got out the medievals I could find…
I might actually have more somewhere.
I now need a lot more commoners!
Actually to be honest, I really need to ask myself… do I really?
My original plan was that each knight had ten to twelve foot. So I would need about another fifty or so to paint! Obviously if I have some unpainted ones lying around then I will get them done.
I also painted some 6mm ork chariots and did a bit more on the bust. I tidied up the painting cupboard and made another covered (Duck tape) cat food box to store some extra Speedpaints in.
Well I made a start on a pair of the Erroish in Geek Club yesterday and managed to get them finished this evening. I also worked on the Spire big guy, and the other three for that matter
The big guy still needs the decoration done on his armour. I have decided to go for Gold as I feel this befits a super rich, nasty bully.
These are my pack beetles…
The saddles also had some failures, you can see an obvious one on the end of the front strap… Well actually it is a decorative border. But hey, either way it will get the Greenstuff remedy.
Hopefully I will feel up to a bit more of the same tomorrow.
I started on some goblins… so as I had these undercoated it wasn’t really a difficult decision …
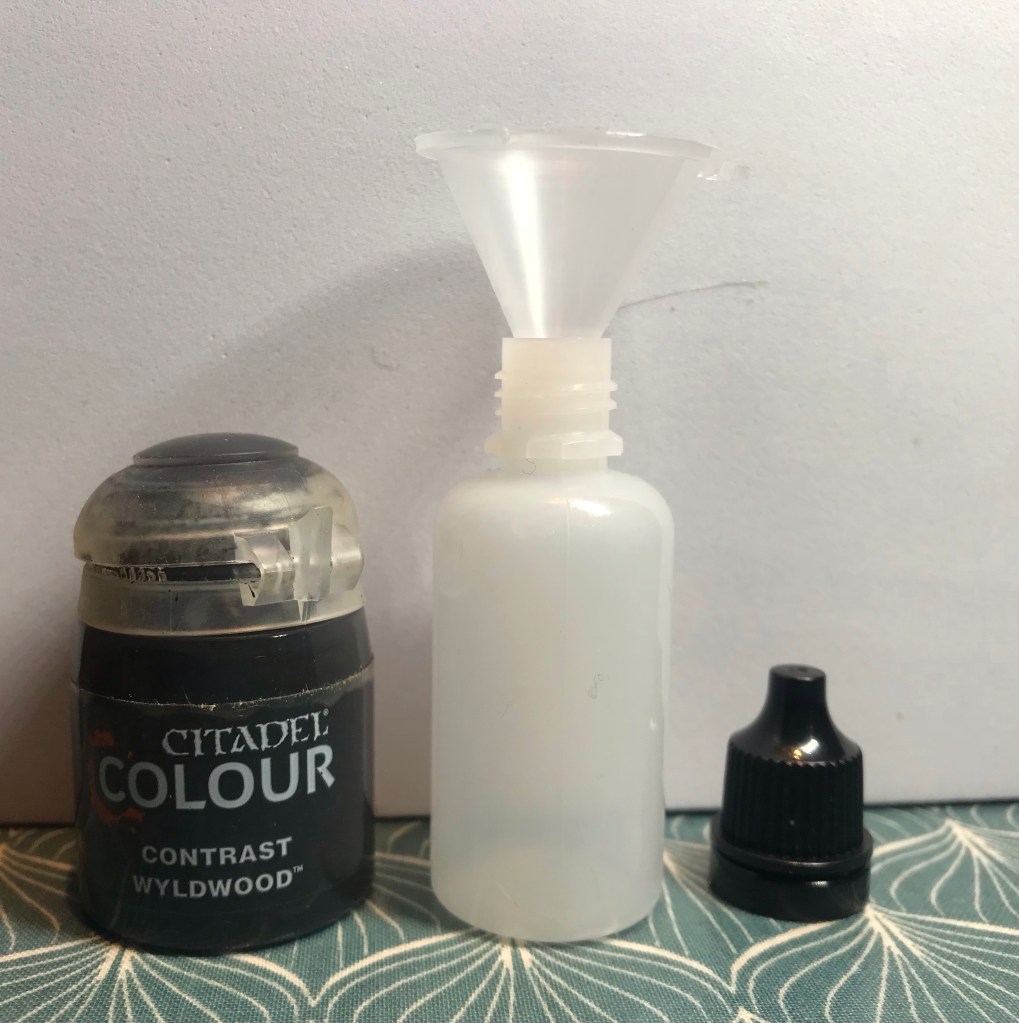
Now I would have got a whole lot further if I hadn’t have got extremely annoyed by the Aggaros Dunes Contrast paint which had turned to a treacle like consistency. After a bit of swearing this happened…
I was only going to do the Aggaros Dunes, but it was quite relaxing. In the end I had managed fifteen bottles. I basically did what I had in front of me.
I bought a whole box of twenty mini funnels, however I actually only used two as I was doing it at the kitchen table and I was right beside the sink.
I still love my Contrast paint, but as I said in an earlier post I am not so happy at having to dump a pile of paint at £5 a pot.
Hopefully I will get more goblins painted tomorrow.
I hope to also decant some more paint into the bottles.
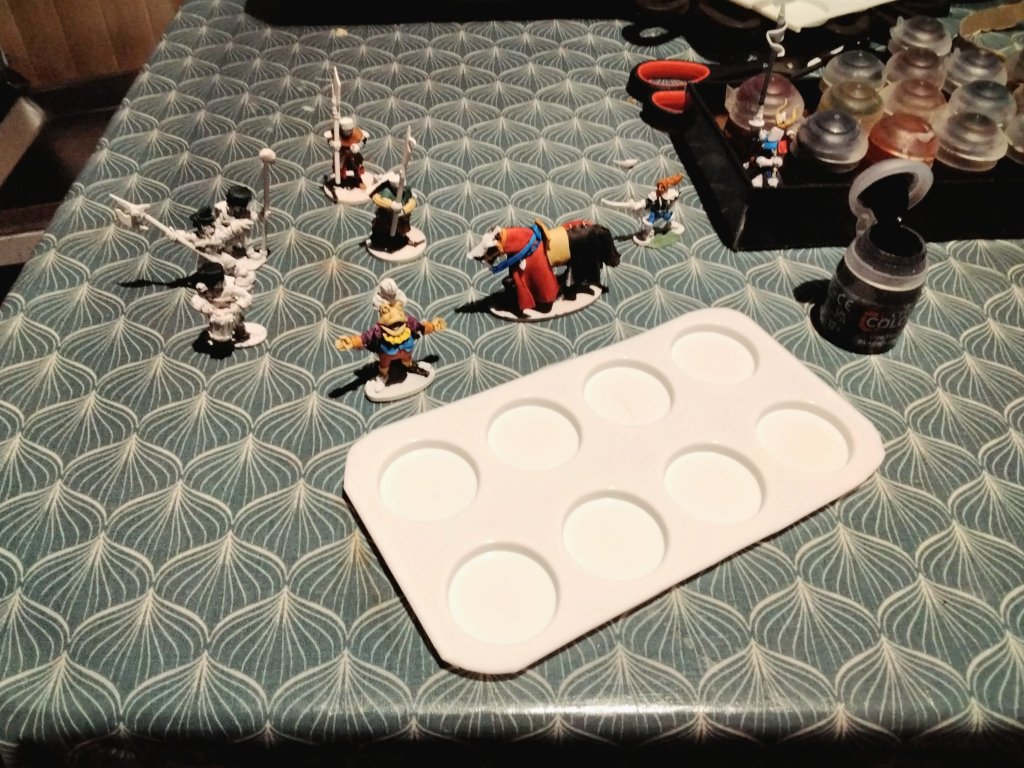
So this evening I set about adding the metallics to the knight and his pair of foot soldiers. I got a bit heavy handed on the gun metal so looked for anything I could to avoid wasting the paint. I found a box of various bits and found my armoured bear and a couple of goblins. Basically anything that needed a metallic colour got some.
I will hopefully carry on tomorrow and get the shading and highlights done on the armour.
This weekend I am embarking on a project I never though I was going to do…
I am super annoyed that a whole pile of my Contrast Paints have dried up. I maybe haven’t used them for three months and I am going to have to bin a lot.
I used to say I preferred the pots as you can shove your brush in and get the amount you need, but at £4.50 a pot I reckon I have nearly lost £50 worth of paint. Pretty miffed about it to be honest.
So watch this space and listen for my fell voice on the wind as I drop pots, knock over bottles etc.
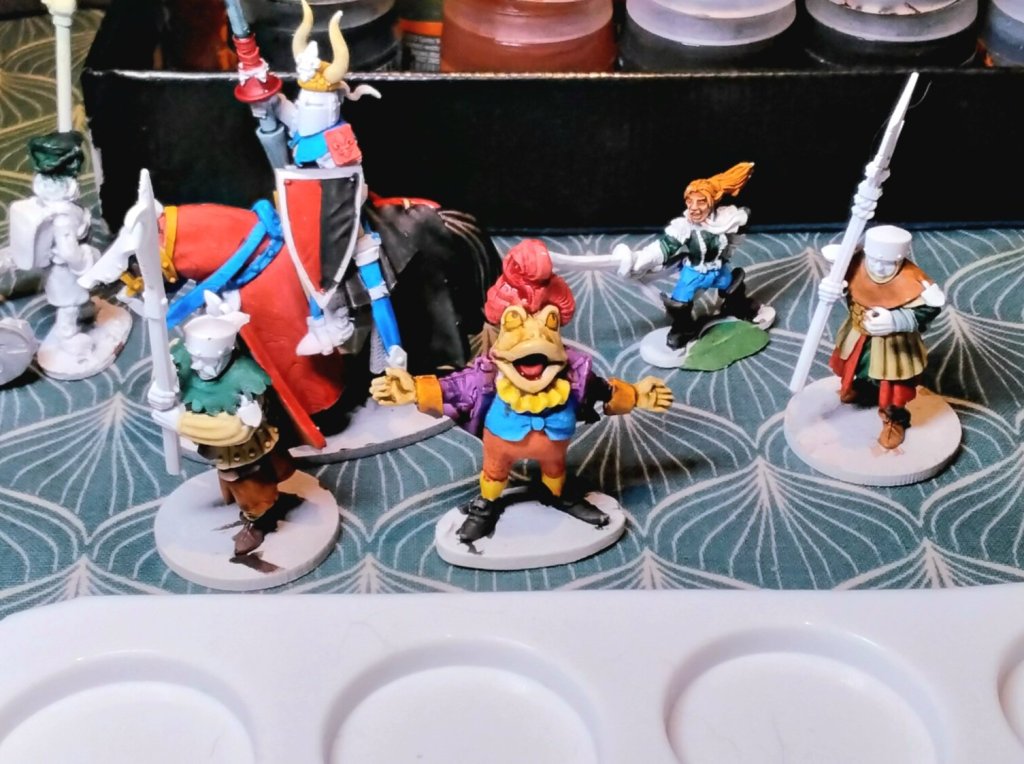
This evening I set to work with the Contrast paint. I did a bit more on the knight and his entourage as well as this Operatic Wide Mouthed frog from Alternative Armies.
I really had to push myself to get going, but once sat down I set to work with gusto. Now the pallette in front arrived in the post today. It is made from silicone and is for either wax melts or chocolates… I cannot remember. Anyway it had 24 indentations and is about 30cm long and 18cm wide. This is it on Amazon Here (evidently it is for wax seals). I thought it was a bit on the large size so attacked it with the scissors…
After the scissor attack.
So I am slowly getting back into painting regularly, I am really hoping that I will carry on with it. I did about 45 minutes this evening so it is do-able.
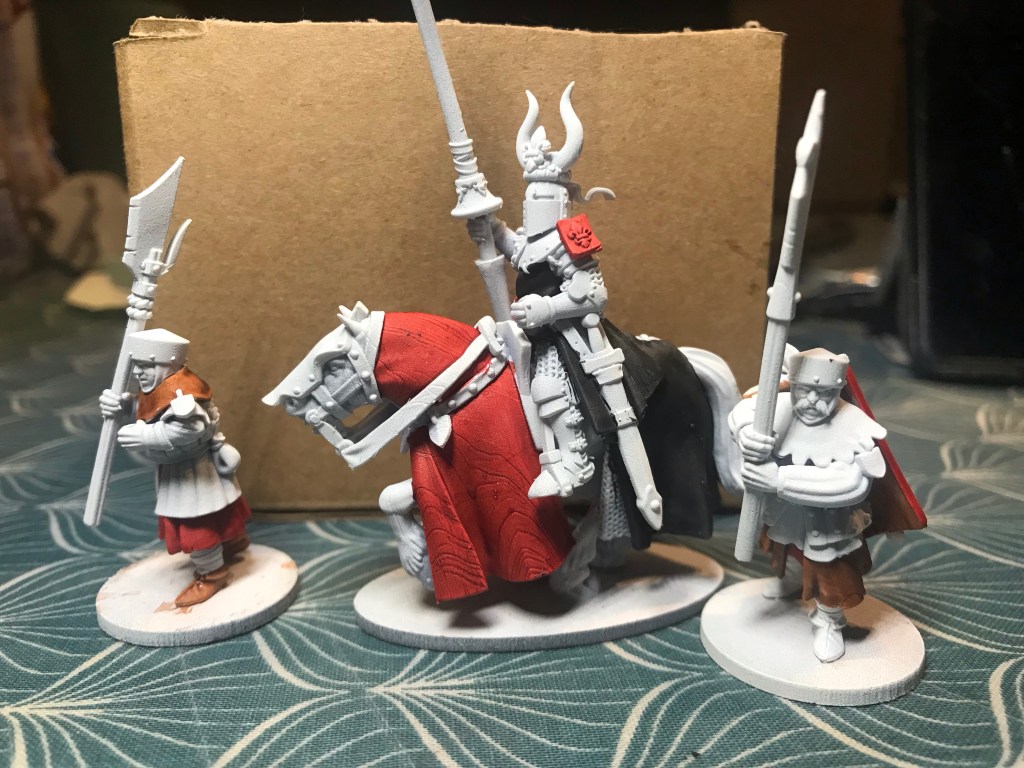
So after getting lots of paint on this knight I have decided to keep going on this one, but will then paint another one using a darker red and lighter black which is more like my original kit.
The other thing is, my crest is a Northumbrian Boar. One of the helms actually has a boar on it… I chose bull horns for this one. So all in all, a new knight is being printed. I have added a couple of foot soldiers to the plate too.
The other thing I am printing is some Wargames Atlantic Ikko Ikki. I decided to join them on Teams for a test period.
They do have some nice stuff… it’s a lot smaller than most things I have already, but that’s the beauty of 3D printing. From what I remember I basically need to increase x and y by 105% and z by 110%.
I will finish painting the above before starting on the next.
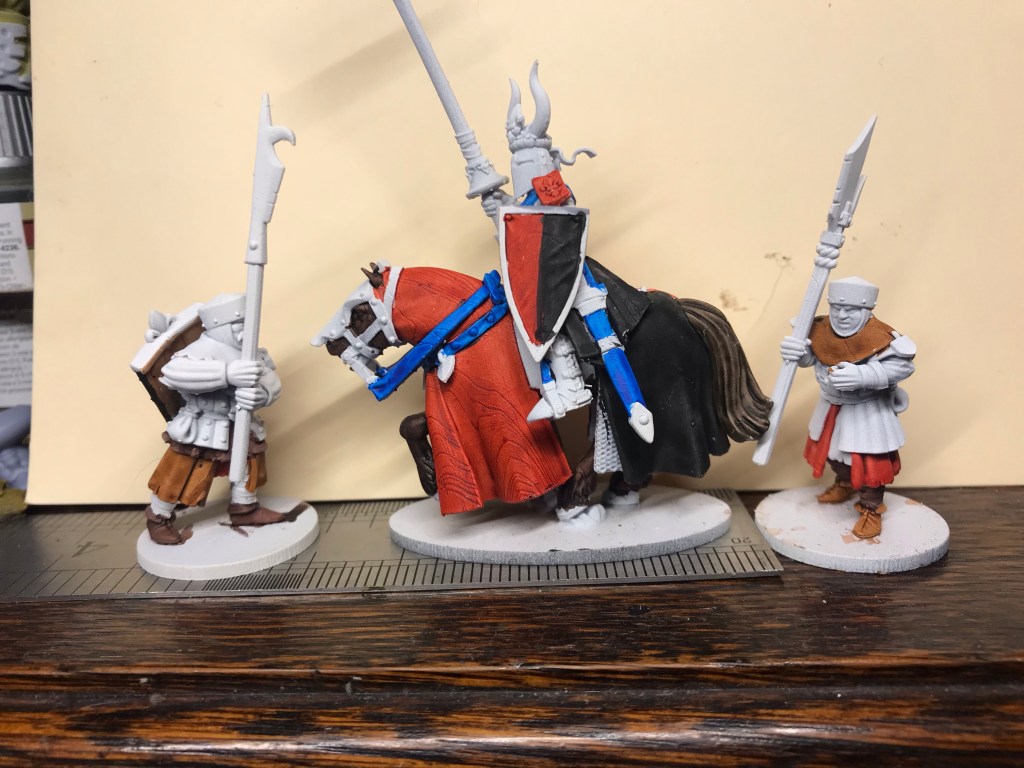
This evening I decided to slap some paint on the third Knight. As discussed the other day I went for my reenactment livery.
So this time I used my old favourite… Contrast. However there were some issues…. Dah, Dah, Daahhhh!!
As you probably noticed I haven’t exactly been going hammer and tongs with my painting over the last three or four months. Because of this a whole pile of my contrast is now the equivalent of coloured tar. Luckily for me the livery colours had unopened pots so I managed a speedy paint job.
I was pleased with how they went on, sadly though the ‘Black Legion’ isn’t really Contrast in the same way as the others are.
The big question I am now pondering is whether I actually start to replace my Contrast or go Xpress and Speedpaints…. Watch this space.