Well we are stopping tonight in Dundee, simply because prices of hotels in Edinburgh are absolutely ridiculous due to the Fringe.

The above photo shows the rail bridge across the Tay. If you look closely you can see columns showing just above the waterline. These are the remains of the original bridge which sadly collapsed in December 1879.
On the 28th December a train began to cross the bridge in what some called a hurricane… It has been estimated that winds were gusting at 80mph.
At 19.13 a passenger train with approximately 79 passengers and crew made its way past the signal box after collecting its ‘baton’ to allow it to proceed.
A few minutes later a visitor in the signal box saw a lot of sparks from the wheels grinding against a running rail. Followed by a brief flash and then the sparks and rear lights of the train all disappeared in an instant. The signalman didn’t believe it, but was unable to contact Dundee on the northern bank.
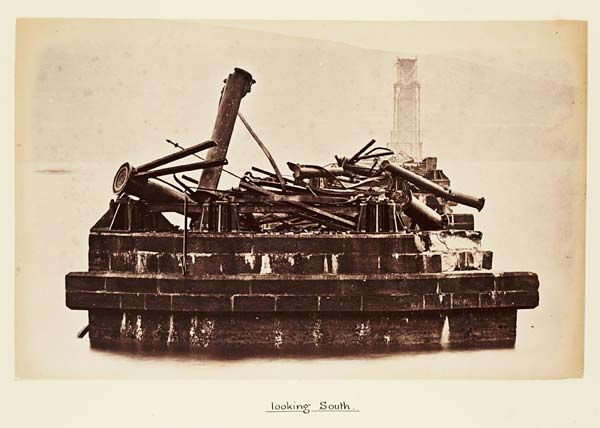
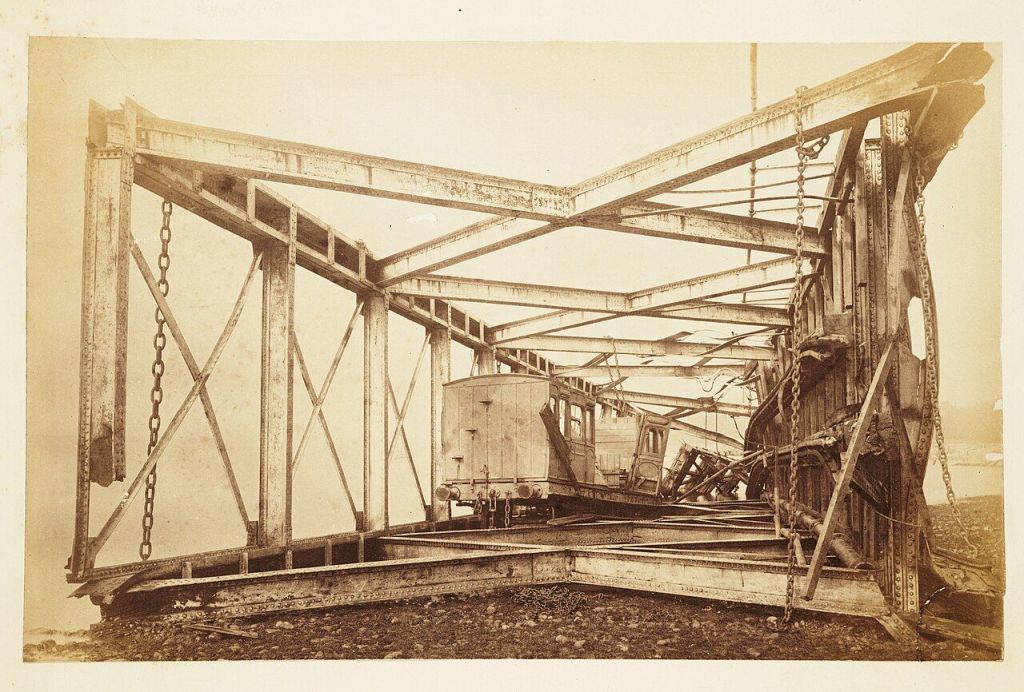
The following photographs were taken after the disaster. The bottom one shows a carriage up against the roof of the span. The track is clearly visible to the left of the photo.

For a while workmen on the bridge had complained of lateral and vertical movement as trains crossed the central span. Evidently trains would pick up speed going North to pick up lost time. This would make the vibration worse.
In the end the bridge failed due to poor construction and poor maintenance. Repairs and systems to make it safer had been started but even these weren’t up to the job.
Of the 79 passengers and crew only 59 were ever recovered/identified.
So there you go… Out and about in Scotland…
Tomorrow the Show!