Ogres… Nearly Finished

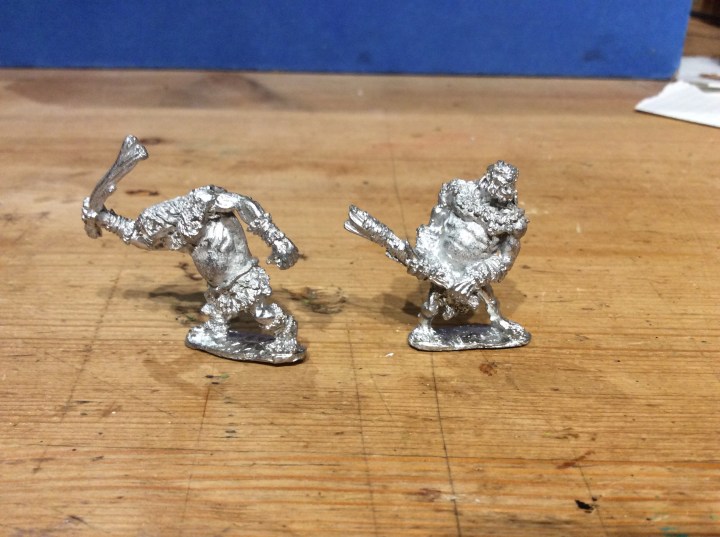
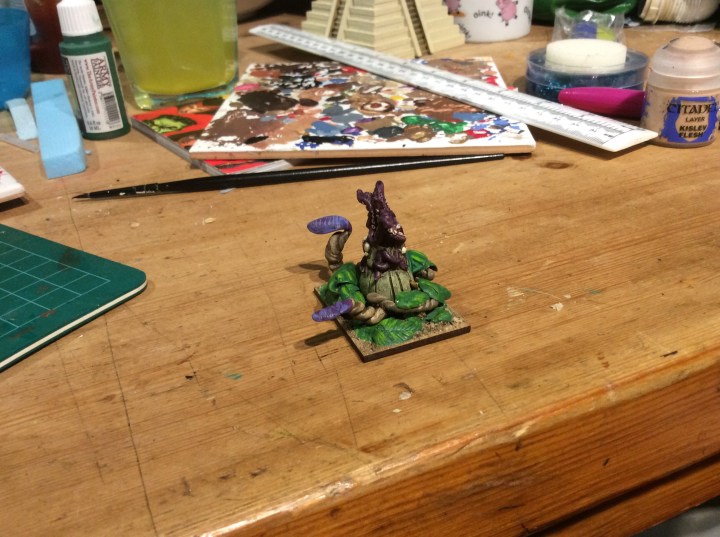
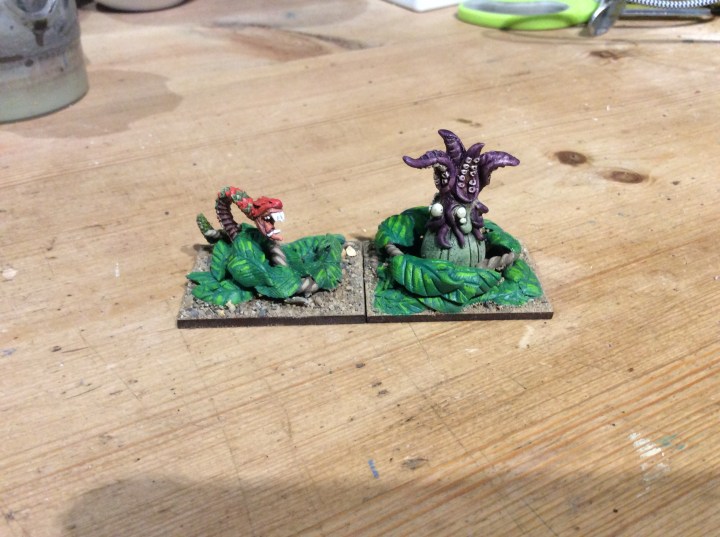
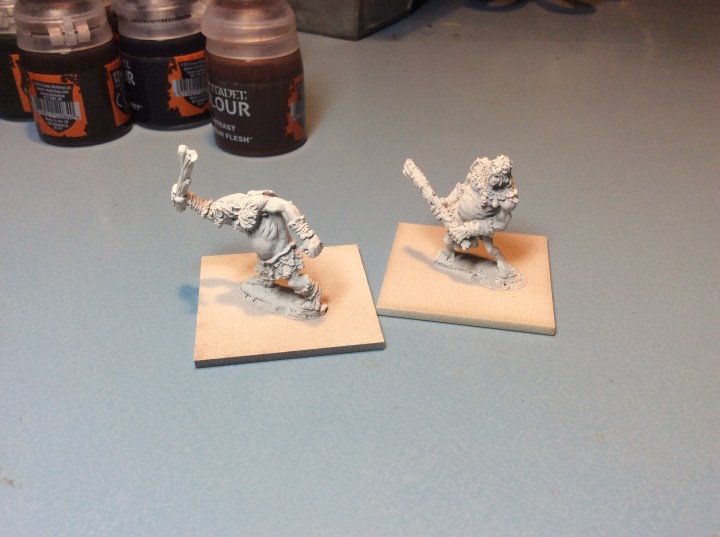
So tonight I mooched around trying to find something to paint and came across these two already primed…

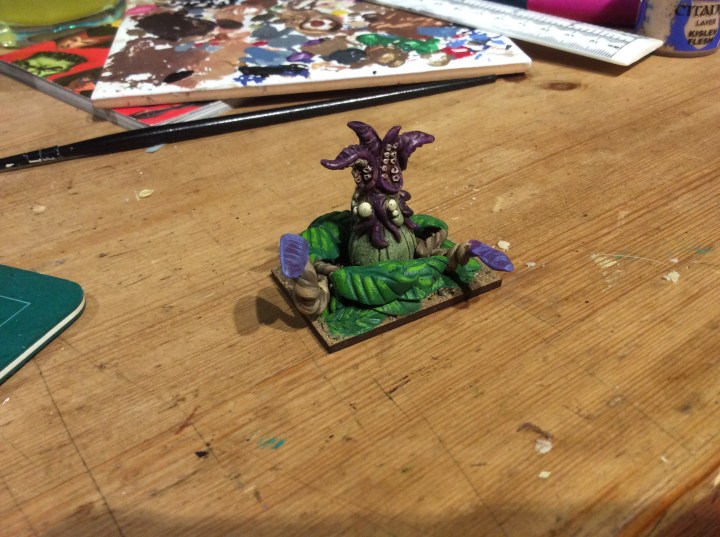
So a quick paint job and we got to here…

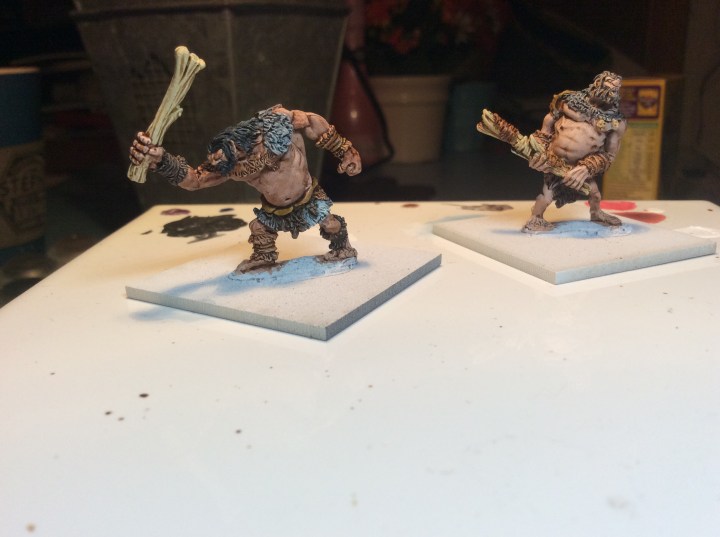
I probably spent twenty minutes on each. Once everything is dry I will sort out the strapping on the fur bracers and greaves. There are the usual bits that were missed first time round. I have come to the conclusion that it is caused by the wet paint reflecting light, therefore any actual white bits fool me into thinking ‘wet paint’ making them invisible until everything has dried. As I spent a whole while sneezing as these were drying then I decided to call it a night.

These were a ‘prize’ for taking part in the last HOTT competition. Technically one belongs to my daughter as she got one of them for attending too. They are on 40×40 bases as they are behemoth from HOTT.

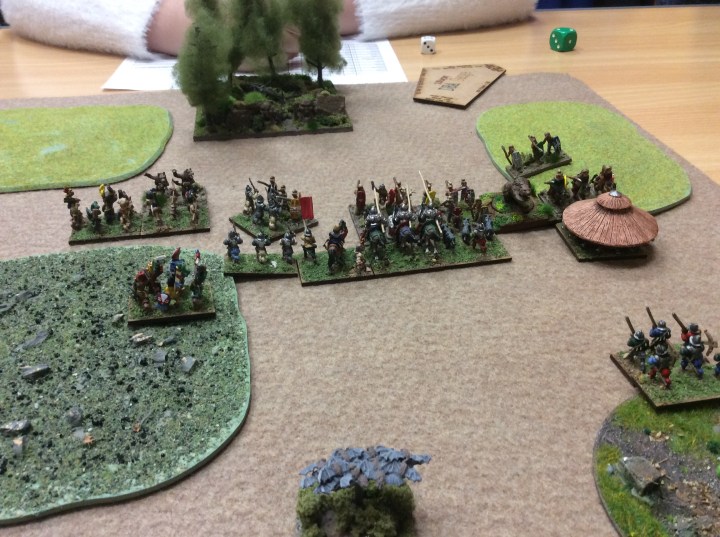
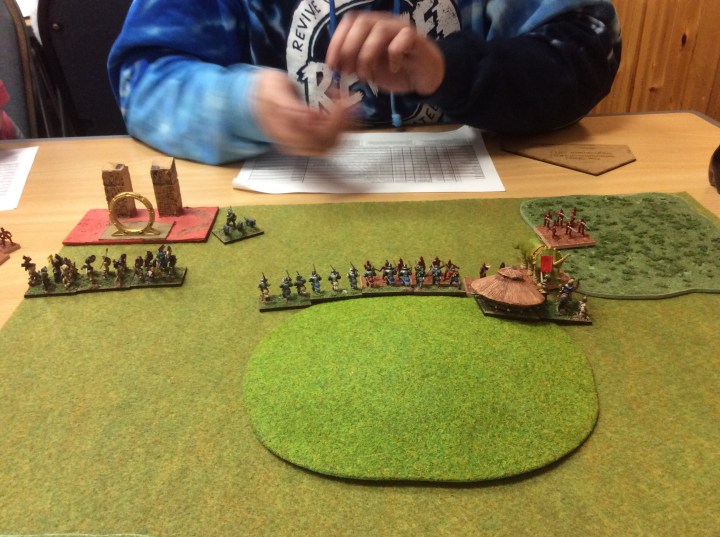
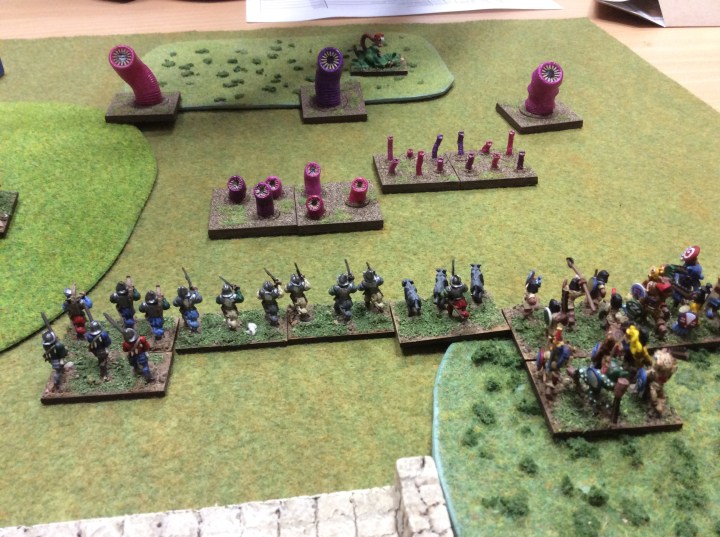
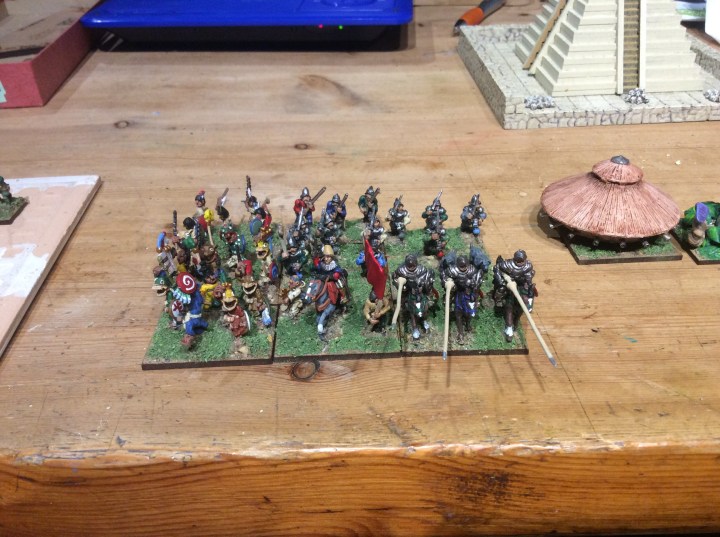
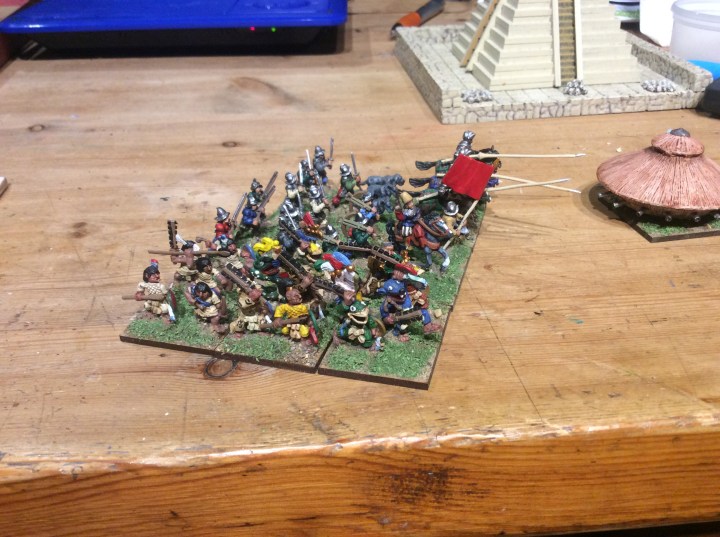
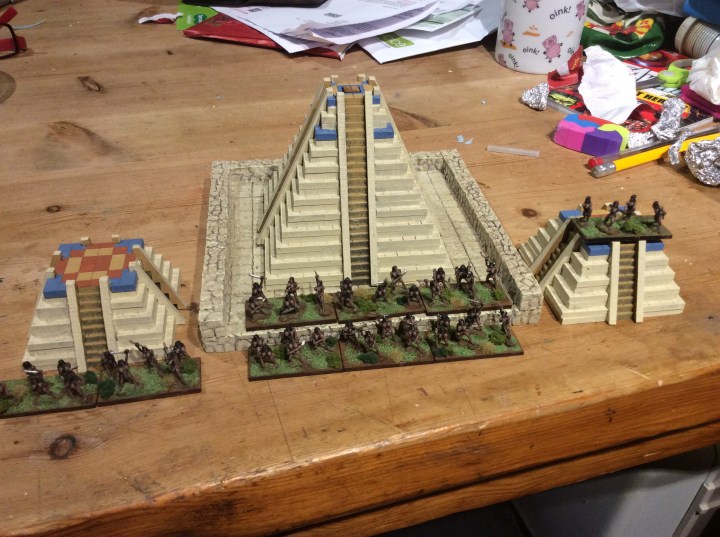
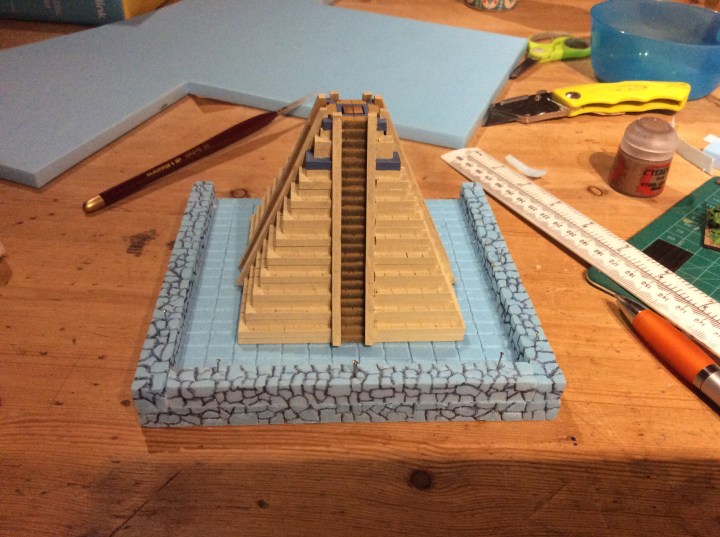
Whilst mooching for miniatures to paint I cam across a whole host of part finished projects. So far, in the house, I have some 15mm FIW militia and woodland Indians, a force of based 10mm Mongols, a pile more 10mm Sudan war British and Egyptians, a tribe of 10mm Sioux. In the big shed I have all the Starship Troopers stuff as well as various printed miniatures and terrain (let’s not talk about the Aliens V Predator minis nor the Journeys in Middle Earth either).

All in all too much stuff. I didn’t make it out to my shed as that would add more to the lead and plastic mountain.

Tomorrow I shall finish the two ogres and then take stock and come up with a plan. I am not sure why as I probably won’t keep to it anyway.

Tournament Results!

Bloody Hell I won!

Not only did I win the competition, but my Stronghold also won. I managed to come Second in the themed army too. My daughter was somewhere in the middle. Not bad for her first ever game.

My prize for winning was a new 15mm army = Scalians from Battle Valour Miniatures My prize for the stronghold were some mdf roundhouses. These were by Martin of Dragonfrog games, him of the pyramid design.

There were some tough fights in the three games, first game I beat My daughter by 2pts. Second game I lost by 2 points and third game I destroyed an army with the loss of only two points.

Game 1.

Me as the attacker against the Early Germans

Game two

Me as the attacker against a Martian force

Game 3

Me as the defender against a host of Alien worm thingies (made by Martin on his 3D printer)

So a big thank you needs to go to Mike and Martin for organising a fun little tournament. Everyone were also given a nice 15mm giant for taking part. Nice cake appeared too. All in all an enjoyable morning.

My miniatures….

And finally, the giants…

Hordes of the Things Armies

It looks like the tournament is on tomorrow,

My daughter and I both have an army each.

She has my early German one.

Hero General (Druidic types with their spirit bear)

Warband x 5

Riders x 1

Beasts x 1 (werewolves)

Flyers x 1 (bat swarm)

Behemoth or in her case Bearhemoth x 1

Plus a sacred pool to act as her stronghold.

Mine is as described throughout the posts, I decided, however, on the smaller temples as they fit inside a box file.

My daughter is very trusting, she let me choose an army that will face mine. I did, in fairness, discuss the various types. She did make a few changes, added a flyer instead of one of the warband bases.

I had to quickly knock up a base for the behemoth. This is a Beorn figure from the battle of the five armies set. He is my giant cave bear for my 10mm Mammoth hunting games (hence the round base) I did a quick circle out of Greenstuff to make a basic sabot base and then did the usual sand and flock approach, but this time I painted the sand.

A bit rough and ready, but time wasn’t on my side.

We shall see how things go tomorrow. We each have three games with various victory points etc. Let us see how the Dice Gods look upon us on the morn.

Till Tomorrow!

Conquistadors Officially Finished

Sort of….

Still a bit of contrasting flock and bushes to add and then a quick varnish.

And from the side…

I decided to paint up the skulls, some are the remains of the Triffid’s last meal and the rest were placed on the temple.

Still don’t know if there will be room in the tournament due to the size of the room and me having to have the kids. But either way at least I got something else painted.

Tonight’s painting was brought to you by:

https://youtu.be/hEJnMQG9ev8

Motivating myself to paint some Dark Future Vehicles…

And finally I shall leave this with you all.

Temple Complex Completed

All done…

Well when I say all done, I did contemplate square plinths in the corner to put skulls on. Part of me wants to add plants on the outer wall to add a bit of brighter colour. But this would cause problems with bits getting knocked off.

I can fit two of the smaller pyramids into the same space provided that they sit diagonally front to back.

I decided to see how the pyramid worked with 10mm too. I am happy with the results.

I felt my Amazon’s were a good army for a funky pyramid, well that and they were the only ones I had to hand. 🙄

I gave the whole thing a smack with a ball of silver foil to give it a bit of texture. Not that you can really see it in these photos

For this build the paint was mixed 50/50 with PVA. This helps the craft paint adhere to the polystyrene. I also made up my own Sepia wash with water out of the condenser dryer, some sepia ink and a drop of detergent (I was too lazy to go back out to the shed for the proper stuff).

Guess who shook it vigorously to mix everything together? Three hours later there are still bubbles! Once this was dry a gave it a quick dry brush to lighten it back up again.

I decided against doing it the same colour as the Pyramid as it would look better with a bit of a colour change.

The Dry brush colour is the same as the temple.

Finally, I was going to add a terracotta tile pattern in the plaza, but decided against it as it would be a lot of work for very little gain.

Tomorrow I will probably flock up the troops and then who knows….

Azazel’s monthly challenge is something mechanical…. off the top if my head I have…

6mm Post Apocalyptic vehicles

15mm Flames of War tanks

20mm Dark Future Vehicles.

I may have a blast at some of them (but really should finish the Mongols) 🤔

Temple Complexes and Triffids

I started on a plaza for my temple tonight.

Sadly I only had one thickness of blue foam, so it is a bit thicker than I wanted. The foam is held together by pins until the PVA dries. I fully intended to do something a bit bigger and a bit more complex. But the stronghold in the game must sit within a six inch square (600 paces) and must be bigger than 2 inches (200 paces). Technically I could have simply shoved the temple down, but it did look a bit weird just on its own. However this looks a bit weird on its own too. I suppose, I realise that Temples didn’t just sit in the open in their own…I really must get a life!

Once the PVA is dry I will attack it with some kitchen foil to add some texture and then get it painted in the same colours

The other thing I managed to do was the Triffid’s appendages…

Its not quite how I wanted it to be, I may repaint the ends as they went a bit brighter than I wanted. I am pleased with the way it looks, just not the colour.

Oh and while I remember, after some lovely photos of sunny days out, today it is blowing an absolute hooligan an£ P*ssing it down.

Lurker Bases

I got the Lurker bases almost done…

The question now is… which one joins the army?

The army has had the bases covered in sand. Once this dries I will get some flock on and get them varnished.

Today we went for Sunday Shenanigans to Catfirth seaplane base.

This was built in the dying months of World War One. In fact it was never finished. Three buildings still survive, the rest are long gone.

The three buildings can be seen in pink on the map below.

There is also the magazine and detonator store.

The roof of the magazine has disappeared, not sure when, or what it was made of.

One of the sheds has been used by sheep, the poop was up to the windows… I reckon they have been using it for around 90 years.

Finally for today, an arty shot 😉

Tenochtitlan in Further Technicolor

I managed a bit more on the temples this evening…

The smaller ones had a terracotta colour added to the top.

I was going to add blood flowing down one set of stairs on the tall one but I have shelved that plan as I don’t want to spoil it.

I also did a few more leaves to go on the Lurker bases.

This is how I did the creeper. The leaves in this instance came from a small ball squashed between finger and thumb.

The one on the right is designed to go on the snake’s base.

Tonight’s work was brought to you by…

Whilst deleting photos I came across this chap.

By time I got the IPad out he had stopped cawing, it was a great photo opportunity, which I missed because I had just fastened it into my bag!

Tenochtitlan in Technicolor

Well a desert yellow to begin with…

I wanted to seal the MDF so blasted it with my Army Painter spray can. It will become a lighter colour by far. I will also add some red and blue to the levels near the top of the tall pyramid.

I will get round to painting them tomorrow. I am just going to use craft paints on the bulk of them and then get a Matt varnish over the top

The other thing I managed to do was to stick the tank to a square base, I know I had a crappy day at work today, but tonight I realised how crappy.

Tonight I stuck a circular thing onto a square base and tried to work out which way the base and the tank went!

Regarding the tournament, only eight people can attend as it is in the smallest room in the building, this may mean I cannot attend due to having to have the kids that day. My Eldest wants to take part too. Unfortunately my wife is working the same day ☹️.

We shall have to see.

Tomorrow is, as they say, another day!

Building Tenochtitlan

Well okay maybe not all of it 😉

Here is my big temple. Standing about 8cm tall. The sides are 9cm on each side.

Here it is defended by some Aztec warriors.

A nice size to go with the 15mm figures.

I also built three smaller pyramids (or simple Lizardmen dwellings as they are named on the website). These come in threes, the main one as an individual.

These are about 4cm high and 6cm on the side.

Each of the smaller one has an opening on one face. As seen by the one on the left. They work very well as minor temples too.

They are all made up of concentric squares in two layers with internal supports.

The step sides are then added, these help strengthen the whole thing. I used super glue, but could have used PVA instead. The upside of the super glue is that they were ready to get onto the table in a few minutes.

The thing I really like about these is that due to their construction you don’t get any tab holes showing anywhere. Because of the double layers, the stairs look the right scale.

Now these models don’t have any instructions, but to be honest it took about thirty seconds to work out how they went together.

These came from Dragonfrog games, found here

They both were £6.00 each so in my mind really good value for money. I didn’t have to pay postage as Martin runs his business from Shetland which is rather handy 😁

I suppose I have to now think about what to do colour wise. Part of me wants to leave them as they are and another part wants to make them brighter. Most pictures I have seen of Aztec temples when in use are stuccoed so therefore a creamy white.

In Hordes of the Things the Strongholds (temple) sit on a base 600 paces (15cm) square, with the actual stronghold being 200 paces (5cm) square. So either the big one

It suddenly dawned on me that my Alternative Armies Skull piles fit well on these…

Tomorrow I will work in some form of plaza for the temple to sit on.

The other thing I did tonight was squidge some Greenstuff into lianas and leaves.

The unpainted leaves are to go onto the Triffid base when it is cured. Once dried I will get them painted up.