Goodbye to the Greeks

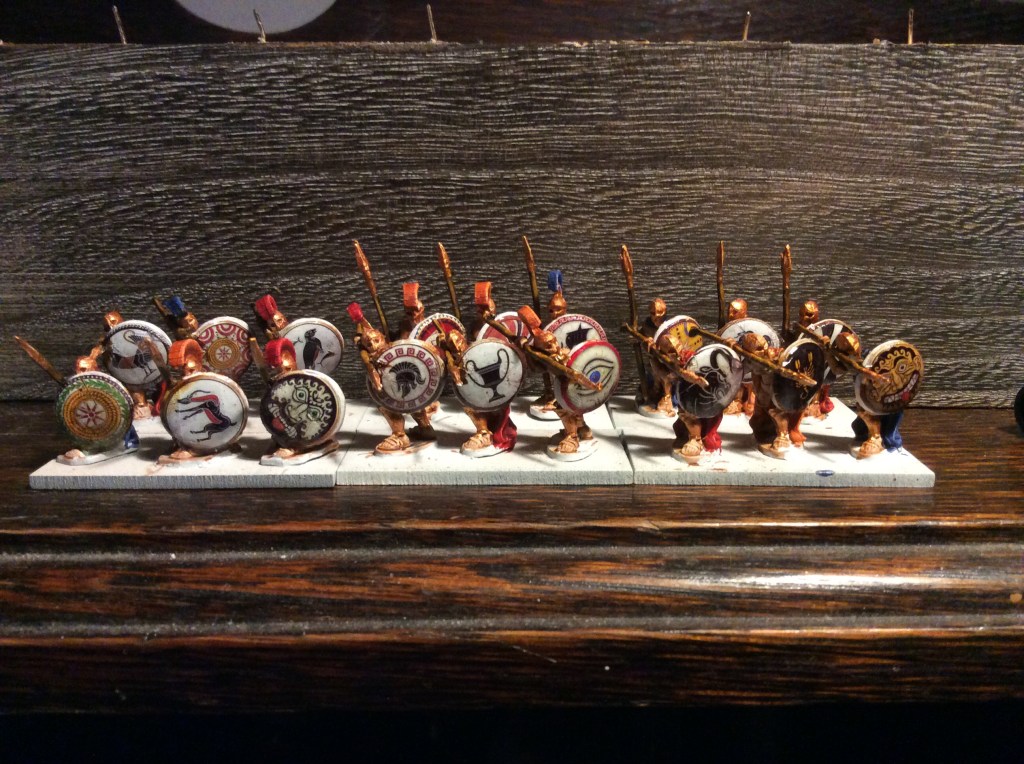
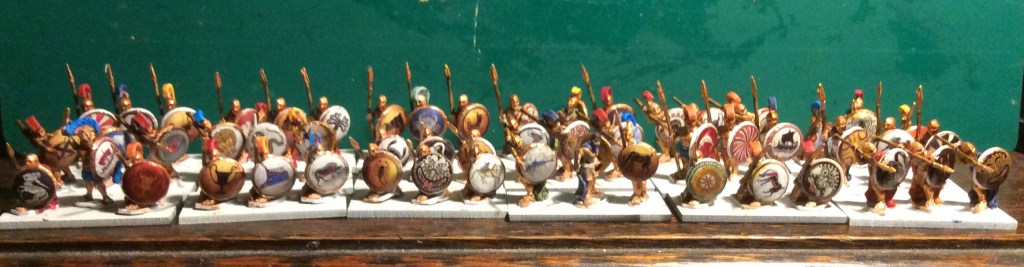
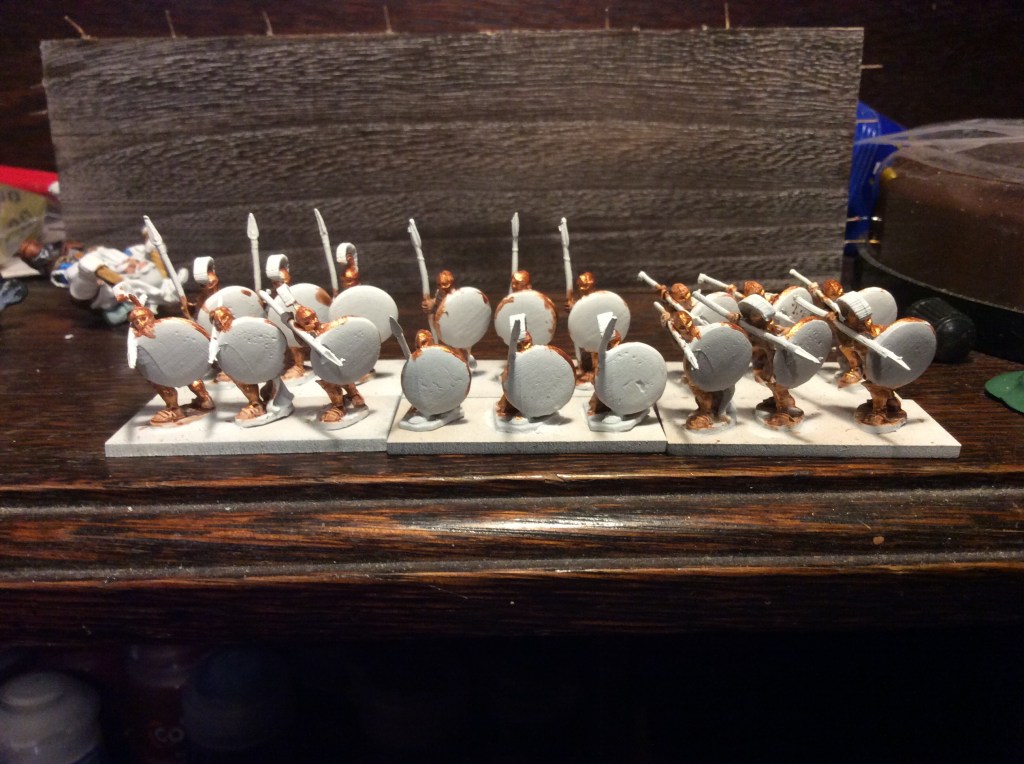
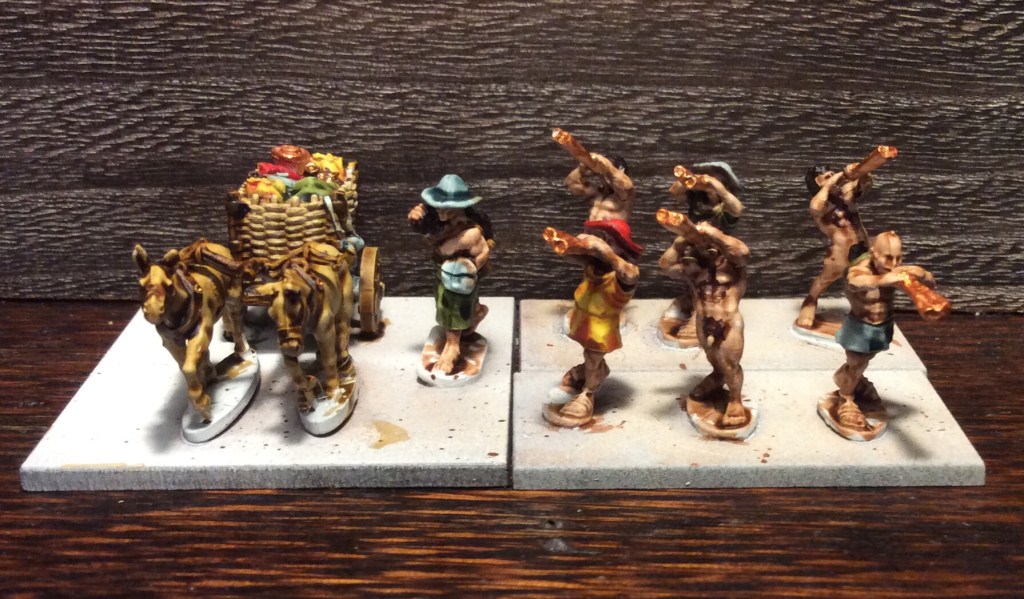
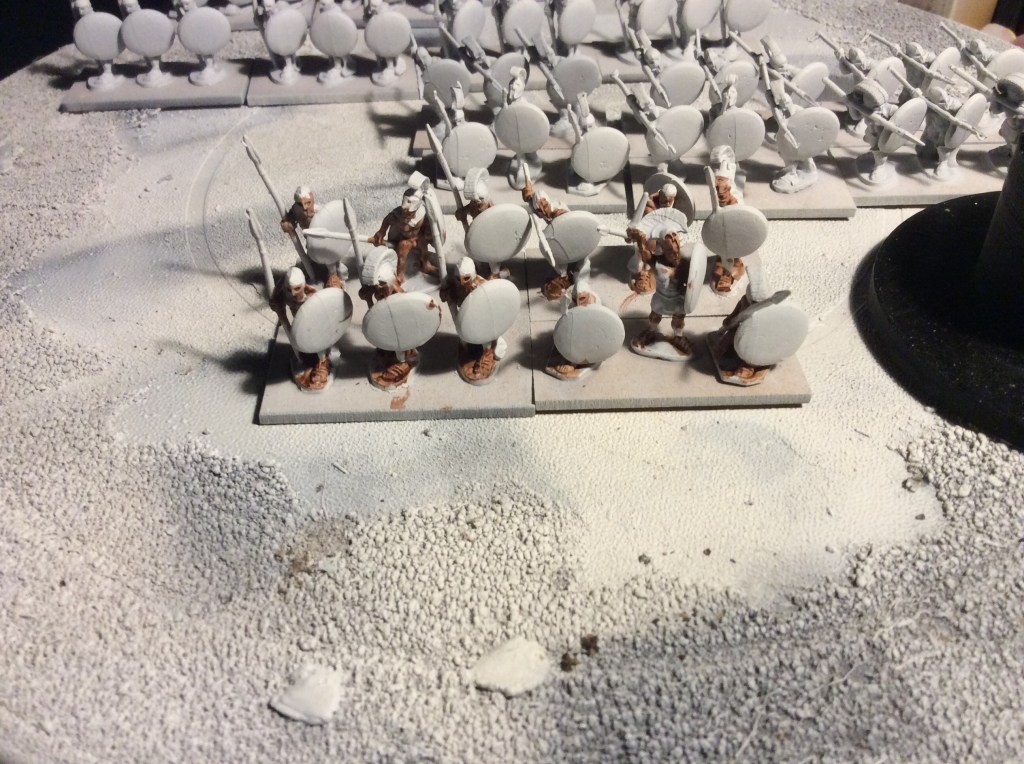
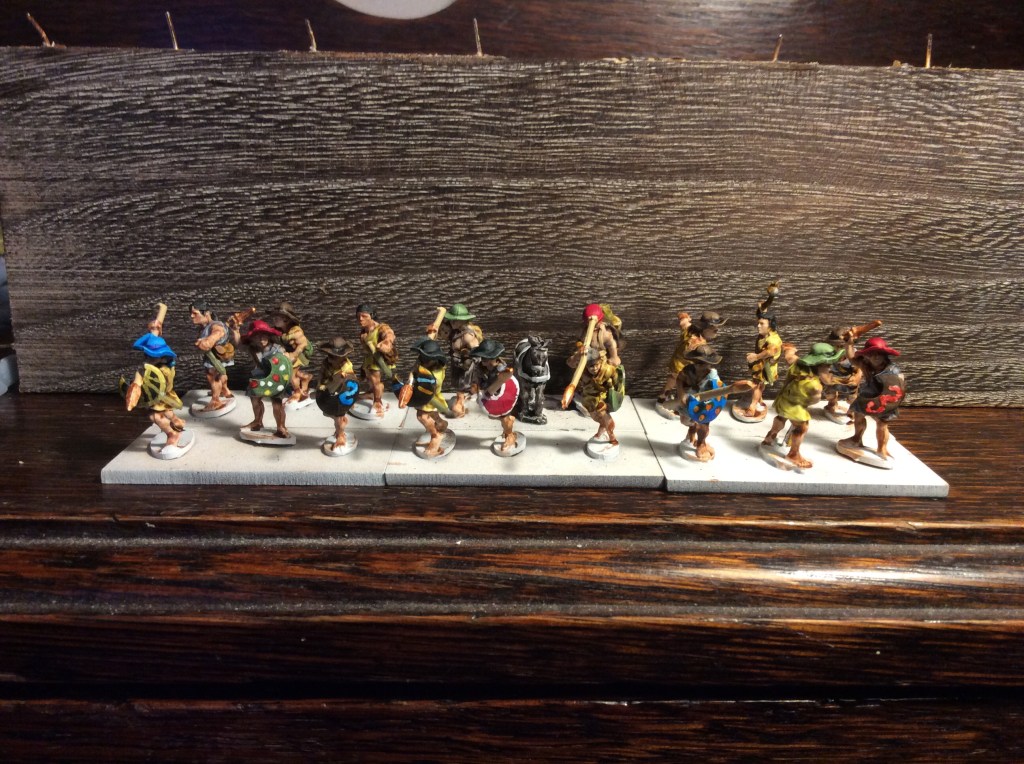
So tonight, I followed advice and mixed the two Mediterranean base ready ranges together, gave them a sieve and then got to work on the bases. That is them pretty much done apart from some tufts and some varnish (oh a one base need their shield backs painting!).

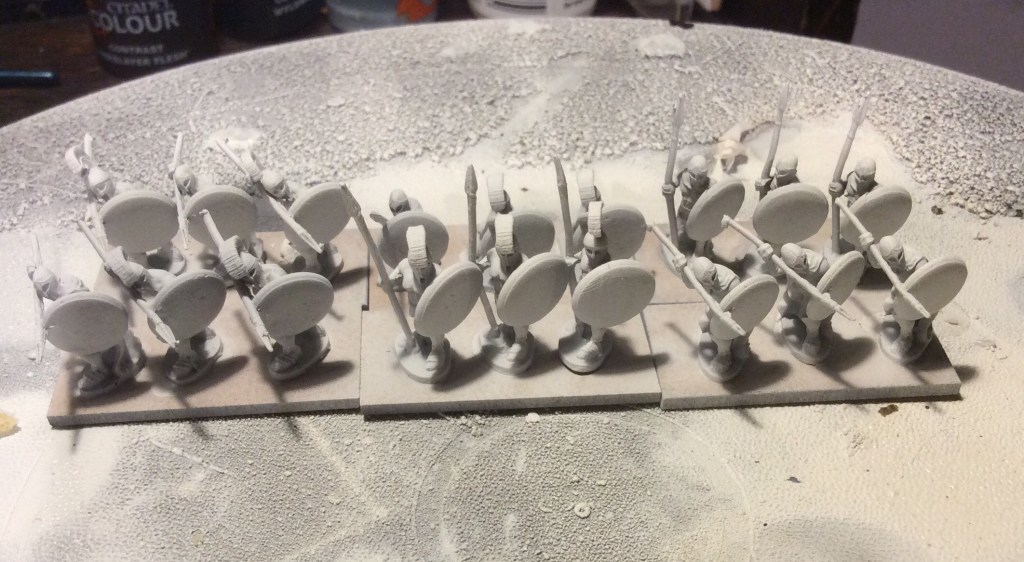
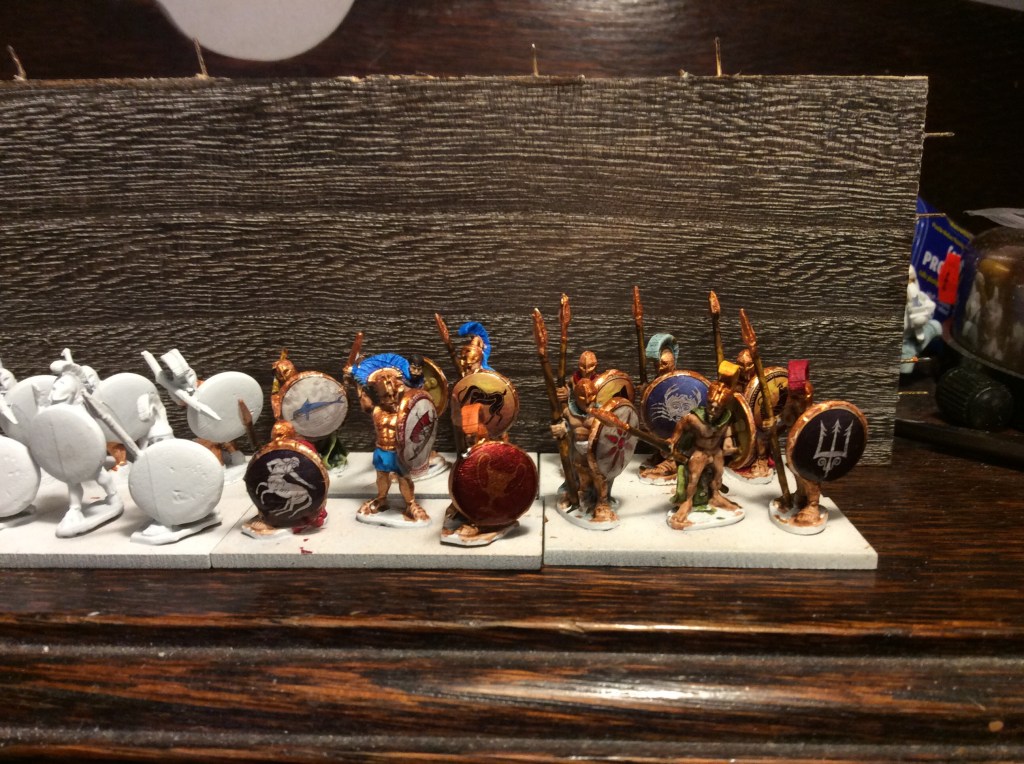
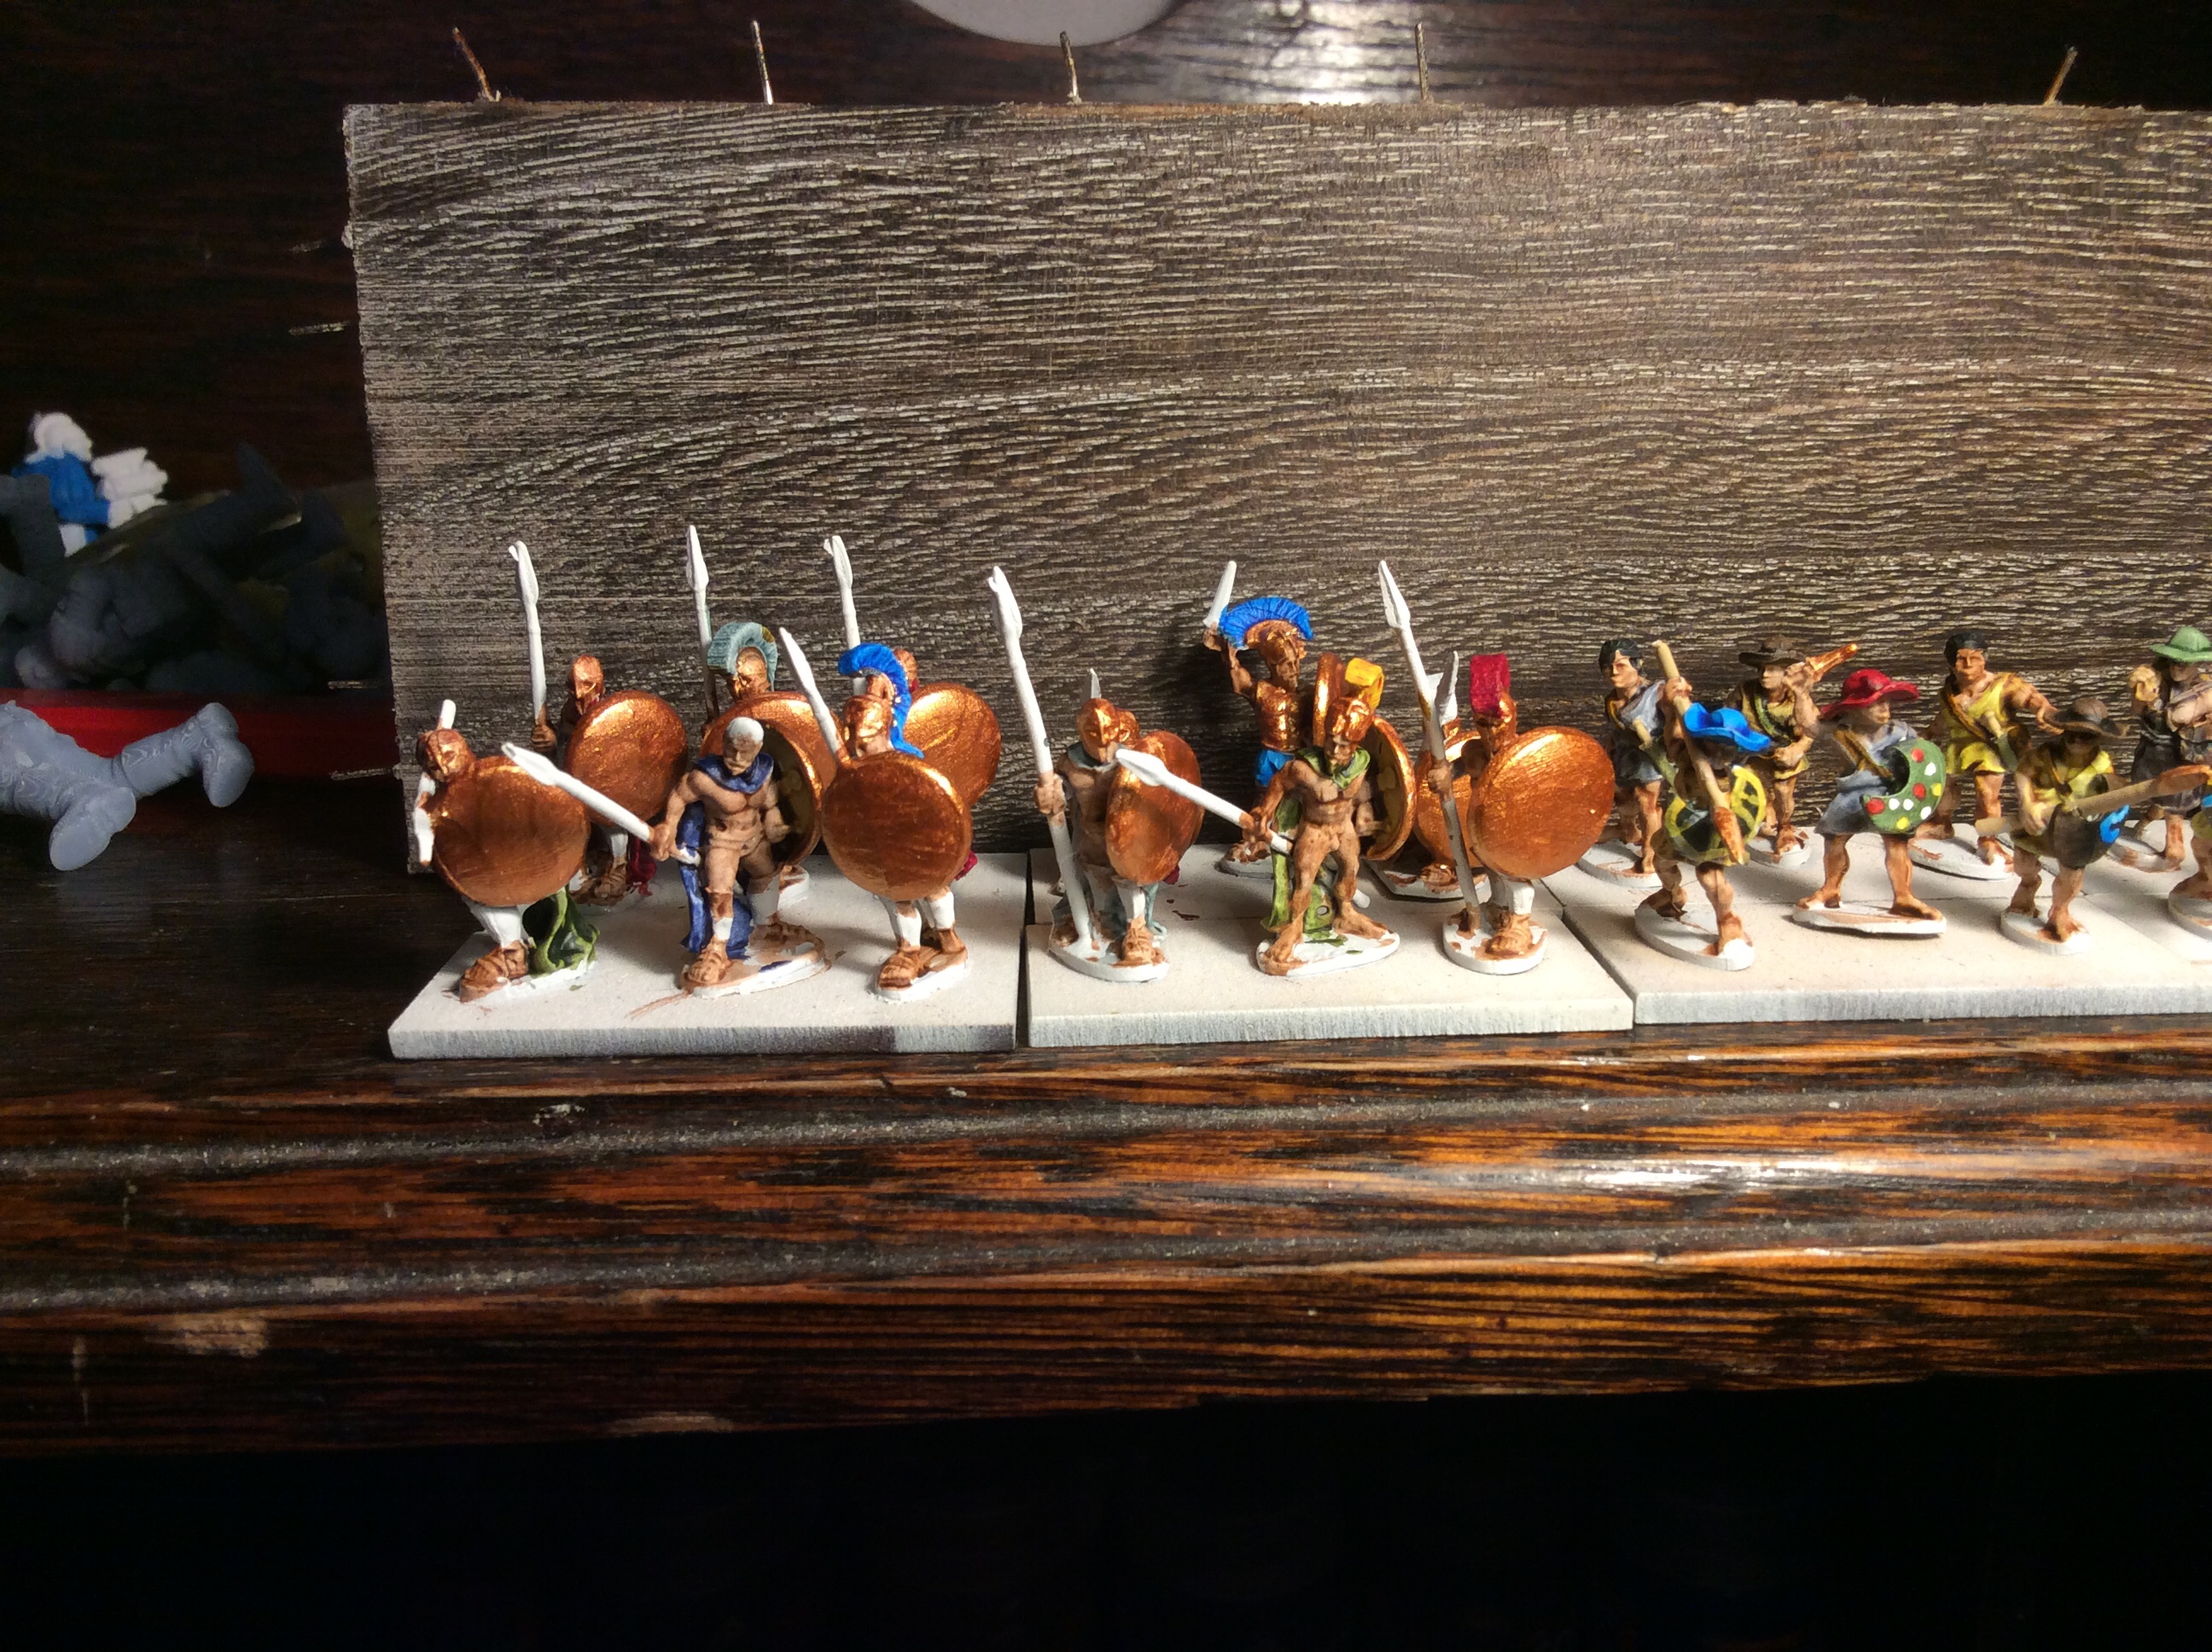
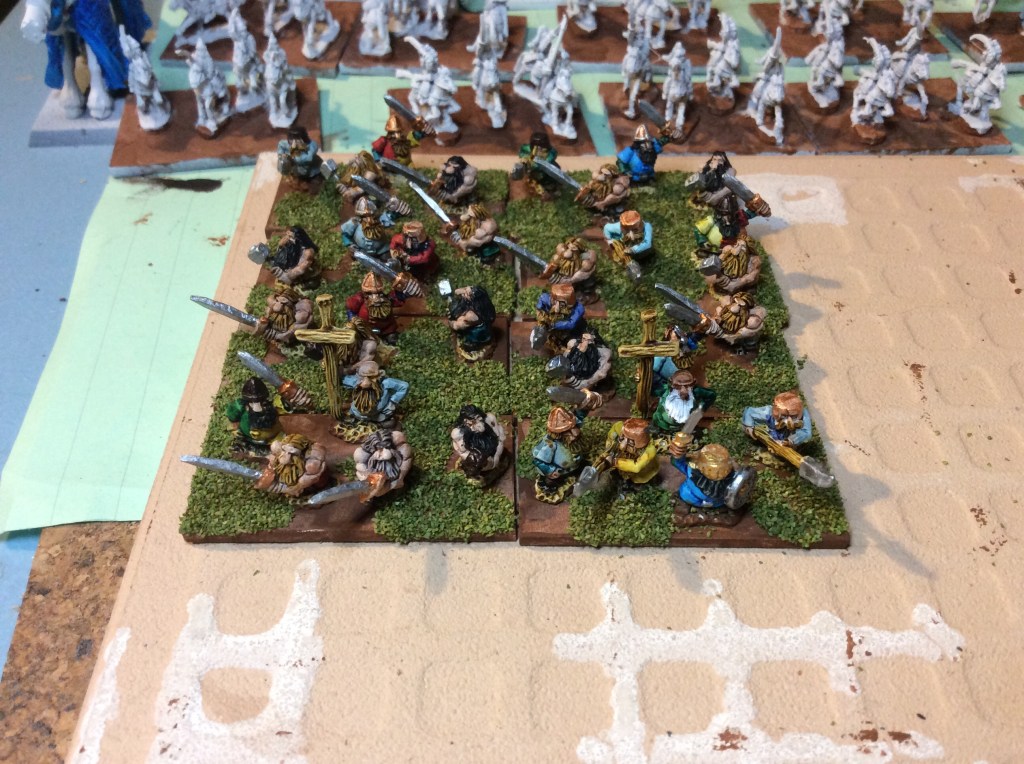
So above we have the Phalanx and skirmish line followed by the support team and last, but not least the masses of Greek cavalry!

I am really pleased with how these have come out, yeah I rushed some of them, but en masse they do look rather effective.

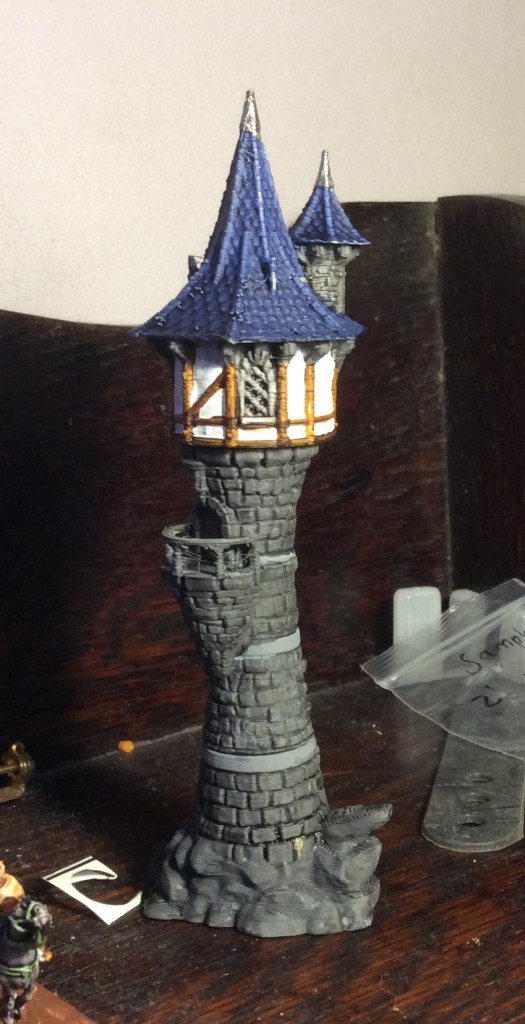
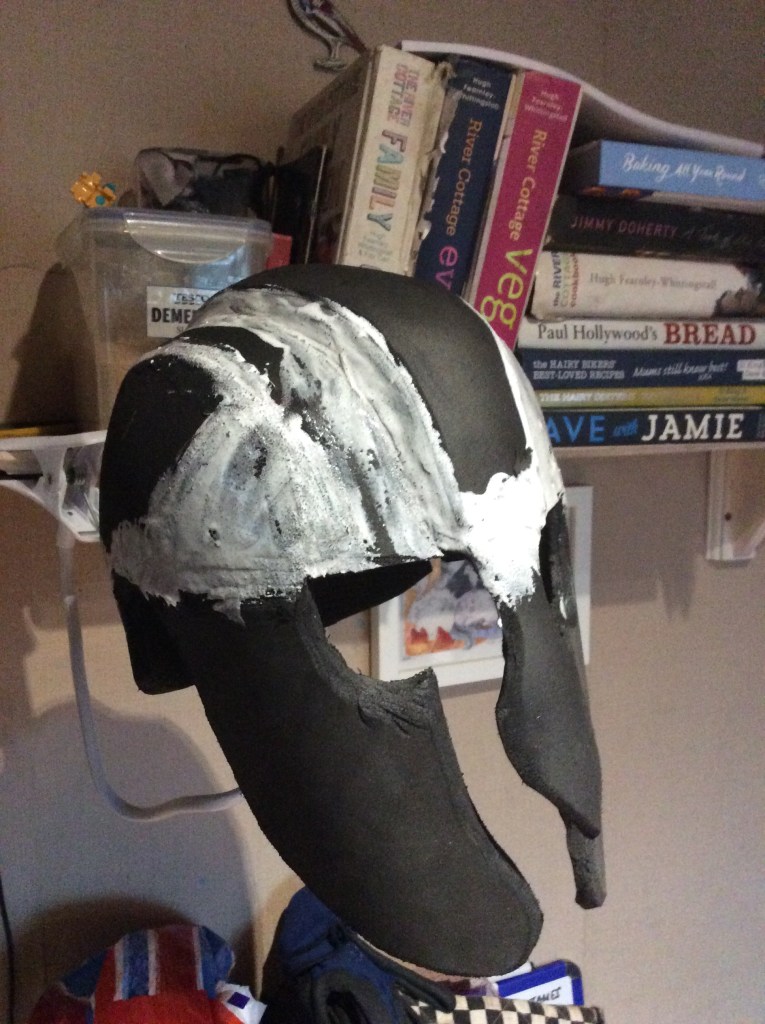
They did take a bit longer than I expected, but hey they got there in the end, most of my Armies sit in stasis for at least 15 years, so getting them done in 3 weeks is super speedy by comparison. I might have a break tomorrow night and finish the tower, then get a start on my mates birthday present.

I had one of those days today, when everything went right, in fact I felt good about how things were going in work and then boom, someone makes a comment and I spent the early evening feeling inexplicably angry. What is worse it had nothing to do with me as a boss… obviously I need help 😂.

Two more days until my printer arrives. I am seriously considering getting one of the flexible plates that can be retrofitted. It makes getting the prints off waaaaaaaay easier!

Until tomorrow dear reader… I might eventually get around to writing the blog post for the other site….

Greek Expeditionary Force

Well it could be a defence force… depends if I buy Indians or Persians as my next army 😉.

Here they are from an oblique angle

They certainly have come along way since I sprayed them white

Come to think of it I added the musicians and cart since this was taken.

Whilst I was waiting for the brown to dry, I had a go at the tower for the 6/10mm Armies…

Hopefully I can get some kind of basing onto the brown paint tomorrow evening.

The Phalanx is Done

Well if you remember, I said I wouldn’t get much done on these this evening as I would be off gallivanting in the caravan, well… I didn’t!

I got it all sorted this morning with the change of tyre and jockey wheel only to find the off side had decided not to turn!

We went out for the day…Puffins and on the way back the clutch went on the car!

So we stayed in and I got to finish my Greeks… every cloud has a silver lining as they say!

So there they are, the final six stands. Here we have the full phalanx…

Hopefully I will get the whole army based, or at least get all the bases painted.

Regarding the printer, Amazon has sent me a refund, so this evening I ordered a new printer. I have managed to get a better ( and bigger) Printer for £10 less than my Zero. This time I have gone for an ELEGOO Mars. I could have gone for the pro, but it seemed to be an extra £100 fir an inch and a half higher build capacity. It should be here by Tuesday.

I might have to start on my mates miniatures soon too.

I Ran out of Steam…

So tonight I thought would crack on with the final six bases, I didn’t start until nearly 21.00 so unfortunately I failed in my attempt to get them finished….

Cloth, plumes weapons and shields still to do. I reckon if I hadn’t run out of steam then these would be at the same stage as the rest. It’s a bit annoying, but I might take them with me in the caravan tomorrow.

I am hoping I will be able to post something tomorrow, as we are off gallivanting then I am sure the other blog will get an airing.

To be honest, my other blog was going to feature these things…

What are these strange things bobbing around in the sea in various locations around Shetland? Answers on a postcard please…out of interest the big white building in the photo is Bixter shop… to the far left (out of shot) you can often see seals hauled up on the rocks.

Fifteen Down… Six to Go

Yeah, someone forgot three bases that were sitting there in plain view. So as they were pretty easy to sort out so I went for these first…

So we still have these to go…

Hopefully I will get some of them done tomorrow, I am taking the caravan away on Saturday night so I may not get them all done this weekend, but I shall try.

I can honestly say that I have enjoyed doing these, I think they were as easy as I had hoped they would be. Basically a lot of bronze and a lot of flesh with a few tunics and cloth thrown in for good measure. As I said in yesterday’s post … the transfers were a godsend, and the Contrast paint has also helped.

The printer is still buggered, so my extra couple of Astartes are still waiting to be printed. To be honest my list of STL’s is now vast and will take a while (a century) to print.

Twelve Down… Six to Go

Tonight, I decided I was going to just go for it and got the next four bases done nearly to completion. There are a couple of white bits on a couple of hands and helmets but they are pretty much there…

The new ones are the two by two block in the middle of the phalanx… yes I now have what feels like a phalanx 🙂. I have six bases left so I could add a third row to the above and have some form of depth.

These transfers are certainly growing on me, perhaps it is that these shields didn’t have annoying dory in the way so they went on easily. I am so pleased I forked out the money to get them, if I had hand painted anything on, like I have done in the past, then I would still be on the second base, not the twelfth.

This is what I have left…

Now this army can fight my Greek undead or even Aztecs, but part of me thinks they really need to fight some Persians 🙄… that’s my birthday sorted out!

The Museum Miniatures z range Persians are really nice, there again so are their Indian range, okay my chaps are a bit early for excursions into the heart if India… but they do have elephants 😉.

Let’s see what Rabbit hole I fall down now….

Greek Shields and Printer Woes

Tonight I got the transfers put, rather clumsily, onto the shield fronts… obviously I need a bit of practice…

I made a start on another set of four bases. I would have managed more, but I decided to get the new motherboard into the printer. It actually wasn’t too bad, apart from the fact they had used some strange red gunk to hold things in place. I made sure that I put things on the new board as soon as they came out of the old. I switched It on and voila… still didn’t work properly. It did exactly the same as before, up and down works fine, just not printing. I even left it for a while in ‘print mode’ to see if the print place would descend. It didn’t, but the uv lights certainly came on. I have contacted Anycubic again to see if they have any further ideas.

I tried moving the caravan today and Lo and behold the bloody brakes are locked on… I actually didn’t swear too much. We had left the handbrake off, but when the gales arrived then we put it on… and evidently forgot! My job tomorrow is to get the thing jacked up and get the wheels off and get the brake drum smacked with a hammer until the wheels turn again.

Spot the Difference

So this evening I got everything to the point of getting the transfers onto the shields then I read the instructions!

After spending an age painting bronze shields, I then had to repaint them white. You can see why on the right hand shield above.

I will get the new ones covered tomorrow. These transfers aren’t like I am used to, they have a sticky front that you apply to the shield then you wet the backing paper and remove it. I reckon I will need a bit of practice as the backing paper hides the shield.

It’s All (Still) Greek to Me

I didn’t get a huge amount done on the Greeks tonight, but I did re fix about half a dozen back onto their bases and then make a start on the heavies…

I think I am going to do them in groups of four bases at a time so that it doesn’t feel like an uphill task… probably will anyway 🥴

My order from Geek Gaming arrived today and I want a bit of advice as to what basing material to use…

These are The Mediterranean base ready and the Arid base ready. I really like the Mediterranean one as it is brighter, but in reality it would probably look more like the one on the right… my other option is the paint the base brown and put patches of foam flock on as I have done with other ones…

Okay, these are 10mm but you can see the idea…

I also got the helmet sprayed with a filler spray and then a black undercoat, I will see about getting it painted this weekend.

Greeks and the Helmet

Tonight I got the old helmet outside and put a sanding disk on and got rid of the weird welded look, problem was the gaps were still there in some places which was a right pain… so anyway after a bit of head scratching and, to be frank, swearing. I came up with a plan to try and cover it with PVA…

Hopefully it will cover the cracks… I also smoothed out the rough foam and rounded out bits to make them more natural looking… it really helped with the eye sockets.

I also managed to get the light Infantry just about finished…

Of course I do have my trusty reference material handy 😂 I actually bought this years ago as I was doing some stuff in Greeks in a school and wanted some useful snippets of information.