Who Let the Sheep Out?

Well that would be me….
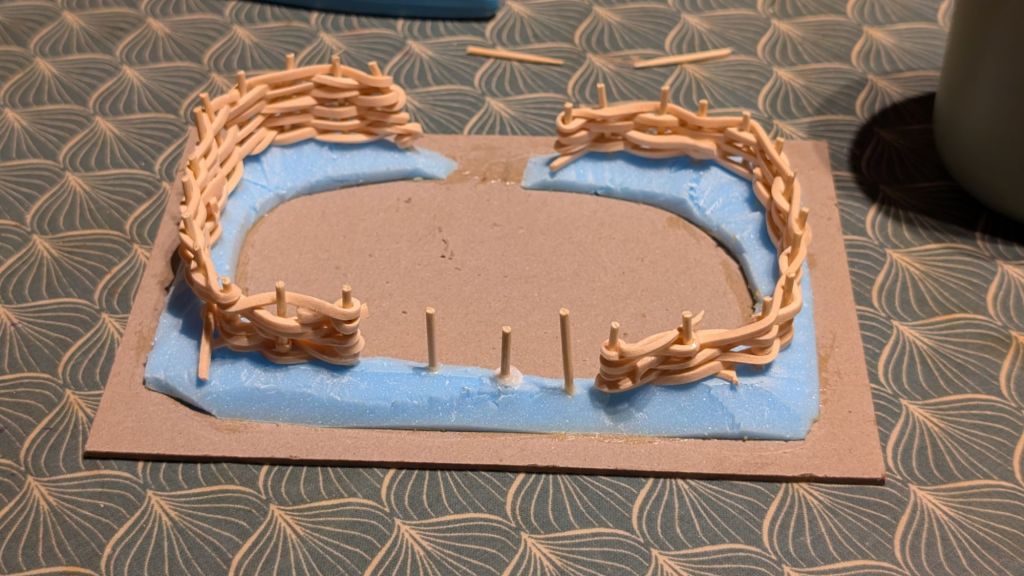
So idiot boy here snapped off the middle post in the foreground and did the battle fencing… problem I have now is that three posts won’t really work the same as the rest.

Therefore I may have to lay each strand and super glue each end to the rest of the fence…either that or say sodd it and add clump foliage to the gap with the posts.

Something to ponder tomorrow.
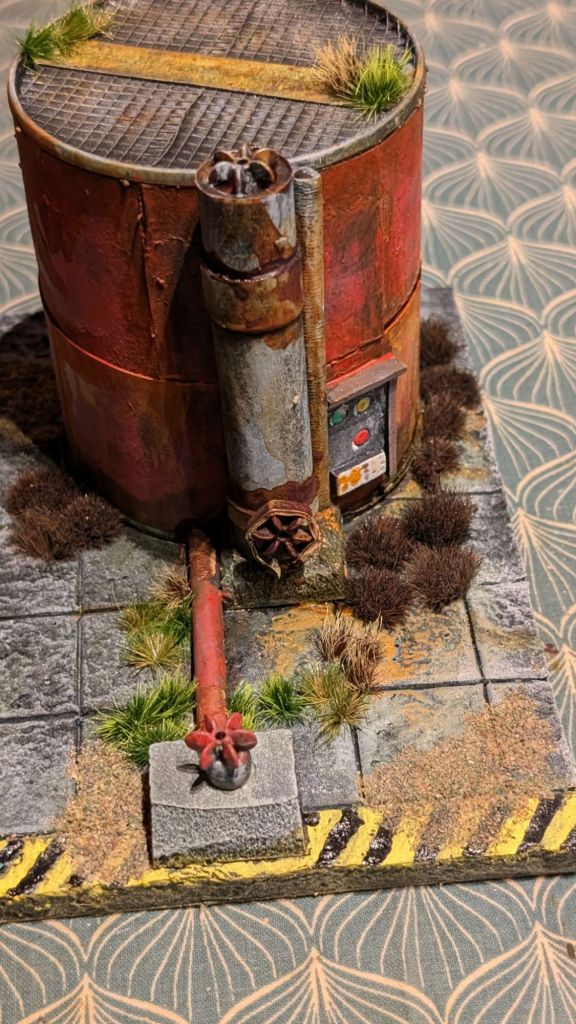
Calling this Done…

Sort of!

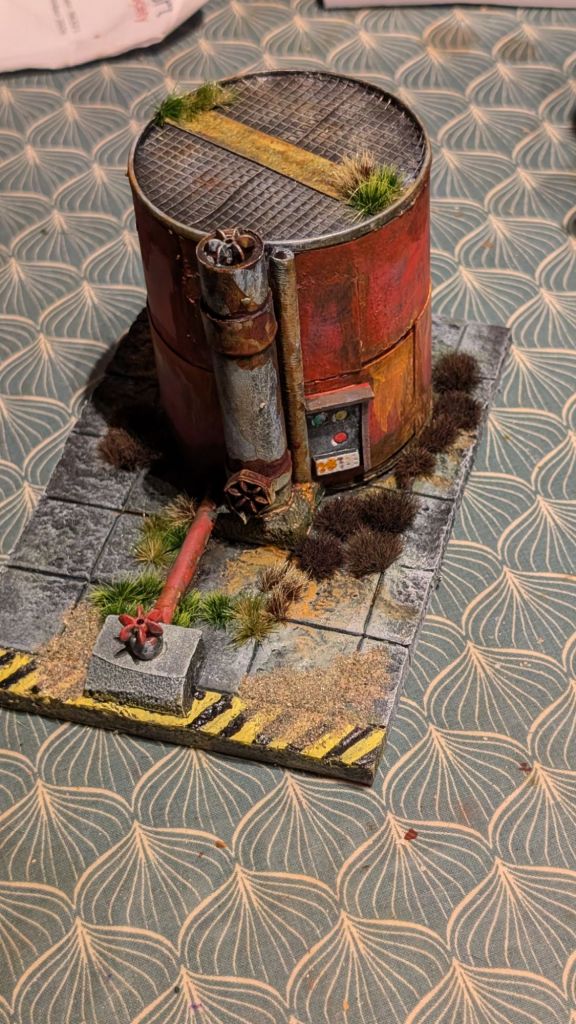
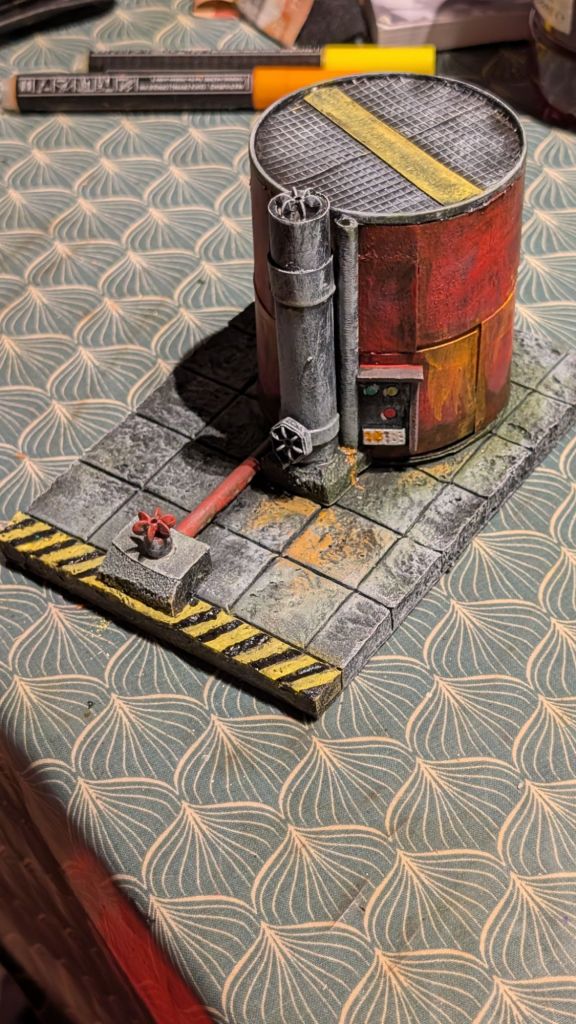
So I got this far. I need to add the biohazard signs etc but there is still something missing.

Dirty down rust came out and was squirted with a pipette to get it to run along the cracks. I really need to do the section next to the control panel.

I will sleep on it, but if you have any ideas then let me know.

A Bit of Colour

Although a little achy after going splat  whilst gracefully (yeah right) leaping across a flooded drainage ditch. I did manage to achieve a bit of painting…

Still a long way to go, but getting there.

Hot glue for gunky stuff coming out of the tank. Biohazard signs and at least one skeleton.

Ohhh and lots of rust and crap around the place.

Top Done

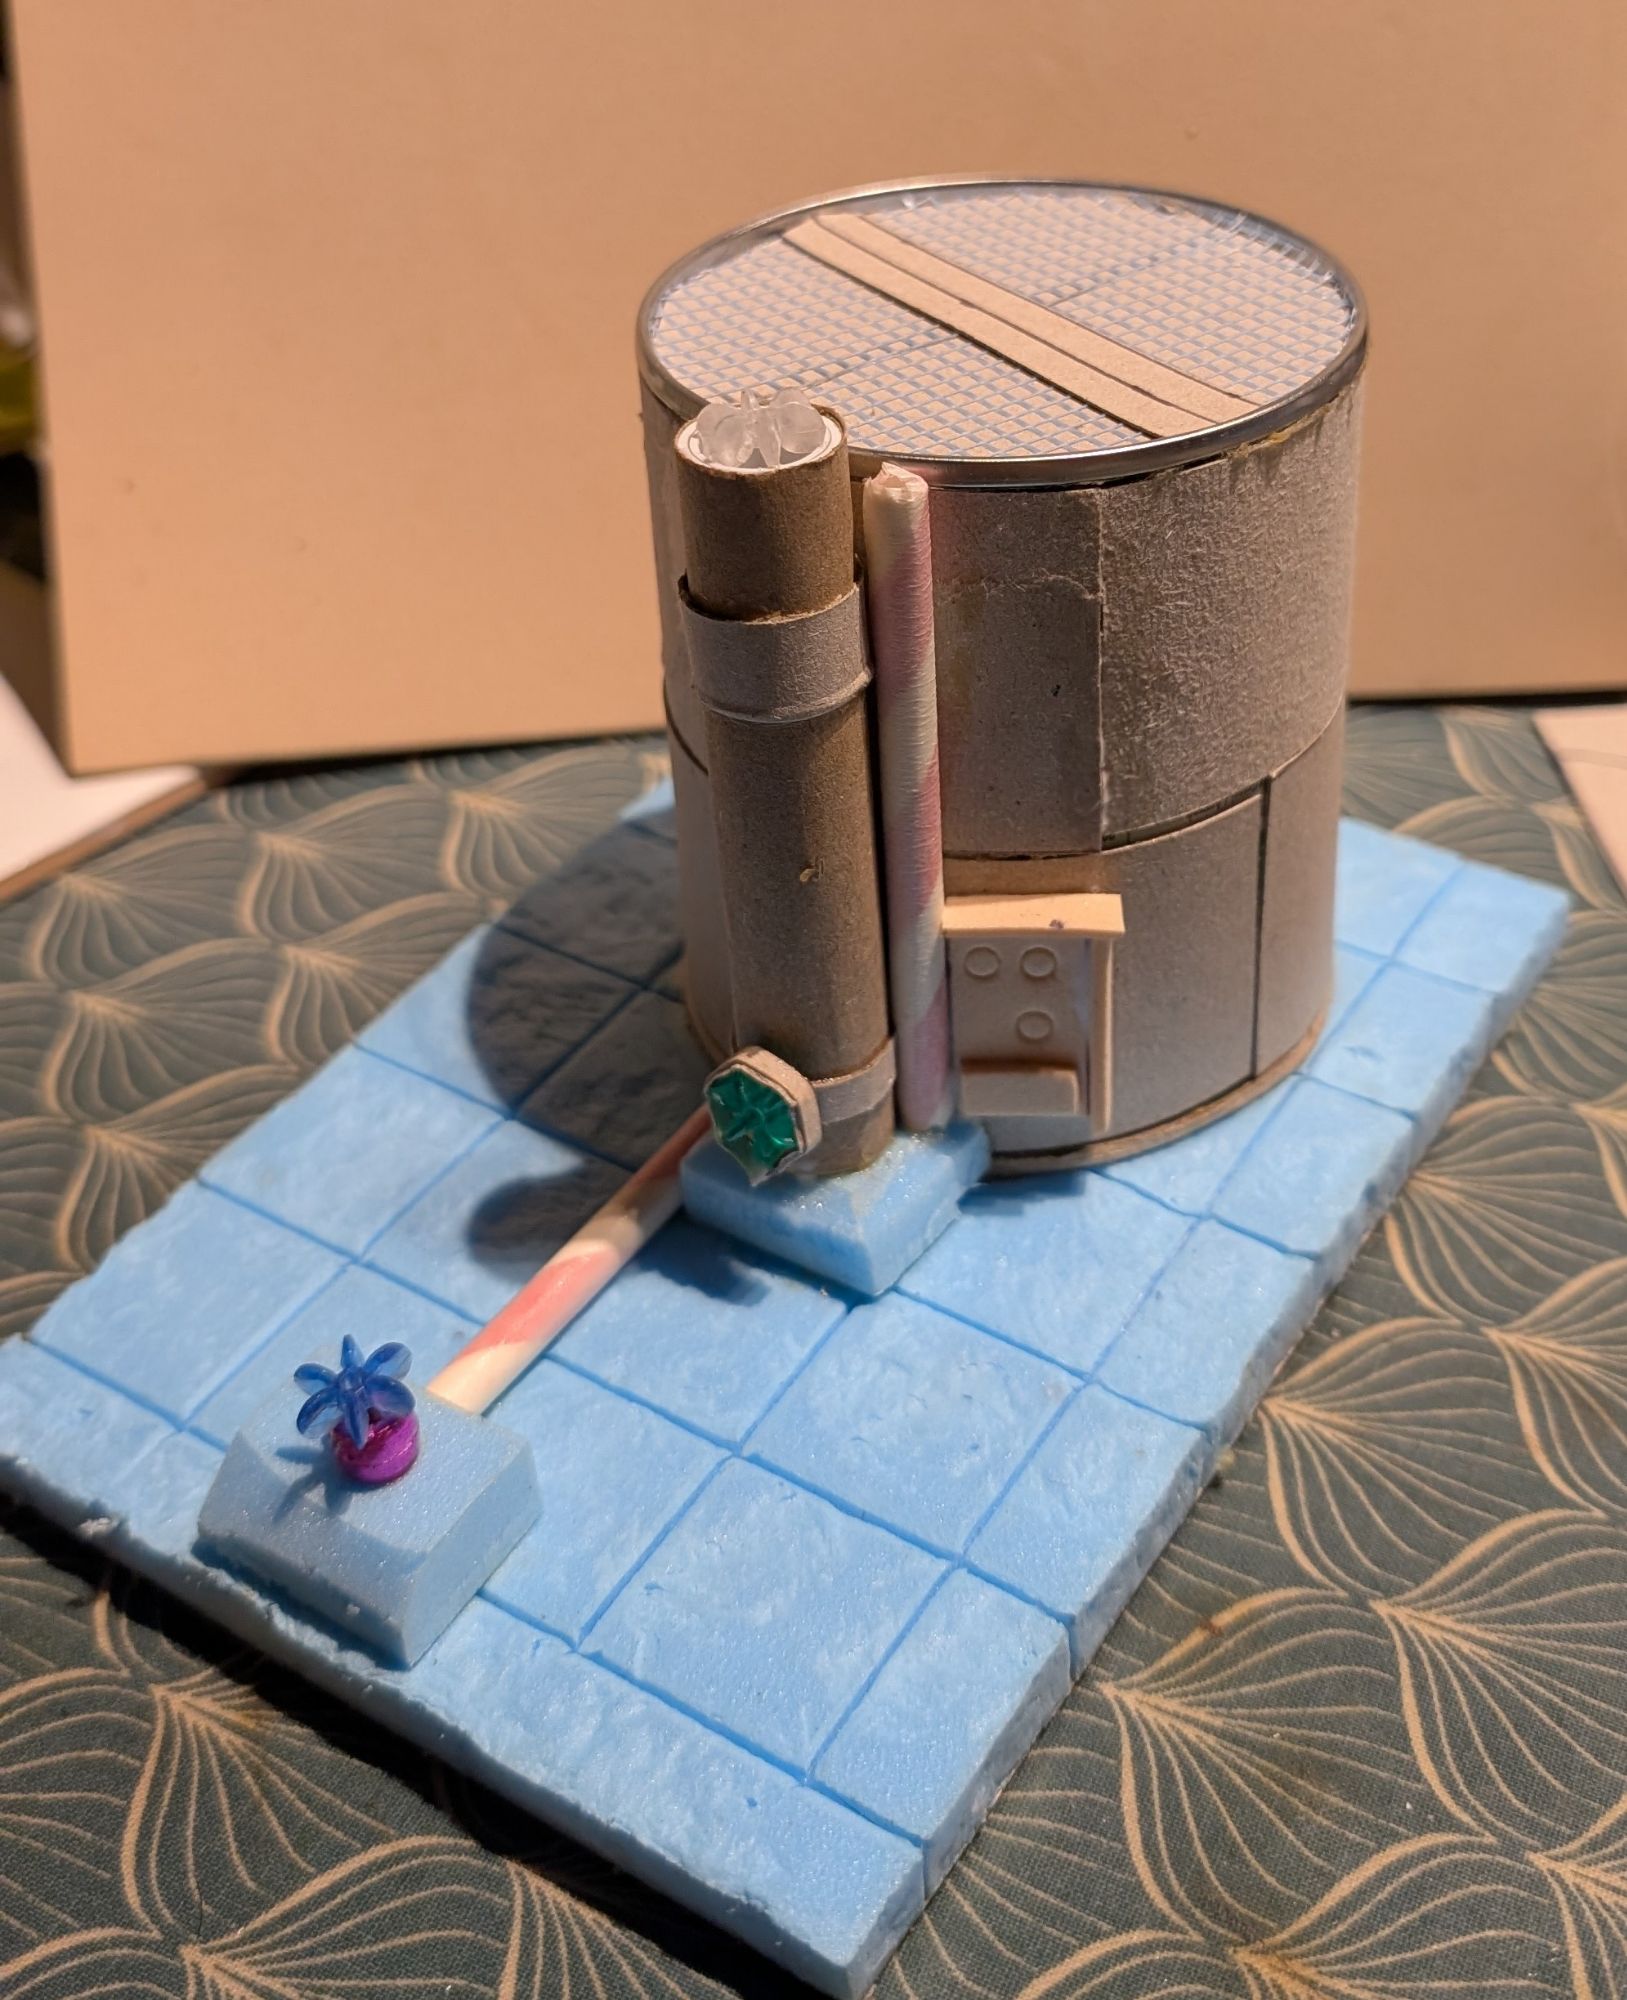
Well back to work with a bang, 7 hours of training and after a little lie down I got the top of the tank done as well as a little control box on the side. Greebles help break up the outline and give a little more visual interest. Well that’s what I believe anyway.

Once the Mod Podge has dried then I will get the foam covered ready for undercoating tomorrow.

Coloured Walls

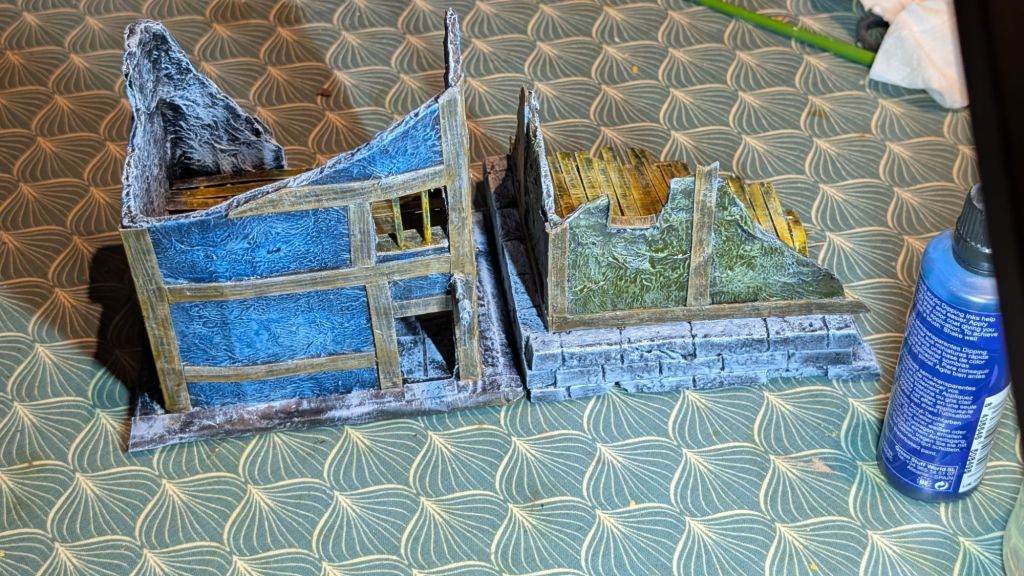
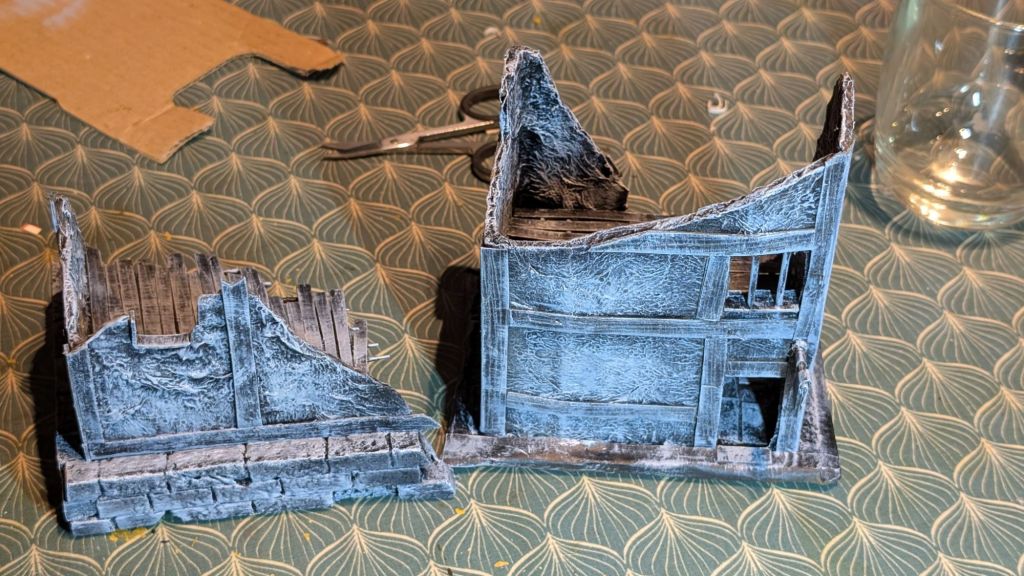
Well I covered the polystyrene in PVA and then when dry I gave both buildings a blast with a rattle can

I covered the floors with the PVA too and lost a lot of the details I painstakingly put on it.

Oh well, such is life!

I did consider leaving them at the grey stage with just the wood bits painted…

But I had Mordheim Vibes and ended up colourful. The blue one is a shop or inn, you can’t really see the sign in either photo. I actually had to check it was still there 😂.

Been doing DIY today so leaving it there tonight… If the urge takes me I may start adding some colour to the stones…

House Two Started

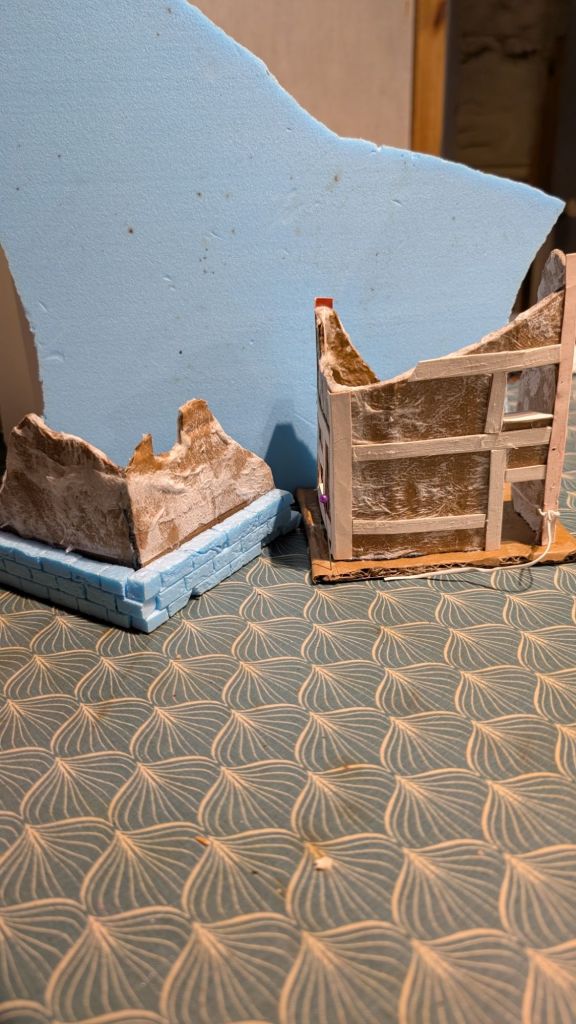
So I added the card ‘wood’ beams to the first house and made a start on the second.

With the second one I am going for the card walls but adding in a bit of foam… It isn’t glued down yet. I’ll do it tomorrow.

Now the beams are a bit thick on house one so shall be rectified on house two.

Can you tell I am making it up as I go along?

More Colours

This morning I added more colours to this lot.

The yellow made its appearance again.

Hopefully I will get on with them this evening.

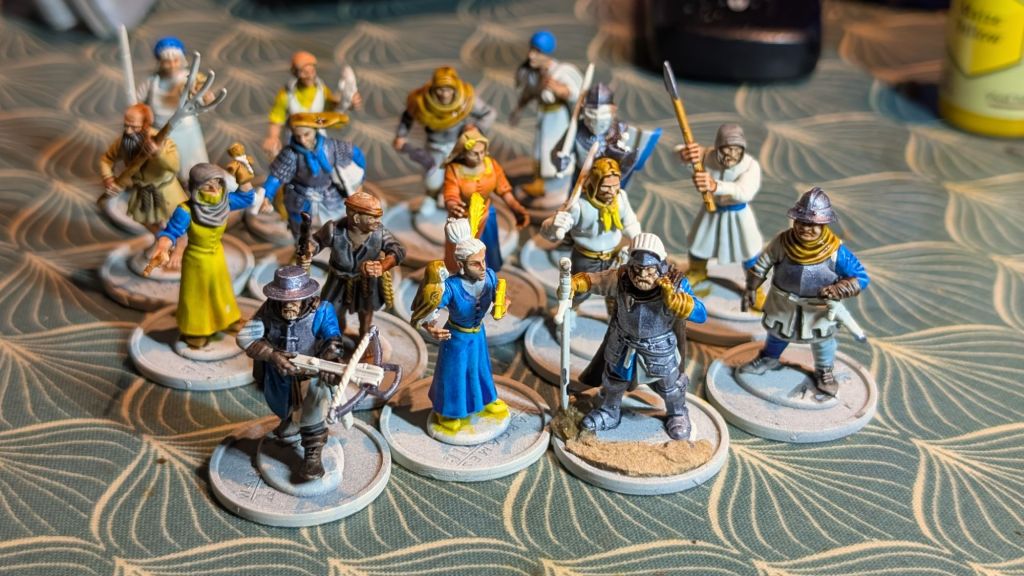
I am actually really enjoying painting these. I don’t know if it is because I am feeling better or I am just enjoying painting more simple miniatures. By that I don’t mean any insult to Wargames Atlantic. I just think they are lovely mini’s to paint. Big blocks of colour with the odd strap or accessory. Yes if you look closely at the accessories or some of the additions then you can see they are not sitting right or seem held oddly.

This is why the photos are taken at a distance.

A Bit of Grey, Metal and Skin

Yes I got a bit more done this evening…

The female guard was not re-undercoated, I actually thought Sod it. She can’t help it if everyone else has their tabard upside down or back to front!

I am now off for a week, got a ton of DIY to do, but hopefully will have enough free time  to get making stuff for my course which starts on Sat 7th November….eek!

As all the cool kids are using a Proxxon hot wire cutter I have ordered one, along with a pile of other bits and pieces. Mainly from Temu as I decided to miss out the middle man and get the cheap shit direct.

Blue, White, Orange and Whoops!

I am a bit knackered today but decided to paint something.

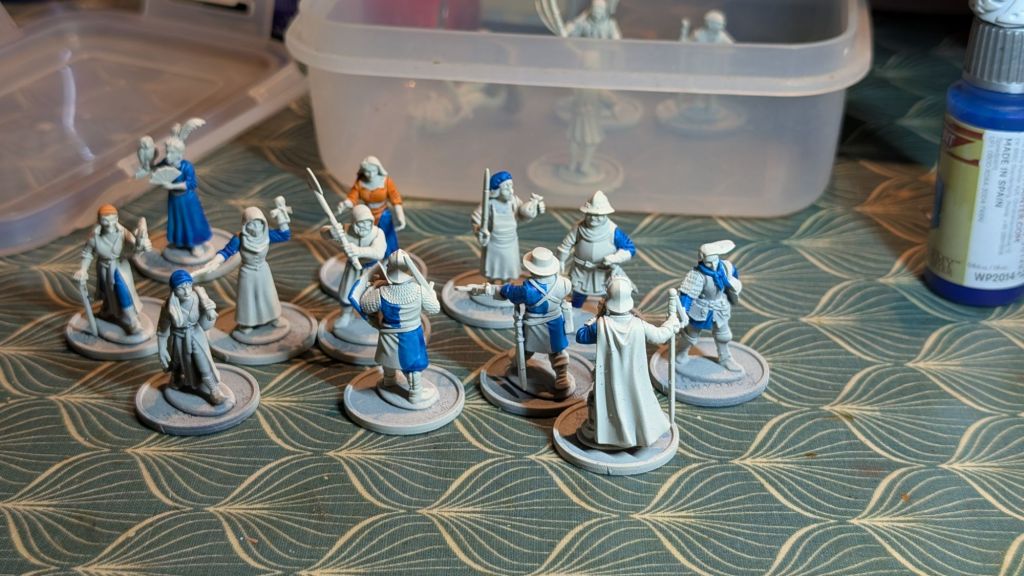
As the civilians and guards were Undercoated then they seemed suitable.

Well off I set…

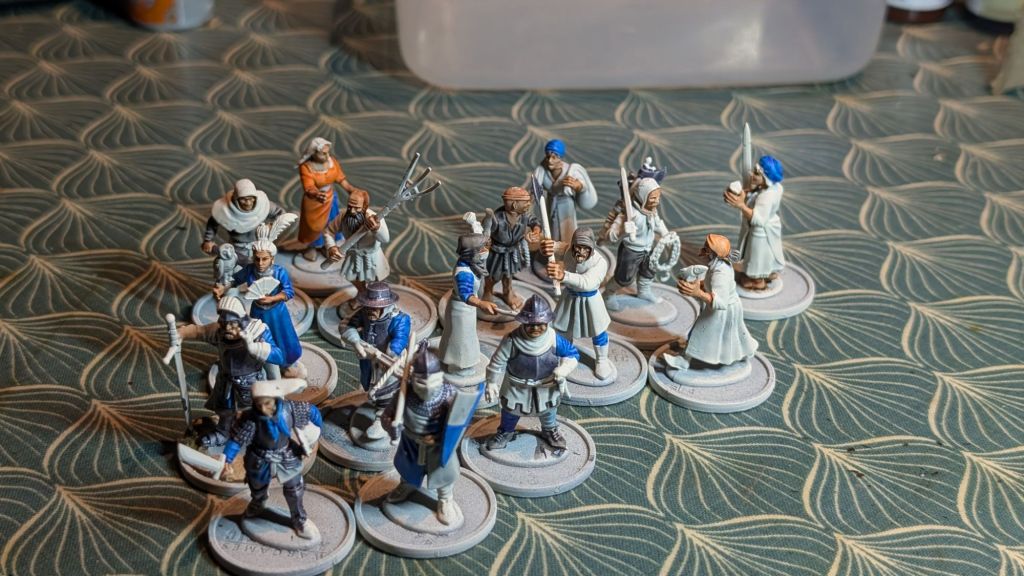
Did a few civilians in the blue then decided as the blue was out already went for Lady Merron’s guards as these are quartered blue and white. I did the female guard first, then did everyone else the other way around…. I did swear a bit!

Typical that these are the off white undercoat, but as it is just her (oh and part of one leg on another) I will just use white…

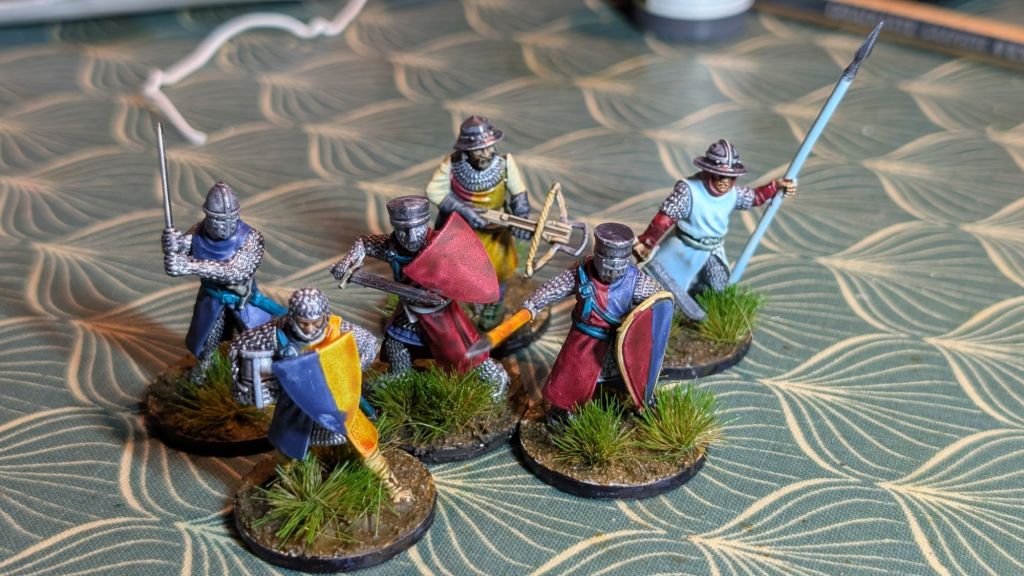
Knights Done

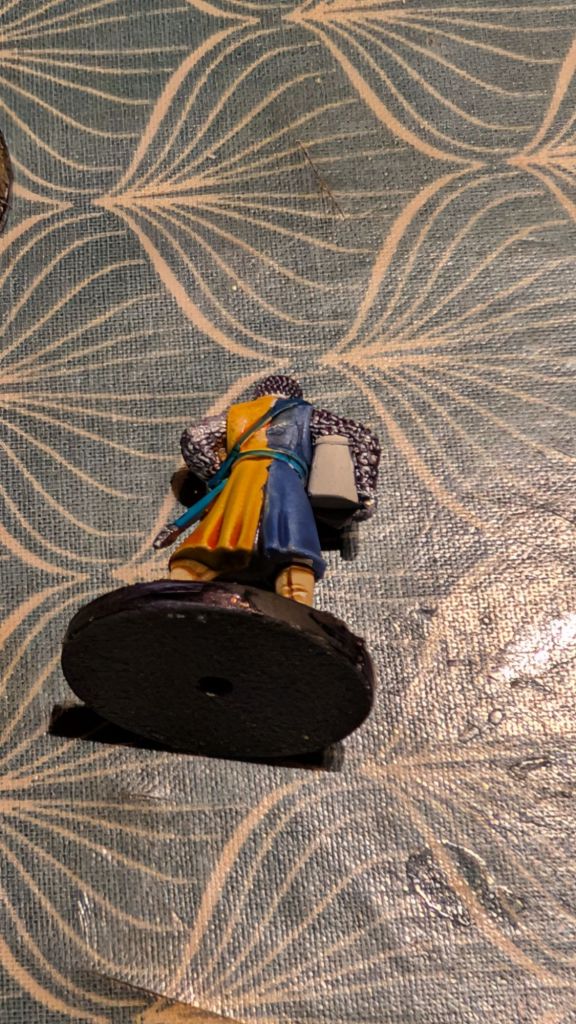
I ran 7 hours of moving and handling training today so was a bit zonked. I did manage to get the knights finished off…

As you can see from the first pic, it is always a good idea to check both sides before deciding they are painted.

My Temu order arrived, cheapskate I know, but ..

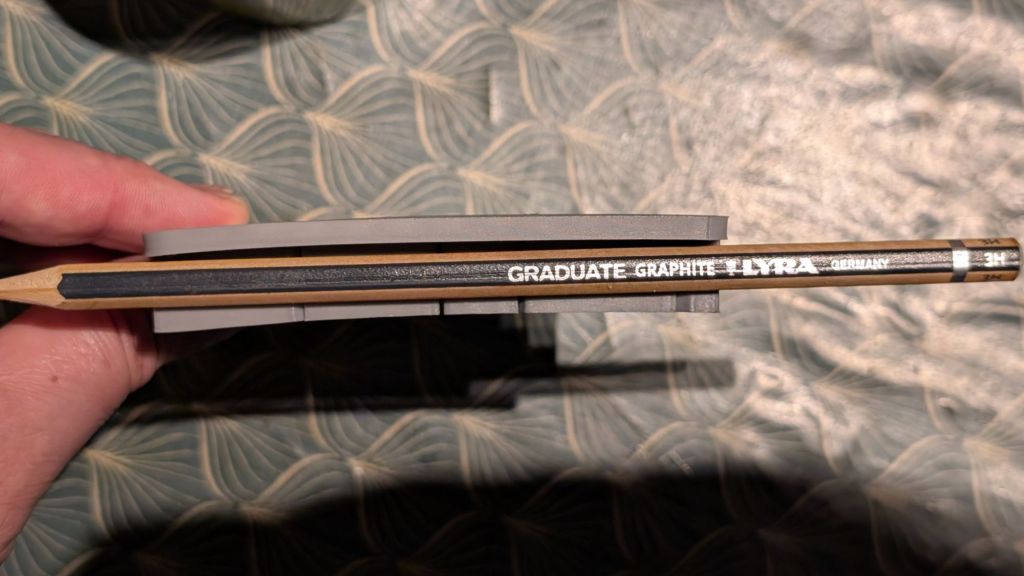
Anyway I got a tiny mitre block that was 3D printed and sadly it is a bit warped…

It’s really hard to photograph a curve, to make it look like one so I grabbed the straightest thing I could find. I have shoved it under something heavy to try and flatten it out. It was dirt cheap so not stressing too much

I ordered some cheap stuff for my course which begins in a month!