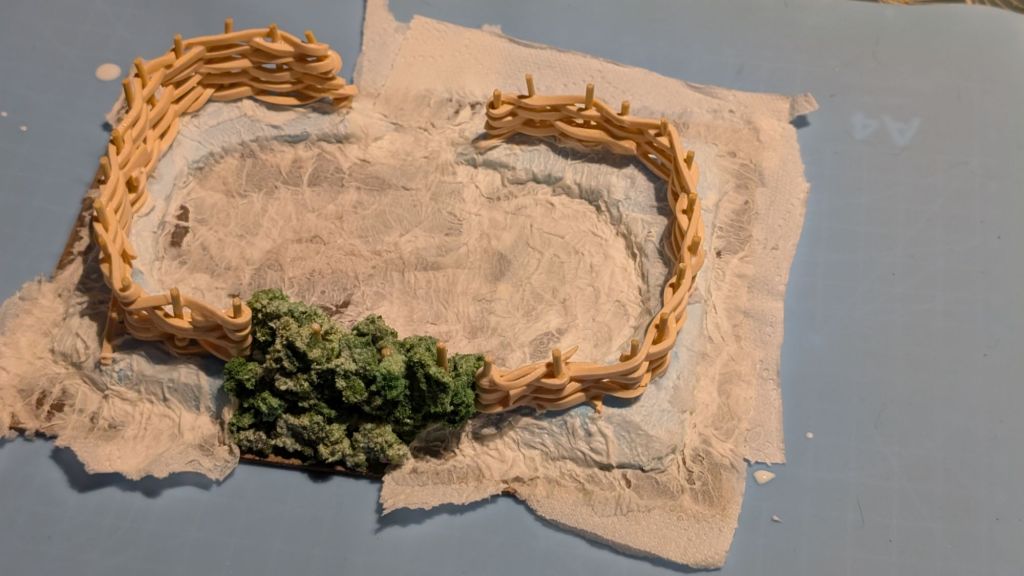
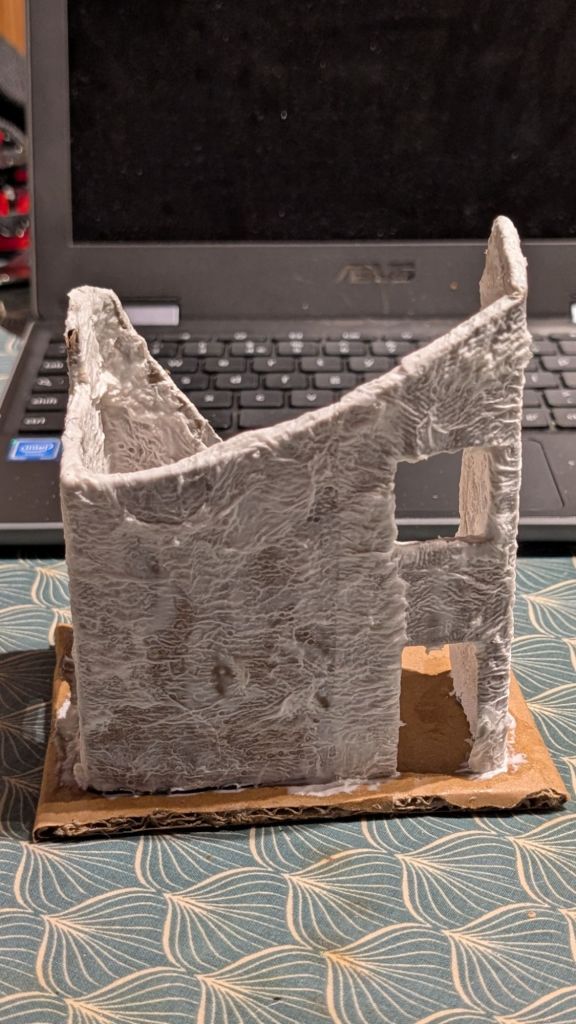
Well today I really, really couldn’t be arsed but I decided I really needed to do something so I set to work on the field…
Covering the whole base in toilet paper to add a bit of strength and also to cover the foam.
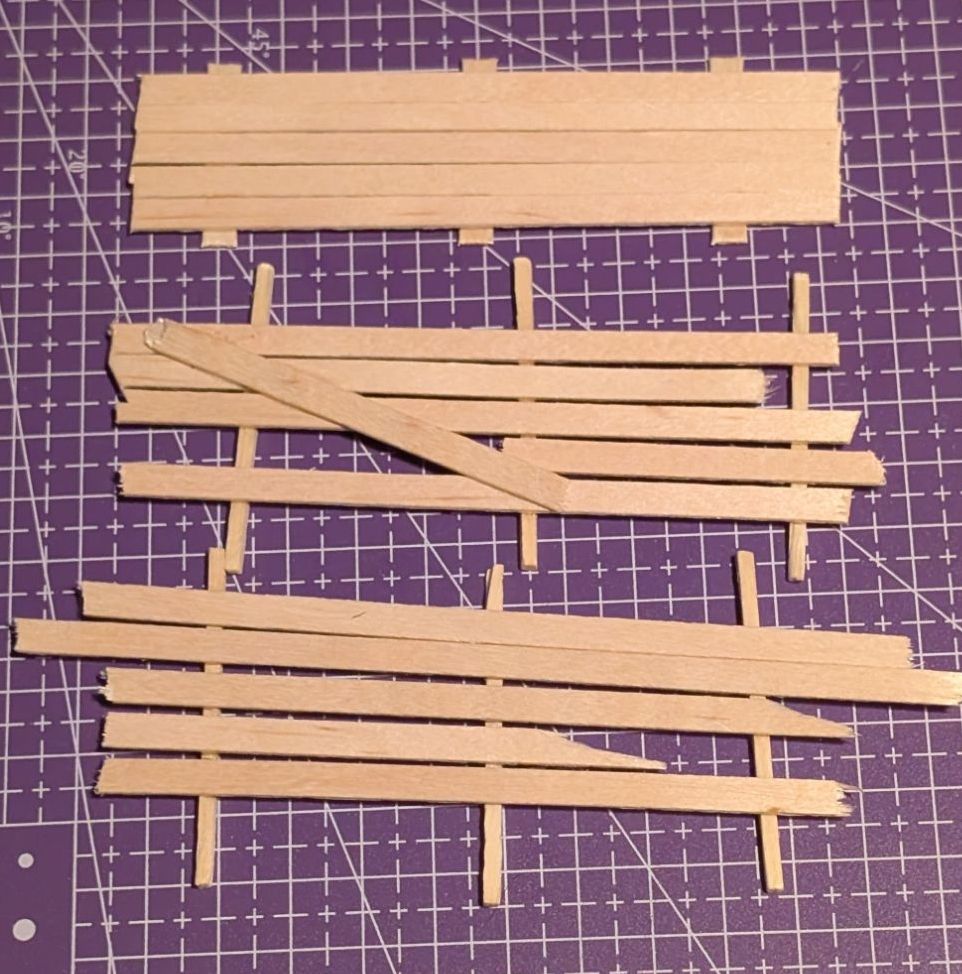
I also started on a mini project… walkways. You can never have enough of them lol…
From top to bottom…basic, a bit more interesting and then interesting with added texture.
That’s another little thing sorted.
Still need to do a fence, another house using bought gear, aka foam and foam core …oh and I also need to build my Proxon.
Regarding the course, I had eight spaces and now have seven spaces left…this may not run at all.
It might be because of the location or people aren’t really interested… I am not sure what their minimum number is for it to run.
We shall have to see!
This is my pitch…
Creating Small Worlds Get creative with miniature model-making! Learn new skills and discover how everyday objects and recycled materials can be transformed into buildings, landscapes and terrain for miniature wargames, role-playing or dioramas. Whether you’re an experienced crafter or a complete beginner, come along and see what you can create!
Please note: A £10 materials charge is payable to the tutor at the first session.
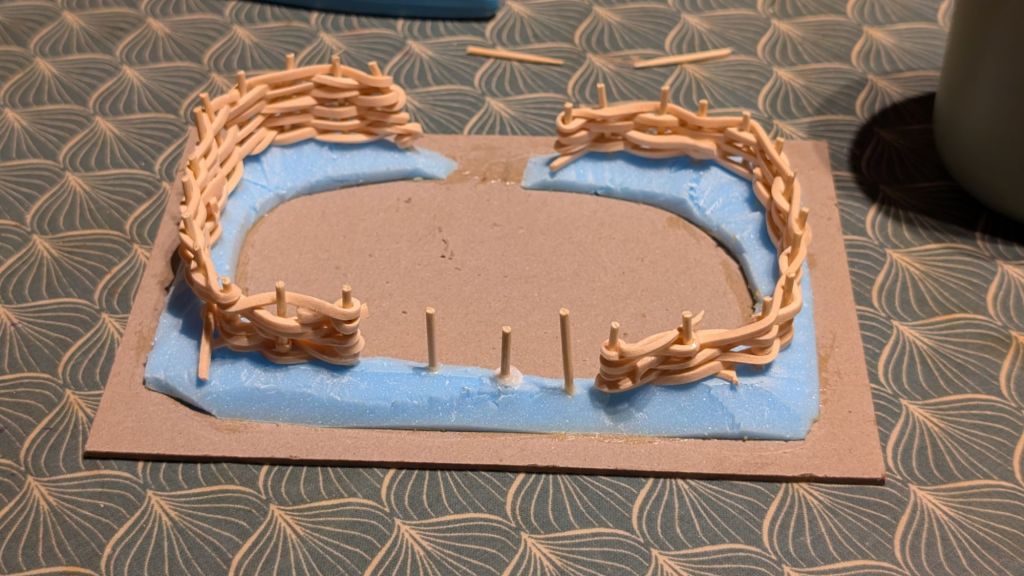
So idiot boy here snapped off the middle post in the foreground and did the battle fencing… problem I have now is that three posts won’t really work the same as the rest.
Therefore I may have to lay each strand and super glue each end to the rest of the fence…either that or say sodd it and add clump foliage to the gap with the posts.
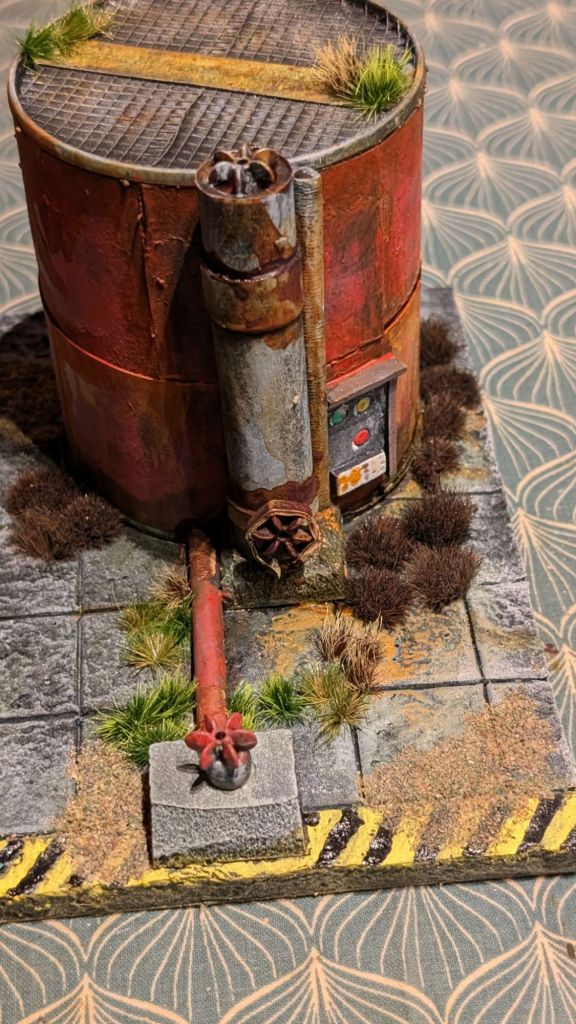
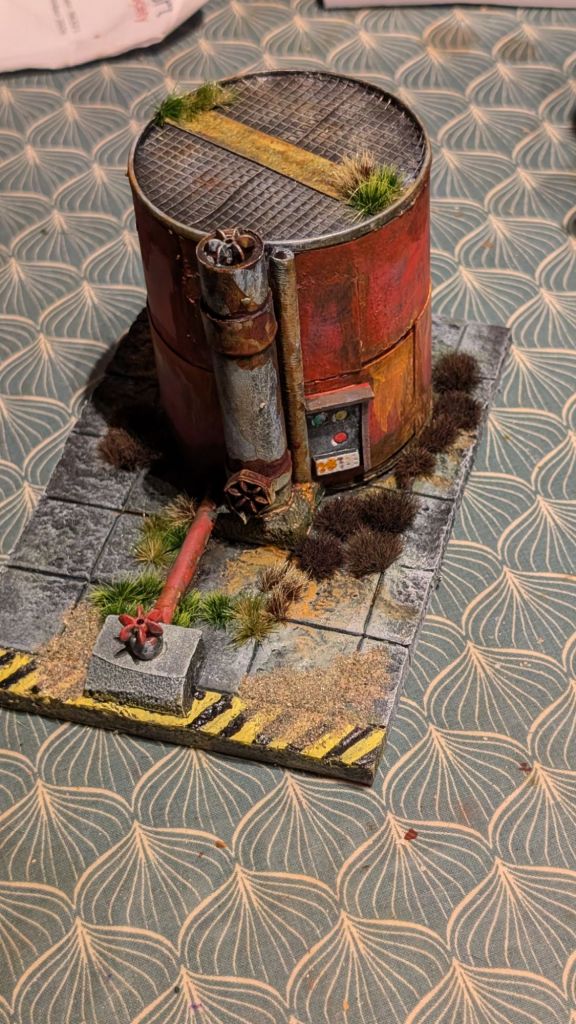
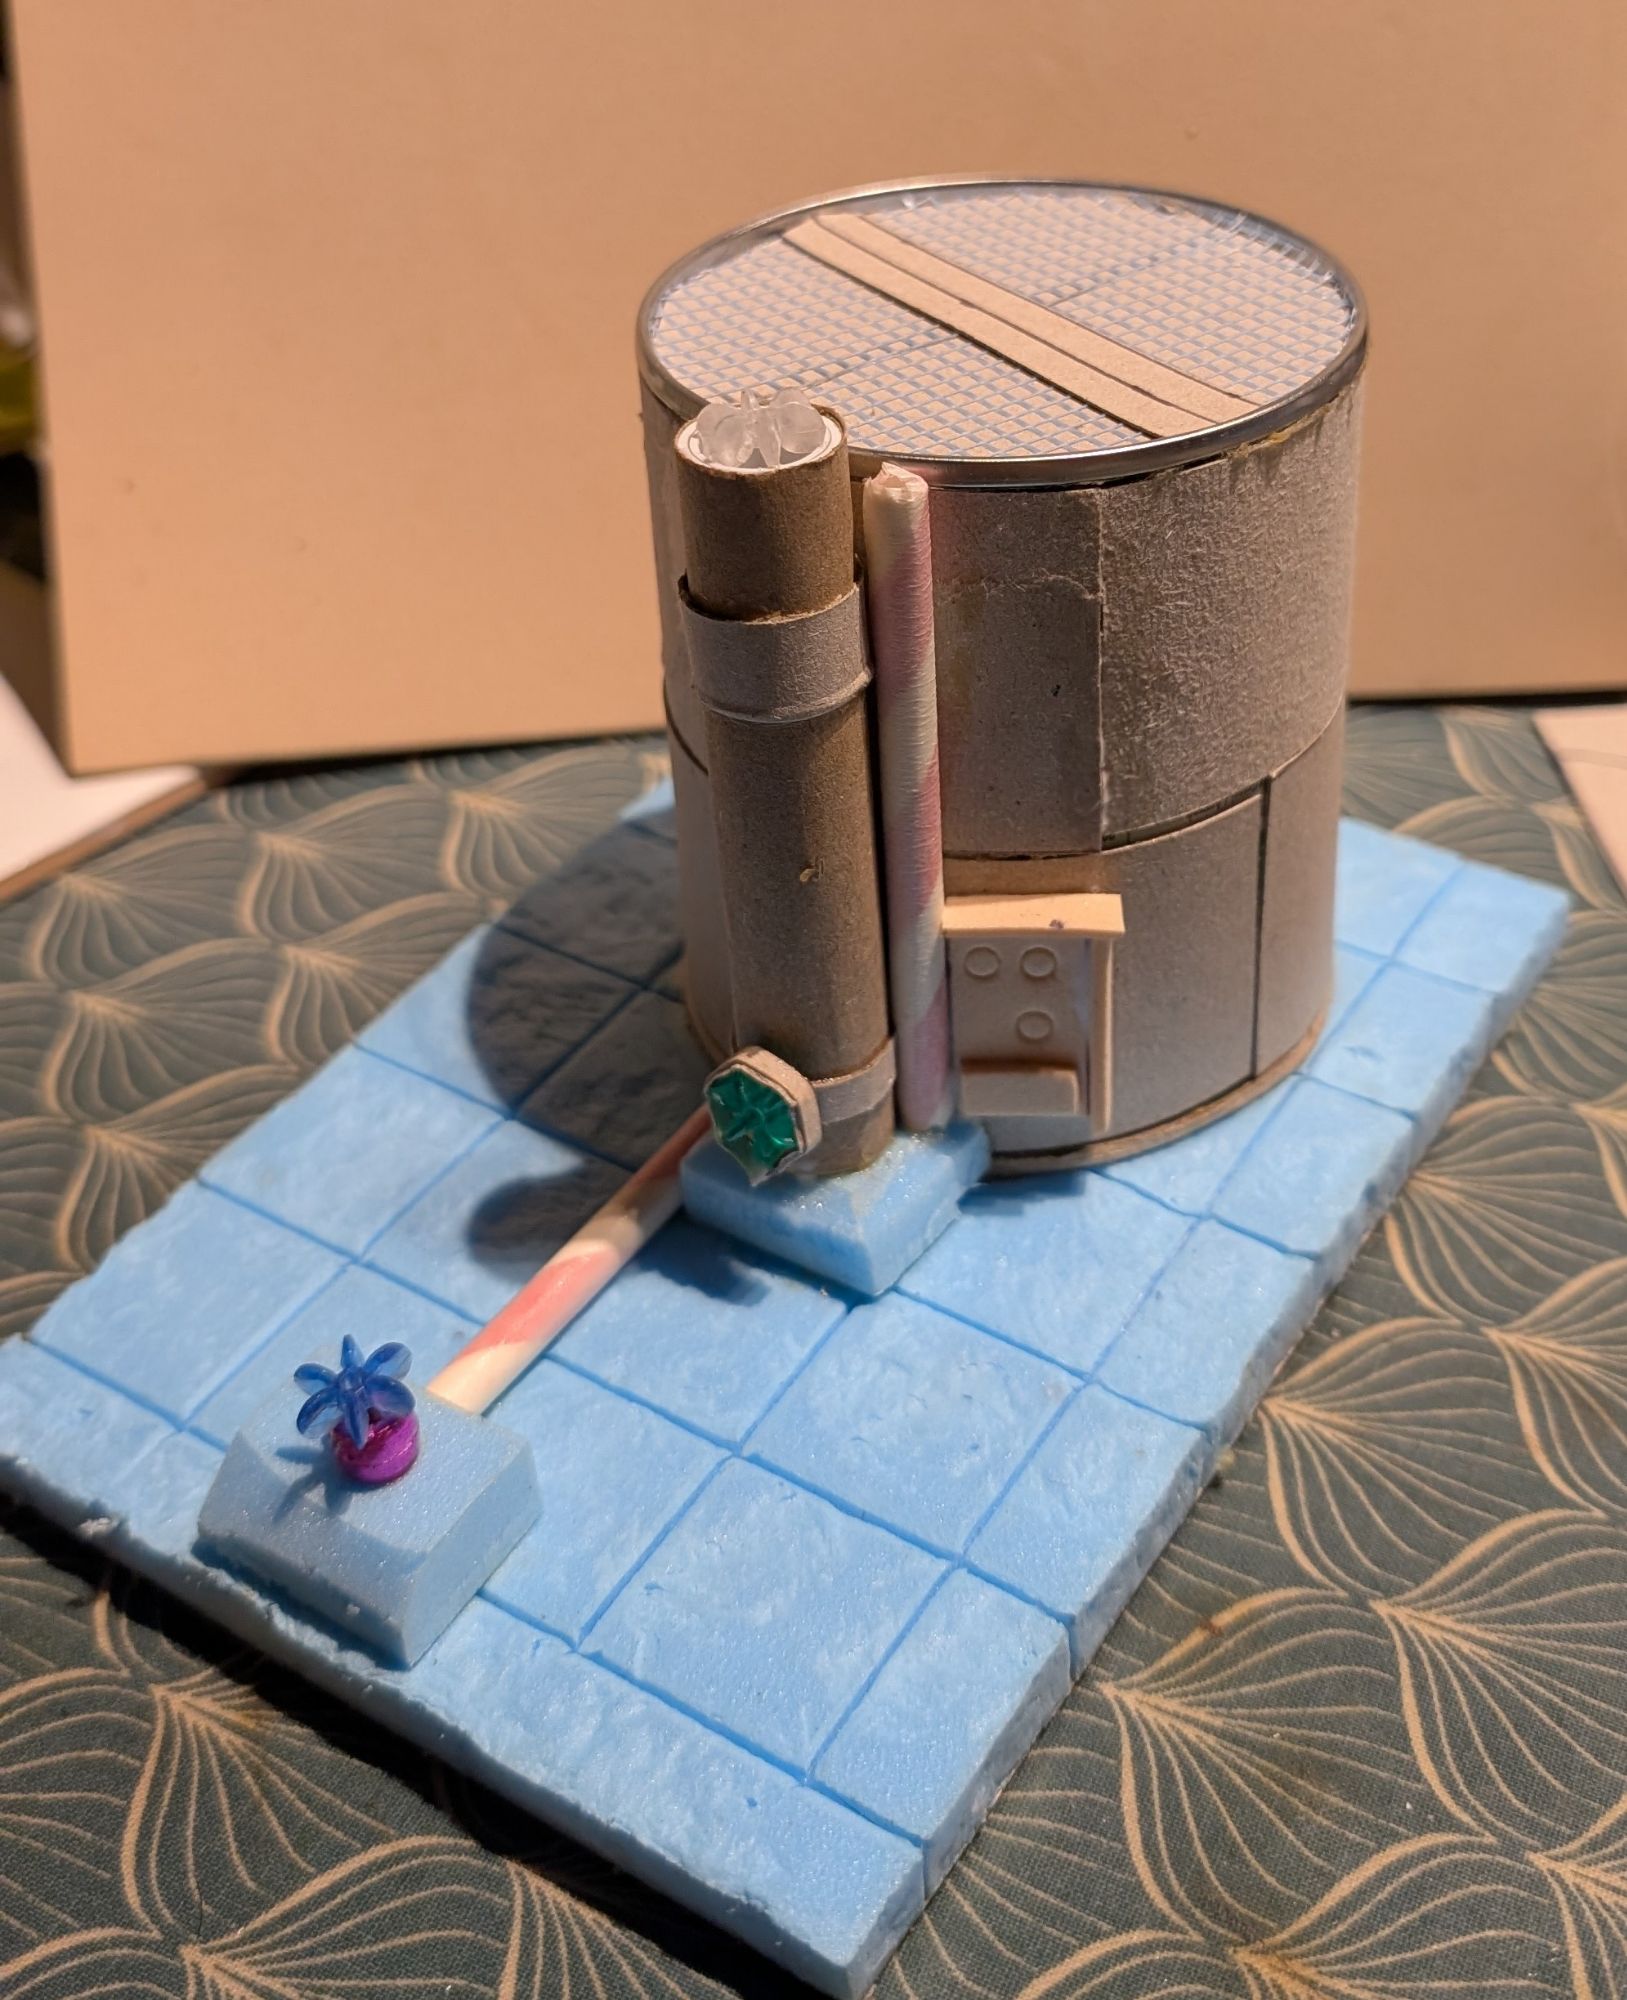
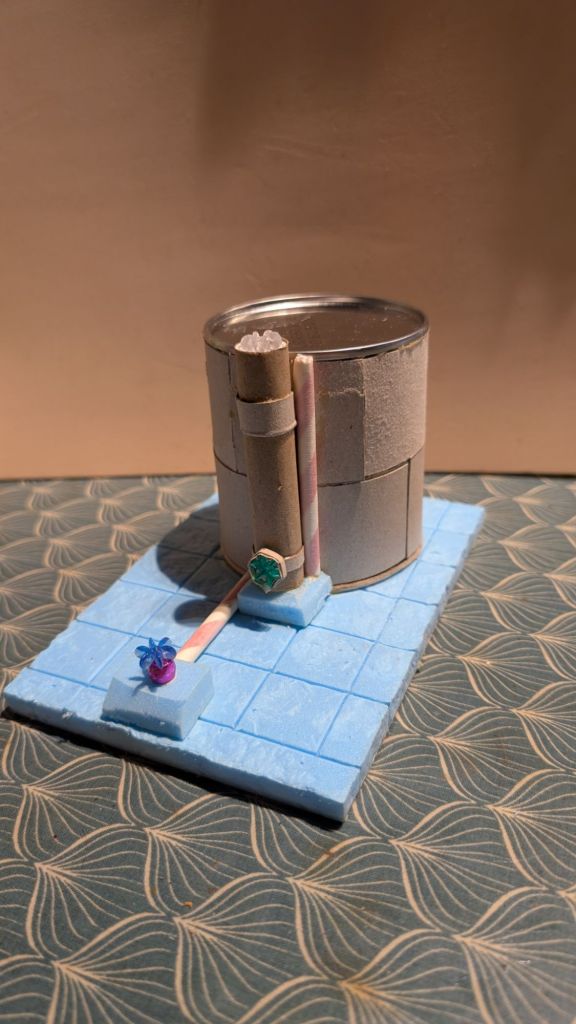
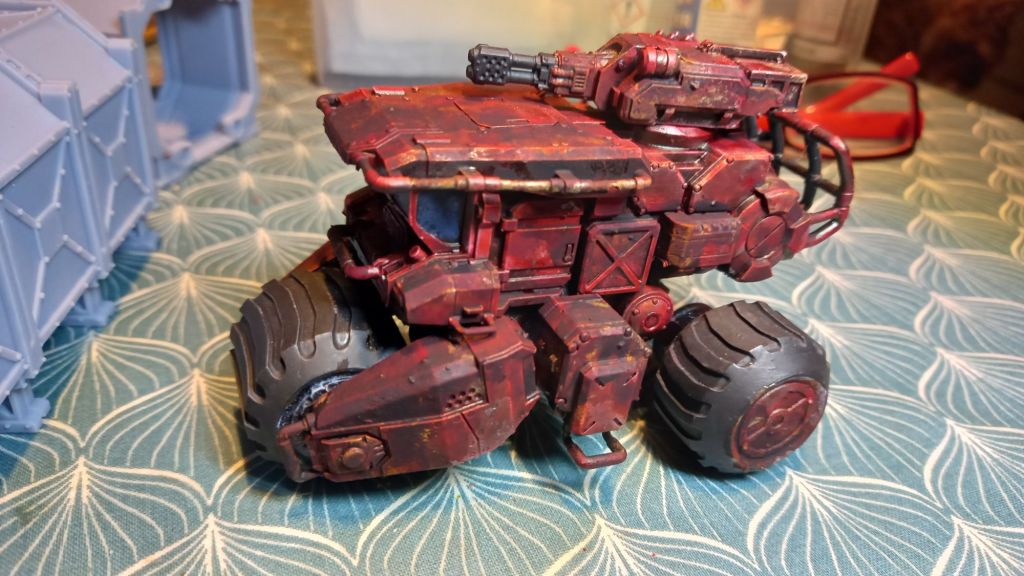
Well back to work with a bang, 7 hours of training and after a little lie down I got the top of the tank done as well as a little control box on the side. Greebles help break up the outline and give a little more visual interest. Well that’s what I believe anyway.
Once the Mod Podge has dried then I will get the foam covered ready for undercoating tomorrow.
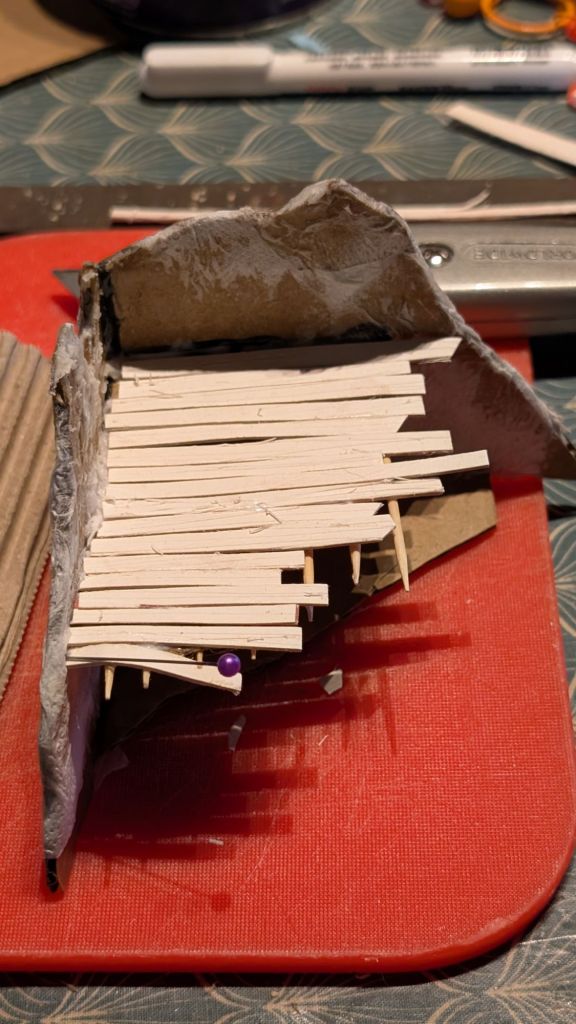
I actually spent more time looking for stuff than actually building anything. I did however get this far.
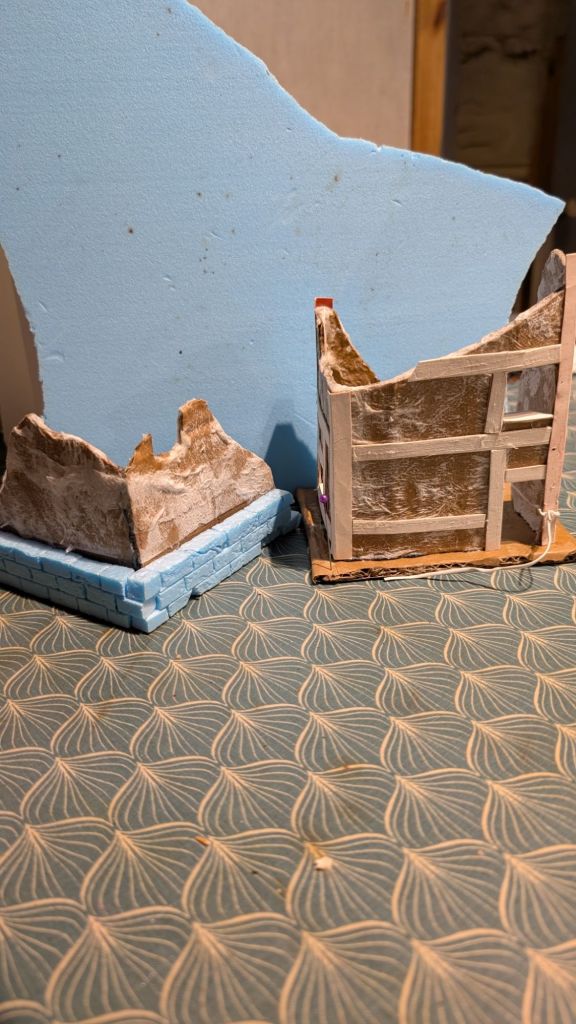
Luckily the copydex at the front plinth hadn’t dried so I managed to straighten it up a bit. The one bit you can’t really see is the cereal box card glued to the bottom of the blue foam. This will give it a bit of strength and also protect the corners a smidge.
Next will be the top. Part of me is wanting to do a bit of a ladder and another part of me says sod it, I can’t be arsed.
The smaller pipes are cardboard drinking straws covered lengthways in masking tape to hide the spiral pattern.
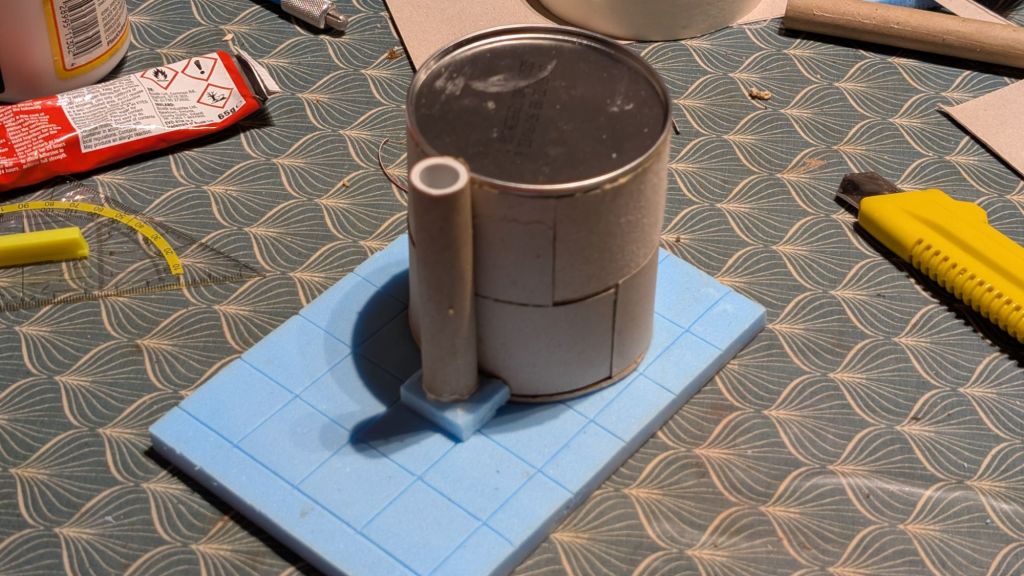
This evening I decided to do a bit more terrain and as such instead of the more Medieval style of the last two I went for the good old Pringle tube and made a storage tank.
By made, I mean started… I got this far…
Still a fair old way to go but definitely getting a feeling for it. The thinner pipe is actually from the shower installation which actually fits really well. This was an offcut, strangely the height of a mini Pringle tube. I wrapped the pipe in thin brown paper.
I needed to have a little snooze this afternoon as my DIY shenanigans kind of wrecked me.
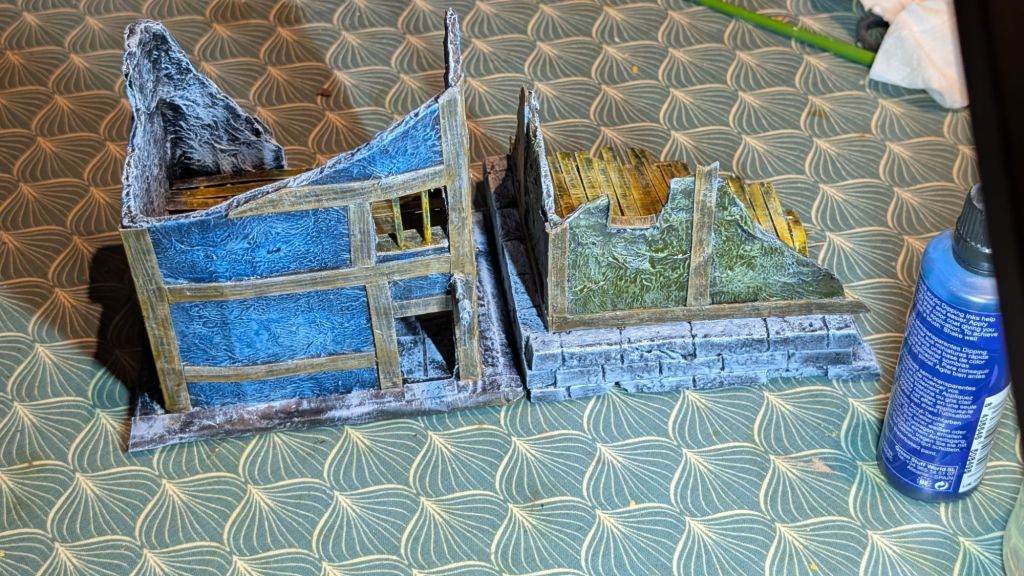
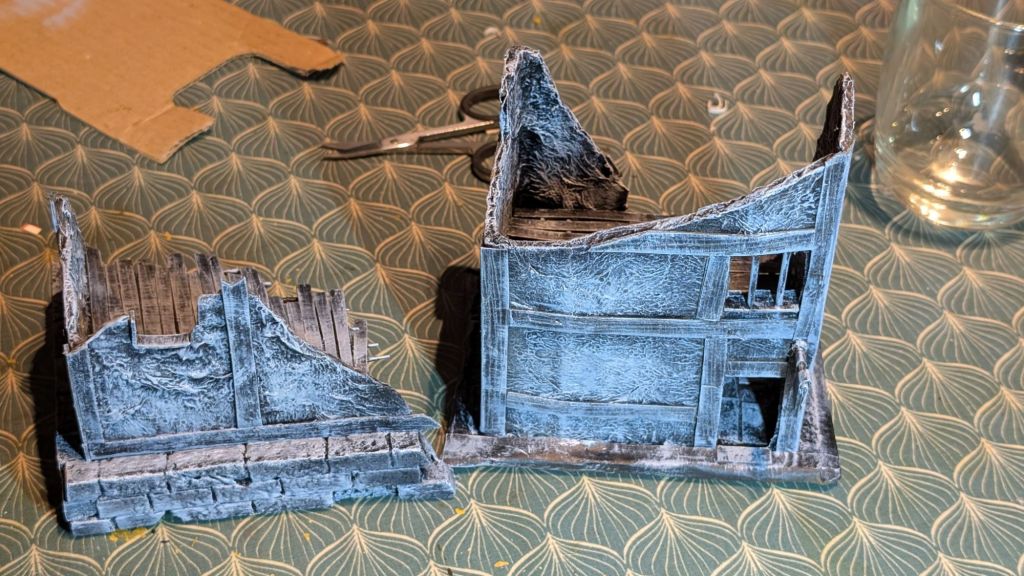
Well I covered the polystyrene in PVA and then when dry I gave both buildings a blast with a rattle can
I covered the floors with the PVA too and lost a lot of the details I painstakingly put on it.
Oh well, such is life!
I did consider leaving them at the grey stage with just the wood bits painted…
But I had Mordheim Vibes and ended up colourful. The blue one is a shop or inn, you can’t really see the sign in either photo. I actually had to check it was still there 😂.
Been doing DIY today so leaving it there tonight… If the urge takes me I may start adding some colour to the stones…
I shall carry on in a bit and get more done. Hopefully tomorrow will be undercoat time and then onto painting.
After that…who knows.
Does anyone have any ideas…I have too many. I am going to make plaster rocks, as well as using expanding foam for hills… But I reckon how to make Wargames Terrain by GW will be coming out soon lol.
Nothing at all to do with a well known paint maker. Most of my painting now is one thin coat using either Contrast, Speedpaint or Xpress paint, or a mixture of all three.
This evening whilst on puppy duty I decided to have an easy win so i decided to get these done.
Well the industrial drums that is. The other is pretty much done. So after a bit off a head scratch I really felt that Red would cause me some problems with the rust later on, a bit like here:
My original concept idea was that different containers would be colour coded, but after that initial idea i changed my mind, sadly after doing the above with a dry brush if red. I then remembered that the original industrial piece was yellow so that decided it. All would be yellow.
I was concerned that the red underpainting was a mistake, but in the words of my favourite artist… “there are no mistakes, only happy little accidents.”
The red, with the white over it has really enhanced the look I was wanting. It has given a mottled, grungy look thar makes me think of old metal that isn’t going to hold the contents inside for much longer.
My happy little accident has really helped. They look even better now that the paint has dried.
On one of them I have missed covering a bit of red and that in itself looks like there is a bit of a leak forming. In other places it actually looks a bit rust like.
The original title for this post was going to be ‘Two Thin Coats’ a bit click batey I know, but in fact one thin coat will evidently do the trick.
Alien Isolation- spoilers
Well, as I suspected, the xenomorph that I managed to drop into the gas giant wasn’t the only one. I always wondered how I could leave it behind at a transit station, only to find it dropping out of a vent on the other side. I was convinced after finding a couple of people with holes where their chests should be.
I have just interfaced with the main frame to find that a) W.Y. have a directive in place to preserve any specimen and b) I am expendable. I am not being paranoid… it says so in the directive. The Working Joe’s have turned hostile as they are now following said directive too. I am now on the hunt for a hive. I couldnt put it better thsn Frost who so eloquently stated… “What are the hell we supposed to use man – harsh language? Yes when I arrived at the Mainframe I had to relinquish all of my weapons. Thankfully the jury rigged stuff I made didn’t count.
As I said in an earlier post, this game has really got me thinking about running an RPG set on the station. The beauty of it is, I have a full cast of characters as well as maps and other exciting things like that.