Cost versus Aesthetics

I have come across a bit if a conundrum regarding Pike blocks, now a strip of pikes costs 44 pence on its own on a 20 x 40mm base it looks naff. So I would need two on there… like this:

So here we have 88p worth… problem I am having is the gap surrounding the pikes on the base… so I could double the amount …
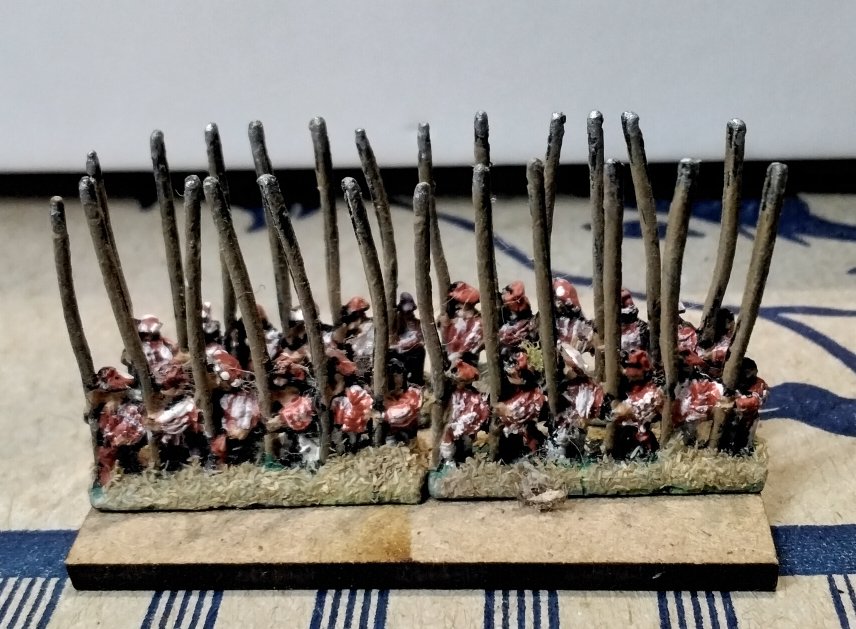
This looks a bit better (we’ll apart from the slight overhang on the right). Problem is double the figures is double the cost. So instead of 88p it would become £1.76 per base. This is one base out of either a unit of 8, 12 or 16 as you can see it would soon add up. A 16 strong Swiss Pike block would come in at just over £28, as it happens at two to a base would still come in at £14… quite pricey for 6mm. I thought I had better make it clear that I am not criticising the pricing policy of the miniature manufacturer here, far from it…

I think my problem is I would normally just buy an irregular army, so in this case an imperial army and a French army at about £18 each. I think the problem is the new rules, well those aren’t even the problem. It is me getting used to a new system where I need to work out points and follow a basing system, rather than my usual 20×40 and 20×30 ironically these rules use both of these sizes. It is more a unit of Pike is 8 bases strong. Heavy cavalry are 4 bases strong etc, which is rather alien to me now I come to think of it.

It will probably do me good to stretch my wings a bit and do something different.

Apologies for the rambling… probably just tired… tomorrow is another day…. having just noticed the time,I am now into the tomorrow I just mentioned .
Glueing, Undercoating and Army lists…

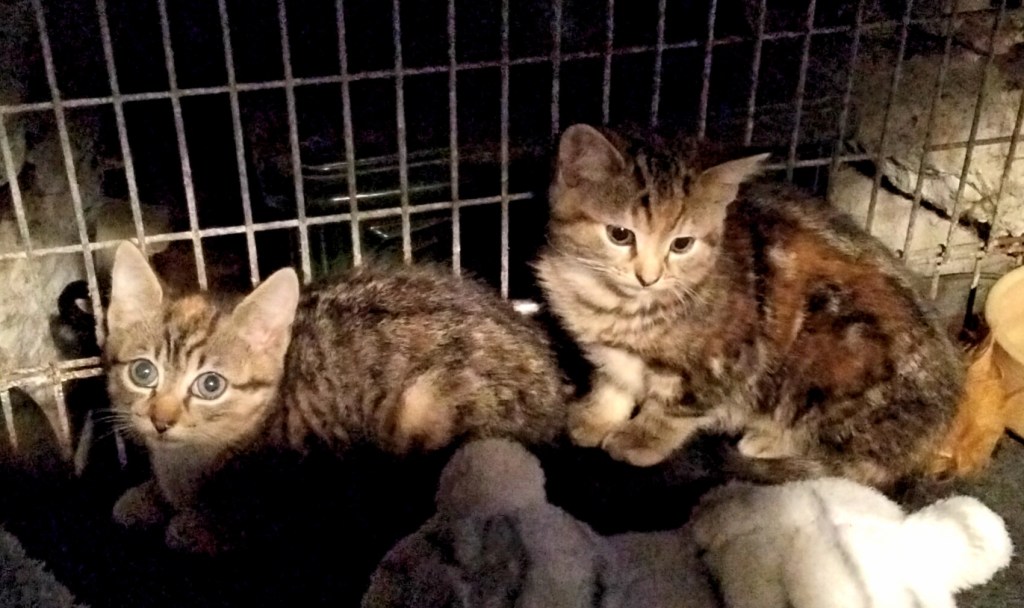
Today has been hectic to say the least, I didn’t sleep well last night and wanted a lie in, only to find second kitten had been caught so we went over and picked it up… here are the little cuties…

No names yet, number two is on the right.

We then sorted out the shed some more. The knackered, bounced upon sofa, is going in there for some seating. I managed to sort out the prolapsed base as well as add in some more padding to the front, the new one was built in the lounge too.

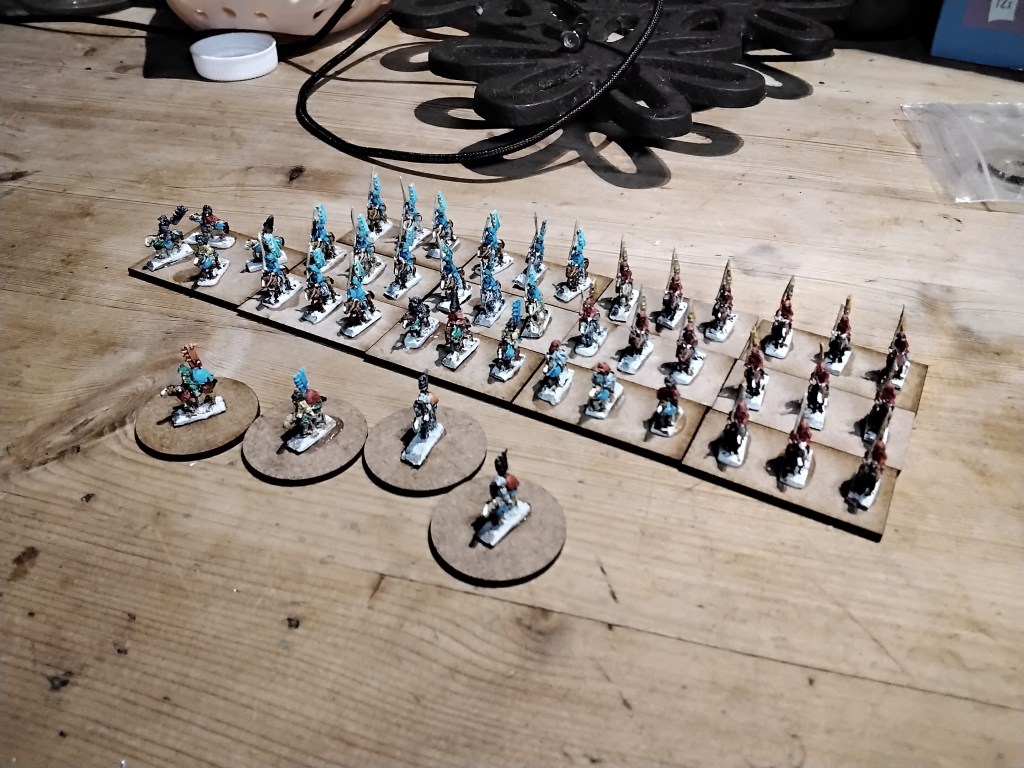
In amongst this busyness I managed to get the Baccus Samurai undercoated. I also got the cavalry based up too…

The four in the front are messengers with their big Horo on their back. On the far side are some mounted commanders. I am going to add in some printed banners to the base.

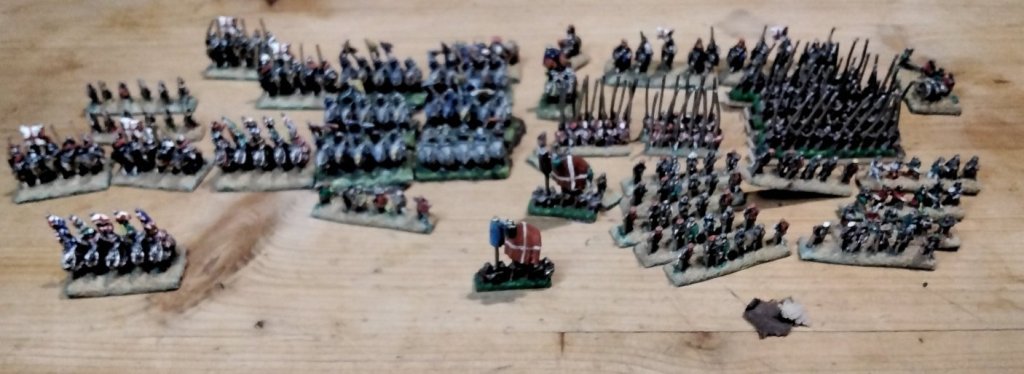
The other thing I have been doing is working out a sort of army list for the Italian wars. I have ordered the Furioso supplement as it deals with this war and adds solo play… I did find an army in my 6mm ‘yet to do something with’ box…

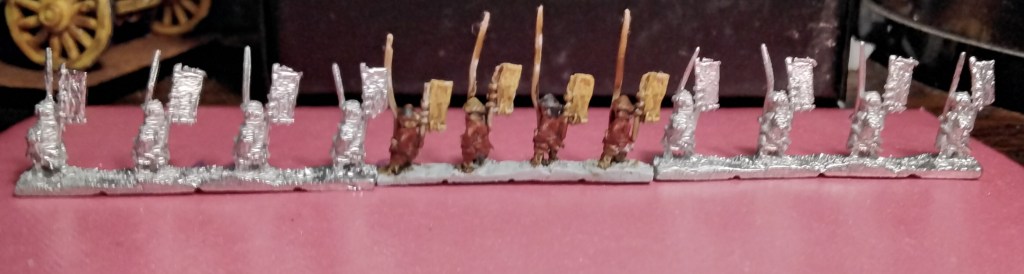
These are a mix of Irregular miniatures. I bought them second hand about 20 years ago at least. The two big flags in the foreground are from the fantasy range as they have five figures in the strip… historical’s have six.

Still in two minds on 6mm or 10mm, but I have plenty of time to choose as the Samurai need finishing first.

A Bit of Progress

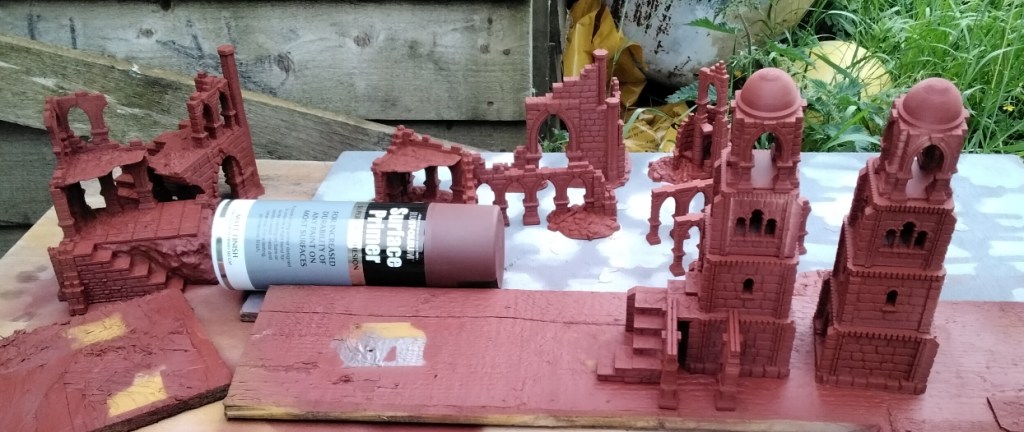
This evening started off on a roll. I got the 28mm ruins from the Frostheim set sprayed their base colour. I decided to do these in browns instead of my usual grey. For this reason I went and bought a chocolate brown spray paint, which turned out to be more red than brown…

I put the can in the photo to show the difference in lid colour and final spray. The can was a nightmare, it kept clogging. At one point I had to take the top off and give it a wash. It spent more time upside down than it did the right way up.

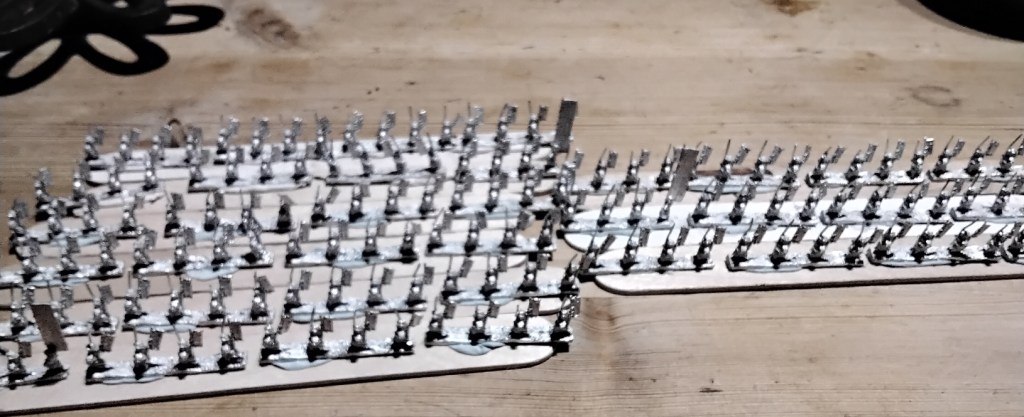
After spraying the above I set about getting the Baccus samurai onto the sticks, ready for the white undercoat. I had just started when I got the massage to say that this little chap heeded picking up…

He is a feral kitten, that we have been waiting for for about 9 weeks. He was caught this evening, so off we went to pick him up.

We are going to be getting a second one tomorrow, if it will be caught.

When I got back I finished getting them in their sticks… I will spray them tomorrow morning ready for a bit of paint tomorrow evening.

Of course I now have a problem, everything else was in fours or a nice even number so I had either yellow sashimono or teal sashimono… I now have three units… what do I do? Nightmare scenario…. the stress, the stress… as you might be able to tell, I may be a little OCD… actually easiest thing to do would be to paint it a different colour totally.

I am going to paint these in different coloured armour, so they will likely take four times as long as the ashigaru.

The one thing that dawned on me today was that I am probably going to run out of bases. My packet of two hundred 40x20mm seemed more than enough for many armies, problem is…I have now painted many armies.

And finally… this made me laugh!

Peasant Size Comparison

Okay that does sound like a thing a feudal Lord might do, but I would like to point out that no peasants were harmed during this experiment.

As I said yesterday, the printed ones at 100% were too small so today I did a little size comparison. I did four tests at 110%, 115%, 120% and 125%.  I then did a highly scientific test by sticking them next to a base of ashigaru and then eyeballing them here are the results…

The 120% seemed the best fit amongst the four chosen. To be honest they are a little on the large side and I technically should have gone for about 117 – 118% but with the discrepancies in base height then these fitted better

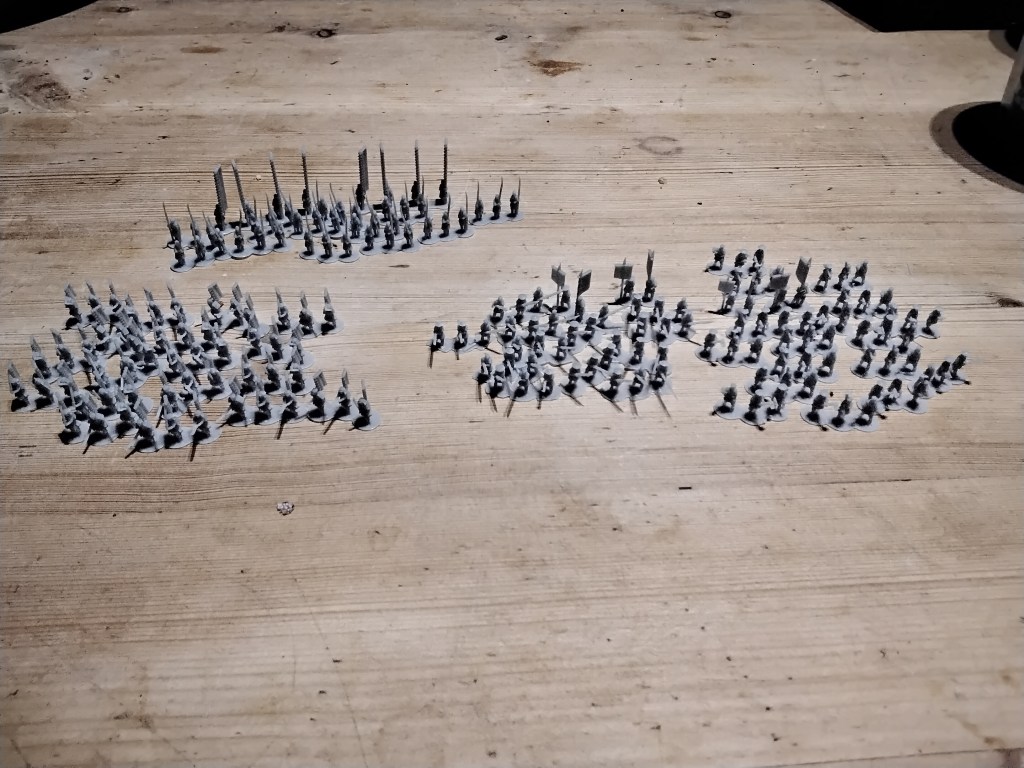
Four hours later I have the start of an Ikko Ikki force.

Front row, Samurai with swords, they have a sashimono on, but as I want them as Ronin then those will have to go. Next are the peasants with spears and beside them the peasants with agricultural weapons. At the back are a pile of sohei with naginata. I evidently forgot to order some sohei with the yumi.

My plan is to add in either some Irregular or Baccus individuals to act as prominent people.

Now printing things this small has its advantages and disadvantages. Without a banner they take about 40 minutes to print, a nobori that the sohei have took that force to about an hour-ten. The main pain in the backside is removing the tiny built in supports. They are a bit on the faffy side. Just looking at some if them now and I can see some tiny bumps on the end of spears.

Tomorrow I will give these a base and a spray and see what they look like painted.

I totally forgot to say where I got tye idea from, so here is the post that got me going Tenka Fubu . Some seriously awesome Sengoku era miniatures and terrain on this blog.

Oh while I remember today is my 18th Wedding Anniversary, we never do anything for it, I think our first wedding anniversary cemented how things were going to go… we were in France, Normandy in fact, a place of amazing food and we spent it in a Macdonald’s.

Printing Tiny Peasants

Well I got back from the caravan trip safe and sound. I was a bit knackered, so I did a bit of painting on the Ashigaru still in progress. I then spent about 45 minutes hunting for the missing samurai then it kind of dawned on me that I hadn’t really had a look at what was left to paint… my only excuse is that they are very small and have exactly the same pose!

Samurai, Ashigaru, Samurai

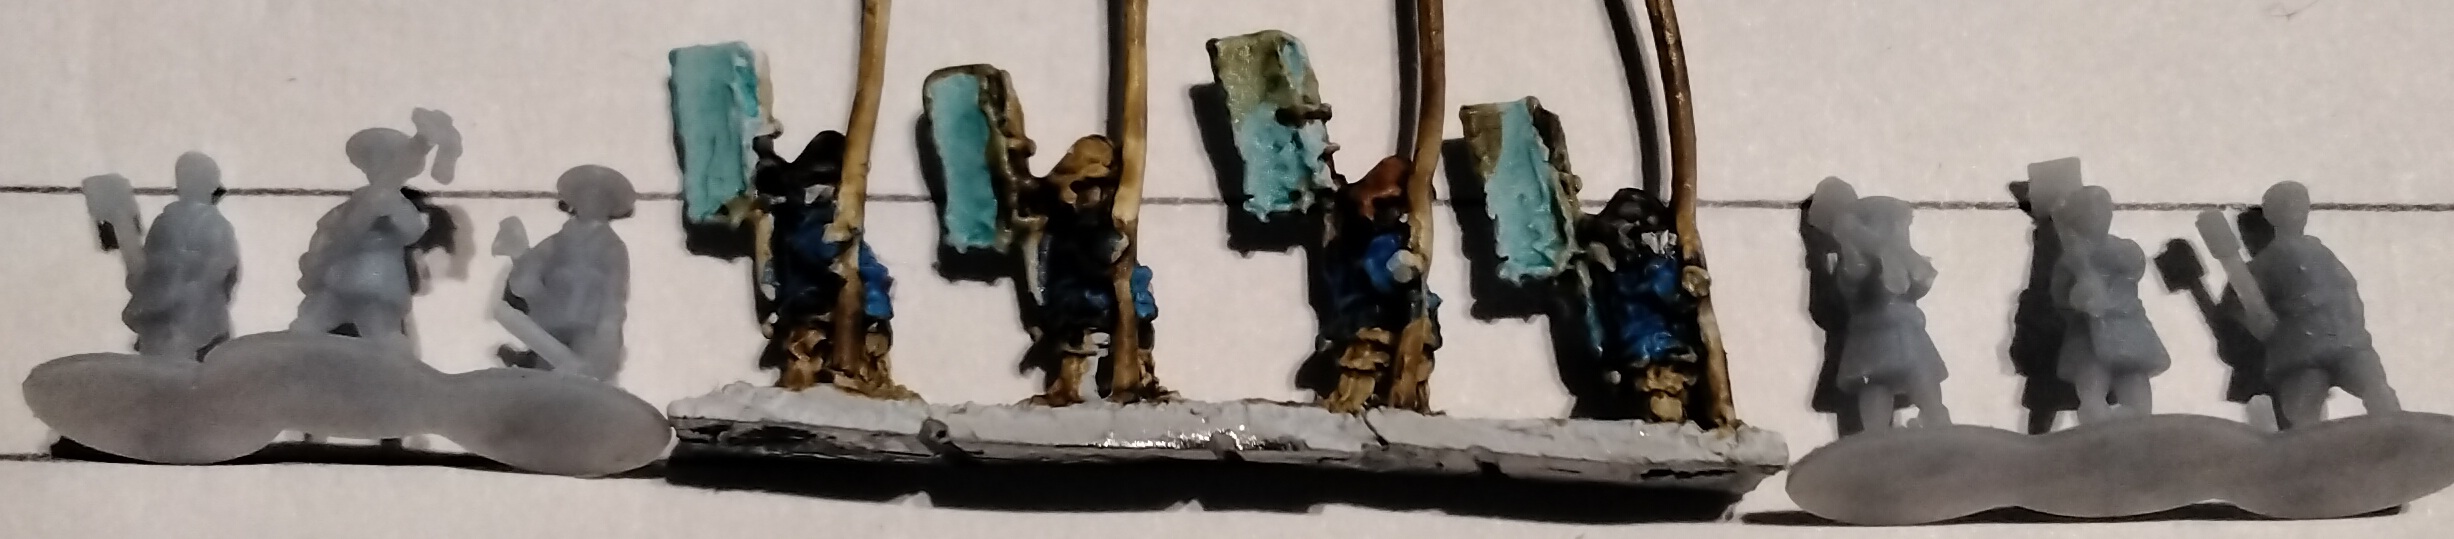
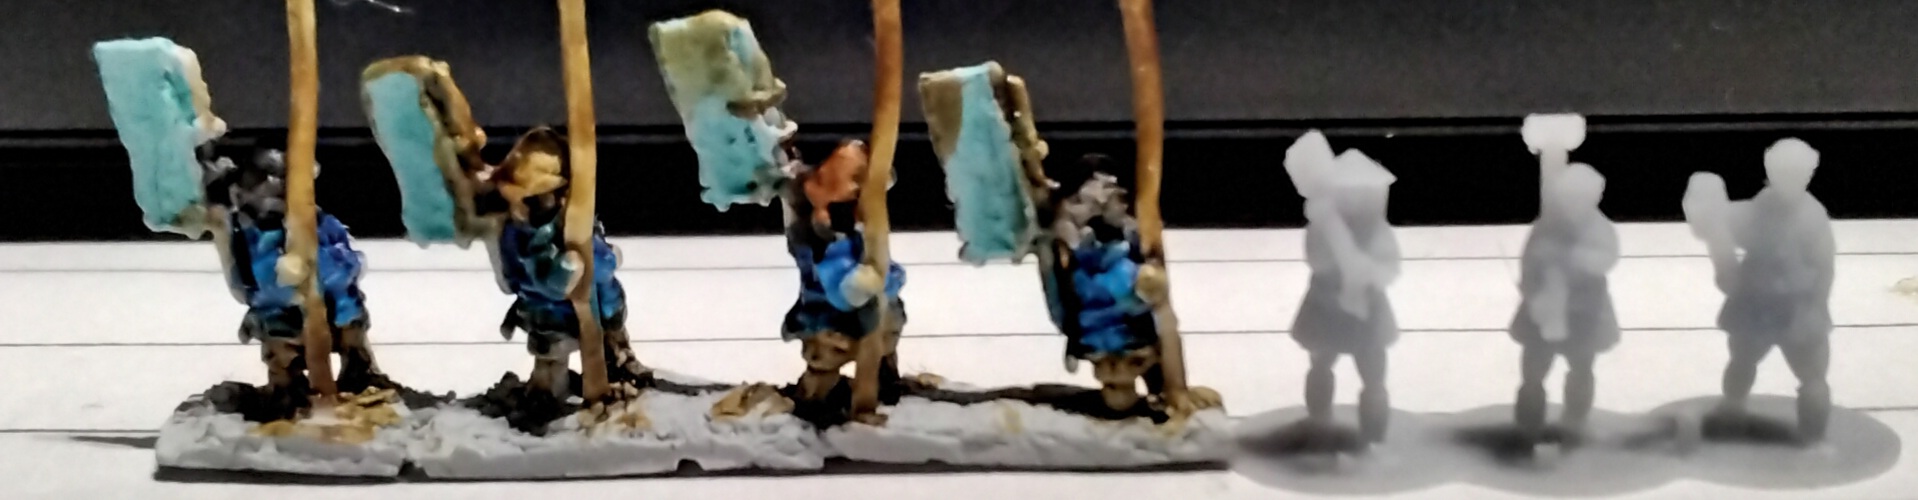
Well that is that conundrum solved , well as I said yesterday that I had been shown a company that does 3D printed miniatures for samurai in 6mm. So in true Stephen style I jumped in… I wanted some peasants and monks that would fit in with my Baccu models. So here we have them at 100% next to Baccus on the left and 2D6 on the right…

They are a little in the small side, so tomorrow I am going to go for 110% Up to 120% and see what I can do. These are probably the smallest things I have printed.

Caravan Samurai

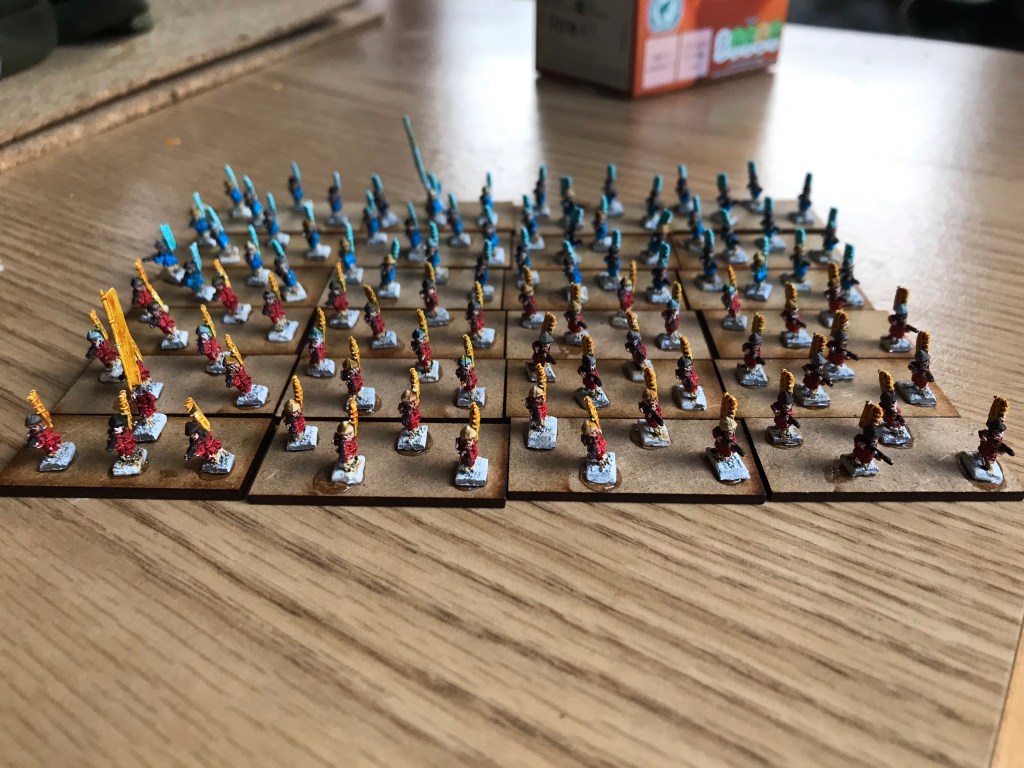
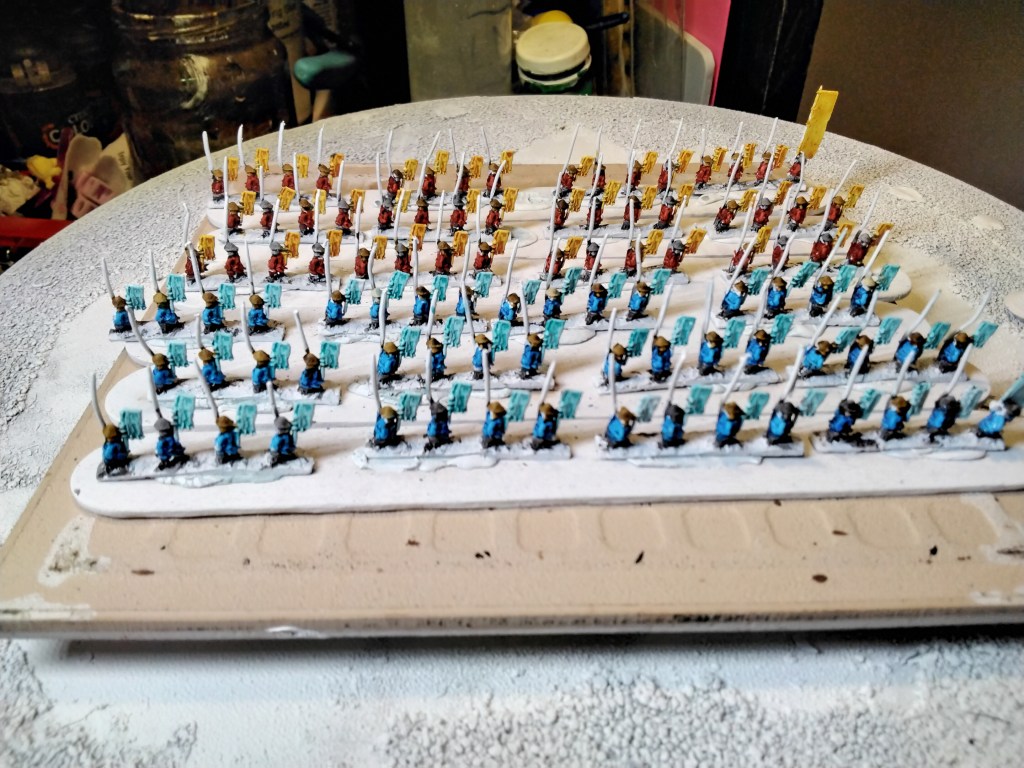
Yesterday and today I got on with basing some of the 6mm samurai, well actually the ashigaru (both yumi and teppo). My original plan was to plonk eight miniatures per base, however they wouldn’t really fit on the 20 x 40mm bases so in the end I glued only four on each.

Above we have the teppo armed ashigaru. I have the same number armed with the yumi. So 48 bases in total.

With the same four to a base then there will be the same number of Yari armed ashigaru.

Now interestingly enough I don’t seem to have any samurai infantry. If you remember a while a go I said I seemed to be missing some cavalry . I have rechecked and there aren’t any missing. It looks like both were in the same bag. Each one is meant to have 18 minis in and I have 36… I cannot find the three packs of foot samurai, that should be there.

Now as you know, I love my 3D printer, so I was quite excited to see these…https://projectwargaming.com/collections/samurai

Lots to choose from 😉.

We had another good day today, it rained a bit so we played plenty of games. We gave Munchin Quest a go… first two monsters were a level sixteen and eighteen. Luckily for us they ignore low level Munchkins!

Home from Home

Well we made it to the camp site and settled in. Half the lights don’t work, the water pump is acting up and the electronic toilet flush… won’t. It’s not a biggy as there are good facilities here.

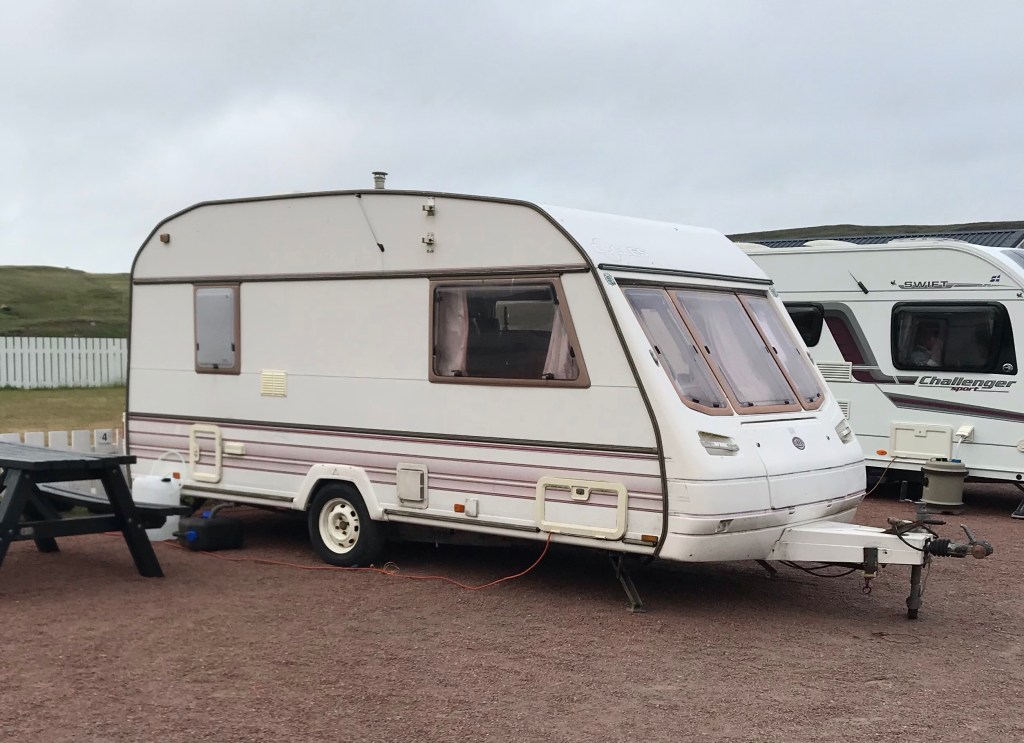
Okay our £700 caravan is letting the side down a bit as the rest are all at least five times it’s value.

I did manage to bring the 6mm samurai with me. I might not get any painted, but it would be good if I could get them onto their bases.

Last Painting for a Couple of Days

Yes tomorrow we pack up the caravan and head to where I work, well not exactly where I work, that would be weird. We’re going to the Skeld Campsite for a couple of nights. So there will be no painting for a couple of days until I get back Sunday night.

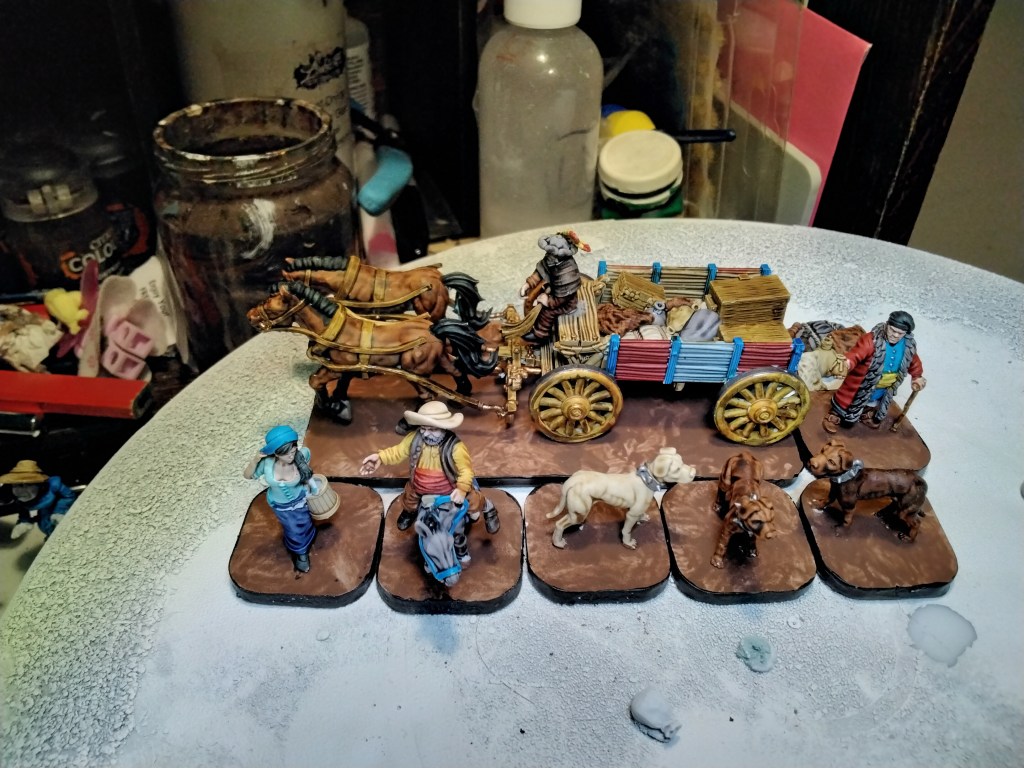
I have pretty much finished these, apart from the belt and rope on the milkmaid. I also got some more done on the Samurai (Ashigaru)… mainly sashimono and head gear…

I would have got the finished but at 22.00 the owner of the horses field dropped us a message to say he had put some weedkiller down to kill off the thistles… then realised that the ground couldn’t be grazed for a week. So I had to drop paint brushes and head off to the hill with the horses in tow. Not what I wanted to be doing, but it pretty much went really easily to be honest.

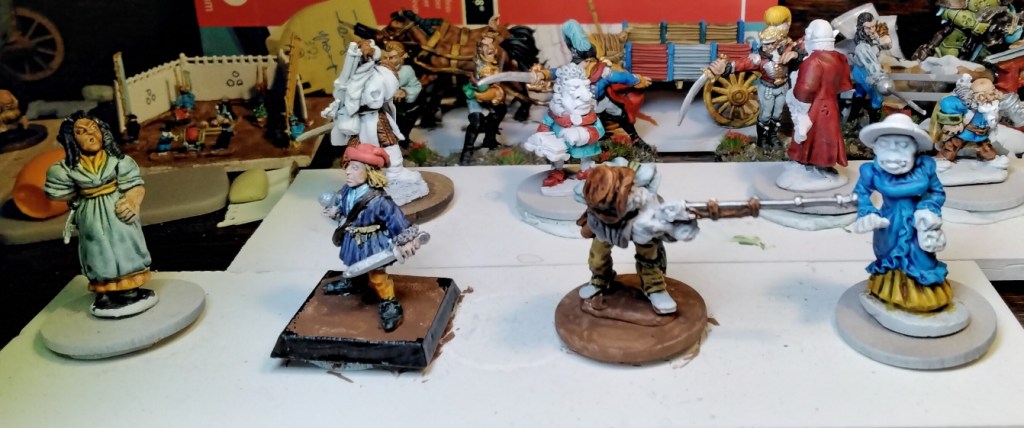
I also did a bit more on the Flintloque miniatures. A spot of colour here and there’s it isn’t really worth adding a photo each time.

I will still get to annoy you by adding to the blog, but therefore therefore be a miniature in sight… unless I manage to get something together, along with all the other stuff to do.

Starting on the Samurai…Again

Tonight I bit the bullet and started the next unit of Ashigaru. Nothing special, just the same as normal, slap the paint on and hope for the best.

I also did some work on the 28mm Renaissance stuff, the cart now has a driver , although he is a little on the short side, but hey, short people exist.

I also did a tiny bit on the Flintloque miniatures, but nothing worth showing on here yet.

Tomorrow I hope to carry on with these and get some more finished.

A Headless Monster Restored

Today I did a bit of electronic chopping and printed off the monster’s head. This was pretty much guess work based on a row of teeth in the lower jaw. I printed and voila I was about a quarter of a mm out.

Now glueing the head on wasn’t really going to work  by itself so I set about the miniature with some greenstuff.  So here he is with all body parts attached…

The greenstuff goes down his back about the same distance. Not exactly an invisible mend, but I reckon that once it is painted then it should be fine.

I also did a bit more on the Flintloque miniatures too… Still a good old way to go on most but two of them are pretty much finished…

I decided to print ruin 9 as my attempt to slice ruin five worked like a charm except I sent them to the resin printer memory stick which happened to be in the resin printer when I realised. In 19 hours it should be finished 😫.

The rest of the evening was spent watching YouTube videos on how to play the Men who would be King rules. Yes I am hopefully playing a wargame next Monday. The first in about a year and a half. We will be using my 10mm Sudan forces.

Tomorrow evening I am hopefully going to crack on with the Samurai etc. During the day I intend to carry on with the caravan checks to make sure everything is working as it should… today was the back supports, Tomorrow will be the front. One side took a 17mm socket and the other an 18mm. Luckily I had just gone and bought a new set, I decided I couldn’t be bothered doing it with a spanner. I managed to get my sockets and also bought a table saw as I reckon there is a fair old bit of wood cutting coming up in my future. It was my treat for being a good boy and sorting out the caravan and building the conservatory. It is now a standing joke here that shdn I do a major job I need a new tool to help me… seems I was owed one for the conservatory, my new sockets covered the caravan fix.