Sengoku Monster Hunter

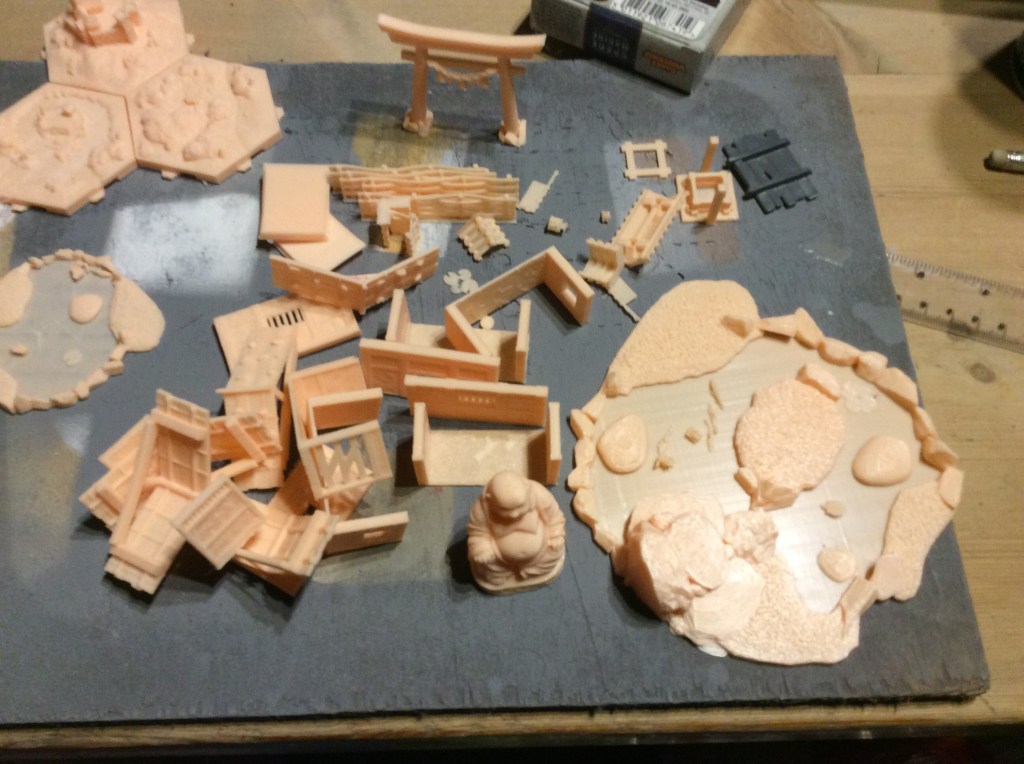
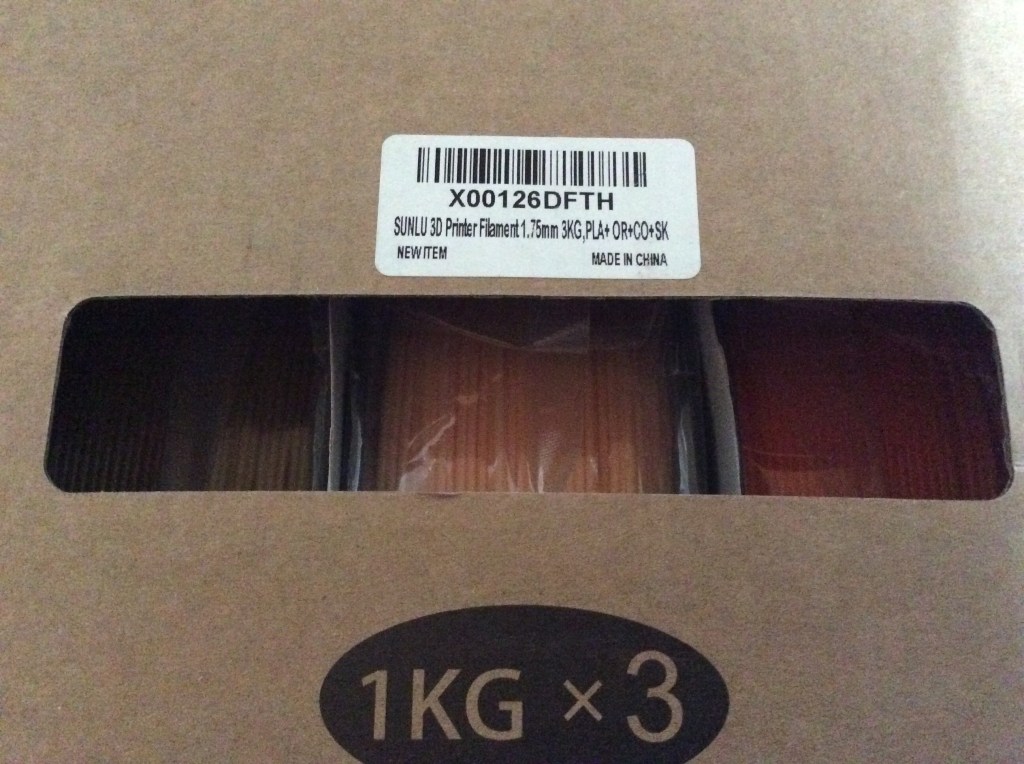
Yesterday my parcel arrived, so I spent a bit of time glueing everything together that needed glued.

Glueing in progress

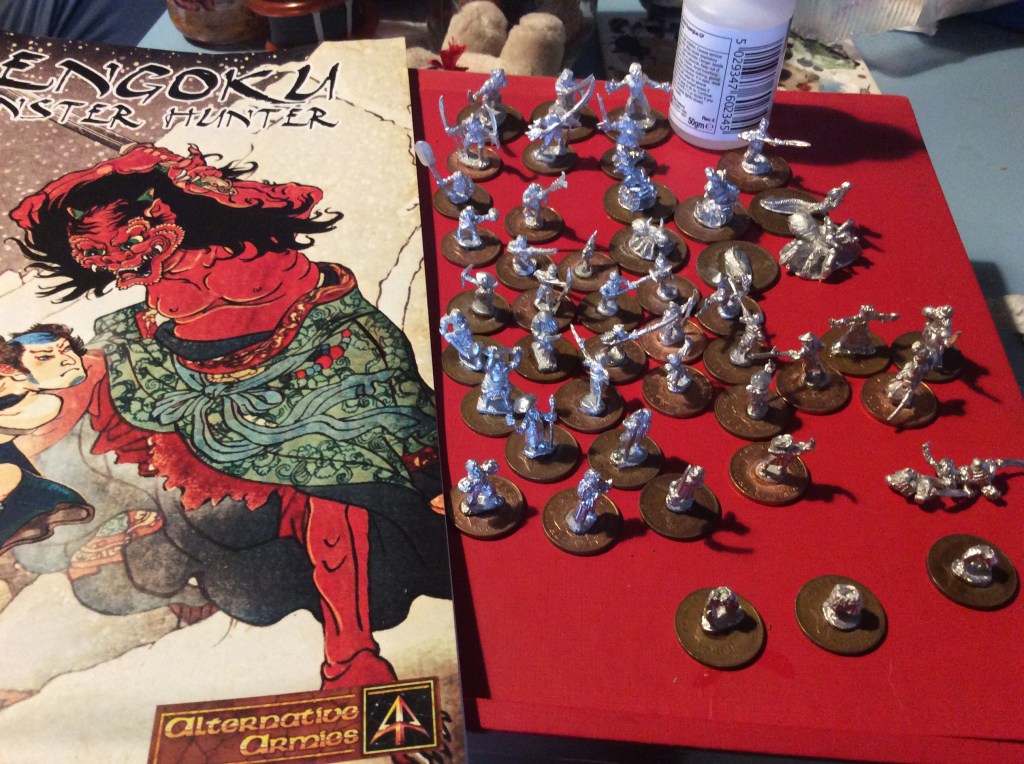
To speed things up I used pennies and two pences instead of sending away for (or printing) similar sized ones.

Sadly the snake necked lady, err had a little accident, and now is in three bits. Torso, neck and head. I will do something with Greenstuff to fix things. I sprayed everything white and made a good start on some of them.

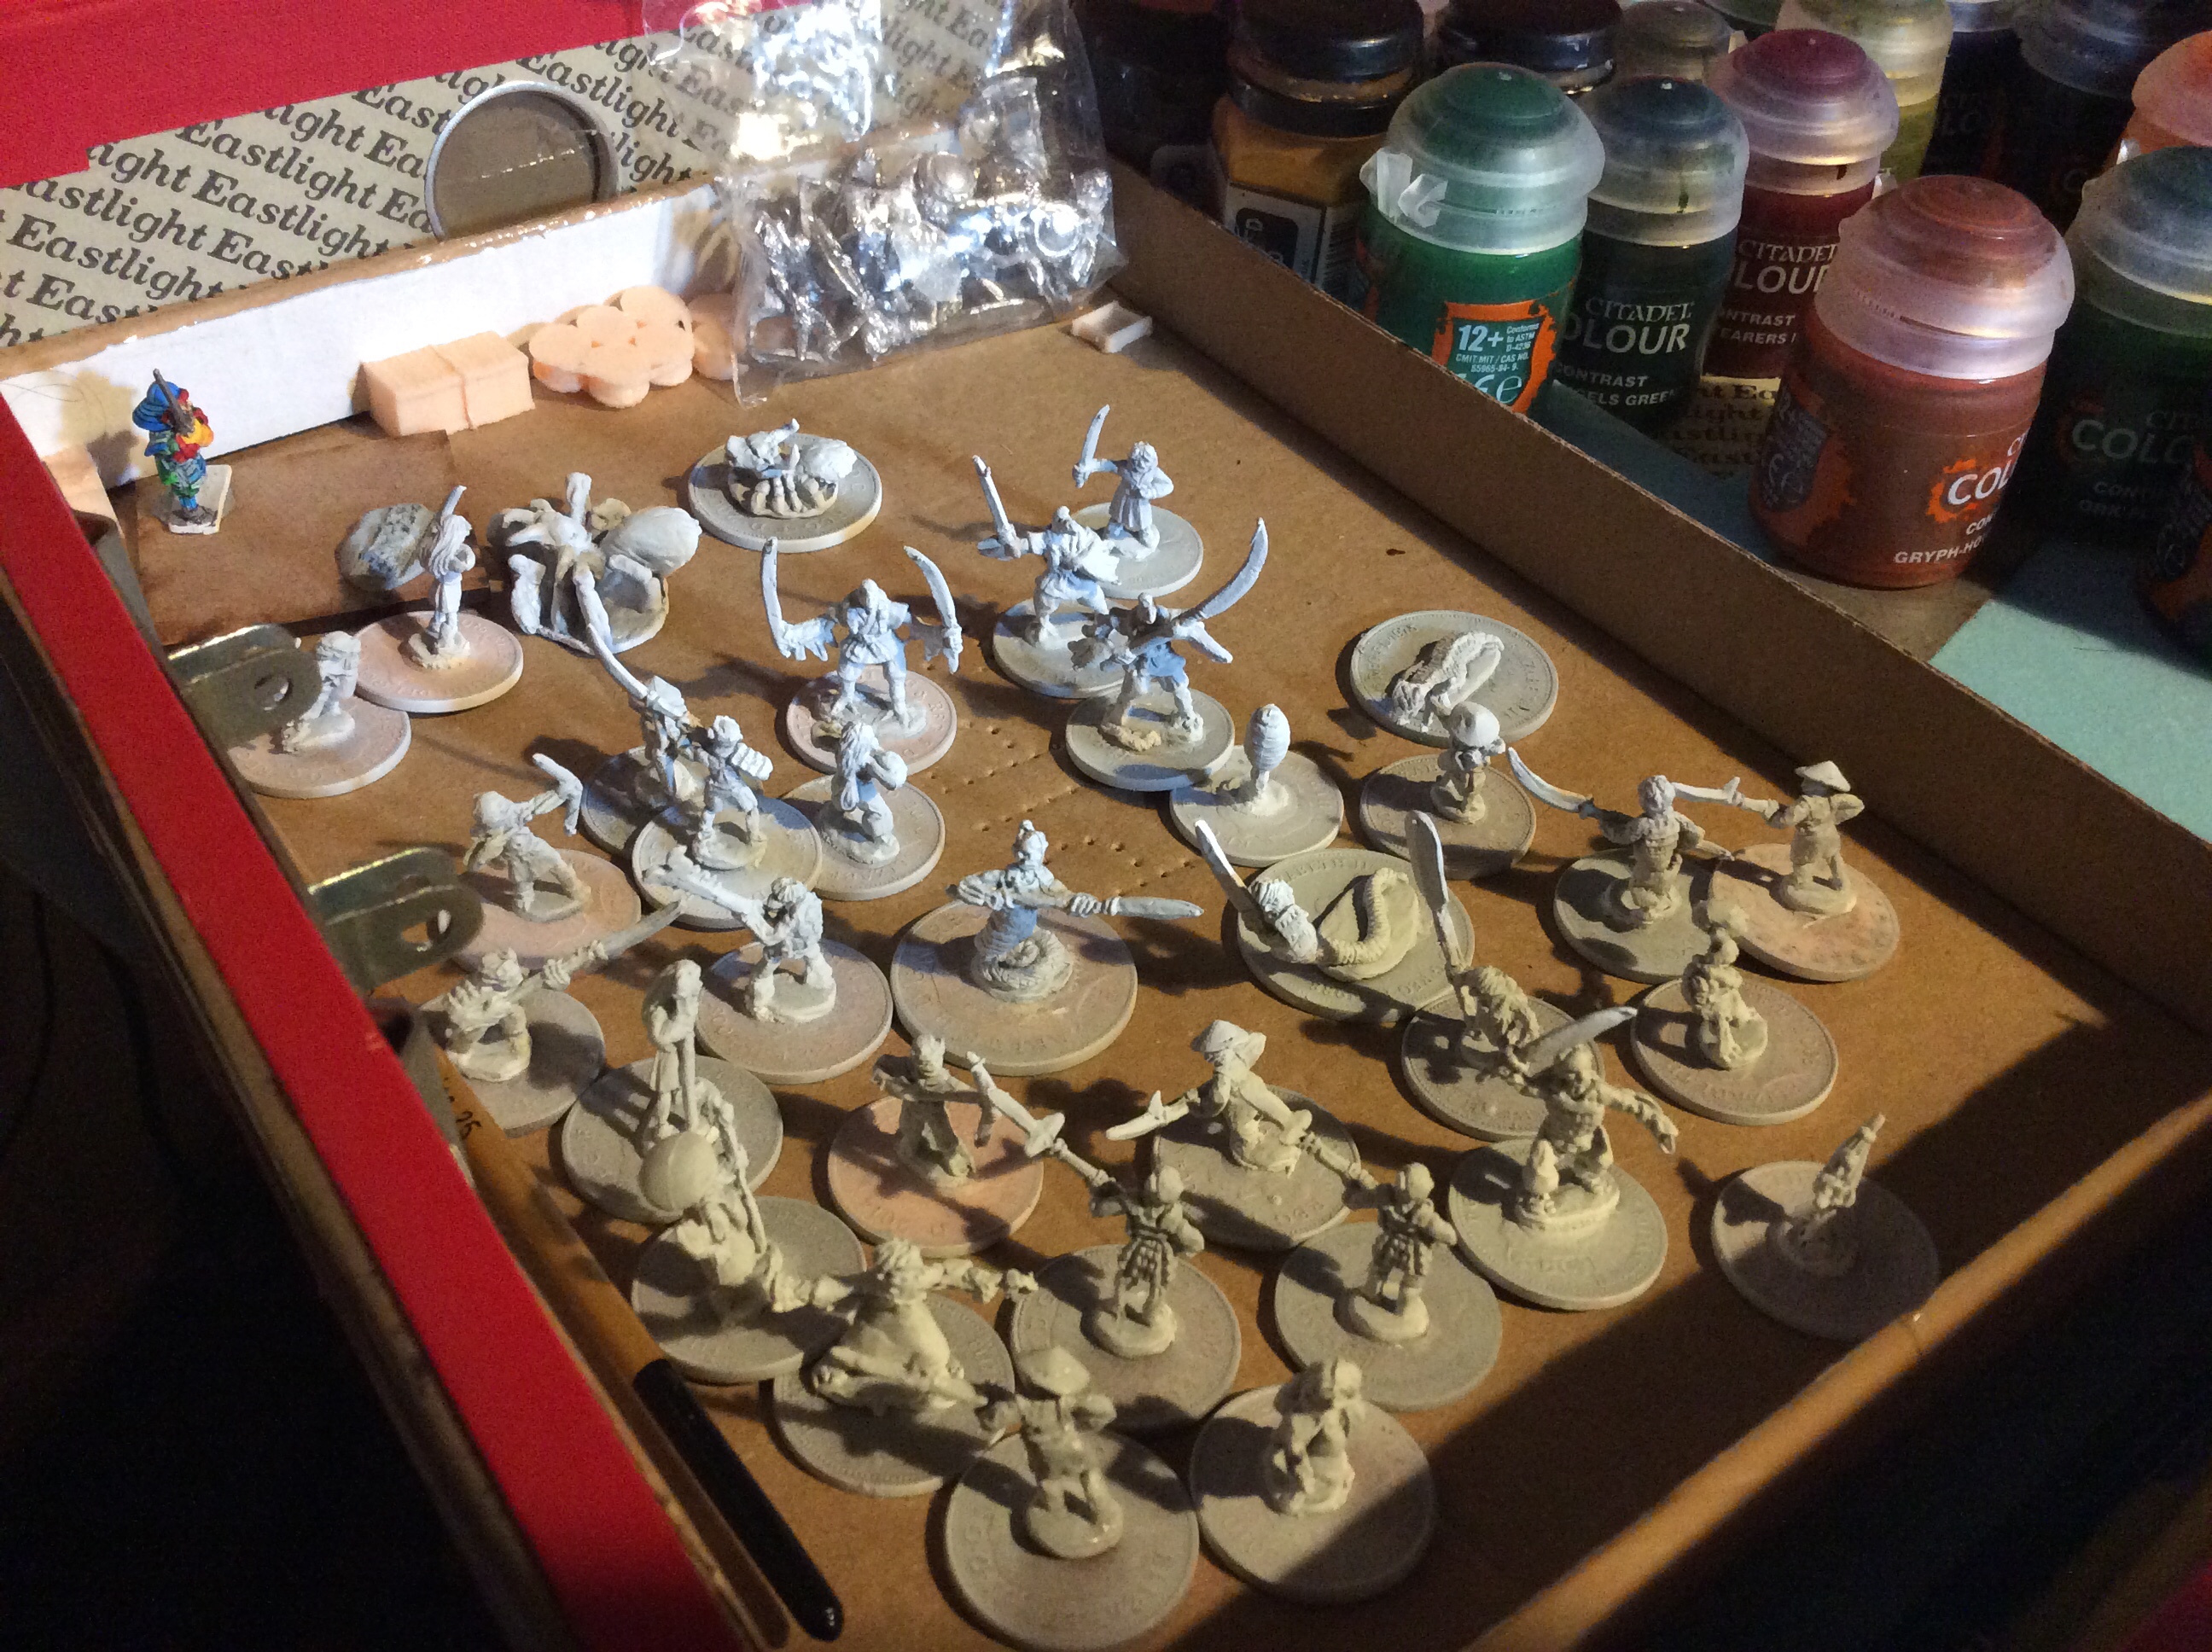
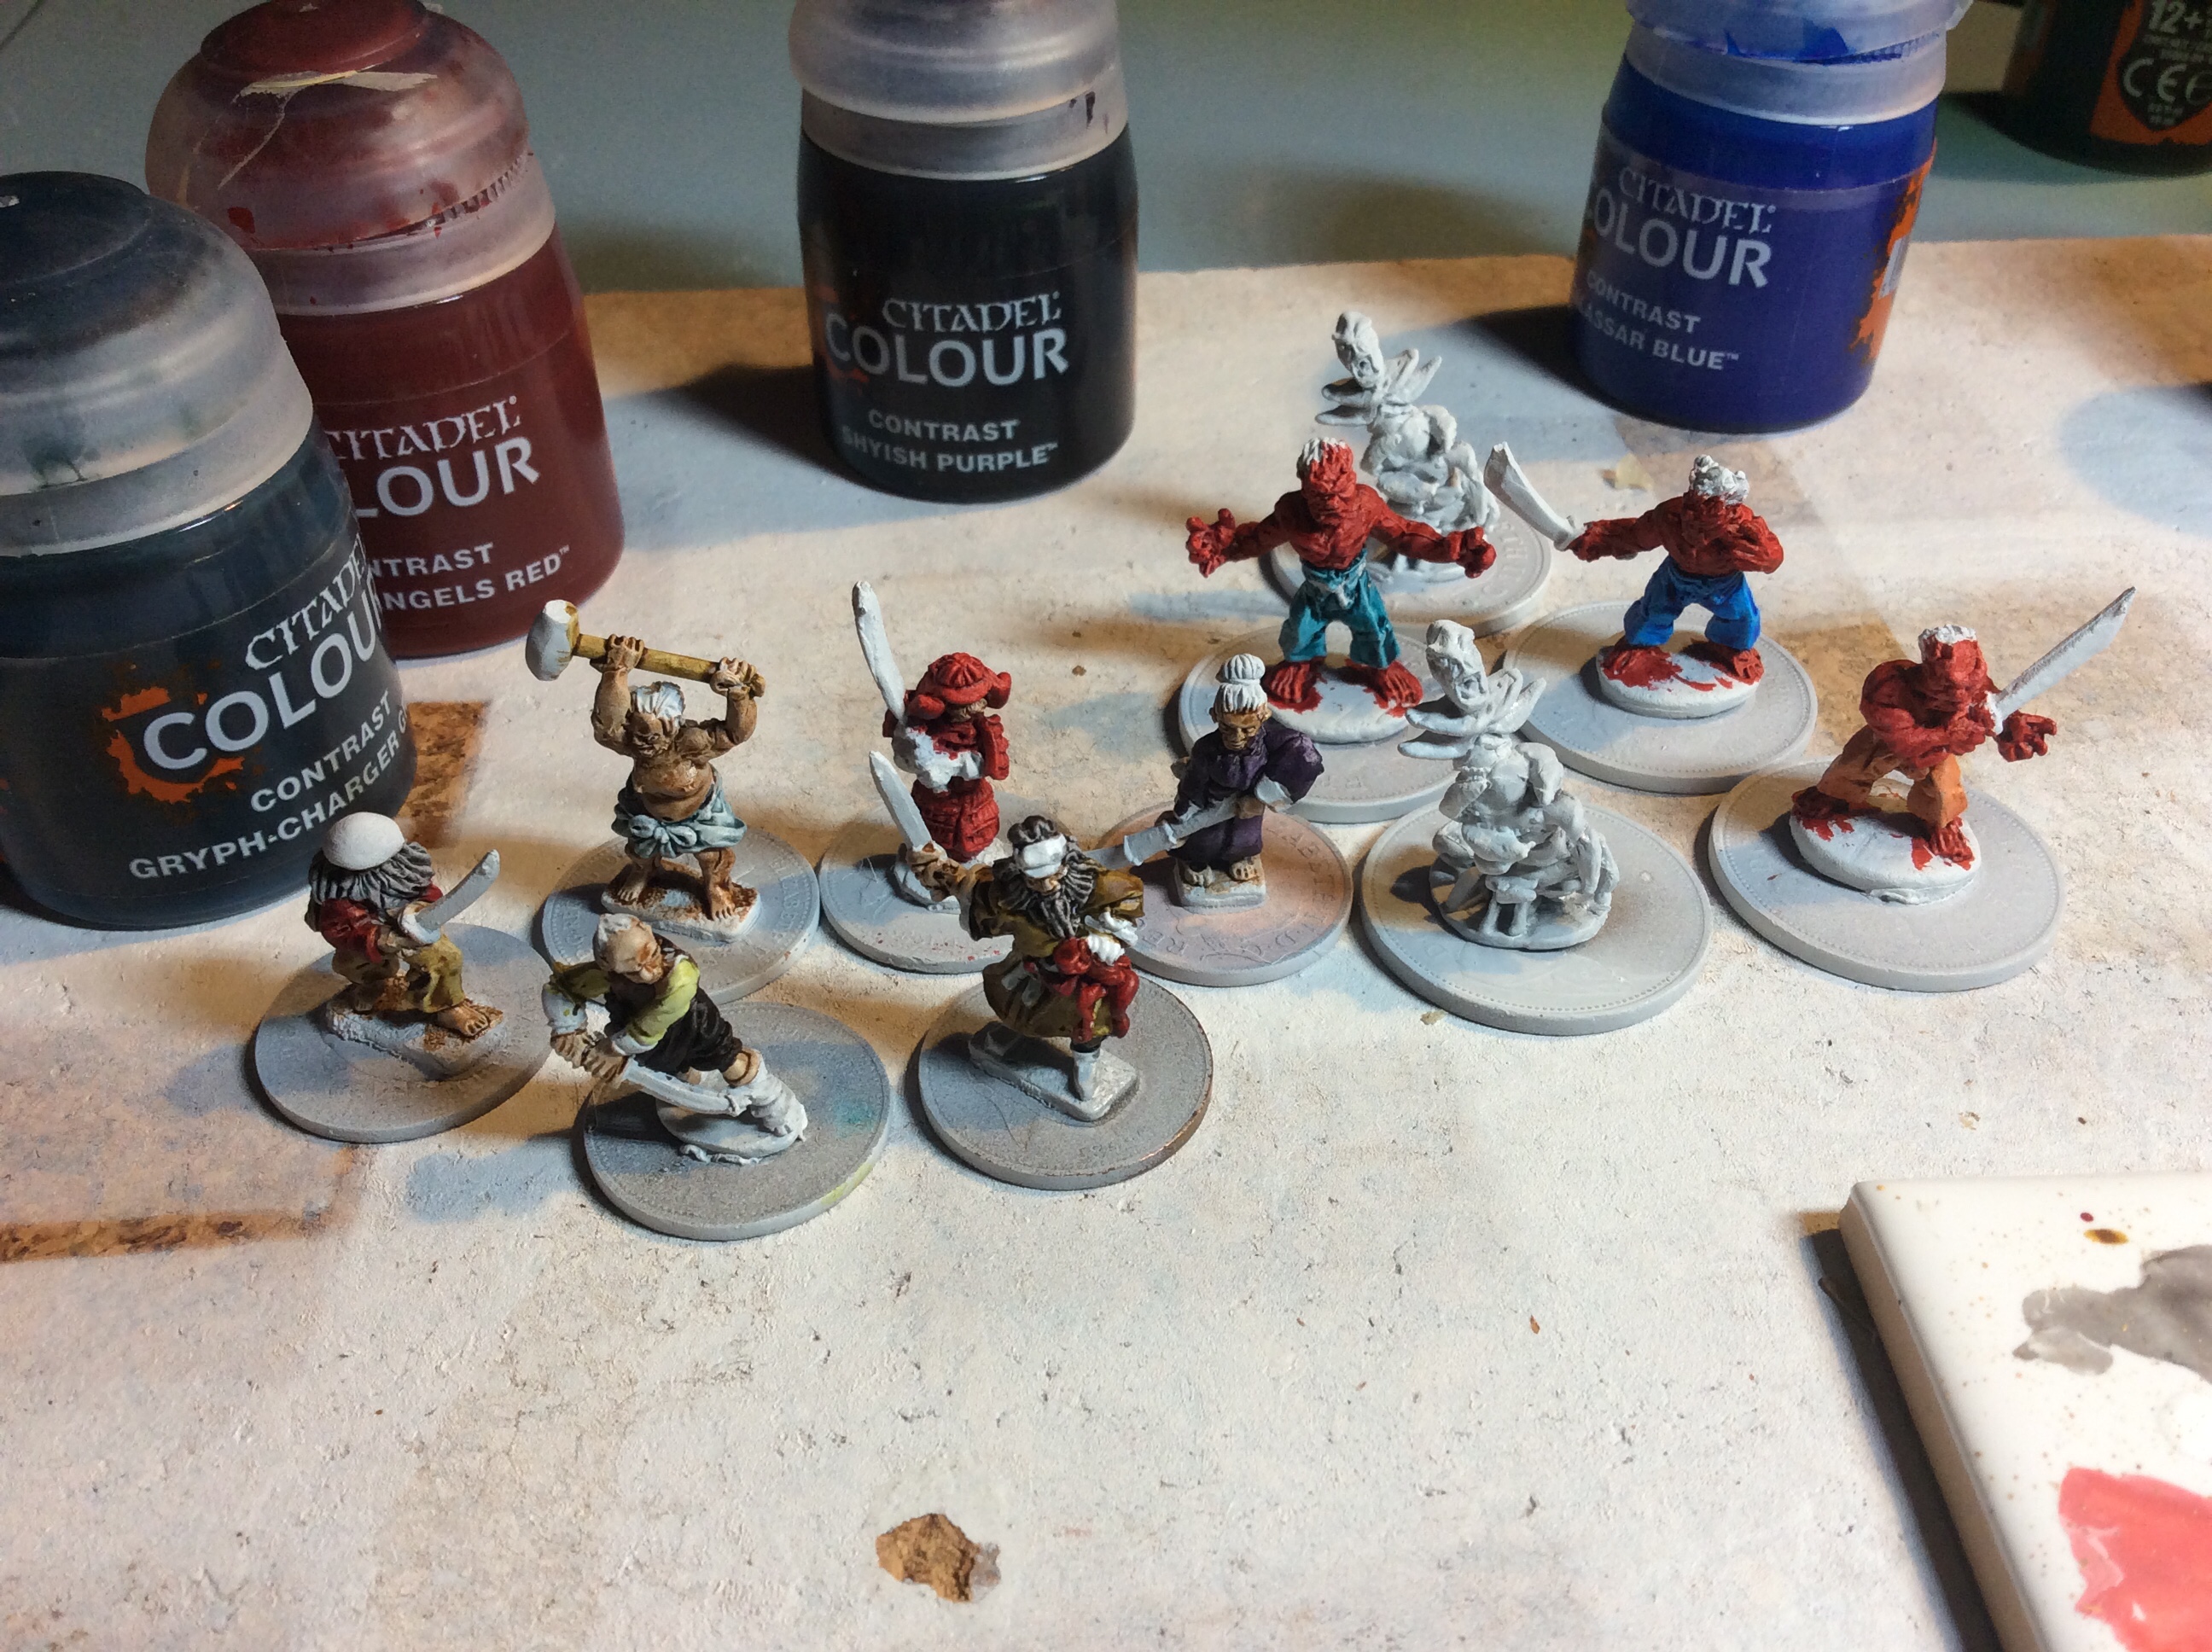
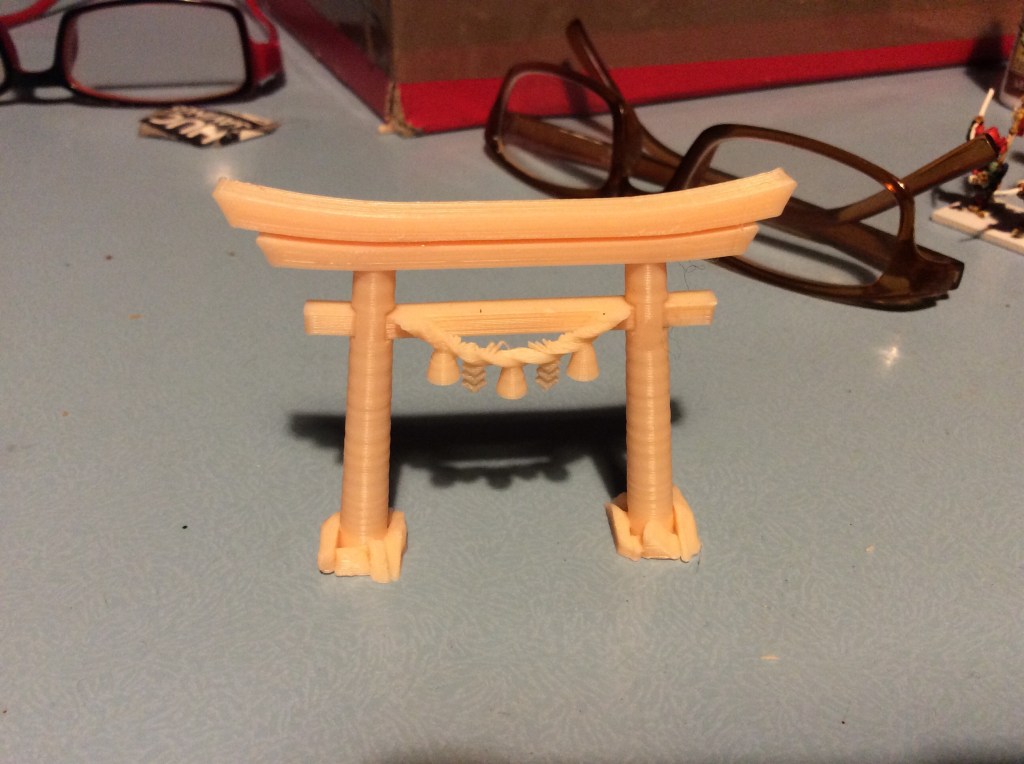
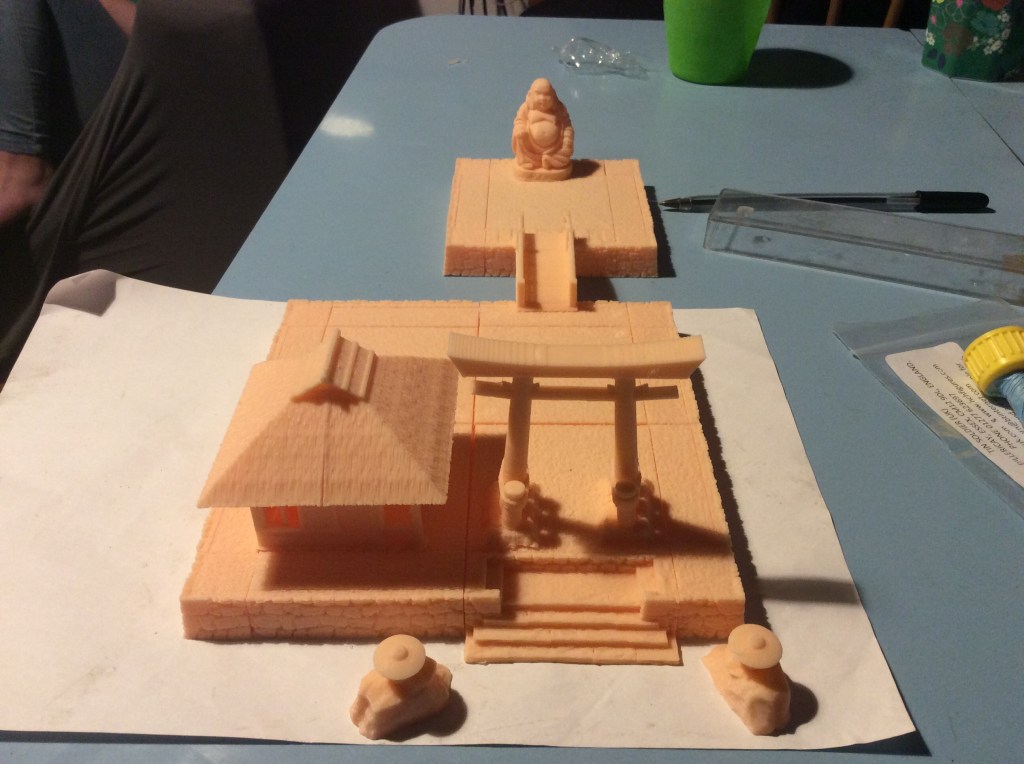
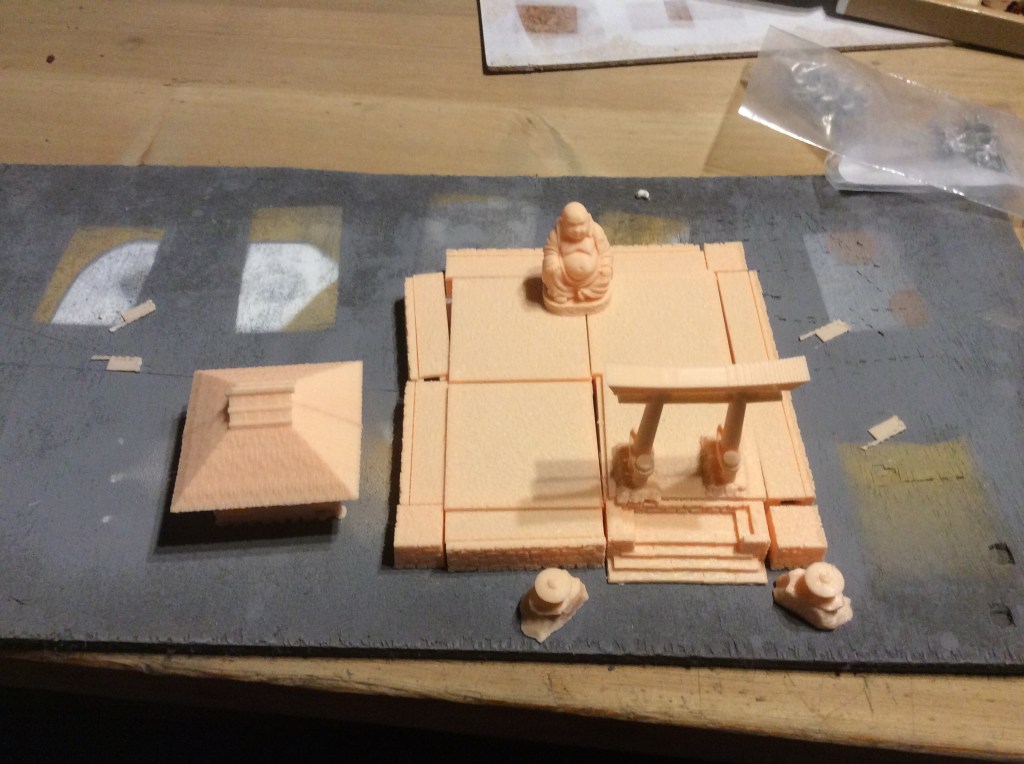
Still a long way to go, but I want them done by next weekend so I am going to have to get busy this week. I will have to get Greenstuff into the terrain as well as print the base for the Shrine as well as get it all painted. so all in all, a lot of busyness will be required.

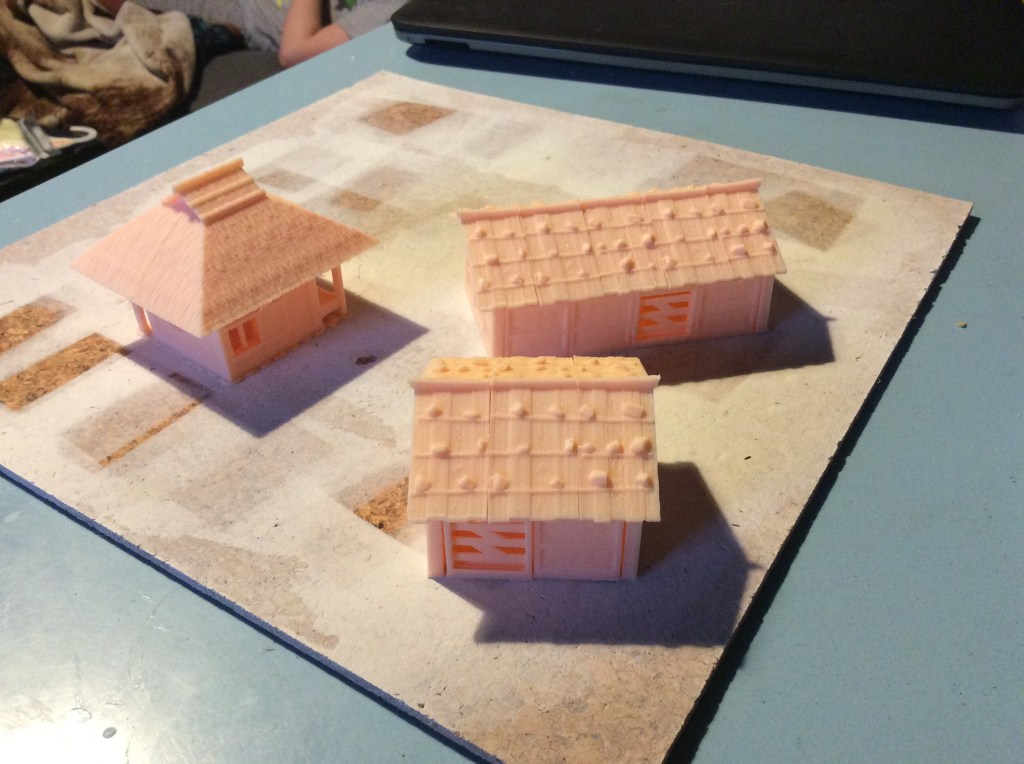
Biggest problem I think I will have is the Tin Soldier Miniatures (as well as the Battle Valour ones) are quite big. These ones are a whole lot smaller so the buildings may look out of scale. If the worst comes to the worst I can always reprint at 40% or whatever looks right.

Wish me luck, I am probably going to need it.

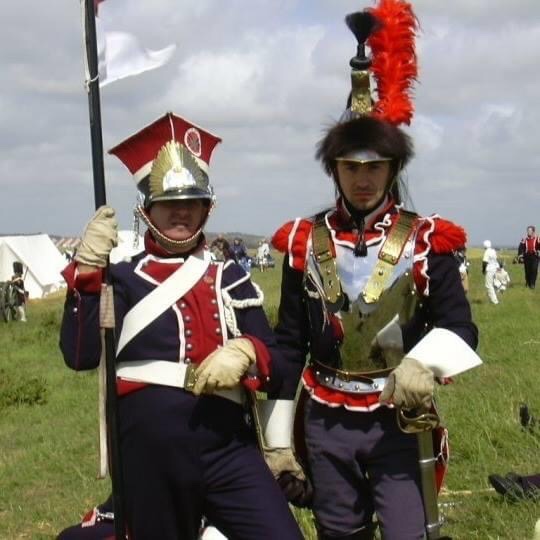
As Pete was painting Cuirassiers and has done the lancers, I thought I would share another random re-enactment photo

Not sure where my plume went! I would like to point out that we were on a hill and he was higher up it than me. I think he was from Eastern Europe from what I remember…

Birthday Hamlet

So I started collecting everything together to see how much there is for my mates birthday.

There is still the pond to add into this lot and a small Buddha shrine too. This one will be the small square one with the Buddha on it and steps leading to the statue .

It should keep me going for a while. I am not going to get anything painted tonight as I am too knackered.

So instead here is another random re-enactment photo…

My good lady and I in Boulogne. I must find the video of the battle! Between the French and British… not me and her.

Birthday Buildings

Today has been spent printing more bits and bobs for my mates birthday on Friday. The miniatures haven’t arrived yet so I will need to get these sorted ASAP.

None of these are glued yet!

This will be his small farm. I still have the shrine base to do, but as I am nearly out of filament on this roll then I will need to put a new one on first to print it out.

Hopefully tomorrow I will get the gaps filled on these and get them sprayed on Thursday. I thought I would point out that the gaps are there as I seem to have a bit of a warped bed. Sometimes they appear when I print in different places. It could simply be that the bed has become a little thinner in those places leading to the wonk.

Big Pile of Prints

I spent today cracking on with my mates birthday present. Apart from the Buddha they are all from 3DALIENWORLDS.

I still have a raised area to do for the Buddha and some more roofs for the farm houses. I will do some rice paddies and some more fences to make fields. I will do some more rice stores too. One for him and some more for me.

3DAlienworlds have just posted a list of upcoming files for the Samurai. Very excited! I must be, Facebook informed me that I was a top fan 🤣.

The one thing I am going to do is to print a couple more Nobori banners for my shrine. I was reading somewhere that they were sometimes used to name patrons of the shrine. So a couple would look quite good just before the bridge.

Last check of the printer methinks and then bed. Catch you all tomorrow.

Torii and a Pond

So today I set the printer running to get some terrain done for my mates birthday. I decided to do him a big pond. Thankfully at about the 2hour mark I checked on the print and the front end was starting to lift. Luckily the blue tape was handy and I had enough to fasten it to too. For some reason the front of the print plate seemed to have dropped a bit. Hence the problems. It still looks okay so once I get it onto something flat then I will fill in the gap. Luckily it is where the stones are at the bottom of this image so it is hard to actually see from the top.

I printed out the accessories too and made a smaller torii gate.

My PLA order arrived today too…

It should keep me busy for a while.

I printed off some fences, another well and a Buddha to build a mini shrine for him. I will also do him a couple of farm houses too.

Printing Pond life

Today I sliced all of the bits to go into the pond. I printed the pond at 100% but all of the flora and fauna at 50%. It made some really small things!

I was surprised at how well the fish and turtles etc came out. To be honest the Lilly pads struggled a bit at 50%

I shoved some of them into the smaller pond too…

I am really chuffed at how well they look. I have actually bought some resin so that I can add ‘water’ to these. It is so long since I have done anything like this it will be interesting to give it a go. I am also going to add some to the paddies and if there is anything left then I can make some canal pieces up too.

I had a print failure today. I started printing some building pieces for my mates birthday and for some reason I had a failed print. One of the end pieces came partially adrift and was threatening spaghetti monster everywhere. Now in hindsight,as it had been just under 2 hours, I could have actually kept it going instead of cancelling the print. The piece hadn’t fully come adrift. I could have done a rescue ‘hold it in place’ rescue so that the rest could have printed…. ah well hindsight is a great thing.

Putting the Shrine Together

Tonight I finished the last piece of the shrine and decided to glue it all together.

So this is where I got to. Gaps to fill etc, but it is all glued together now. The base bits are all glued together the things on it are just in position.

The next thing to do is to decide whether or not to put a wall around it or put it into some kind of natural terrain. He idea is that the far bit will always be separated to allow for more flexibility. I tried the teahouse on it and it like kind of funky on there.

I do really like this set. It has combined well with the other ones to make something different.

The other thing I did was to print some nobori for the army. I went for a plain pair, a Mori clan pair with a triple mon and a Hokosawa clan pair with a single mon.

They are probably a bit on the large side for the 15mm. The stand certainly makes them look huge. They don’t look too bad next to a figure without the stand.

I never did get anything painted tonight. The glueing of the shrine took longer than I expected.

I hopefully will get onto the Ashigaru tomorrow.

Working on the Shrine

I managed to get all the bits printed today…. well that isn’t exactly true… I finished printing all of the bits today. Each bit takes a good old while. The centre bit, for example, takes 2 hours 48 minutes to do, the corner is speedy in comparison at only 38 minutes. I have become a bit anal in recording everything, but it is really handy to know how long a particular print will take…

I just hope I don’t lose this book…

As can be seen I write all the times down, it makes life easier knowing that I can go and do the horse and get back before a print finishes. Anyway enough of this jibber jabber… here is where I have got to with the shrine so far.

The rear left corner is finished too.

I am in two minds whether to put the building on the raised section or leave it off. A second thought I had was to build a separate raised section connected by a bridge. This other section would have the Buddha on it.

I will glue this lot together tomorrow sometime ready for undercoating.

I decided that I would purchase some more bits and pieces from 3DALIENWORLDS. So I am now the proud owner of some bridges, some ponds and the large banners that came out today. I have kickstarted a couple of STL makers, one is making some Mighty Empire style tiles and another is making some interesting roadways. Luckily I have managed to sell my Lizardmen to pay for my new addiction!

Further work on the Shrine

I printed a few more bits today and put bits together to test them out to see what I think about how it looks.

This is half the depth I want it, so the Buddha is a bit close to the front at the moment. The more astute of you will recall me talking about adding a tiled roof to this Torri gate…. errr I forgot and superglued it in place before I remembered!

The outer area will have a low hedge using clump foliage and where the Buddha is now will have the prayer wall. The whole thing will hopefully be surrounded by a stone wall with a gate.

I am hoping that it will fit in a box file as that is my storage option of choice as they stack easily. If not I will have to improvise. I did just have a bit of a daft thought. If I have the wall on one base and this on another then I will be able to Mitch and match what is within. Something I will have to think about or more likely- totally forget.

Work on the Shrine

Yesterday I kept pressing print after shrinking the files down by 50%.

I printed another Torii gate. This one will have a tiled roof.

I also found a statue of the Buddha On Thingiverse to go in the shrine. I would like to point out I have no idea as to the accuracy of this. To be honest, it’s for a game and as such it will do for the time being.

He will look nice all golden.

The other thing I worked on was the start of the raised section. The biggest problem I am going to have is that as it stands right now it is too thin. I want the stairs to be in the middle so I will either have to print out two more straight sections, which might actually make it too wide. Or I will have to take a straight section and cut it in half in 3D builder. Another option is to forget about the building on it and leave it as is. Put the Torri gate at the base of the steps. I will keep you up to speed as to what I decided. The extra teahouse building won’t be wasted as I can give it to my mate as part of the terrain for his birthday present.

The hollow square will be used to raise the centre section a little bit. As can be seen at present, the centre tile sits at the same height as the surrounding layer. Because I am a pillock I grabbed all of the files that said centre and printed them. I forgot to read the instructions.. therefore I don’t actually know what it is for or where it goes!

I just added it and it looks fine slightly raised. This print takes a long time for what it is, this is due in part to all of the bumps on the top bit. Part of me is considering using 3D builder to just do a flat square with the same dimensions as the textured one.

On the upside 3DALIENWORLDS Have designed some Nobori flags which is something I was going to produce. That saves me a job 😁.