To be honest, I never managed twelve hours, I got about six hours off and on as my back started to give up the ghost. So how far did I get….
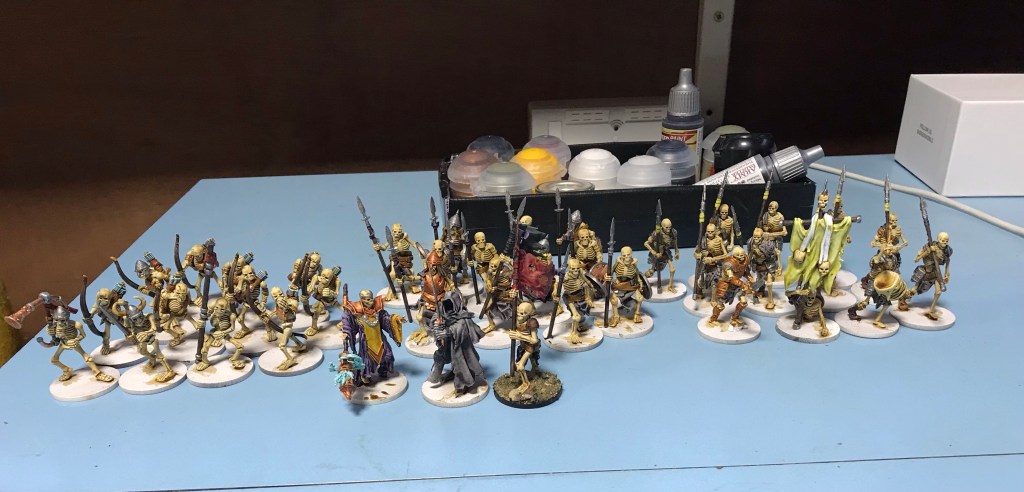
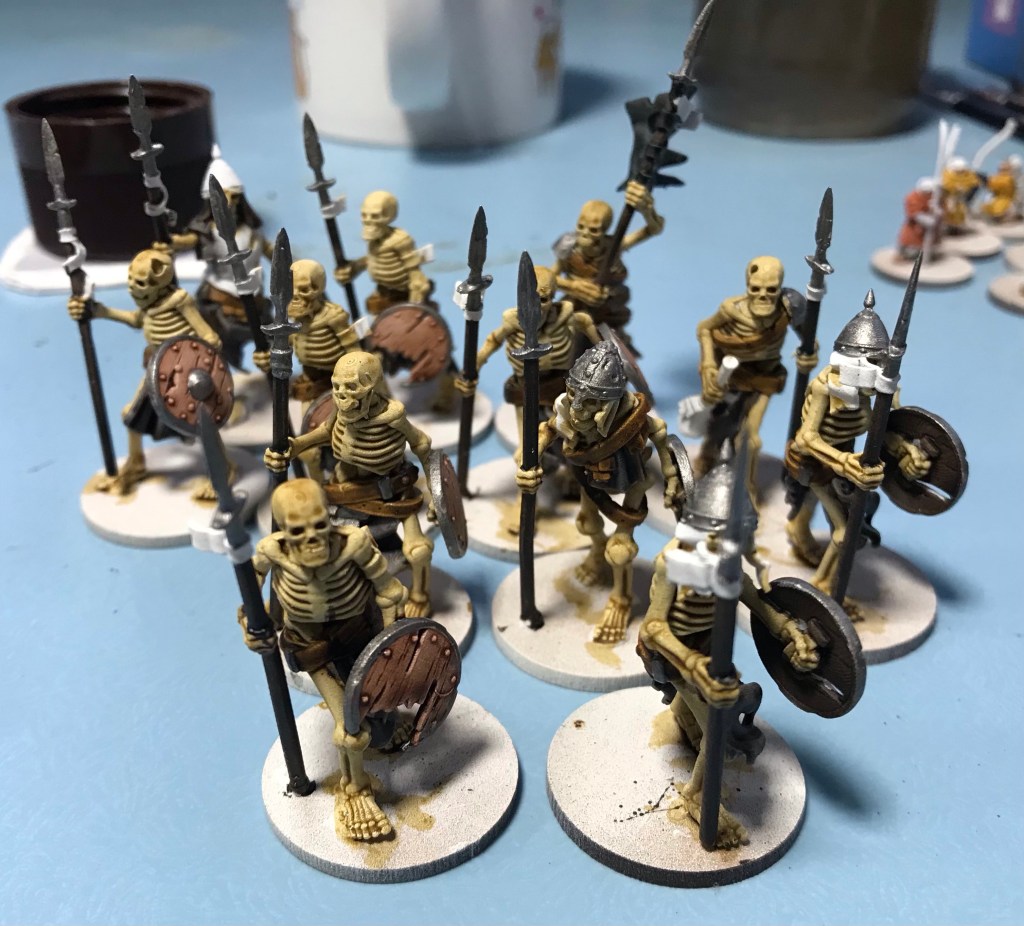
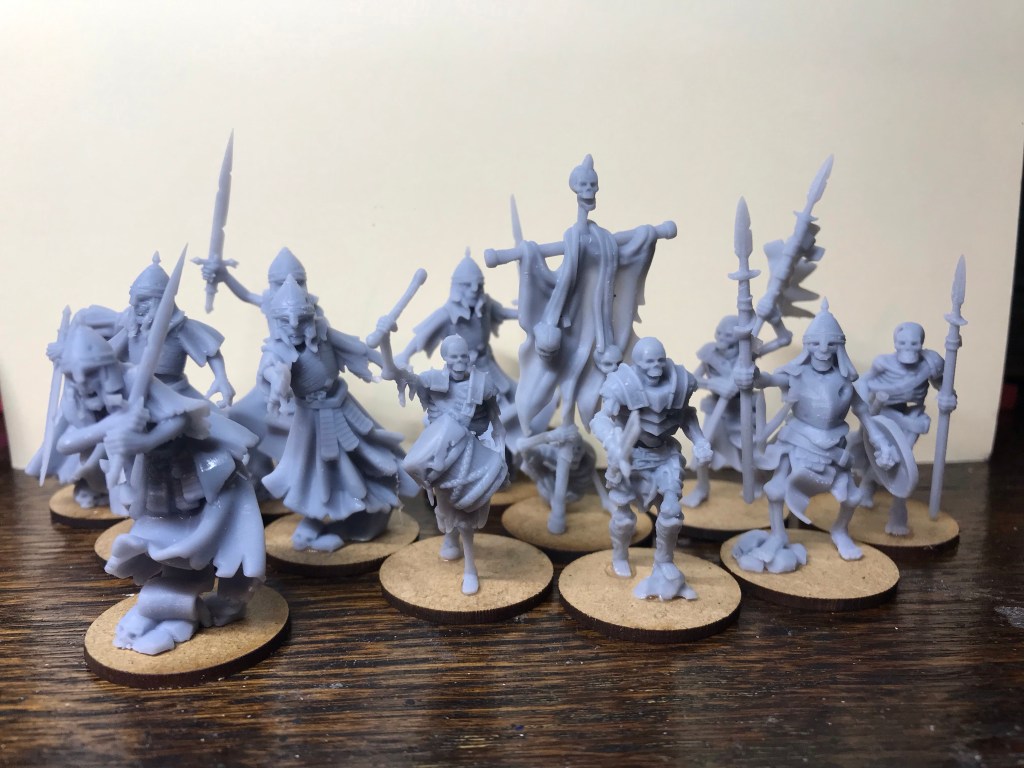
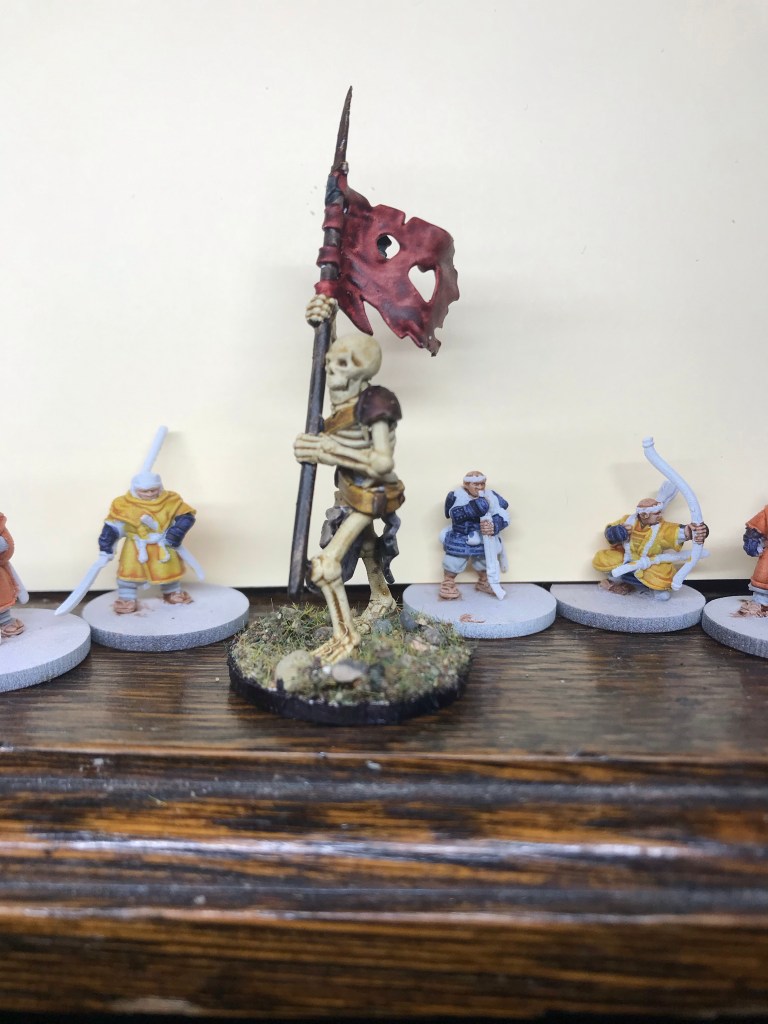
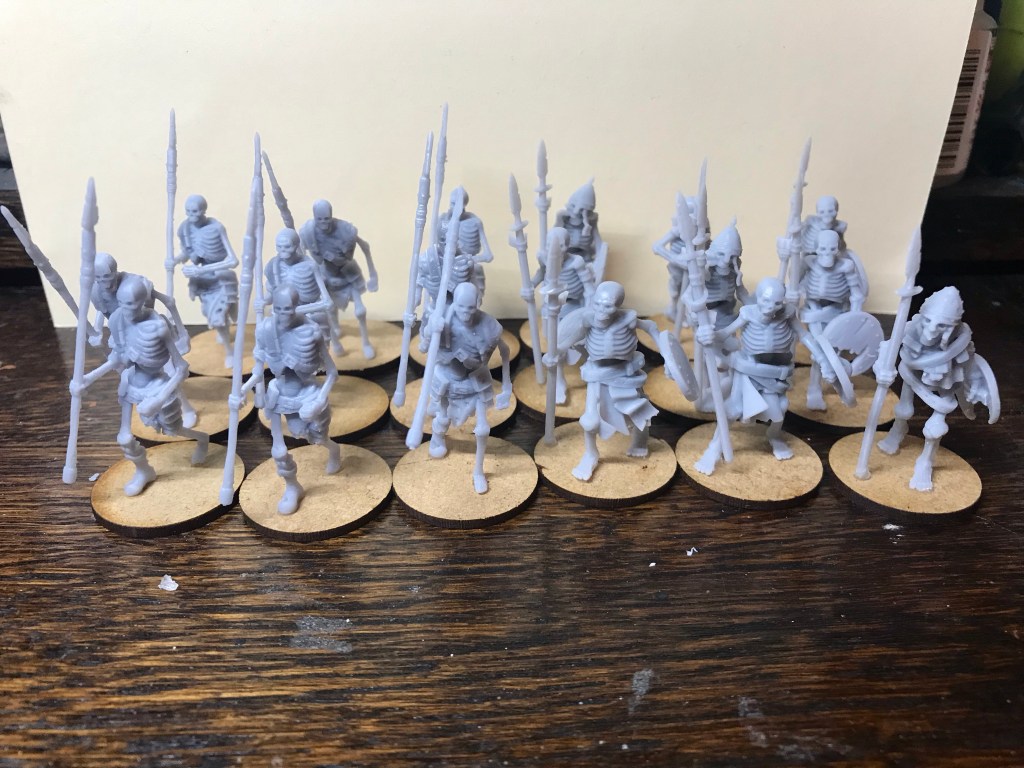
So I finished off the dozen in the middle and the mage and got the next twenty four finished, apart from the white bit on the right hand banner.
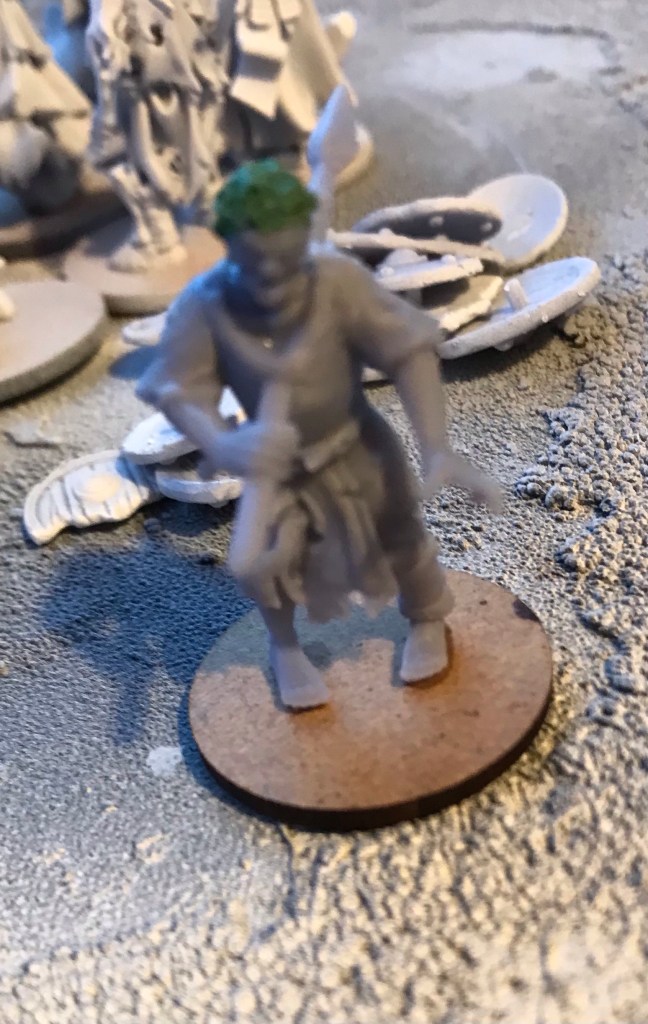
I am going to carry on with the painting tomorrow and see how I get on. I got the zombies onto their bases as well as giving mr half head a new set of hair…
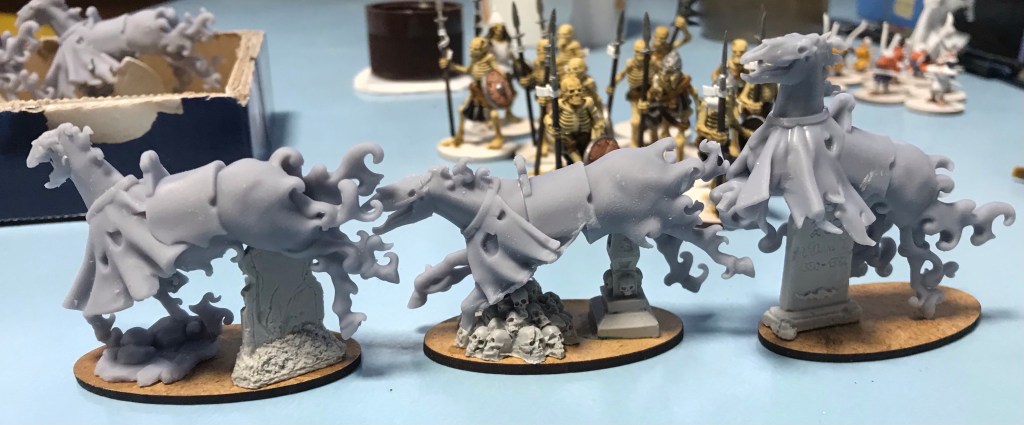
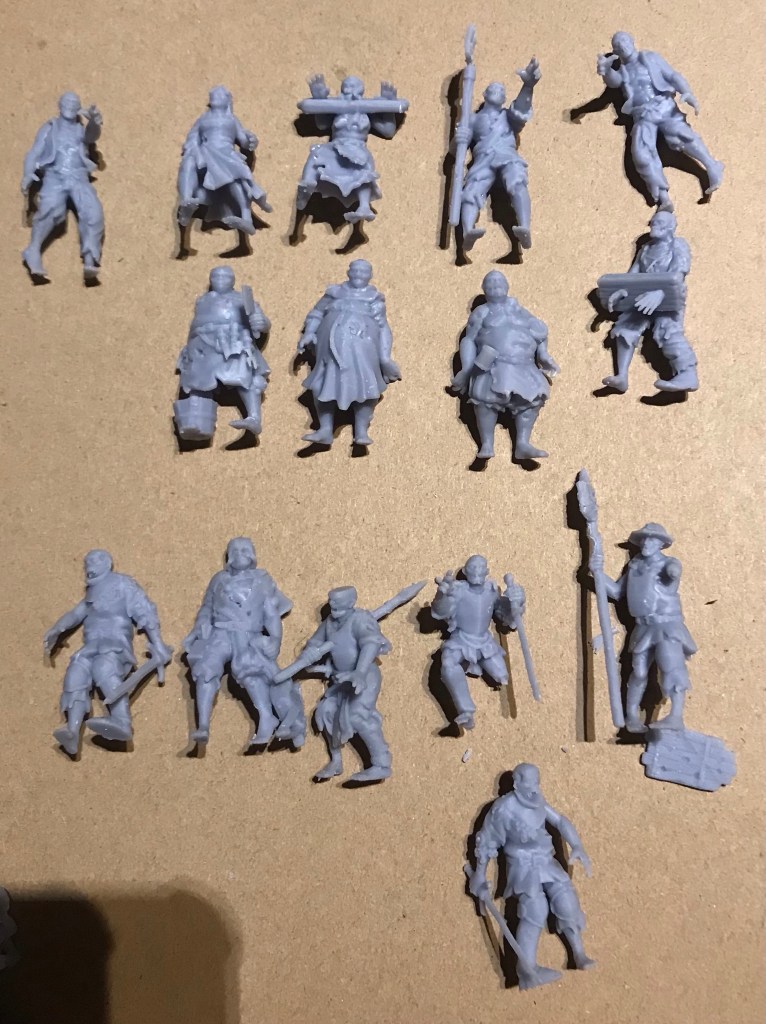
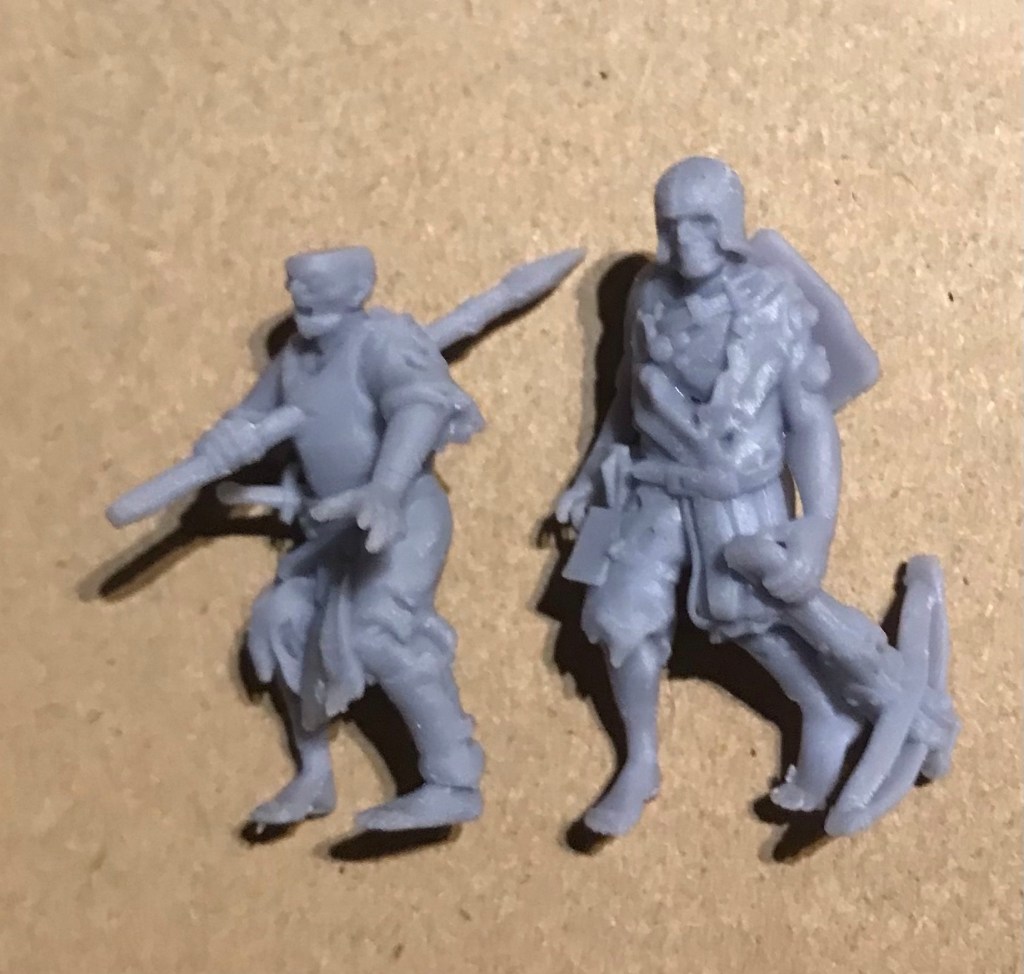
Still a whole load to do… a dozen wraiths, half a dozen cavalry plus a mounted Liche, the zombies and the dozen Boyar infantry too.
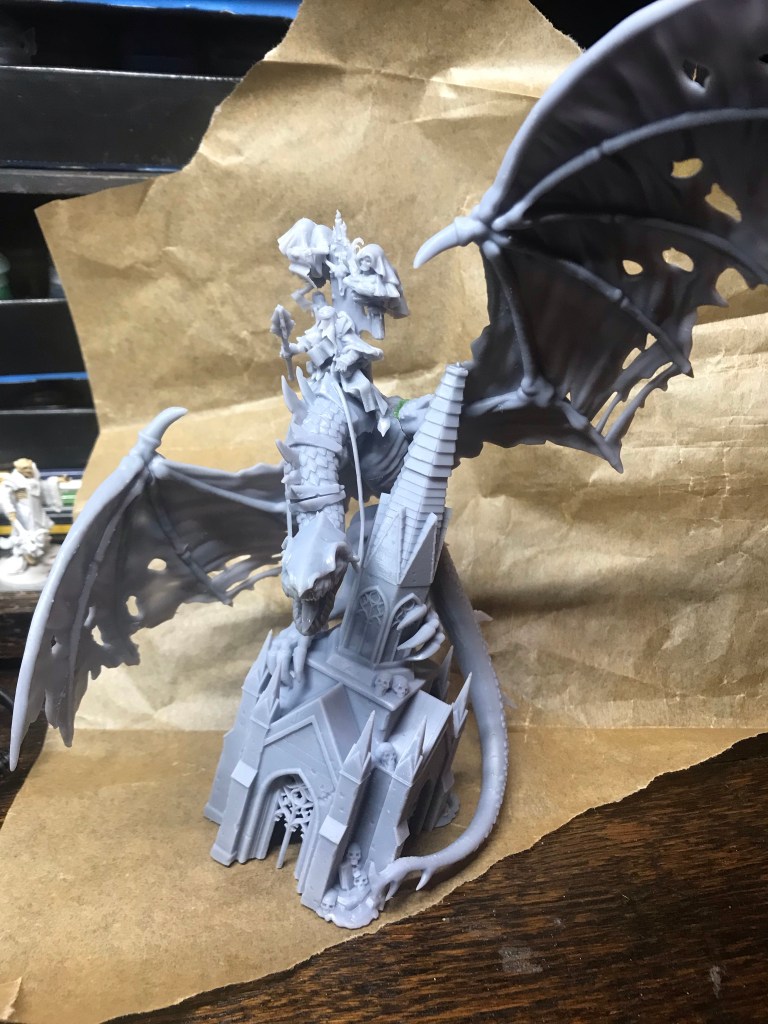
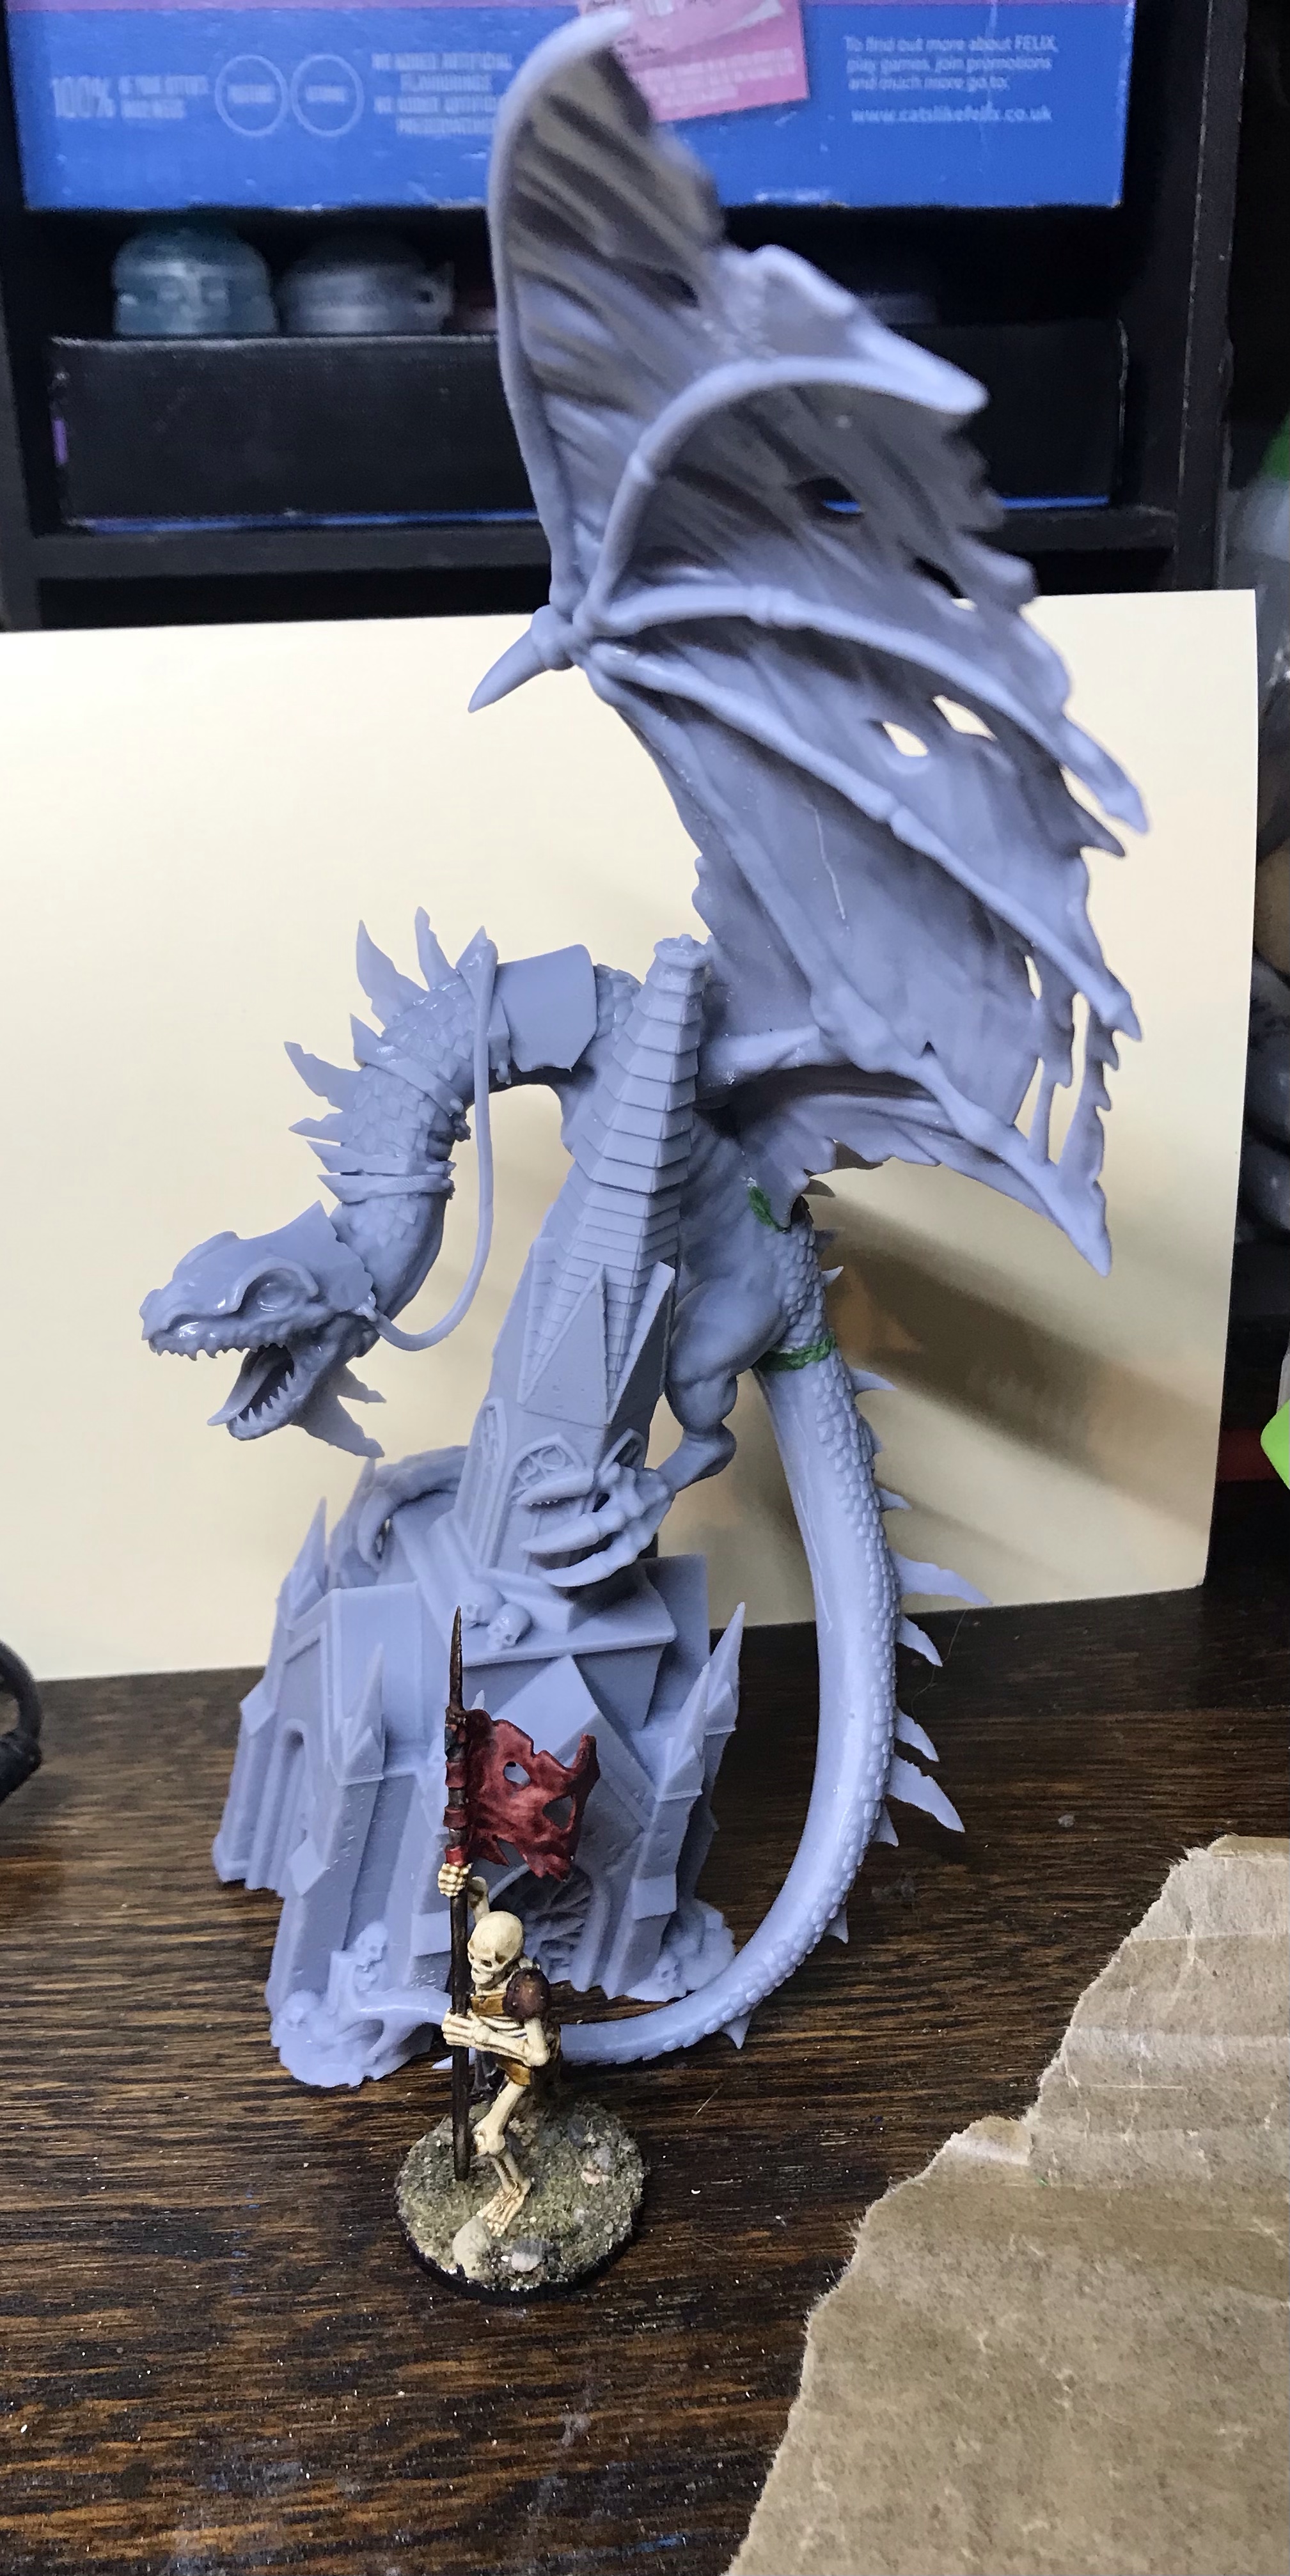
I then have the big Beasty to do. I got my air brush out for this one as I really didn’t fancy doing something this big with a 00 brush 😉.
I think that is everything that I have for the undead army.