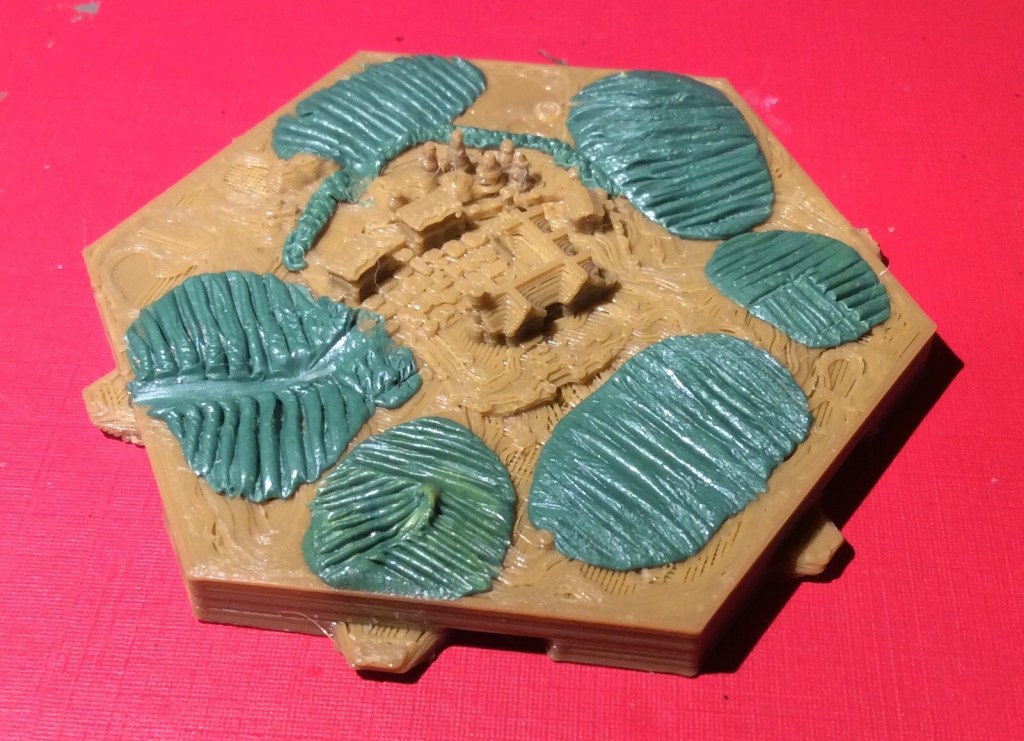
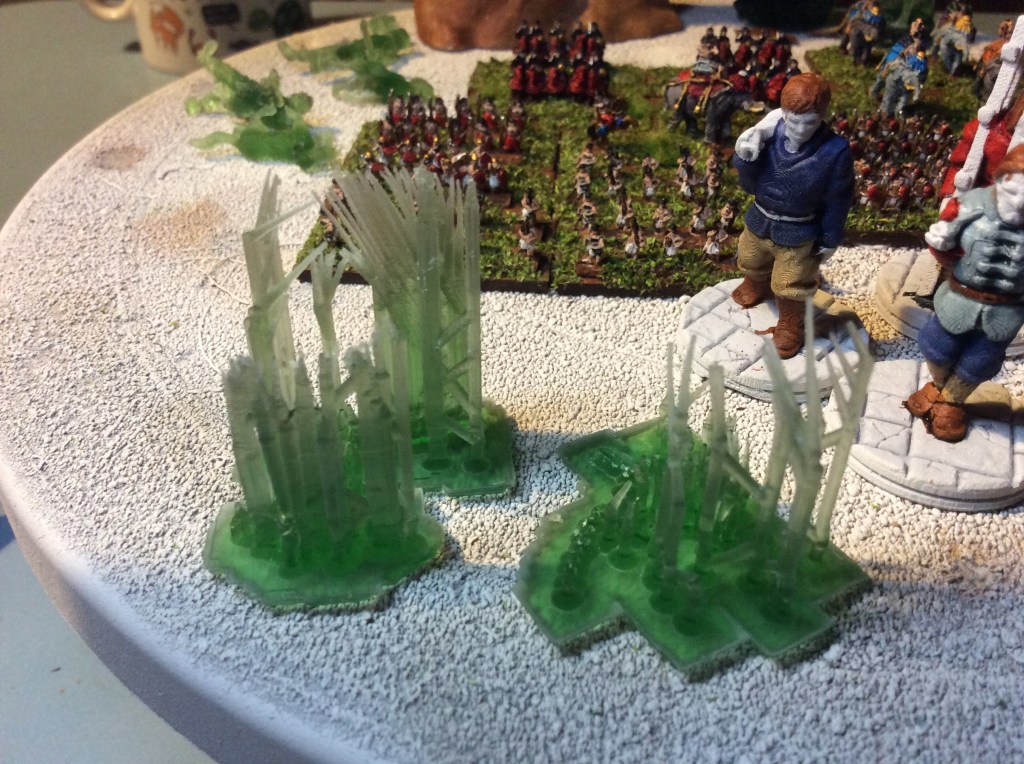
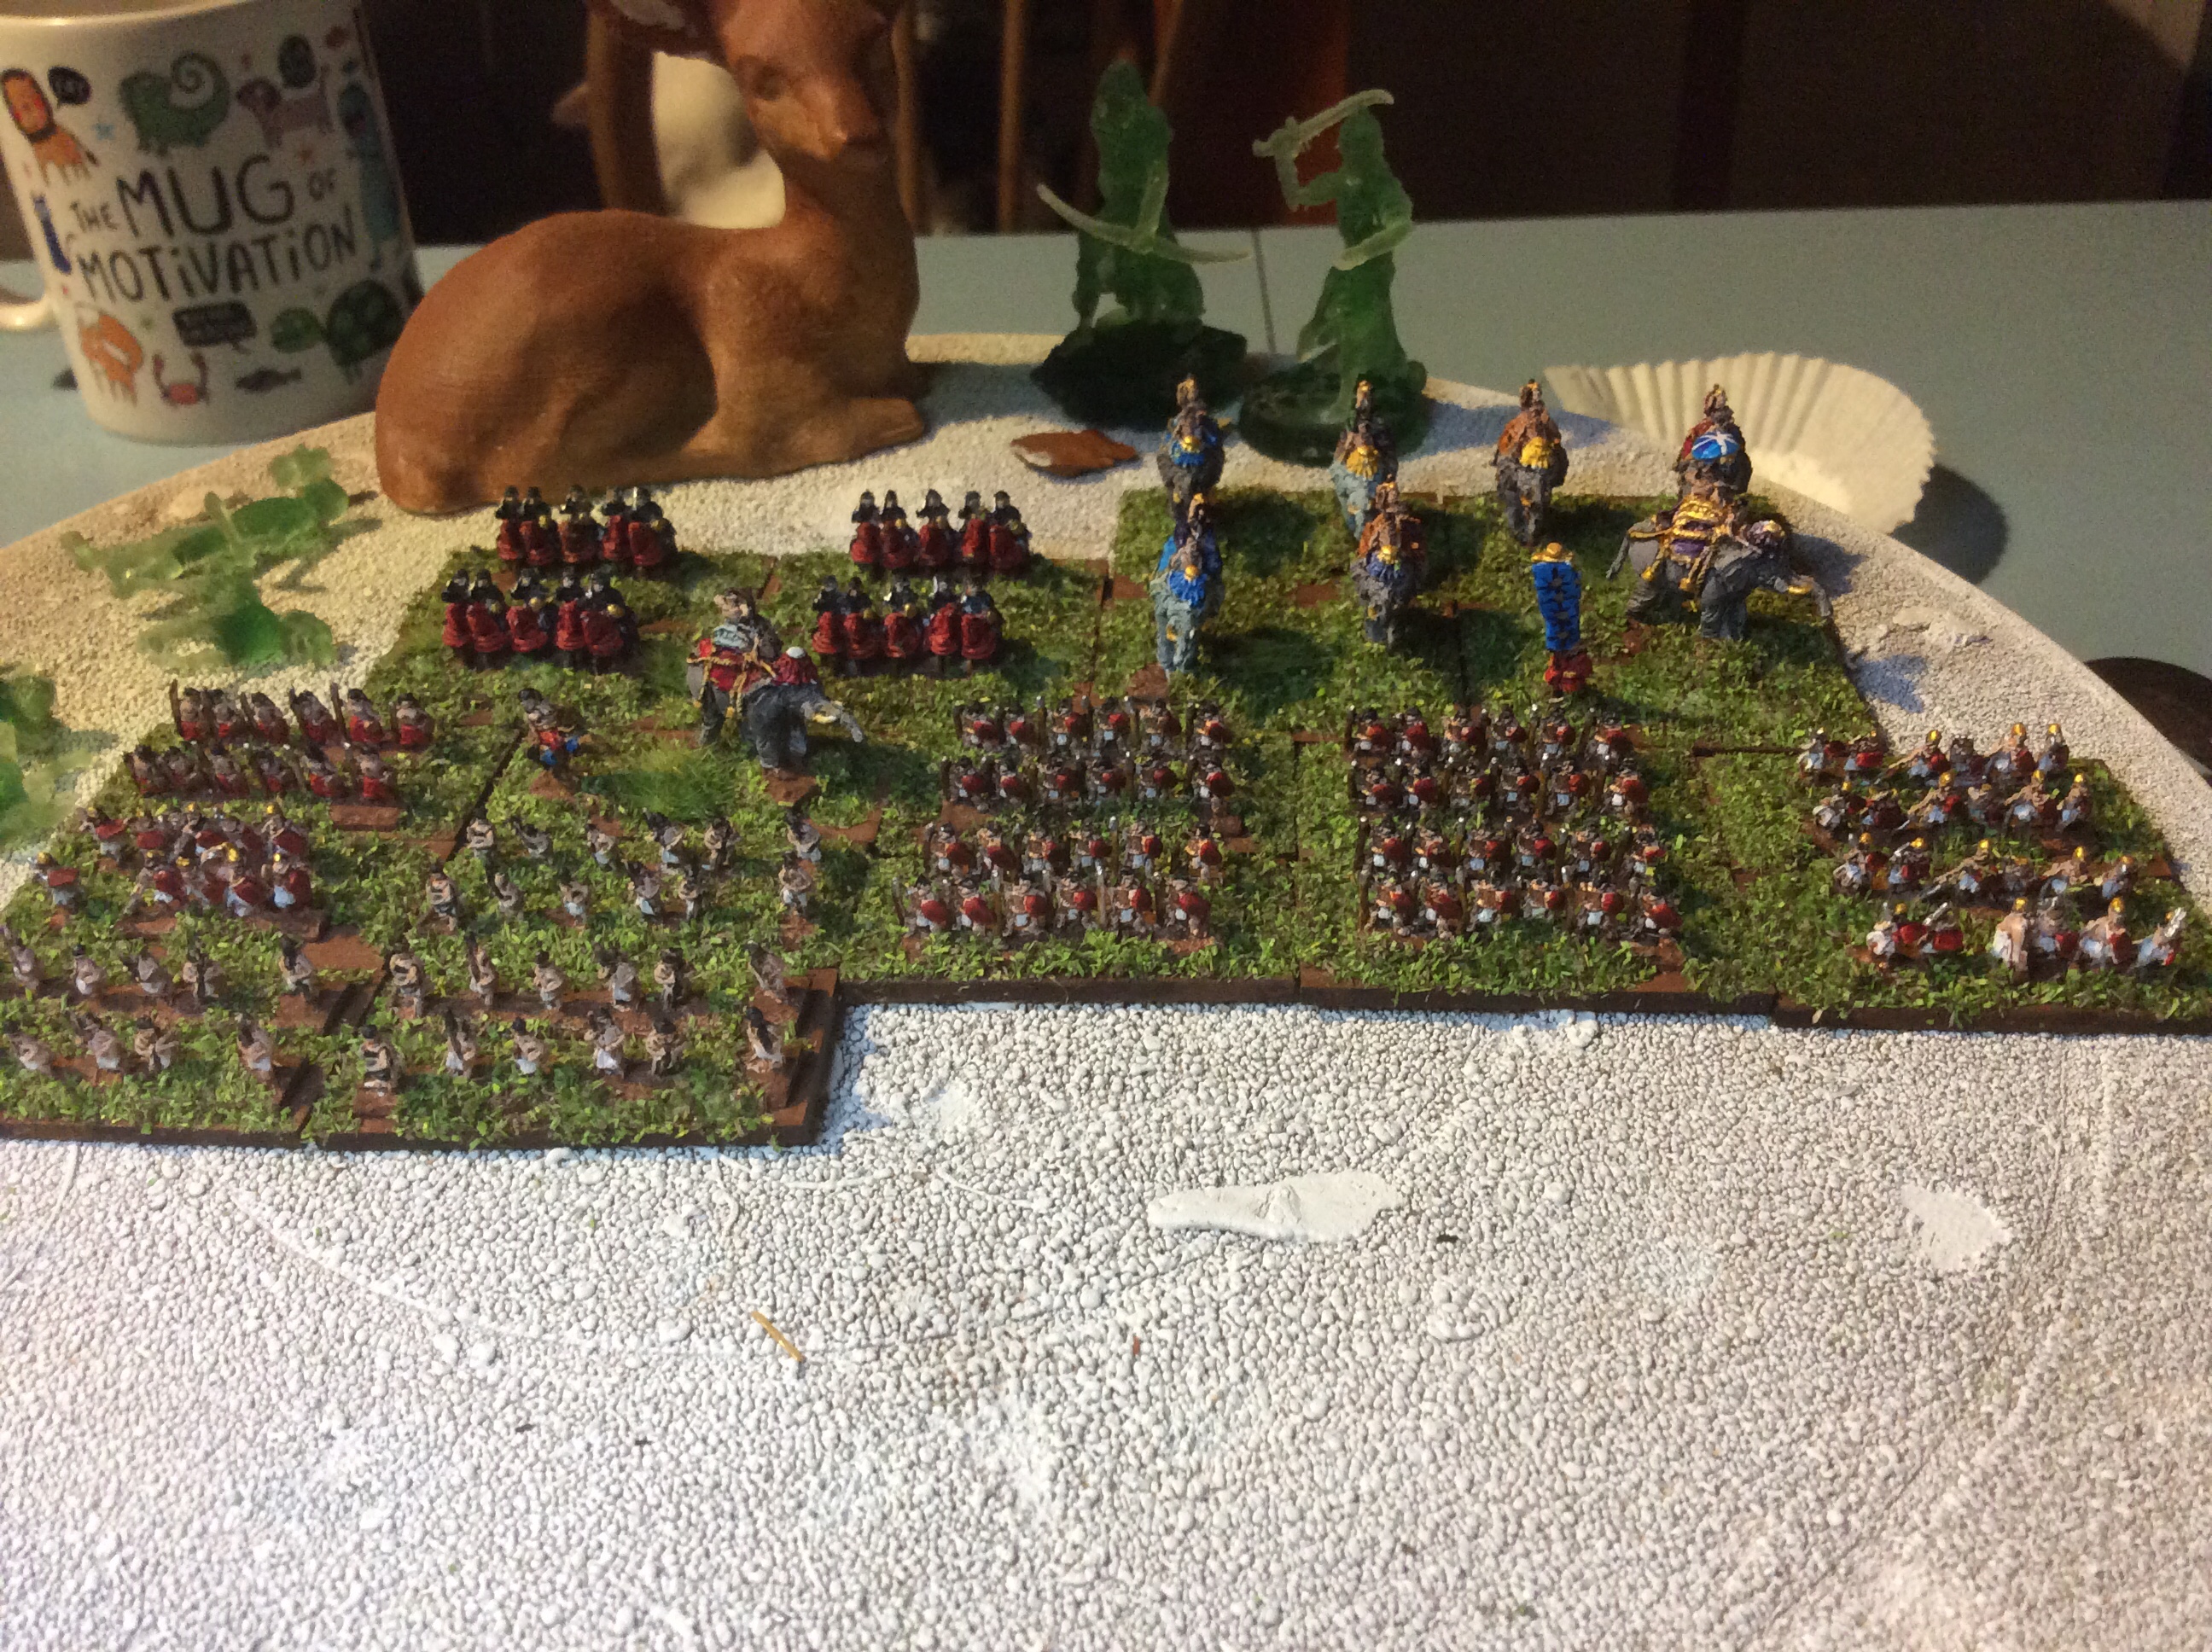
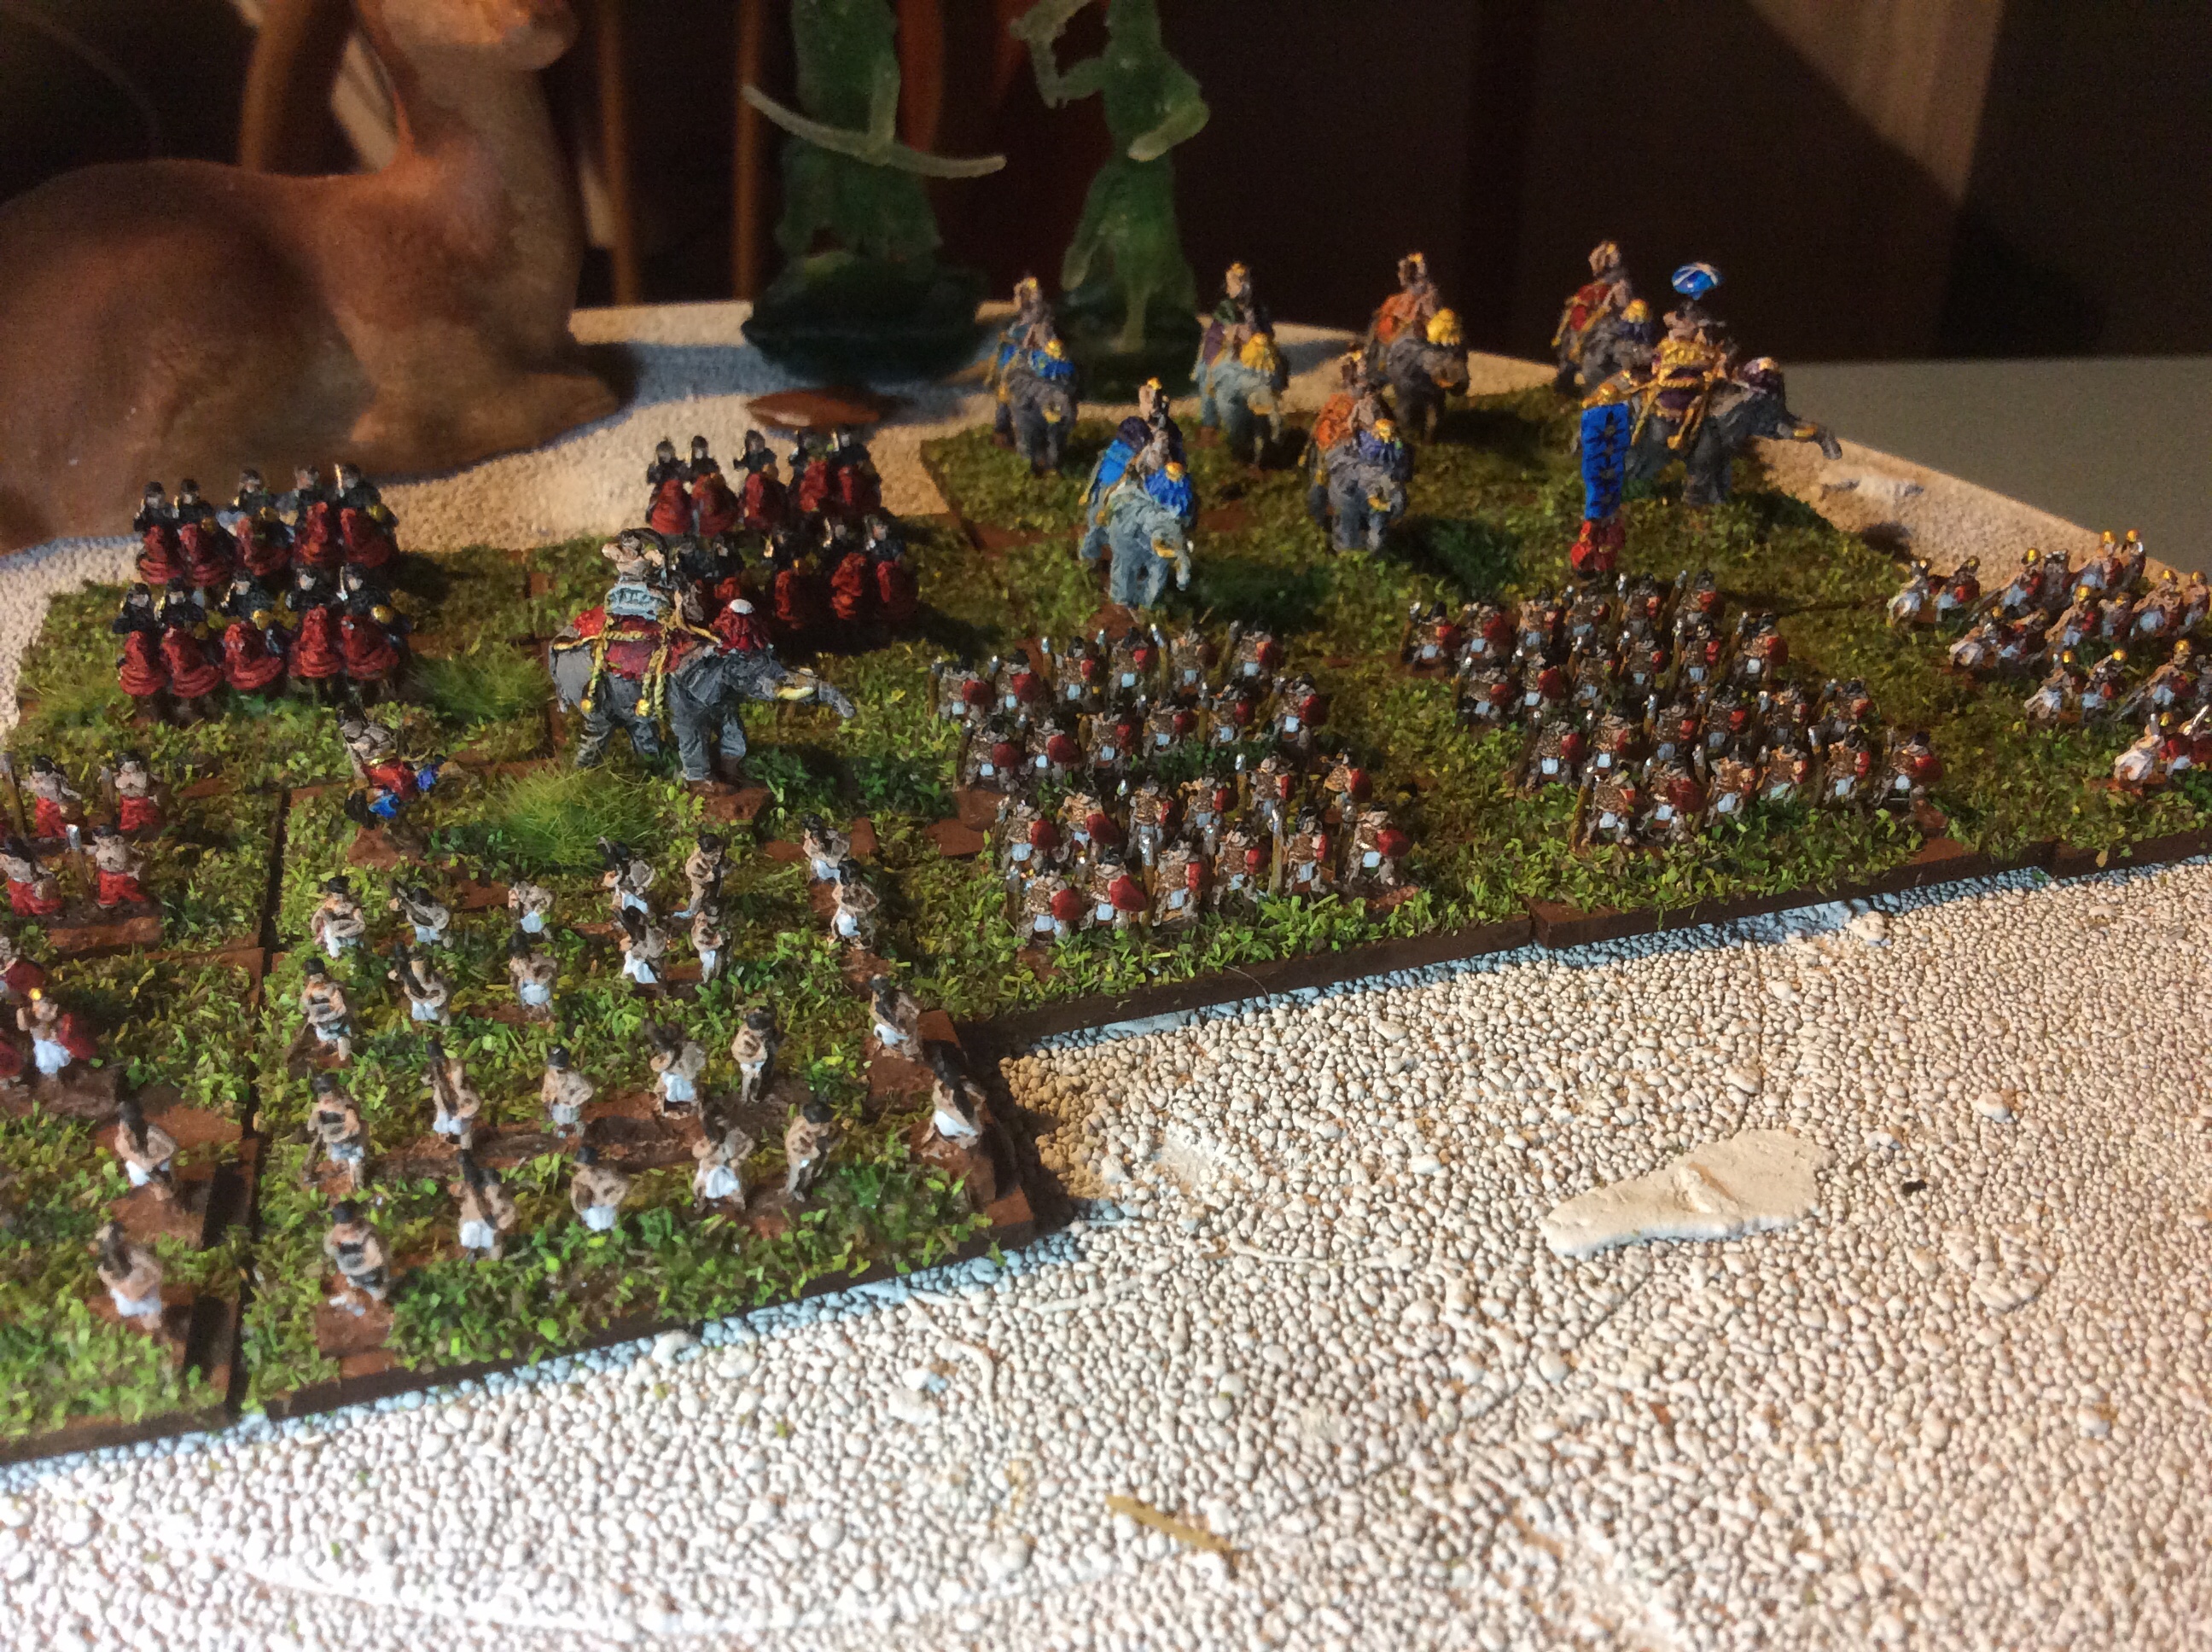
So after last night little foray into Greenstuff fields for the hex tiles I decided to have another go this evening but with an added farmhouse done in3D Builder. I messed it up a bit in that I didn’t push the whole thing down far enough so then there was an edge visible which looked a bit naff. So I covered it in Greenstuff fields and a dodgy hedge.
On the Bleurgh front, I think I will be back to work again tomorrow. Not exactly 100% but enough to get going again.
Today was another day pretty much spent in bed going bleurgh or other noises associated with feeling crap. But I did manage to go and hit print on the printer again. Unfortunately we had a power cut and guess what happened? Yep the printer stopped mid print. Now I had the option to carry on the print and I did consider it, even going as far as starting to heat up the bed and nozzle.
But then it struck me. I wanted to add some fields in Greenstuff to a flattish tile, and providence had provided a pair of them.
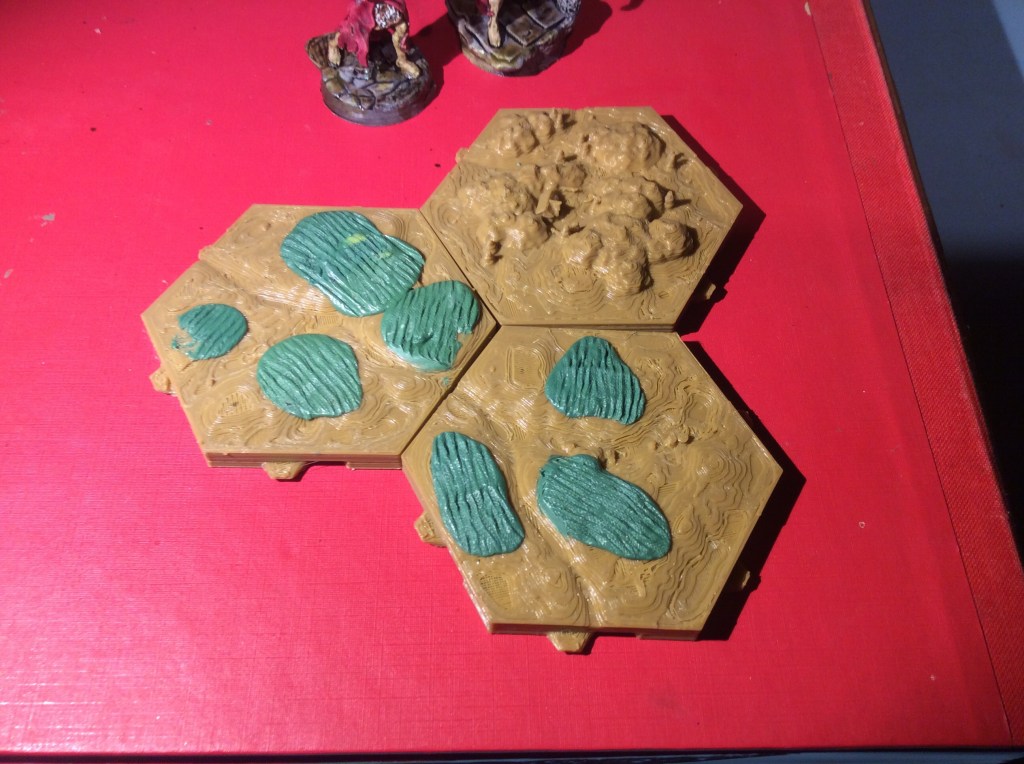
I quickly hit stop print and got them off the build plate. Now they still had holes where hills and woods were meant to go, so that became the basis for my field location.
So without further ado, I give you three crop rotation in small scale…
Now this idea is in no way, shape or form my idea. It came from a very talented chap by the name of Adam Clark over on the Hexon Hills Facebook group. He did something similar a good while ago and he very kindly sent me a link to a tool he has produced over on Thingiverse…- https://www.thingiverse.com/thing:4603809. You can see his villages on there too.
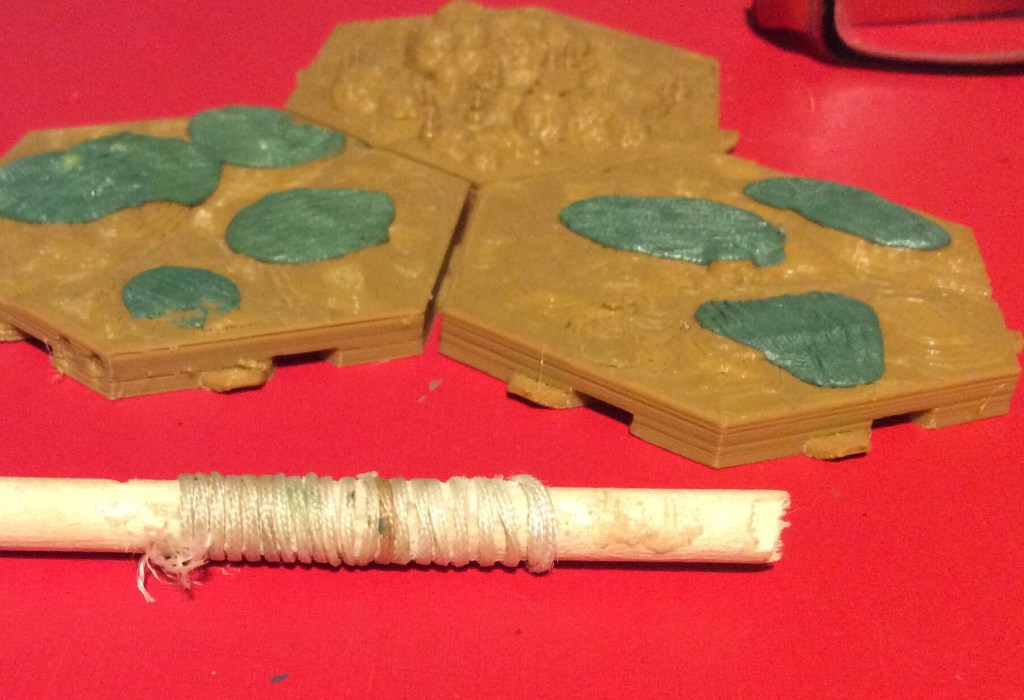
Now when he first started he used wire wrapped around a block. I couldn’t find a block or wire so used a round lollipop stick and some nylon string.
Now it is, to be fair a little crude, but it did do the job… I do intend to print the stamp very soon. Once I feel a bit better I will mess around in 3D Builder and nab some buildings to make small hamlets to go with the fields.
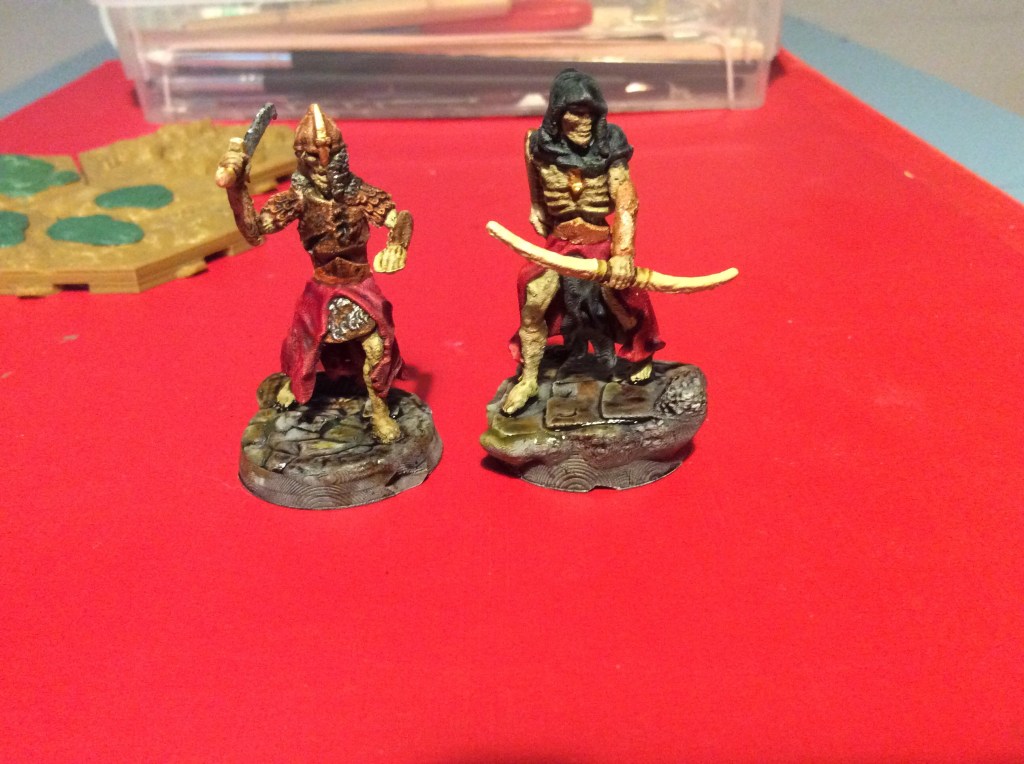
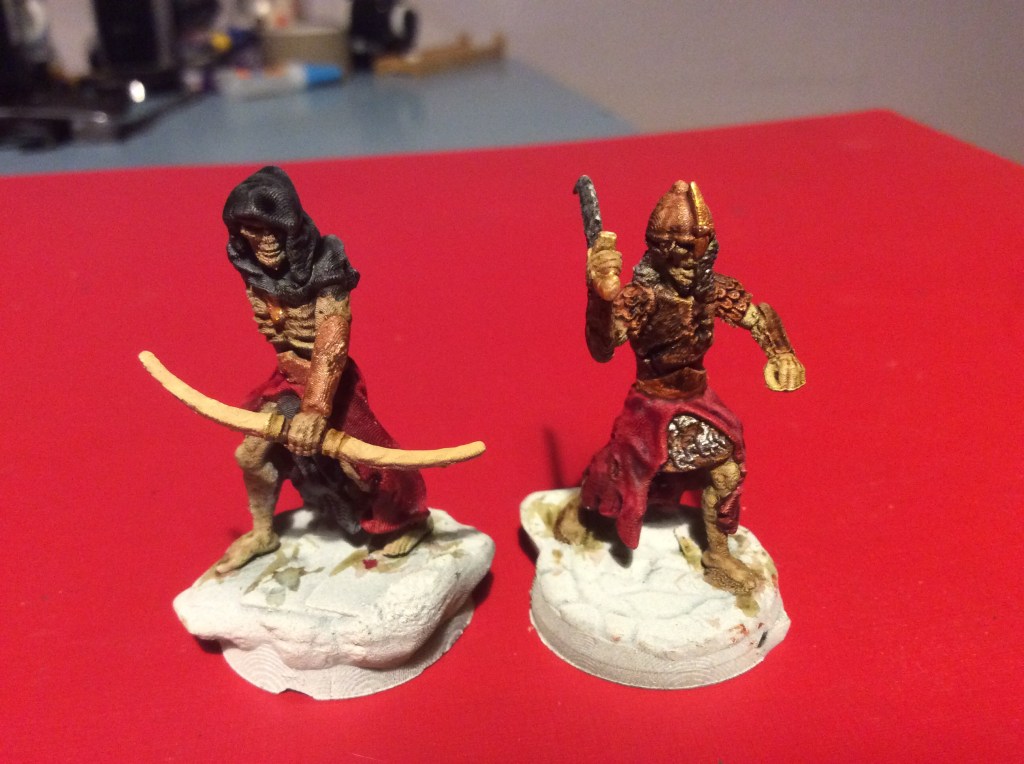
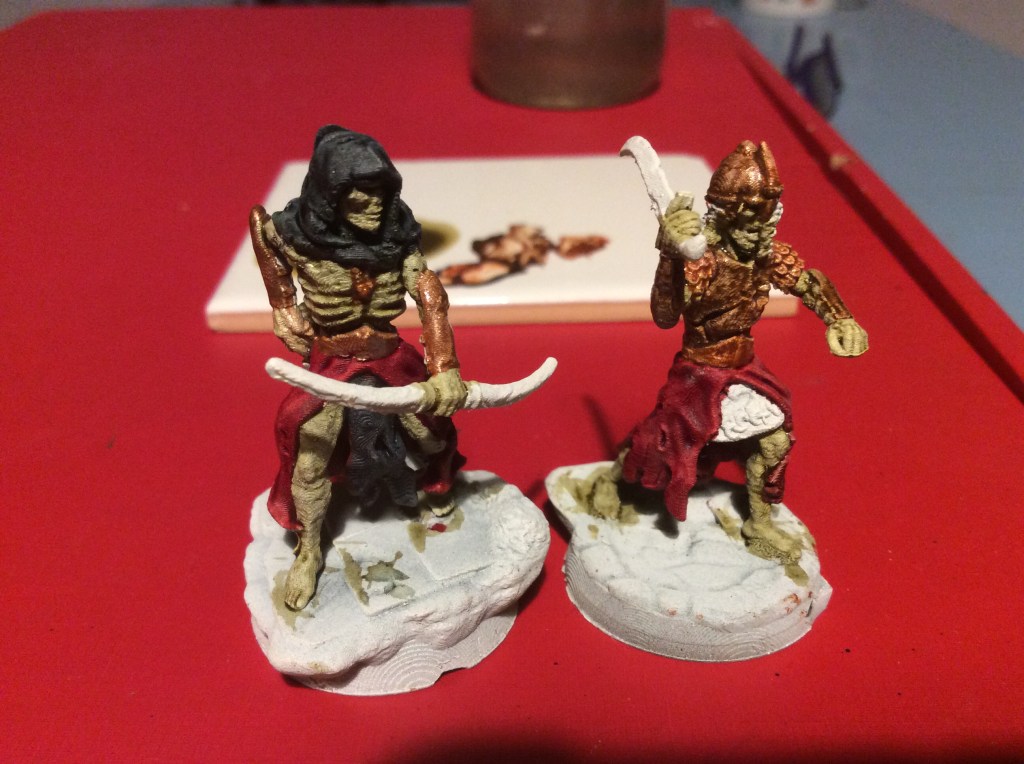
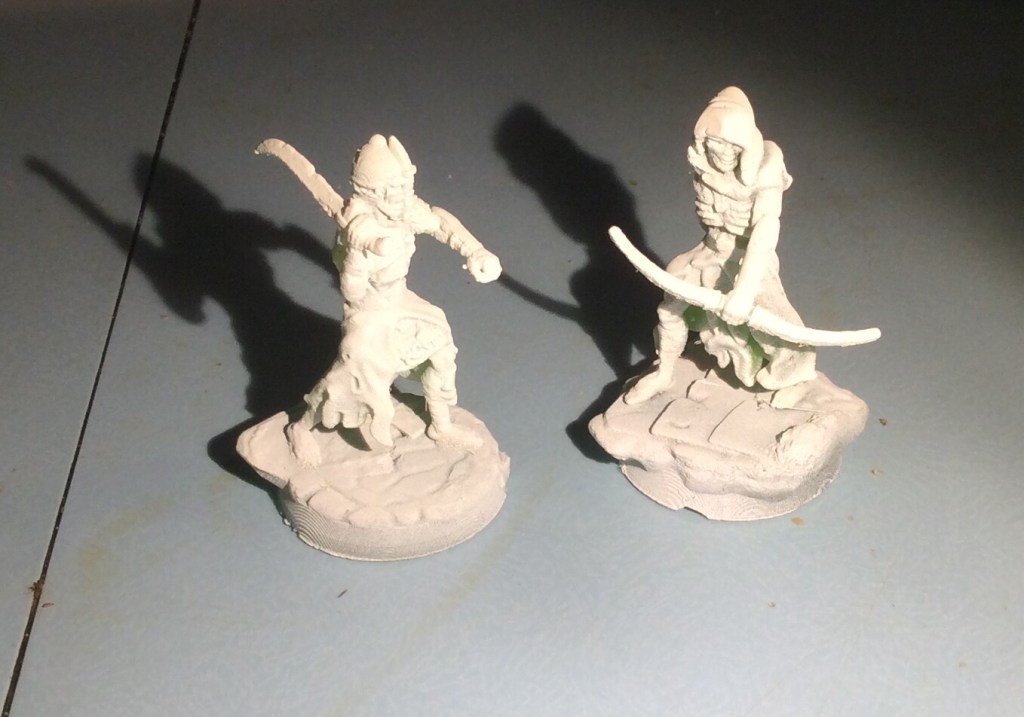
I managed to get a bit of work done on the wights too…
They will soon be finished. Unfortunately I cannot print any more as the resin printer is still sulking and Anycubic have unfortunately not replied, problem is, they haven’t even sent a holding email to say “whoops, Sorry we are snowed under!” therefore I don’t know whether anyone has received my plaintive email full of woe.
Hello and apologies in advance for the ringing of the damn bell, but unclean, unclean certainly springs to mind. Whatever I have got, has pretty much knocked me flat for another day. Spent a couple of hours this morning sorting out other people’s cock ups at work, not my team in school, elsewhere and it knocked me for six. I went to bed at 13.30 for a lie down and woke up at 18.45.
Anyway after oven roast sausages and mash I felt well enough to throw some paint on these fine fellows…
Still a fair bit to go but definitely over the hump now.
I also managed to get a bit of paint on these…
Hopefully I will feel a bit better tomorrow, I won’t be at work which is a right pain, but nobody wants me sneezing and snotting over them.
So after sleeping until pretty much late afternoon I managed to drag myself out of bed and before heading back there I decided to try and get a bit done on the wights… I succeeded in getting some paint on them.
Not a lot to be honest, but a bit of progress is still progress.
Now one thing on these that is puzzling me is that there are radiating layer lines on the bases and on the miniatures themselves, I am not sure why. It will be a setting in the slicer, but as yet I am not sure what or why.
The printer is still Kerfucktenbuggerd as they say (or not say) in Germany. I have got onto Anycubic to see if they have any answers. Hopefully they will come back with one soon.
I managed to get a couple of sets of roads printed as well.
The roads are the six at the front, I still need more, but it’s a start.
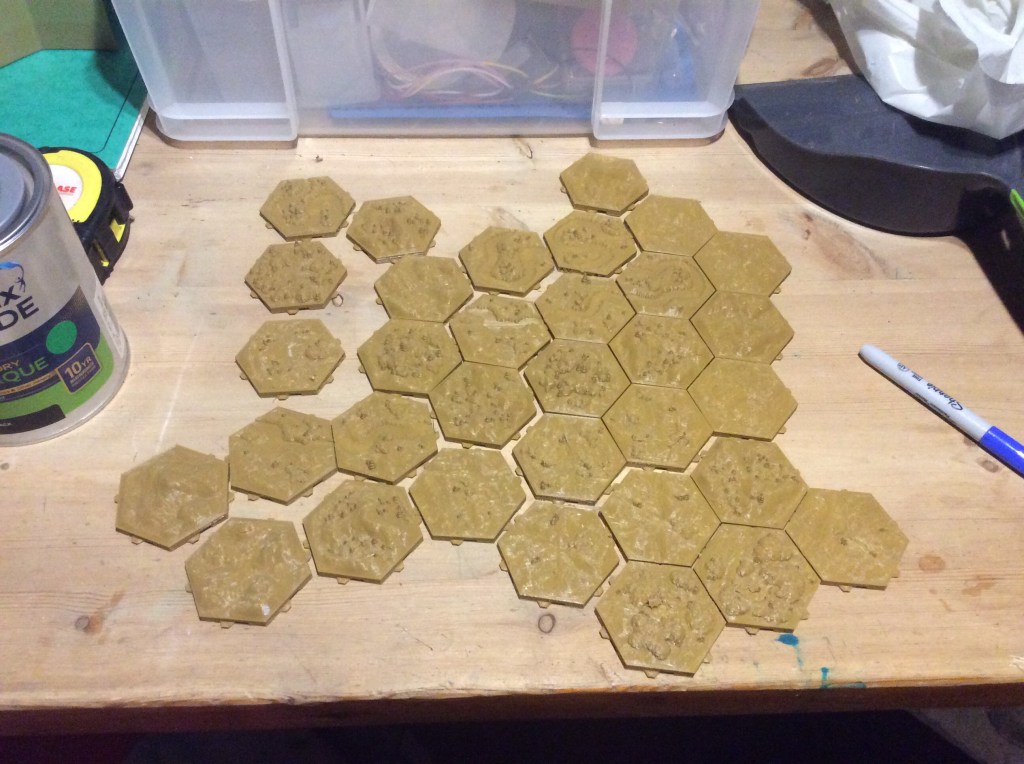
So we have 33 tiles in the coffee colour and about 60 I think in the pink. Quite a little world so far.
Feeling crap this evening, cannot stop sneezing and my nose is running like a tap. Because of this I haven’t really got much done. I did manage to get the tufts added to the bases though…
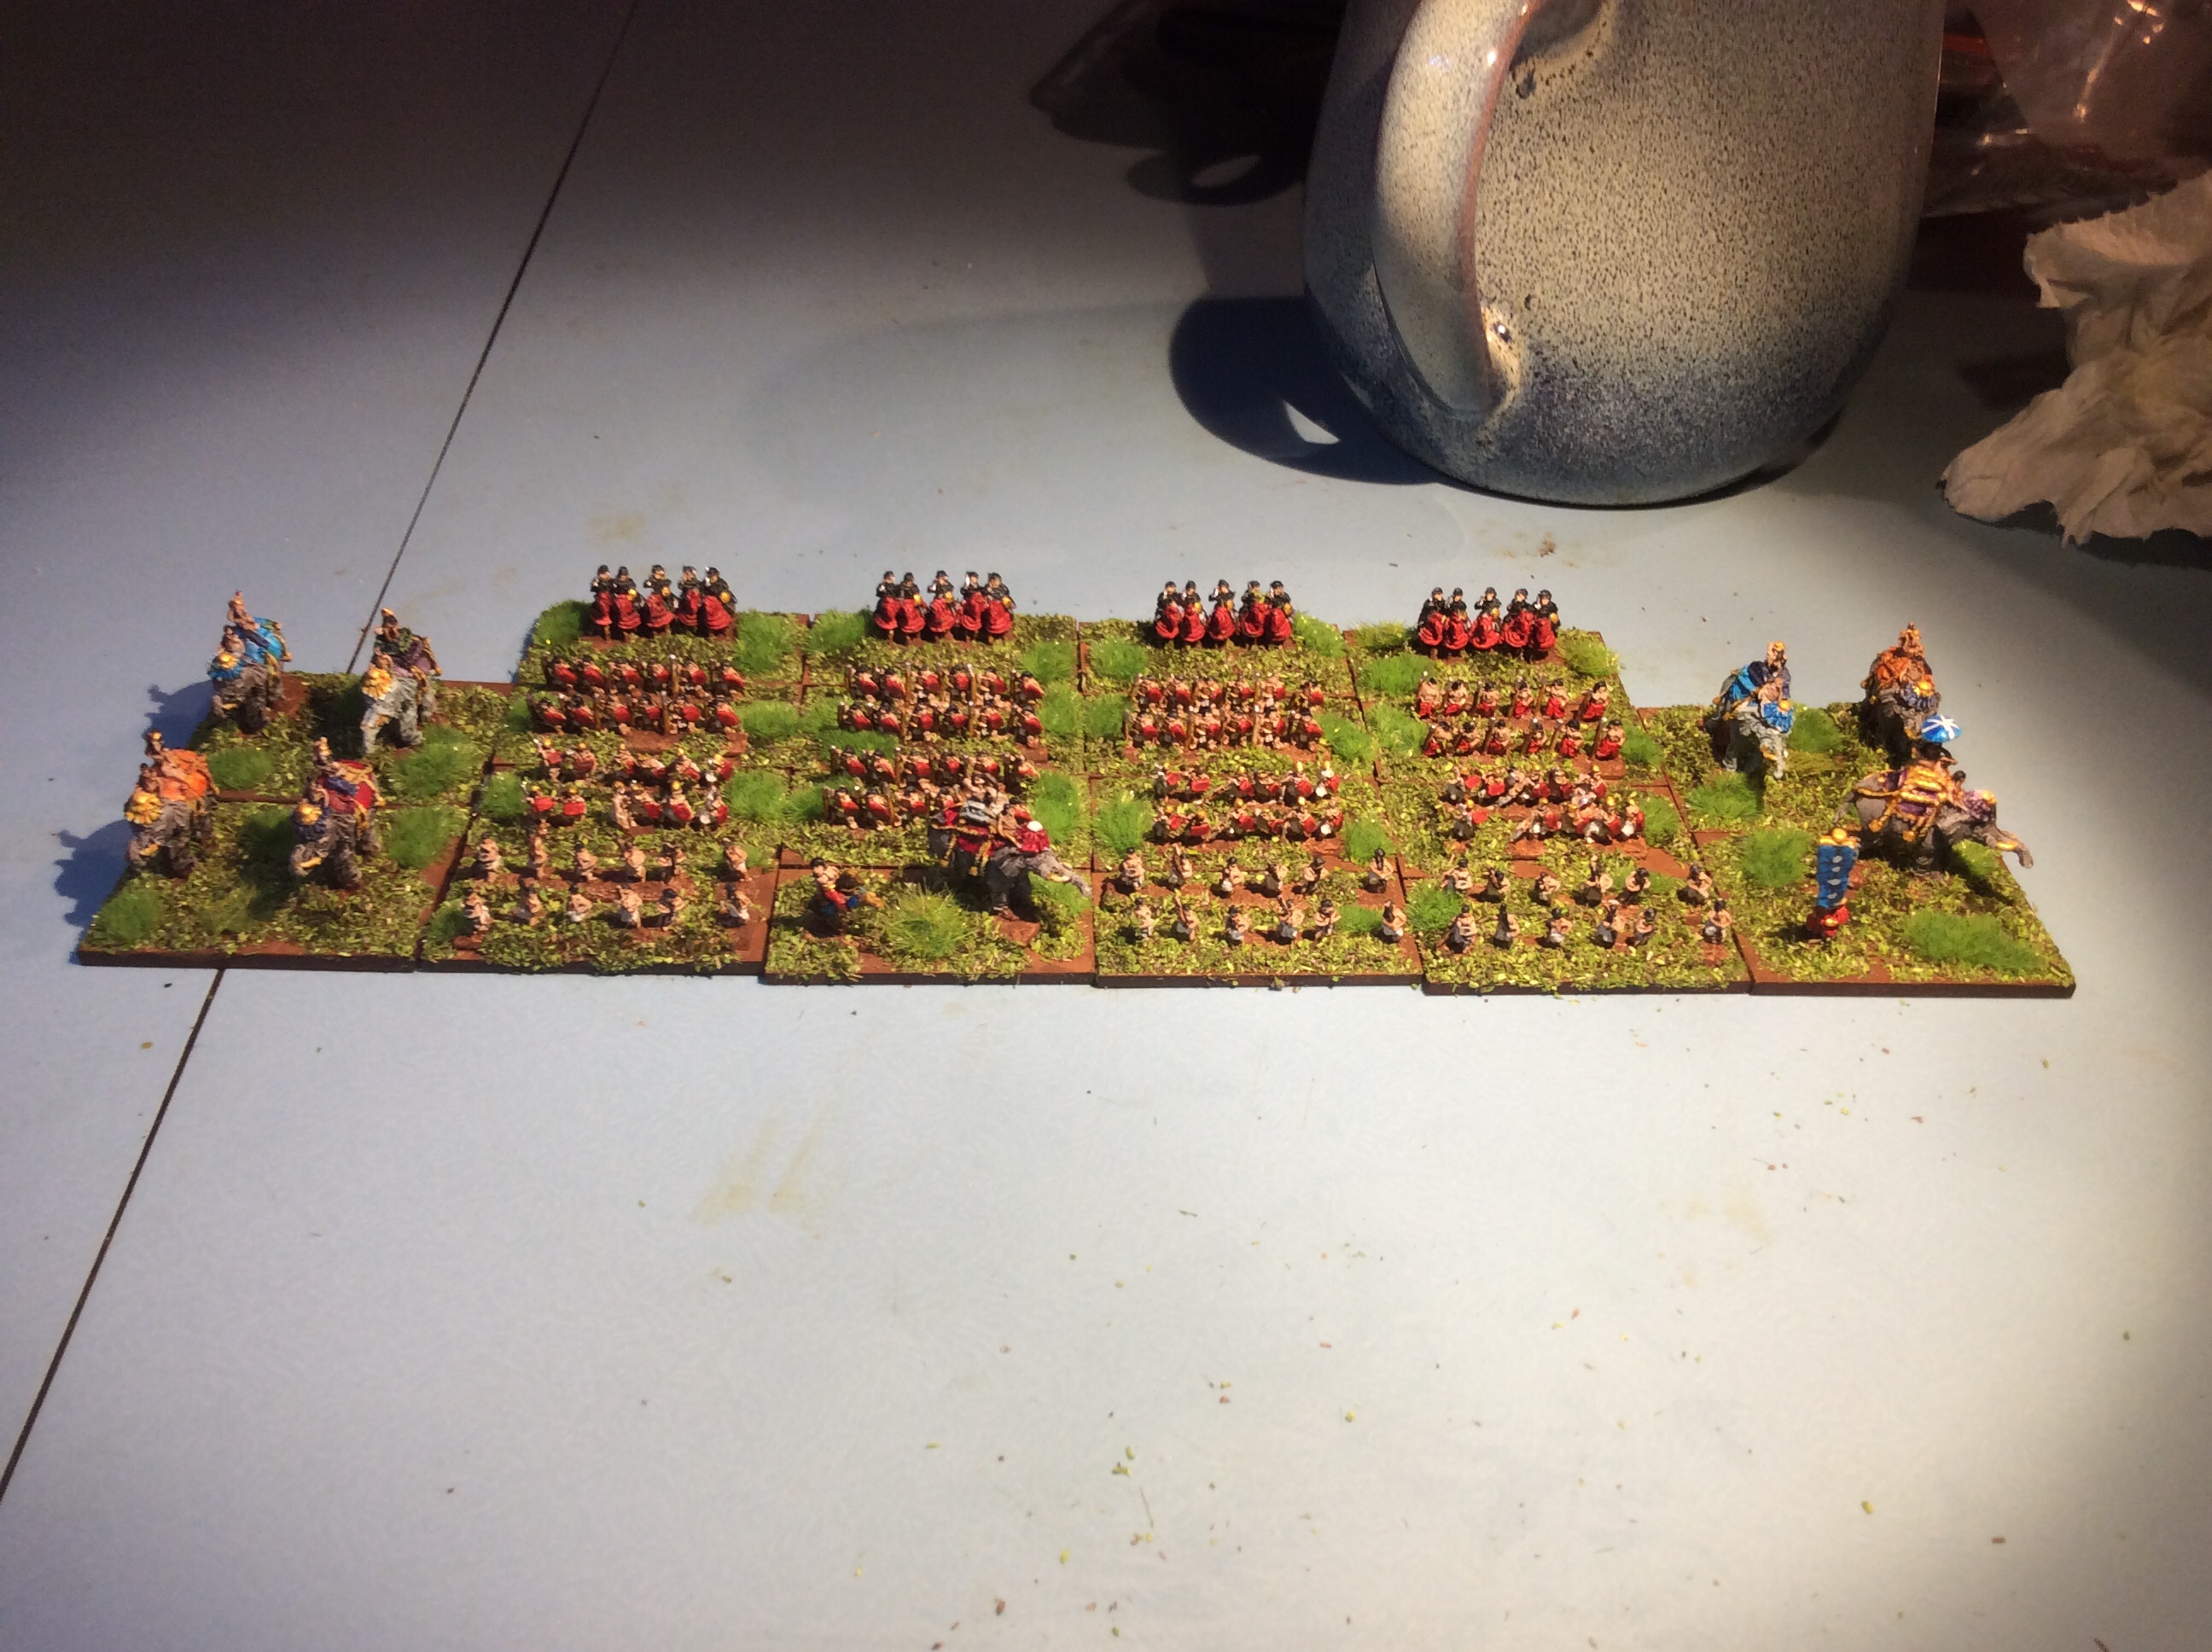
So that is another 6mm army finished, next up (in 6mm anyway) the Baccus Samurai Army.
I shall attempt some more painting tomorrow.
I did manage to get my wights sprayed ready for painting, unfortunately that is as far as I got 🥴.
The wights are all white
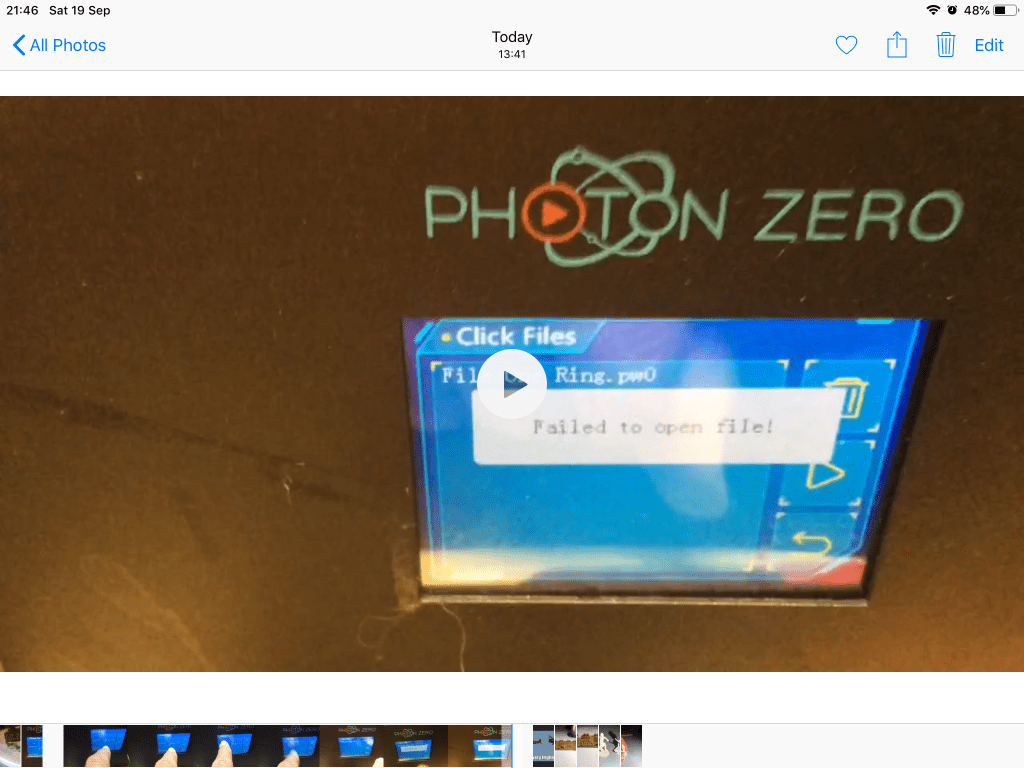
I had problems with the resin printer as it is refusing to print anything, which quite frankly is a right pain in the backside. I kept on getting this message all of the time…
I got the wights off the resin printer this evening after 15 hours 49 minutes. This was a bloody age, so this evening I checked the software and for some reason I had set the layers as 0.01mm at 8 seconds a layer… what a pillock!
To be honest you cannot really see what they are…
They are lovely miniatures and will be a lot more visible when I get them sprayed tomorrow. These are pre supported and they just come right off.
The miniatures had four minutes cleaning in the ISO and then had a good old blast with the UV light.
Tomorrow I am going to print the bases for the dogs etc as well as print a hobbit with his giant pumpkin.
I did another couple of river tiles on the FDM this evening.
Tonight I got the flock on but my quick drying basing Glue wasn’t so the tufts will have to wait until tomorrow…
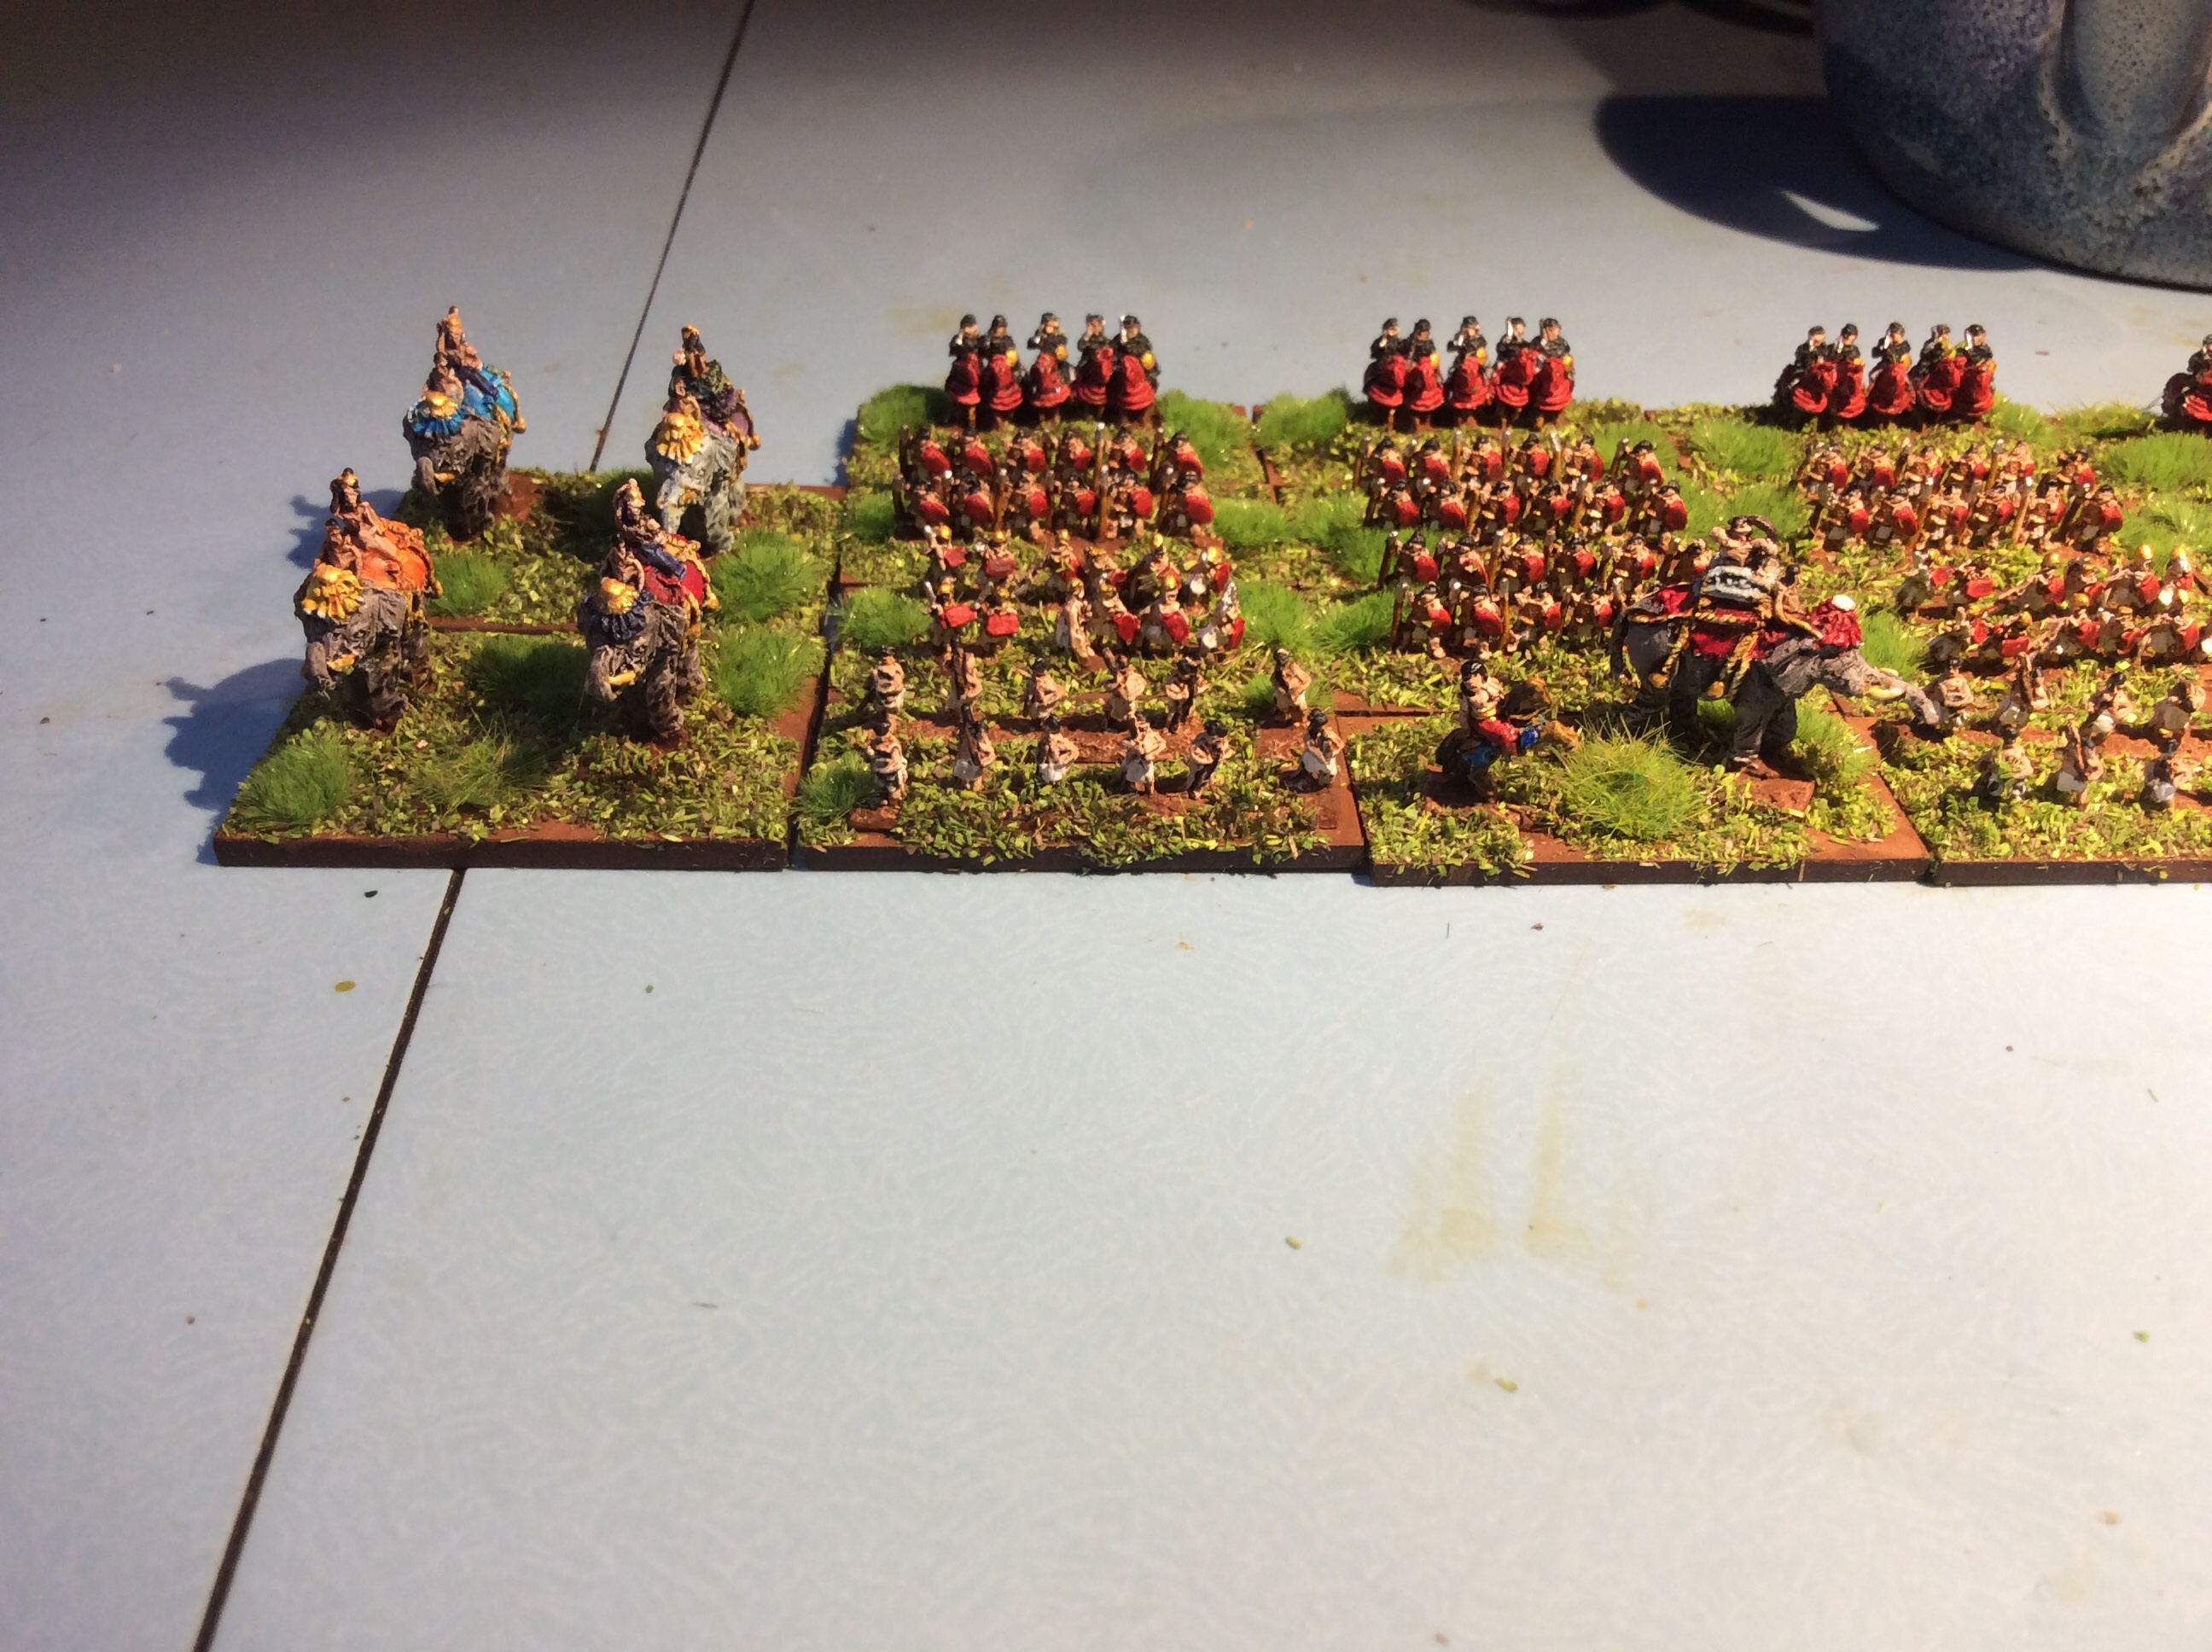
This is a nice colourful army. I now just have to find someone to fight it, an order to Irregular might be in order with some Burmese making an entrance. Not for a while though as I still have a fair old bit to paint.
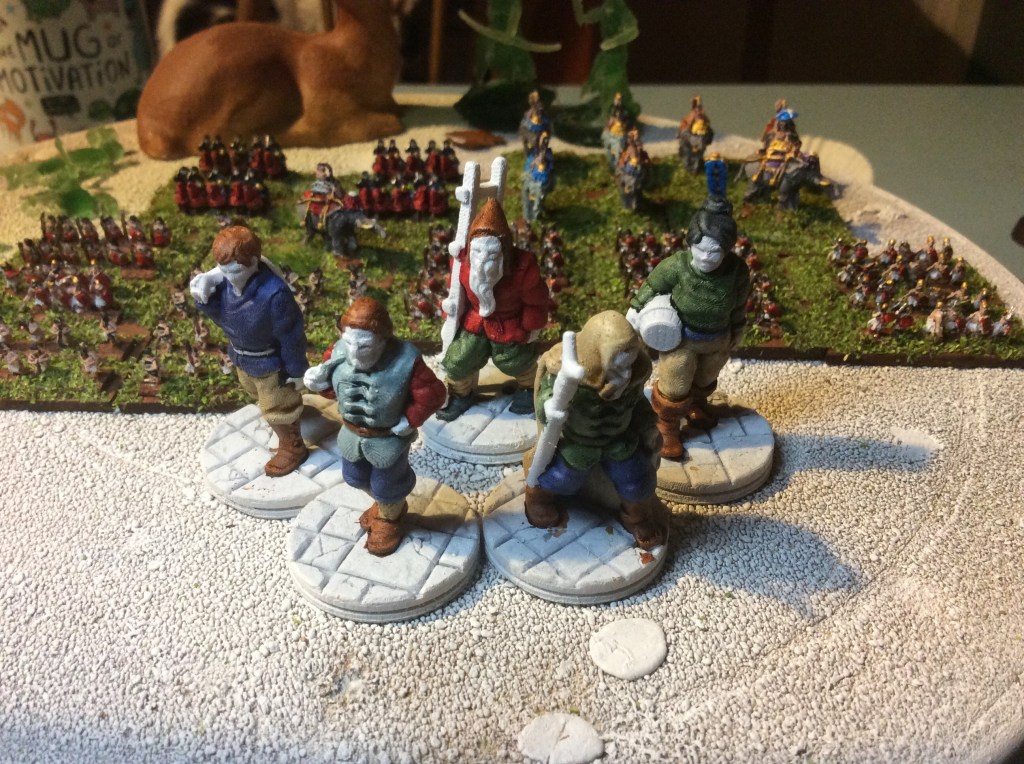
I was on a bit of a roll tonight and found some of my 28mm in the box so got some duds painted on the duds… I wonder where the word duds meaning clothes comes from.
These miniatures aren’t brilliant in terms of the printing, but because I am a stingy bugger then they will get used come what may 😂.
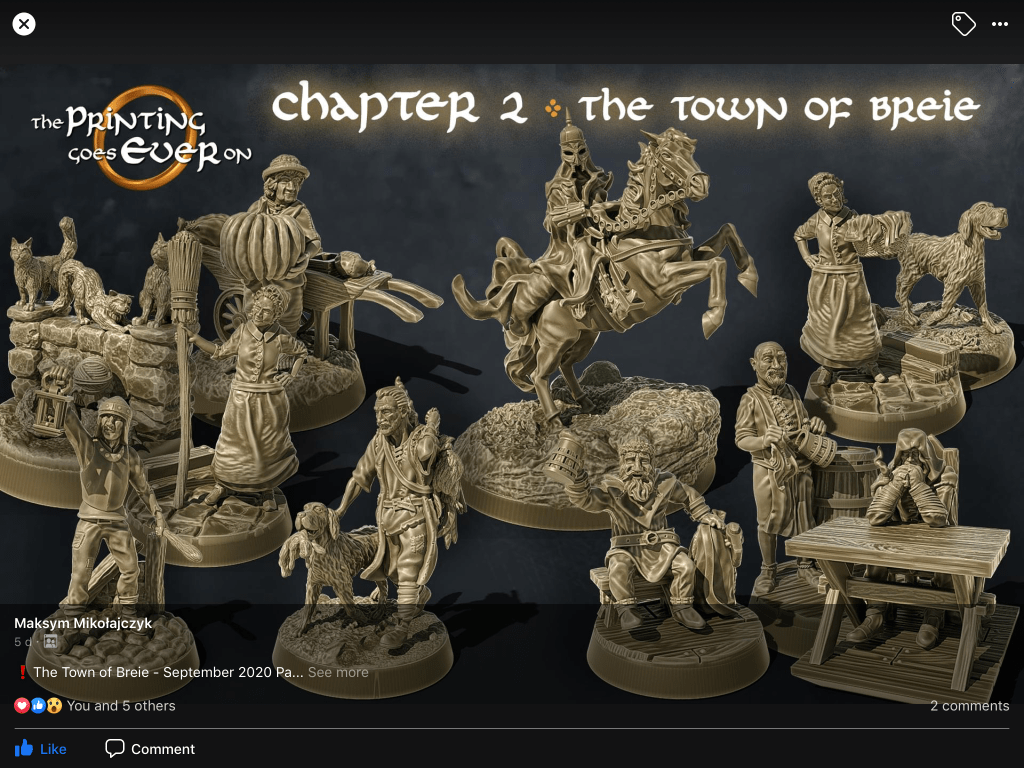
So from left to right we have a villager with a sack, a sailor, a lamplighter, a rat catcher and a lady with a barrel. I will carry on with them tomorrow.
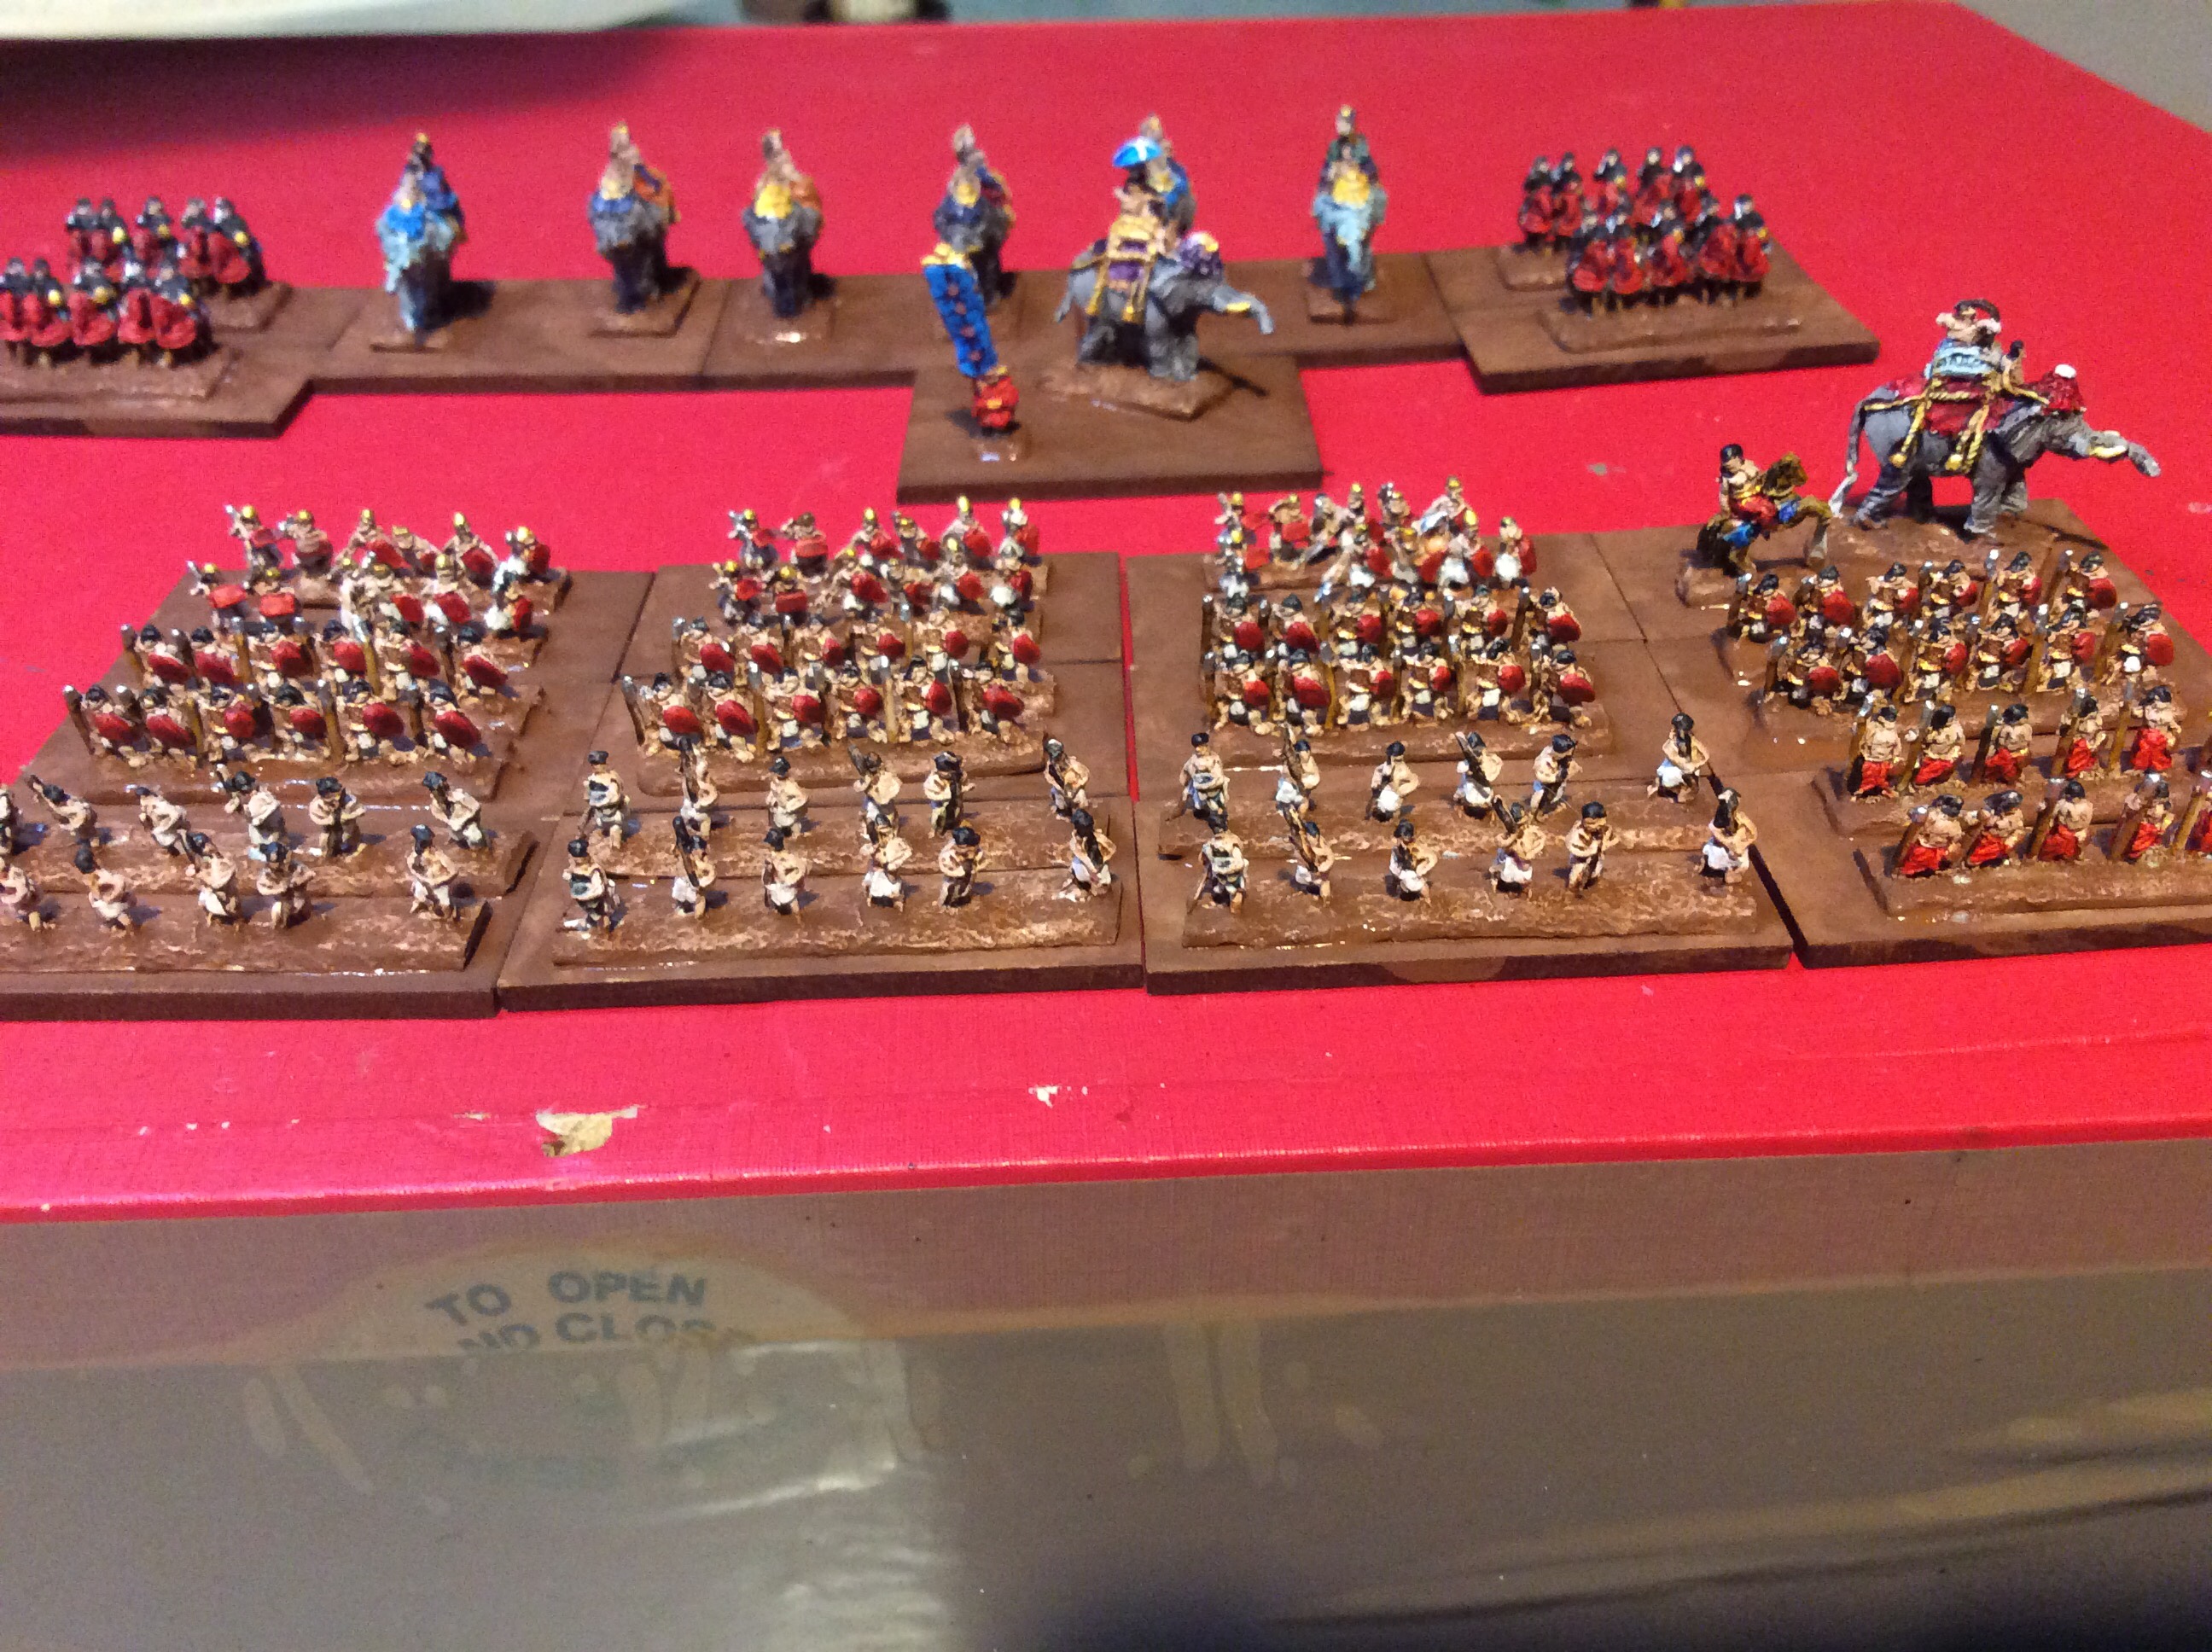
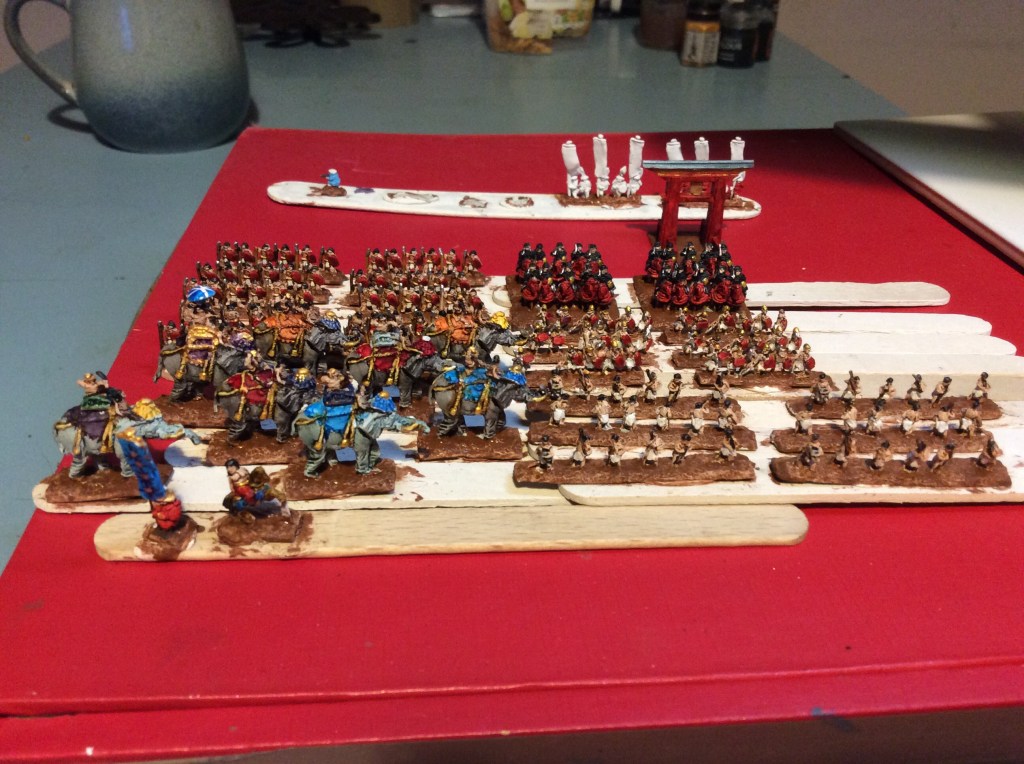
Tonight I got everything stuck down and the bases painted brown, they are beginning to look like an army now, which is always a useful thing under the circumstances 😉.
As you can see from the photos I made myself a general and a sub general come hero base too. Not sure why, but it felt right 😂.
So tomorrow I am going to try and finish these off with the flock and bushes. I will then try and finish off some of the 6mm terrain and may even make a start on one of the castles. My two printed castles have made it to their respective new owners, so I am really pleased with that.
I have got these individual 6mm samurai to paint up and I really cannot be bothered, not sure why, probably because I know that I cannot paint them all the same colour, it’s about time I stopped being lazy and just got on with it. I
may actually have to sort out something so that I can see them a bit better, I reckon my eyesight is getting worse. Luckily my Poundland reading glasses have worked so far. I have a couple of the visor ones but in all honesty I found the reading glasses easier to work with. Part of me thinks one of those magnifiers with LED’s might be the way forward, either that or a lighter visor.
Hopefully you will see the finished army tomorrow.
The advantage of working from home meant that I could press print more than once on the Ender 3.
Spot where the lake is going to go!
I am going to print a fair few more of these as well as some roads. Still not sure what I am going to do with them😉. Doing small runs is a good way to get things going in the right direction. My first ones were one of each tile so I got some that I probably won’t use. Choosing specific tiles makes it easier to get a map that I want.
I also set about printing some resin miniatures, you will have to wait until tomorrow to see them as the print time was 14 plus hours, so they are going to finish sometime around 02.30.
I am printing the Hunter, his two dogs and the town guard…
Once these have finished I have got a couple of wights to print.
Today was Lucy’s twelfth birthday (in quarantine) so she got to choose the film… luckily her test results came through about an hour ago and she is negative, much to my son’s disgust as he wanted another day off school.
On the up side I can now return to work, this is going to be a very, very long winter. In my school in the last fortnight there have been four staff test and one pupil test, with another sibling test being taken too.
Anyway back to the Khmer…
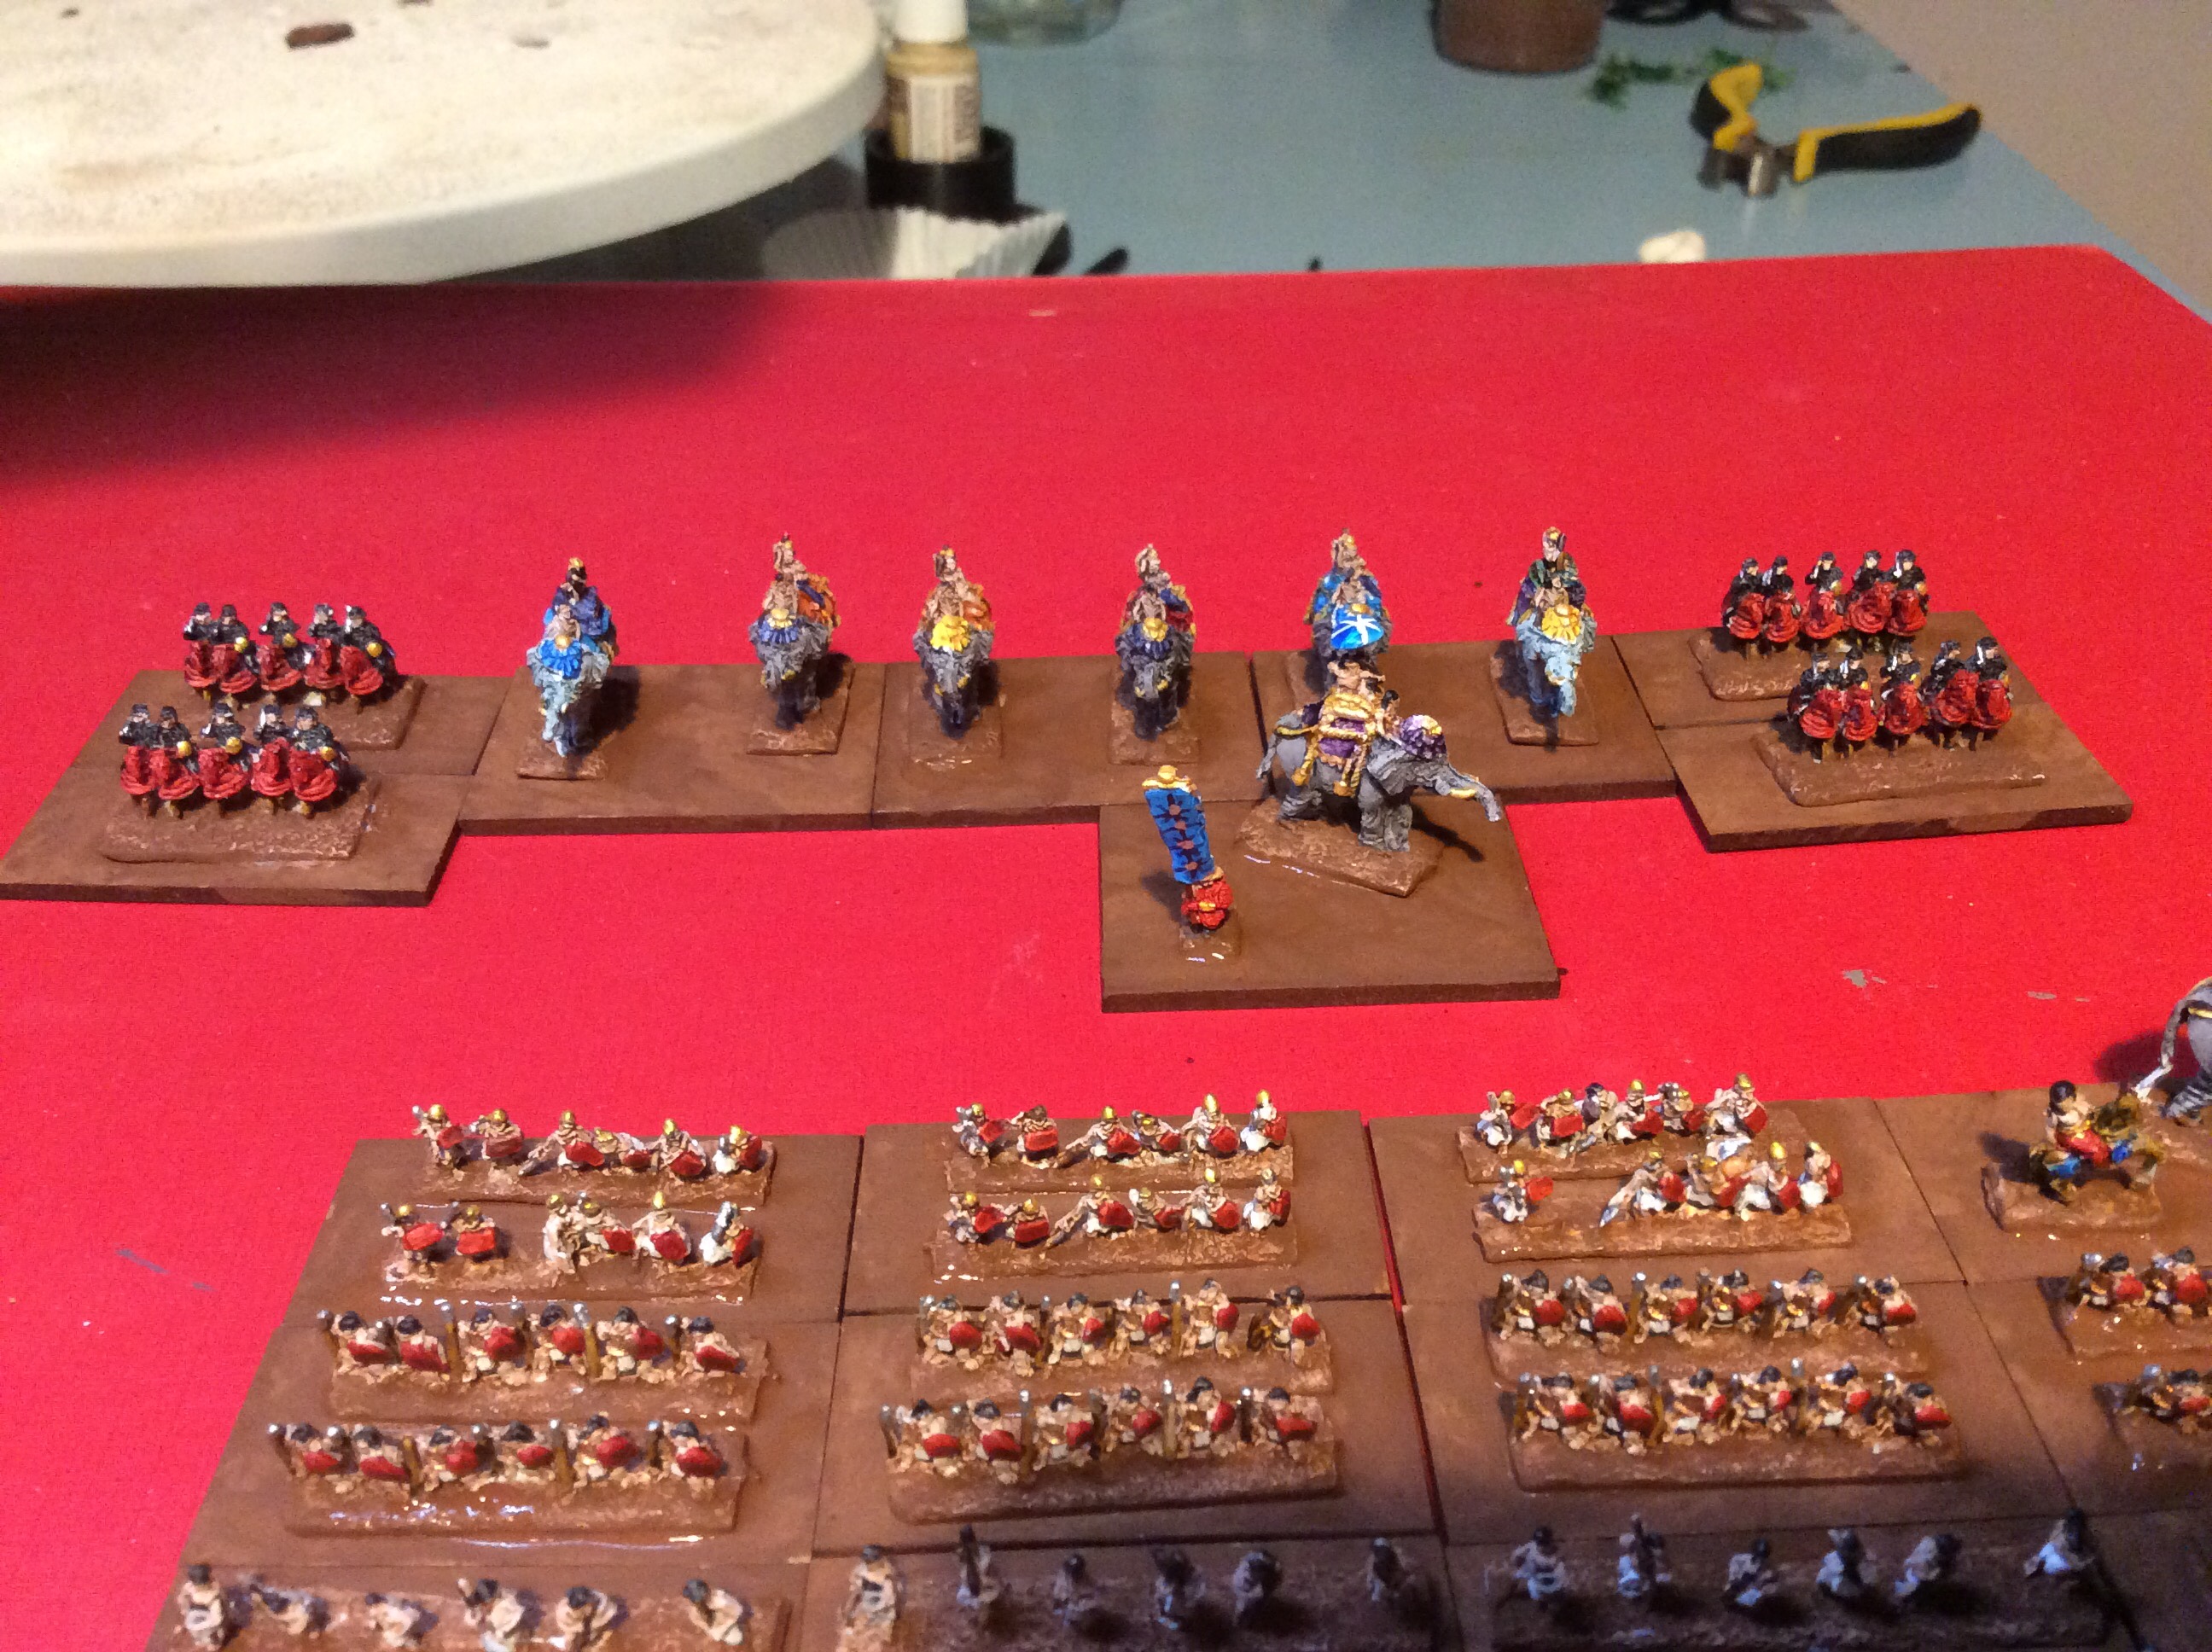
This evening I decided to crack on and to try and get as much done on these as possible, so I did. Whilst Tonight’s film of Frozen was playing away I managed to nearly get them finished.
Hopefully I will get all the little bits I evidently missed off finished tomorrow and then get them based.
The one thing I noticed is that the infantry have blended into the bases now and the elephants and cavalry have jumped out a bit more. Weird optical illusion taking place there.