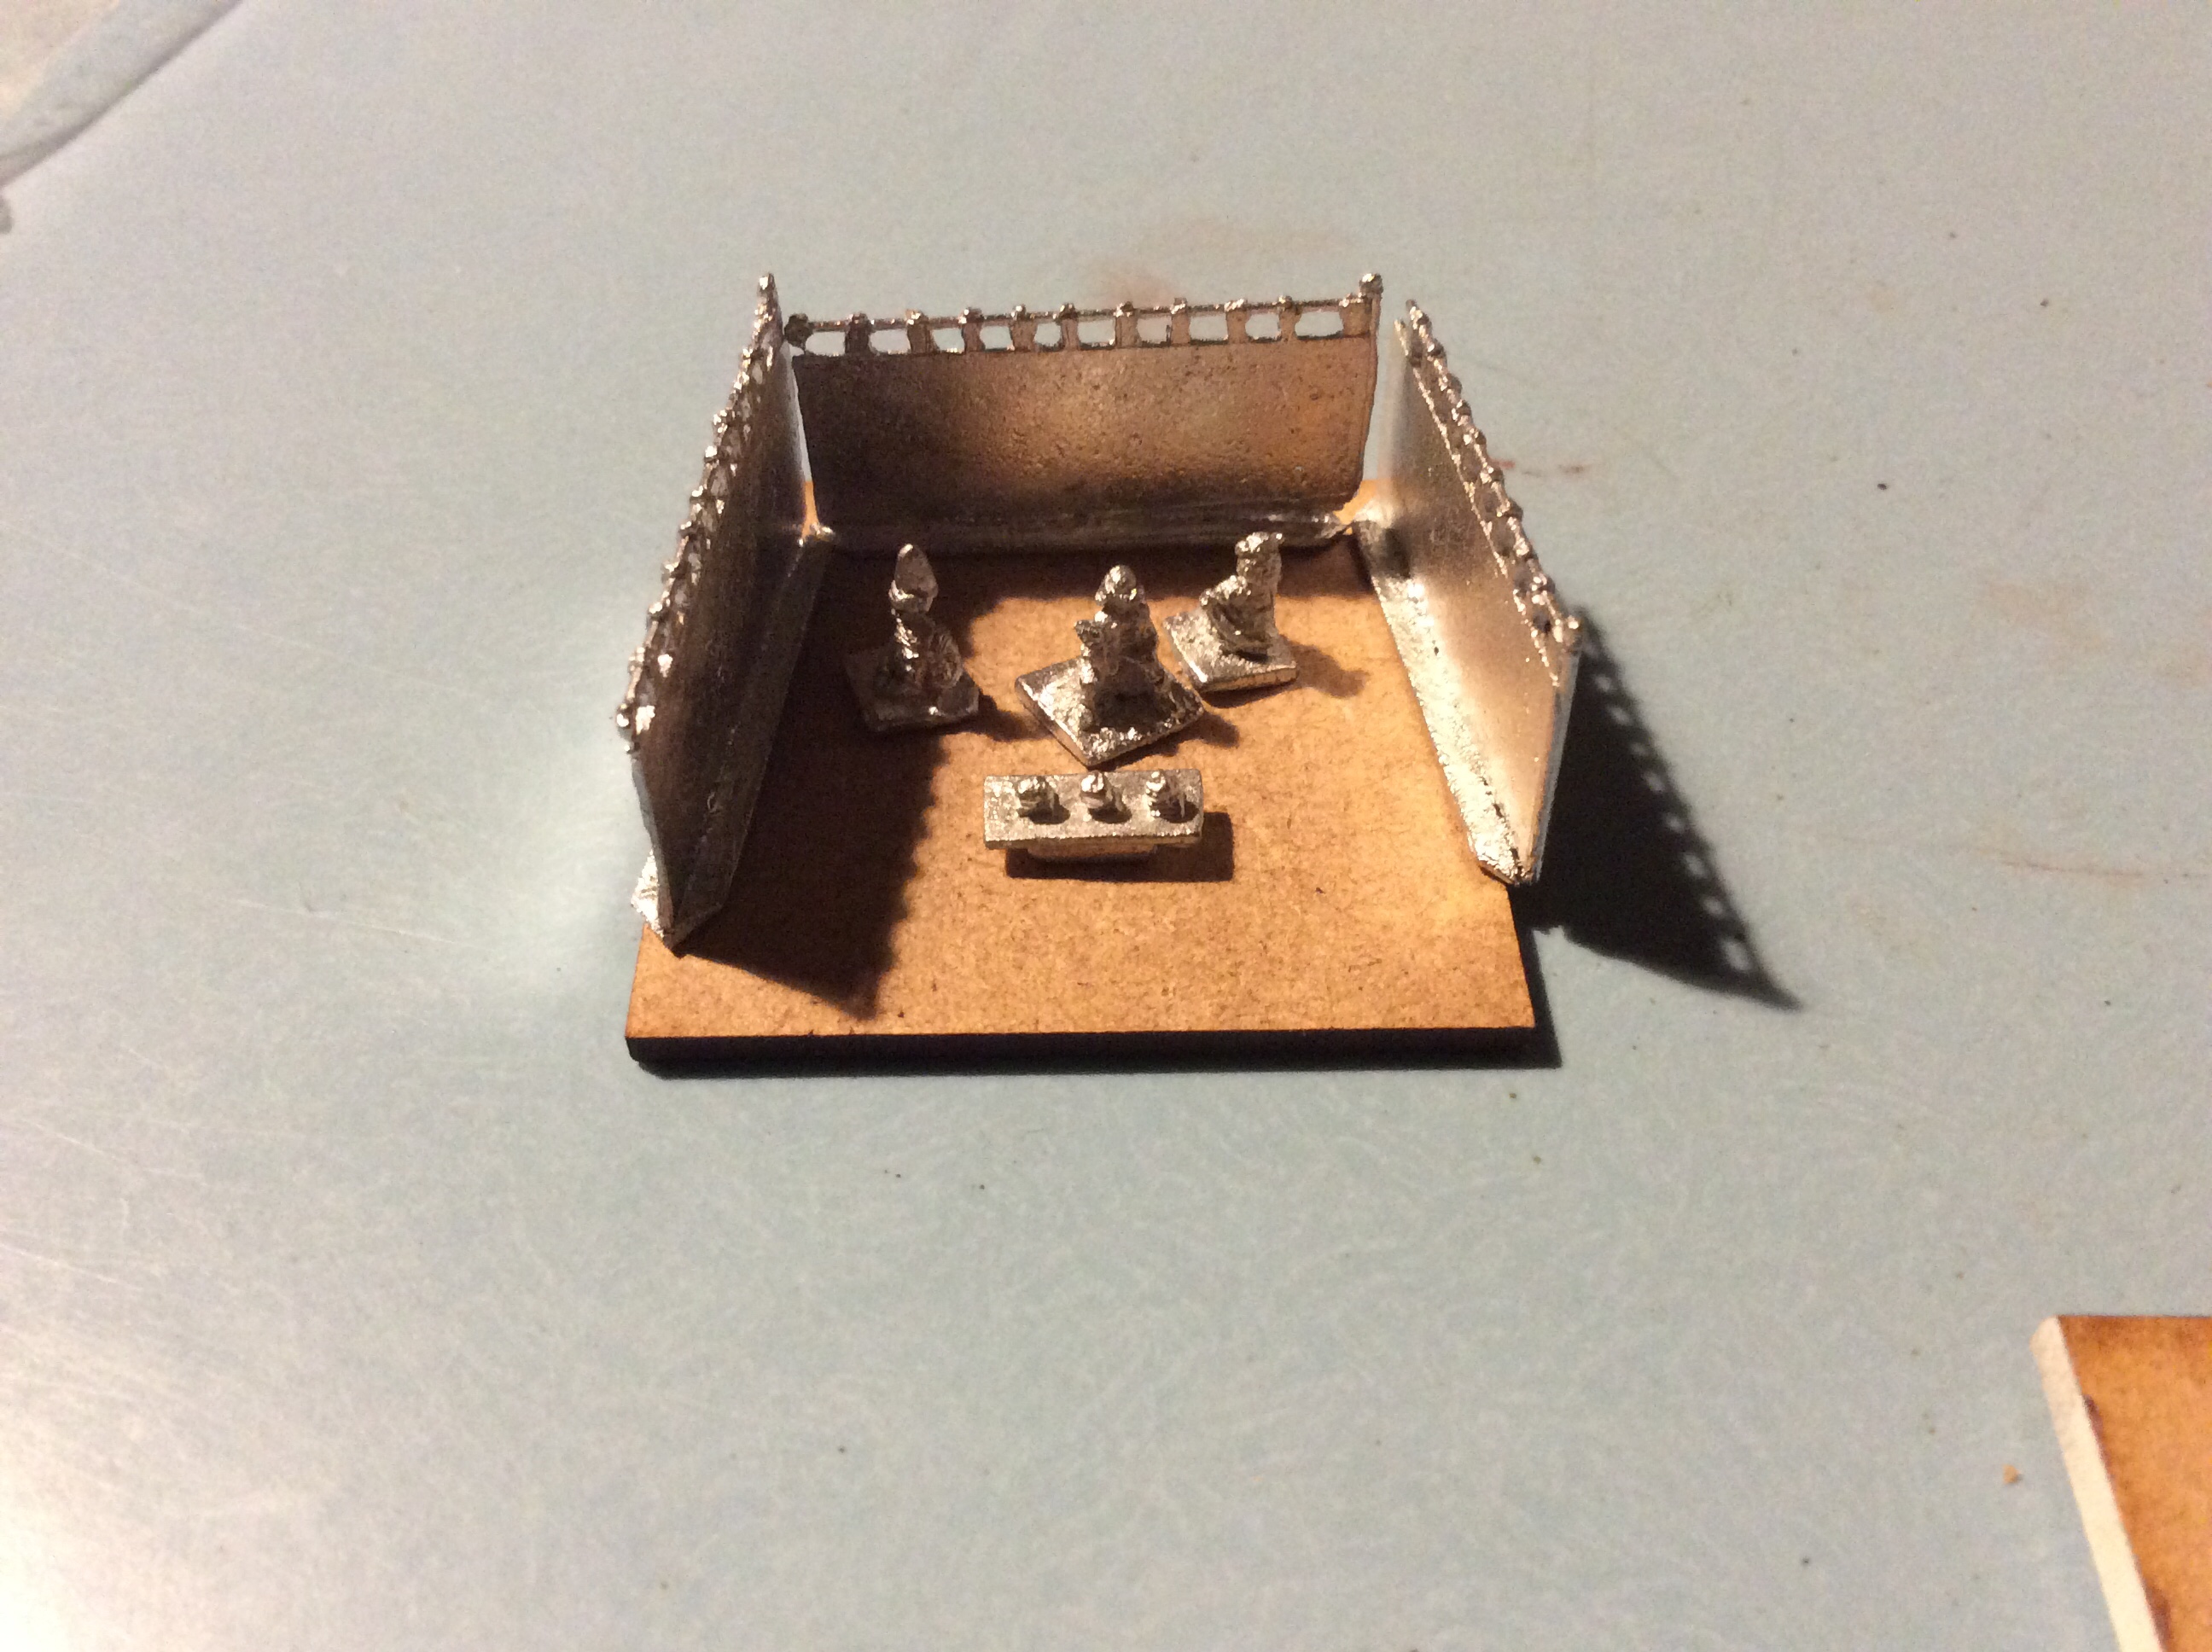
Tonight I Set about getting some paint onto the 6mm monks.
What with the resin printing and not baring able to be bothered then these got put onto the back burner a bit. There is still a long way to go with them, but at least I have made a start. The majority are in saffron robes, but I have thrown some grey and red in there too to add a bit of variety. I also added some Caucasian paint to the bearers at the back as they have now become my peasant bearers for my samurai army. I will probably cut off the armed man at the front and replace them with a samurai or Ashigaru miniature instead.
My Baccus order should be getting cast this week sometime. I am 20 orders beyond the last update so unless there are some massive orders in then I should be getting it next week.
Ok, first off I think I need to pull back a bit on the resin as tonight I realised that I have pretty much run out, my last print, drained the vat dry, which was not clever. I forgot to check before going out so now I have a pile of house roofs and only one house to put it on. I have, however,got a cunning plan. I will use the broken roof and semi printed buildings to make a burning village… well I think that is what I am up to with it.
The burning buildings will go with these ones…
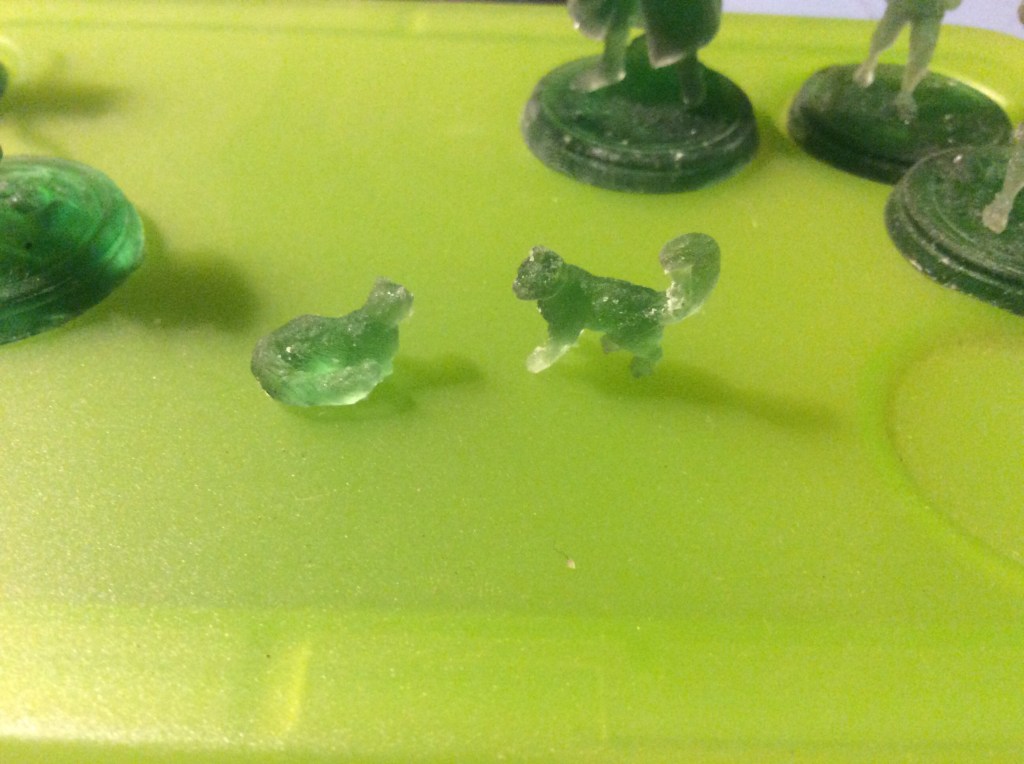
Resin versus Filament. At this stage I really cannot tell the difference. The one weird thing on the resin is that one of the houses is actually slightly Smaller than the other ones. Another weird thing is that the roofs just about fit. This will be easily sorted as I can print the roof at 51% and the house at 50%. I did manage to print a couple of Tori gates this evening, but sadly the bridge failed, for some reason one end detached from the build plate. In the background you can see the fawn I printed for my daughter as she wants to add it to a diorama.
I put all of the villagers together today… errr there are rather a lot!
No wonder I ran out of resin!
I have ordered a couple more bottles of resin, so nail it comes I am going to be pretty much painting things 😂
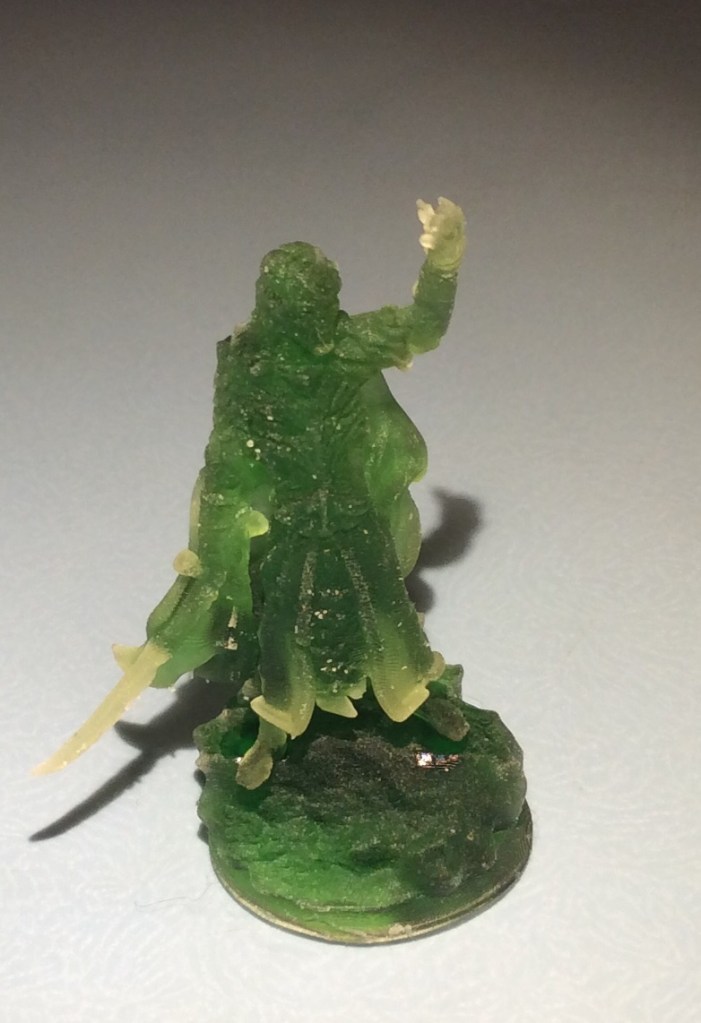
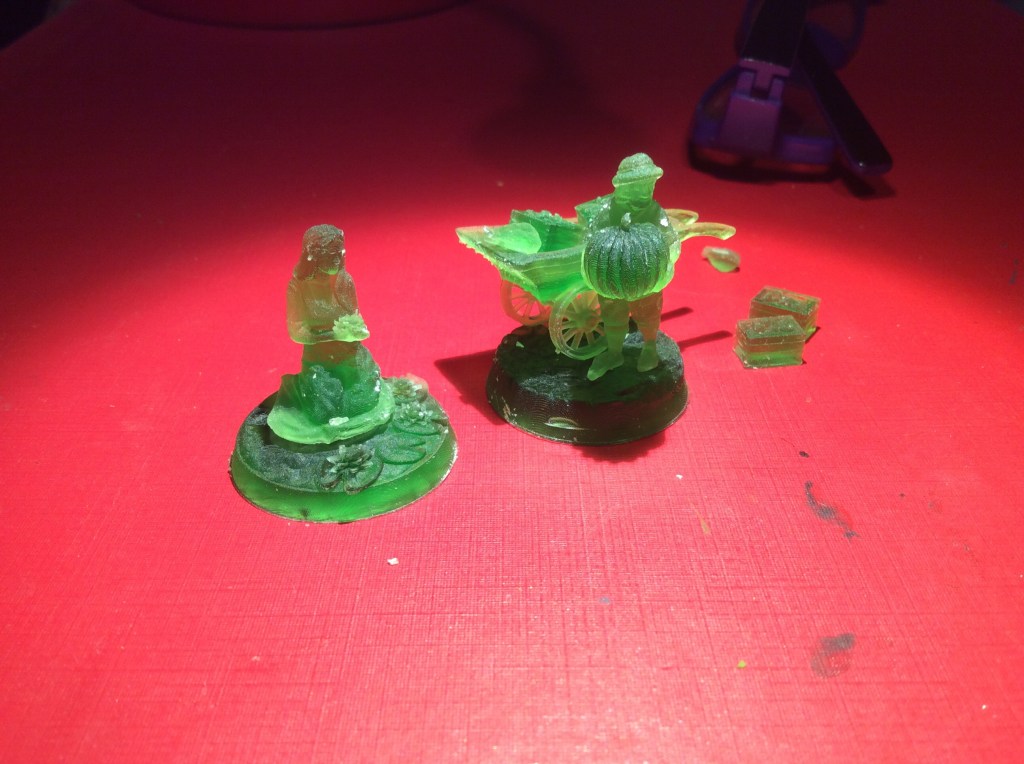
Today I did some more miniatures on the Resin Printer. The one thing I have learned is that I am going to have to up my game in the post printing stage. Although I was trying to avoid the ISO, I think I am going to need it to get rid of a lot more of the liquid resin off the miniatures.
I will do some more testing tomorrow with the meths and see if that will work and if not then I will need to get some more ISO in.
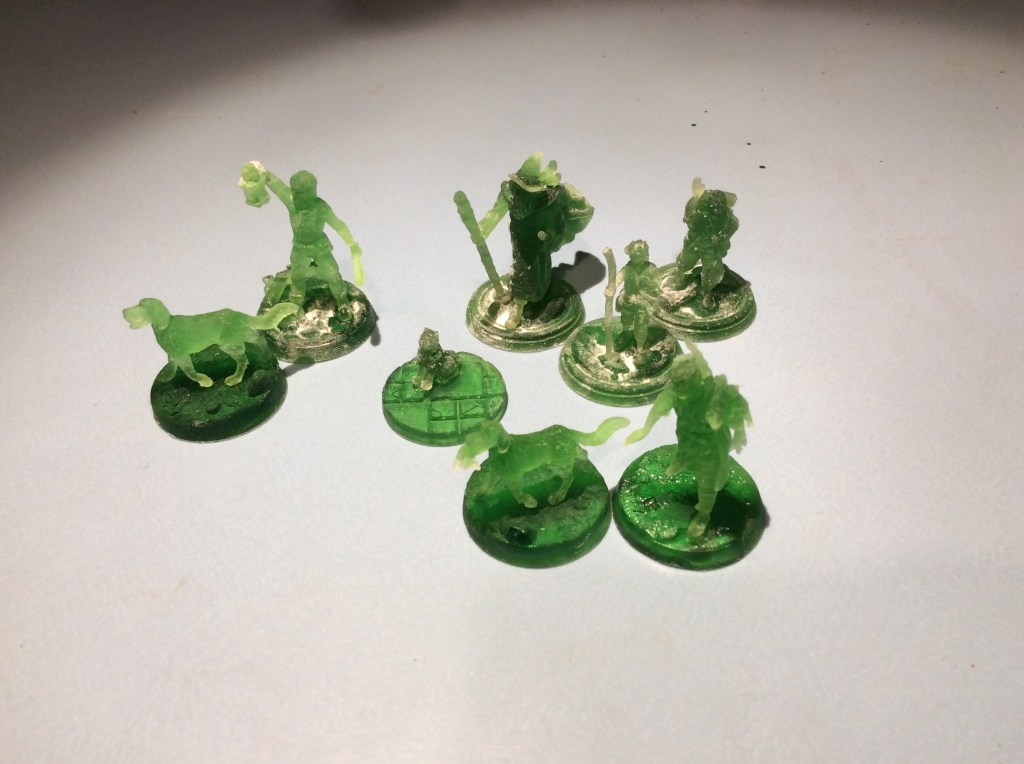
In the first picture we have a merchant, lamp lighter, jailer, spearman, sailor and rat catcher. In the second we have a villager and a troll thingy (brain dead and can’t think of the name) and then we have a mix of spearmint and archers with a lone guard and another jailer. The last lot were done at 10 seconds a layer.
Tomorrow I think I will do an individual figure at different time per layer. It will probably be something small (and faster) and really try to get things clean.
Wish me luck!
My eldest wanted to do some sea creatures today but unfortunately, I had a support failure. It was the first time I had tried supports, so that will be the next thing to master after cleaning things.
The one thing that just struck me as I was about to sign off is that I am still printing at the standard resolution for the printer. I haven’t actually tried higher resolution. Something to ponder the future.
Today I put my resin fish to good use and made some jewellery.
I had a lot of fish (and a turtle) hence the number of pendants and soon to be pendants..
These were nice and relaxing to do.
Basically a layer of cured resin and then some basing sand, more resin then the fish or whatever with the foliage., more resin then some of the leaves I made ages ago and then topped off with more resin.
My favourite one.
Me doing this caused pretty much the rest of the family to want to do something too. So my youngest is going to do a pond inside a box. My wife and eldest are doing something in a couple of clean jars. So all in all my messing around ended up being a six hour crafting session.
Today I painted up some koi, I am going to make something with them tomorrow.
I also found some photos… Pete painted up some Dutch lancers For his Waterloo diorama and Today I found a picture of the Polish Lancers … this was after we adopted one as he was on his own…
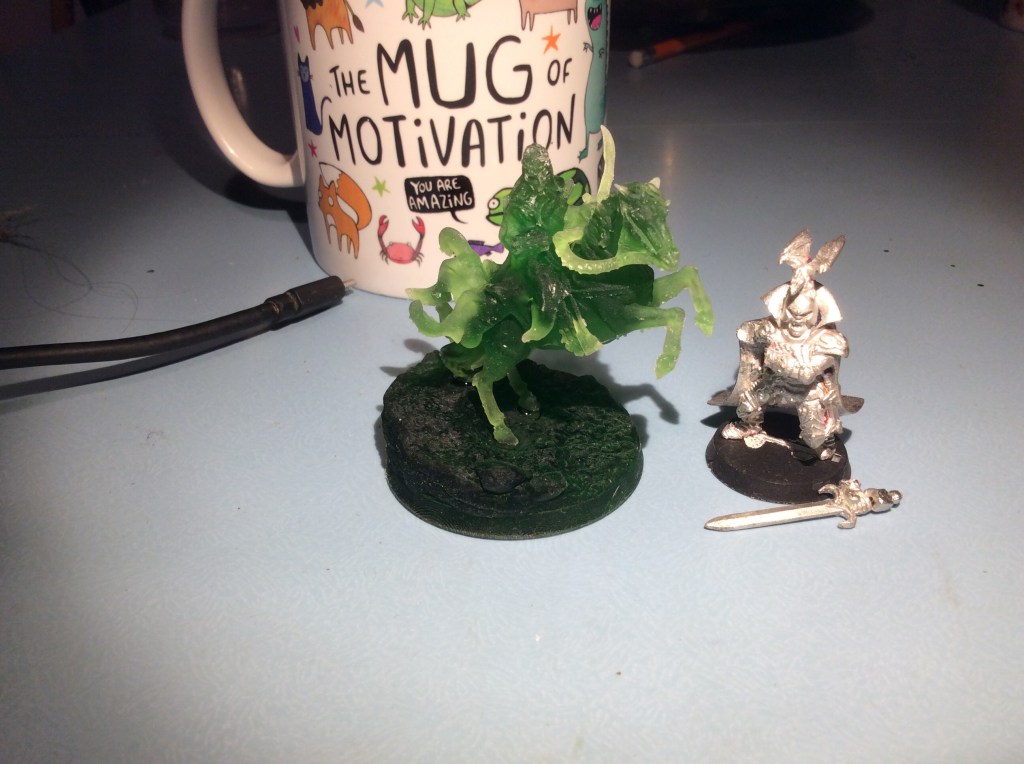
I even dressed up as a Cowboy once for a charity event.. took my horse too!
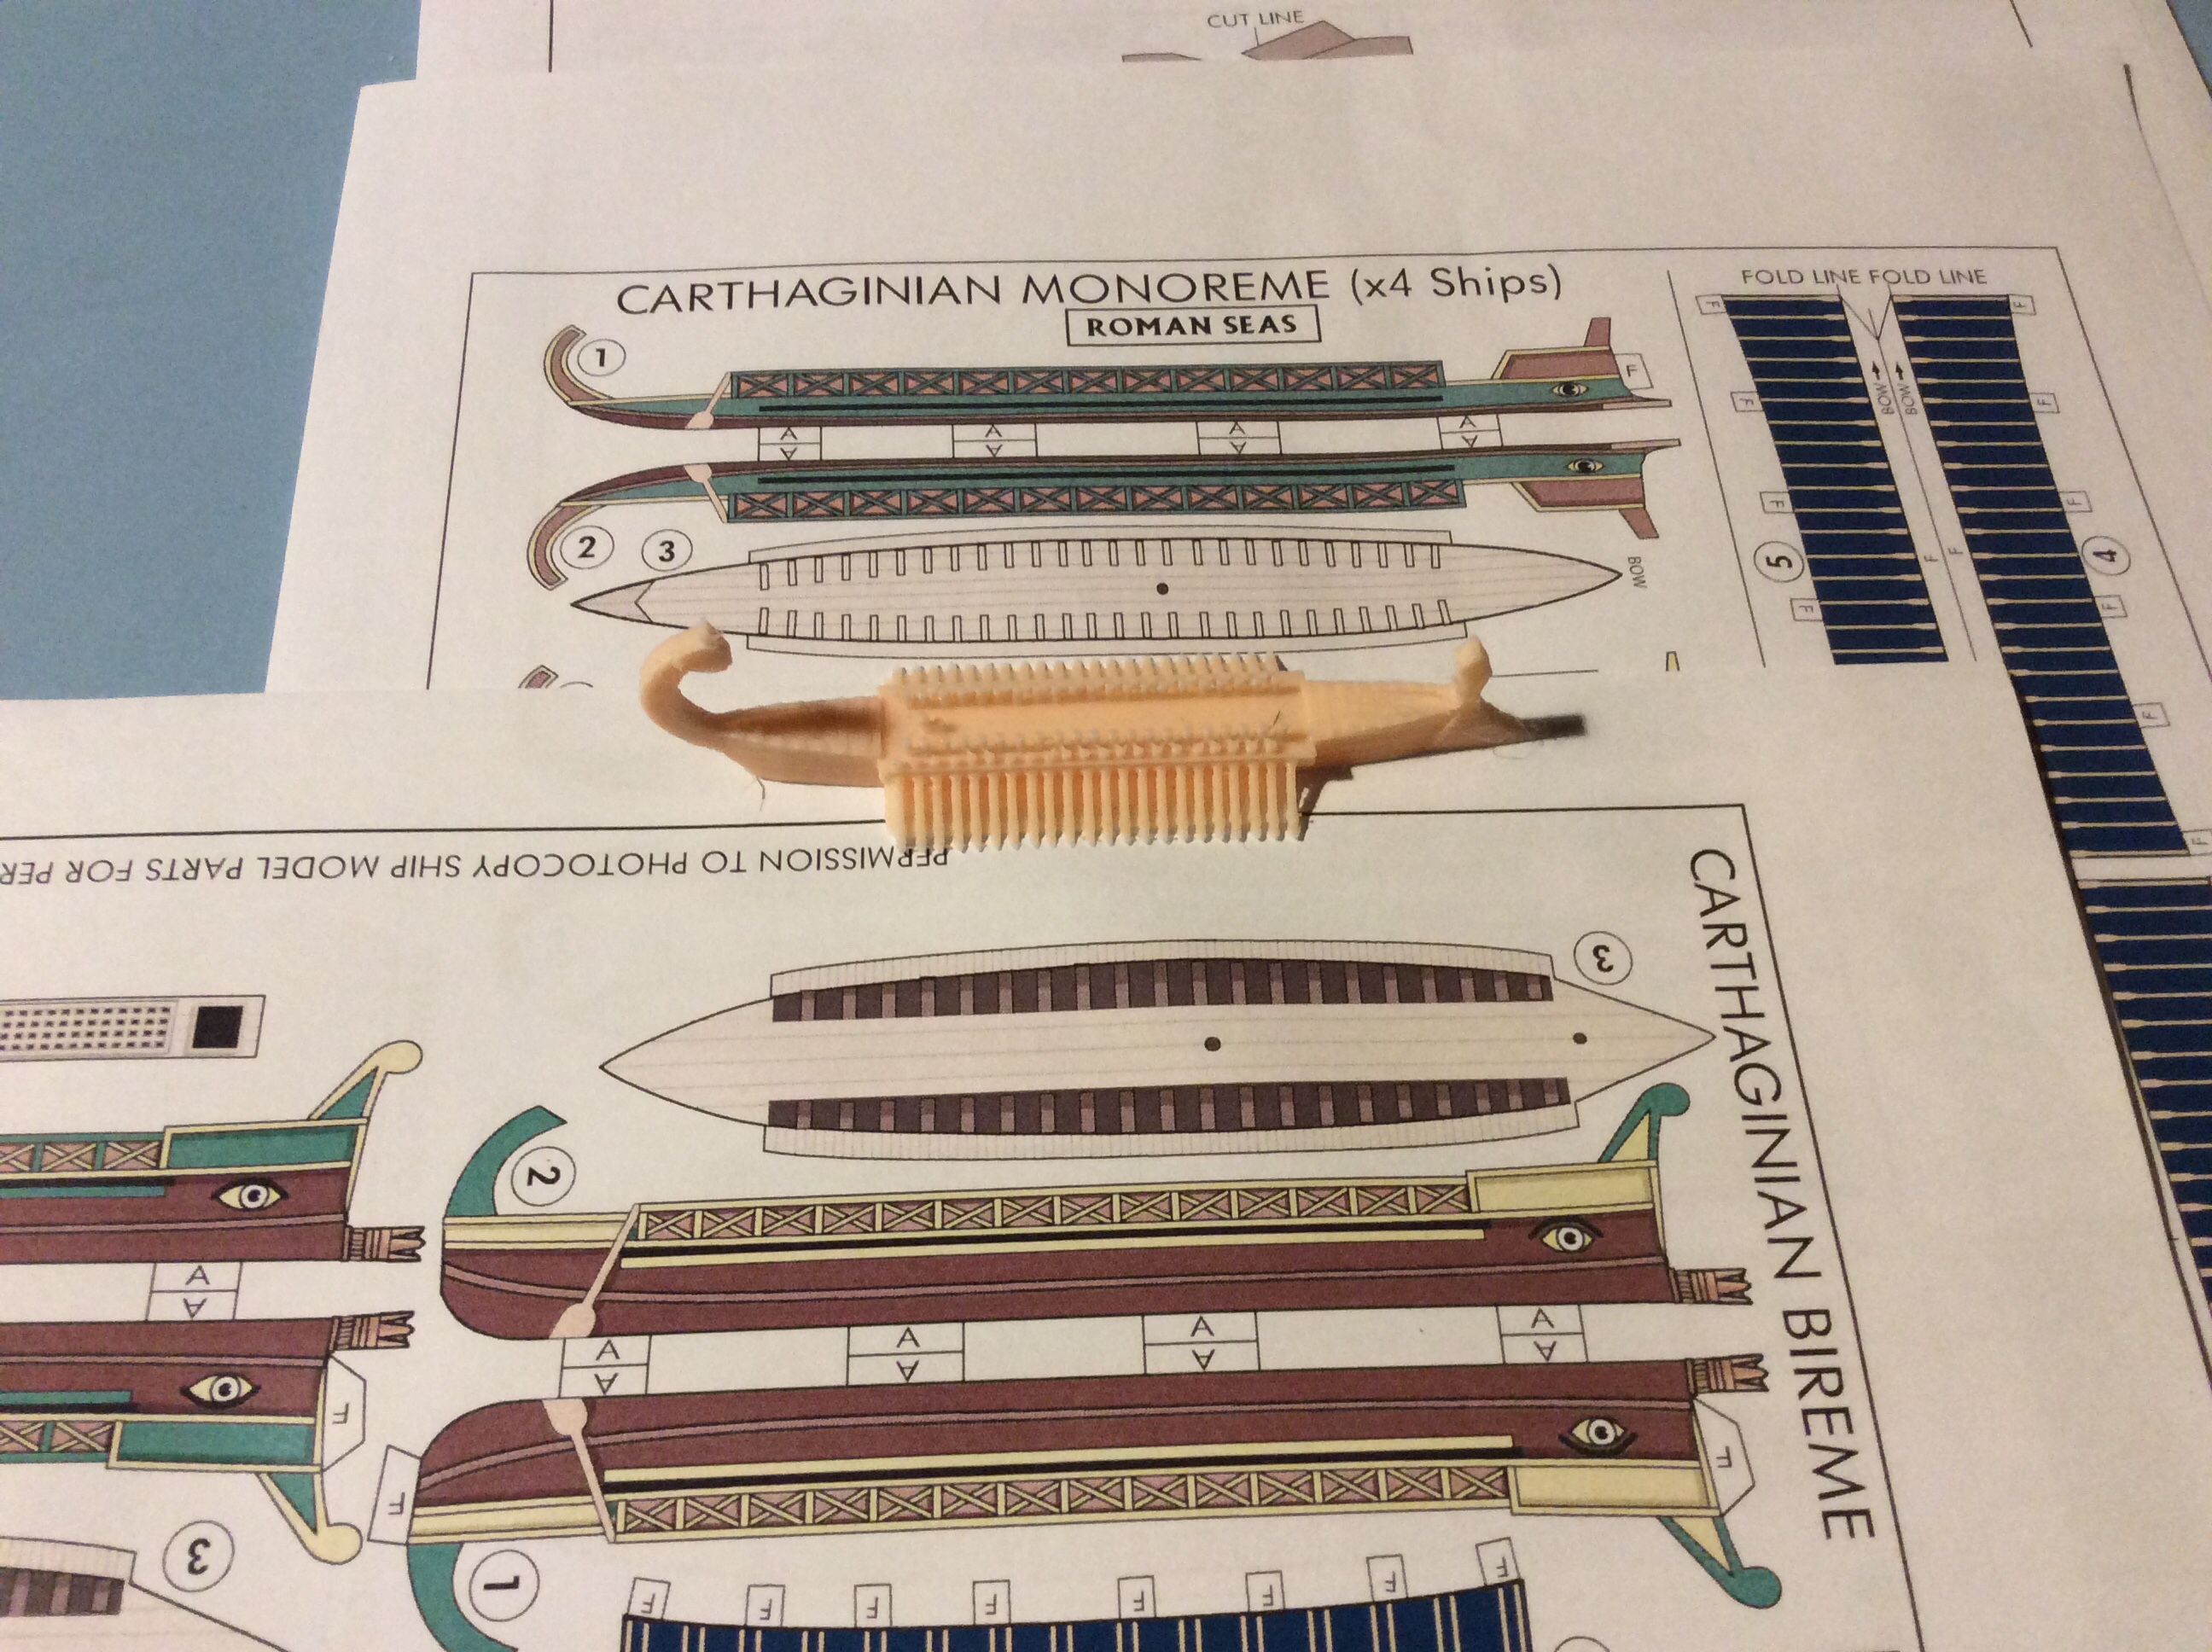
We today, I decided to try one of each of the different ships, there were in fact ten of them. This time I printed them at 50% size. These will come in handy for Poseidon’s warriors.
The one thing I must get the hang of is to clean things better. Some of these are a bit of a mess. I think it will come with practice and knowing where the resin will lurk. It also didn’t help that two of them stuck together.
I decided to take my safety seriously and decided to wear my mask (that arrived this morning)
Maybe a bit over the top, but it works!
Tomorrow I will get the printer running again at ten seconds a layer. Nine is definitely better than eight so I will do another run of miniatures. I will put the jailer in there again so that I have a consistent figure to test the settings on.
I gave the Ender an airing today and it was an absolute sod. Changed the nozzle and also re levelled the bed, and fave the build plate a damn good clean before it would let me print anything.
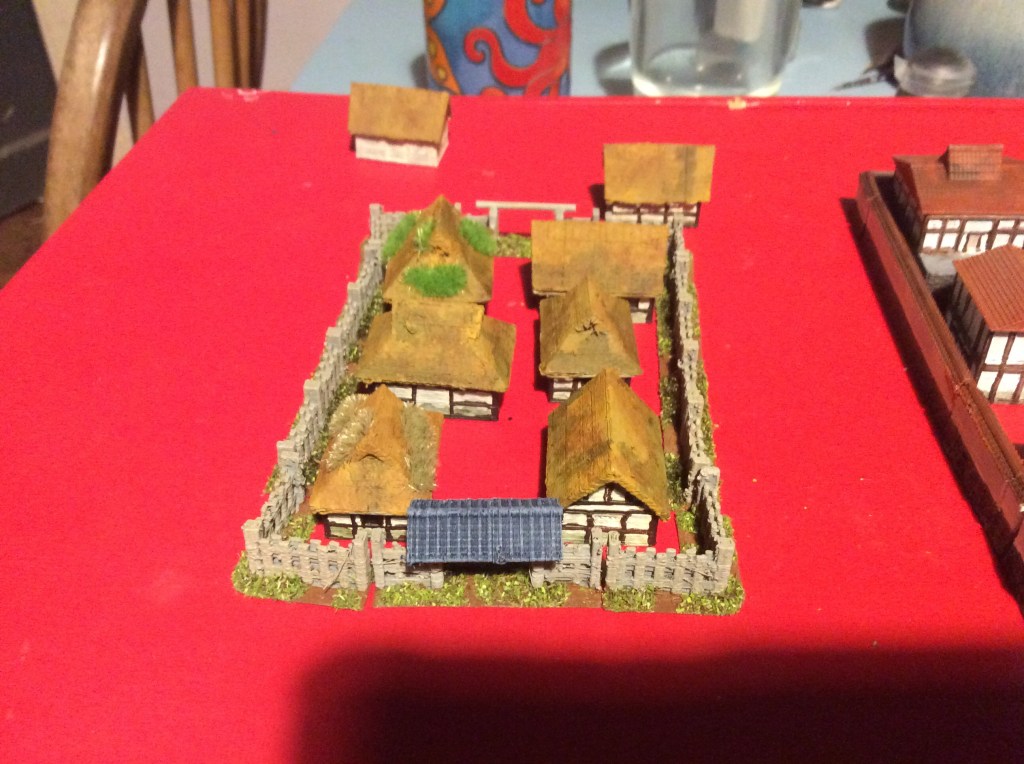
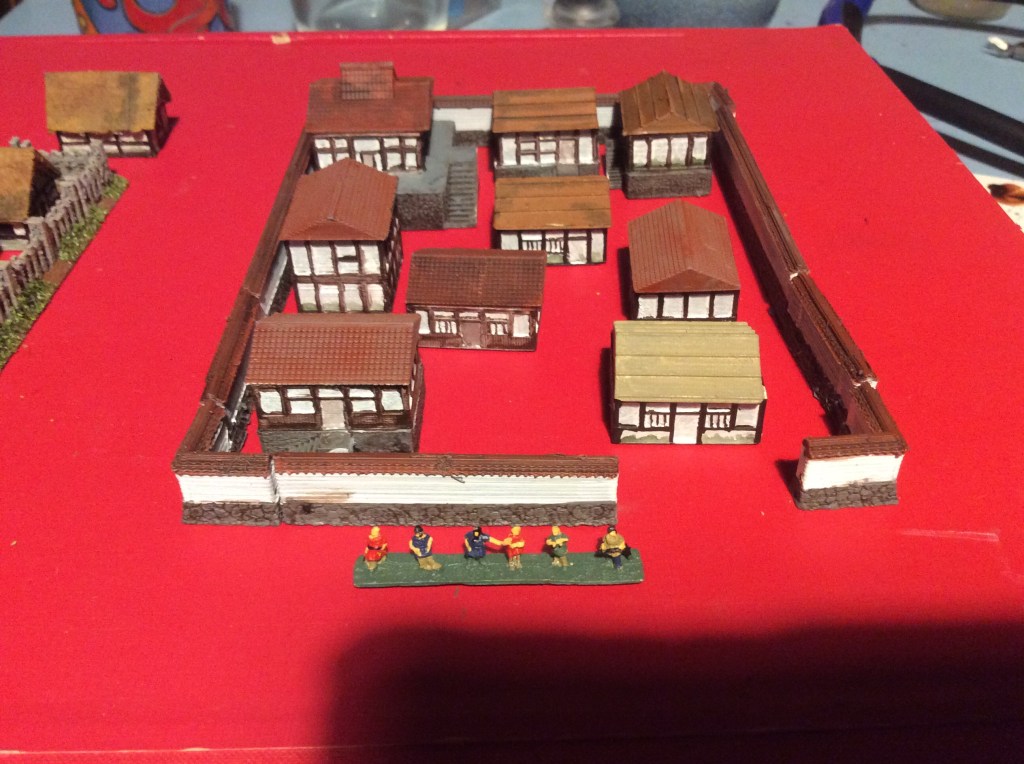
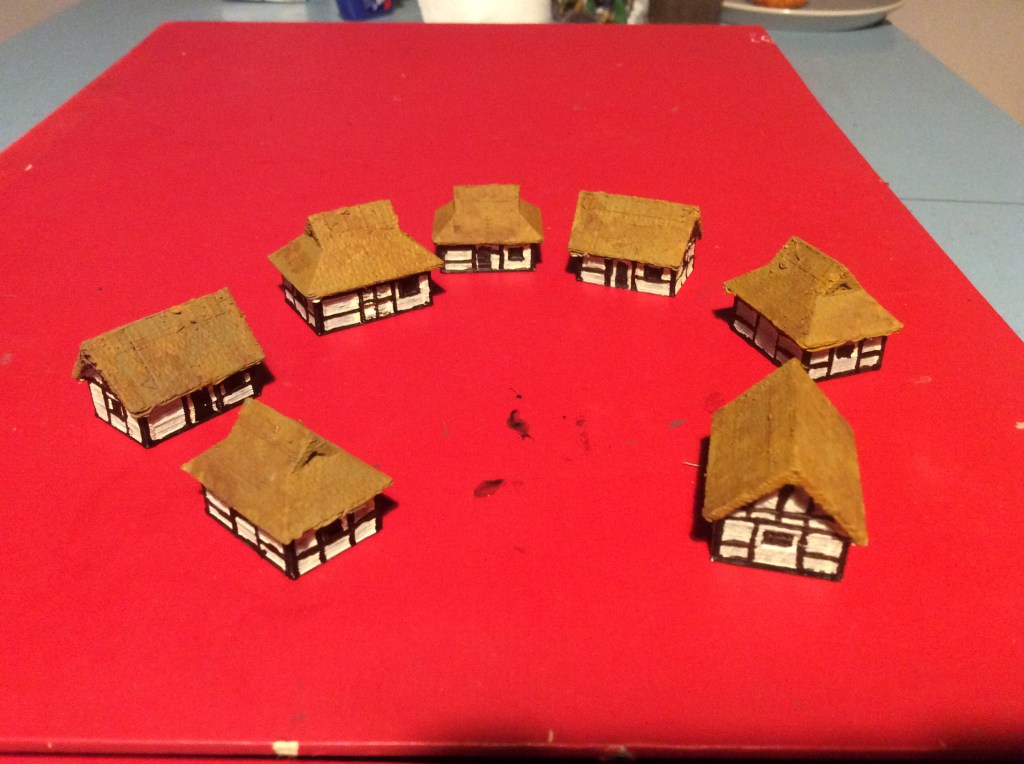
I ended up with a small samurai village and an individual house in three bits for my 6mm Forces.
I bought these at the same time as the galleys yesterday. The village comes on a circular base, and there are some individual houses too.luckily the Japanese ones are included. I had to shrink the singles by 50%, and I think they will definitely do. This set also came with a samurai castle.
The sets had various houses from Neolithic right they way up to ACW, so I should have a fair bit to play with. Sadly the individual ones came in at only three sets. Samurai, Tudor and Russian.
Today I was having a mooch like you do and ended up getting myself some Ancient Greek trireme (or something similar) I also got some 6mm buildings (which evidently aren’t)
But the boats are nice if a little large. I will drop the size down by half I think (if not by more) as I have Poseidon’s warriors rules, it seemed a good idea…
From what I remember there are ten different boats, I printed three off at this size as the vat still had resin in it.
I also set off to print the third set of townsfolk and somehow ended up printing the second lot again.
The printer also had a moment. For some reason when I put the plate back on and it tried to head down at an angle. Luckily it didn’t puncture the FEP film on the vat, but it had a damn good try.
I also had a moment. I was holding my sieve in a pot so merrily poured 300ml of cleaning water into a 100ml pot… needles to say it didn’t fit. Did I pour it in slowly? Did I bugger! Water everywhere! I also learned an important lesson, when you shove uncured miniatures into a water bath with cured resin in and swish it about then the cured resins merrily sticks to the uncured stuff. Hence the need of a water clean as mentioned above.
Tomorrow I will print off the third set of townsfolk and also see what actual size the building are…
Another day of testing the printer… As I said I would I bumped up the cure time to 9 seconds. and it does look a bit better. The problem is that I printed different miniatures to last time.
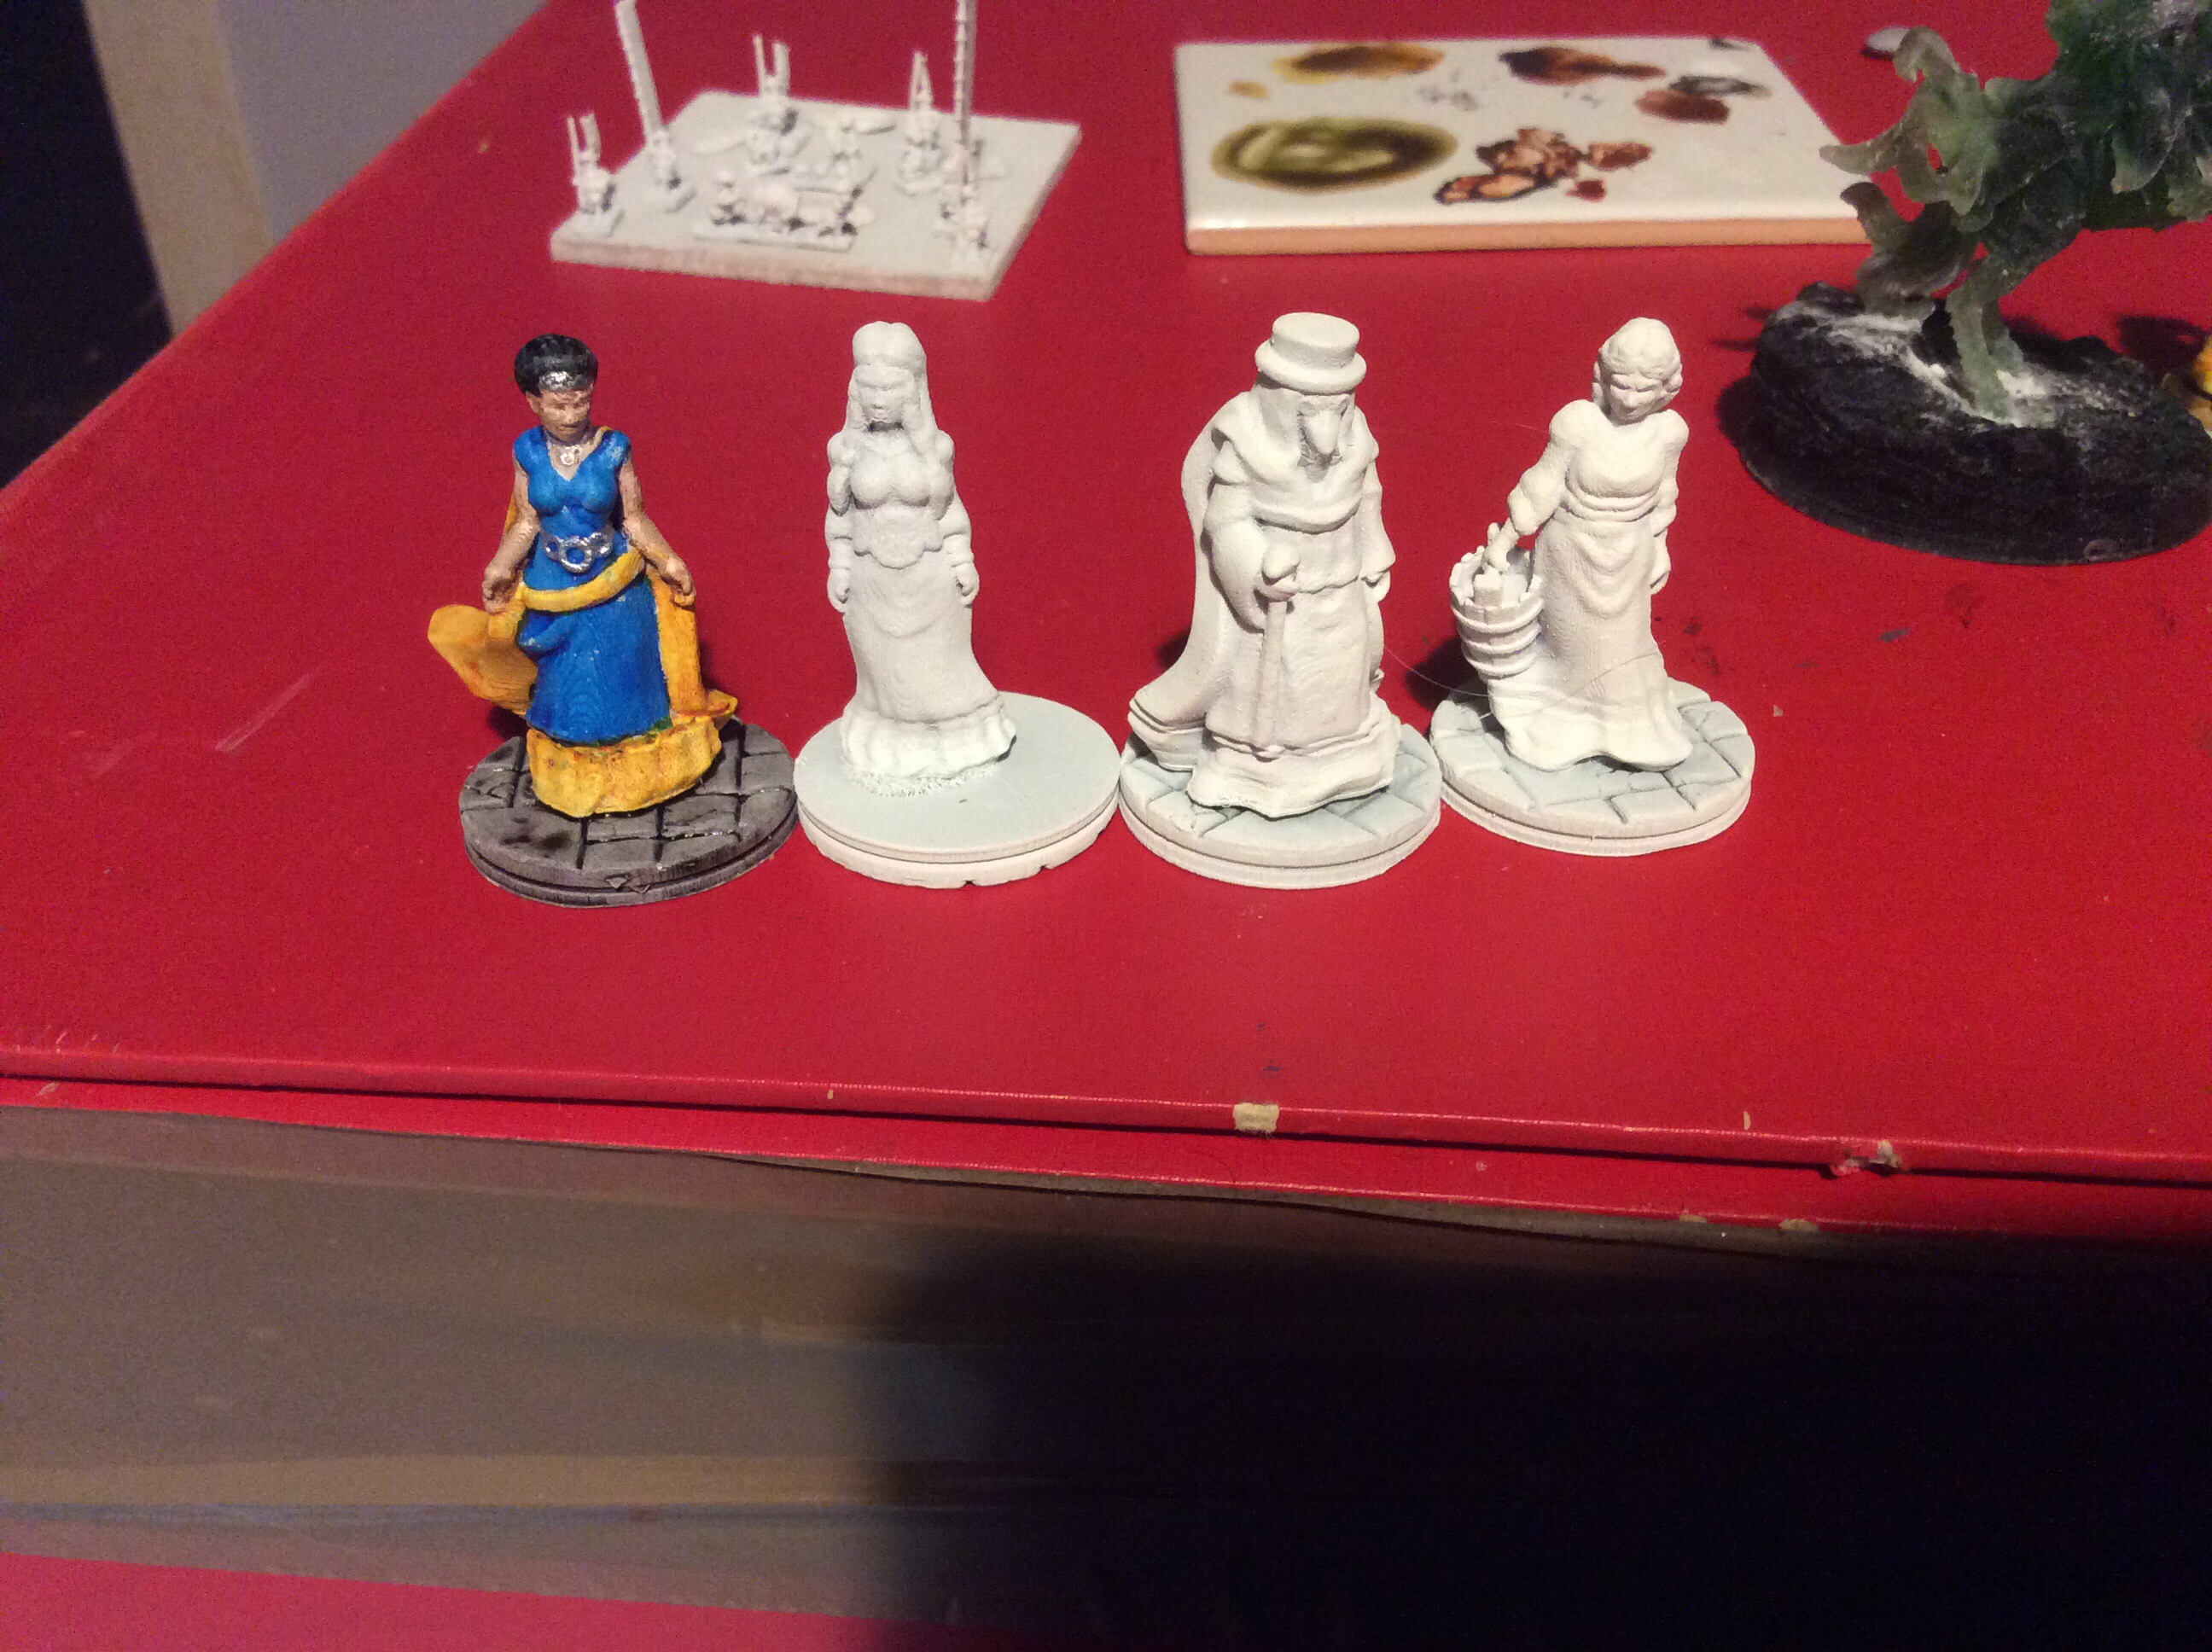
So from left to right we have:
Male villager
Town Guard
Female villager
Lounging bloke
Female villager
Lady of ill repute.
I found the reason for my layer shift today… a simple case of user error. If you look at the photo below… you will just about see a nut above the Anycubic logo. The twice I have forgotten to tighten it fully then I got a shift.
You can really see it with the two koi below…
So note to self, I will need to ensure that the nut is tightened. It doesn’t matter really with these supportless miniatures, but when I move onto supports then a layer shift can cause a right pain I would imagine.
One other thing of note with these is that these bases are an absolute sod to get off the plate. For the next lot I am going to put a little gap under the edge of the base to allow a blade to fit in easily.
Sadly not the cute squirrel that helped people People my age cross the road safely when we were in infant school, I never did get to ride in the pedal car (not that I am bitter and Twisted about it… ok…I am).
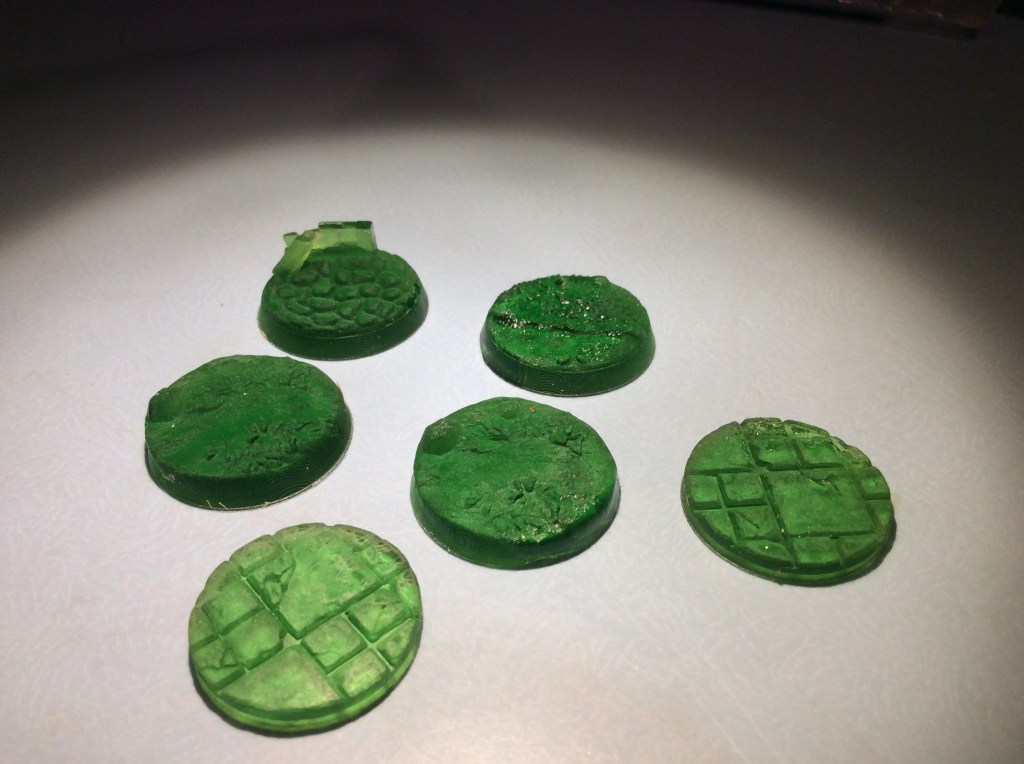
Yesterday I said I tried some home made tufts and I didn’t like them as I thought they were crap. Luckily I didn’t bin them as I intended to. I put them into the shed and threw them onto the table next to some bases. So today I was fiddling with them and put them on one of the bases and they actually didn’t look too bad.
Okay they are a bit on the large side, but thankfully not too tall as to look weird.
This is them sitting on their sheet of greaseproof paper…
I will put some new batteries in my applicator and make some smaller dots and see what I can come up with.
Sadly no painting tonight as I, for some reason, am knackered. I did get my next lot of minis sprayed white so should be off again tomorrow. Yeah I could have painted the 15mm stuff that is half finished but I really couldn’t be bothered to.
I got these based up today, but sadly I have no tufts to add to them like all of the rest. So I will need to put an order in. I tried making my own but the least said about that The better!
I also got the bases levelled on the new stuff… some of them were worse than others…
I rest my case…
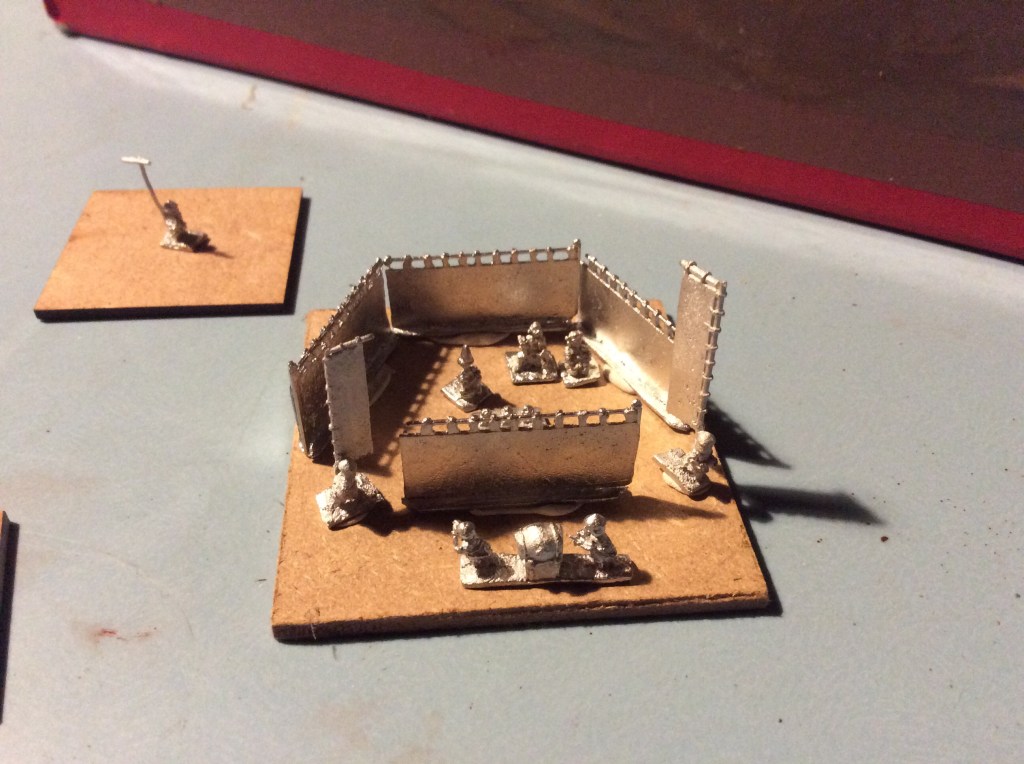
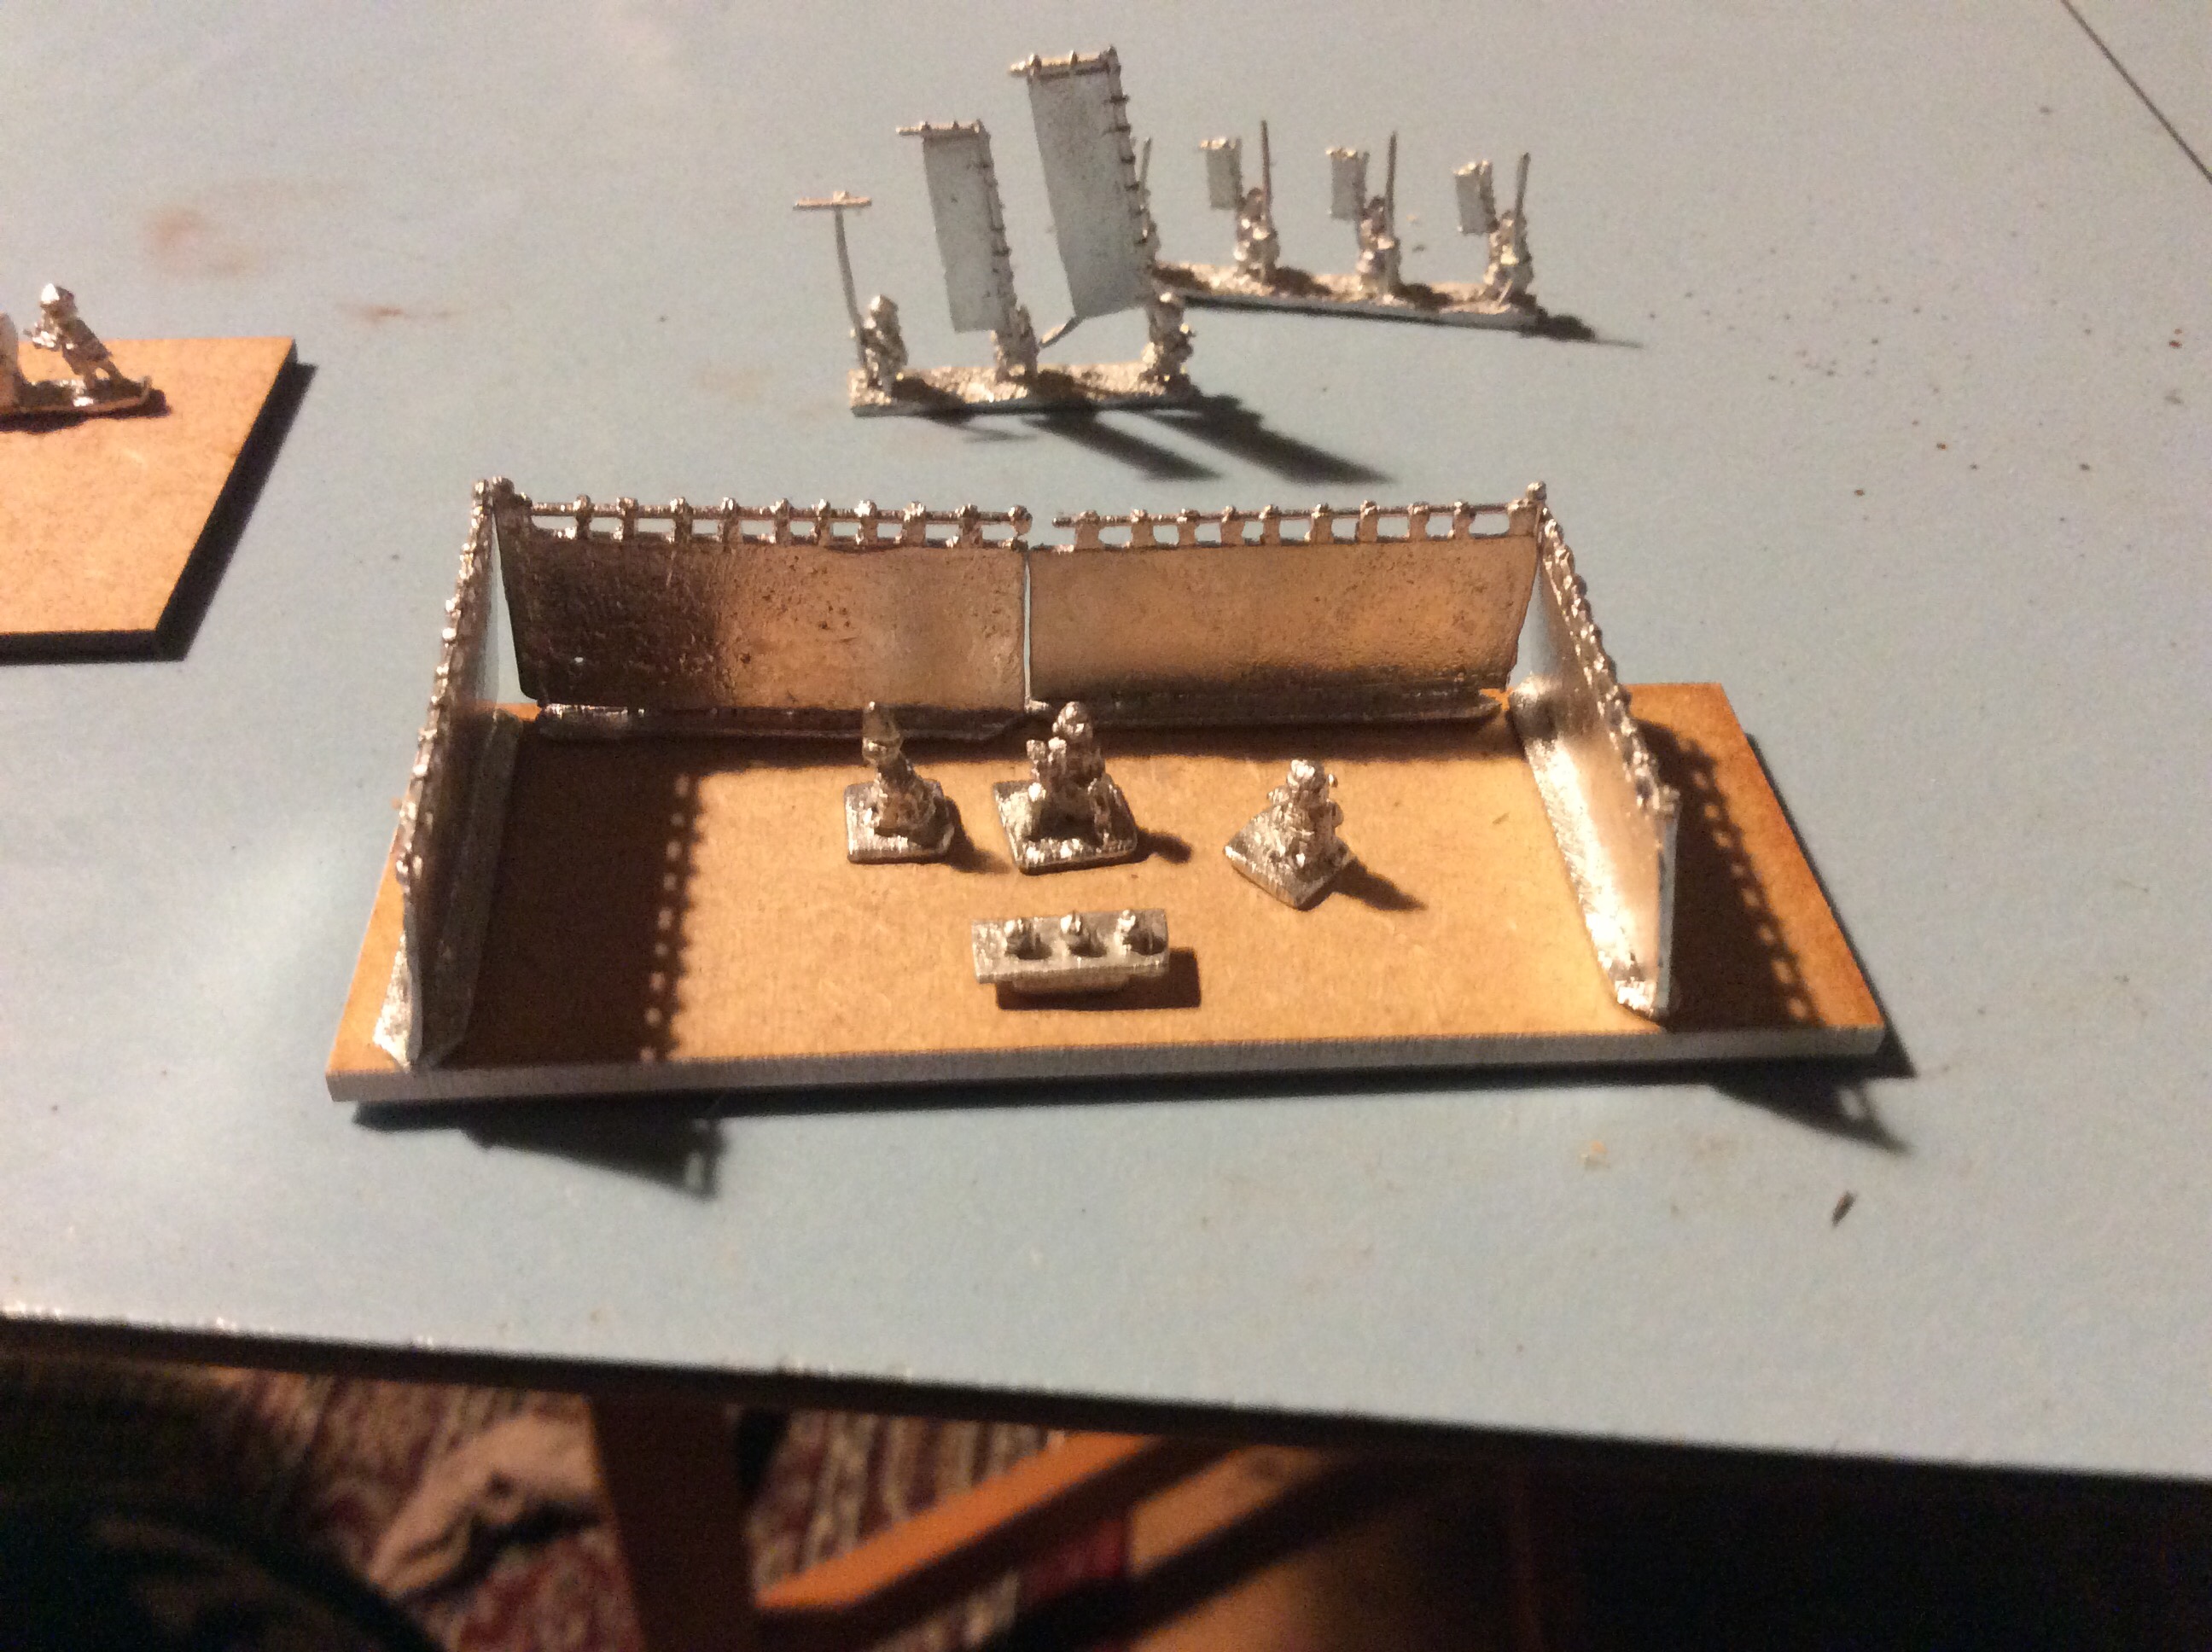
I got all of the Irregular stuff ground down and a pile stuck onto lolly sticks. My priority is to get the monks and samurai heroes done
I am going to use some of the mounted ones as messengers with the large silk ‘Horo’. I will make it out of Greenstuff a small ball should do the trick 😂. I also want to do the battlefield Maku screens as well as field defences and more terrain.
My first castle has been shipped from Japan, so it should arrive within the next year I reckon.
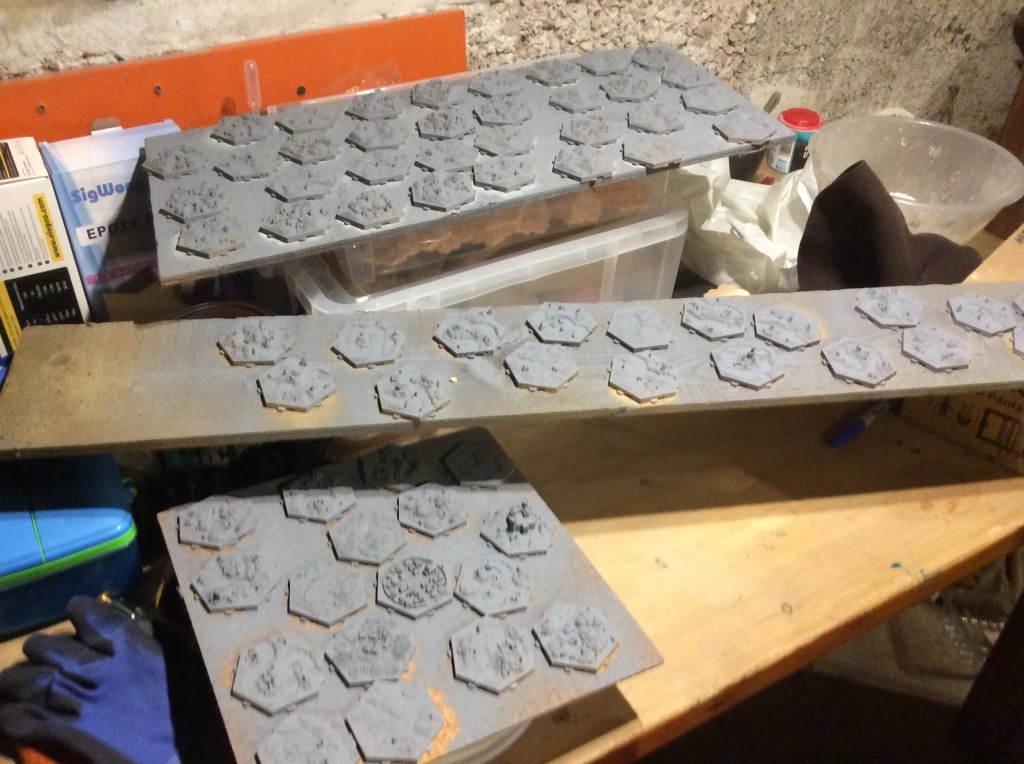
Tomorrow I will get the above sprayed white then make a start on them on Friday.