Even More Armour

Tonight my daughter and I worked on some different upper arm armour. We used the shoulder piece from yesterday and added some extra plates.

The extra plates were increased in size to match the original increase. We also decided to make these plates from rough leather. So using the old ball of tinfoil we roughened the top layer up a bit. In the case of EVA foam then we needed to heat it up a bit first and then when it was warm push the foil into it. Now as I write this I suddenly remembered my soldering Iron tin foil roller. This was a loose sleeve of foil over the heated end of the iron. This was then passed back and forth across the foam to make it textured.

This fits my daughter really well. A third plate would make it too long for her. I could manage a third or even fourth plate.

While I remember, this is what the vambrace looks like outside…

Tomorrow I will get the bits sprayed and then onto the painting tomorrow evening.

Regarding painting, I did manage a bit more colour on the Ork and on the cultists…

Back with the Armour

Tonight, I thought I would fiddle around with some colours for the armour. I wanted the leather to look a bit worn and scuffed. I didn’t exactly achieve scuffed, but I did end up with something sort of leather looking.

I will try and get a better photo tomorrow as the towel it is on is turquoise!

I also had a go at adding a curve as well as increasing the size from a pattern. I did better with the latter, than the former, but we all have to start somewhere.

I also had a bash at texturing the EVA foam. To be honest I did the same as I would with XPS, but in this case I heated the foam a bit and then attacked it with a ball of aluminium foil. Voila… rough leather…

I reckon a heat gun would assist me in my endeavours, the one I had, well technically it is a paint stripper with a temp dial, seems to have packed in.

I will get these looked at tomorrow and see what I can do, if anything to fix them.

Bleurgh and Words to That Effect

My daughter and I got another of layer of brown on the armour and a first layer of green on the bigger one too. She is suffering a migraine and I am rattling with the pills for my ribs and the fever effects of the jab. So needless to say not much has been achieved on the miniature front.

As you can see the green is still a bit on the wet side. Now obviously the card on the vambrace has lifted a bit, but I have ordered some 1 and 2mm EVA foam which will work better than the card. Tomorrow we will try and ‘distress’ the leather a bit. Somewhere I have a pot of gun metal paint, I will see if I can find it for the edges of the vambrace. My daughter wants the designs to be gold.

I got an email from Museum miniatures today saying they were bringing out some more ‘z’ range ancients… it reminded me that I have an army to paint. As a lot of them are nude with bronze armour then they should be easy, peasy to do.

There is also bucket loads of 3D printer stuff to get going with too. In fact there is so much that I don’t even know where to start.

My first Kickstarter dropped today, I also have more hex tiles as well as three month of Patreon goodies from the Lord Of the Rings.

Needle in the Arm

Well a very nice man stuck a needle into my arm today. I got my Covid jab at 11.00 this morning. Feeling a bit woozy this evening so don’t bother trying to paint any miniatures. I did manage to get the ‘armour’ curved a bit more this morning and sprayed this evening. My daughter set about things with the brown paint of her choice.

Hopefully I will be back on with the painting tomorrow evening.

As I am doing ‘armour’, I thought this favourite was apt….

Now for Something Totally Different

My daughter is well into her cosplay (or would like to be) so a good while a go I bought some patterns for making bits and pieces for her. I printed some out and today we decided to have a go at some armour for the forearm.

We were messing around and came up with a couple of designs. There are plenty of flaws in them, but she is over the moon with them and to be honest, for a first attempt then I am really pleased too.

As we were just messing we used what we had which was EVA foam mats, card and split peas for the rivets. I will get them sprayed up tomorrow after we have heated them and formed them a bit more.

A Rock Golem

I made my own rock Golem.

A big thank you to Jeremy over on Black Magic Crafts for the inspiration.

He is quite a big beasty as shown by the photo below. To the top of his head he stands about five inches tall.

Sadly I seem to have lost my photographs of the build.

Basically I cut out the torso and legs as one roughly humanoid shape. I then set to work hacking away with a knife to get a rocky looking shape. Feet were hot glued onto the front if the legs. The head was made out of a random offcut. Eyes and a mouth were cut into it, a couple of handy pebbles became the eyes.

The arms looked just plain wrong the same thickness as the torso so I cut them in half with my hot wire cutter. Small boulders were made using either a knife or hot wire cutter and then stuck to the body with PVA.

Once dried I added sand and grit to various parts of the model, when dried I blasted it with watered down PVA.

Painting was next with a mix of dark grey house paint and PVA. I then added a home made Black was, which was far too potent (too much black ink). Once dried I dry brushed up through lighter shades.

Various bits of foliage were added once the paint had dried.

The one thing I intend to do is paint the eyes a different colour. Next time I would round of the hands a bit more and maybe add a club.

Below you can see him in his natural habitat.

A couple more random photos:

Greenstuff World Roll Maker

I have looked at these for a while….

and eventually bit the bullet.

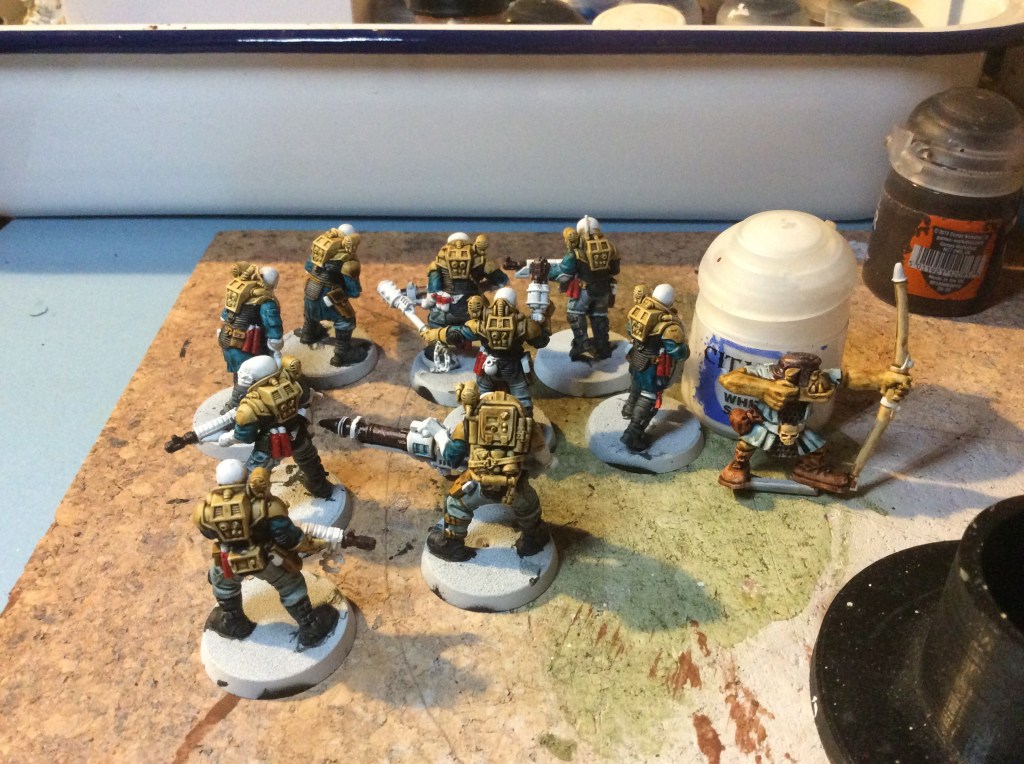
I had a quick play and am rather impressed with the results.

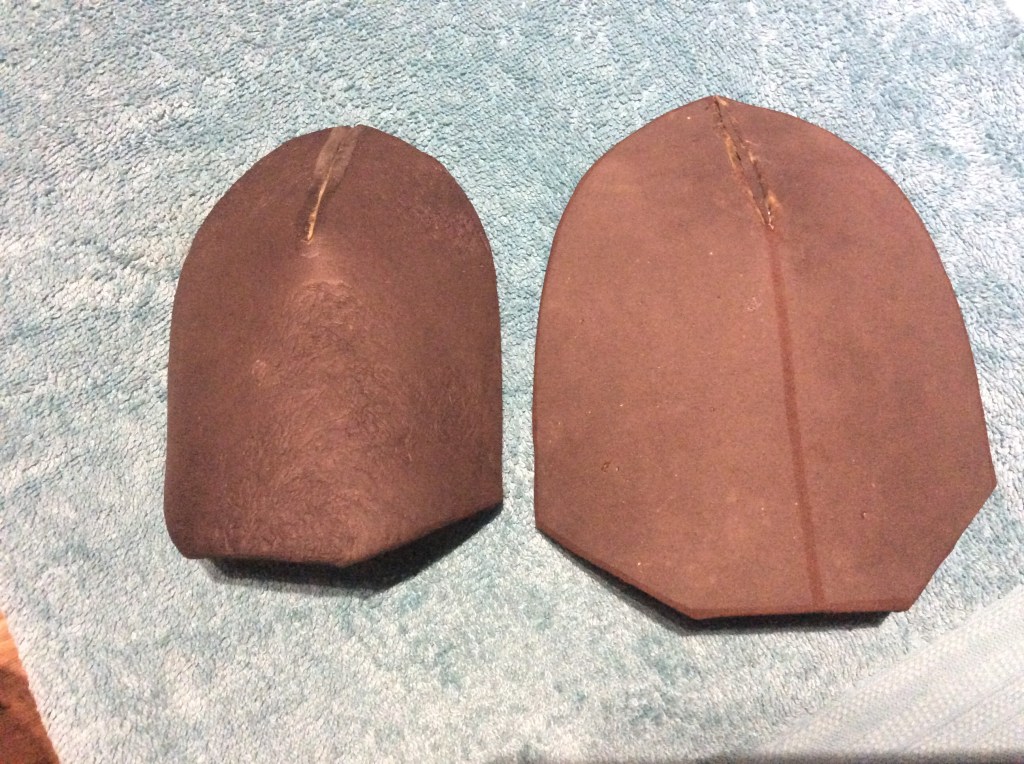
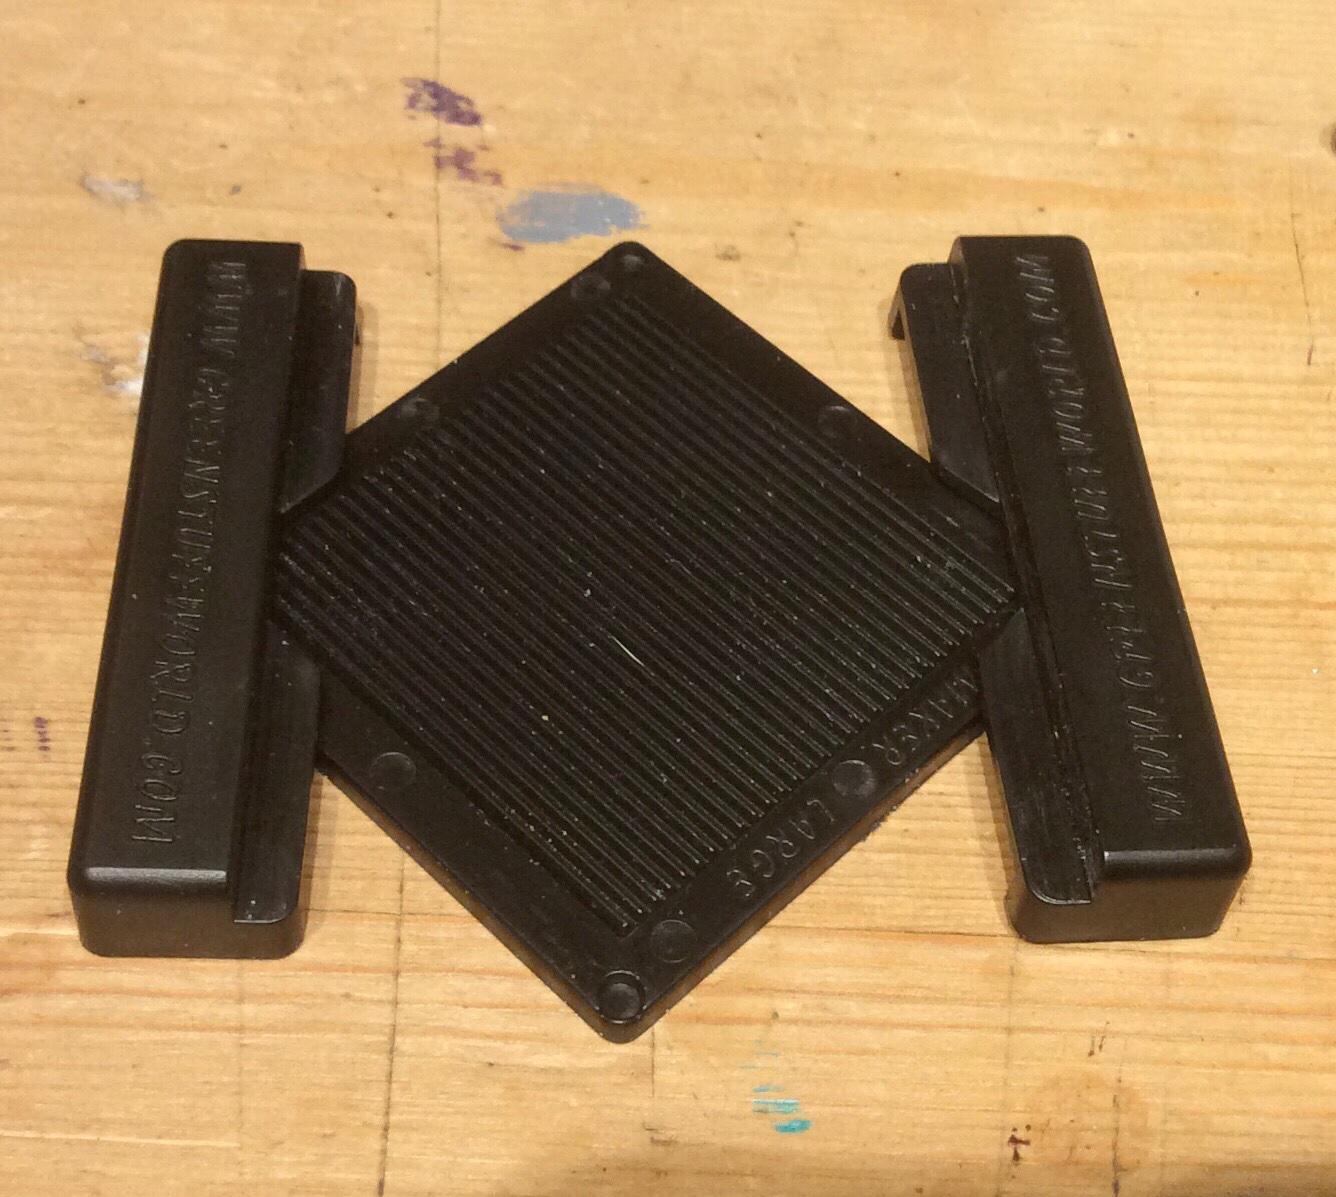
In the pack you get six ridged plates and two edges.

The ridged plates are large, medium and small. I only had a go at the large plates.

There aren’t any instructions on the box but to be honest the pieces fit together in only two ways.

Straight:

And angled (45 degrees)

Make a thinnish roll of Greenstuff…place on the bottom plate, slide the top plate back and forth until the desired result is obtained.

My results were pretty good straight off. Once or twice I pressed to hard and flattened the roll. This meant I needed to take it out and redo.

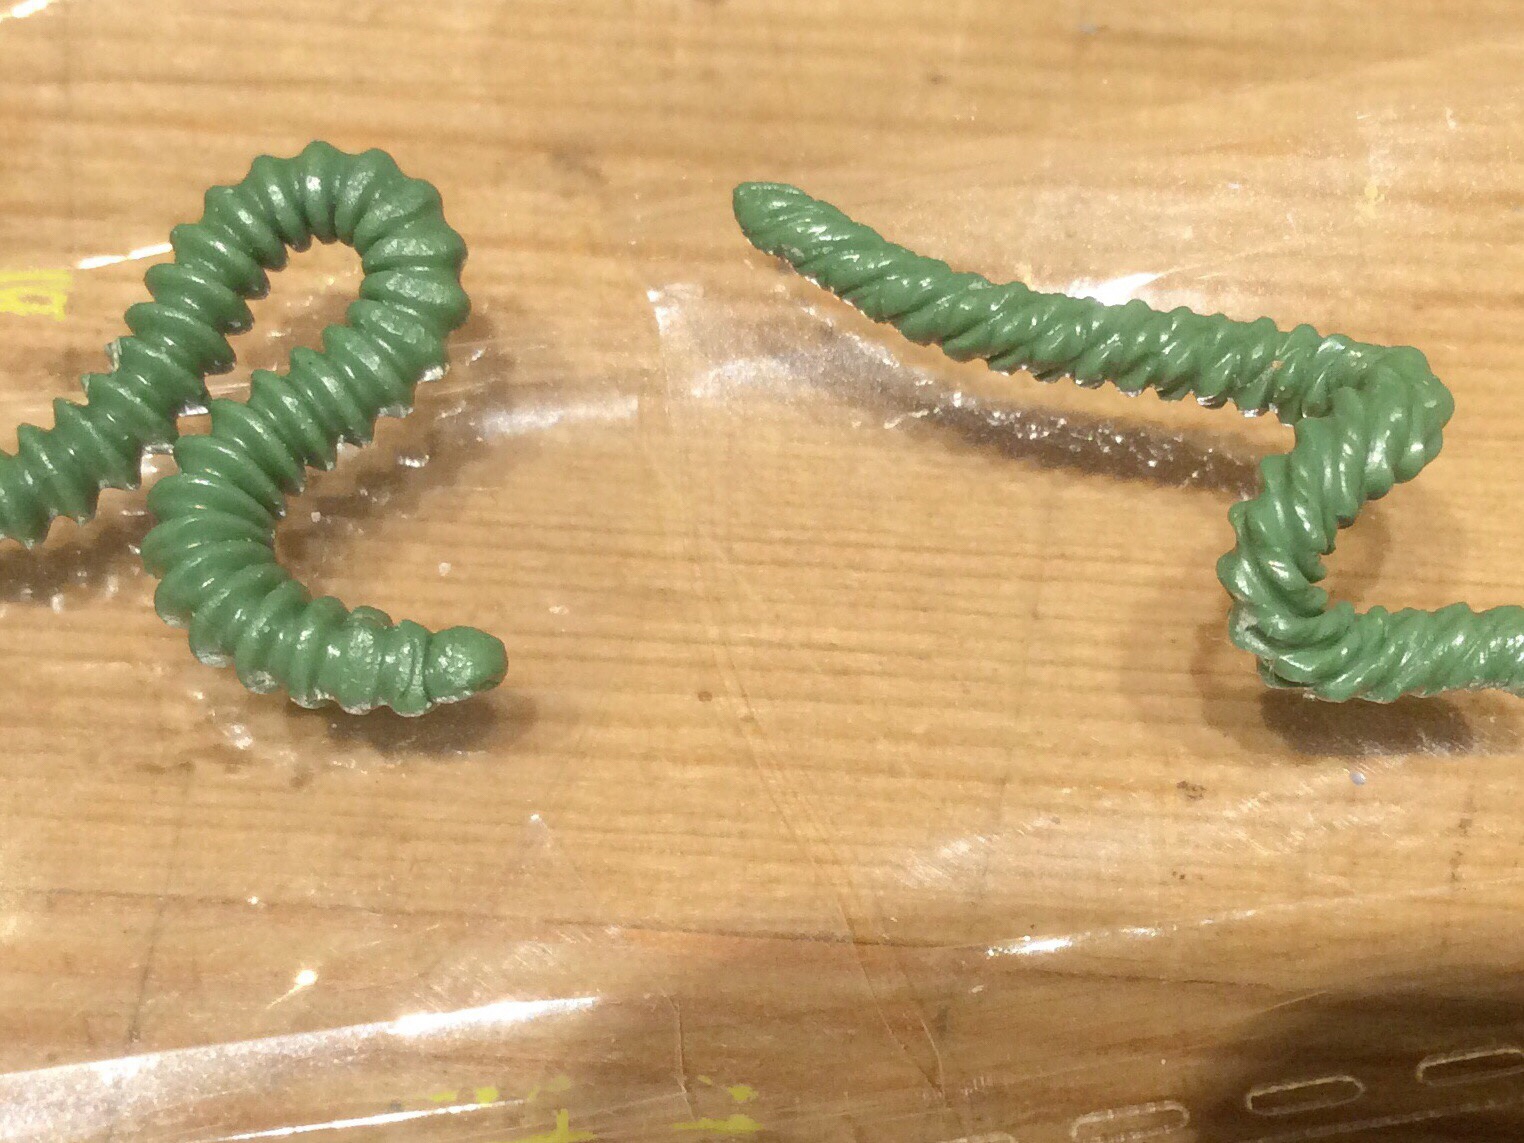
The bottom left was the first attempt.

The rest followed.

The nice thing is…you can redo it!

I did find the angled way a bit tricky…this was user error rather than equipment error.

I simply removed one edge piece and obtained instant success. It may be the case that this is what you need to do.

After playing with the kit for 10 minutes I had a hunt on YouTube and there is a fair bit out there to help. This is the first that came up.

Greenstuff Roll Maker

Am I happy with it… Yes I am. If pushed to give it a score out of 10 I would give it an 8 just on my initial play around. The third video in the series above shows how to make longer wigglers. There is however a larger version.

I got mine from the Greenstuff EBay shop at the price of £11.99. I am wanting to make Alien hive scatter terrain so it will be used quite a bit. In hindsight I should have got the larger version, which is only a pound cheaper, but at the time Of purchase I didn’t notice it..

My wife, however, is convinced that I have lost the plot. She can’t work out why I have purchased a tool for making caterpillars!🐛🐛🐛🐛

Longship

I had a break from painting uniforms…

I built this for a friend of mine. It was pretty much already painted and 90% built. I only really had to make a sail and raise the mast. As it was missing the steer board I scratch built one out of offcuts of MDF.

The kit comes with some MDF shields and oars as well.

I want the mast to be removable and was struggling to vote up with a concept to release the ropes. It suddenly dawned on me to use a nautical device. So I nipped back into the bin and pulled out some more scrap and made some belaying pins.

The mast was made out of three sheets of kitchen roll trimmed to size and toughened with PVA. The rigging etc is made from my linen thread from my leatherwork box.

All in all I am happy with the build. The manufacturer is Dark Ops really not a bad model for £14. The only thing I added was the sail and the rigging.

I didn’t get much done painting wise apart from base coating some more objective markers and a rather large wild boar.

I also went off gallivanting to a beach nearby as it was such a lovely day.

Five Minute Makes

I was waiting for my daughter to get home so I made a speedy packing crate.

To be honest it isn’t the most elegant thing ever. But there was no measuring involved. It is made from a tongue depressor and some paper from an exercise book. Once the PVA is dry I will get it painted.

I used a second depressor to mark out the 4 sides.

These were cut out and placed on a piece of masking tape

Planks were etched into the pieces of wood (not shown here)

The tape had a tab left on one end and then folded in on itself so the tape was on the inside.

A bottom was then glued on and trimmed once dried.

The edging was folded in half and glued onto all edges. Cross pieces were cut out and added.

A lid was made and edged as above.