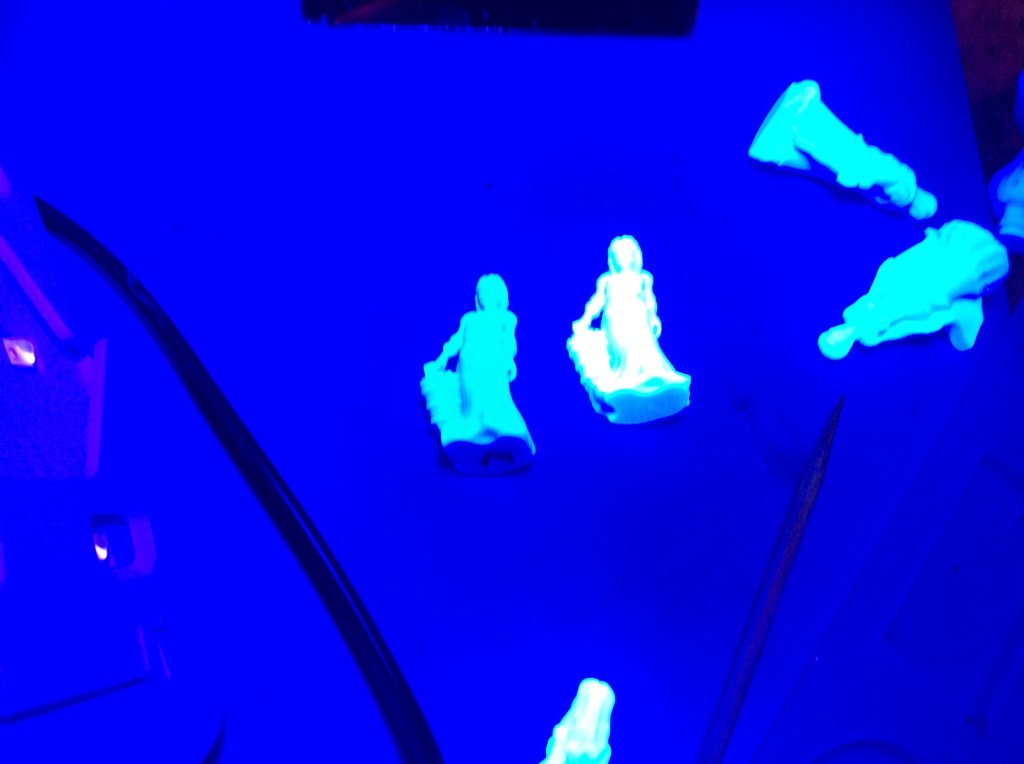
Another day of testing the printer… As I said I would I bumped up the cure time to 9 seconds. and it does look a bit better. The problem is that I printed different miniatures to last time.
So from left to right we have:
Male villager
Town Guard
Female villager
Lounging bloke
Female villager
Lady of ill repute.
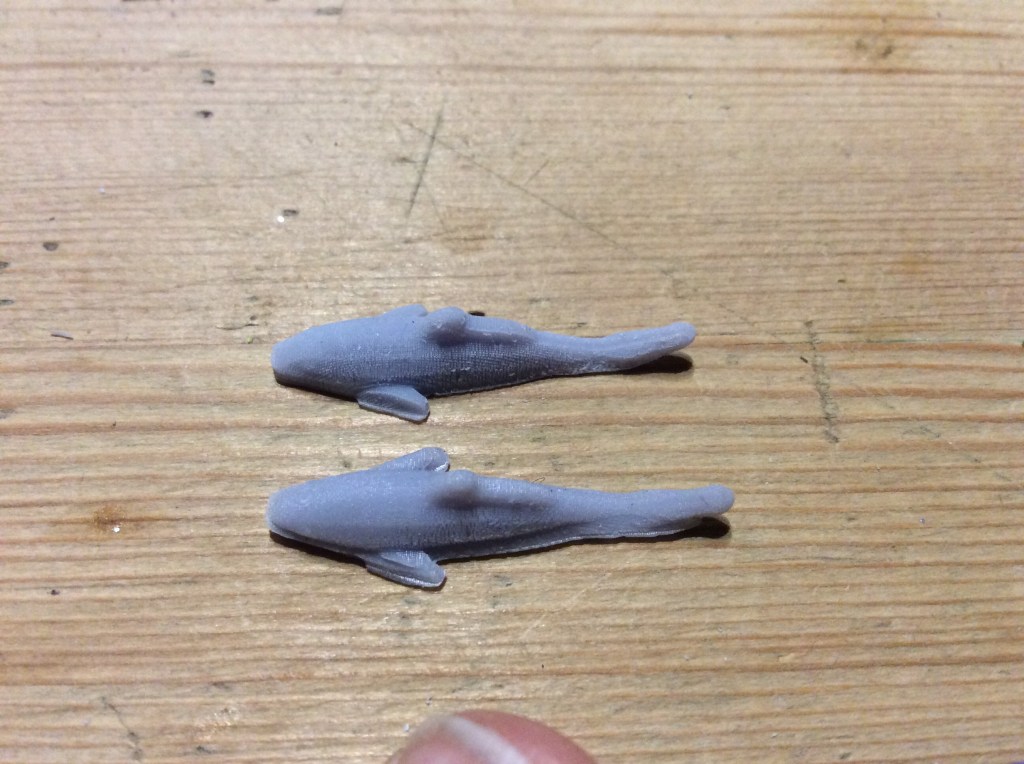
I found the reason for my layer shift today… a simple case of user error. If you look at the photo below… you will just about see a nut above the Anycubic logo. The twice I have forgotten to tighten it fully then I got a shift.
You can really see it with the two koi below…
So note to self, I will need to ensure that the nut is tightened. It doesn’t matter really with these supportless miniatures, but when I move onto supports then a layer shift can cause a right pain I would imagine.
One other thing of note with these is that these bases are an absolute sod to get off the plate. For the next lot I am going to put a little gap under the edge of the base to allow a blade to fit in easily.
Sadly not the cute squirrel that helped people People my age cross the road safely when we were in infant school, I never did get to ride in the pedal car (not that I am bitter and Twisted about it… ok…I am).
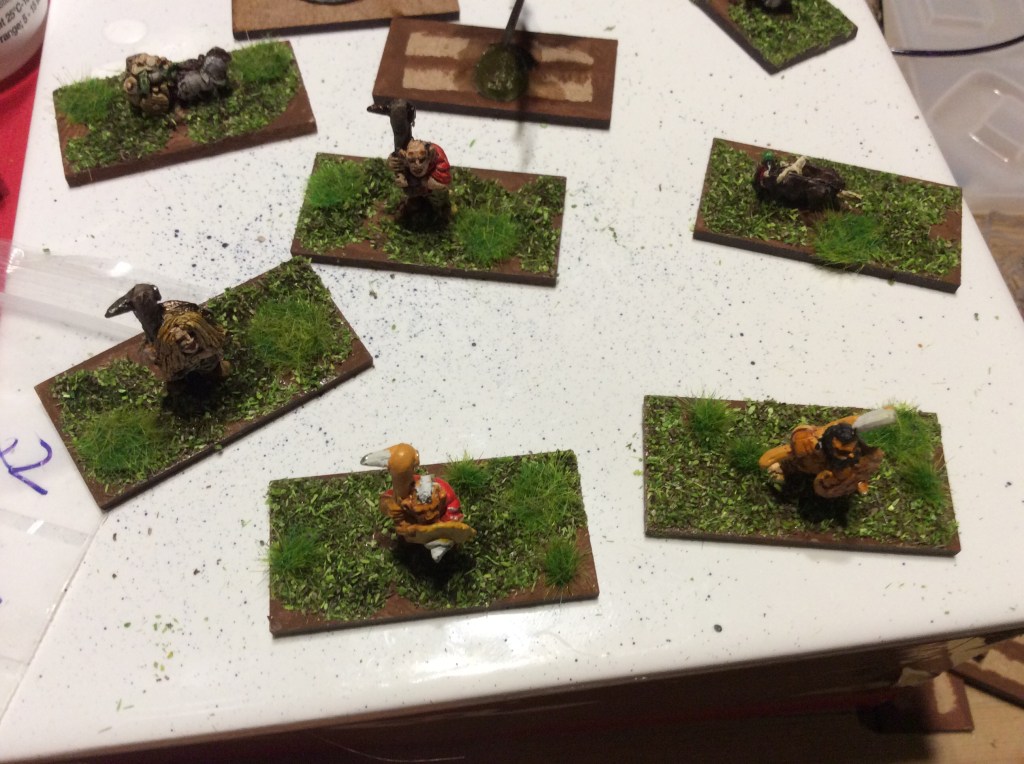
Yesterday I said I tried some home made tufts and I didn’t like them as I thought they were crap. Luckily I didn’t bin them as I intended to. I put them into the shed and threw them onto the table next to some bases. So today I was fiddling with them and put them on one of the bases and they actually didn’t look too bad.
Okay they are a bit on the large side, but thankfully not too tall as to look weird.
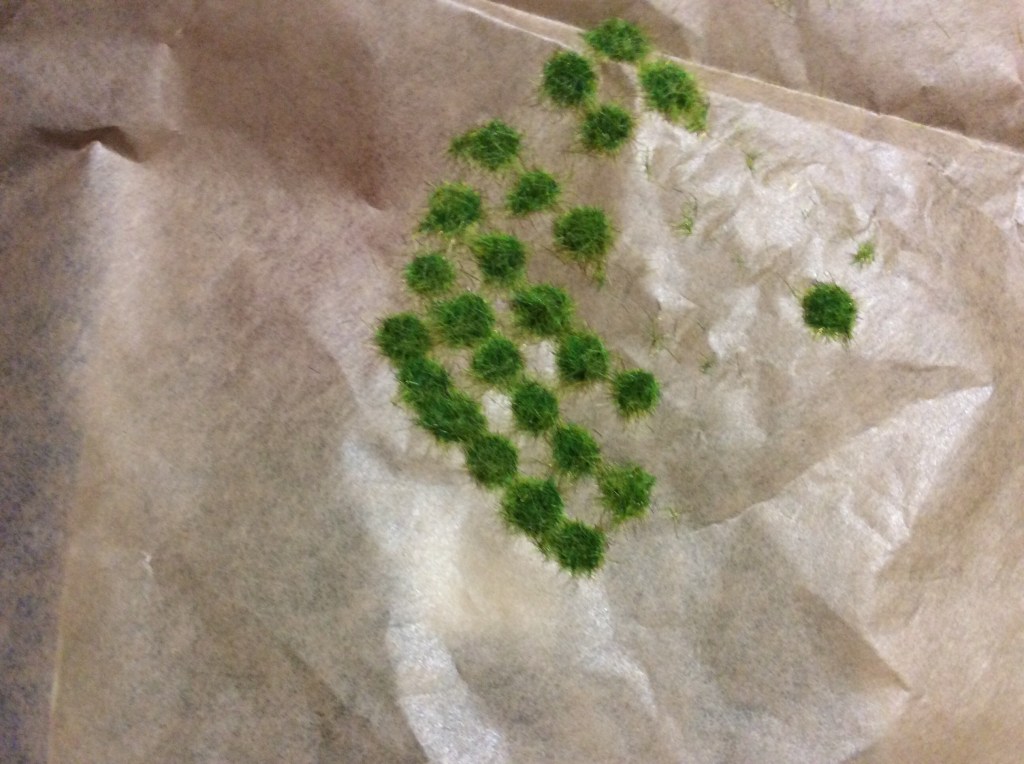
This is them sitting on their sheet of greaseproof paper…
I will put some new batteries in my applicator and make some smaller dots and see what I can come up with.
Sadly no painting tonight as I, for some reason, am knackered. I did get my next lot of minis sprayed white so should be off again tomorrow. Yeah I could have painted the 15mm stuff that is half finished but I really couldn’t be bothered to.
I got these based up today, but sadly I have no tufts to add to them like all of the rest. So I will need to put an order in. I tried making my own but the least said about that The better!
I also got the bases levelled on the new stuff… some of them were worse than others…
I rest my case…
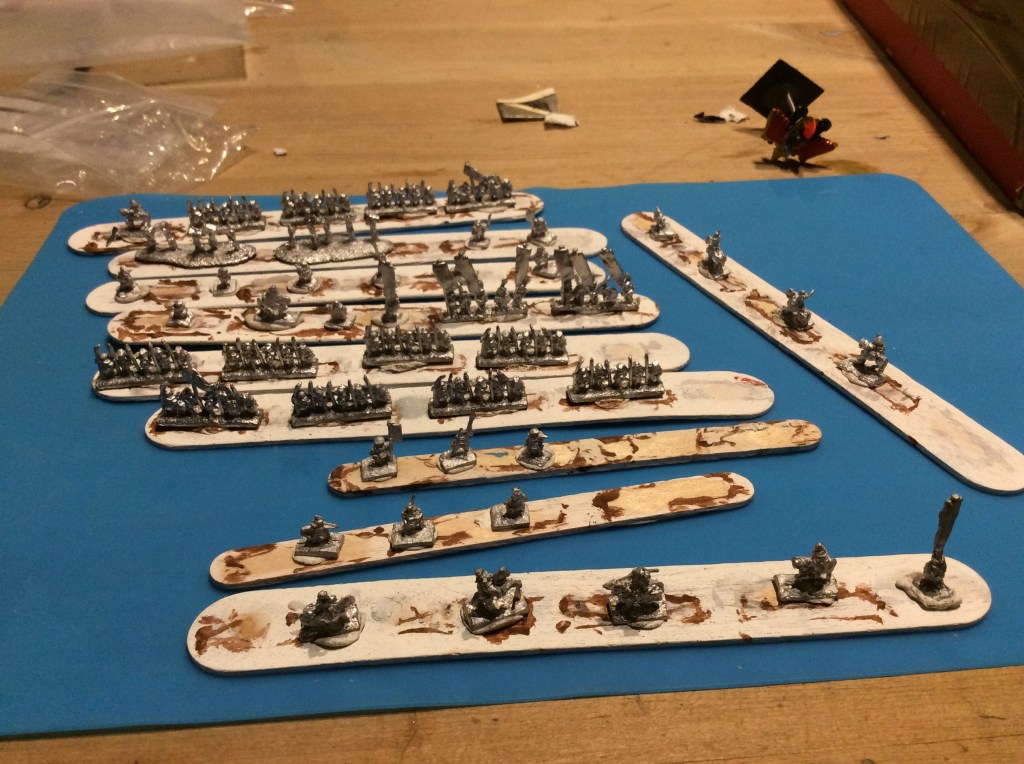
I got all of the Irregular stuff ground down and a pile stuck onto lolly sticks. My priority is to get the monks and samurai heroes done
I am going to use some of the mounted ones as messengers with the large silk ‘Horo’. I will make it out of Greenstuff a small ball should do the trick 😂. I also want to do the battlefield Maku screens as well as field defences and more terrain.
My first castle has been shipped from Japan, so it should arrive within the next year I reckon.
Tomorrow I will get the above sprayed white then make a start on them on Friday.
Today I spent a good while adding bases to miniatures in 3D builder. I found the bases on Thingiverse, but sadly forgot to note down the designers name, I just went and found them as credit, where credit due…
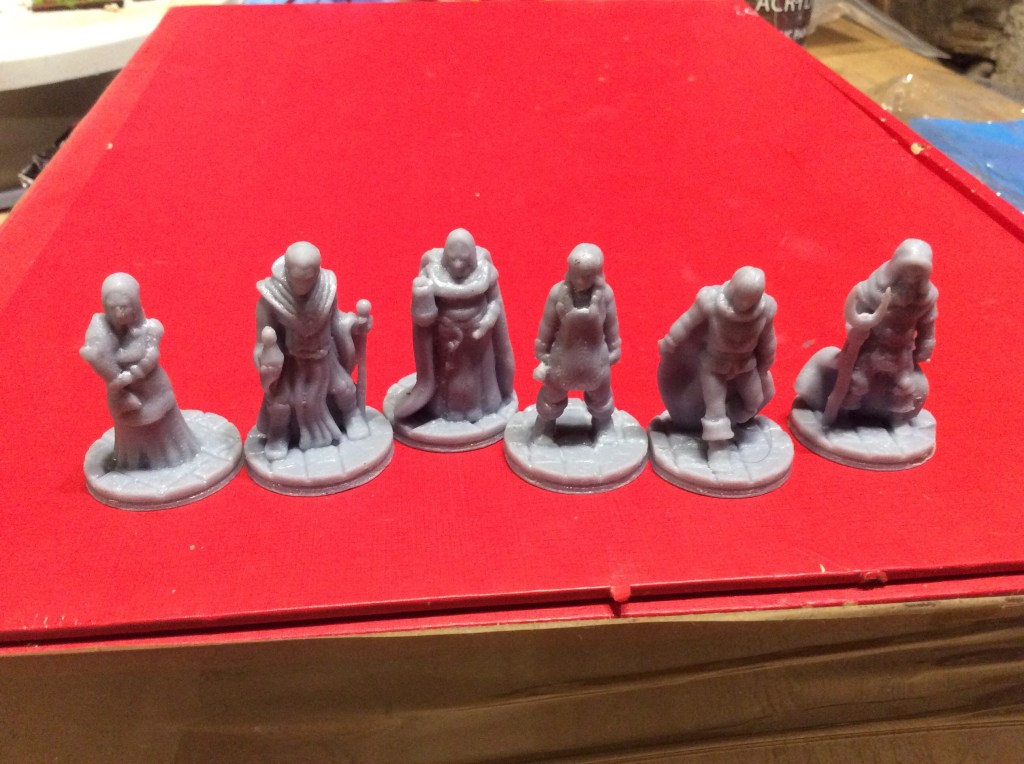
So I ended up adding eighteen I’ll Gotten Games miniatures onto the Ecaroth bases and these are the first half dozen.
So here we have:
Fishmonger
Alchemist
Jailer
Blacksmith
Courtier
Farmer
These six took 2hours 48 minutes to print. Now personally I think I should have cleaned them a bit more, but let’s say 3 hours tops plus curing time.
Now with these I dropped the layer curing time from 8 seconds to seven to see if it was over exposing. Next lot I will bump up to 9 seconds and see if there is a difference (the first lot were done on stock settings of 8 seconds per 0.5 layers.
I would have done some more today, but my eldest snaffle the laptop for her Zoom singing thing, so I will resolve at 9 seconds tomorrow.
In terms of resin usage, they came in at around 30 grams, so hardly anything at all. I checked the resin and actually I bought plant based, which was what I was originally going to get. This states it can be washed in soapy water.
Tomorrow I will carry on with my first steps…. someday I am going to have to add supports 😱.
My next rock group name … Resin People and the Undead.
So today, after my successful first print I decided to have a go at some miniatures. These are some of the Ill Gotten Games Townsfolke.
As I said I would, I went and washed some in ISO and some in meths. I printed a single mini too which I washed in soapy water.
So what do they look like?
The details are quite soft on the faces, I think that this is under exposure as the print cures. I will need to dial things in a bit and re test.
But anyway, the ones on the left were washed in ISO and the ones on the right in meths. Not to be honest I can’t tell the difference at first glance. They were all put outside in the sun and left for a few hours then taken inside and put under the lamp.
As mentioned I also printed another milk maid and this time washed her in soapy water. Once washed I coated it in washing up lights and rubbed it in, then rinsed off and threw it under the lamp (it was dark by time she was ready).
This is where things got interesting….
The one on the left is the one done in water and the other is the one done with ISO. Now they are definitely different colours under the light. One has just gone under the light the other has been outside and then spent a few hours under the lamp.it will be interesting to see if they both end up the same colour this time tomorrow. The others look dark as they were out of the direct light source.
Disco Milk maids
I also managed to get my Undead up to the basing level. Hopefully tomorrow I will get them done and onto the next thing.
Today has been a busy one, but I managed to get some painting done as well as working with resin with the kids.
I got the undead a bit further forward as well as finishing the ogres and the cart and draft oxen (I just need to find the wagons now).
I also found my 6mm Arabs from WW1. They are painted so I just need to do the Turks and I am laughing 😉.
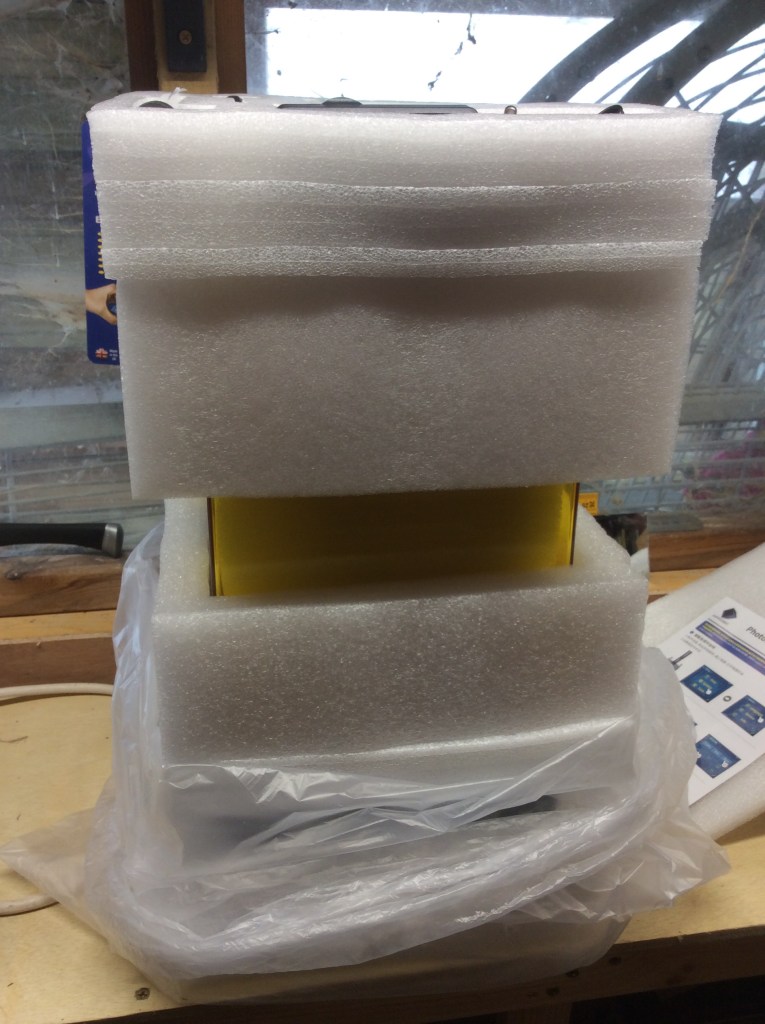
The kids made some more resin pieces, but I also bit the bullet and got a start on unboxing the printer…
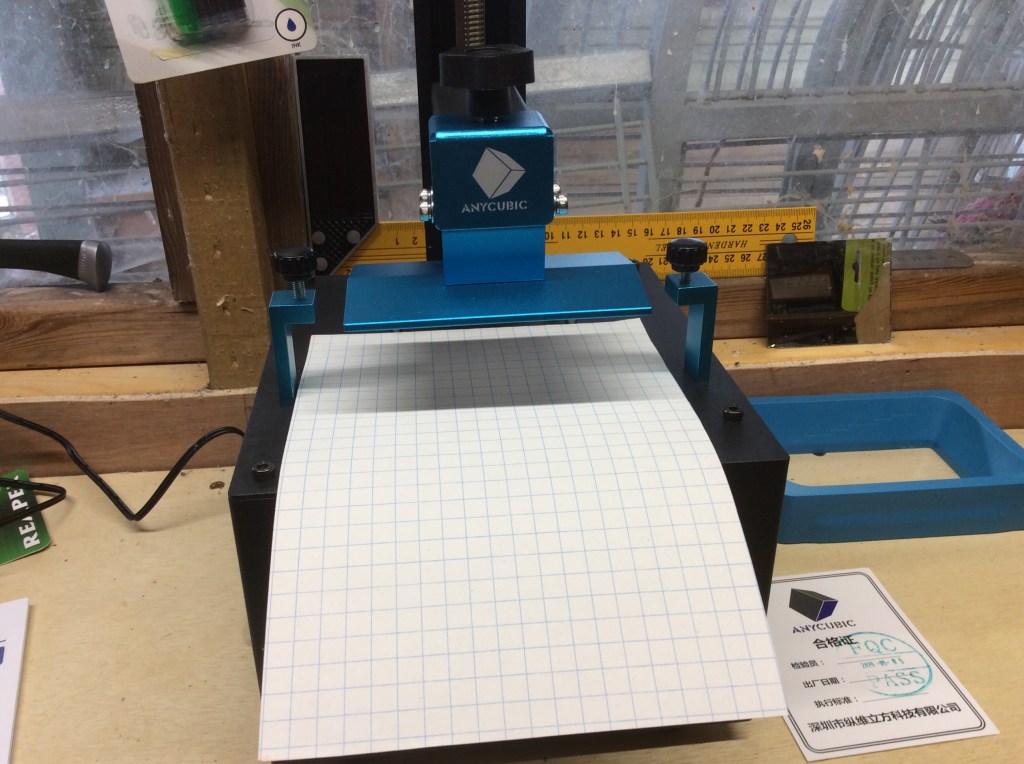
Guess what is in here?Levelling with paper… I can do that.
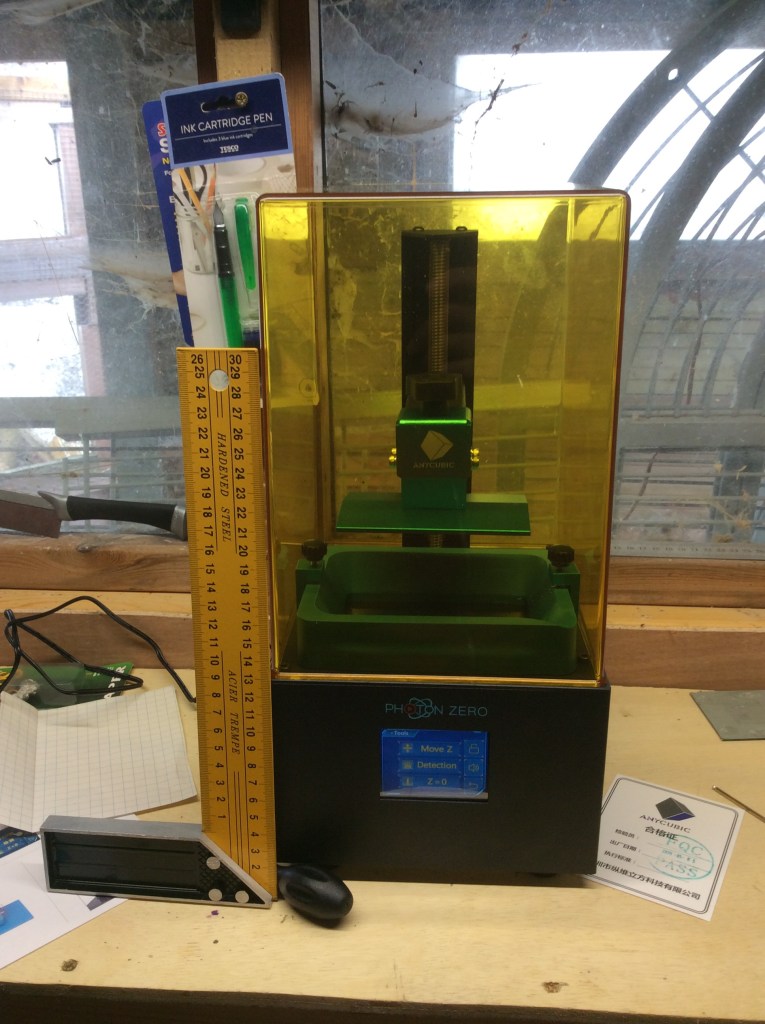
To level it you place a piece of paper on the base, and click a button. The printer plate moves down and when it is right down one simply tightens the four silver bolts d voila… press another button to tell it that it is zeroed in and that’s it… ready to print.
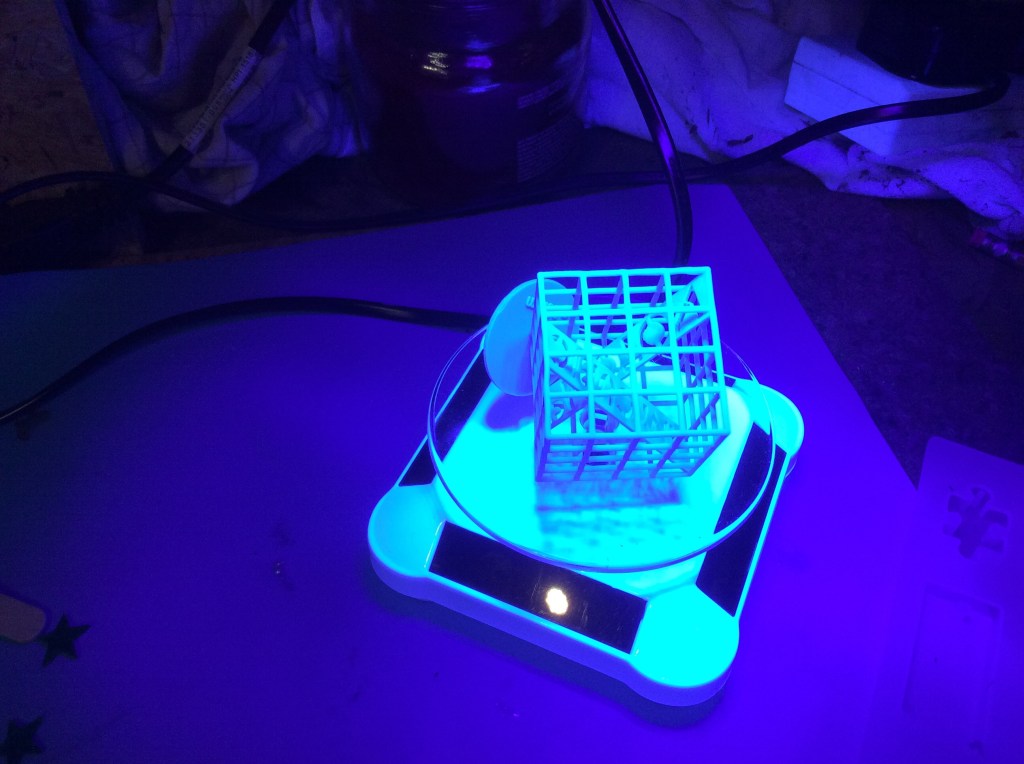
All it together and ready to go… I put the square against it so you can see the rough size of it.
I had to print the test cube as I actually couldn’t work out how to slice the bits I wanted to print. Sadly you will have to wait until tomorrow before seeing what it looks like. I am pretty impressed so far as I could never have done it on the Ender3.
Like the Ender it tells me the print time and the amount of material used. I evidently put way too much resin in the holder. Luckily I can reuse the stuff that doesn’t cure. I can run it through a fine sieve and then put it back into the bottle.
This is the start of a very large learning curve as this thing can make hollow prints to save on resin, these hollow prints need plug holes adding to allow the interior liquid resin to escape.
Now I bought grey resin as it seemed a good idea at the time, however having done a bit more research (aka watching YouTube) it is suggested that clear resins might be better as it allows the UV light to pass through the object and cure it faster.
I have got myself a couple of pots, one with ISO in and the other with meths. Again watching YouTube people who can’t get ISO easily were using meths to clean the prints before curing. Tomorrow I will print a couple of Milk maids off and give each a go in the different liquids. I have seen some people use hot water too, so perhaps that will be a third one to test.
Print comes off the plate in 20 minutes or so, so wish me luck!
A famous saying goes along the lines of why buy one when you can have two at twice the price (or something like that). Anyway this evening I got no painting done at all as I was out in the bottom shed making it Printer friendly and I came across a whole pile more 6mm miniatures… this time mainly individual figures, including a pack of samurai heroes… looks like I will have a lot of them now!
Hopefully I will be able to be the new printer set up tomorrow. I am a little bit nervous of getting it going as tend to get a bit like this with anything new (and expensive). It took me two weeks to set up the Ender 3 in case it didn’t work… if I get the resin one set up tomorrow then I am definitely getting better as it has only sat in its box for a week!
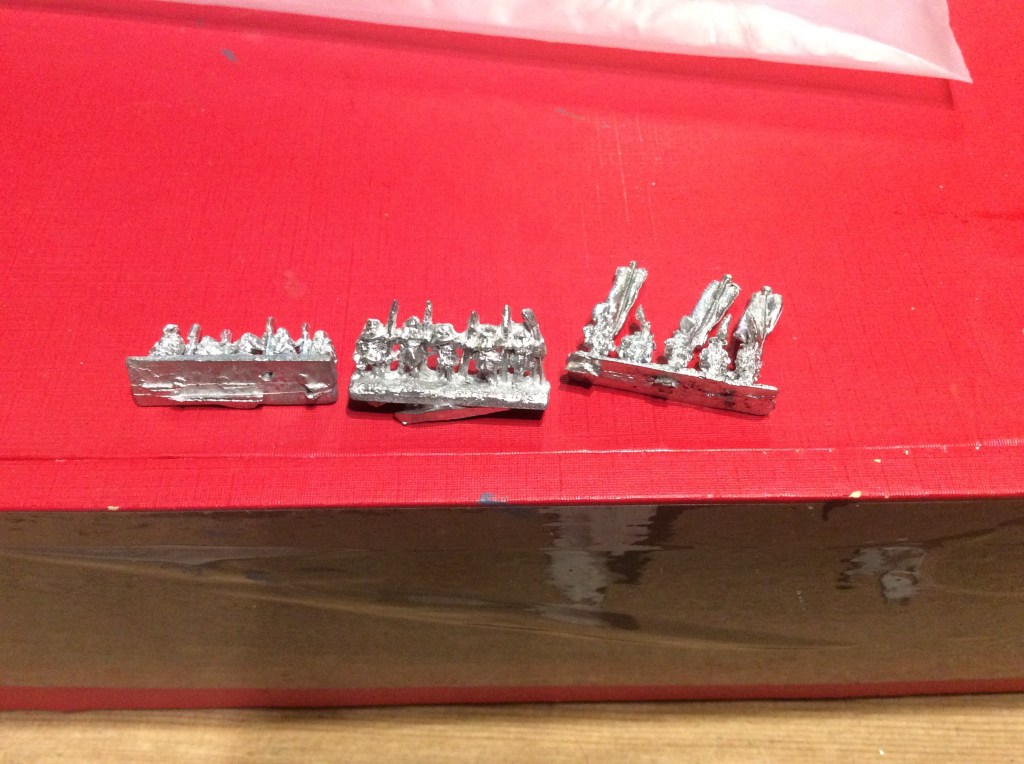
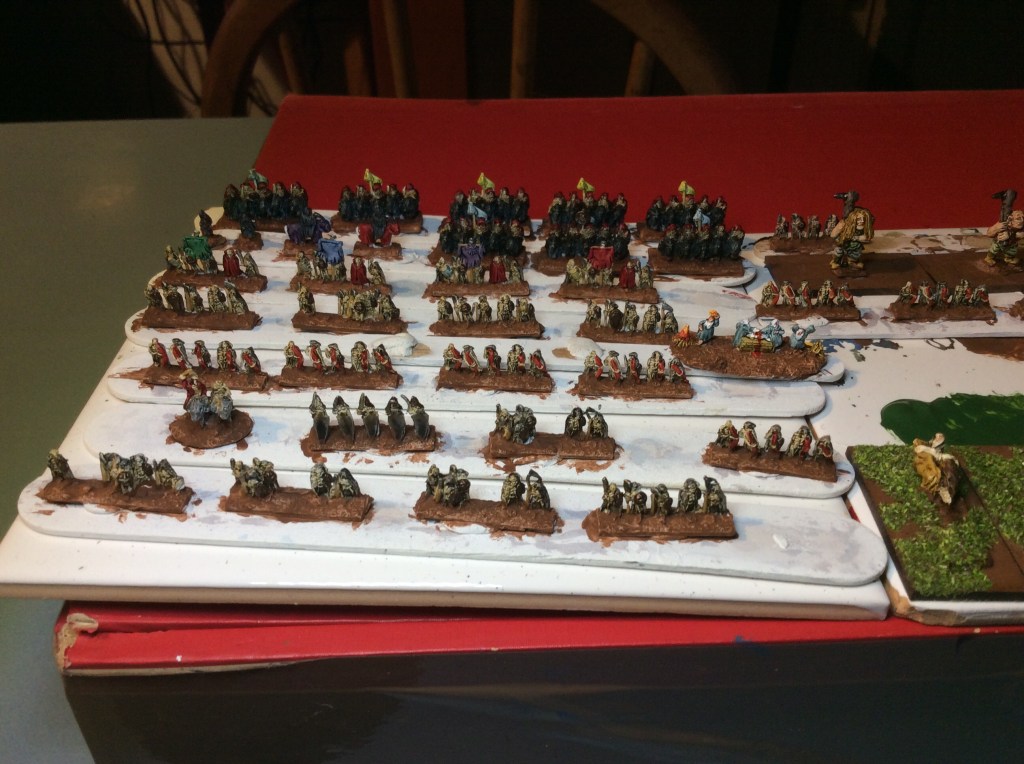
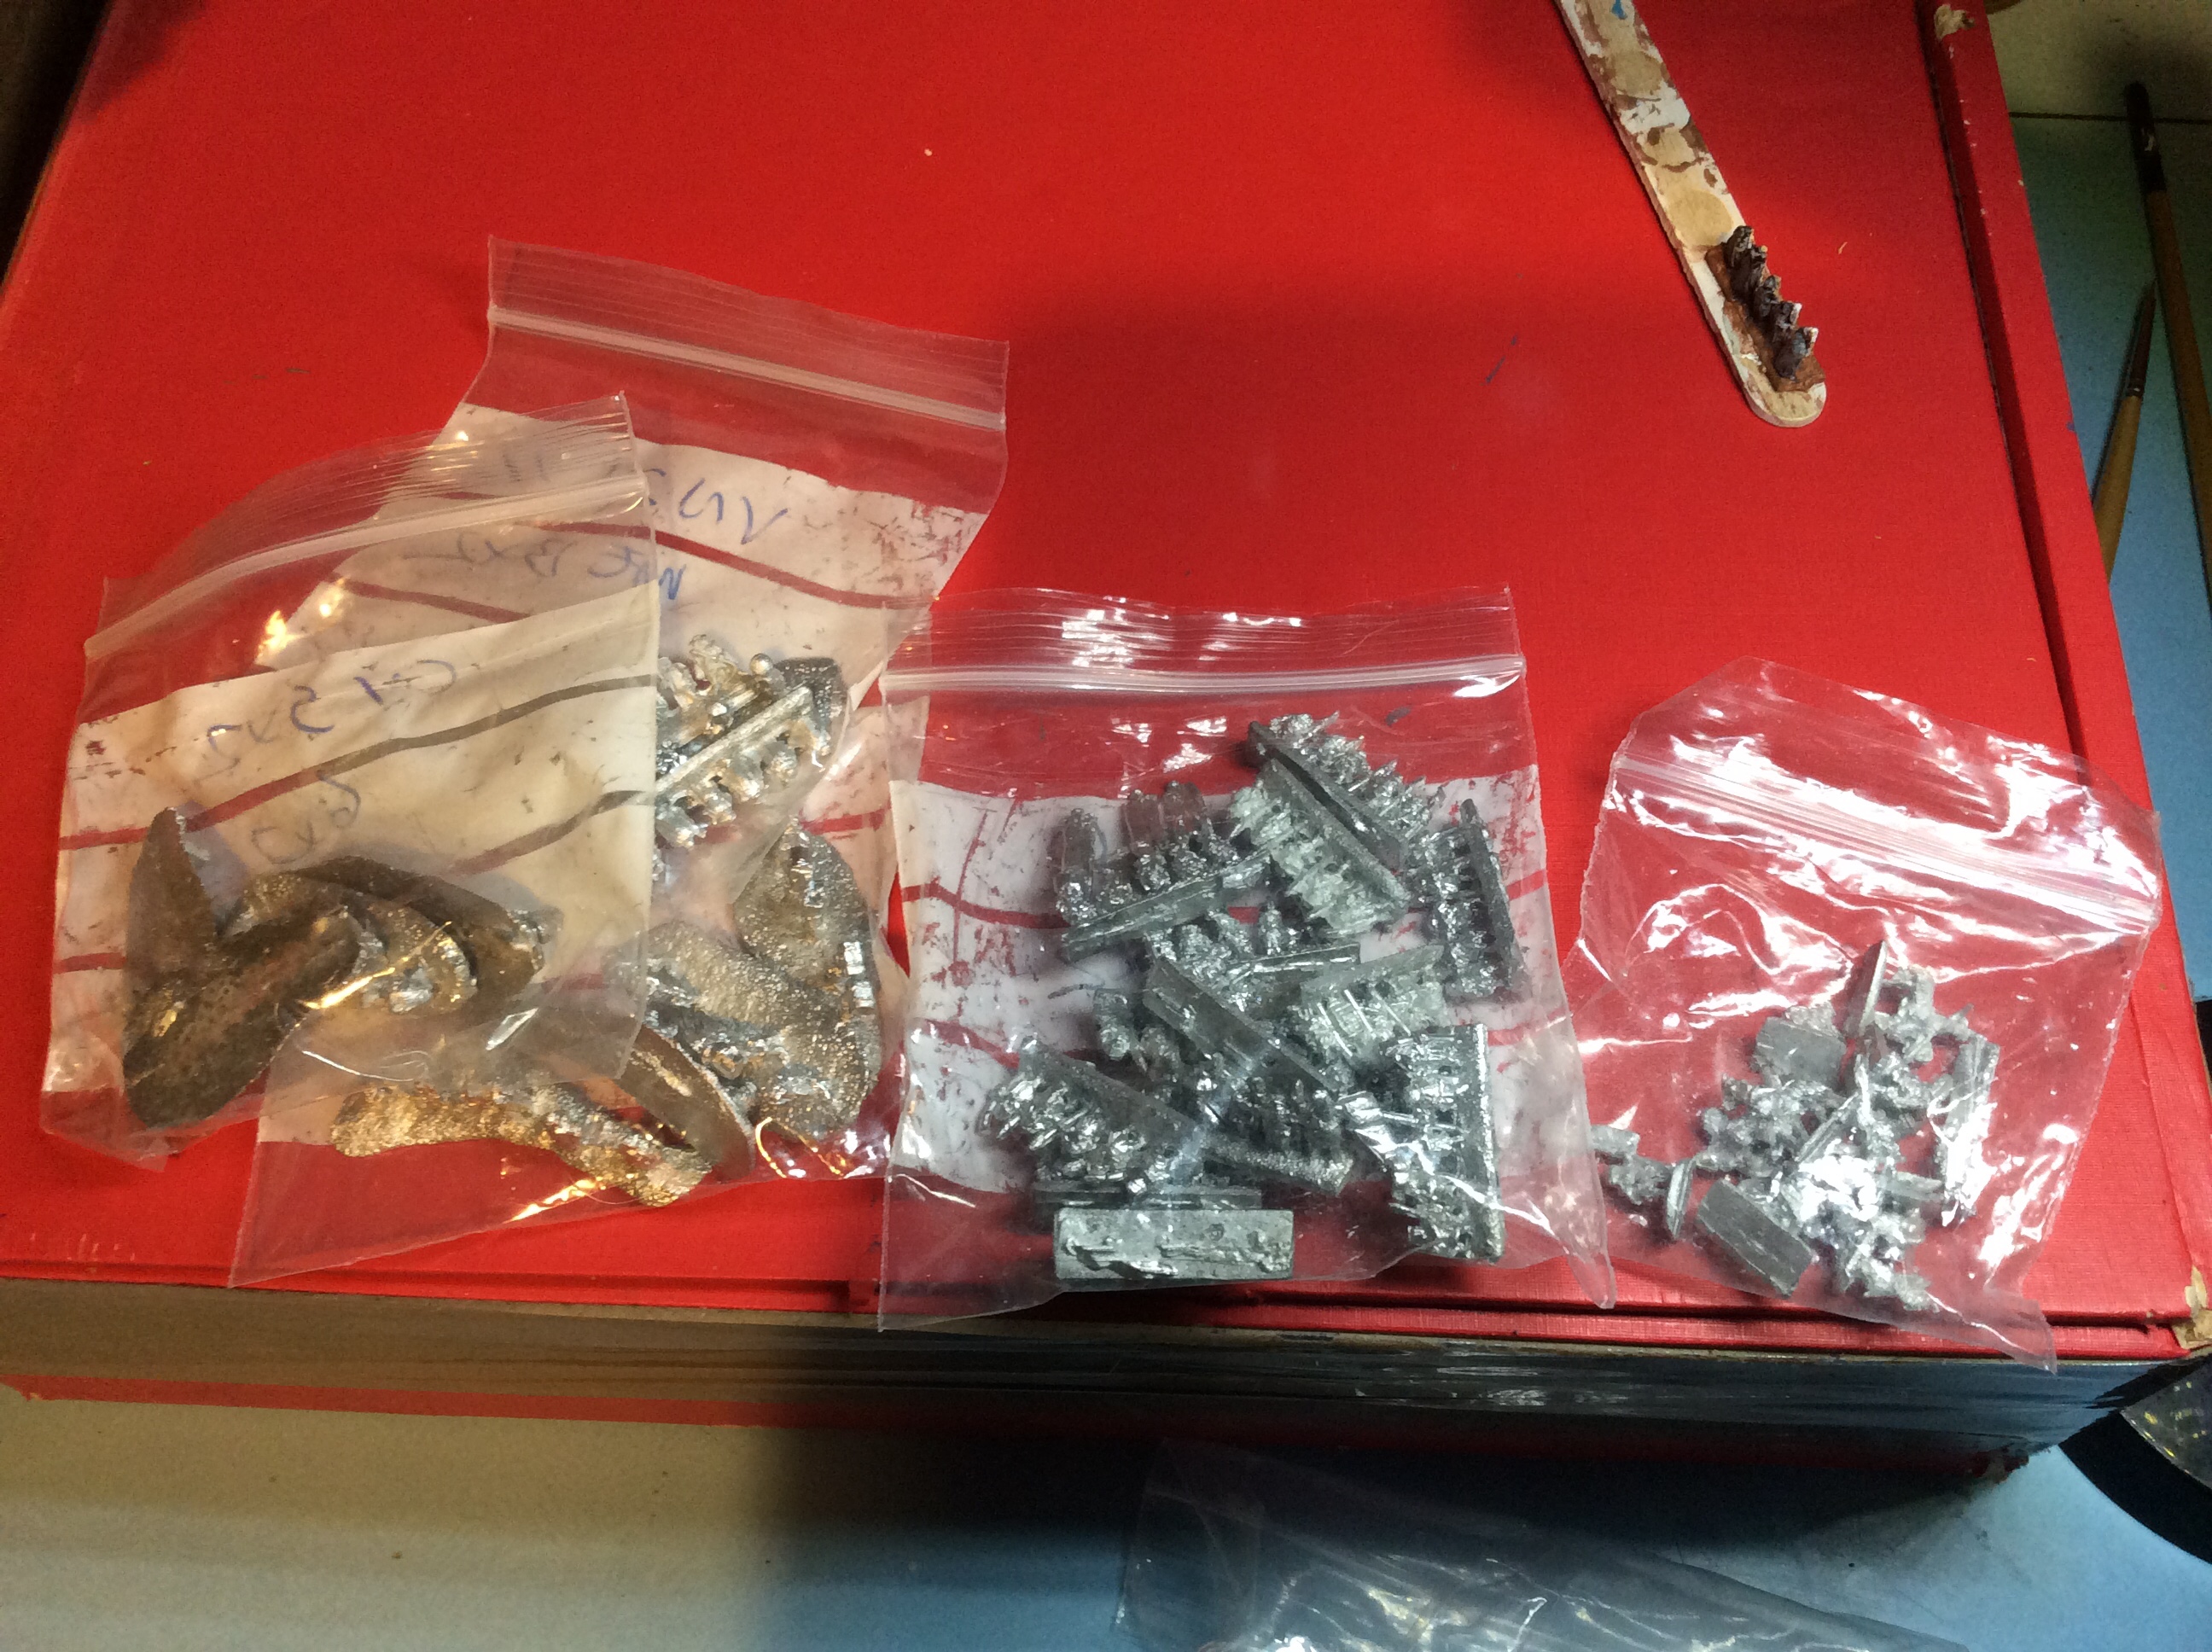
Today may Irregular order came…yippeee, and I never finished my undead…boooo! The box was massive, compared to what I am used to – who cares, it had metal goodies inside…
On the left a Khmer army complete with hefalumps and on the right various packs of civilians, some Ikko Ikki monks and Nobori holders and then a Samurai hero set. The last two are to make command units for my army.
Sadly I was too knackered to paint much tonight and it was the tedious painting of weapons that finished me off.
These still have a long way to go, but the horrible bit (or one of the horrible bits) is over. Next up shields and metalwork.
Today we made another step closer to being a true Shetlander 😂. Yes indeed, we have now built a hen run covered in a trawl net. Clobbering in a pile of fencing posts didn’t do my wrists much good.
We have been asked to bake for Sunday Teas, dug our own peat (cast as they call it up here), sat on a hall committee. We are certainly ticking things off our list. If I ever get invited onto a fire festival squad then I know I will have made it 😂😂😂.
The cockerel was lovely last year, but this year he has matured and is now going for the kids, hence the need to keep him in a fully enclosed run. We have him and three hens, so this is plenty big enough for them. It is about 6 metres by 4 metres. They will also be let out too, this is until he calms down.
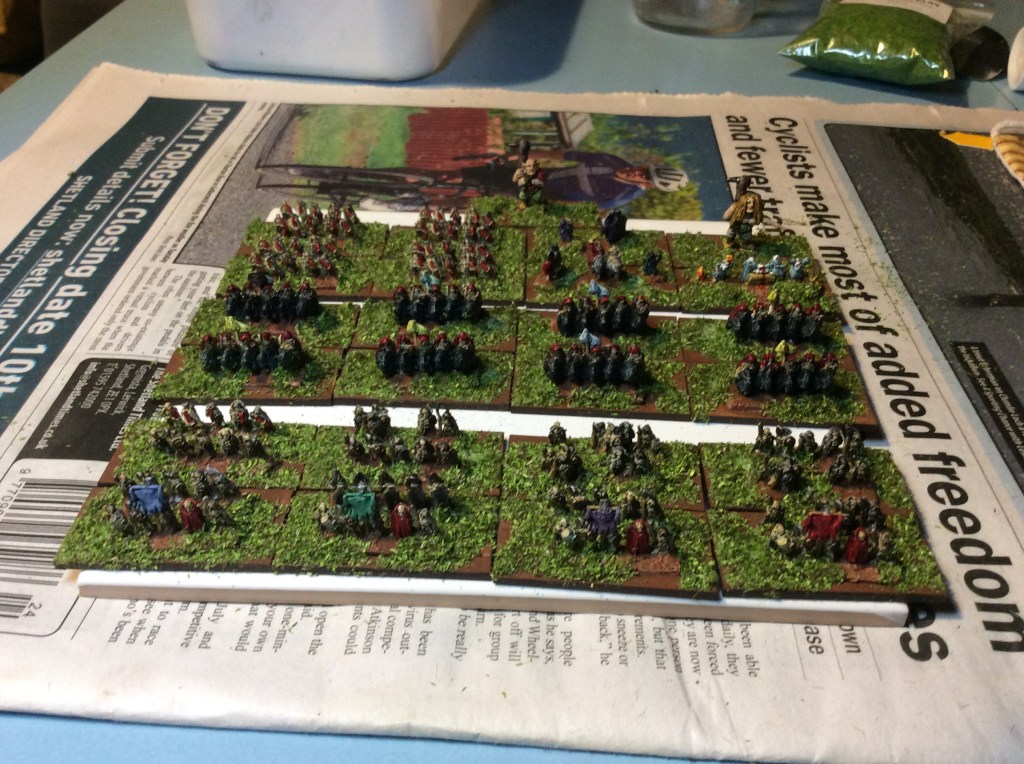
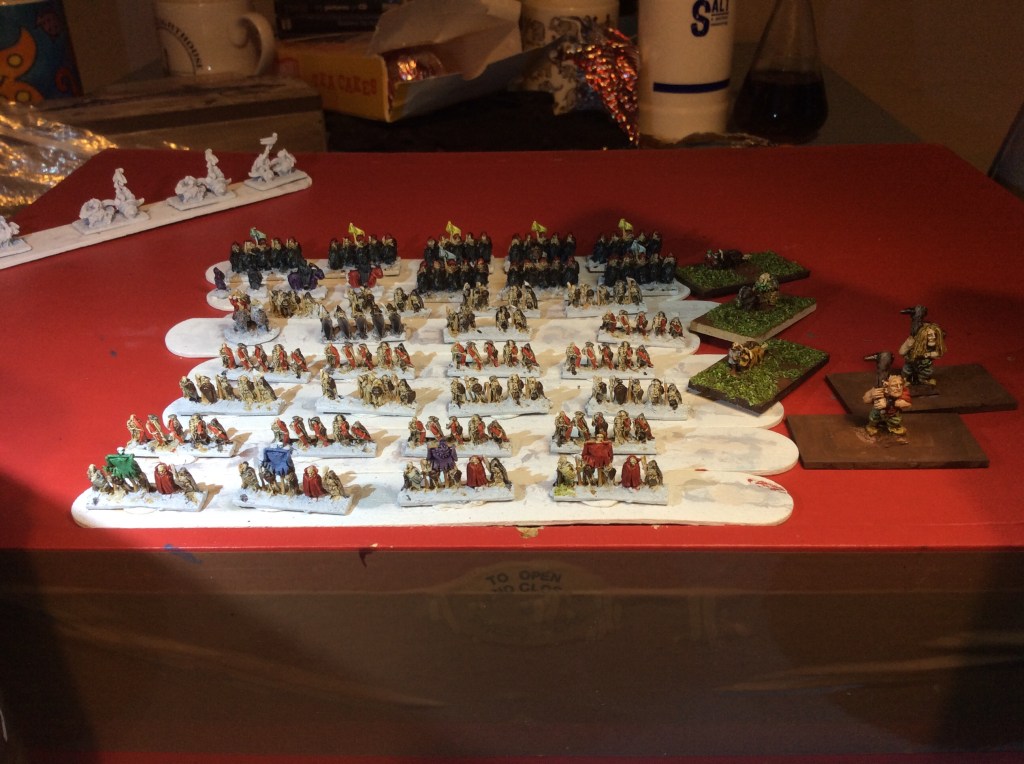
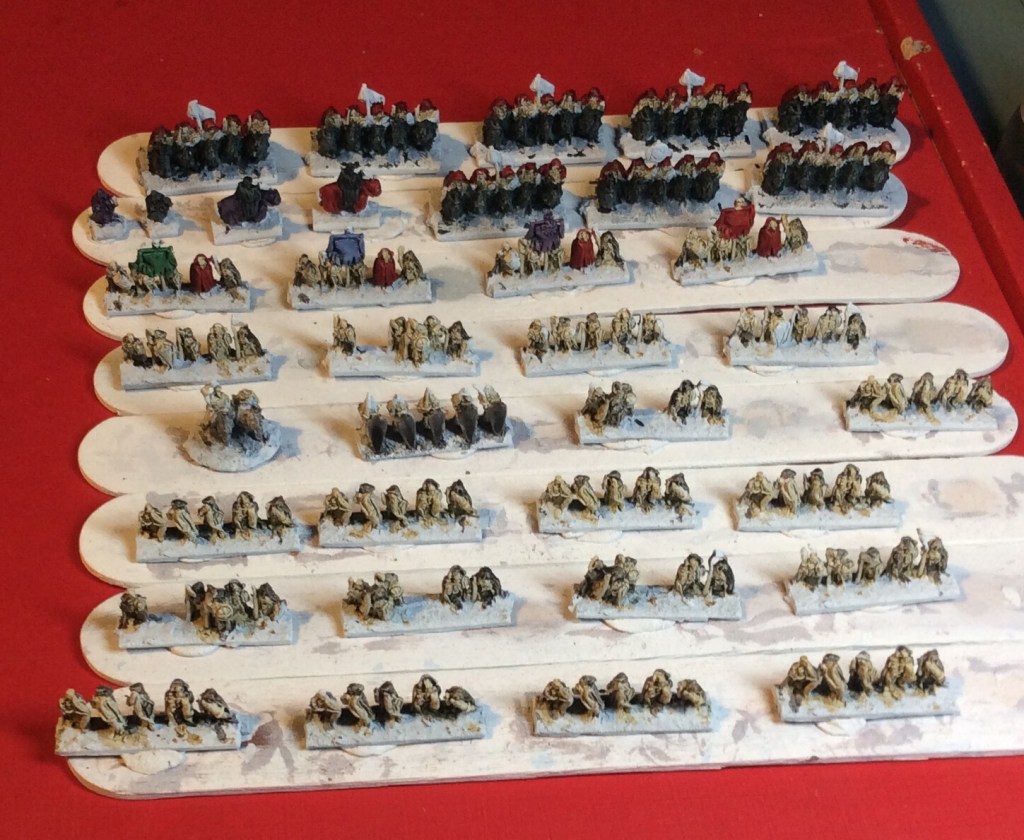
I got these sprayed yesterday and made a start today. They were pretty speedy to get to this level. Probably three hours tops, but I was watching Tomb Raider at the same time…
These aren’t the best sculpts and are probably the worst of the ones I have done so far. They will probably come out fine once they are finished as most things do.
There are eight bases of cavalry, four of bow, eight of hand weapons as well as a couple of hero bases. A Napoleonic Officer has decided to help out as the general and a base of elves have died to help out too (I was one strip short. That will be my elite unit with the red flag.
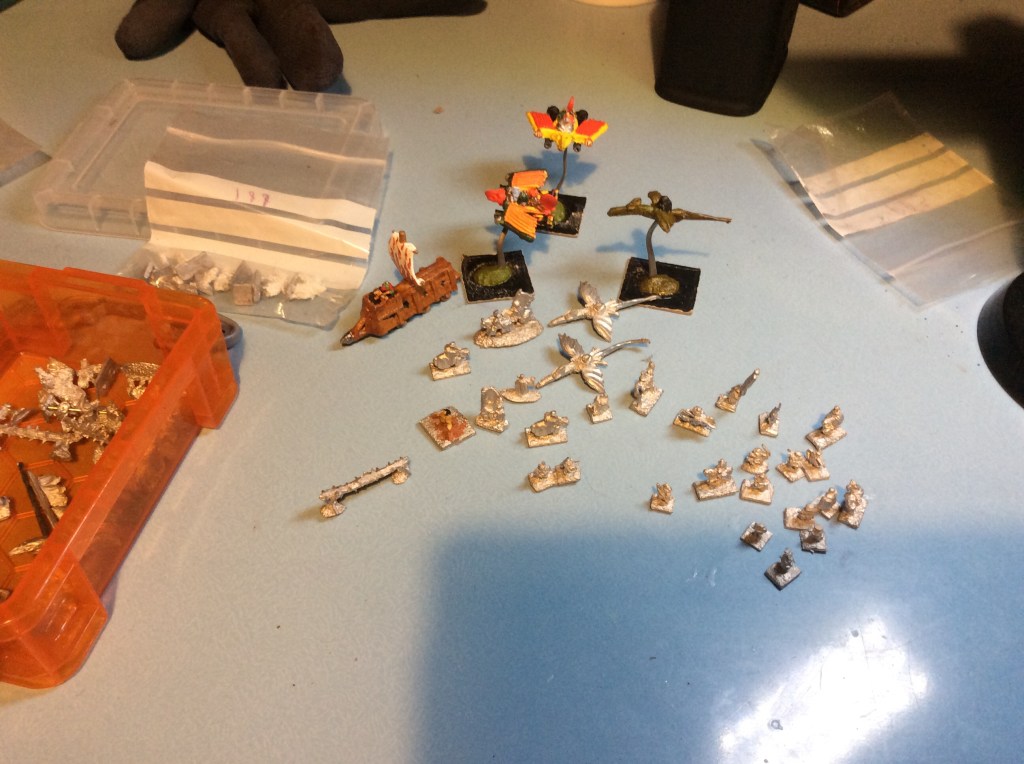
I also had a mooch today and found my 6mm road wars.
These are my raiders civilians and mutants. I also have a paramilitary force of (basically) Sisters of Battle.
This is my convoy… I need to get the girlies based and painted. Sadly the road wars gear can only be got from the states now. Which is a bit pants as I want some of the big rigs. They also do a nice line in Lizardmen cavalry (which mine are sadly missing).
Tomorrow I hope to get the Skellies finished. Then I may start on the sci fi stuff.
We played with the resin today too…
Once again we had fun…. talking of resin… hopefully I will get a space sorted for the printer soon 🤞