Tonight I decided to take it easy as, I felt a bit dizzy earlier on. I am fine now, but it was just a weird migraine that I get from time to time.
I had a bash at some more drawing, nit brilliant, but I did enjoy it.
We also welcomed some new members to the family…
Luna and Tonks are a pair of nine week old ferrets that arrived this afternoon.
We went car hunting today as both of the cheap stand ins are buggered beyond financial repair. Things would have been so much easier if we didn’t need to pull a caravan 😂
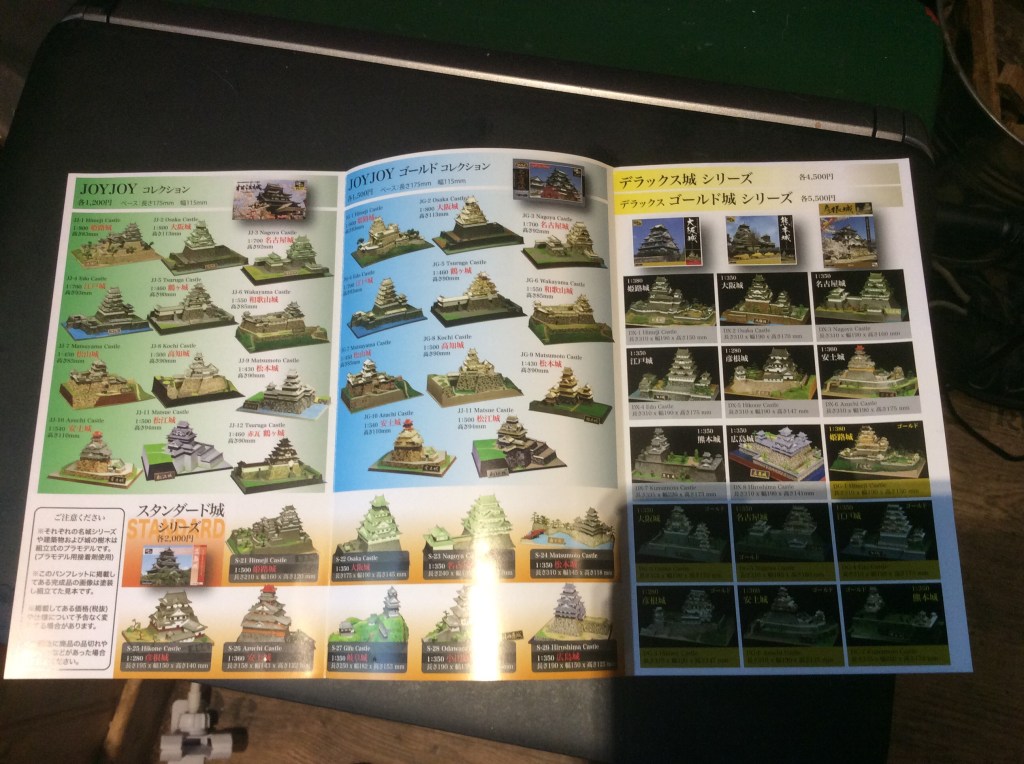
Evidently Japanese Castles are like buses. You wait ages for one and then two come at once!
I ordered these way, way back. One was out of stock so it was sent almost a month later and voila both arrive within two or three days of each other.
I don’t think that I will be short of a castle or two should I need one…
The midges are out in force this evening (again)… this is what I scraped off the light bulb. The other photo shows my shirt with the corpses of the fallen multitude…most of them fell off when I picked it up for the photo…
I decided to give my printed castle away, as I really, really don’t need three. I added it to the Feudal Japanese Miniature Wargaming and said…
Free giveaway (sort of… there is no catch) So as some of you know I just got a nice castle in the post, I also just printed a castle on the old Ender3. I don’t need two so I think the printed one is going to go the journey. It’s about 1/300 scale, so useful for smaller scale stuff. Here is the deal, if anyone wants it please let me know. I don’t mind paying postage in the uk as it won’t be that much (I hope). But if you want it from elsewhere It would be good if you can pay the postage. My other request is that you bung a bit of cash into a charity box of your choice. Rather than first come first served, I will hang on a couple of days and then pick the name out of the hat (that is if anyone wants it)… I think this would be the fairest way to do it. This was my longest print ever… 27 hours plus.
So same goes for here… if you want it give me a shout and I will add your name to the list.
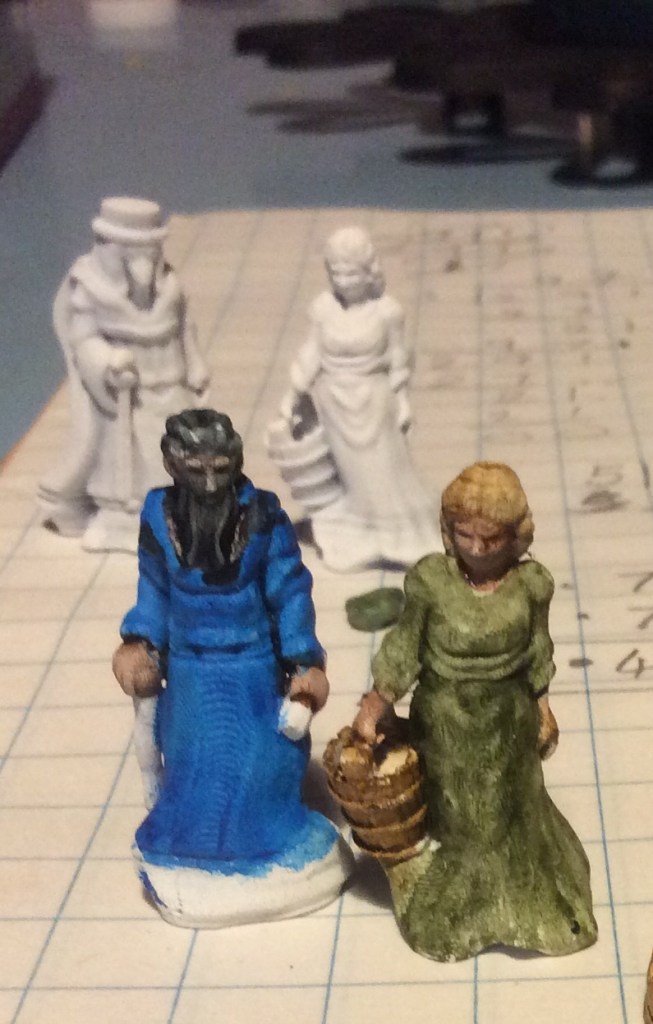
Tonight my son decreed that he was going to start painting again, to which I said not a problem…I hadn’t realised he meant right then. So I had a mad mooch for something that was undercoated and he chose the court wizard. My middle one decided on one of the milk maids and I cracked on with the ones I started ages ago.
You could really tell that I hadn’t used the Contrast paints for a good while as the tops had well and truly got sealed shut. Nevertheless we cracked on.
Being the cunning devil that he is, he informed me that he liked developing a back story for his models and his wizard had been dabbling in the dark arts and had developed a blackened face because of this. Nothing at all to do with painting flesh on when the black hadn’t dried.
I managed to get some more finished and got the lady painted too…
Sod all detail on them, but they will do. I will try and get some more sprayed tomorrow and then get them painted. I actually enjoyed doing these, i think it was a sense of accomplishment, I have dotted around so much of late that nothing has got finished, I also rather like the bright colours on the posh ones.
I had a major panic at work today. I actually thought I had lost my new child. Thirty seconds of searching and then I asked her sister if she had gone home early. Yes, she replied, because it’s Thursday (one of her finish early days). I had got it into my head that it was Wednesday… this didn’t wear off as I was gaming on Thursday… I bet you can see where this is going! At least I got some figures done instead 😂
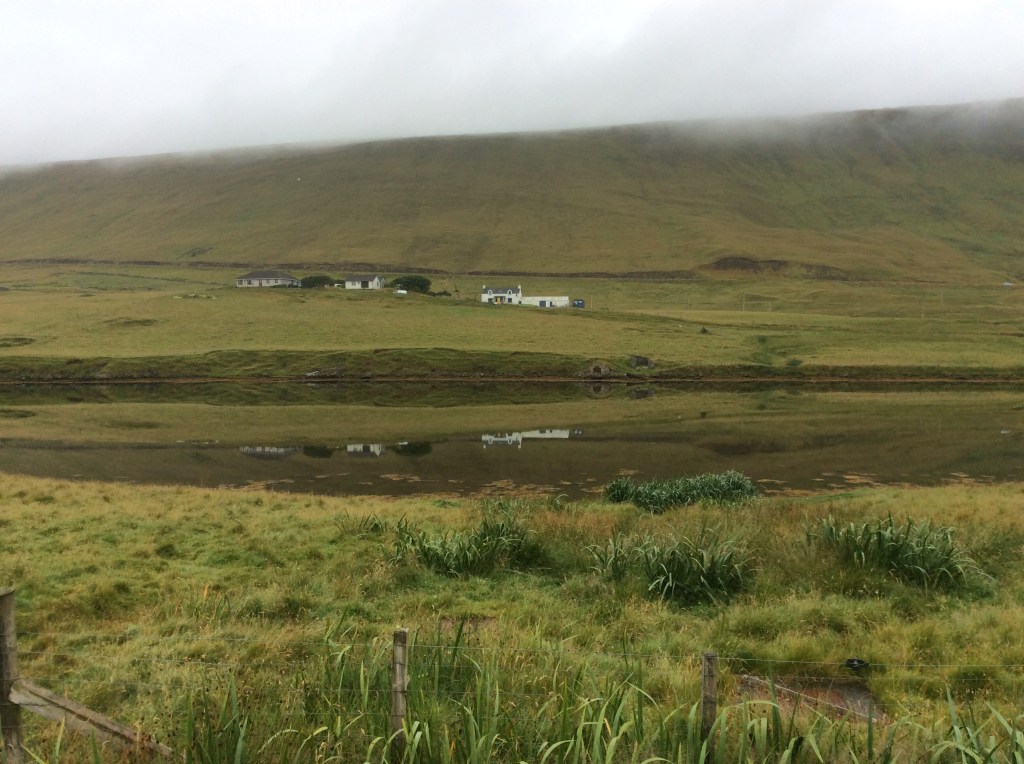
On my way to work this morning I stopped off to snap the reflections across the head of the voe…
Days like these are rare (thankfully) so it keeps the midges at bay. Last night was a bloody nightmare. They were everywhere and unfortunately one of the kids left the door to the porch open. The ceiling was black, the white walls were black. I gave them a spray with window cleaner (that’s all I had that was handy) and the floor became black. It doesn’t help that I am allergic to the nasty little sods. In all honesty it is one of the reasons that we chose Shetland over the highlands.
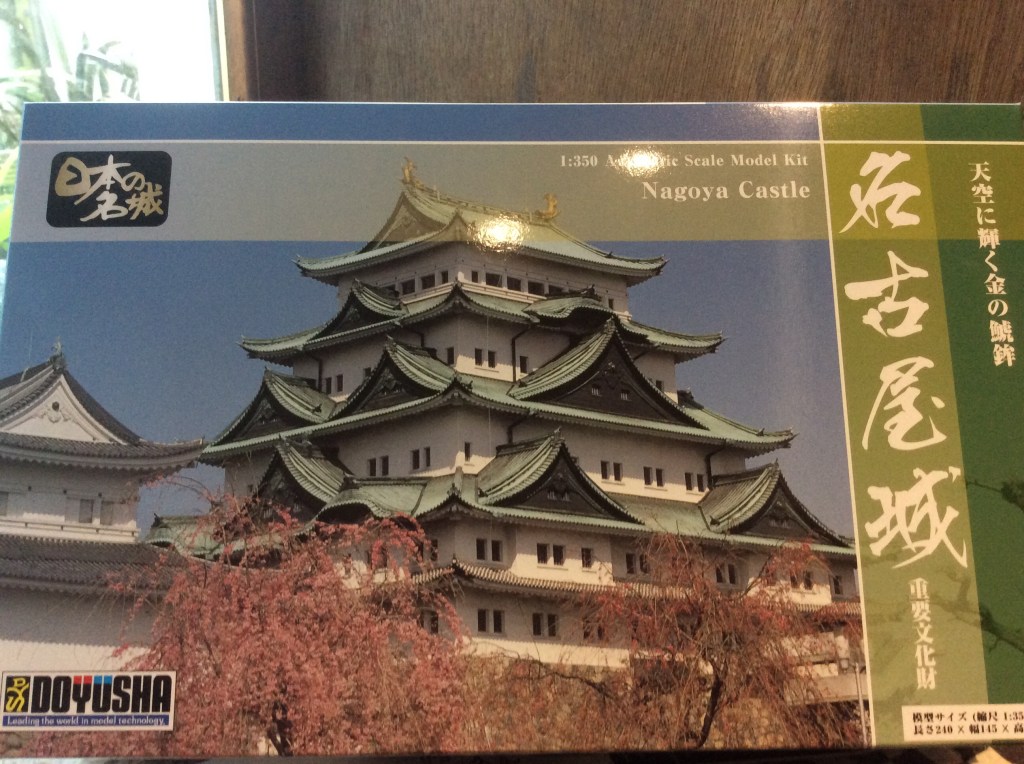
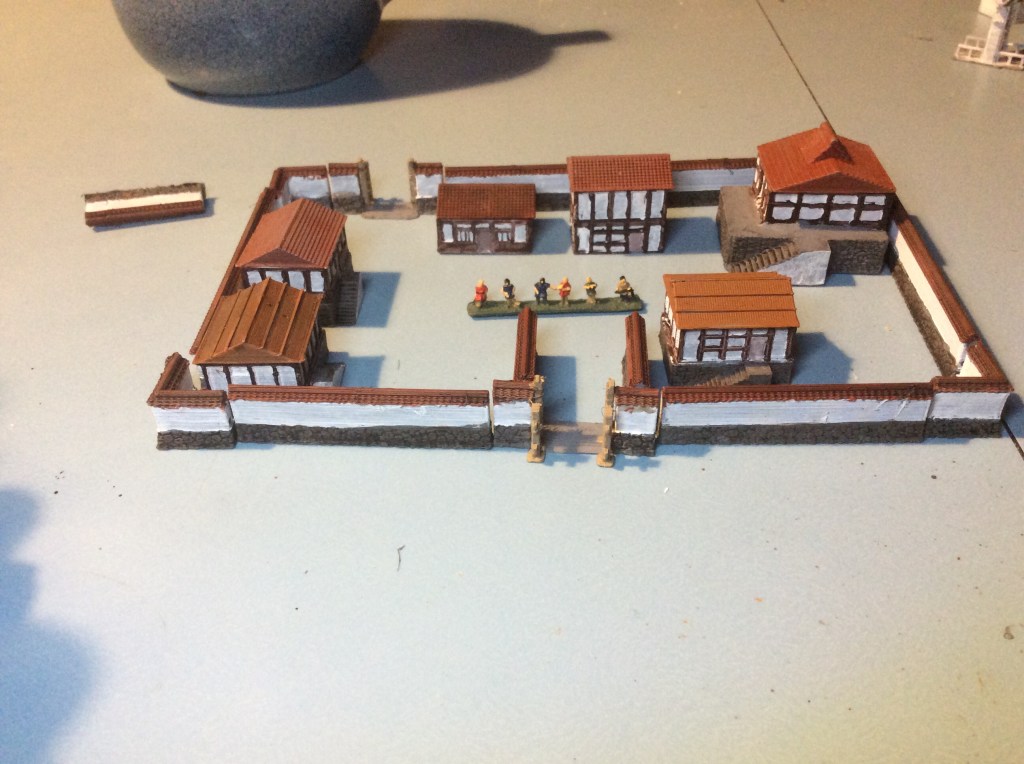
I got home to a nice parcel all the way from Japan…
I ordered these (note singular object in the photo…the other is on its way) back in the dark ages before total lockdown. It is a really nice looking model. The second one is 1:700 scale.
To be honest I didn’t actually realise how big it was going to be.
I am probably out gaming tomorrow if my mate is up to it. If not I am really going to try and get some things painted. I have the wooden fences to paint as well as, finishing the houses and stone walls … not to mention the printed castle. Regarding that, I am seriously considering giving it away. As I now have a similar sized one.
Tonight there was no drawing, printing or painting. So I really need to get back into things…
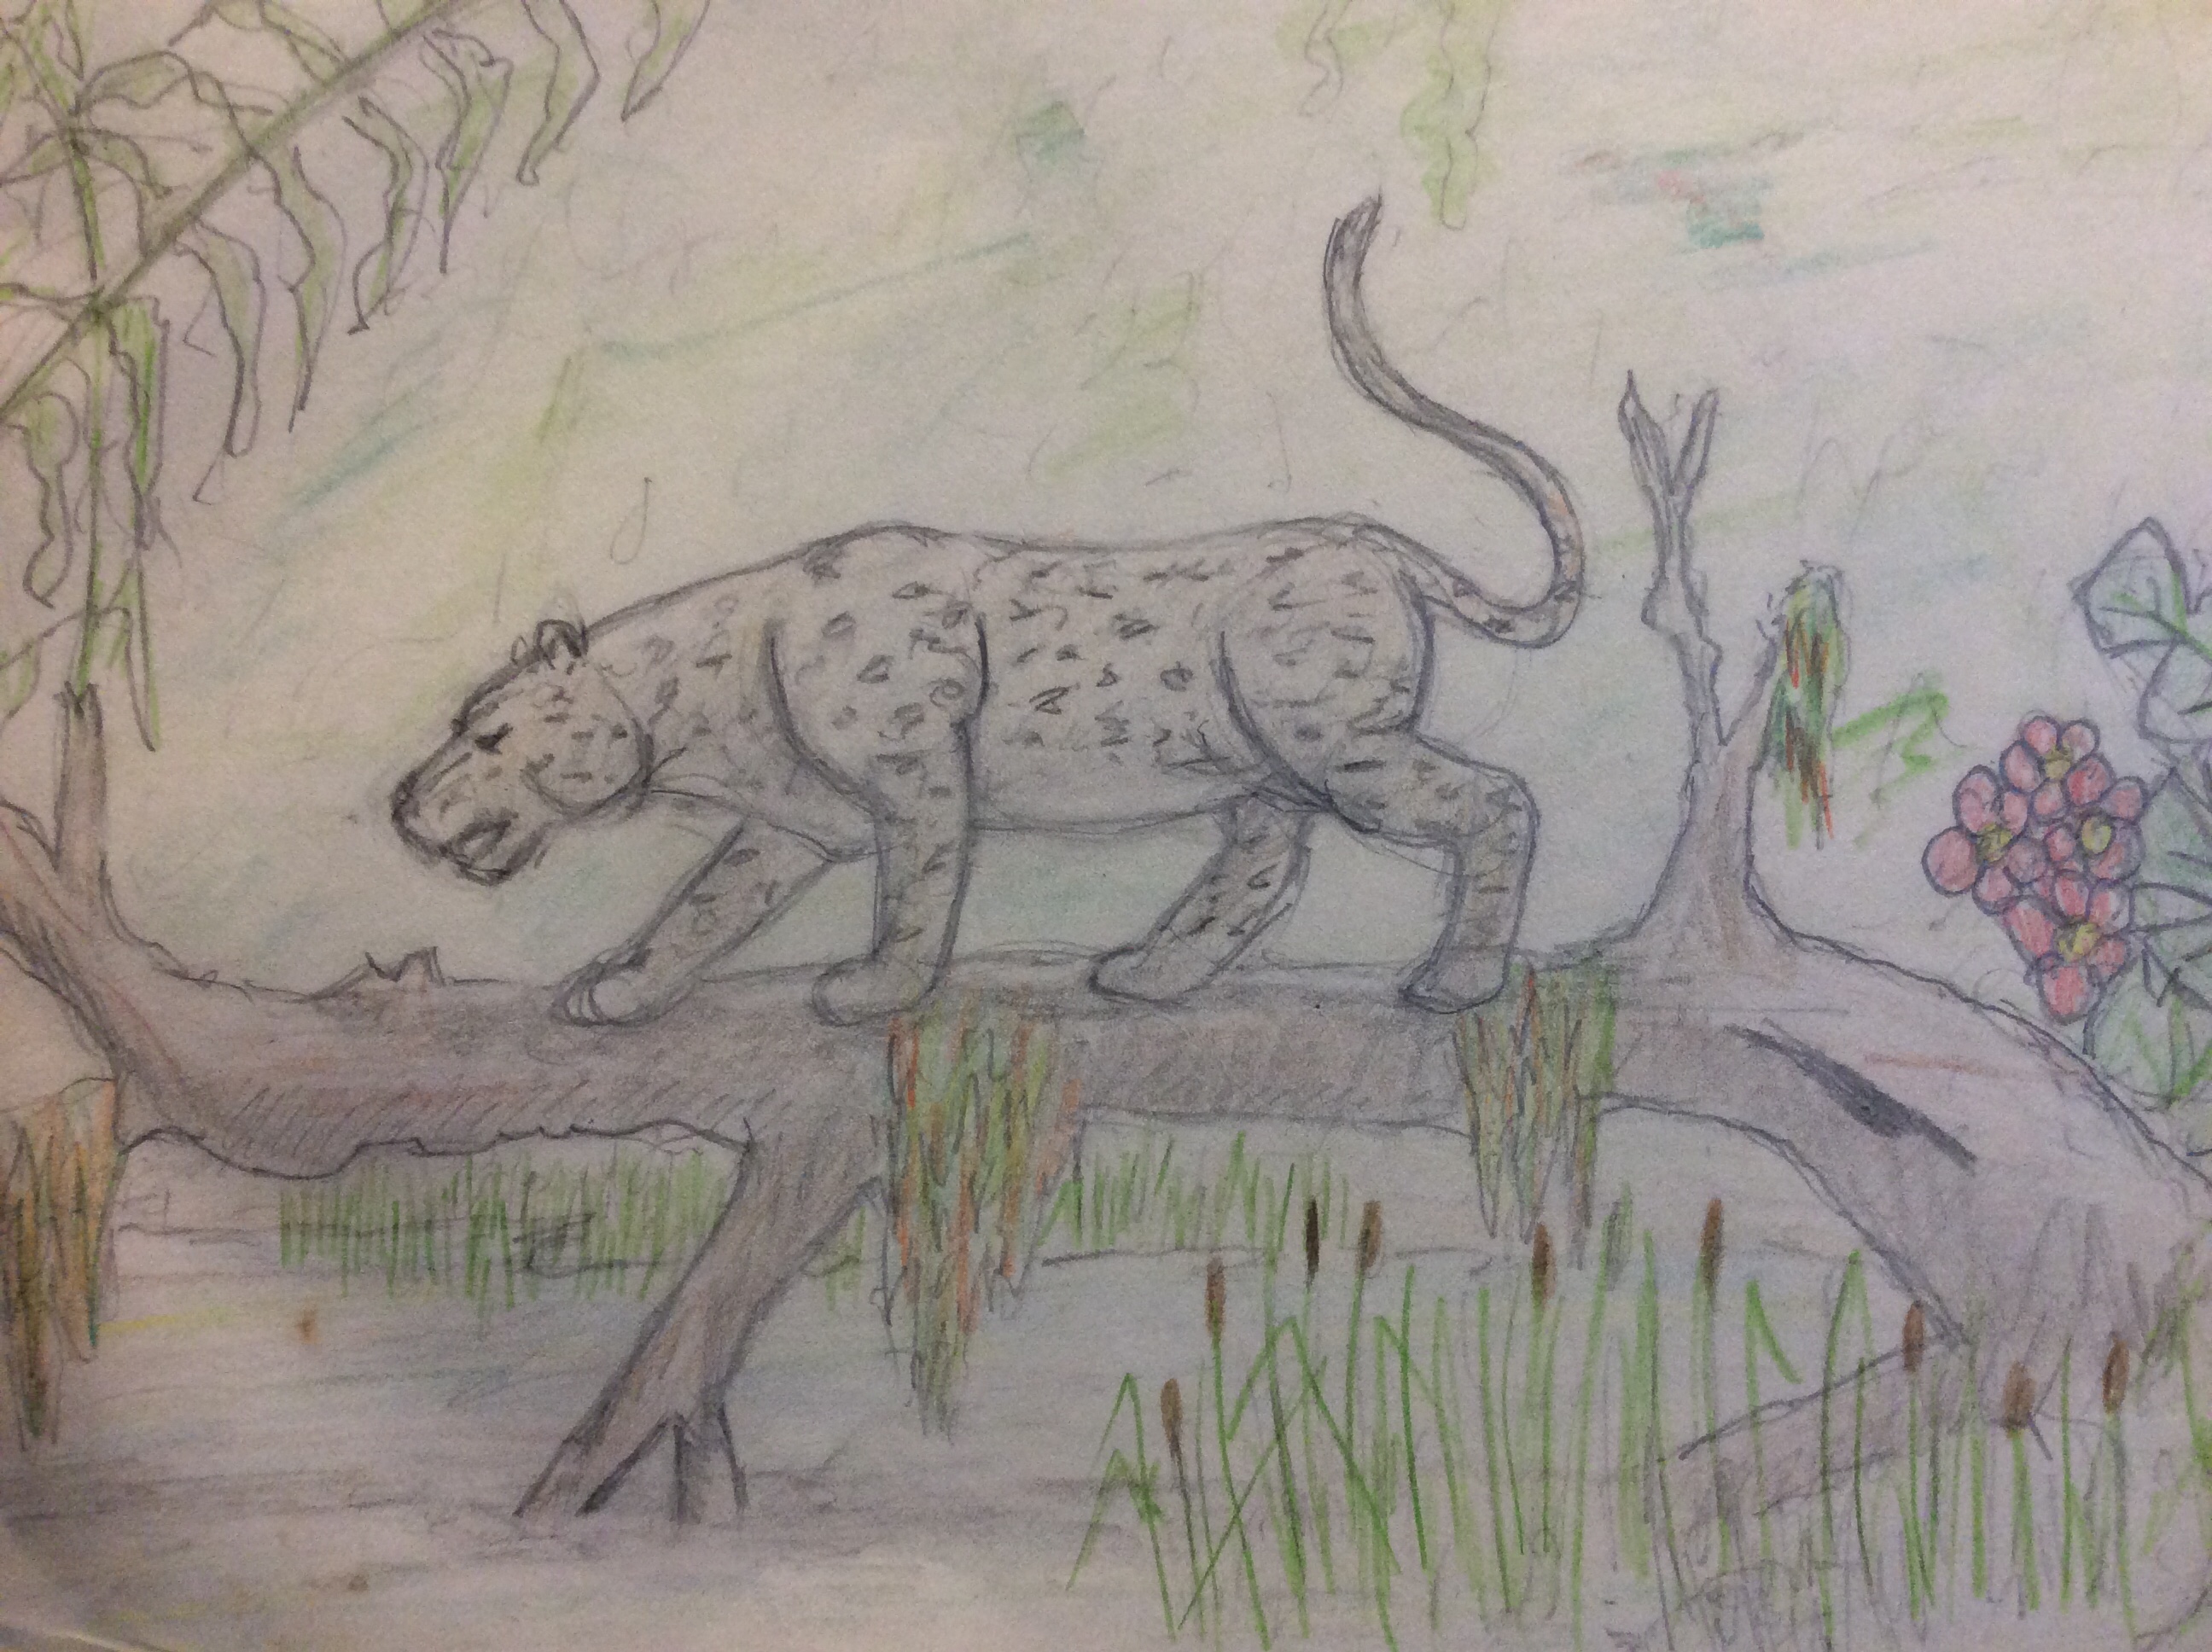
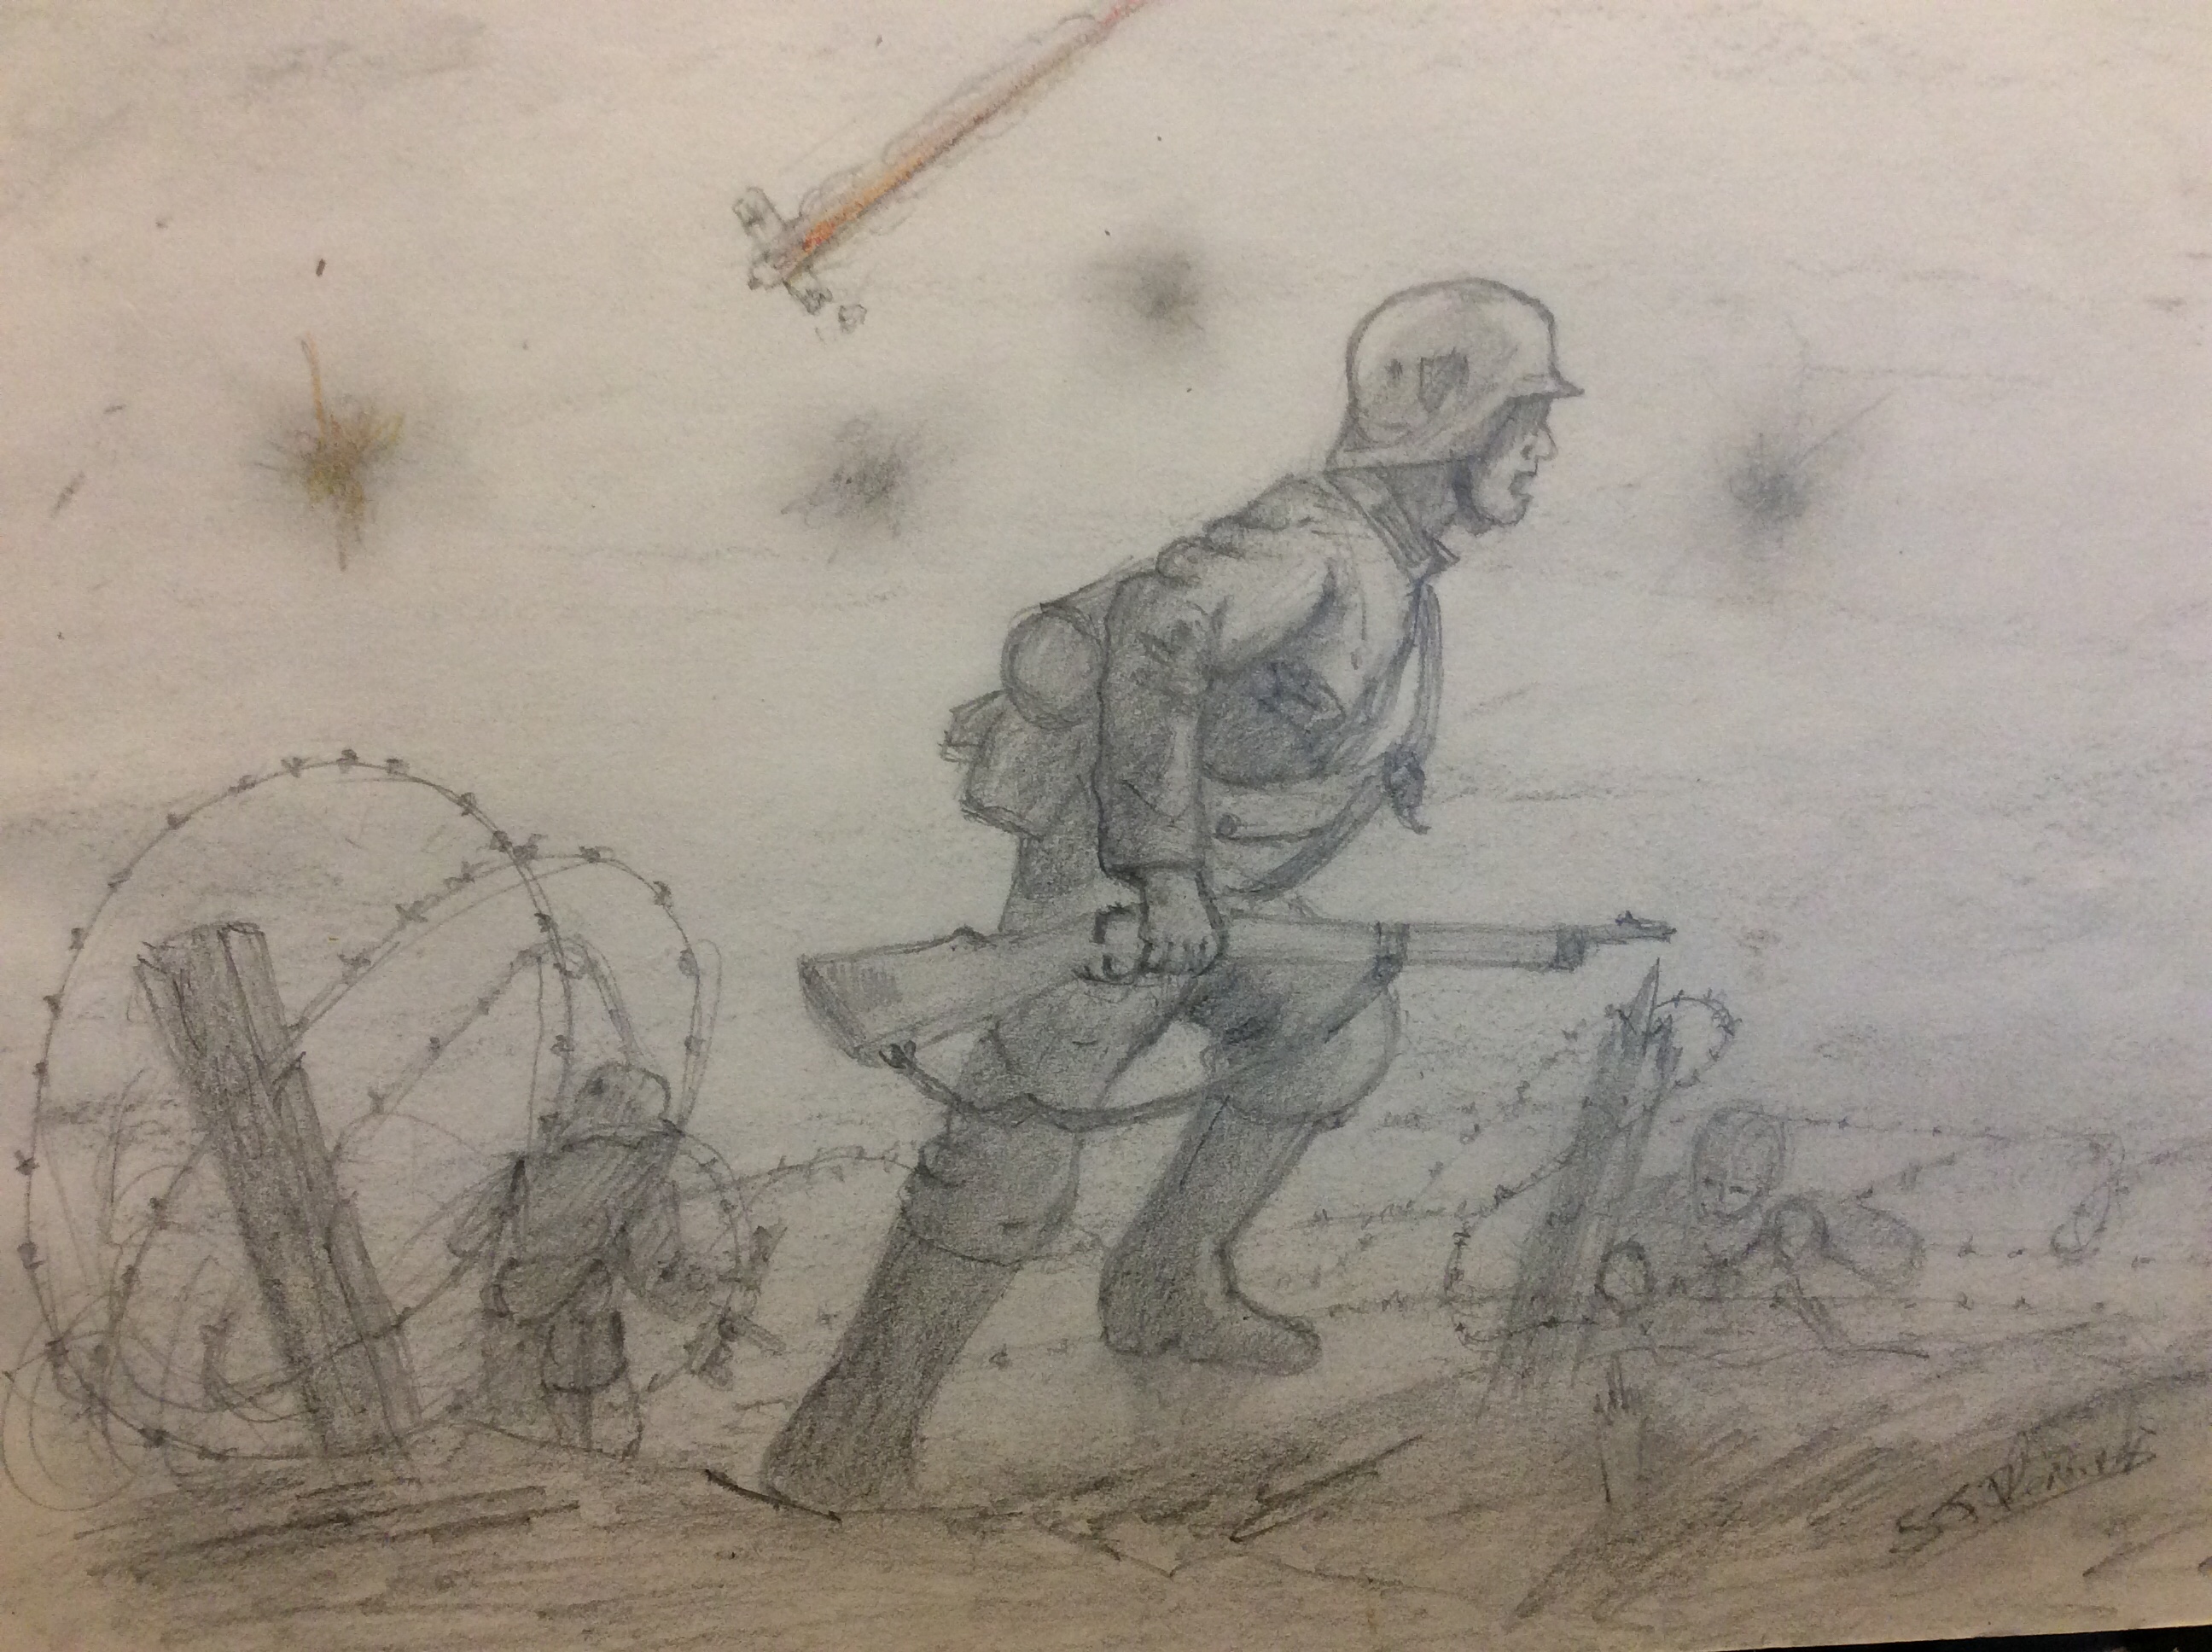
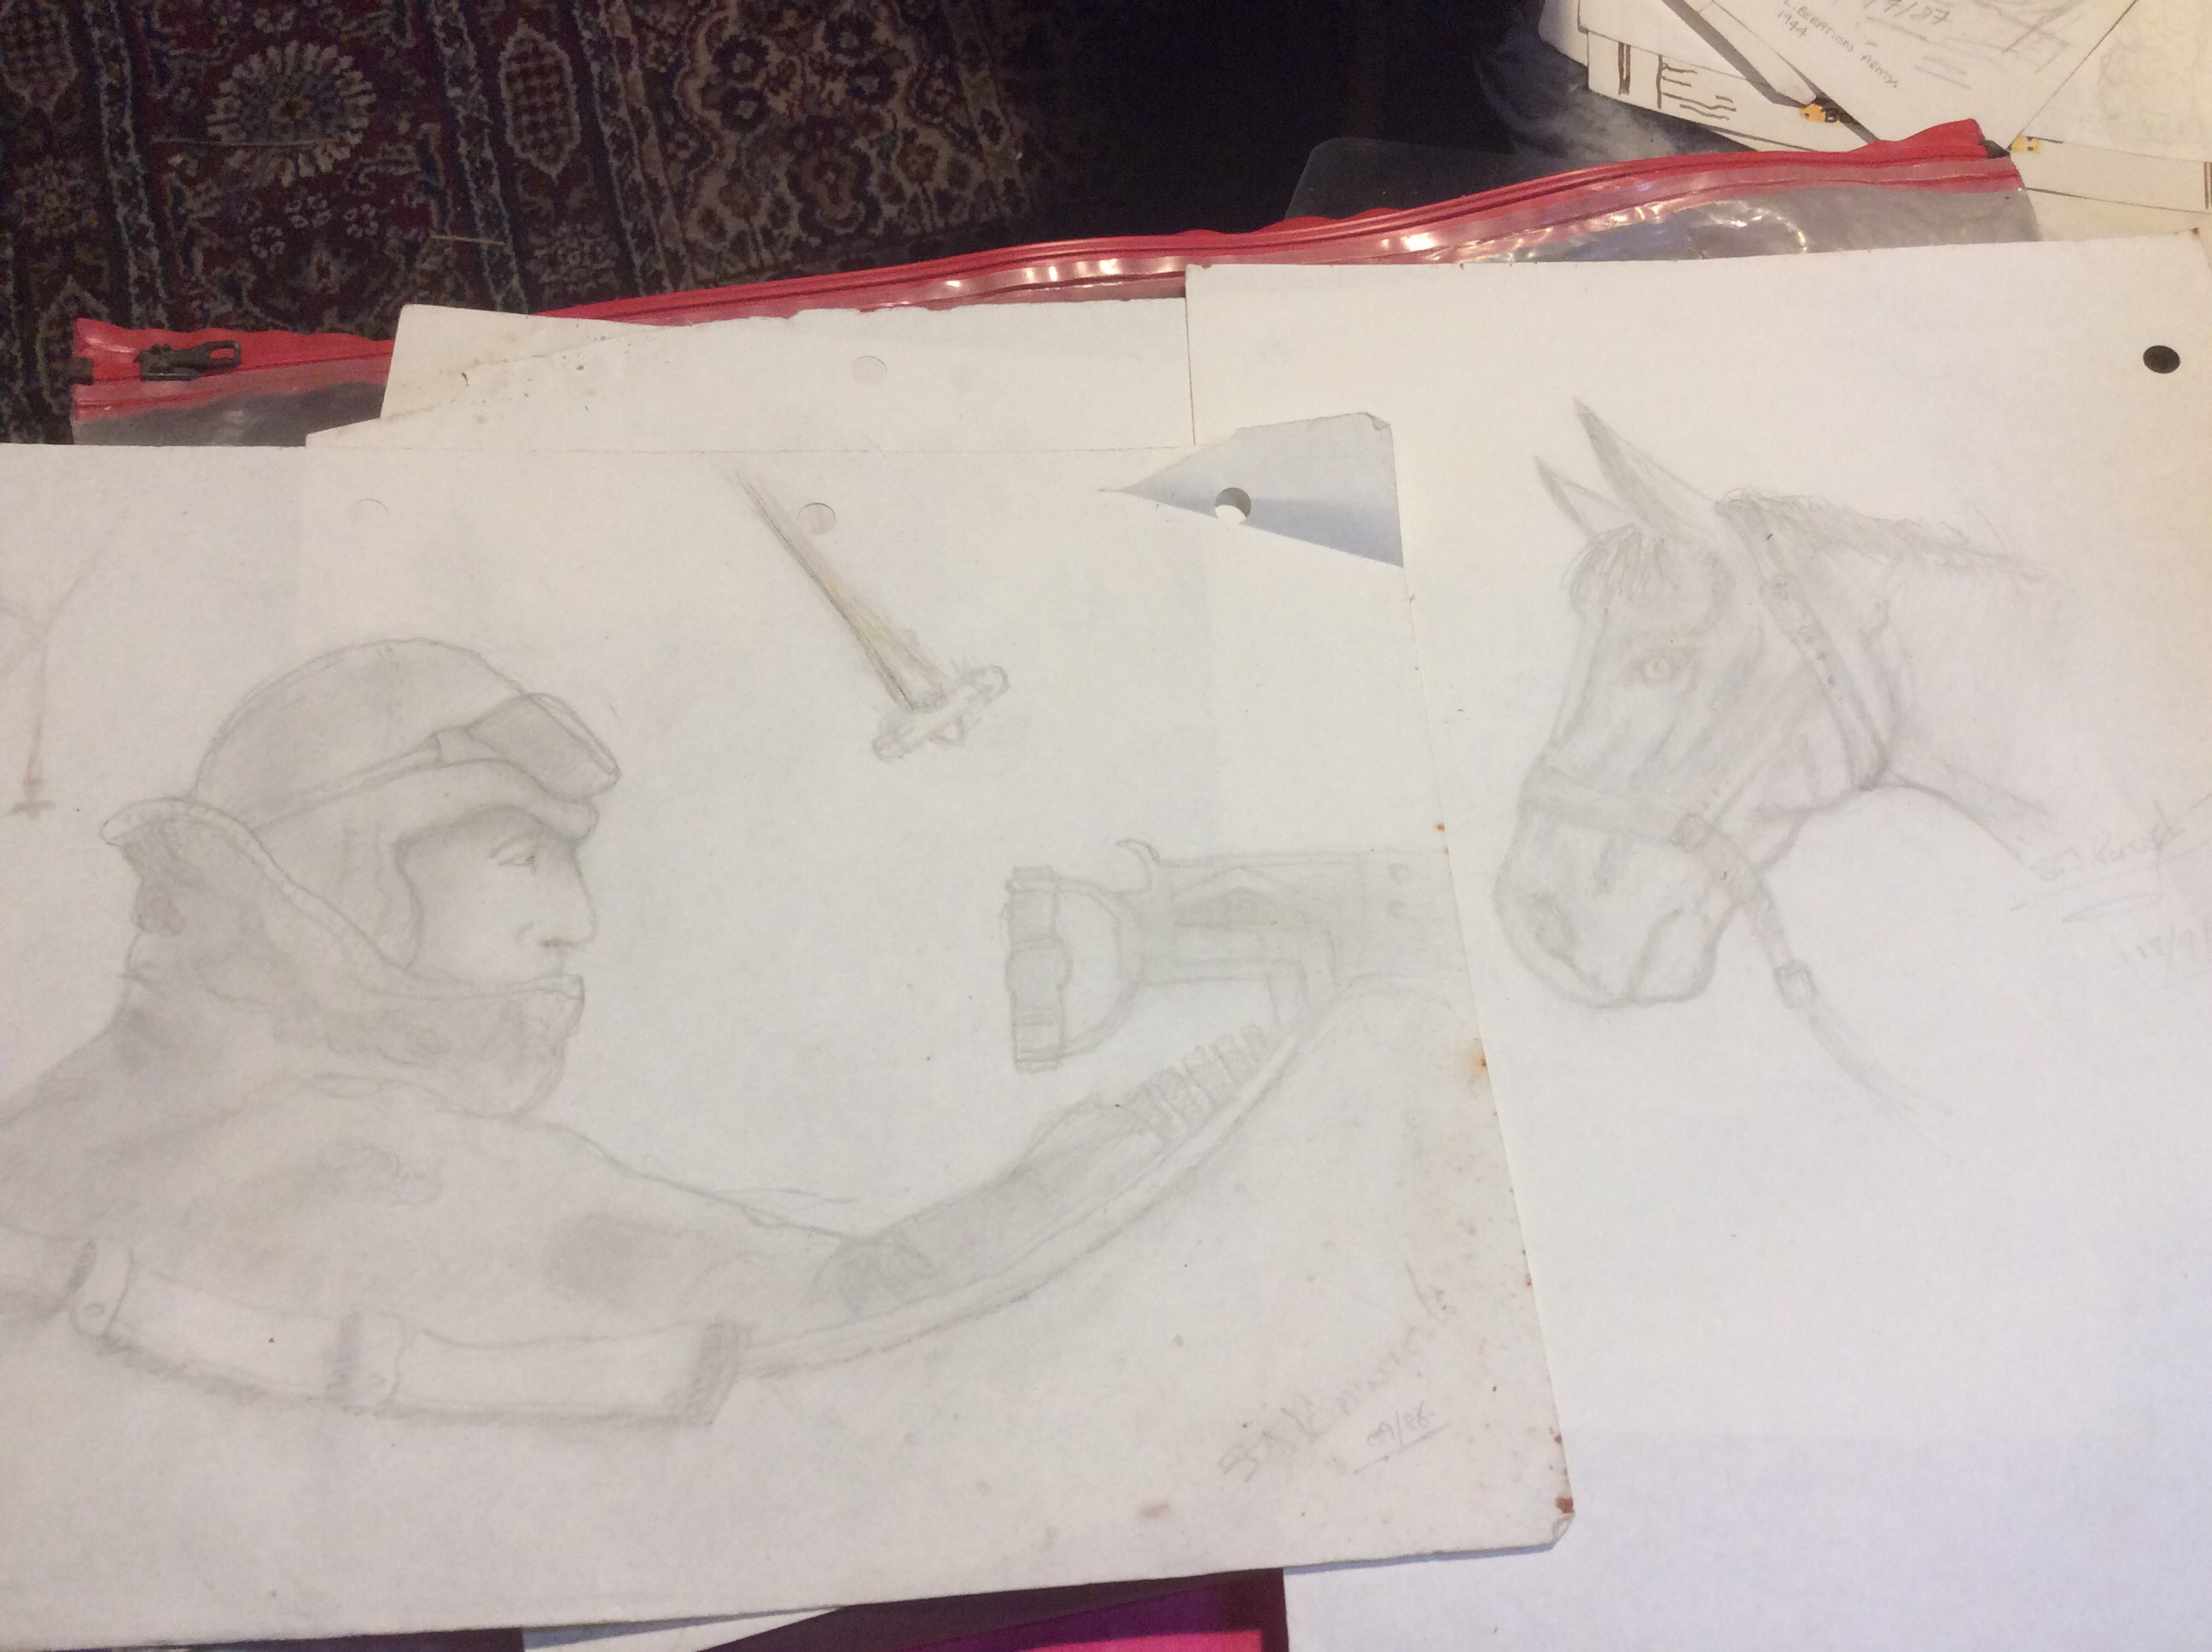
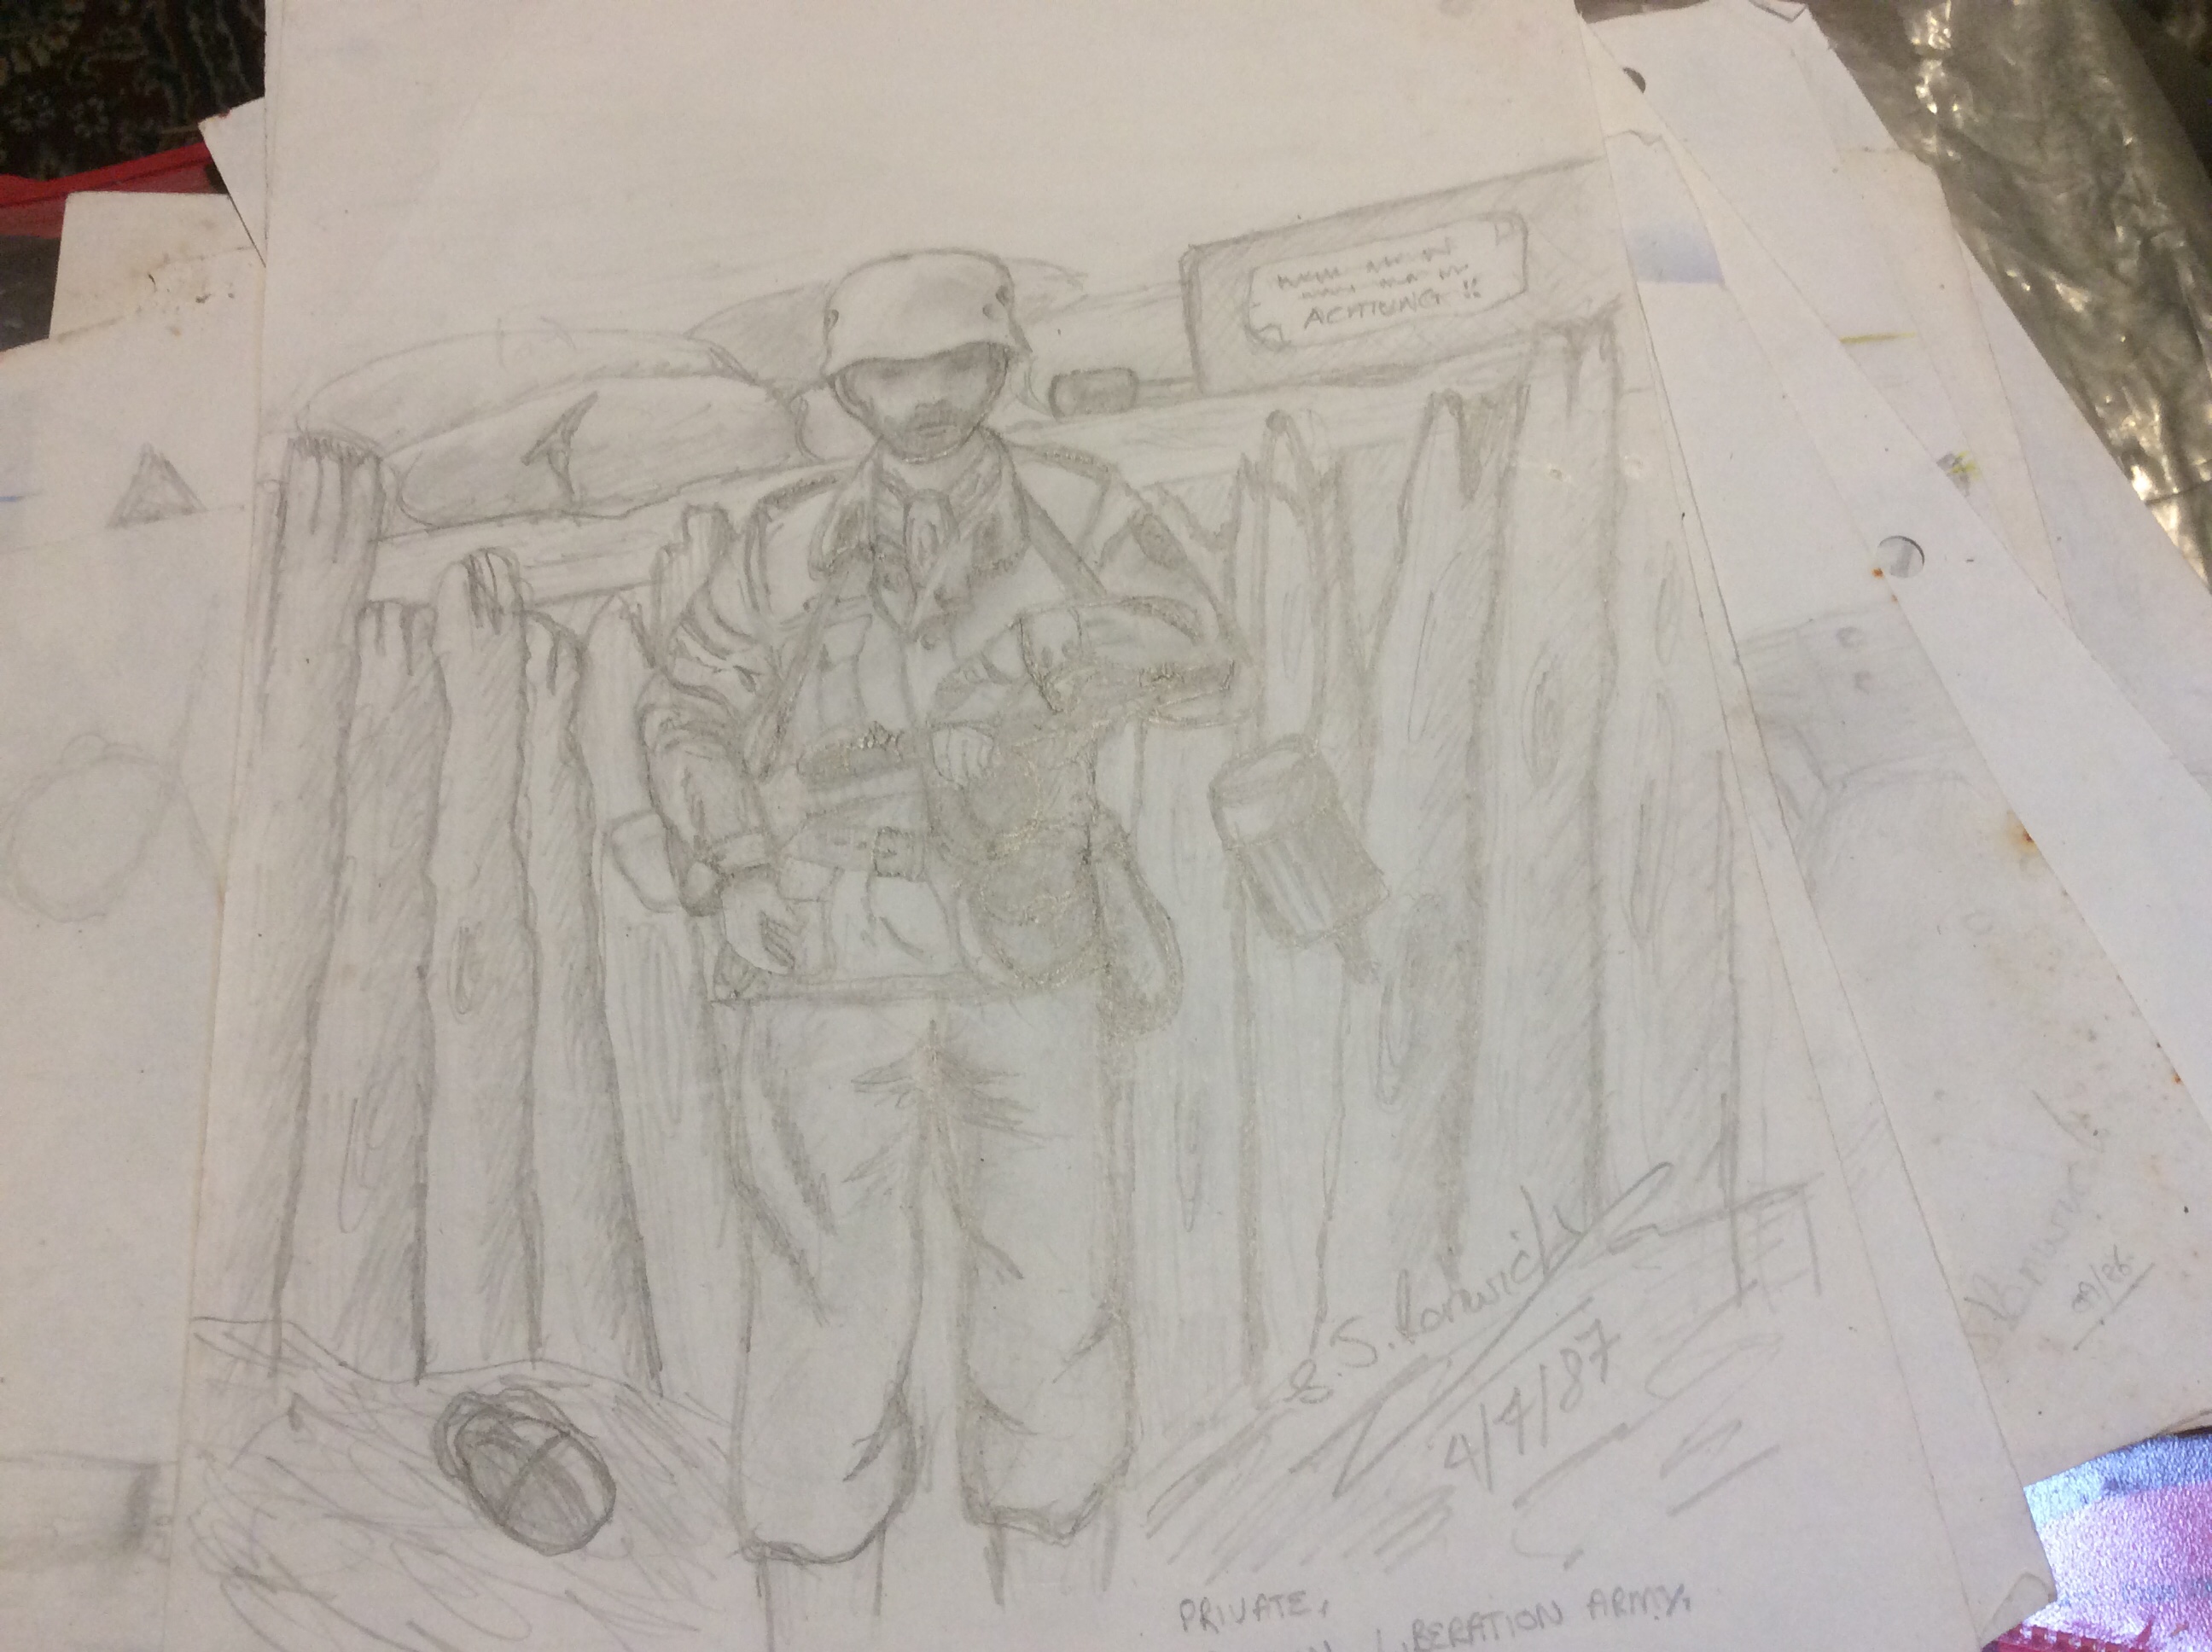
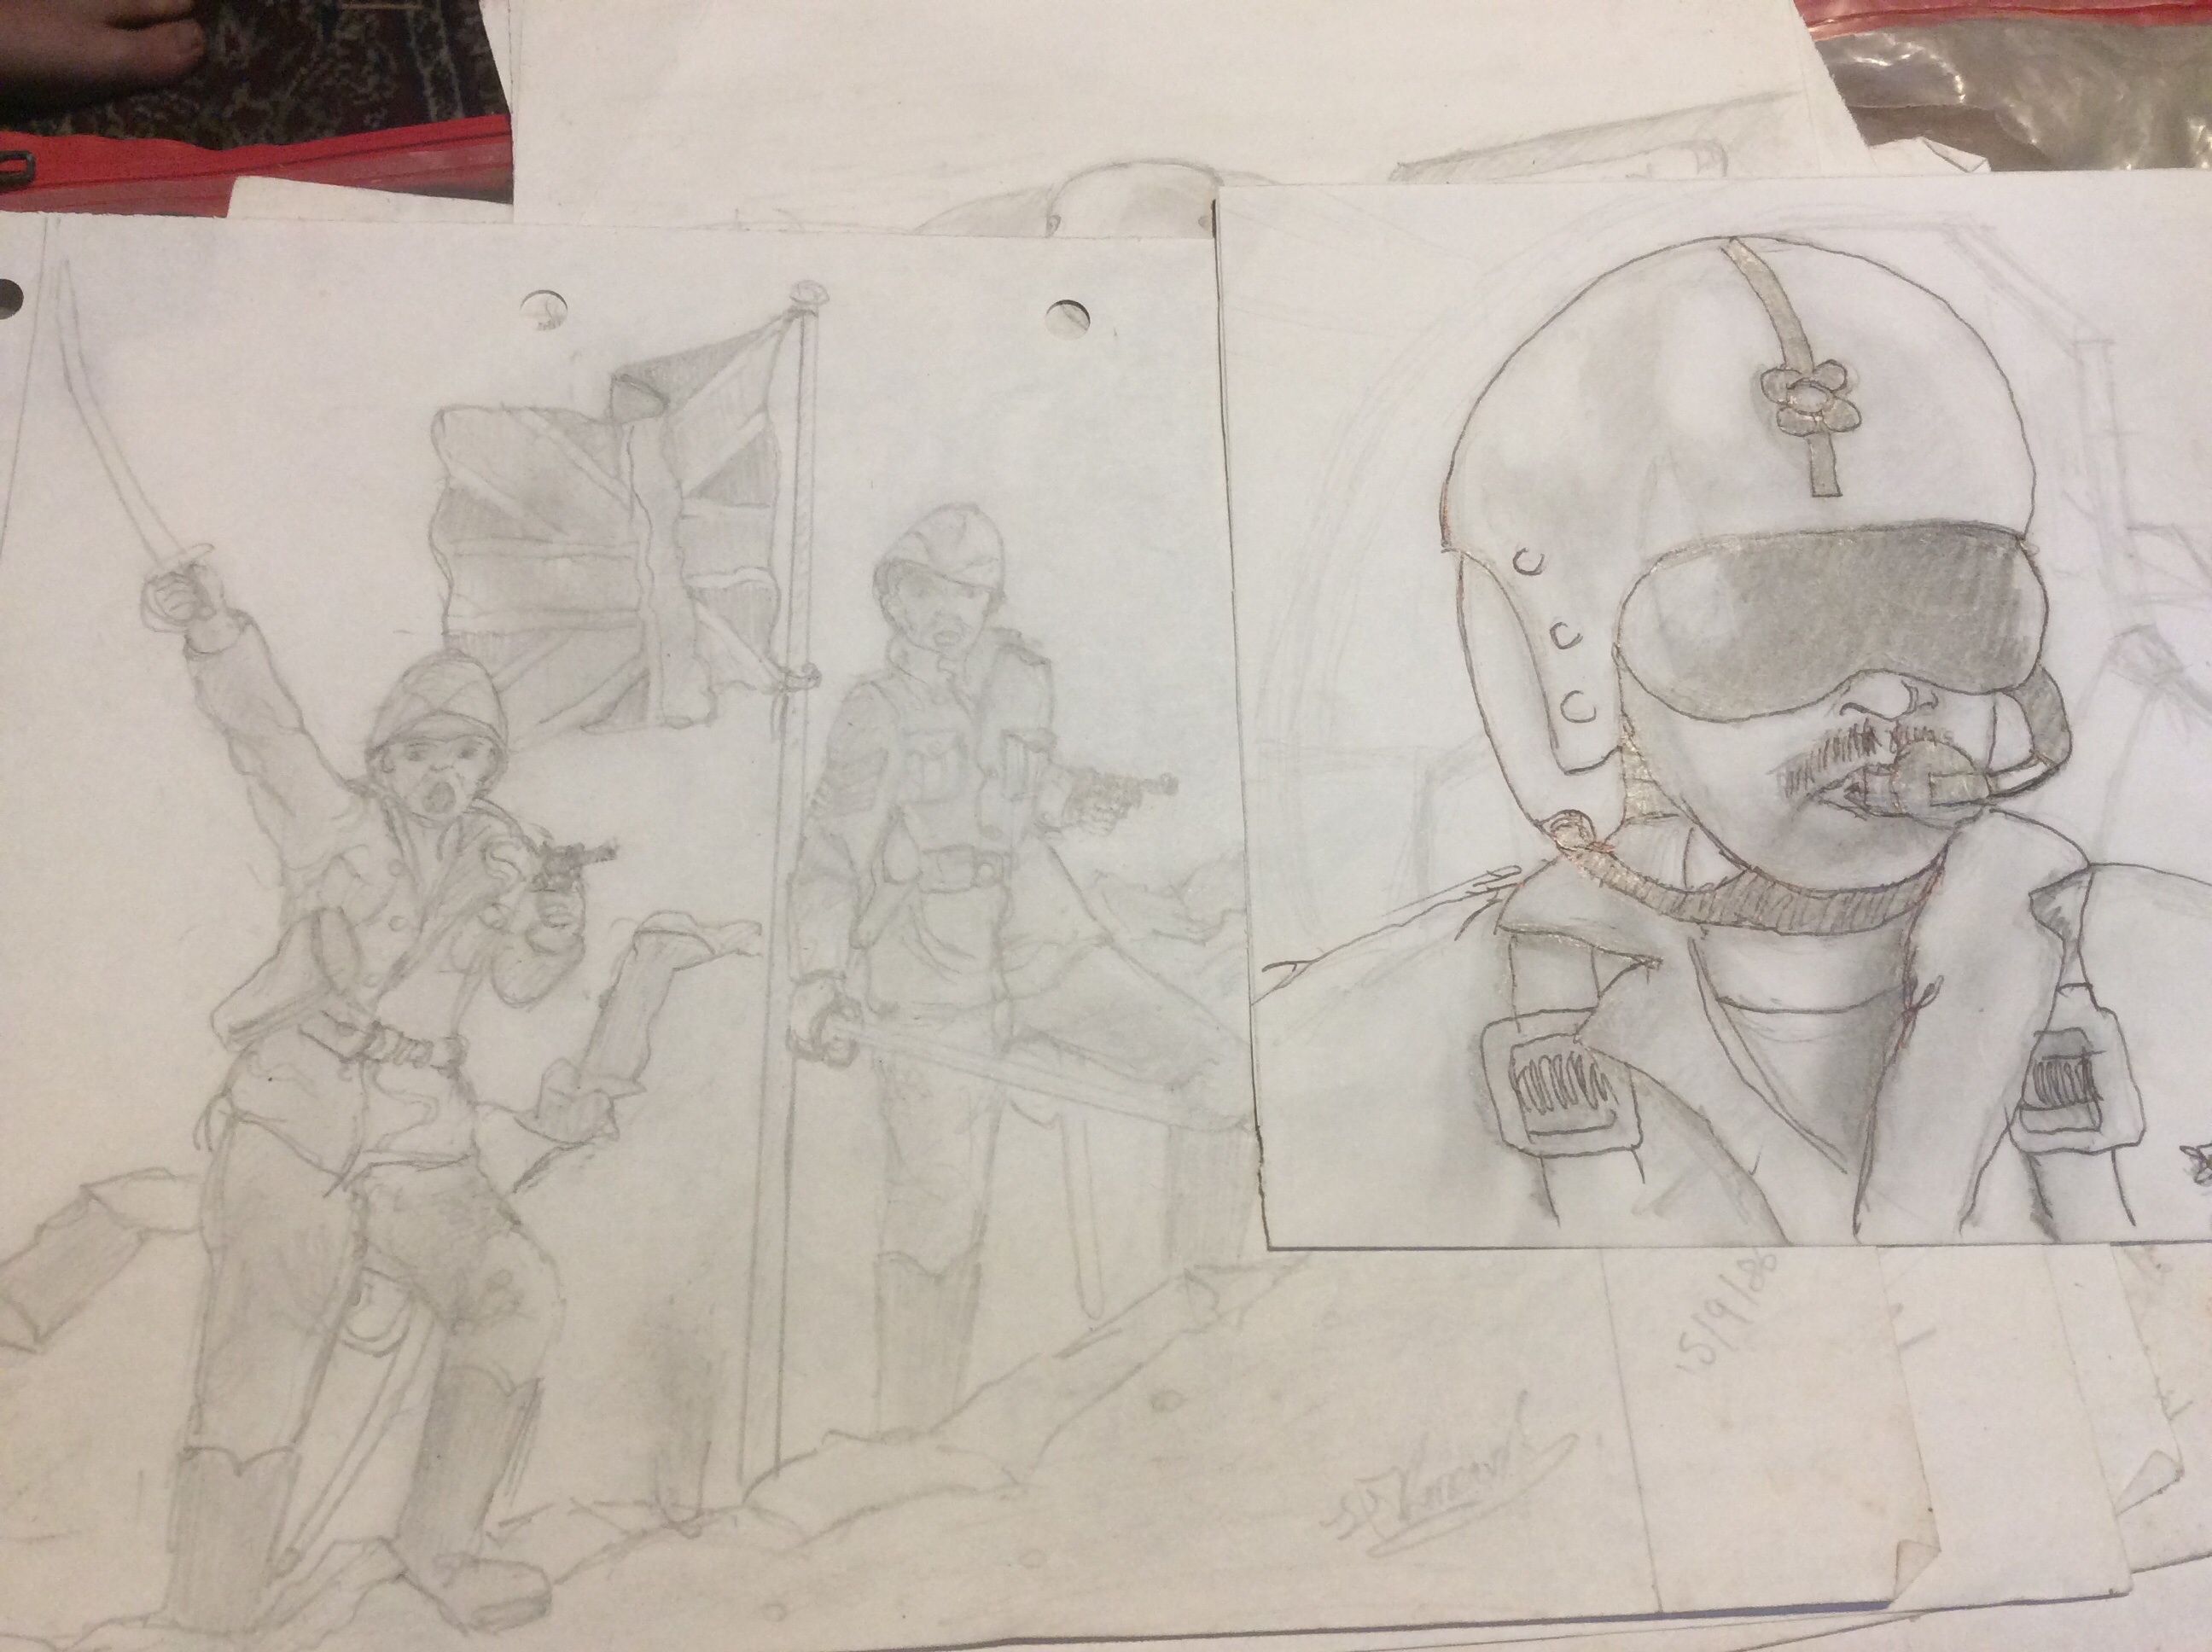
Tonight I was mooching about looking for an RPG and came across some of my old sketches. As my middle child is well into her art then she wanted to look at them, to cut a long story short… we did some drawing this evening instead of me painting… so my sketches from 30 odd years ago…
And my art from this evening…
I decided to ease myself back in gently. She was wanting to draw all sorts of complicated things. To be honest I quite enjoyed it, so didn’t miss painting the castle at all. No doubt she will want to do some more tomorrow… you have been warned 😂.
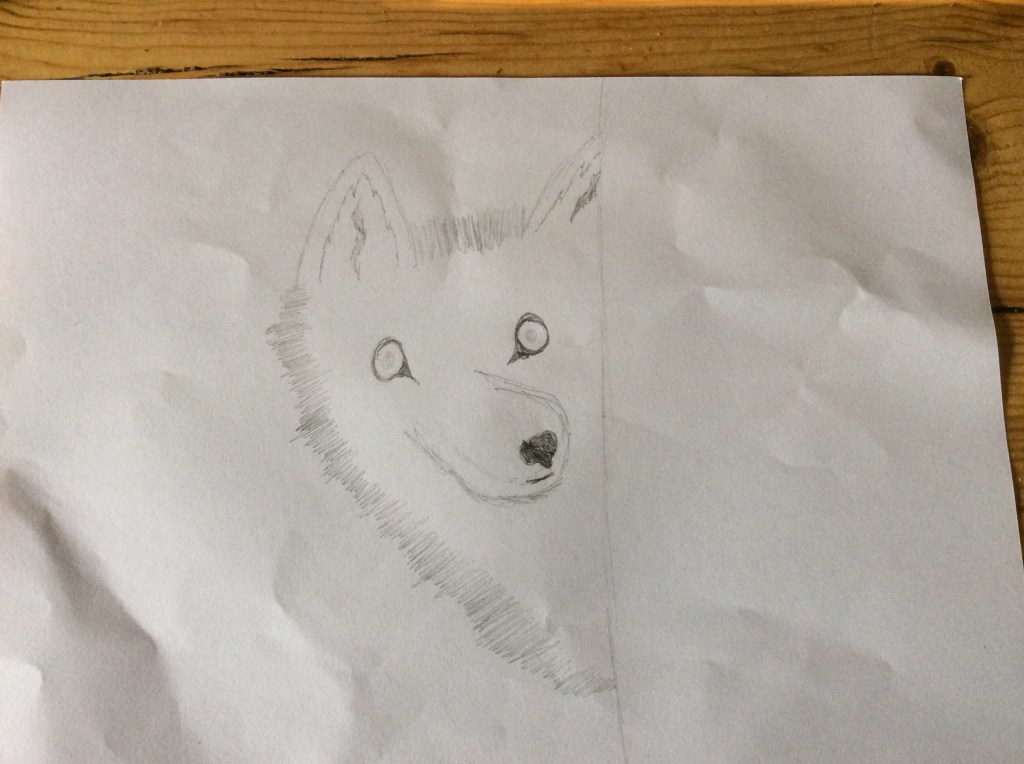
My youngest drew a wolf the other week to join in With the art at the time…I don’t know why but this makes me smile every time I look at it…
A new character in Peppa Pig perhaps?Wolf from his sister…
So tonight I decided to get some paint on the castle. Not very Mapuche but at least it is a start…
As you can see, I went for white. It will really make it stand out. Black would have looked cool, but this way it will be a striking centrepiece. For the roofs I am going to go blue instead of red that I usually do for the tiles. There is also going to be a fair bit of gold as well.
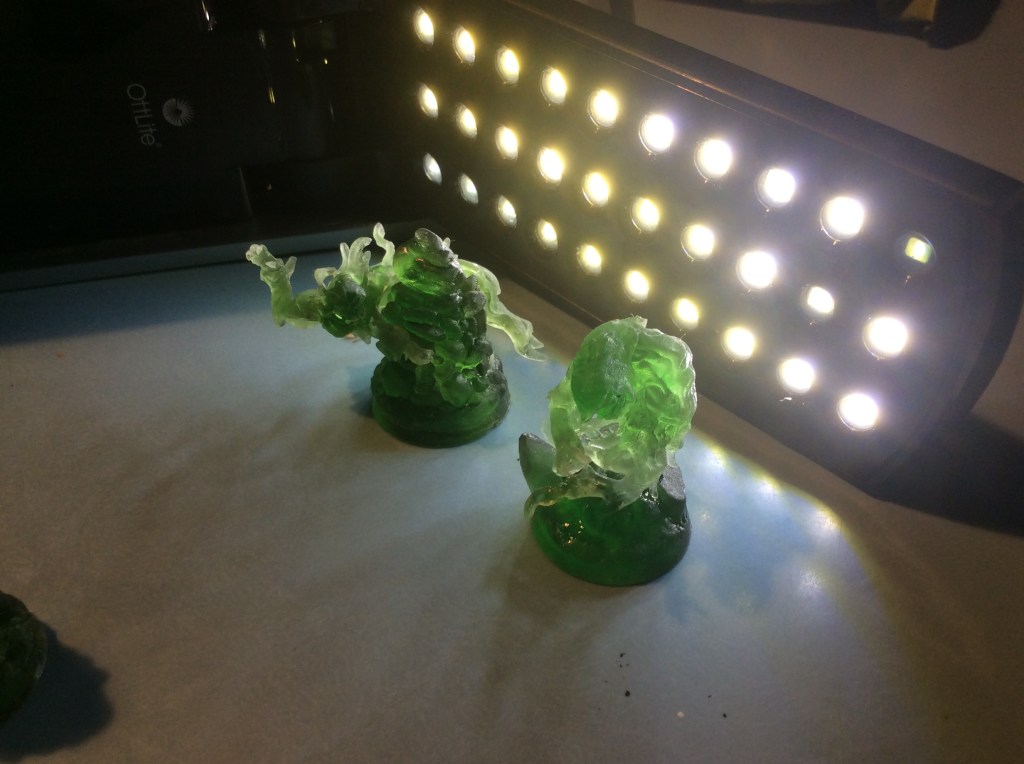
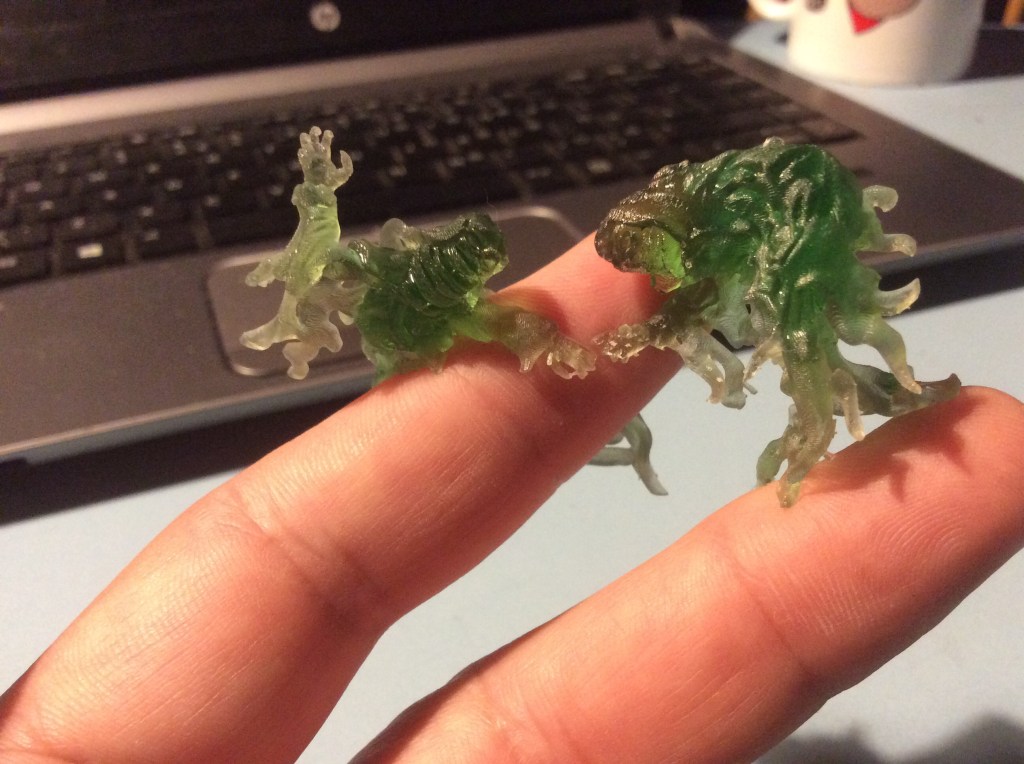
The other thing, apart from rehanging the conservatory door, was to get the spectre bases printed, well actually cleaned as I printed them yesterday. What with one thing and another I never actually managed to get it done last night.
This cleaning thing certainly gets the old water spinning. I used water with detergent in as I was a bit short of ISO. So I shoved the bases in here and gave it 18 minutes of swooshing about. Naively I took the scalpel to the bases to remove them from the the plate after the cleaning. The hollow parts spewed liquid resin all over the place… In my naive little mind they were built up in layers starting from the bottom working up, I don’t know where I thought the liquid resin on the inside was going to escape from. Somehow, I failed to comprehend the fact that I was washing the liquid resin off the outside, so perhaps I should of considered the inside too..but hey after a long day… who knows where my solitary brain cell was hiding. hopefully I won’t do that again!
The spectres do look rather snazzy on their bases… I really like the one floating around the cairn. Part of me wants to paint up the cairn in greys and browns, dry brush the spectre so that some of the green still shows through and then add a flickering LED into the hollow cairn so that there is an ethereal glow from the ghost. But we all know I will never, ever, ever get around to it 😂
Today, I mostly spent on building the conservatory, after shopping and helping out my mother in law to chop down branches the. To be Frank I was absolutely buggered. I then had to inform my line manager that one of my staff was going for a Covid test… all in all a busy day.
I did however manage to print off some spectres from the Patreon I just supported… These are great as they are pre supported.
I also gave the wash and cure station a go….
The biggest problem I have with it is that There isn’t a way to fasten the build plate onto the support arm, for this first run through I ran the cleaner for about 12 minutes and the curing for about 18. I will stick the models outside tomorrow, just in case they need a bit more curing.
I decided to fire the printer up today and printed myself some Ancient galleys on the filament Printer. I did two of the larger ones and two of the smaller ones.
I stuck them next to some 6mm Baccus miniatures to give you an idea of scale. Part of me is now wondering whether or not to give an actual 1:300 scale version and the get some miniatures to go with them. Actually have marines on the decks etc. The one thing that is missing on these is the Corvus. Okay these were only on Roman vessels and for not that long, but they would look cool.
The other thing I did today was to get the castle sprayed. Funnily enough, today one of my Facebook groups shared a YouTube video all about Samurai castles…Samurai Castles
I now have to decide whether to go for black or white walls…
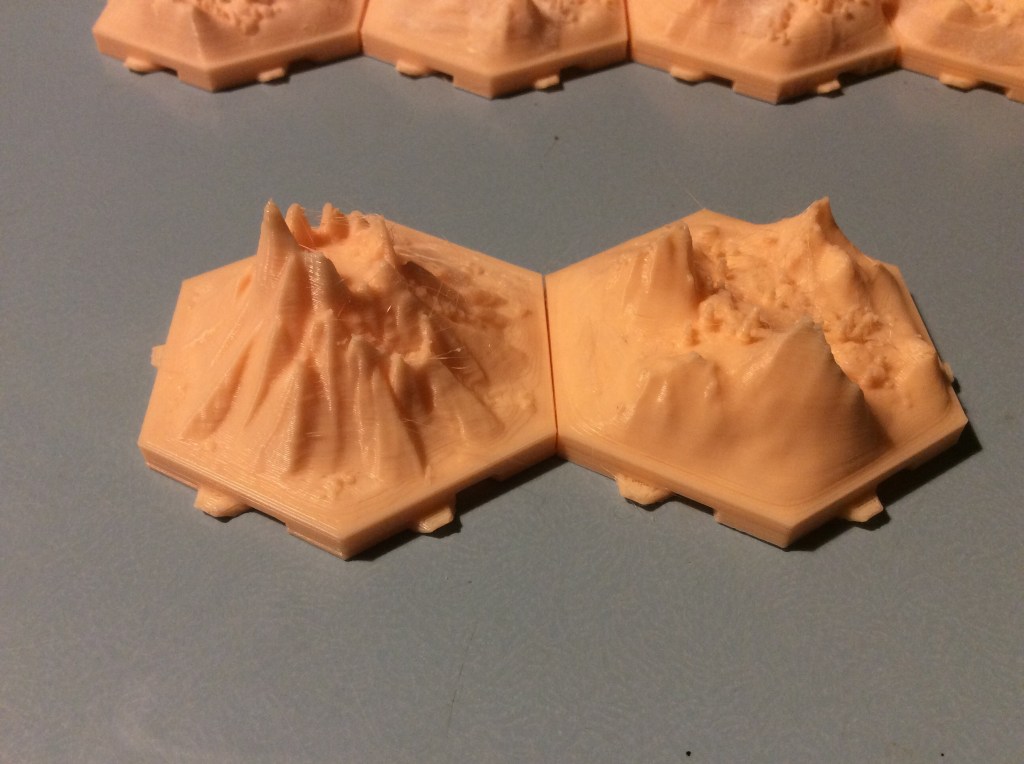
Well I just got the last two off the printer and they have come out fine. There was some stringing between the peaks but to be honest it was to be expected with the increase in temperature. So that is now one of everything printed. The increase to 10% infil on the mountains certainly made a difference to the rigidity of them.