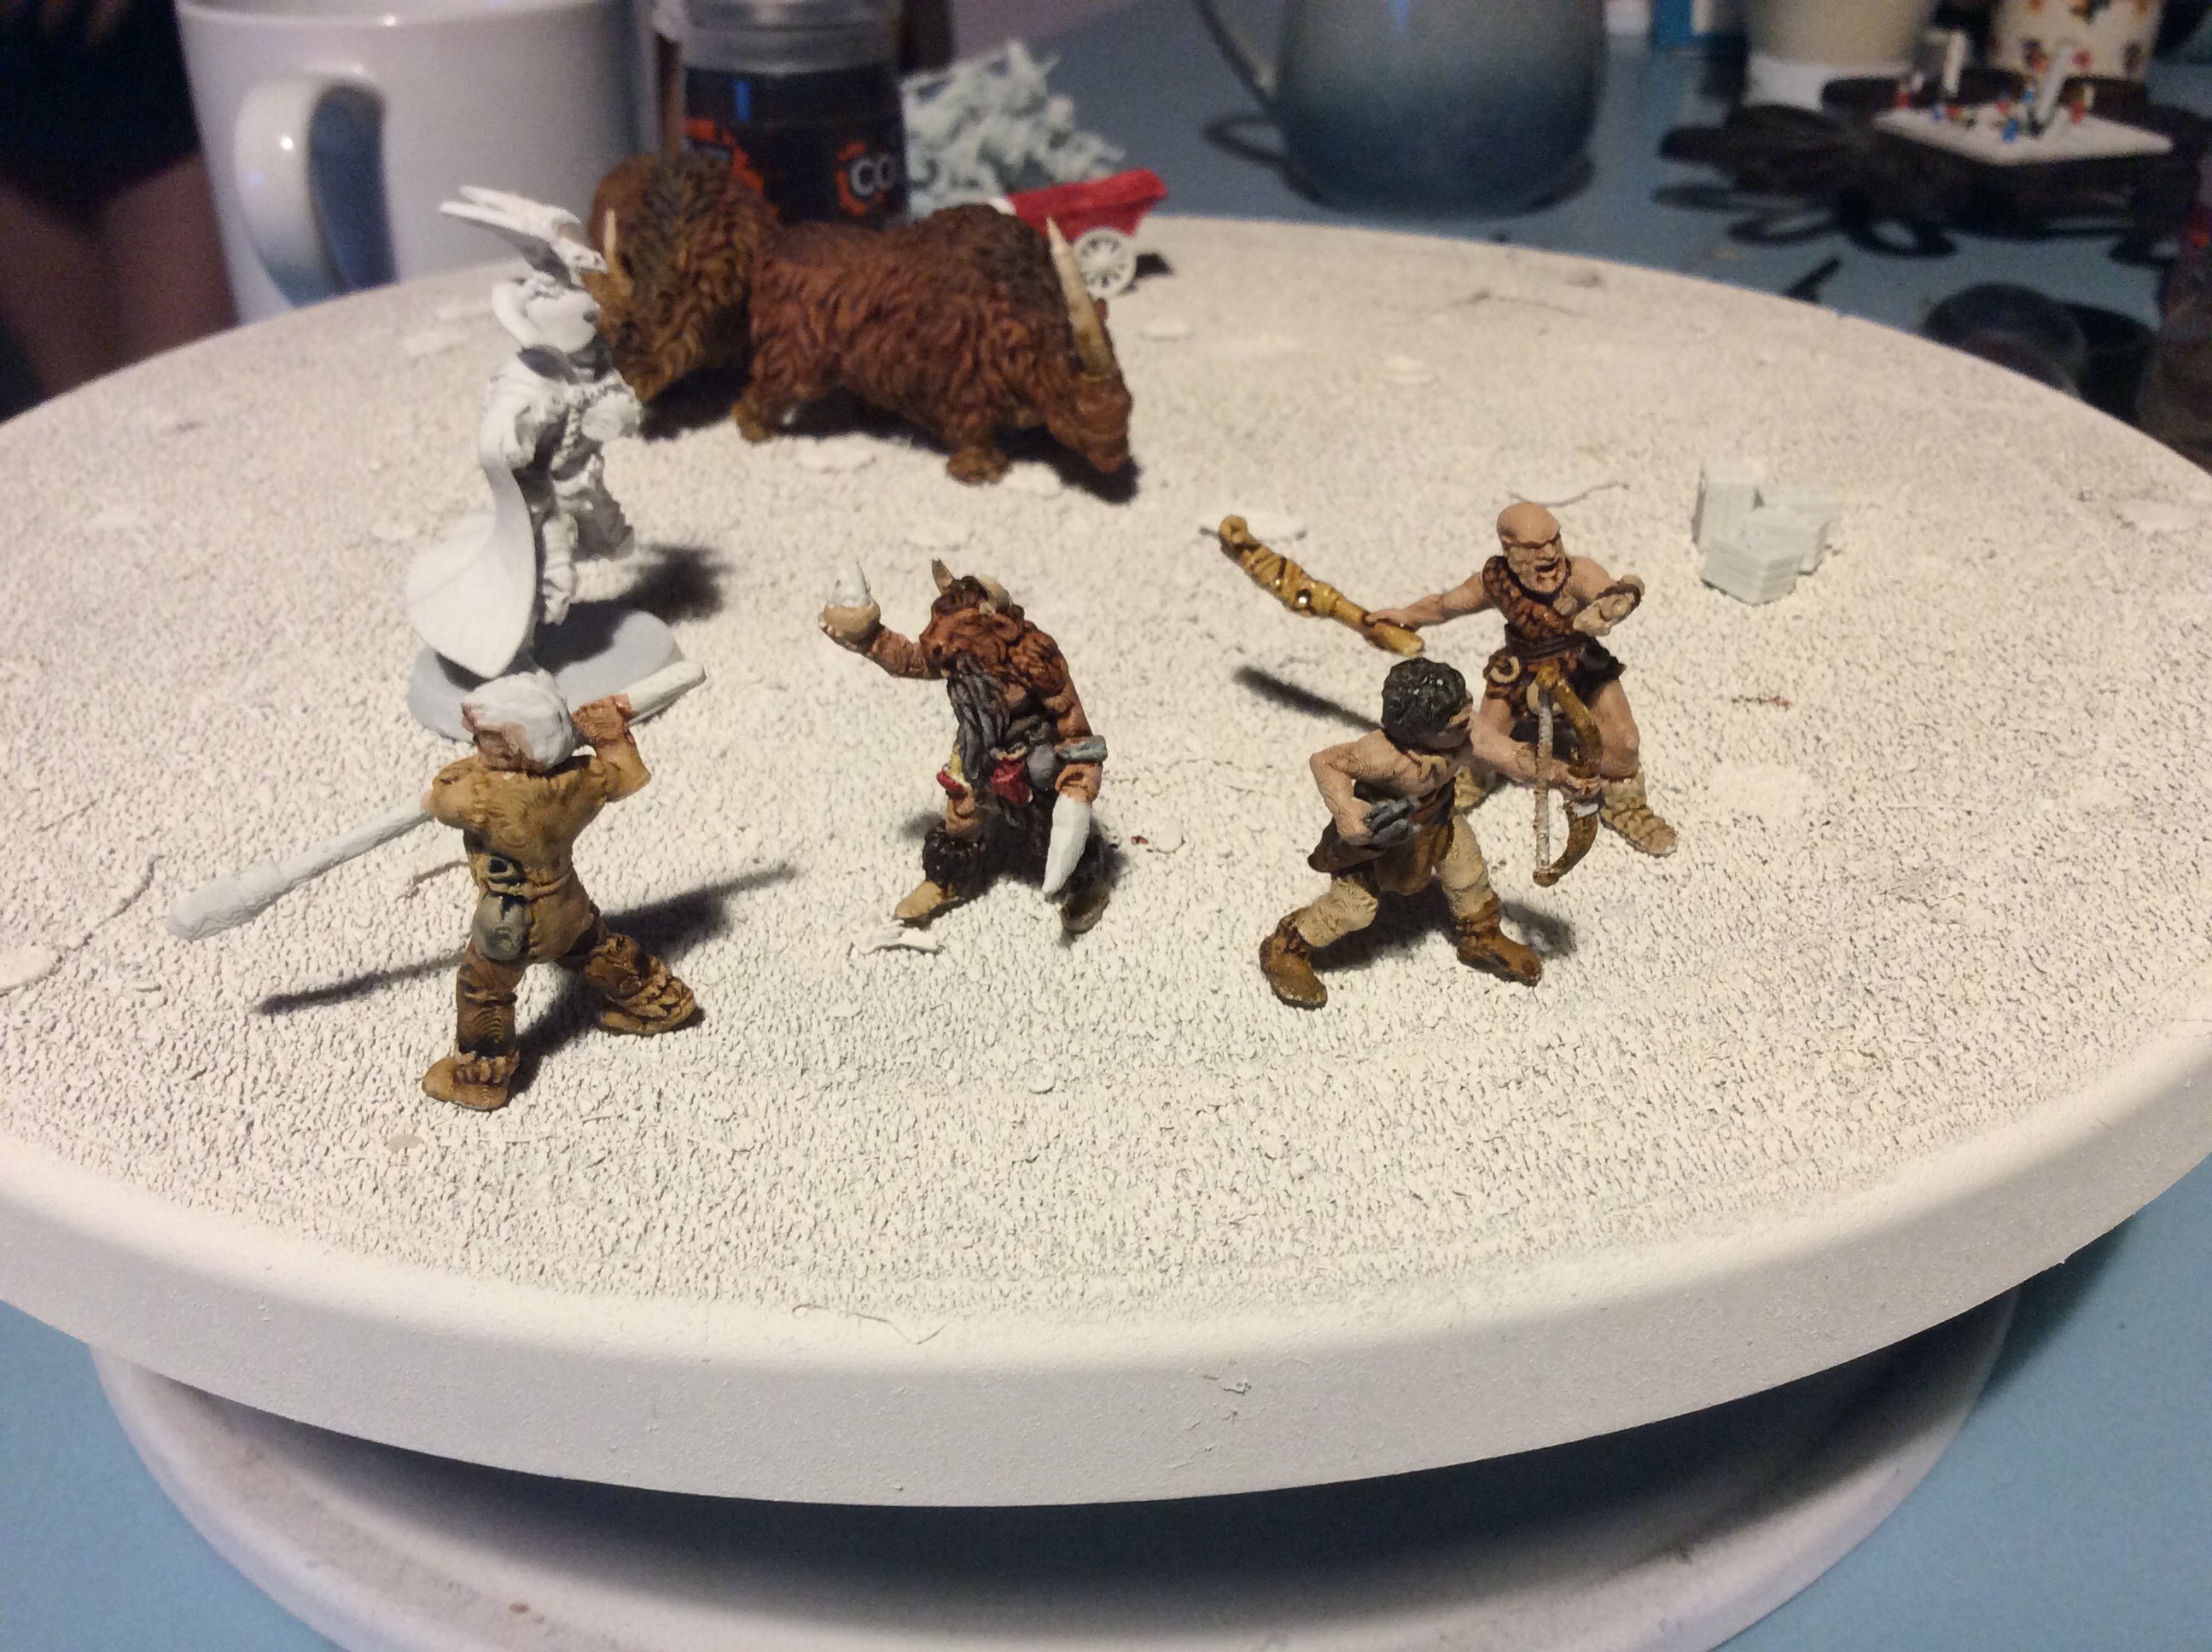
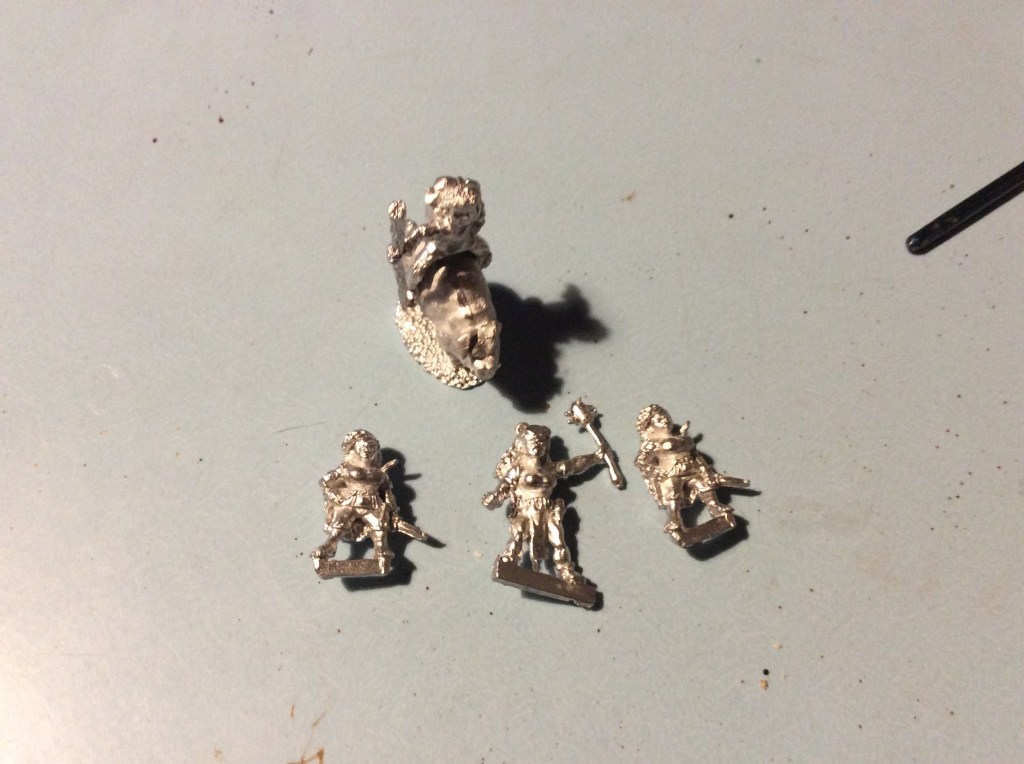
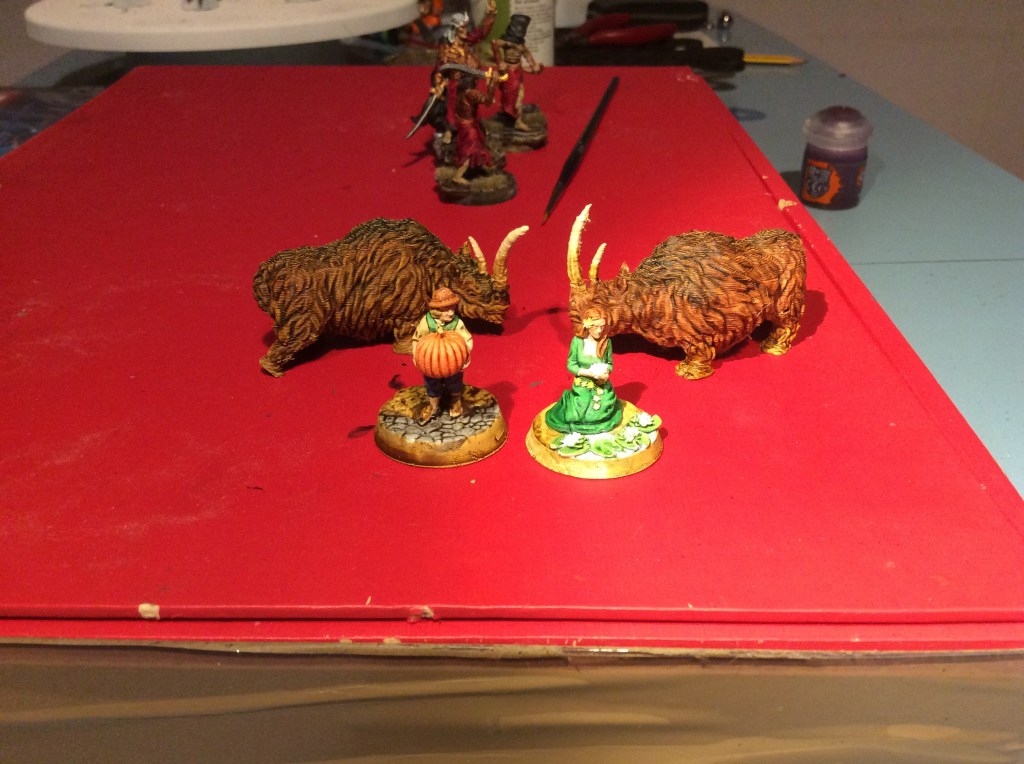
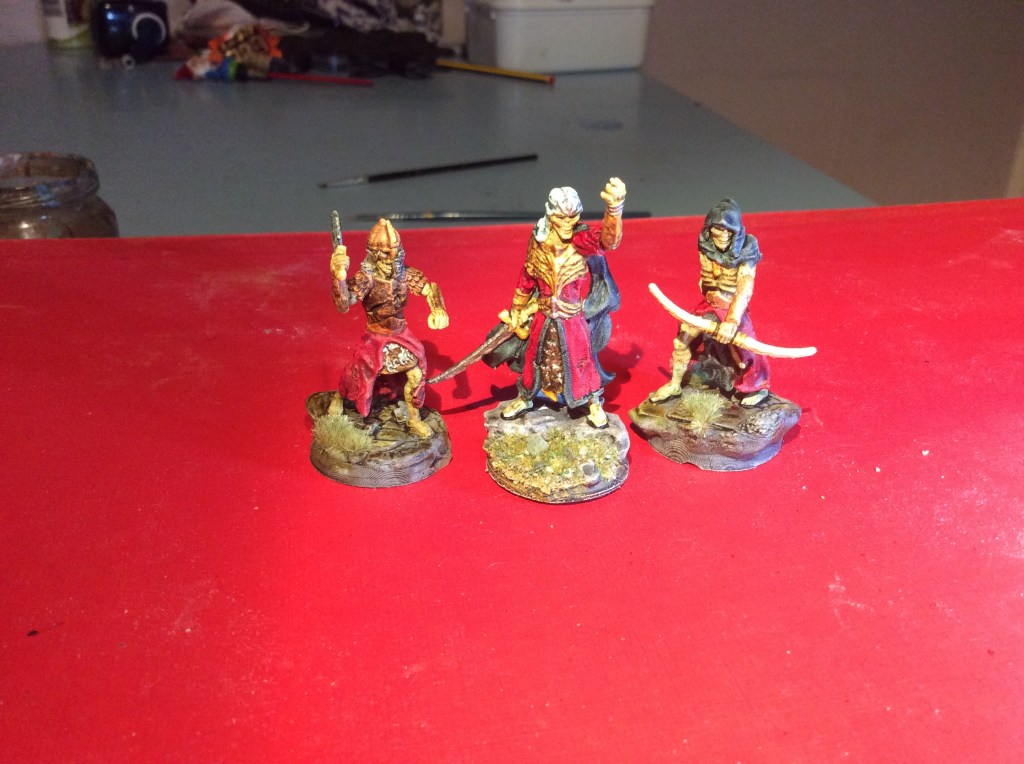
Final Party member

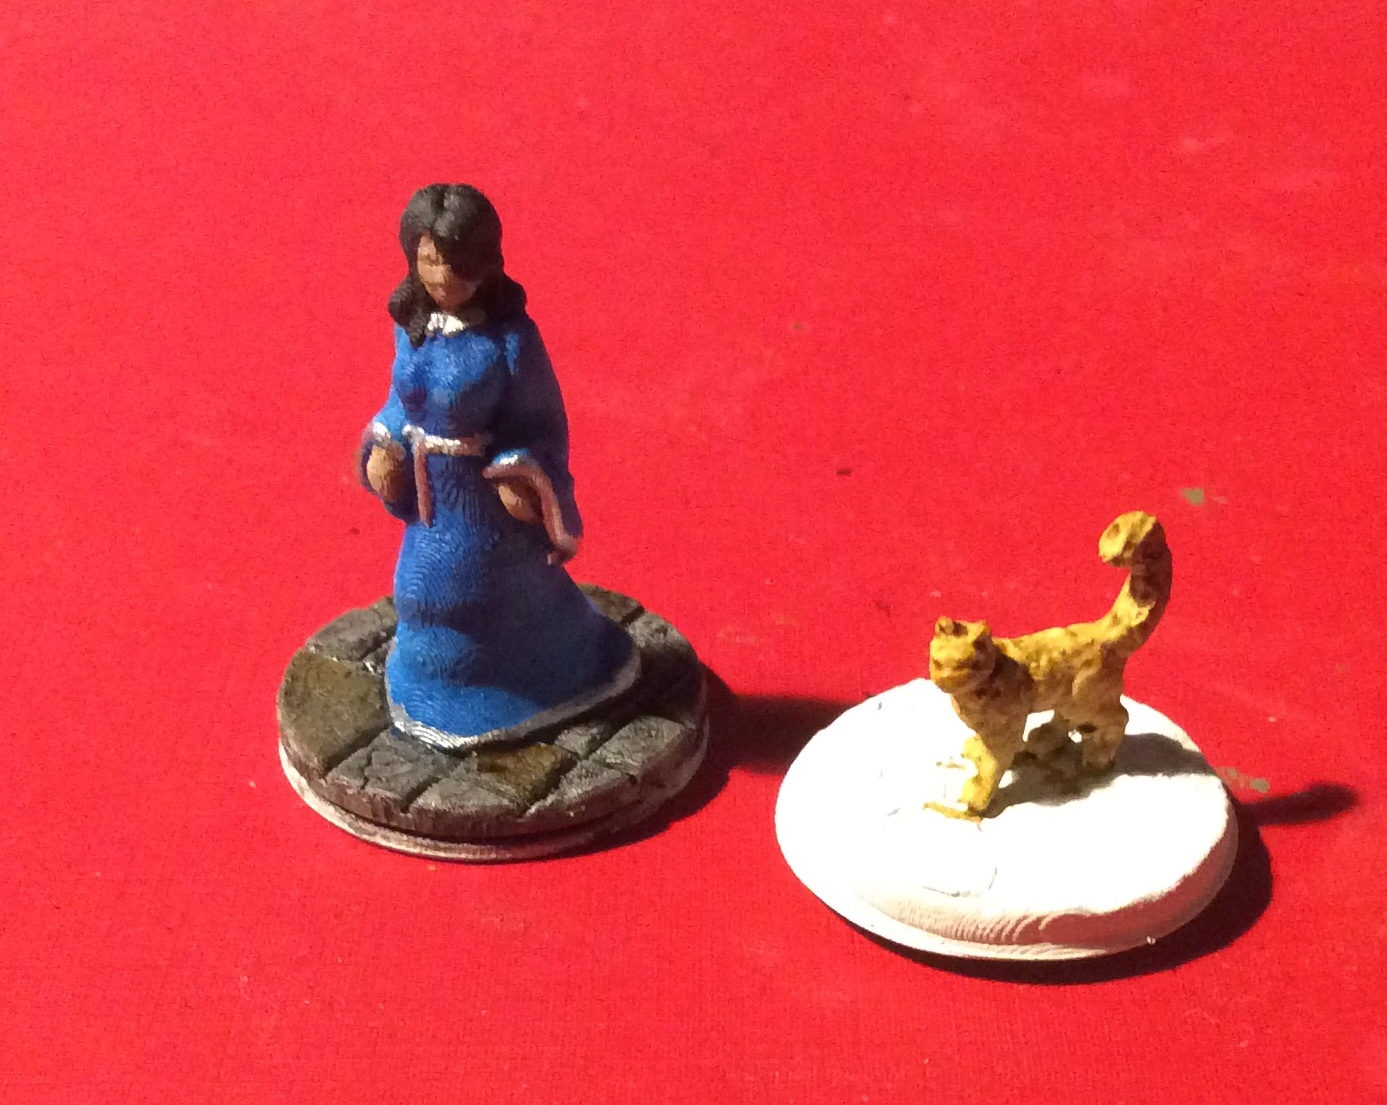
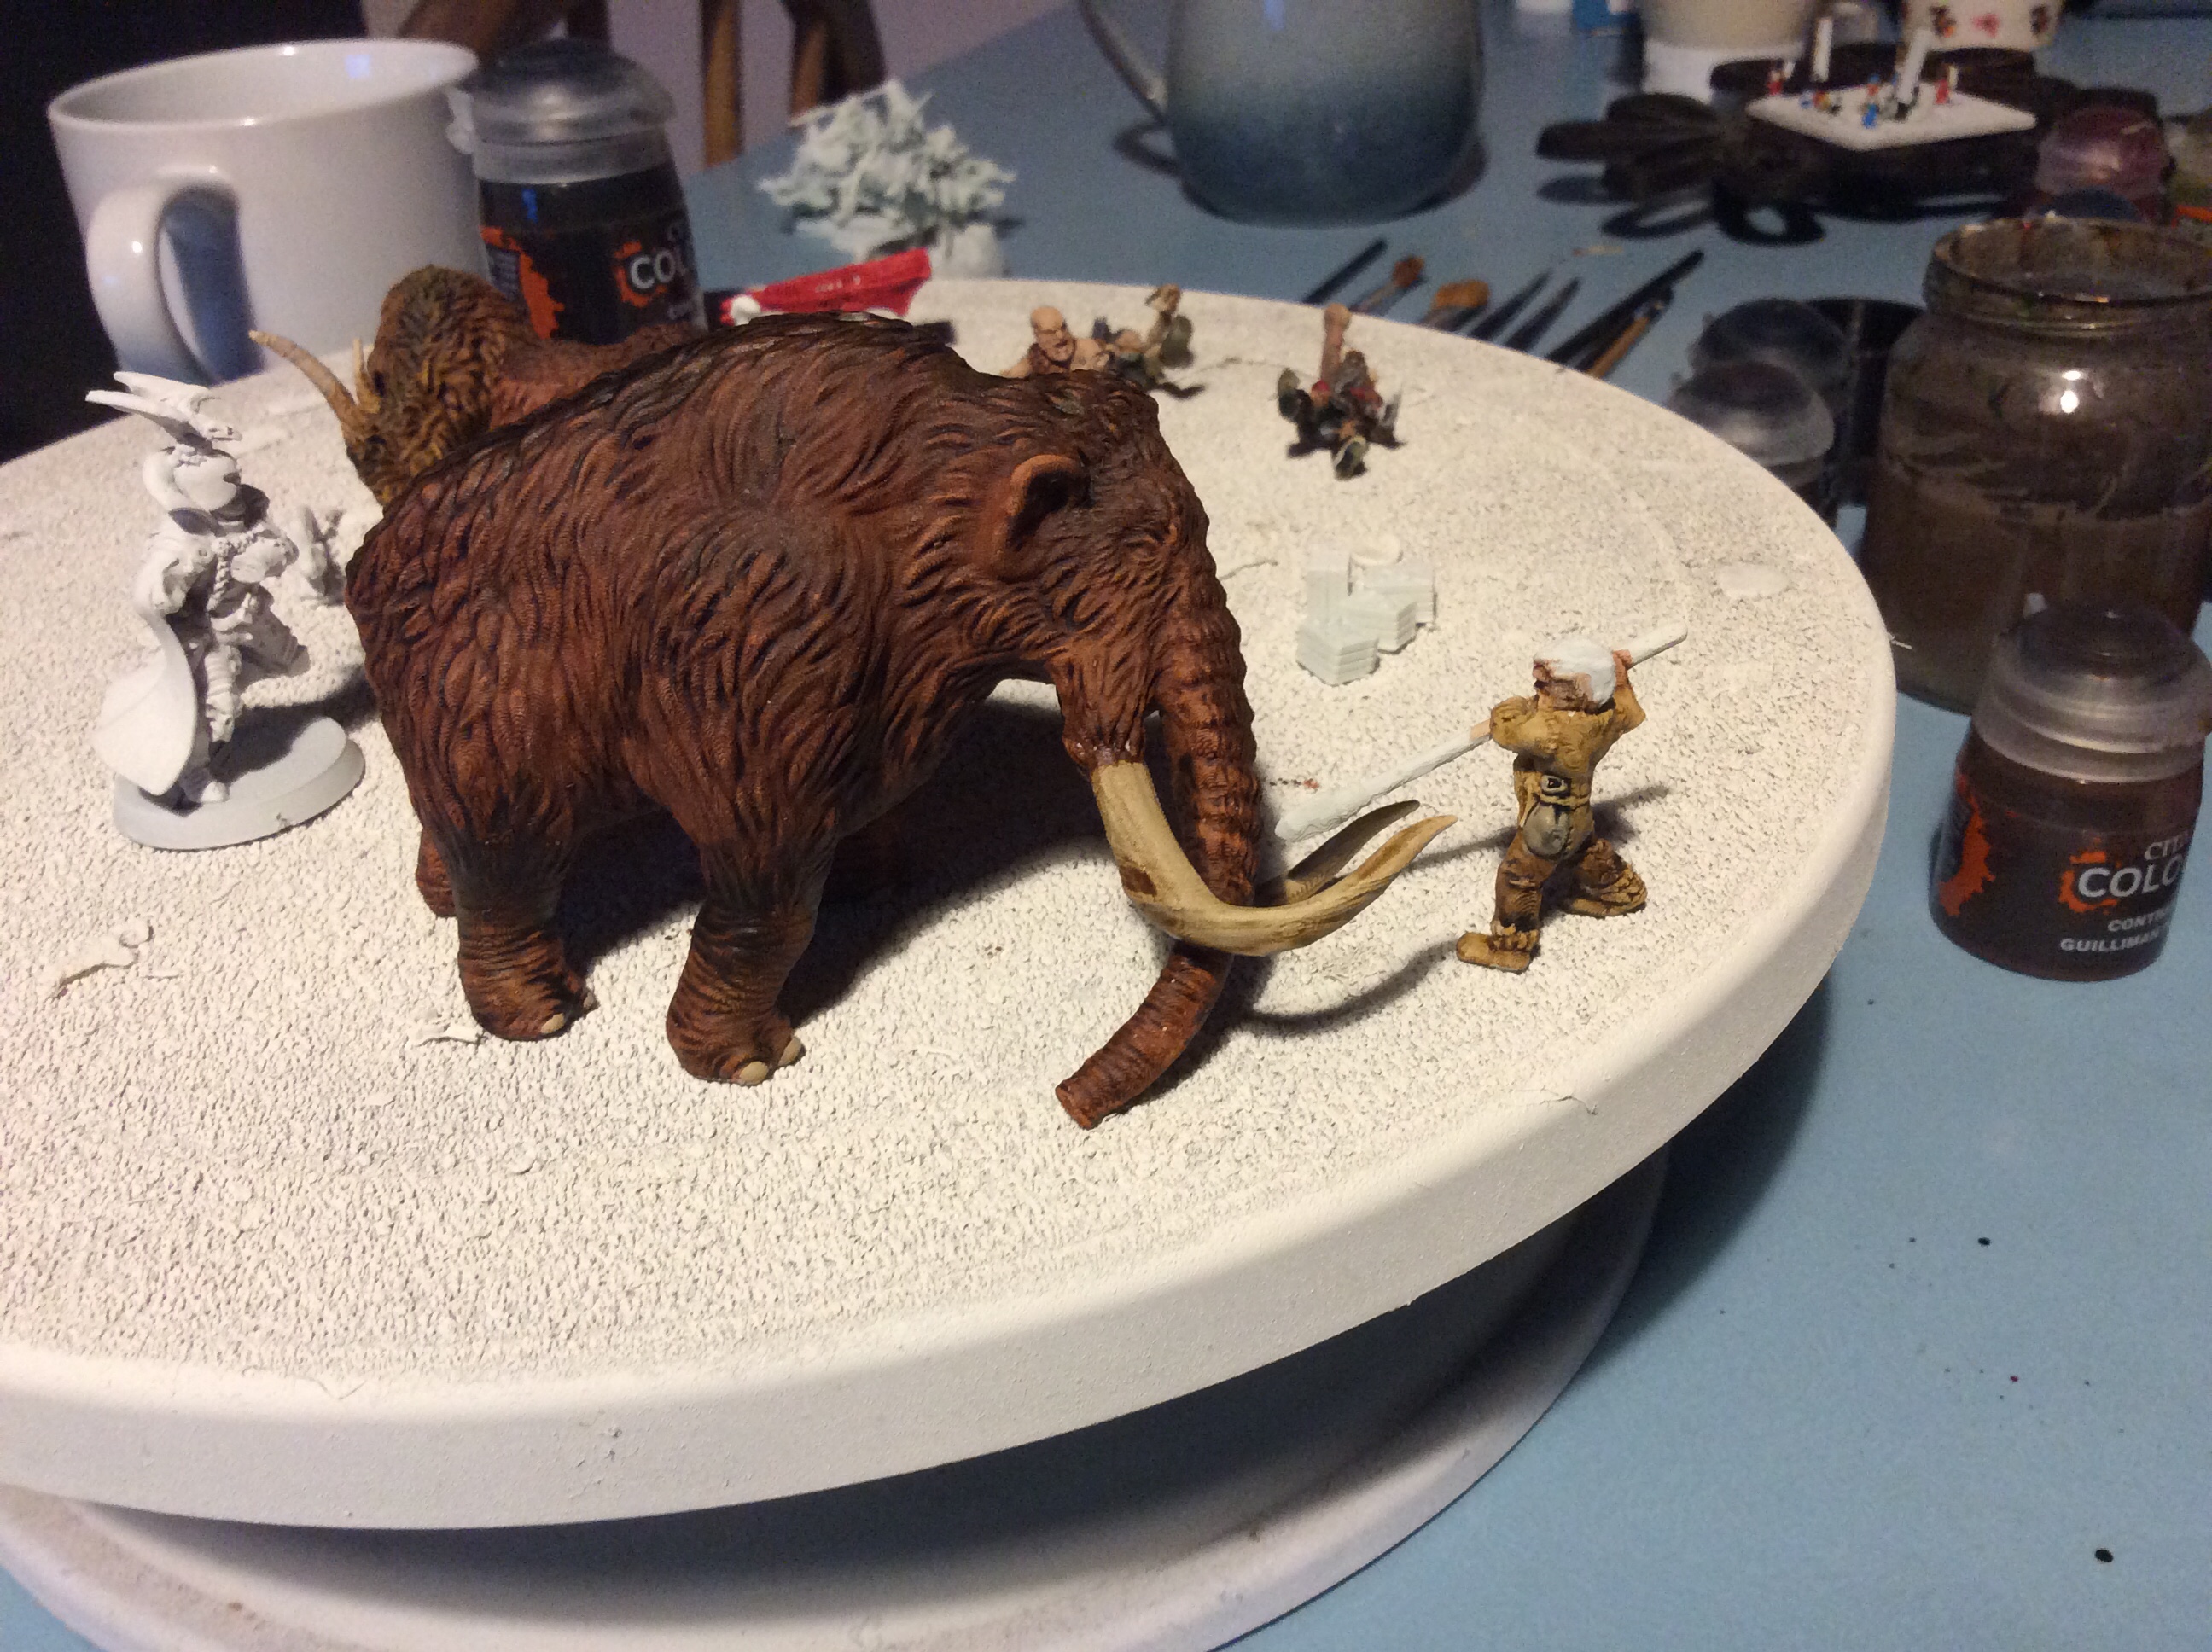
Allow me to introduce mistress Celandine. The final miniature for my players…

My friend, Maggie, likes purple hence the dress colour. Yellow and purple do go quite nicely together. I found this out ages ago when I painted up my vampire for Witchlands.

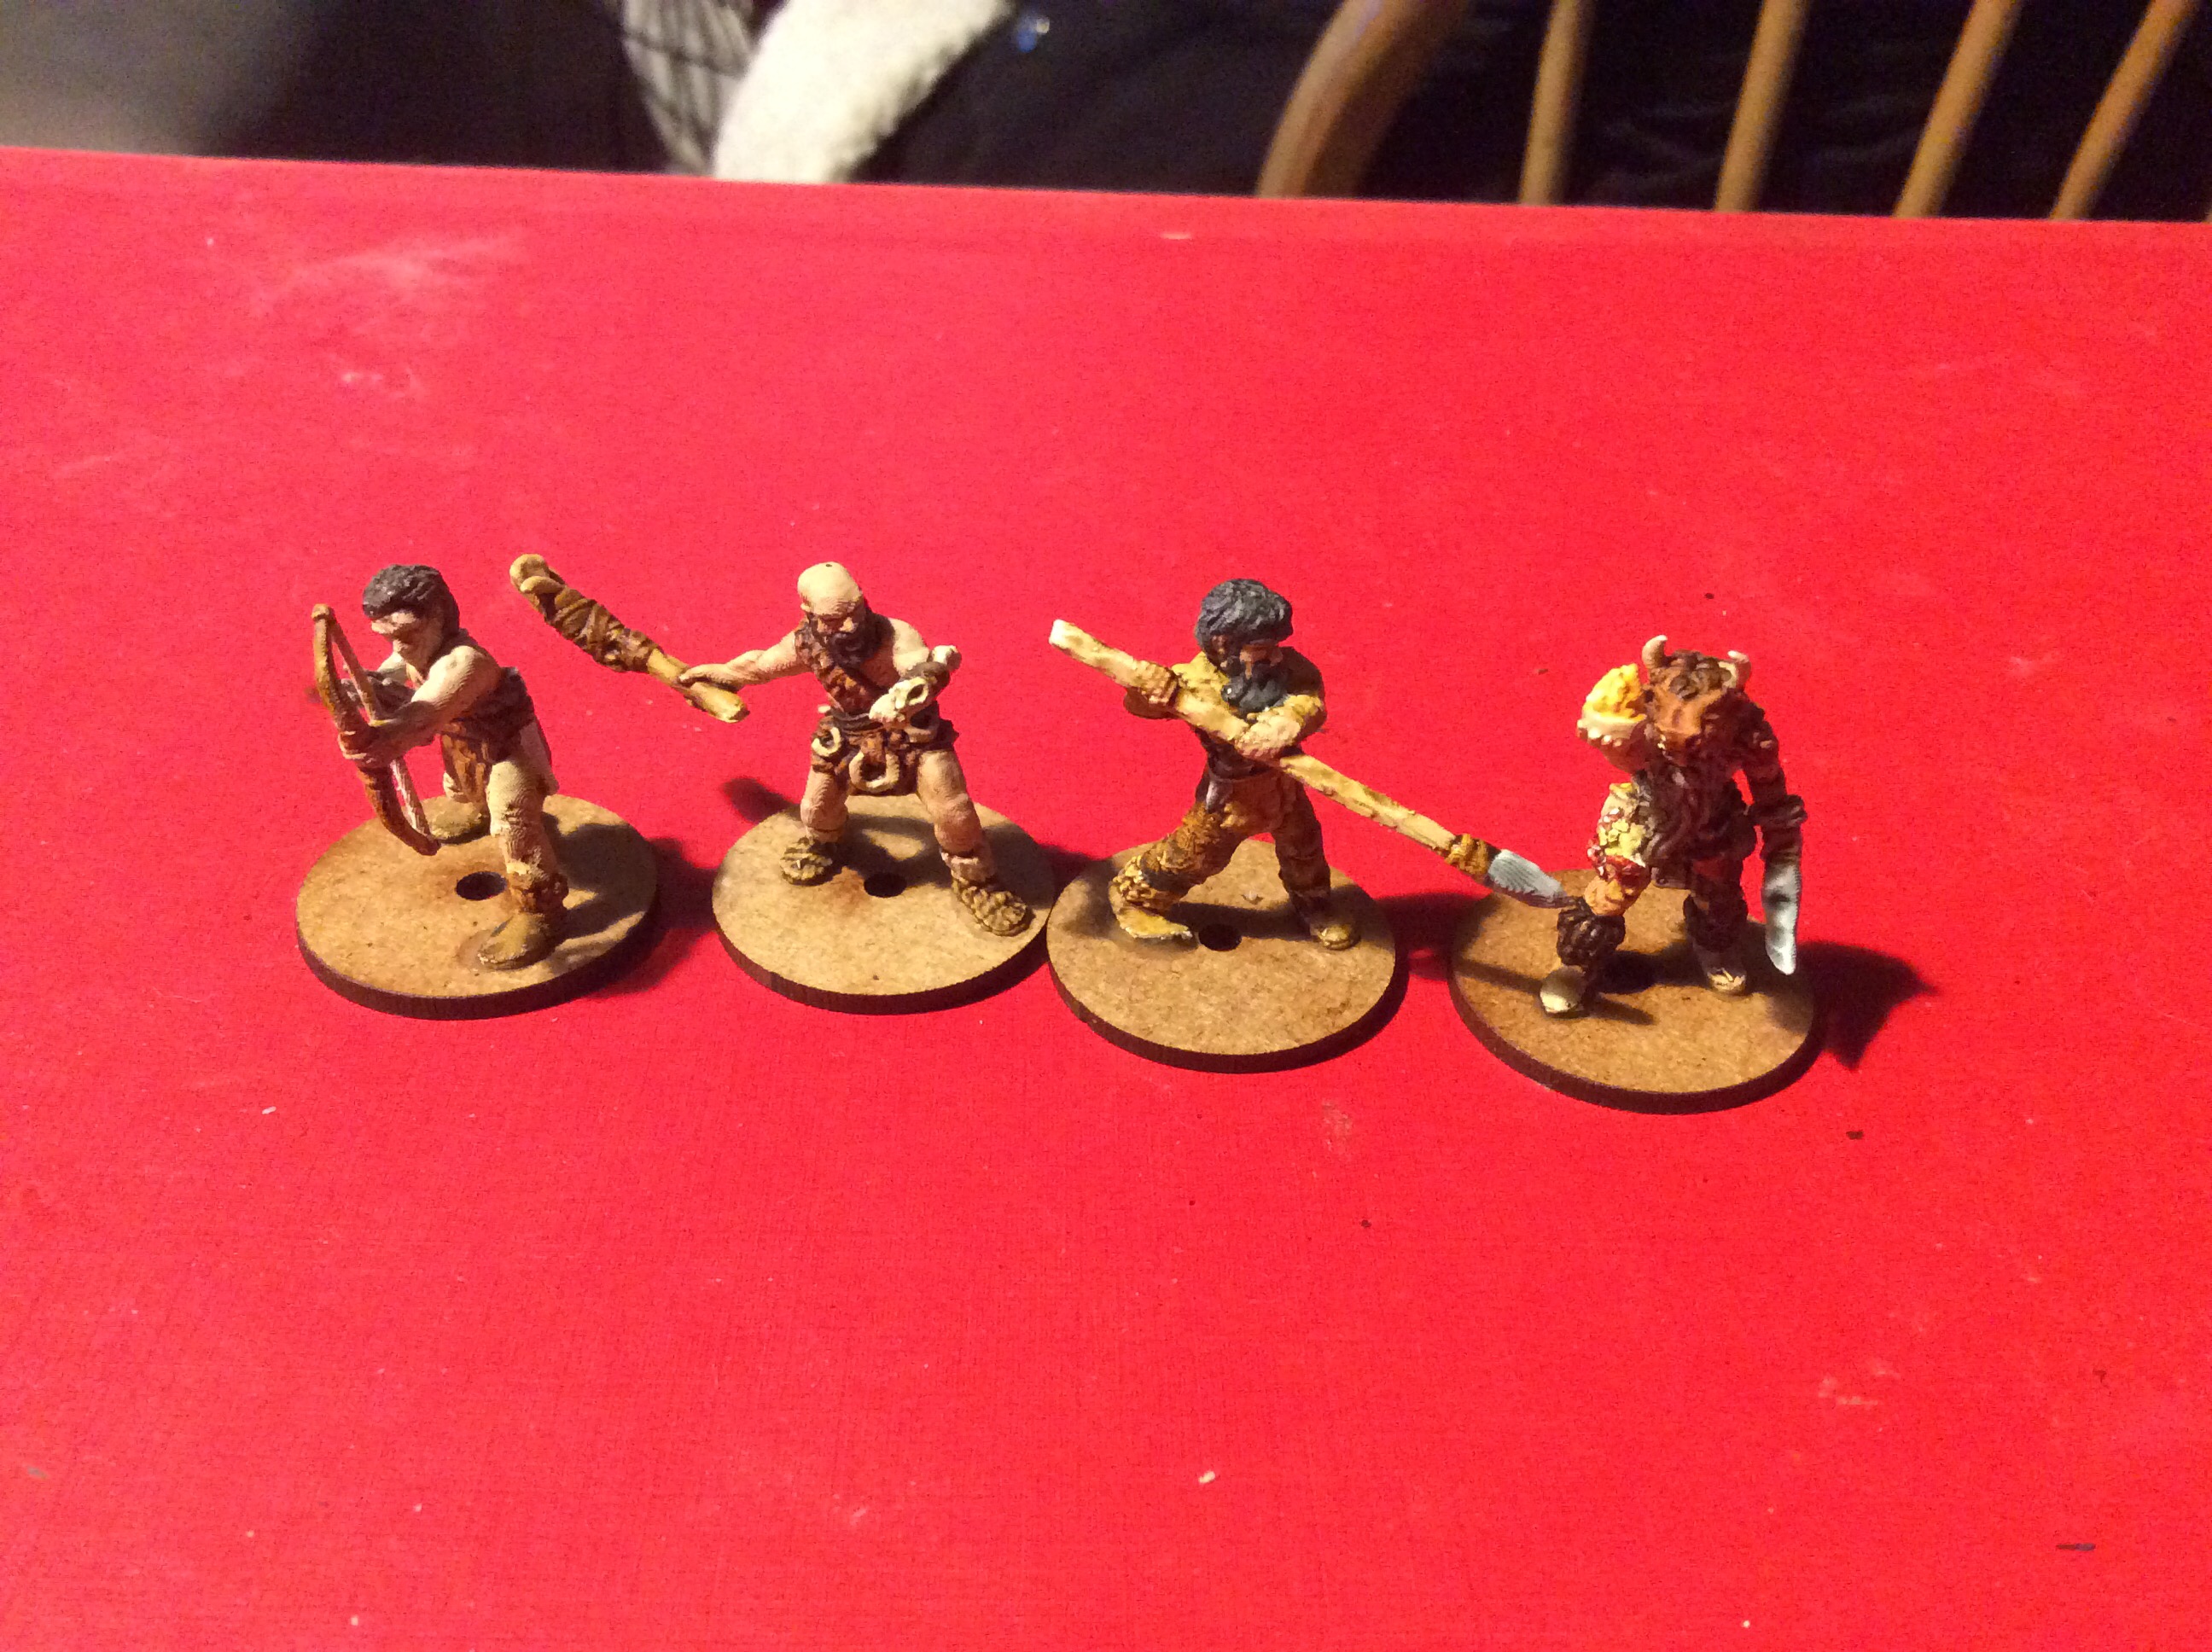
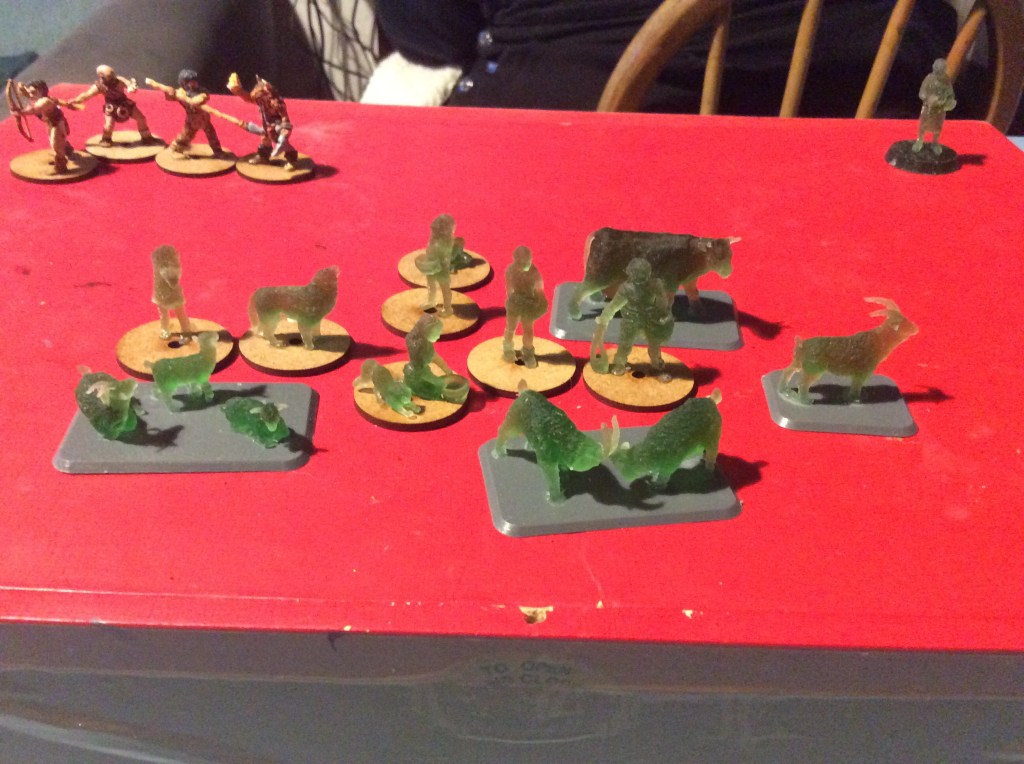
Here she is with the rest of the party…

Tomorrow I will print up some bases (or find some GW ones) and base these up.

What’s in the Box?

So a small, but heavy parcel arrived this morning…

I wonder what has come from Baccus?

So inside the box were a whole host of 6mm Samurai miniatures…

So what do we have?

Enough forces to keep me busy for a while, Cavalry, Yumi and Teppo armed Ashigaru, as well as pavaises to hide behind. Yari armed samurai and Ashigaru as well as mounted generals (not shown) and a seated general with his retainers (and the odd head or three) inside Maku screens. They do look really nice.

I think I am going to base them for the Banzai ruleset, which also means they will match in with the ones already done in 6mm. They state that the miniatures must be on a base that is twice the depth of the base so basically a 20 x 40 or 30 x 60 etc.

On a totally different note, we had our One Ring Campaign tonight and the participants liked their miniatures. Highlight of the evening was when the hobbit took down a bear almost single handed!

Hero Forge.. thoughts and considerations

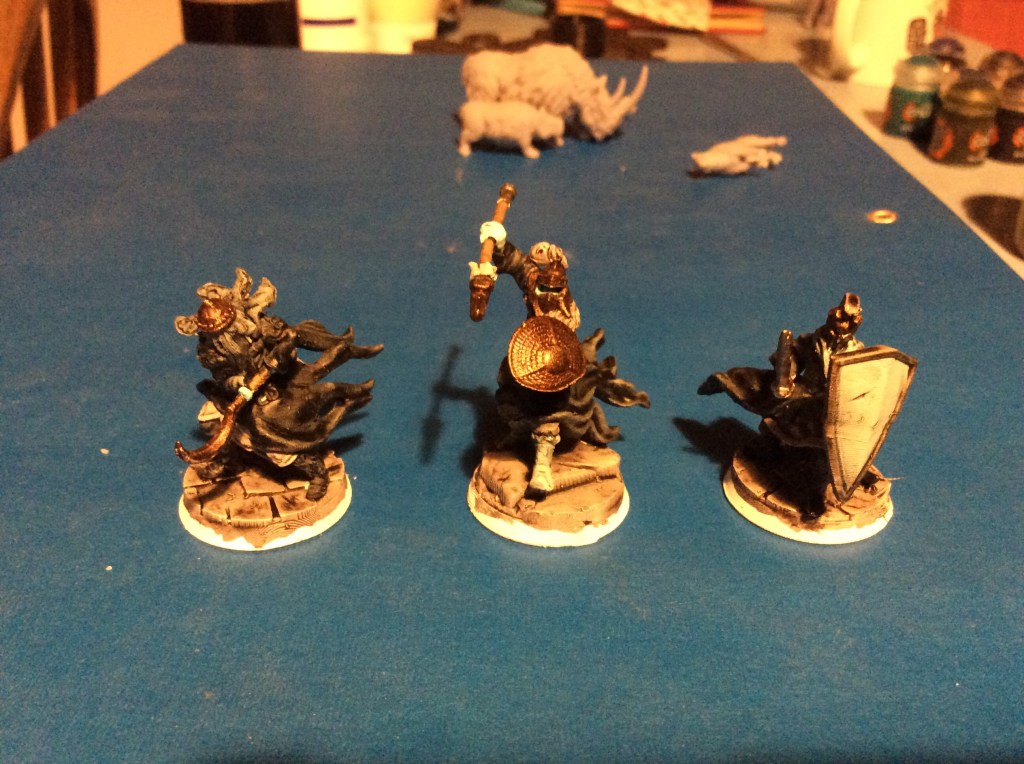
The other day I decided to treat my players to their own miniatures of their characters. I got these of Hero Forge. I actually had great fun playing with the software, but in the end I came up with the four characters. Two hobbits, a Mirkwood Elf and a ranger.

I bought the STL’s as I can print in both resin and filament (still cost over $7.00 each. But it was a present so I was willing to spurge in my mate’s and my eldest.

So I posted a picture of them yesterday in their raw state…

Sadly one of the hobbits failed to print properly, but the rest came out okay (ish). I reprinted them all today as the ranger had lost half of his shield and the elf lost their scabbard. Unfortunately on today’s print the ranger lost a different bit of their shield as did the hobbit, the elf still lost the scabbard, but luckily the other hobbit printed (even if she does seem to have very thin arms.

I decided to give the original ones a lick of paint tonight and here we are…

So left to right we have Tauriel, an elf of the woodland realm. Arador a ranger of the north and finally Hoban Underhill a hobbit of the Shire.

The poses were funky and as I said I enjoyed playing with all the different poses and equipment. I spent a couple of hours at least on the four of them. This is where it gets a bit interesting. There are some poses and equipment that do not work at all together. I decided to make a Samurai and Ninja. I felt the urge to make a diorama… I blame Dave and Pete for that! The Ninja was in a three point landing and the samurai was rushing forward with a spear. Whatever weapon I tried to put on the belt of the Samurai actually went through the armour. It would go on the right side of the body fine, but not the left. I then decided to do some experimenting with different figures and found similar things. The elf above has her hair in a bun, simply because if it was long it would go through her back quiver.

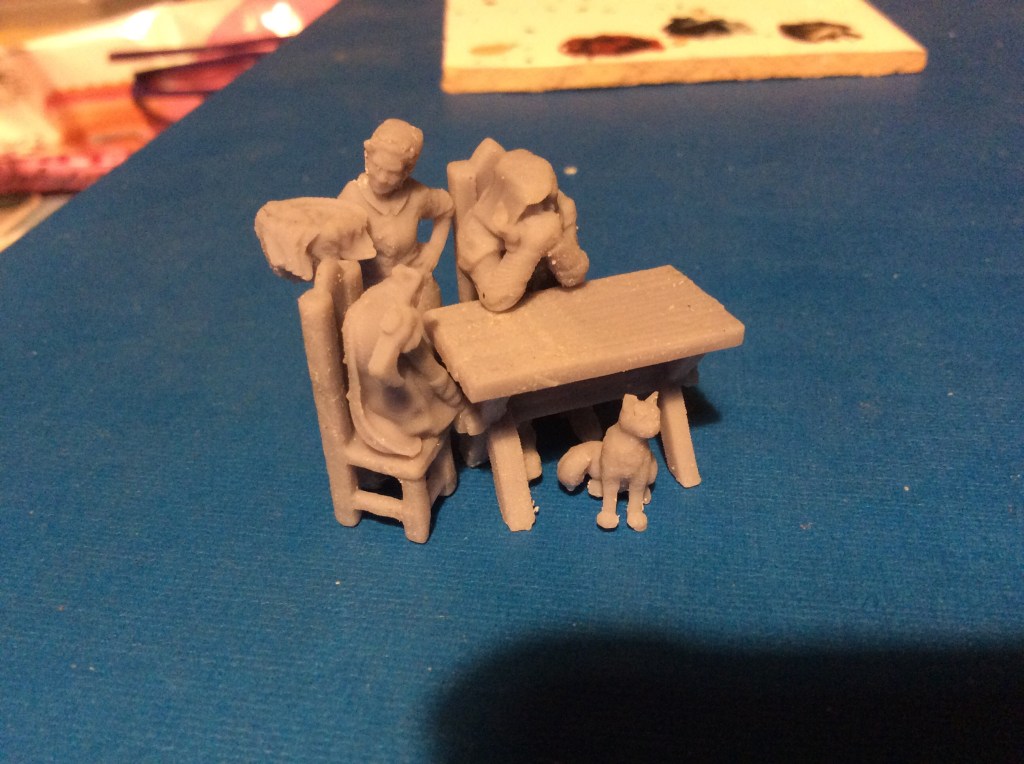
The other thing I found was that the resin actually has ridges on it as if it were done on a filament printer. They are faint, but they are there. At the distance you would normally see them on the table they are invisible, but they are definitely there. Now this is different resin, but the civilians I did a while back do not have these ridges. It makes me think that it could be the actual miniature itself. I have seen pictures of the Hero Forge stuff that people have bought as a miniature having them too.

Will I be rushing out to get any more, probably not. This was a one off experiment. I might fork out $16.00 for the two Japanese minis I built, but before I do I might see if I can find something from the various mini manufacturers out there.. to be honest it would probably be cheaper.

Talking of cheaper, the Up and coming Patreon that I said I was likely to follow, is more like definite now, but interestingly enough he shared a Link to a MyMiniFactory page, where I could make a ranger… okay I cannot have him doing back flips or other things like I could on Hero Forge, but it is really a nice miniature and I could have some weapon options etc. Plus they come with a full sized base, not a really thin one like the ones I just did.Price $4.00 just over half the price of the one above…

Kickstarter v Patreon…an Update

A bit of a rambling post, but I think I might have found something to change my mind.

So around about time I was writing the original post I was on YouTube and randomly came across Tyler’s YouTube channel. He was doing a video on testing the printer resolution through a resin exposure finder…https://youtu.be/GL-9Ia0SibQ

Anyway, Tyler also has a Facebook group which I joined and the other day he shared an upcoming Patreon. Unfortunately I missed the post, but caught up with it yesterday.

So this is what I am talking about…https://www.theprintinggoeseveron.com/

I blagged these photos from the website to show you what they are up to.

I am well into my ‘One Ring’ RPG and this looks like it is going to be very useful as it is Tolkien inspired, rather than D&D inspired ones. I am definitely going to look into this. It depends totally on price per month. If it is the $5 -10 bracket then It will pretty much a definite yes. Anything above that I will have to think about it a bit more. Luckily there will be an online shop if I decide not to jump in with both feet.

I will find out on 8th August… watch this space 😉

Longest Print… Ever

Well I think it is… I decided to print a Twylite samurai castle that came with the samurai buildings already printed. So I ran it through Cura and sliced it. Total print time 26 hours 51 minutes

It is a lovely model, with one major flaw… I made it too big. I bumped the size up to 140%. I know castles are big, but this seems very big. It’s not really a problem as it can go with my 10mm Forces if needs be.

Another flaw is that the stairs don’t actually go anywhere. They meet a blank wall. I am sure that I can make something and stick it on. Next question…what colour to paint it 🤔.

If truth be told I am lucky to have it at all. I popped in at the 18 hour mark and found this dangling from the side…

It is actually the base of the layer above the first roof line. I haven’t got a clue what happened, but the layer that was being printed was a bit of a mess. So I snipped off as much of the spaghetti as I could with the only thing handy, a pair of kiddy scissors! Structural integrity will be compromised to some extent, but at least I got a completed print.

Now part of me quite fancies printing this again at 100%. Print time should be faster, possibly 40% quicker.

I deliberately haven’t painted this evening as I have spent a lot of today hammering and sawing and my arms are buggered, on the upside I managed over 10,000 steps 😂.

More of the same tomorrow. Hopefully the bloody midges won’t be out, they were a nightmare today.

Gun Battery

On our Wedding Anniversary my good lady and I took a stroll to the Sound Battery.

The bunkers were there to protect the South end of Lerwick harbour, sadly the North end ones are no more.

In June 1940 two 4-inch guns were emplaced and only a month later in July 1940 by two 6-inch guns. The two 4-inch guns were moved to Calback battery at Sullom Voe.

This searchlight position didn’t make it…

Hopefully no-one was in it when it went splat!

the third searchlight position is further South along the top of the cliff.

Now that is a lot of scrap iron!

The unusual thing about this battery is that the trenches were all covered…

The engine room is still standing and the foundations for the quarters of those manning the guns can still be seen.

This is the battery taken from the air,

Sadly I cannot find the one taken in 1946!

Hopefully I will find some more bits and pieces and post them at a later date.

A Bit of a Break

Okay, so it wasn’t that I was doing nothing. I have been messing with slicing files for both printers.

I am going to give some miniatures a go tomorrow, with the settings I have of 0.2 and also 9 seconds a layer then they are going to take over 8 hours to do six of them! Hopefully it will be worth it.

I also sliced the 6mm Japanese castle that I got with the terrain. This is going to take over a day to print, it is pretty huge. This is my 6mm one. I will get the 3DAlienWorlds one for my 15mm stuff.

As can be seen, I have sprayed the buildings and walls as well as print the multiple paddy fields. It is probably a bit big so might end up for the 15’s. I can always print off another one that is a bit smaller tomorrow.

Finally keeping with my Japanese theme. My good lady made me a new mask for going shopping in.

I always feel sorry for Hokusai as poor bloke is trying to paint a nice picture of Mount Fuji and a ruddy great wave hurtles into view. 😂

Small Japanese Town

Today I set the Ender away and printed myself half a dozen new houses to go in the town.

I must remember to add the roof to the gates!

The buildings are from Twylite games and the walls are from my favourite maker of Japanese things 3DAlienWorlds. I dropped the size to about 18% or so and I don’t think they look too bad.

I would have undercoated them but it has been up to 40mph winds today so no spraying for me. Weather is better tomorrow so hopefully they will get done soon.

We will see how the resin and filament compare when they are painted. The resin weighs at least twice the weight of the filament.

Lizard Cavalry

These are pretty much finished now apart from the fact that I forgot to paint the back banner!

I also had a play about with some of them on a 30×40 base and a 20×40 base. I still can’t decide which to go for. There are twenty in total so I could get 5 bases With 4 to a base and 6 full bases with 3 To a base.

Pretty much everything I have done is on the 20×40 bases so I don’t know whether adding something bigger into the mix will look a bit weird or not.

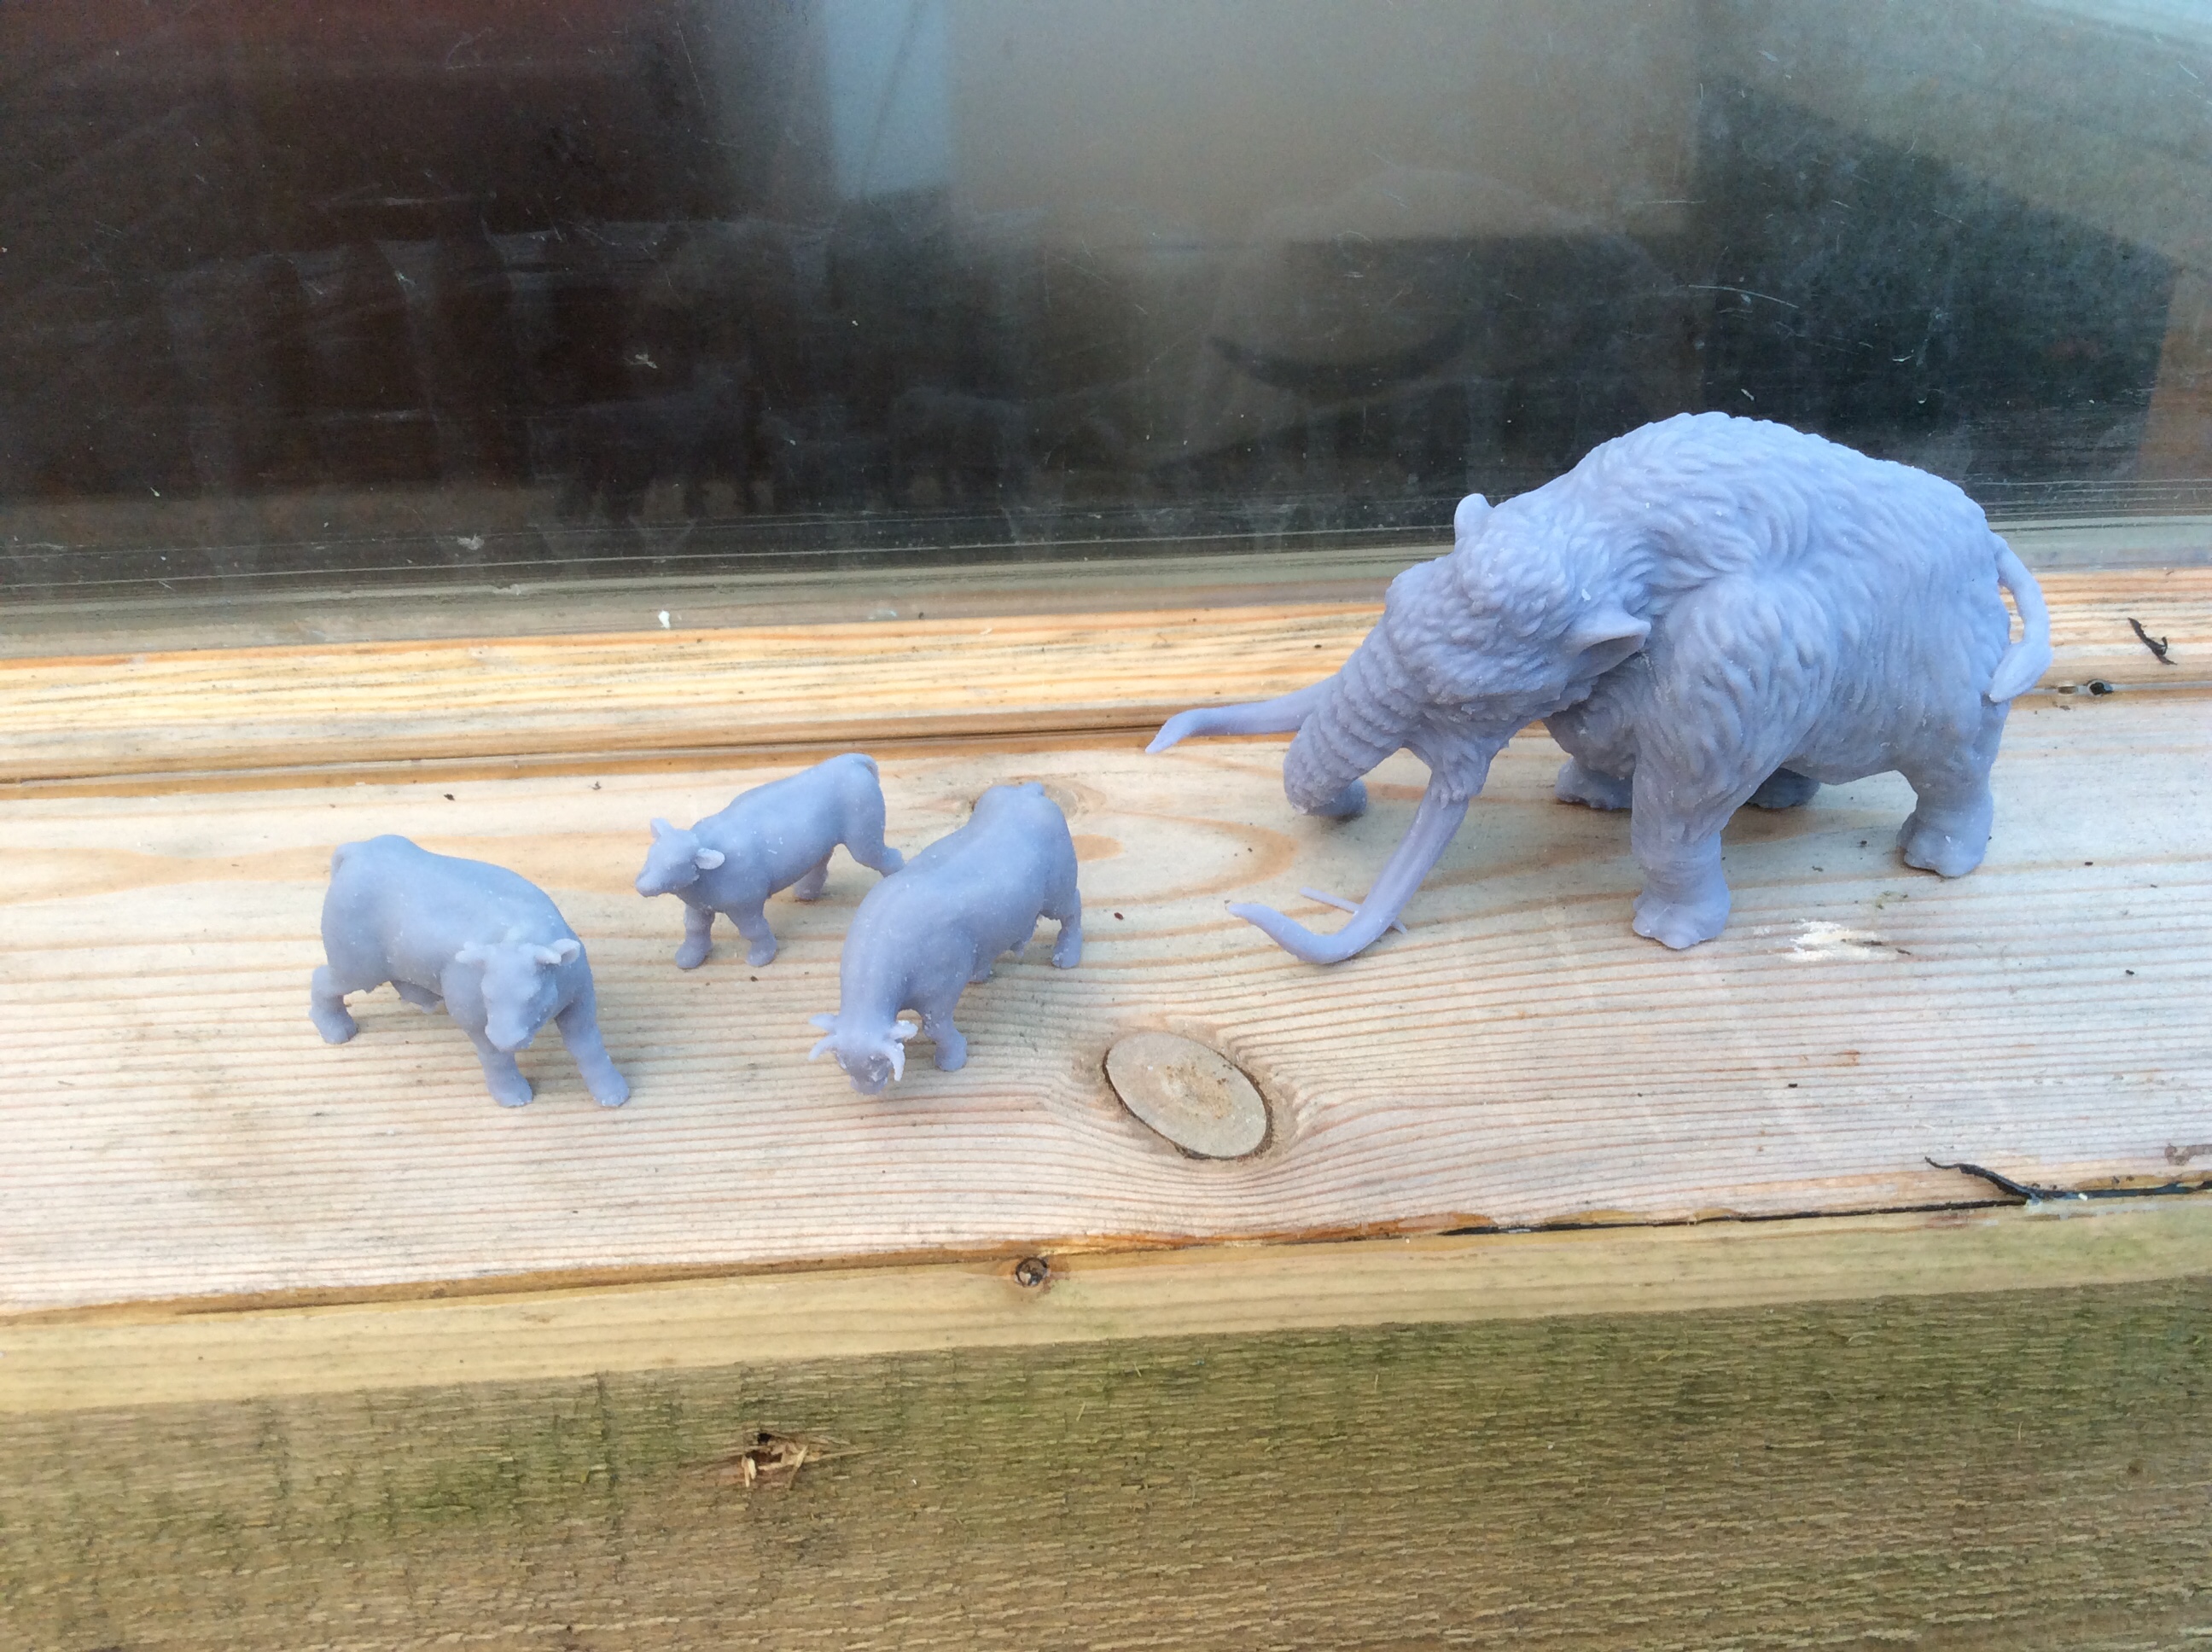
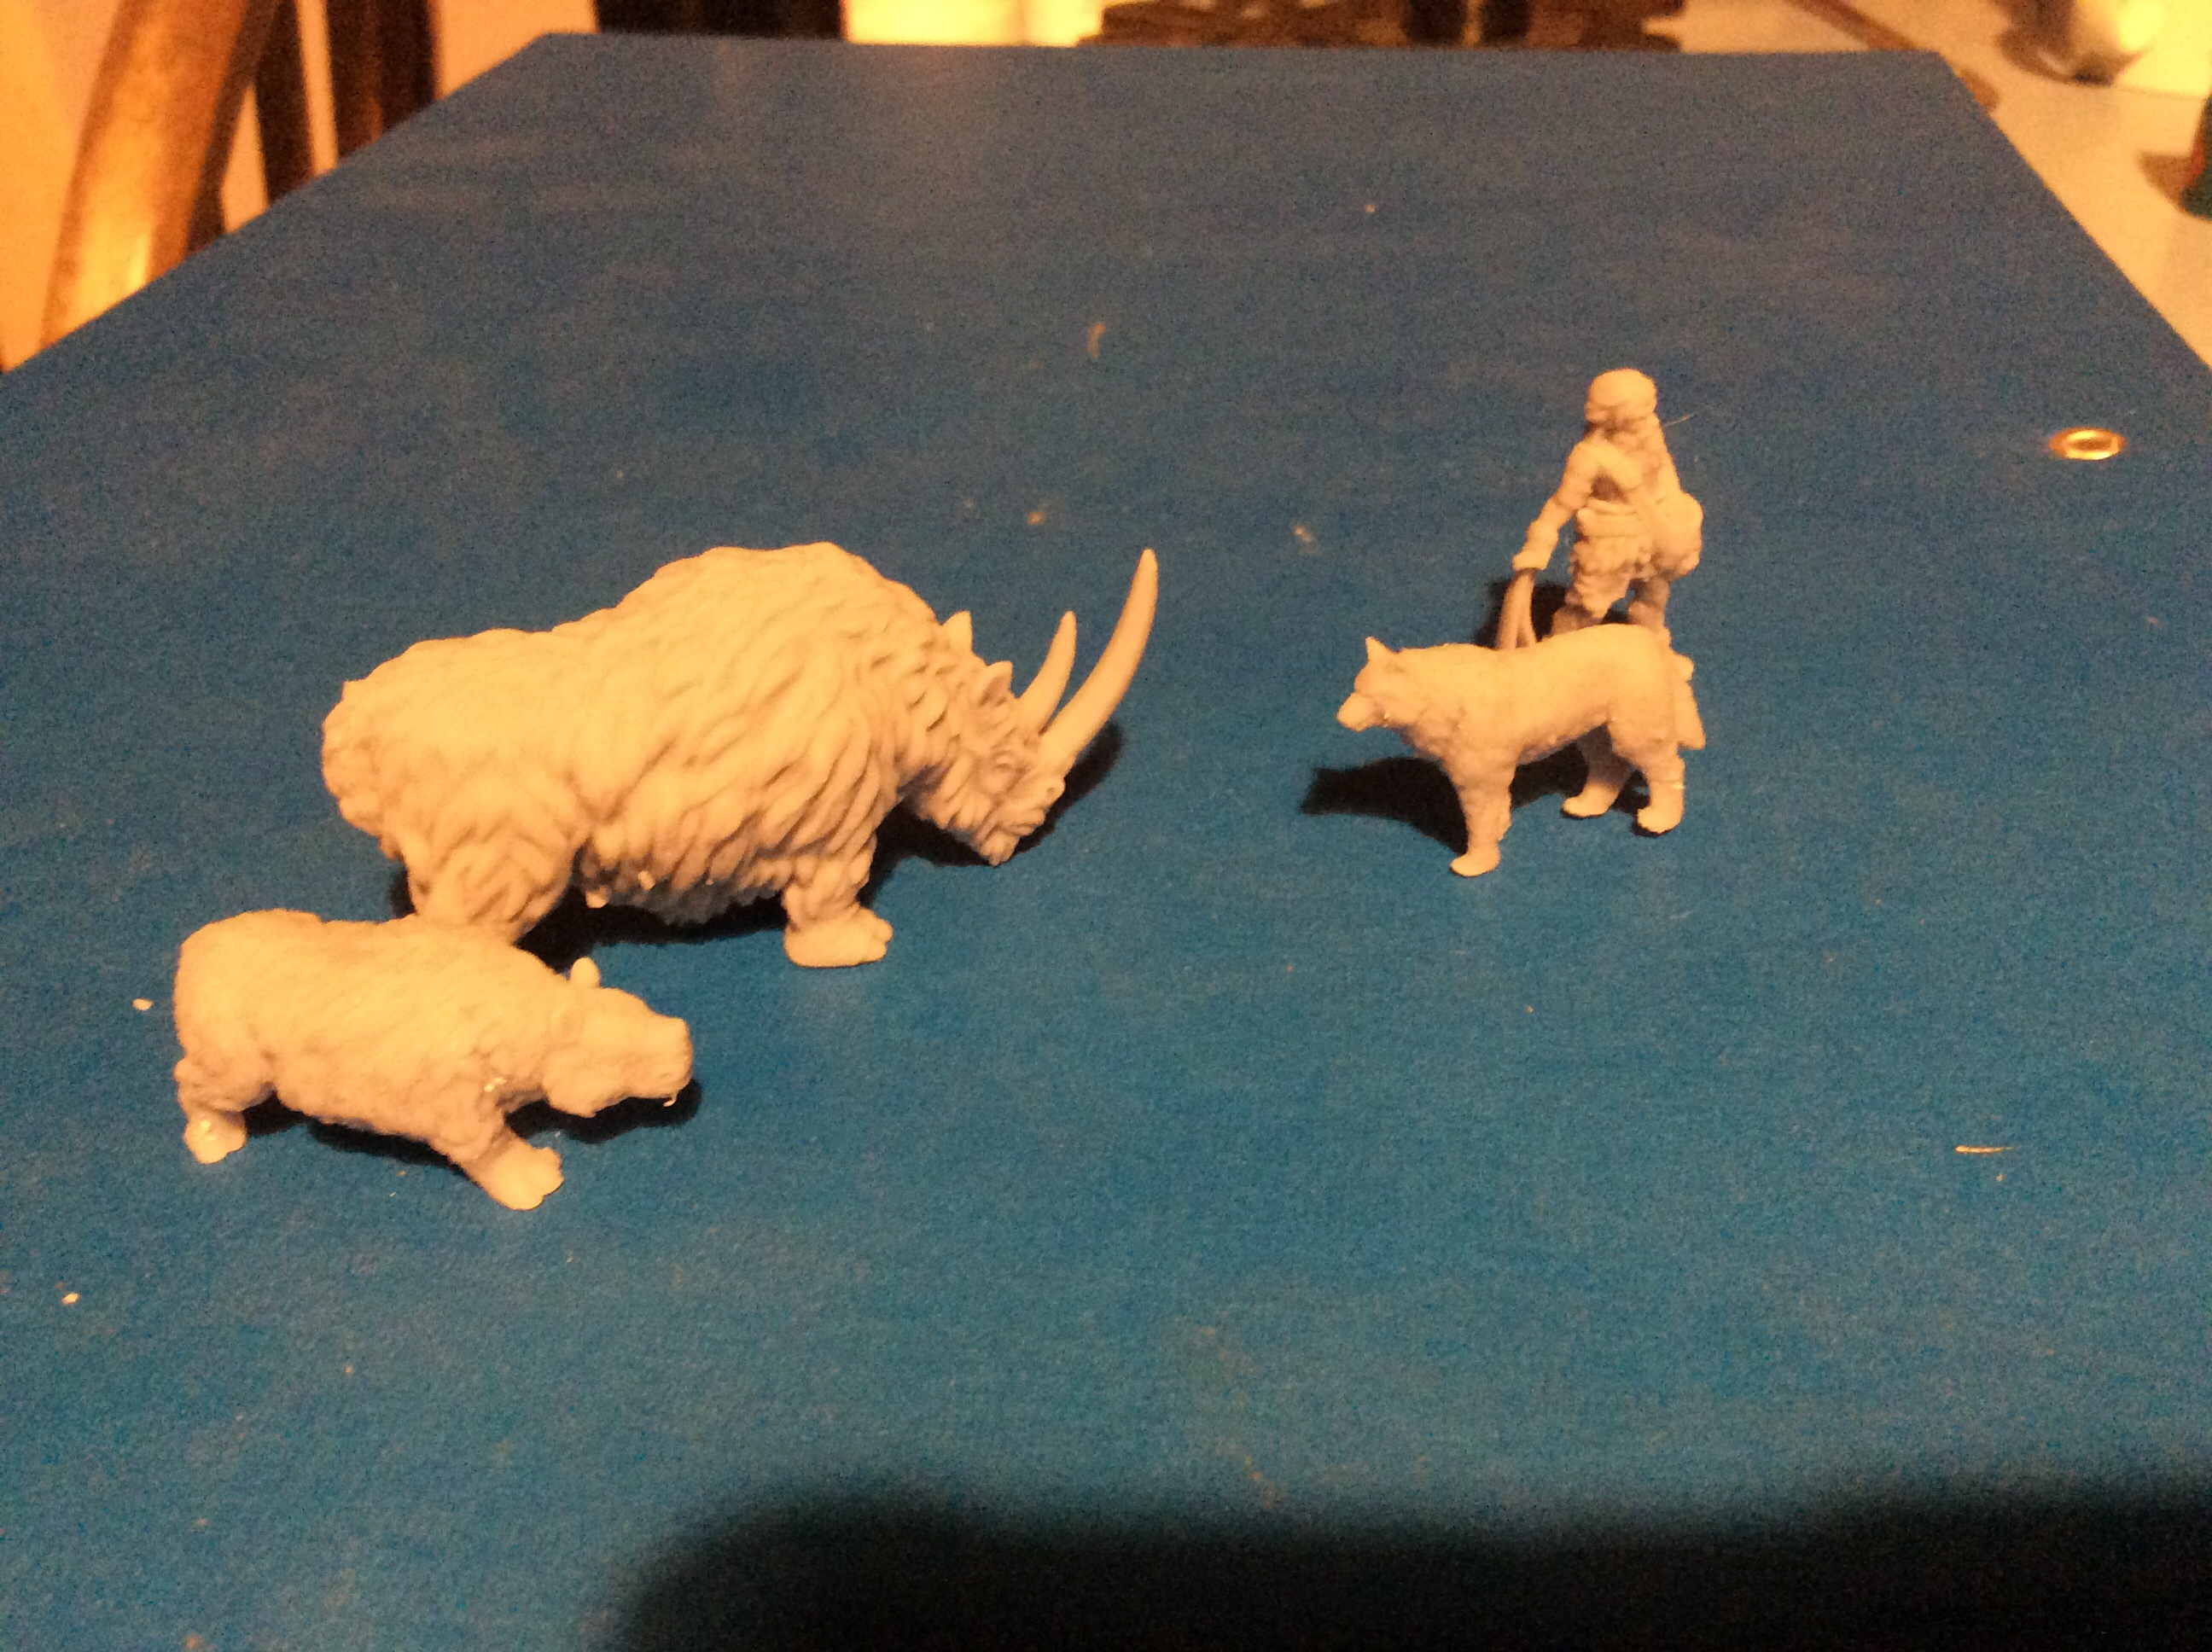
These next miniatures are not lizards and definitely not 6mm.

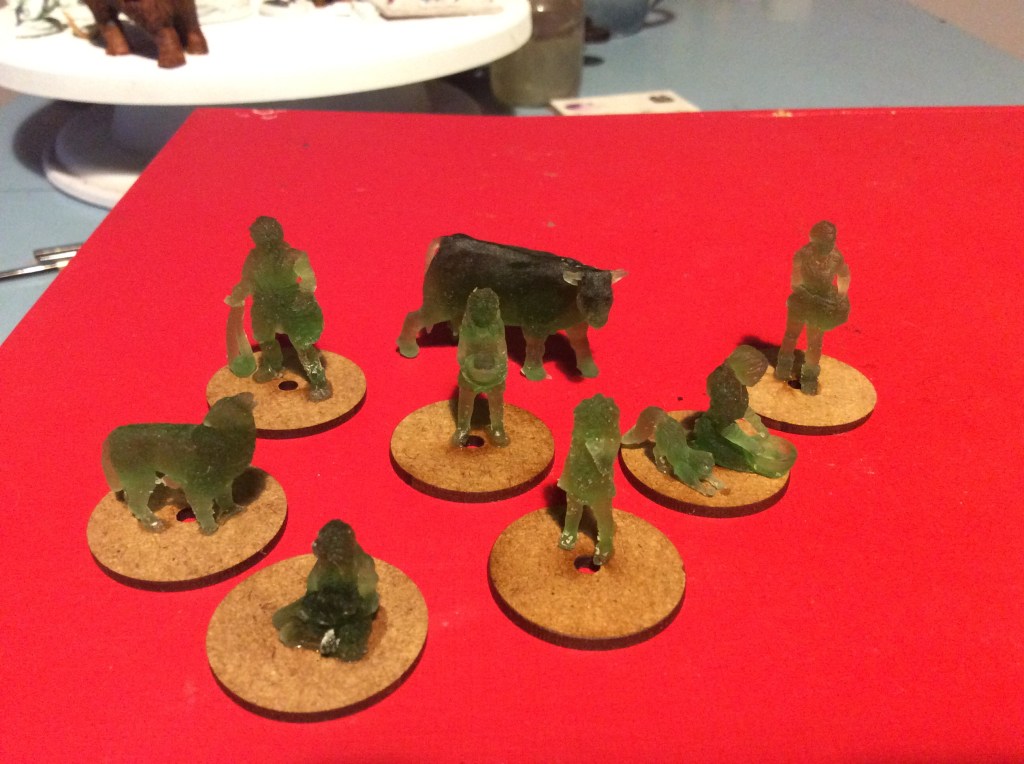
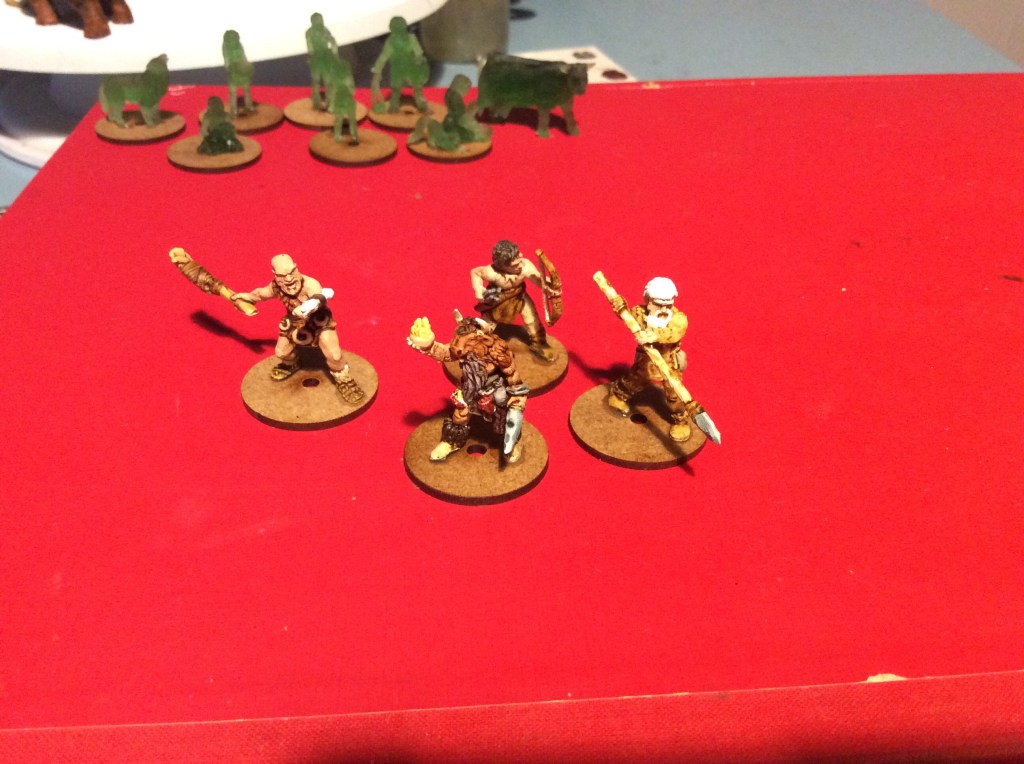
I decided to get some paint on these. These were the underexposed lot so the features are pretty much non existent, but as I am a stingy sod I am painting them anyway. Hopefully I will get them finished sooner rather than later. I have been a really good boy and my resin printer is having a rest while I think about what I am actually going to do on it.

Village Walls

So the walls finished overnight only one failure and to be honest I don’t actually know what it is 😂. I had to do some speedy repairs to save the bottom left gate. Luckily two layers of the blue tape pretty much matched the base that had pinged.

The other problem I had was stringing. Before I went to bed I bumped the temperature up about 10 degrees. I think it was too much. I used to do this over the colder months, so just automatically did it last night.

When I did the test print I had no stringing, so I reckon the change in temperature was the problem. Easy enough solved with a lighter…

I have been busy constructing the sitootery again today. It was meant to be heavy rain, but thankfully we had a couple of twenty minute drizzling and that was it. Strong winds are forecast tomorrow so I might not get any more done.

Next on the printer are the paddy fields…