Printer Shenanigans IV

Today, was the club day and with my father in Laws birthday today Time was a bit short on the old printer time.

I therefore watched the Fat Dragon Games video on bed levelling, I followed the instructions ( well sort of – I just needed a bit of a confidence boost) it was really useful as it categorically states that turn clockwise to raise and anti clockwise to lower. It also reminded me to level it twice as raising one corner will lower the opposite one.

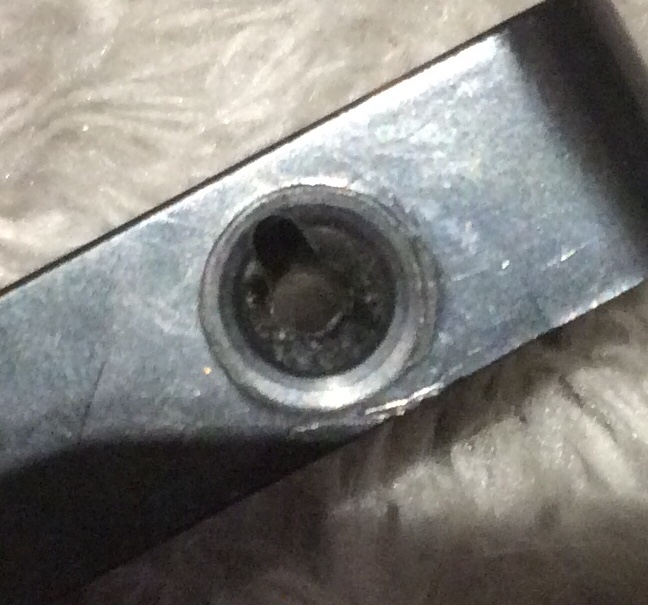
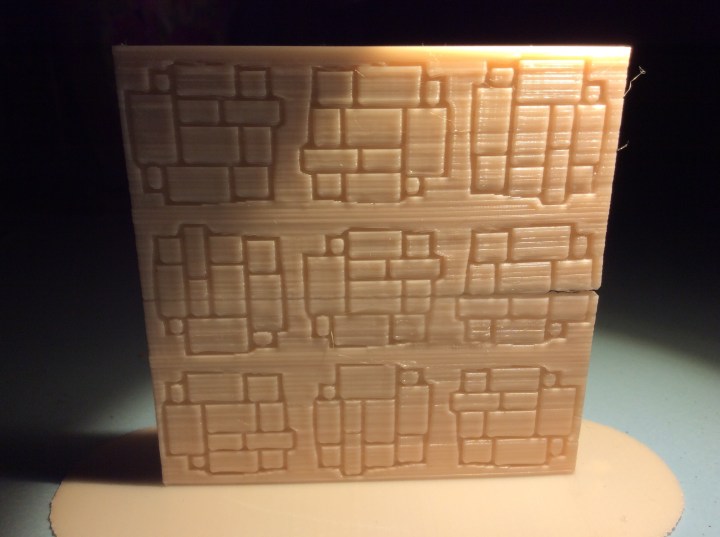
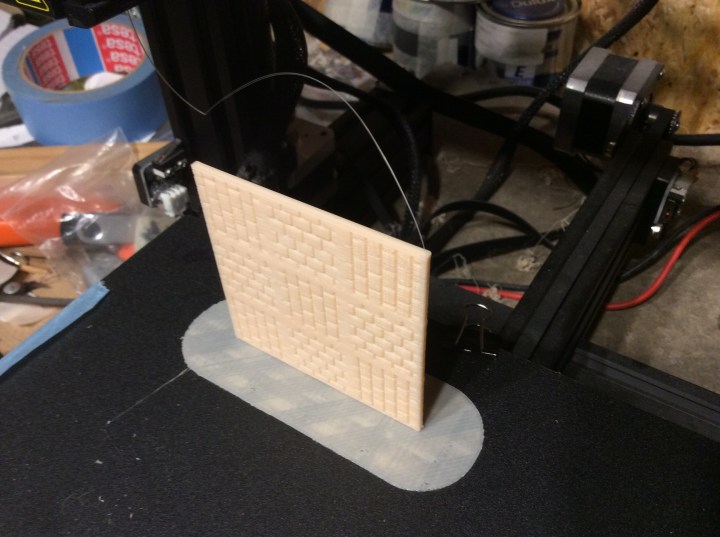
So I levelled the bed and then tried printing the square floor again as it was one that I had run into issues over. I started printing the raft and noticed that the idler wheel wasn’t turning. I unscrewed it a smidge and it made no difference, so then I screwed it up a smidge and it made no difference. I then, by accident, pushed the arm outwards and the wheel instantly started turning. I let go and, Lo and behold, it stopped turning again. I grabbed a screws and pushed it into the spring and turned it to change the spring length. Still nothing so I shoved another one in and it started turning.

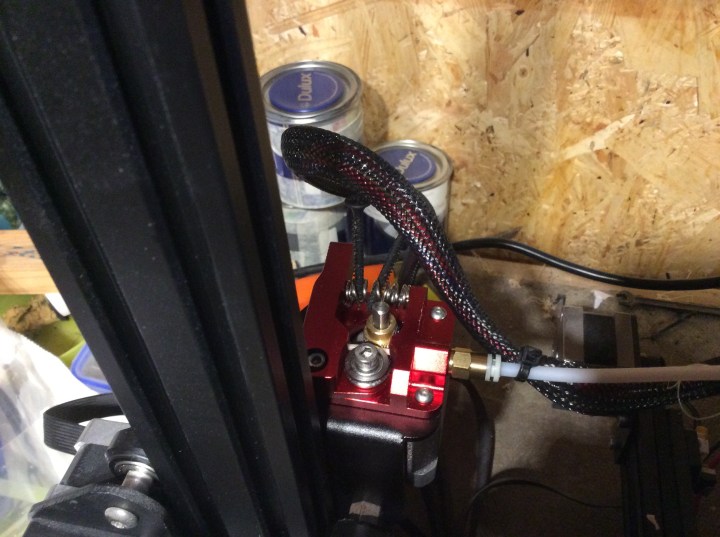
The one that wasn’t turning is the silver one at the front you can see the screws embedded in the springs in the background.

This was how it was starting to look as the wheel began turn…

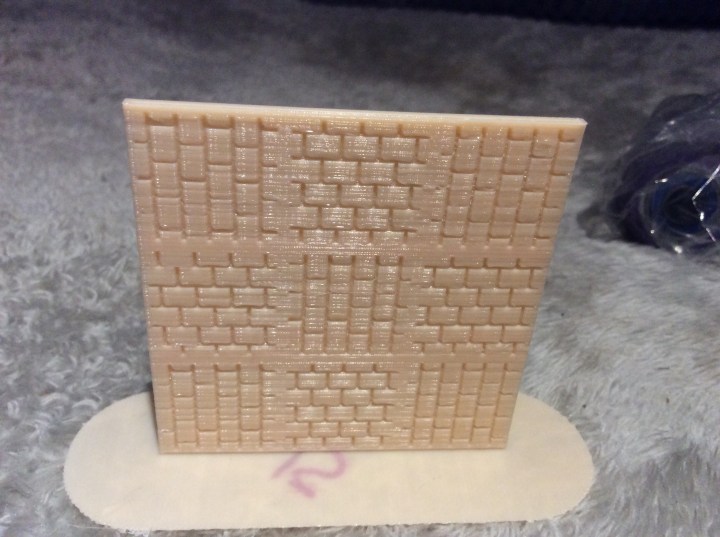
To be honest, the bed is a smidge low, but it is working and is making a nice raft.

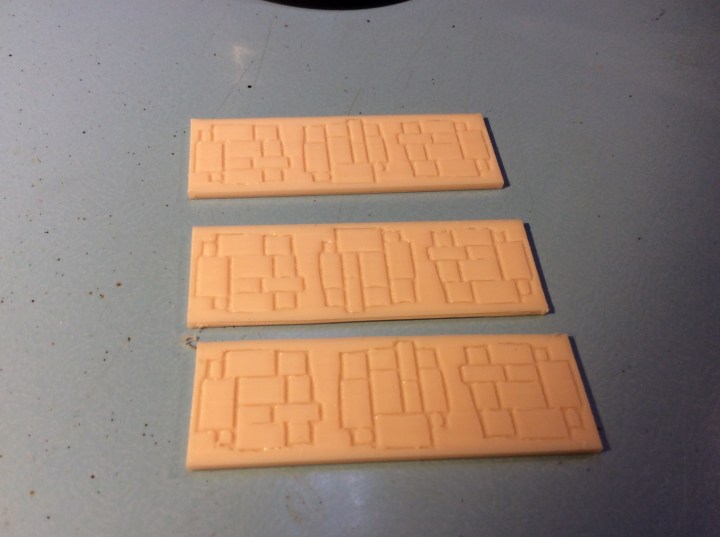
I scrubbed and scrubbed the bed but I couldn’t get the shapes off. Once they get covered over with rafts etc then they should eventually disappear.

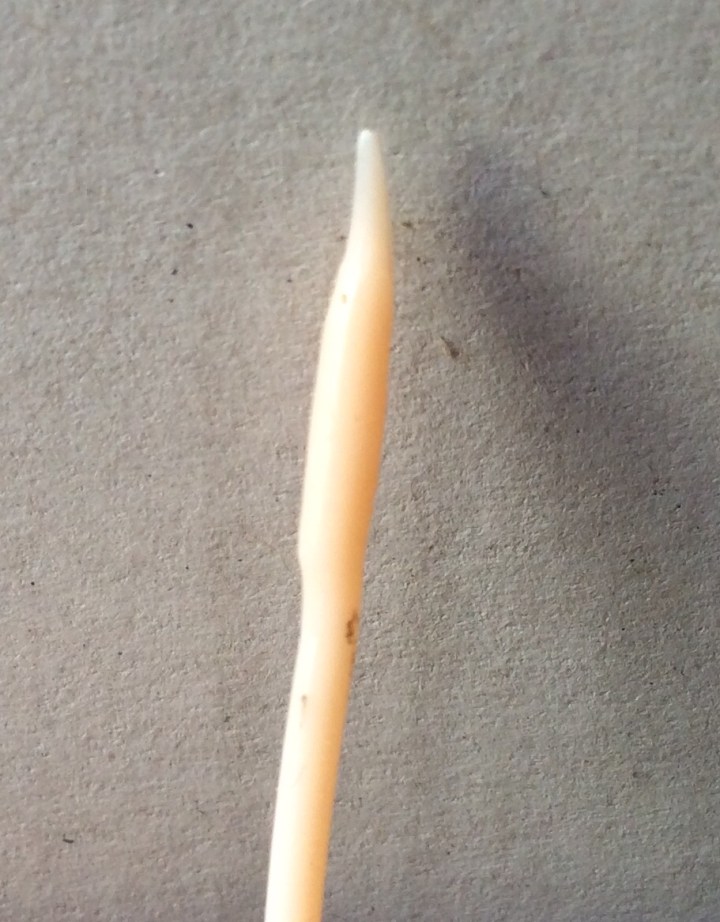
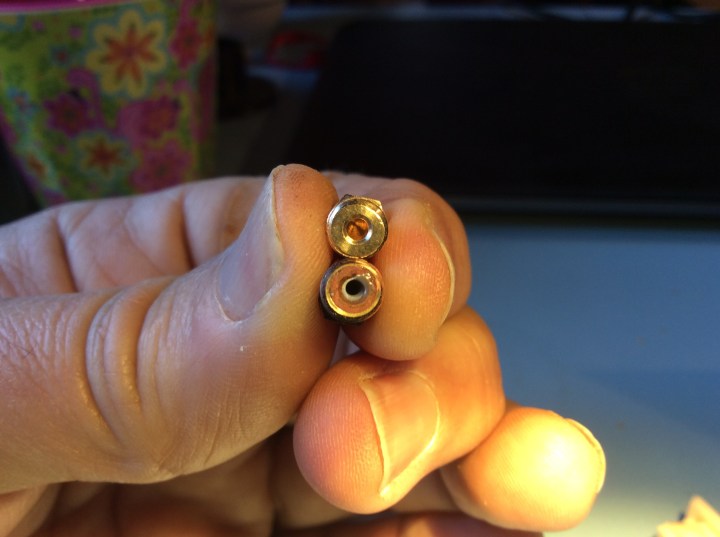
So as for why the spring was too short… I don’t want to blame anyone in particular, but someone, who shall remain nameless, forgot to add a small item that makes all the difference!

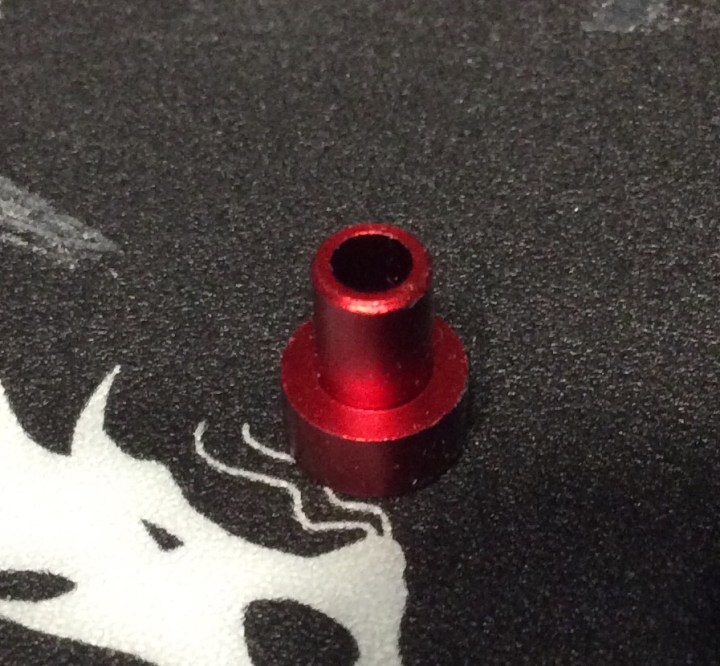
So, once the print on the bed is finished, I will nip out and add it to the extruder spring. I will then be able to remove the springs.

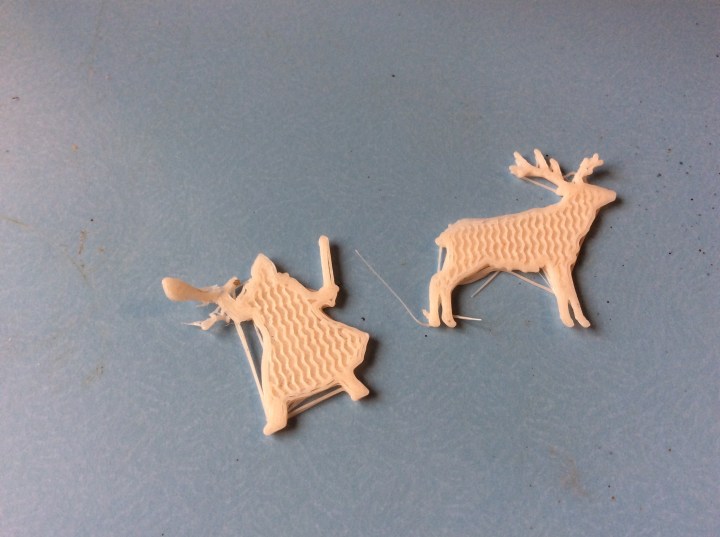
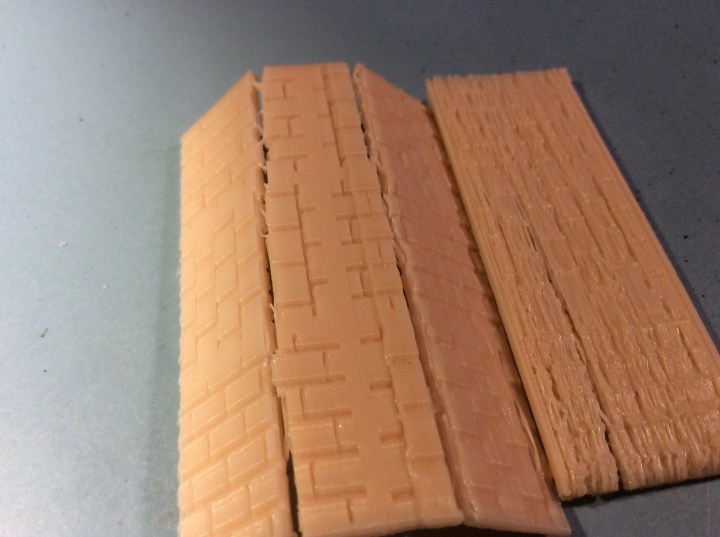
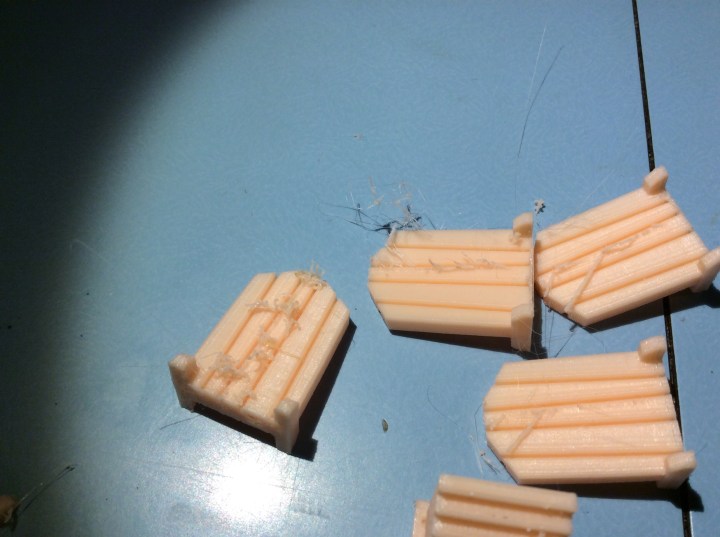
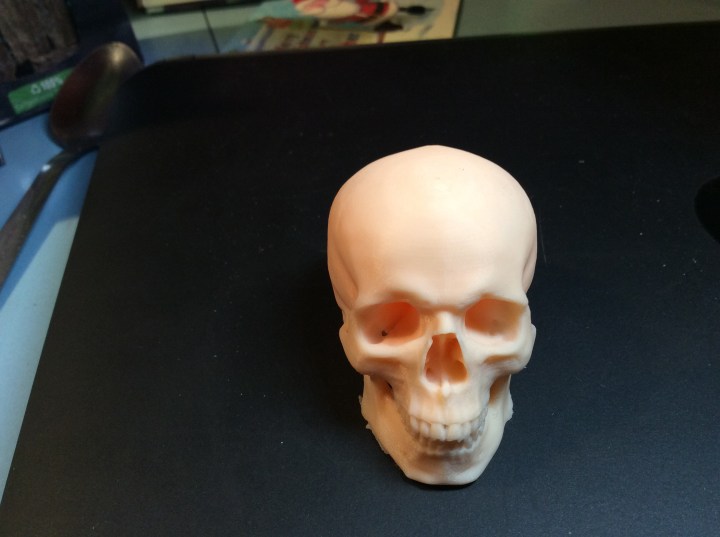
Soooooo after holding my breath for ages…..Two hours and fifteen minutes later we have this…..

PHEW!

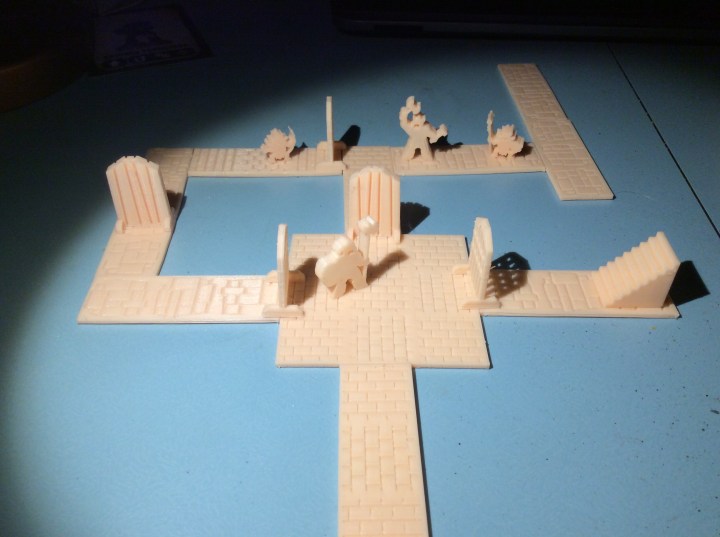
I am now printing some rickety platforms…. wish me luck.

Printer Shenanigans III

As I was fiddling about with printer and had it pulled out, I thought I might as well change the extruder as I had one sitting there. It was a simple job of undoing 4 screws switching the bits and screwing the screws back up again.

This is the effect over time on the entry for the filament….

Over time the slightly abrasive filament starts to cut into the entry hole (seen as a dark arch above) the added friction slows down the speed that the filament comes out the other end causing some under extrusion.

The print bed has developed a bit of a wobble. It looks like something needs tightening underneath.

So after all of the shenanigans, it is still playing silly buggers and I have come close to belting it with an axe today. It just won’t print, the only bit on the extruder that I didn’t change was the ridged cog. Everything seems to be working fine but nothing is printing properly. I think I will start again from scratch levelling the bed tomorrow.

I will drop the temperature 5 degrees too, in case it is too hot. I had the bloody thing working fine, so I should be able to do so again.

It has defeated me today, but I shall fight on tomorrow!

Printer Shenanigans II

So today I checked various bits on the printer. I took apart the hot end as well as checked the Bowden tube and the couplers at both end. When I pulled the filament out I noticed this…

There was a definite bulge near the tip. It wasn’t huge but it was definitely there. Something up near the hot end was causing drag leading to a slight backing up of the filament as it heated.

So I set about having a look.

The Bowden tube was sitting up against the hot end so it wasn’t that. I took of the nozzle and discovered the issue (or at least I think it is)…

Top nozzle is brand new out of the box. Bottom one is the one I just took off. I compared the bottom one to others I had removed and this one was the only one with this build up. Now it might be that Some filament got left in there when I pulled it out, but it had the usual whisp on the end like it does whenever I change a spool so I think, fingers crossed, that this is the problem.

i put everything back together and I did a bed level. The machine was restarted and I printed the wardens, or attempted to…

The bed was too low, I then relevveled the bed and guess what, it was too high… third time lucky I hope as I am reprinting them…

And they were too close to the base plate, so close in fact that I couldn’t get them off. Unfortunately they split in half as the top layers came away and left the bit on plate behind… I swore!

I am now trying the square base.

My plan is to print a temperature tower, if I can work out how to do it in Cura. That and a bed levelling guide. The other thing is that the middle of the bed seems higher than the rest so I will move things away from the centre and see if that helps.

As Eric said, it might be an idea to go down the glass and hairspray route.

3D Printer Shennanigans

Tonight I fiddled a bit more with the printer. I checked all of the bits that I could. So to test it I gave it the big square base that it totally cocked up yesterday.

I pulled a fair bit of filament off the roll to allow it to have as little drag as possible and the print came out like this.

Problem is it had a bit of a naff crack in it. I shoved some superglue into it to help out. I have also sliced some rocks and things that I will glue over the crack to help strengthen it. So next thought was much better than this….

So that was a start. I do reckon that this weekend I am going to replace the extruder. Luckily I purchased one about 2 months in to owning the thing and it has sat in its box for ten months!

The other thing I did was to increase the temperature by 10 degrees. I was going to print another one off with the new temperature but being the pillock that I am I forgot to add it to the memory stick!

So instead of redoing it I printed what was on the card…

Townsfolk… from what I remember top row left to right:

Guard, porter, passer by

Barmaid, priest, lady one and two

Blacksmith, traveller and farmer

This lot were printed at 210 and have an infil of 50% (I think) .

They are pretty solid but some still have a slight delamination on the outer layer.

I also decided to print some dwarves, sadly, or not, I ended up starting to print some dungeon dressing, which will be great, but will take 3 hours instead of one..

It looks like I will be playing Hunter Call of the Wild for a bit longer…

3D Printer Issues.

Tonight I tried another square base. It set off really well and by time it finished it was a total bloody mess. Yesterday’s tile looked like this…

Today the base looked normal then at about 2/3 of the way up it went to pot…

You can see the shift line on the left of the right hand fold, the bit to the extreme right is the top of the same piece. There is definite extrusion issues. I probably shouldn’t have been able to snap the piece as easily as I should have.

I swore lots and tested yesterday’s floor and snapped that too…I therefore swore more.

Under extrusion can be for a whole host of reasons. Anywhere from a clogged nozzle to problems with the slicer.

I have unloosened the extruded arm a smidge as this can be one of the issues. I checked the Bowden tube was still in situ and once the new miniatures are printed I will pull out the filament and see if there is a bulge at the bottom. Once cool then I will see if the Bowden tube is burned, meaning it has pulled away from the nozzle.

I see a few more days of swearing coming up!

Some knacker forgot to increase the infil on the miniatures!

They are rather funky though.

Vertical Printing

Tonight I really could not be bothered to paint anything, so instead I redid some of the meeple bits and pieces on Cura.

I redid the orks, they are printing now. The other thing I attempted was a vertical 2 sided room. This is 9cm square by 3mm wide. Every time I tried this before it failed. Luckily this time we had success!

This, as I said is double sided and it works well with the rest of the things I have printed…

I do think it will make a nice, extensive dungeon once I get everything printed.

I am pleased to say that the orks have come out loads better. I increased their infil to 25% and it has made a difference.

There does seem to be a bit of a weird delamination on the edge of the shield and on the arm of the ork holding the axe, but at least they are solid now.

Wind, Rain, Uruk Hai and a Frightful Drip

The weather today has, quite frankly, been pants. The wind has been howling most of the day. Add rain to gale force winds and it is the making of a crappy kind of a weather forecast.

So tonight I decided to print off some more corridors…

Yeah, exactly the same as the other ones, but they are rather nice 😂. I popped out to see how they were going and there was a small puddle under the printer. It looks like the wind has damaged the roofing material in the shed and let the rain in, right over the controls of the bloody printer. Luckily due to the slope on the front it ran right off. The whole area is now covered by blue insulation foam, as is my wife’s office and the book cases.

The other thing I managed to do was pretty much finish off the Uruk hai.

The flock is still to go down, but the actual miniatures are ready to varnish.

Still a few days of tales to go before any repairs can be made 😢

Big Nurgle Thingies

So tonight in our final Film of the Harry Potterthon I managed to get some work done on these fine fellows…

They still have a fair bit to go but I am getting there.

I would have got further but this happened!

I would go as far as saying that I might have uttered the odd expletive or thirty. Although evidently I am a pillock, a numpty and no doubt a knob head for not putting the pot in the holder I printed at least I am a stingy one and managed to get a fair bit back in the pot.

The printer was busy again…

Meeple orks to go with the goblins… as can be seen not all of them came out perfectly.

I also printed some stairs and a few doors…

Again there was something up with these prints…

As can be seen there was a load of stringing.

I haven’t used this colour PLA before, it is the same manufacturer, but perhaps the temperature tolerance is different. Either that or there could be some extrusion issues, the bed might be the wrong height or a whole host of other reasons that need checking out. Once the new build plates arrive then I can see what is what a bit easier.

Got mates coming round to see the new year in tomorrow, so if I don’t get to wish you all a happy New Year, then please accept it now. I wish you all Health, Wealth and happiness for 2020 when it arrives…

Meeples and a Broken Printer

So no painting or Harry Pottering today as my Sister in law visited. But my printer was busy…

Meeple Goblins!

As these were a success, I decided on some dungeon corridors…

Sadly, I think the printer bed has eventually given up the ghost. You can see the residue on the photo above, but the whole centre section is shot…

The pale bits are filament that won’t come off.

I reckon I will be able to print smaller bits around the edge, but the middle is a no go area. I reckon over time the plate has thinned here which is why my raft was super thin as opposed to what I am used to. The corridors have a slight bulge, they were Printed on their edge, hence the need for the raft,the bow was on the bottom. Against the raft.

I have ordered another 4. I could go for glass, but I know how these work.

I will print out my meeple orks tomorrow.

Wish me luck!

Nothing, Nowt and Sod All

So much for an early finish, get stuff painted…yeah that never happened, but to be honest I am not actually complaining. My wife and I went out with our friends for a meal, in an actual restaurant. We worked it out, that it was the fifth time in 14 years that we had been out together without any of the children. Two of those times were because the friends we went out with tonight did the baby sitting!

It wasn’t a completely unproductive evening as I managed to download a file from Thingiverse then slice and print it off.

I am rather pleased with it….

It started out as an full sized anatomical skull, which I shrunk in Cura. It took 4 hours plus to print. It is for my brother in law who wanted a skull to draw. He wants it so that he can see where the light and shade falls. I didn’t fancy printing a full sized version as it was going to take two days to print (well to be fair …one day 23 hours and a fair few minutes).

The filament colour doesn’t actually look too bad off the spool. Further to this, it allows things to be photographed without having to undercoat them.

The first thing I printed in this colour was another couple of lizards, all of which went down really well with my class and my colleague’s girls.

Tomorrow I hope to paint something… wish me luck!