Wooden Wall Entrance

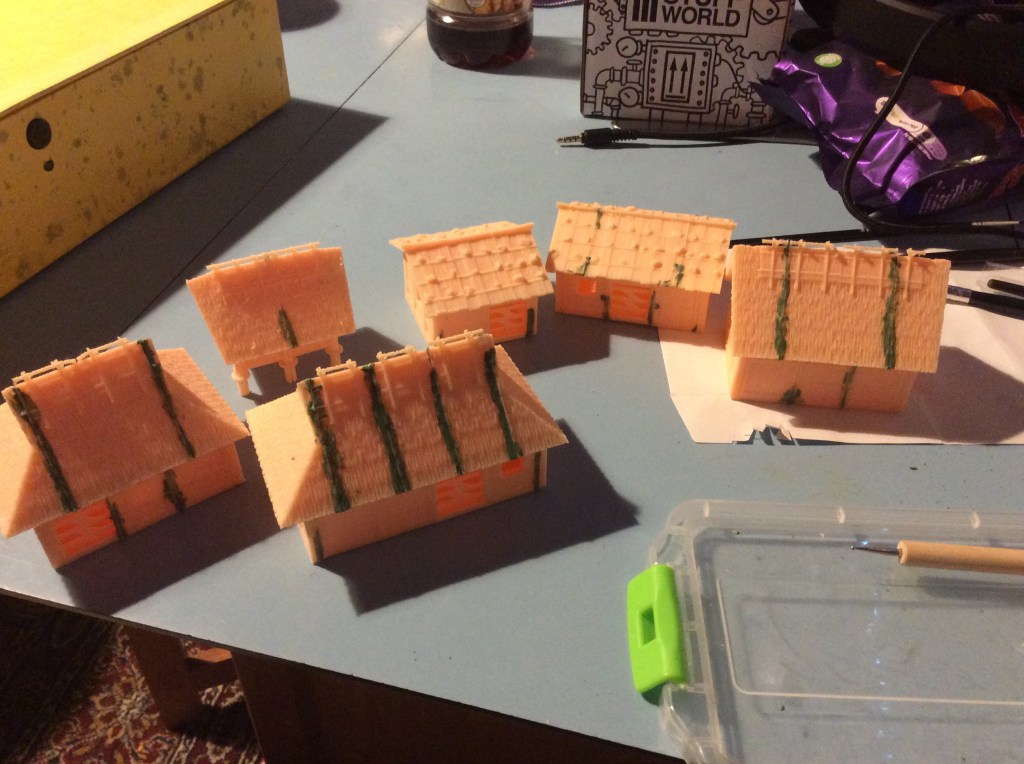
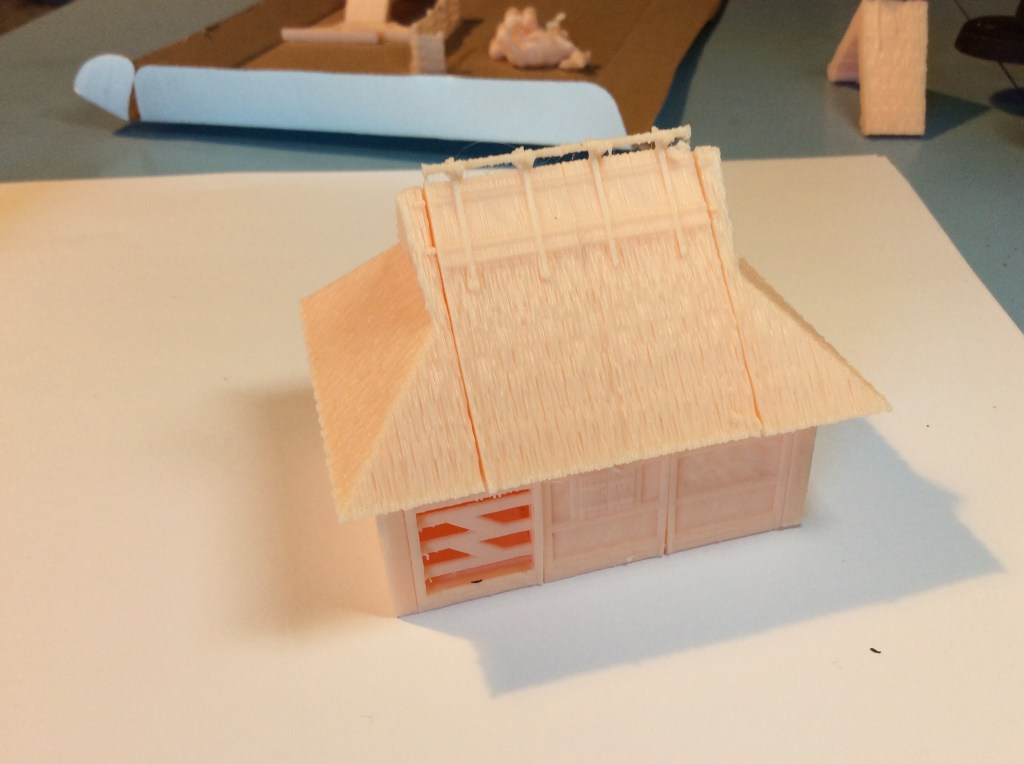
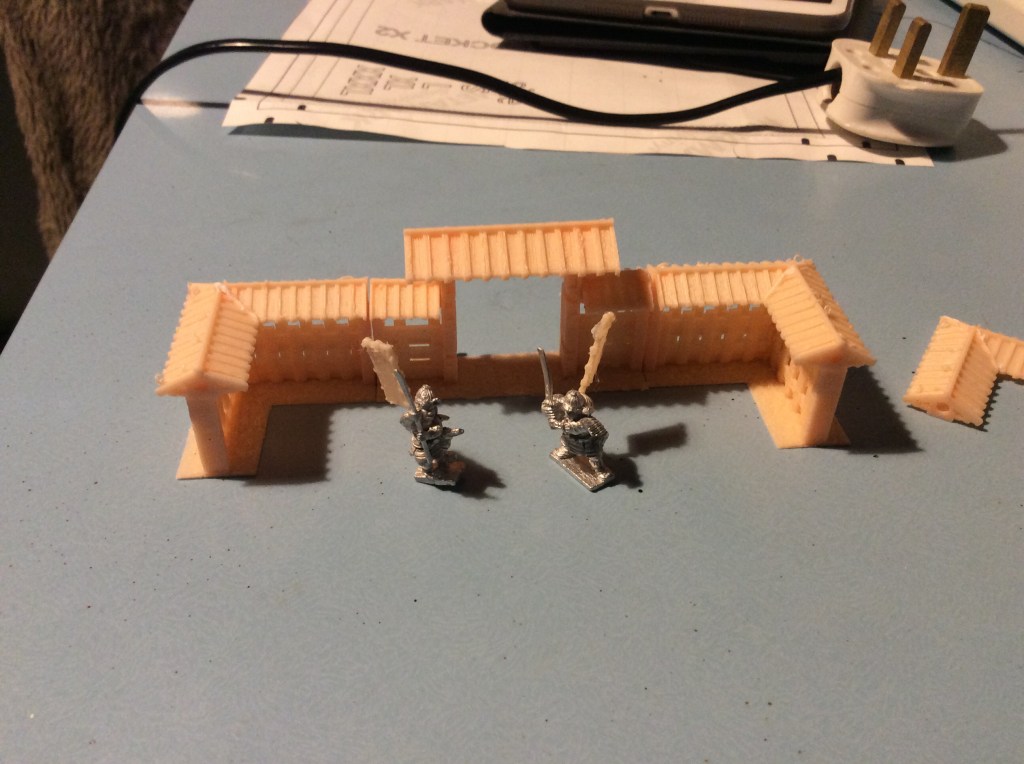
I got absolutely nothing painted tonight as I spent so long putting the gate house together in 3D builder. It was being, what is technically called, a right Bastard. Spreading stuff all over the place. But eventually I won.

I decided to go for the tiled roof to match the rest, and it looks like this now…

Actually this is it just balanced on 😉

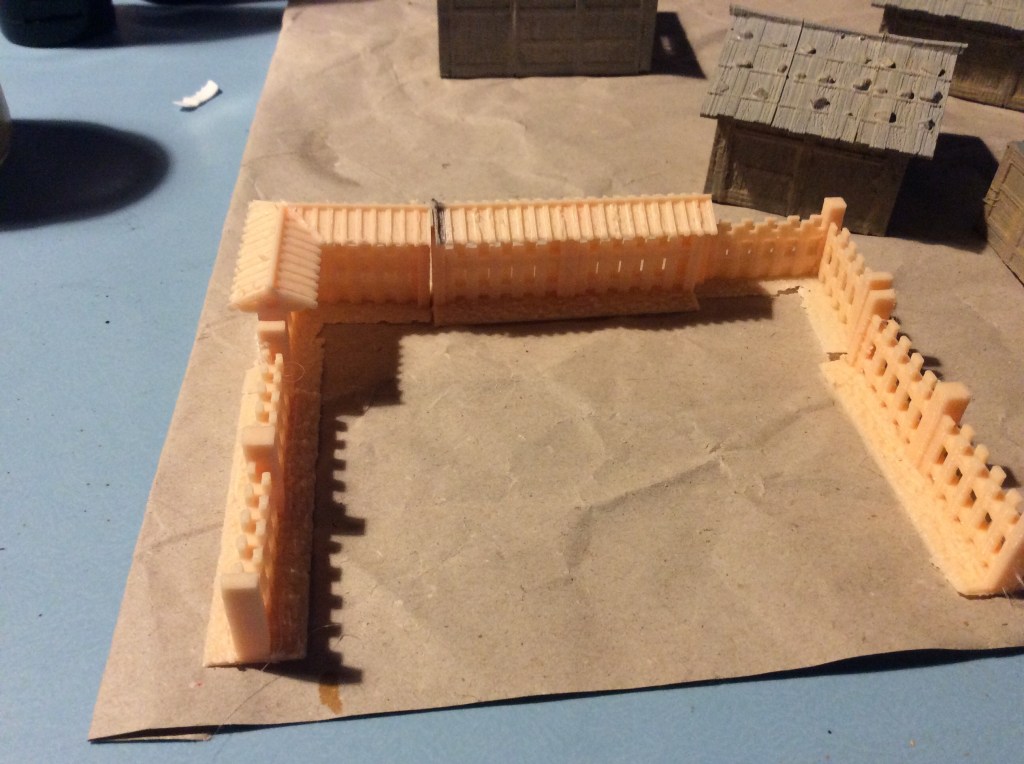
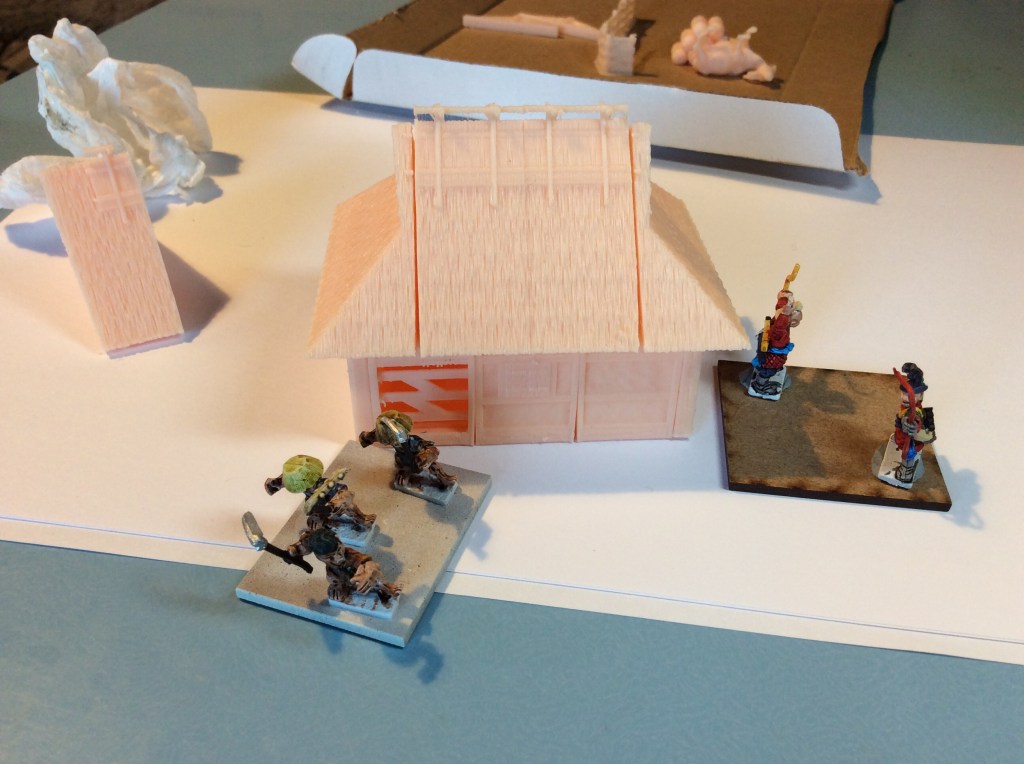
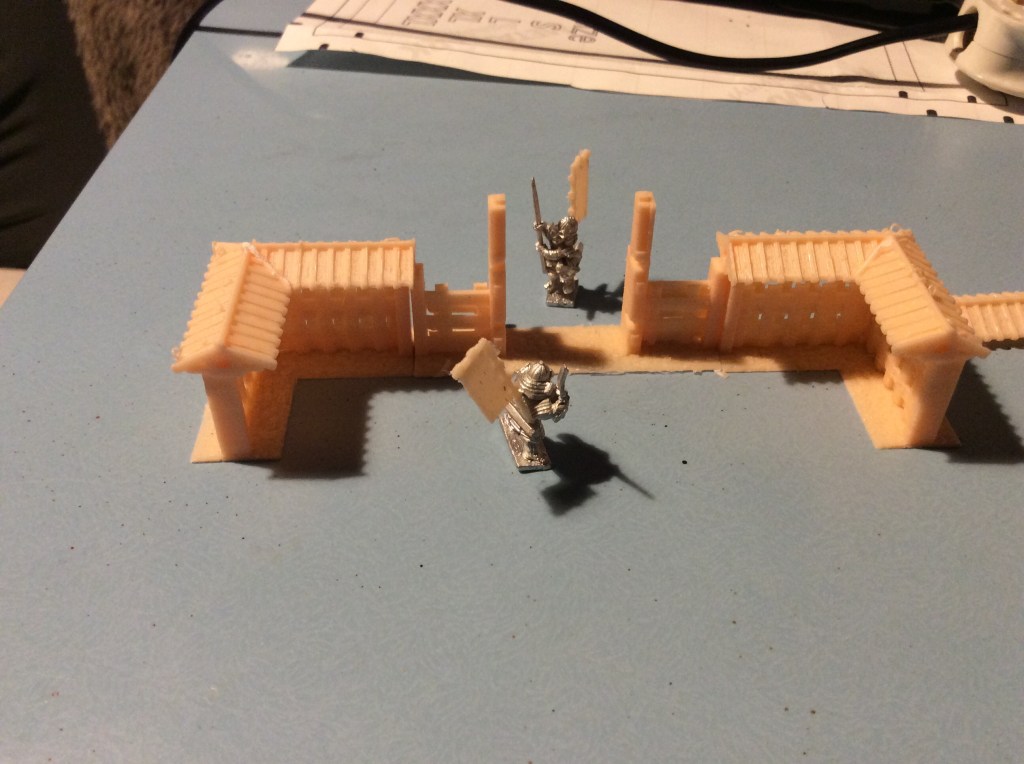
I have made a teeny courtyard to show what things look like so far…

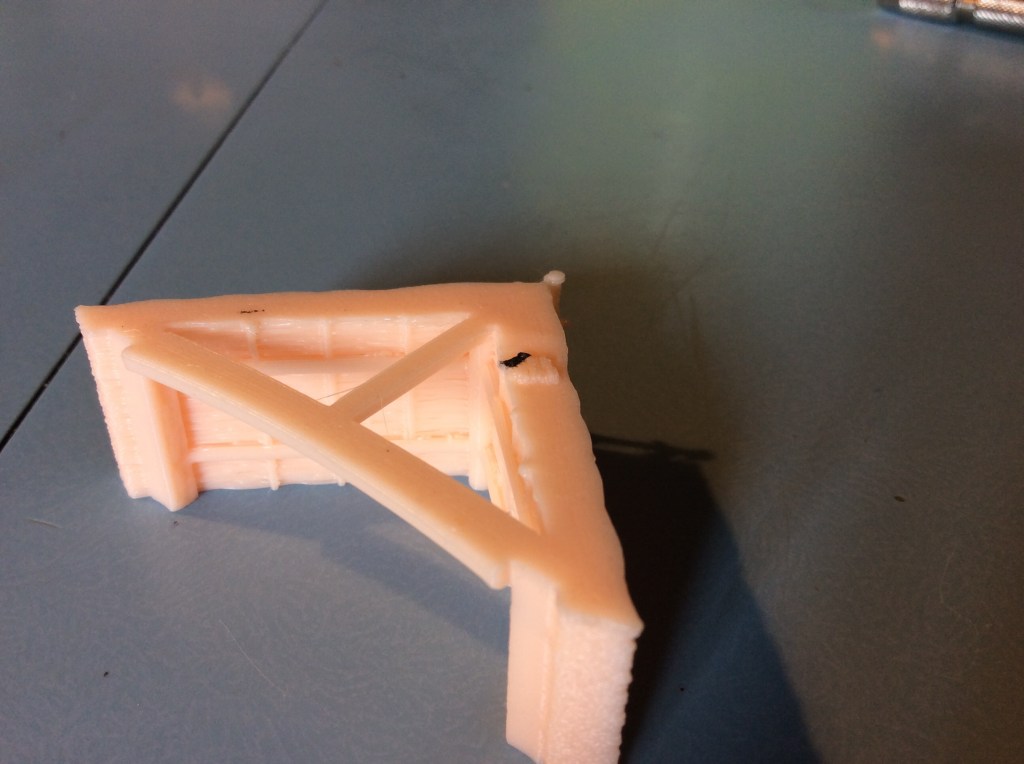
I still have the gates to do, but will get them sliced tomorrow. Like the walls, the gate could be without a roof. It comes with a stout wooden beam across the uprights as well.

If I had one wish for this set it would be the half sized bits too. I am sure I can mess about with the builder software and come up with something.

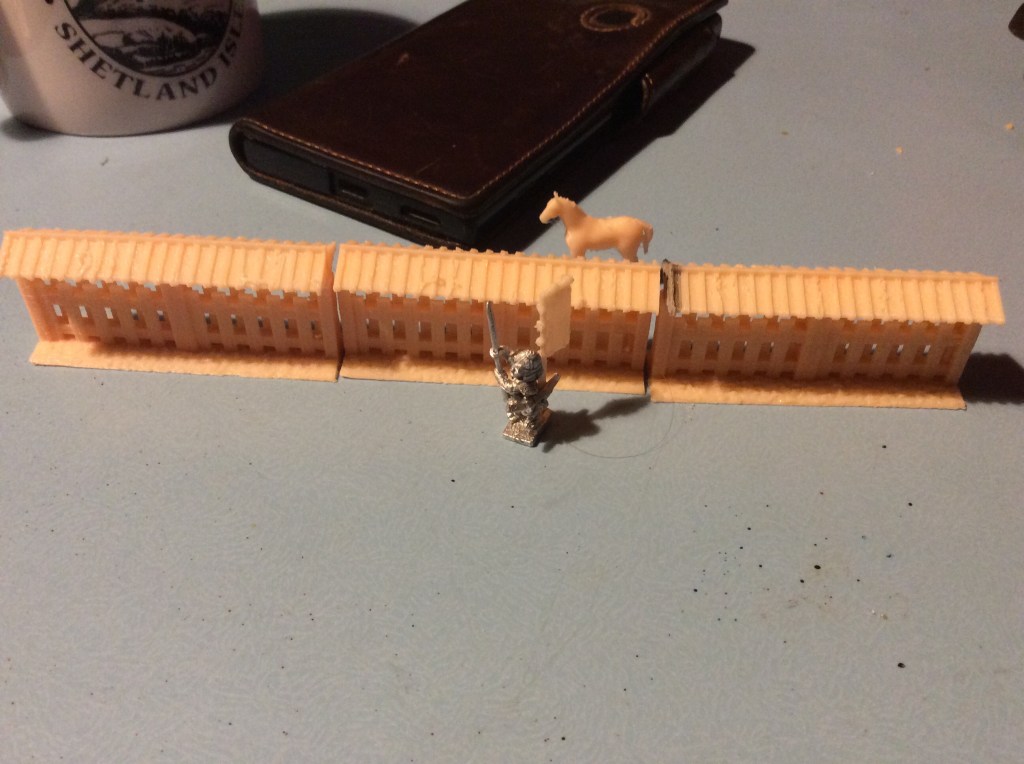
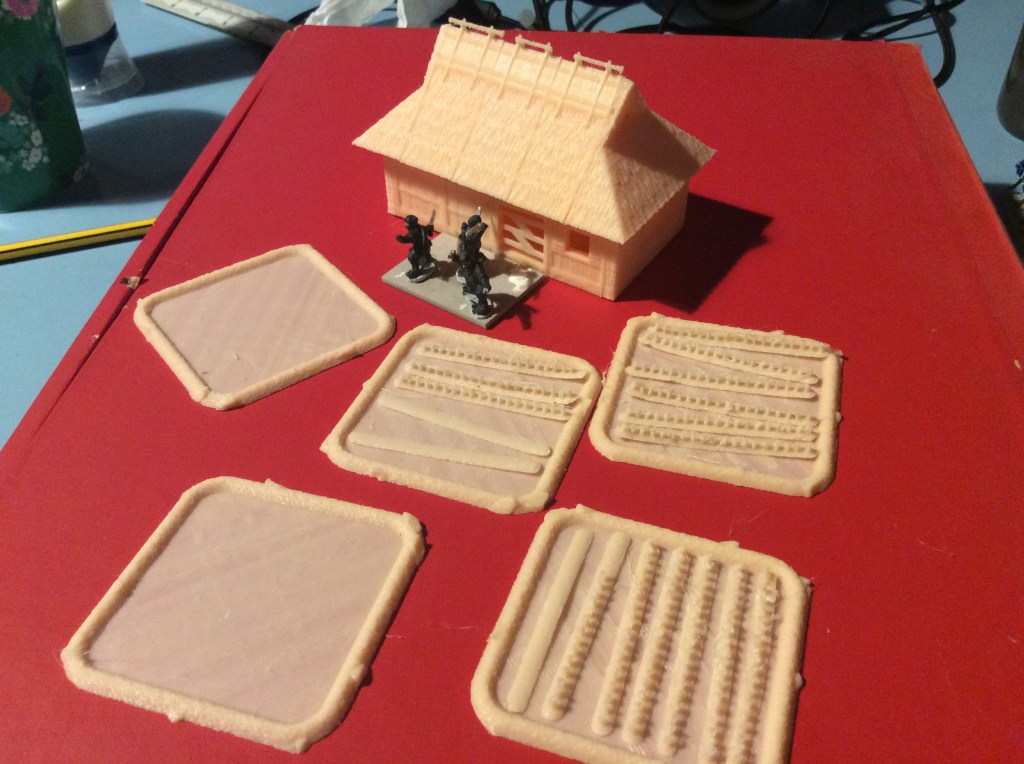
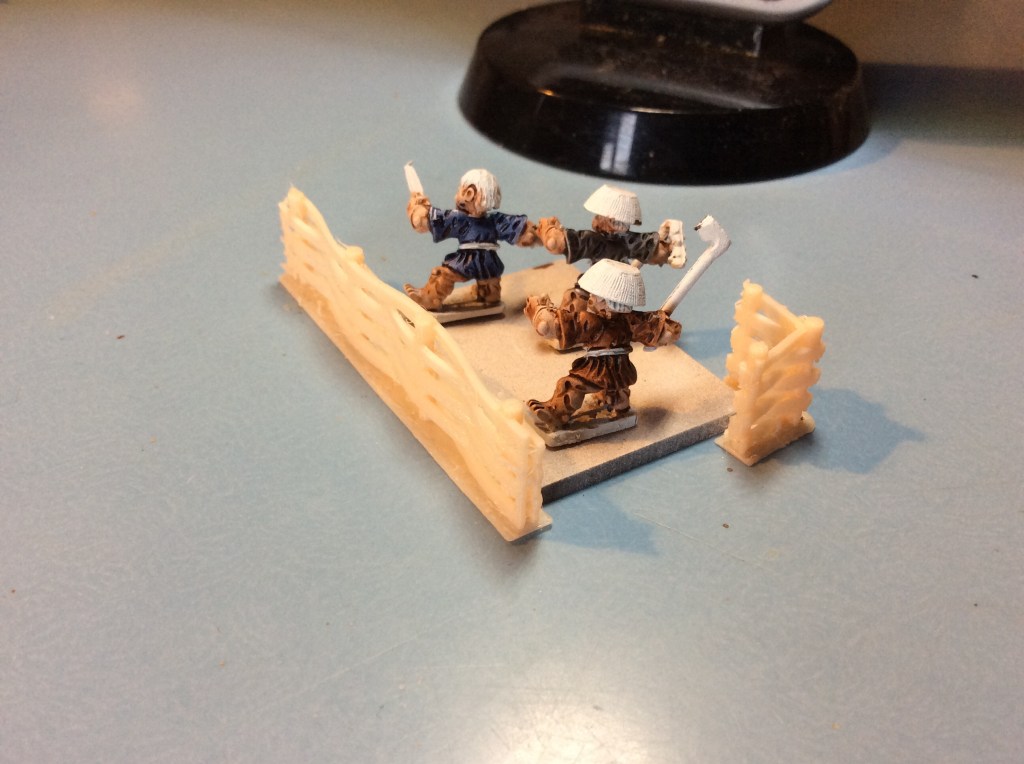
The posh farm is going to be surrounded by these fences. I was thinking of having it on a slight rise and have a smaller gate out the back (for want of a better description) a path from this gate will lead down a steep rise (small cliff). There will be a well either in the compound or nearby… this is what I am thinking right now… tomorrow could be totally different 😂

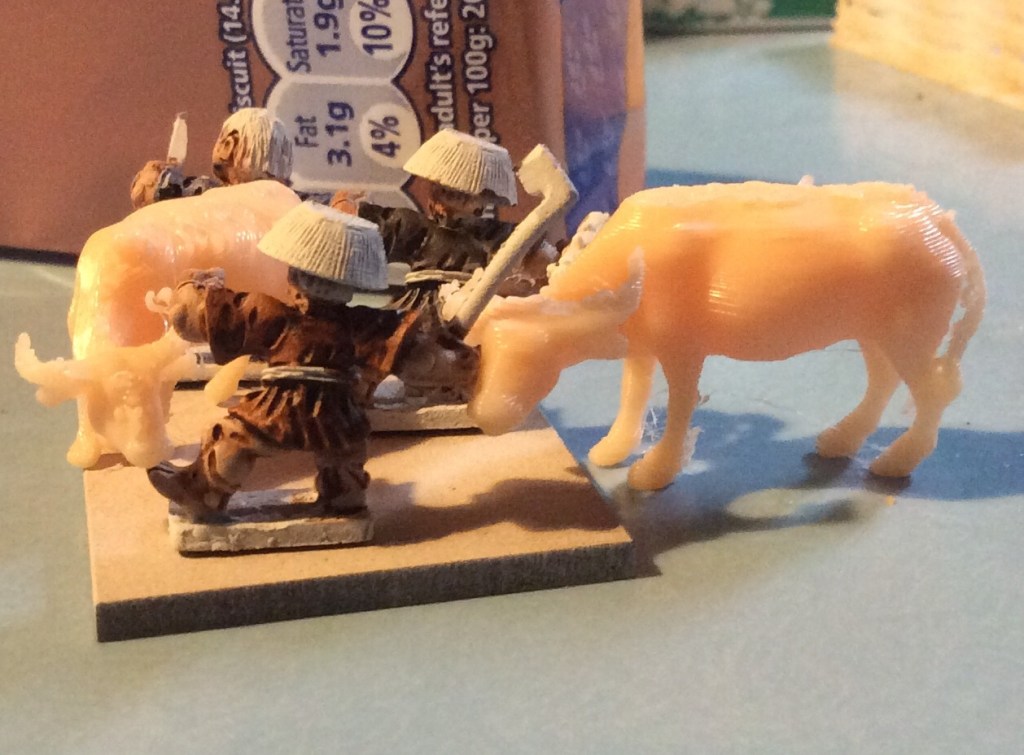
Oh yeah, guess who just ordered some more Samurai miniatures! These are the ones from Battle Valour Games. I decided I needed some civilians and asked my mate Martin (who is the sole uk seller) when they would be in. As chance would have it, they had just arrived. So I ordered some civilians for my farm, the. Some Ronin, and the seven Samurai, and some bandits, and some samurai, oh yeah and some Ashigaru and peasants , not forgetting some oni… yeah! It’s not as if I don’t have sixty odd to paint right now without ordering more. These new ones are going to be for skirmish gaming…. that’s my excuse and I am sticking to it!

Village with added Colour

Eventually I managed to make a start on painting the buildings.

Base layer going on

Still a long way to go on these but it is good to actually get a layer of paint on these.

I do like these files and as such I would recommend this company to anyone. Printing them at half size has caused me a few problems but nothing too bad.

I spent an age swearing at 3D builder this morning as it wasn’t playing.. it was putting the various bits all over the place. Eventually it dawned on me that I could reset them all to 0.0 instead of 4532 x 5432 or whatever ridiculous place it was.

I eventually got the corner pieces put together. For some reason it didn’t increase the height of the base and is still sitting at 1.5mm. This causes a headache getting it off the base plate. So to try and help I put down some blue painters tape. Tomorrow I will get it back up on 3D builder and increase the height again. You can see the damaged base on the right hand corner below.

These are the wooden fences, I can’t wait to try the stone ones. Now I am going to have to do some research and see if these fences should all have a tiled roof.

I have got eight (I think) straights and only two corners. Tomorrow I give the gate a go. The plan is to have the large farmhouse in a compound with the well and then the smaller buildings in a small hamlet or two. Luckily I found my EPVC to base them on. It is 5mm thick so very rigid. I have some 3mm too which I will have to give a go too.

Sadly I got a new game for the Console… loving it! Predator Hunting Grounds is awesome. It’s a fire team of four versus a single predator and lots of AI guerrillas too. The fire team has various missions in the 15 minutes the game lasts then the have to get to the chopper for extraction. The predator’s job is to make sure they don’t escape. It is great fun…

The down side is that everyone wants to play a predator! This means it takes ages to get onto the game… on the upside I can keep adding bits to my blog 😉 30 seconds to go….I am off to hunt some mercs!….and emmmmmmm. I evidently ran into Dutch as I didn’t make it 😂

Wooden Fences

So after the failure to print them flat I spent a bit of time in 3D builder putting the bits together and then sliced it. To be fair I couldn’t get the filament to come back out so I pretty much dismantled the Bowden tube to allow me to get it out. I noticed that it pulled a bit of black out with it, so I gave it a bit of a poke. Have a look at the second photo below and see if you can guess which one was printed first (bear in mind 2kg of the peach filament have been through the printer since I used black.

Fail… (well apart from the roof)

So with a bit of trepidation I hit print and left things for an hour and 20 minutes and came back in to find…an amazing print.

I am really pleased with these. I relied on the Ender to be able to bridge gaps and it managed it flawlessly. Tomorrow I am going to do the corner sections and the gate. I really do love this range from 3DALIENWORLDS. I can’t wait to see what some if their up and coming ones are. They have quite a bit in the pipeline.

Village with added Doors

I remembered to add the doors to the farm houses before I started painting.

The great thing about these doors is that they slide. Obviously for mine I am glueing them as they are going to be for terrain and the roofs will be glued down. If and when I do the skirmish terrain I will have the buildings with their interiors available.

I managed to get the remains of the filament used and then started on another part roll.

Not enough for anything else…

I printed the wooden wall at 50%. The printer coped, however the pieces were too thin to get off the bed in one piece… much swearing occurred! So tonight I am going to see about using 3D builder to faff about with the STL’s and see if I can build it first in there and then print it built.

Village with added Greenstuff

Tonight we ended up watching Monsters Inc as a family so no painting. But I did manage to get the Greenstuff out and attack the gaps in the houses.

It’s only when you see it like this that you realise how many actual gaps there were. I have probably wrecked the end of my finger doing this as I found it more effective than the silicone shapers. Problem with using a finger is that everything is rough on these!

The printer wasn’t turned on at all today… a very unusual occurrence. The filament is running down and I want to do some more animals with the remains before adding a whole new roll on.

When the Greenstuff is dry tomorrow I will get the buildings undercoated and start painting them up. over the next few days.

Paddy Fields

Today I printed some more rice paddies as opposed to some Irish poet. They are pretty basic to be honest due to their size but they do the job. I also printed lots of rice to go in them still another pile to do! Can you tell I am trying to use up the remains of the roll of filament?

I also printed the end for the big house. So that is the village complete. Well apart from all of the other things I am going to print such as more rice stores and cattle etc.

The Village Grows

No painting tonight, but some more printing done. Because I am a plonker, I built too many buildings and not enough wooden roofs… the answer make a smaller house and a bigger house with a thatched roof. Ok. I do need to print a couple of thatch ends, but I had the main centre but done anyway…

The larger house is below…

I reckon I will stop printing houses soon. I will try another veranda and shed though before I finish. Next up will be a few more paddy fields and a wooden fence or six. I am quite excited by this new project, but then again I get excited by all of my projects!

Rice Store

So the rice store is finished. It printed overnight, taking over six hours to do. It was one of the few models that needs support.

My plan with the buildings is to do a small settlement with three houses and the rice store. There will also be a couple of single buildings as well as the paddy fields dotted about… (Not to mention herds of water buffalo) 😂.

I just had to replace the print surface after a hole appeared…

Took the photo after I ripped it off!

This is what happens if you leave the hole…

Bump with attached build surface!

Medieval Japanese House

So after forgetting to print a bit, not to mention printing the wrong bits too, I managed to get the house finished. I have two thatched roof options…

Option one
Option two

This one isn’t a bad size…for the skirmish type games the roof comes off so that miniatures can be placed inside…

Shooting through the window
A bit big, but it will do!

Tomorrow I will print of a different house and make a little farmstead.

Japanese Terrain… Reduced and Enlarged

Yesterday I did a couple of test prints to see how the scale was looking. The fence was a bit on the large side and the buffalo a bit on the small side…See here .

So today I dropped the fence from 60% to 50%…

This seems to be better. It looks more like a farm fence than a zoo fence. I messed up by adding supports to it, so it took the same amount of time as the bigger one. These two bits took 44 minutes.

The next thing I did was to increase the buffalo from 60% to 70%…

Chasing the cows

The cows look okay too, perhaps a bit on the large side, might try 65% or perhaps I will just leave them as is. They are stage dressing for a war game table so they should be fine.

Actually when I look at the 60% water buffalo on the base with the miniatures then it doesn’t look too bad actually.

Am I taking this size thing too seriously!

So right now I am printing off a farm house with a thatched roof. It is done at the 50% sizing. It might be a bit big for a war game dwelling when one miniature equals a number of real people. We shall see.

The advantage of having the STL’s is that I can faff around with the sizes. I want to make a 15mm Force or two for my Ronin rule sets. If the house is too big for a multi base war game then it should be fine fir a skirmish game.

The building will take four hours for the walls and then another four plus fir the roof.