I didn’t get to eat until gone 20.00 this evening as I became dad’s taxi for my eldest. I drove home to pick up the new car, and then drove into Lerwick to pick them up and to take their friend back home, which was pretty much back at where I work… so I am actually surprised that I managed anything tonight.
But here we go… progress….
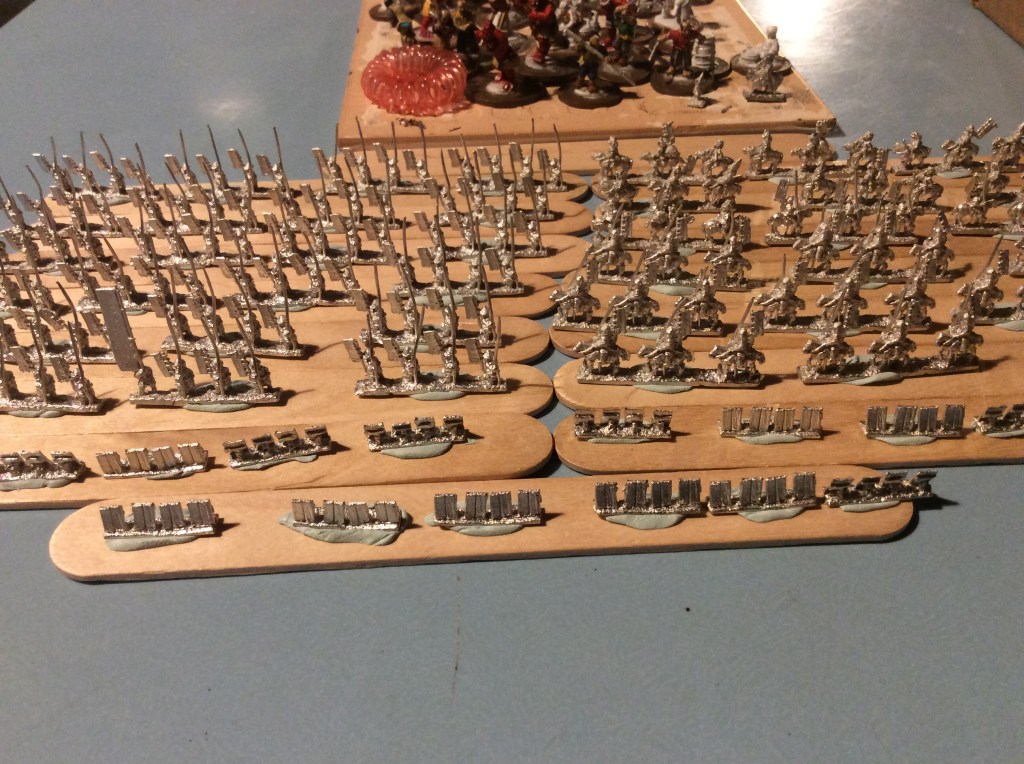
Heavy infantry and Heavy CavalryHeavy infantry with the light chaps and ladies at the back.
John has suggested I add a parasol to one of the elephants to denote the general so I will give it a try with a pin and a teeny bit of Greenstuff. Funnily enough on the Irregular website the elephant shown has one…
I am gaming tomorrow night so may not get much done… we are carrying on with adventures in Middle Earth. Luckily we managed to get the first mission finished last week before we were overrun by baddies.
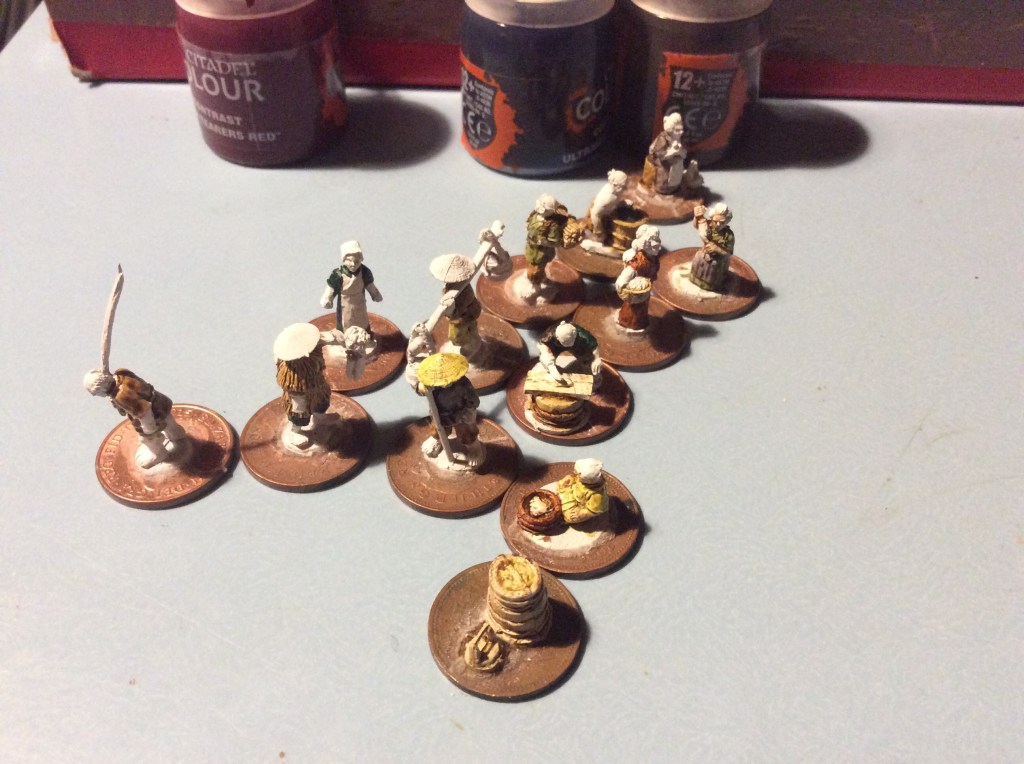
So after last night’s struggle to paint anything, I was a teeny bit more productive this evening. I actually managed to get a base coat on pretty much everything apart from the cavalry.
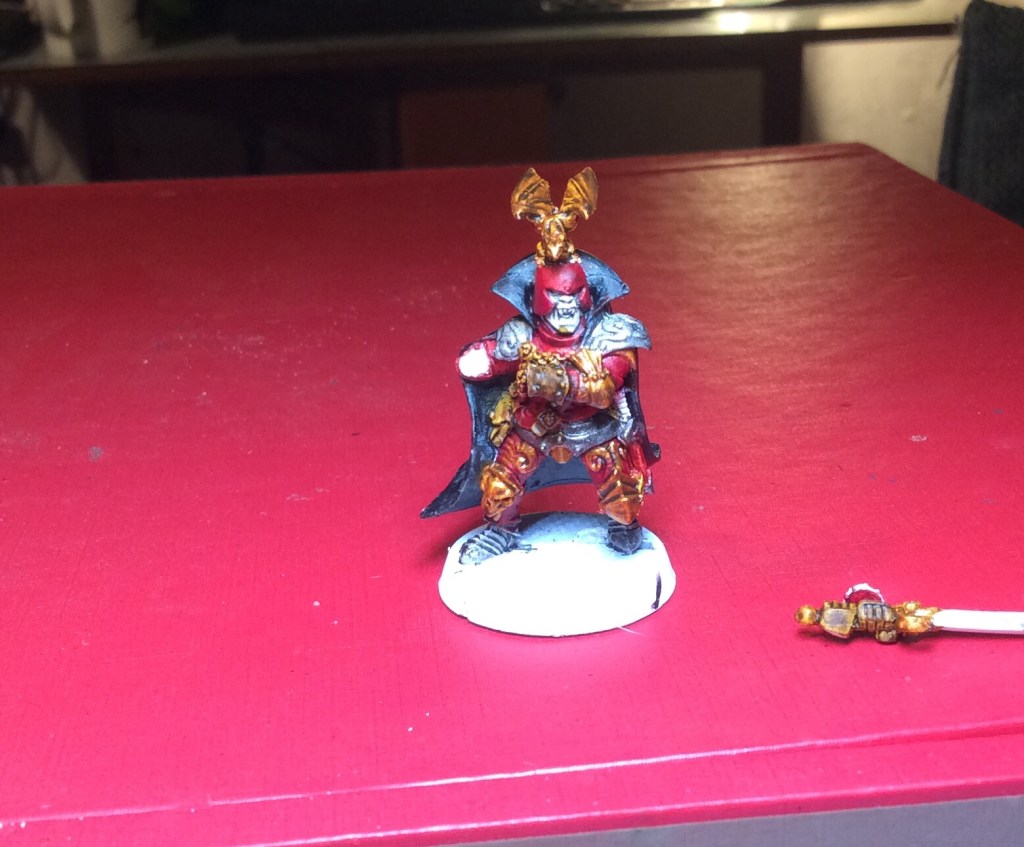
This army has a lot of elephants but none that scream general at me. So as it happens one of my individual miniatures is on a rearing horse, so I will add that to a stand of hefalumps to denote general quality. I am also going to blag one of my Ashigaru Nobori carries to give it some sort of banner.
Okay not accurate, but it will add a little something extra to help with the command base. Now as I have said before, I haven’t got a clue about the Khmer, So for all the purists out there…sorry. These will be simply classed as type, heavy infantry (or whatever the manufacturer tells me their designation is.
As I was painting the elephants this song kept going round and round in my head…
So I thought I would let you all join in too… all together now… one, two, a one, two, three four….
Hopefully I will think of a different song tomorrow…. I have now been hooked on PUBG by my son… off to jump out of an aeroplane and try and find a suitable weapon before some other sod nicks it…
Picking up a paintbrush was actually hard work. I really had to force myself to do something. I am actually not sure whether it was the fact I came out of work at 18.00 and had dinner at 19.00 or whether it was the fact that I decided to paint 6mm individual figures, or a combination of both. I did manage to also get some paint on the Torri. It is in the ‘looking crap’ stage at the minute. I reckon it will get somewhere better soon.
I also got my Khmer army undercoated ready for Shenanigans with a paint brush soon.
Whilst putting them on their lolly sticks I was a bit miffed to find that I had an odd number of bases of one type. But with time pressing on, I got the rest sprayed before it got too cold or damp out there. I walked in, opened the box file with the paint in and there it was, sitting smuggly in full view. I am now convinced that some form of secret society exists to cause chaos and mayhem in the war gaming fraternity… they hide your lucky dice for a start!
Here is the smug little sod!
To be frank… I would need a capital letter at the start of my name… sorry rubbish teacher joke there….Here is another one… you have been warned….
I really don’t have a clue what a Khmer force looks like… or what minis are what well to be honest elephants I can spot, but as for the infantry…
I went exploring today, more of that later, but after I staggered back in full of fresh air and fish and chips, I decided to try making my fences into a T junction and a crossover. So I set about playing in 3D builder and within 5 minutes I had a T (including ages getting the individual files to merge). I then set about using the T and added another arm to make the cross.
A bit of stringing but otherwise ok.
I measured the original printed walls and they sat at 13mm at the top of the tallest piece of fence. I therefore shrank these down to 13mm with the dimensions locked to ensure everything reduced by the same percentage amount.
I would say I have successfully matched the two bits into the rest. I am pleased with how they turned out.
I am printing another pair and will see what I can come up with. I intend trying the same with the stone walls. These may prove trickier than the wooden ones as they have tiled roofs.
Yesterday I was messing around with 3D builder, building a wooden stockade to go with the 6mm Samurai (to be honest they will be useful for all of the armies).
The design using 3DAlienWorlds STL’s
This is the printed piece…
Now it isn’t perfect by any means and the top of gate posts failed both times, but I am really happy at how well the printer coped with it, as can be seen it will hold up to four of the printed buildings nicely. It could also make a useful compound for a shrine or small fortification.
While I was messing about putting the buildings on, I noticed my neglected 15mm Samurai on the shelf. I stuck a Couple of peasants and water buffalo in and voila a pen for 15mm farmers to keep their animals in. Yeah I know they wouldn’t be of that construction , but pretty multi purpose nonetheless.
The fences would be more like the ones in the foreground above…
A quick change of miniatures and voila… livestock pens….
What I am going to try now is use the STL’s to make connections so that there can be a T and a + to allow different configurations.
Off gaming tonight, the Starship Troopers game is on hold for a bit as my mate (who had the stroke) needs to have a steady run up to get it ready to go. So as I don’t have anything planned then we are going back to Middle Earth in a different way…
This evening I spent a lot of time faffing around to make a 6mm compound in 3D Builder. Some of the angles were off so it took a good old while to get it sort of straight 🥴.
I am giving it a test print now… we shall see how it gets on tomorrow morning.
This time I have added it to a raft to help it stick, not to mention bumping the temperature on the nozzle up a bit to compensate for the drop in temperature.
So no doubt you will be agog to hear about what I have spent my hard earned pennies on today.
Well there is no surprise in the fact that I have gone for some more 3D Alien Worlds bits and bobs. This time I went for the castle walls and corner turrets as well as a bamboo cup (don’t ask why… I just like it) and finally some mon to go on various bits and pieces. These last two will be done full size.
I got a couple of parcels today too…happy bunny… the first is some water washable resin. I have chosen the grey as that green is a bit of a sod to see the detail on. This stuff is usually more expensive than the normal kind. But in the case of this one it was the same price as the Anycubic plant based resin…
My other parcel was a RPG map book. This was half price, but it may come in handy sometime (aka I will never ever use it and it will go the journey eventually, either that or I will lose it).
While I remember I got some flock onto the spectre bases and I think it has brought them out a bit more…
I was knackered this evening and after finding that somehow water had got in between my wooden roof and the plastic liner of the conservatory then, after swearing lots, I couldn’t really be arsed to do anything.
I think it must have got in a good while ago but I hadn’t noticed until this evening, as there is no way that it could have got in there now. There is also a bit of a damp patch where the door needs sealing properly (it just needs the external casing on), there is another bit where a nail went though the liner (I swore then too 🤬). So technically it is wind and watertight. My wife has been using it quite a bit to do her video meetings in, so she likes it, we take the ferrets for their daily run around in there too.
Built by my own fair hand 😉 actually, both wooden buildings are…
I started mooching around 3D Alien Worlds website to see what Samurai stuff I haven’t actually got 😂 not much to be honest… the castle stuff and the watch tower is pretty much it. I reckon that I am going to get the castle walls, corner tower and gatehouse for my 15mm skirmish Games.
The best laid schemes o’ mice an’ men Gang aft a-gley,
So if you remember yesterday’s post, where I waxed lyrical about how I was going to (and I quote)…
“My plan therefore is to try and keep to one thing at a time. As I am not doing a One Ring for a while my Patreon models will keep as will my Neolithic hunter models (that haven’t been printed yet). So here goes. I will endeavour to get all of my samurai 6mm terrain painted and sorted ready for some games. I have a 6mm army so then I can use them in that.
After that get The Khmer army painted and based so that the Samurai have someone historical to fight. After this get the 15mm Samurai miniatures and terrain finished, then move back to get the 6mm Baccus army painted. This way I am not getting bogged down on one project, but I need stuff done. A few people have been doing a tray at a time. I really think that I am going to need to do that to keep me focused. Wish me luck!”
So how am I doing so far? Well have a guess!
Knackers here totally forgot that he was supplying the Arachnids for the Starship Troopers game tomorrow. So instead of painting fences or teeny tiny Samurai, I have been building giant bugs, what makes it worse is that I am building the things that will cause my character’s demise. How crap is that!
So far I have five warriors here, plus two more in the shed, these are the first two hopper bugs out of the six I have. I also have a Tanker and a Plasma bug and half a dose Firefries. We are going to die! For tomorrow these are going to have to be bare plastic, I will try and get them painted over the weekend. I still have another ten warriors to make in this box, I honestly doubt I will need the two boxes still in plastic.
Funnily enough I nearly sold these off a few months ago as I never thought that I would ever get around to using them.. silly me!
Today however I was shared some images of some Lego Bugs, , Troopers and a troop dropship… might just have a peek at them…no painting required! 😉
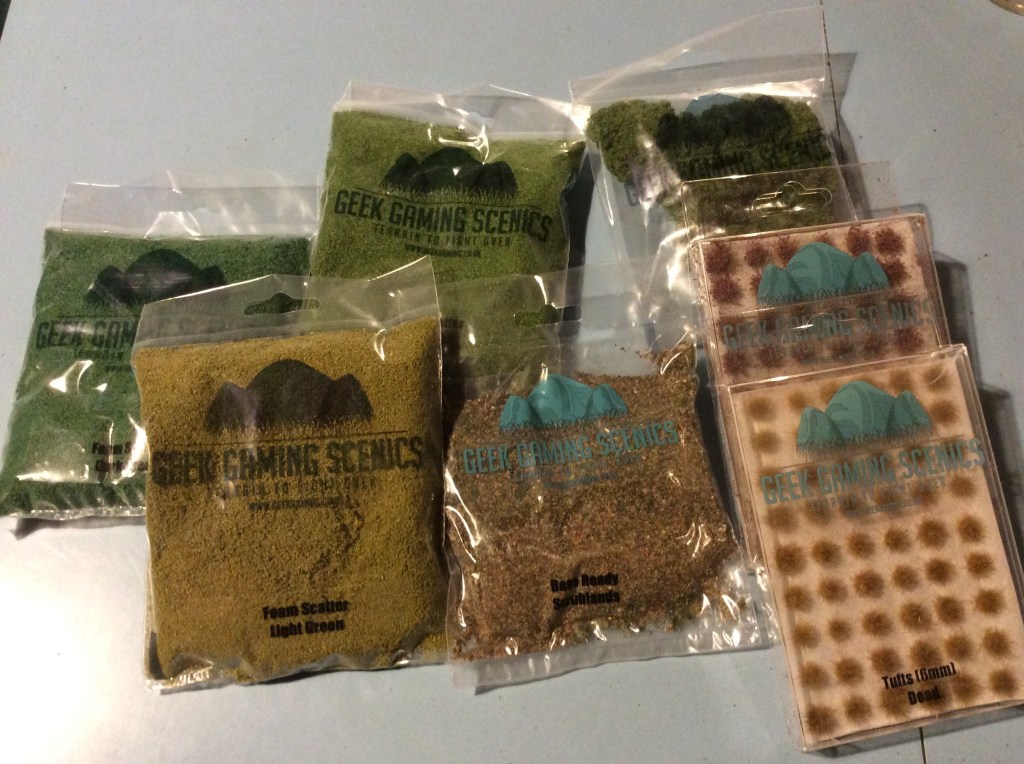
I pushed on a bit tonight and git some flock onto the base of the walls. I think it really brings out the colour of the wood… ye gods I sound like ‘Changing Rooms’ or some other interior design programme.
Of course I totally cocked up with the vegetation in the gateway. It should have three muddy bits and not two… probably shouldn’t have anything up the middle at all….I just noticed now! Poop! and generic expletives of that sort… oh well never mind I can scrape off the flock and repaint.
Thankfully I had success with the buildings off the printer.
They certainly have some supports going on there 🥴. I honestly don’t cabaret, they work and that is what matters. The pair of them (including supports) weighs just under nine grams. They look okay when you pull the supports off…
So Well Done to 3DAlienWorlds for making such lovely models.
If you remember, I had the spaghetti monster of doom the other day…
I started off printing them again and noticed a problem coming up so I stopped the print. Tonight I managed to rescue some of the roofs from the mess above and match them up with the building walls. I reckon that I can rebuild four of them. A bit of sanding and some superglue and voila, a set of useful buildings.
On a totally different note, I was perusing my piles of unpainted plastic and lead and thought I really must come up with a way of getting stuff done, as to be honest I seem to have the attention span of a stunned kitten. My plan therefore is to try and keep to one thing at a time. As I am not doing a One Ring for a while my Patreon models will keep as will my Neolithic hunter models (that haven’t been printed yet). So here goes. I will endeavour to get all of my samurai 6mm terrain painted and sorted ready for some games. I have a 6mm army so then I can use them in that. After that get The Khmer army painted and based so that the Samurai have someone historical to fight. After this get the 15mm Samurai miniatures and terrain finished, then move back to get the 6mm Baccus army painted. This way I am not getting bogged down on one project, but I need stuff done. A few people have been doing a tray at a time. I really think that I am going to need to do that to keep me focused. Wish me luck!
Tonight I managed to get a bit done on the walls and thatch of the village. Adding the brown to the base of the walls really makes the aged wood colour a bit more visible.
As you can see, the thatch was done just before the photo was taken. Still a whole lot of work to do on these, but I am definitely getting there.
I did swear earlier this evening, lots, in fact. I came home to this…
These buildings in the spaghetti are exactly the same as the ones above. There has been a massive layer shift on them as well as some not printing above a certain height. The only thing that I can think of is that one popped off and it caused a domino effect with the rest.
i therefore decided to print them in pairs (only to find part way through the print that I have one solid and one hollow on the plate). This time I have added supports in case it was the lack of support that caused the problem above.
It looks like shuttering around the building 🤣 It really does show how far out the roof sticks out…