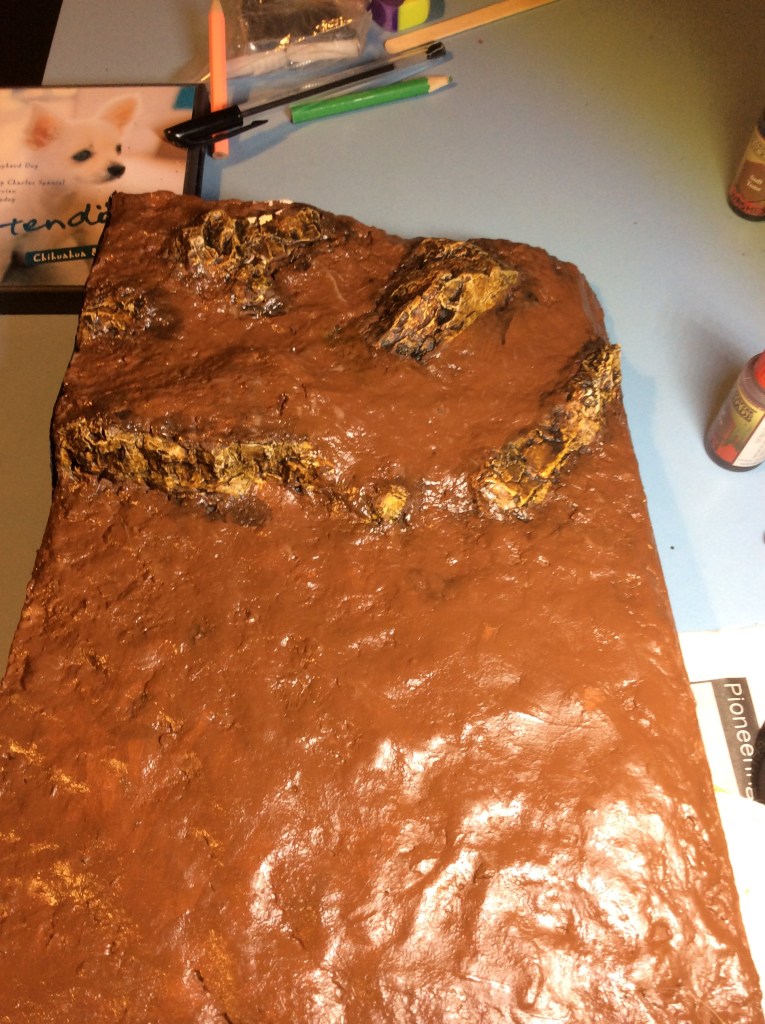
This evening I touched up the sides a bit and covered as much white as I could find. I then decided to get the rocks done.
It’s a bit shiny at the minute as I covered it in PVA to give it a bit of protection. Unfortunately My fingers were a bit tacky when I touched the rocks at the back and I managed to peel the paint off them. When everything has dried then I will get them recovered and then protected too.
The rocks actually look better in real life…honest.
So tomorrow, I will try and get some vegetation down, so wish me luck. Not sure how it is going to look yet, I definitely don’t want winter and snow, so it is what to choose out of the remaining three 😂
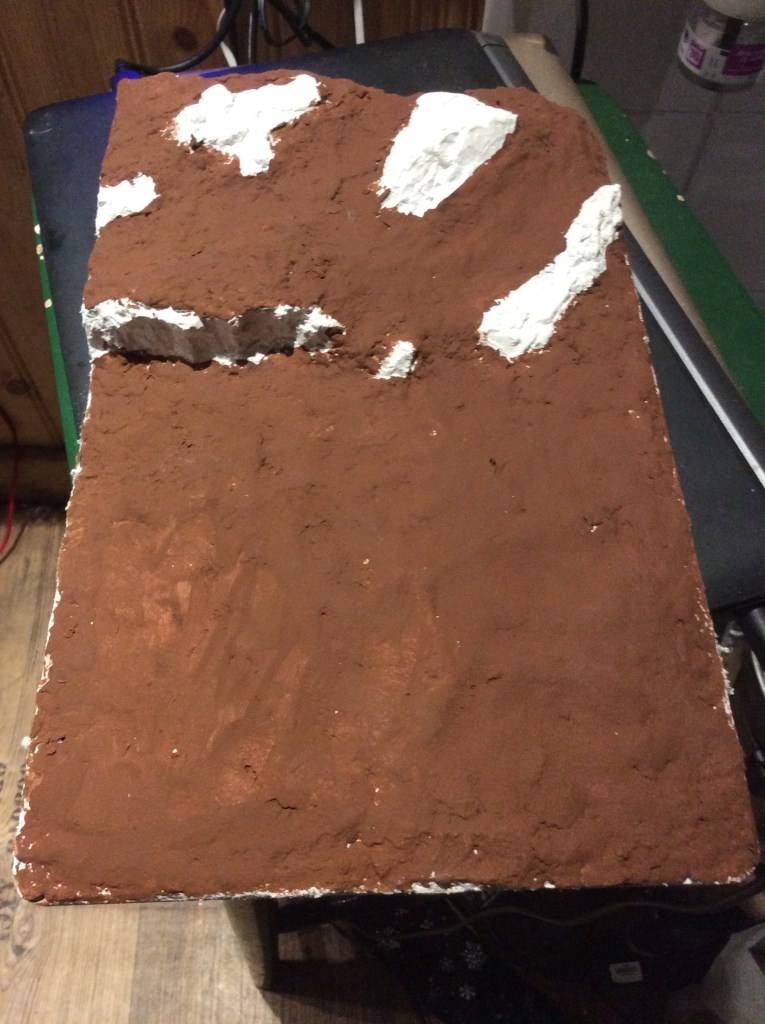
So after two days above the fire then I have eventually managed to make the majority of the ground brown…
I deliberately didn’t do the edges as I had no paper down and it would have got a bit messy to say the least. Hopefully I will get the edges and the rocks done tomorrow.
Sadly, and as expected I have a bit or warping…
You can just about see it in this photo. It is probably a mm or two out, so it probably won’t be that visible (unless of course it increases over time).
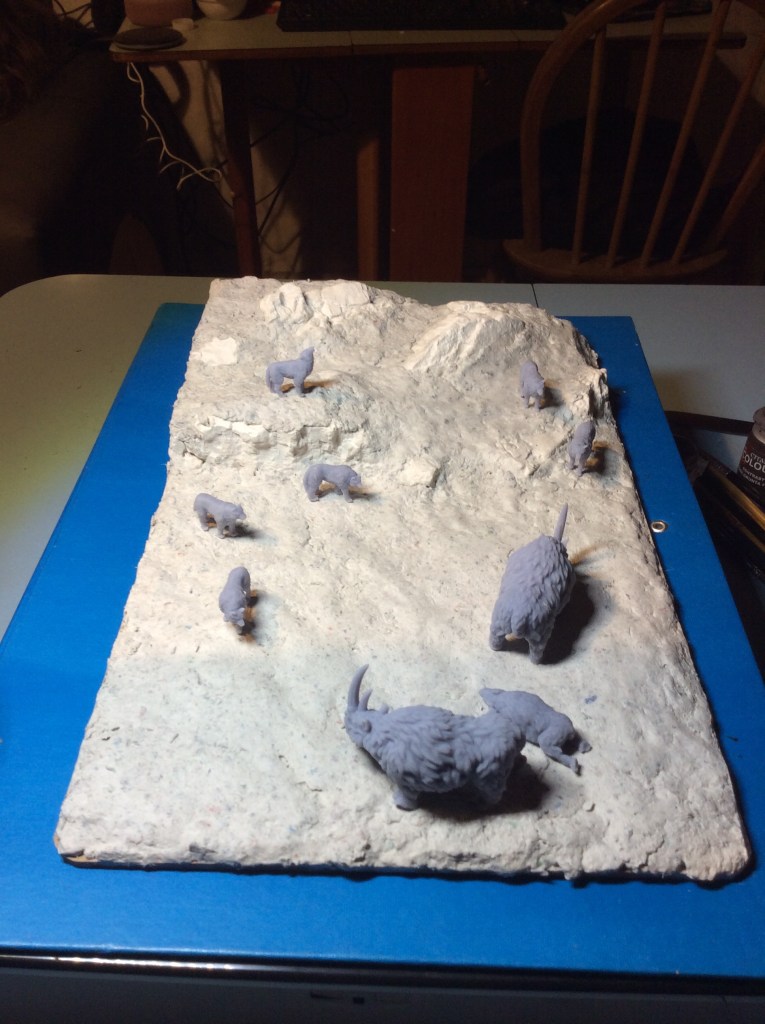
Well this is taking a while to dry, the ground cover stuff is still cold to the touch so is still not dry (the joys of not living in a centrally heated house). Anyway I shoved some beasties on to see what it looked like and to be honest I am rather pleased with how it is beginning to come together.
I reckon it will look better when I have some colours on both the ground and the animals 🥴.
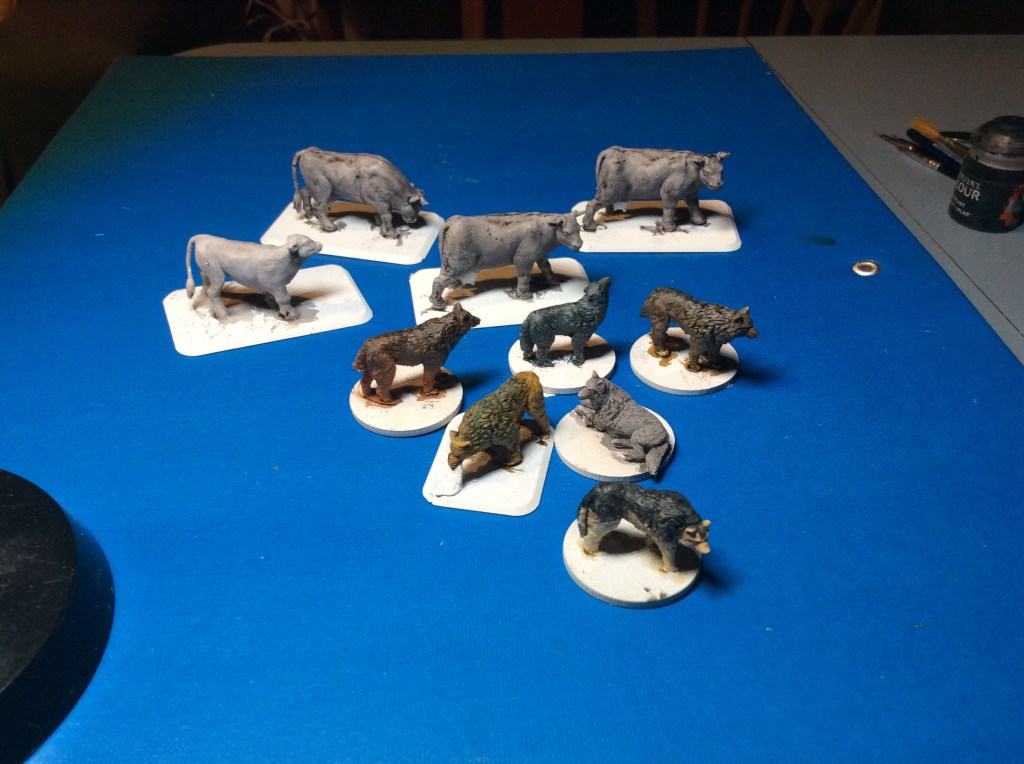
I did splash some paint around this evening, I got some more on some wolves and started making the cattle less white…
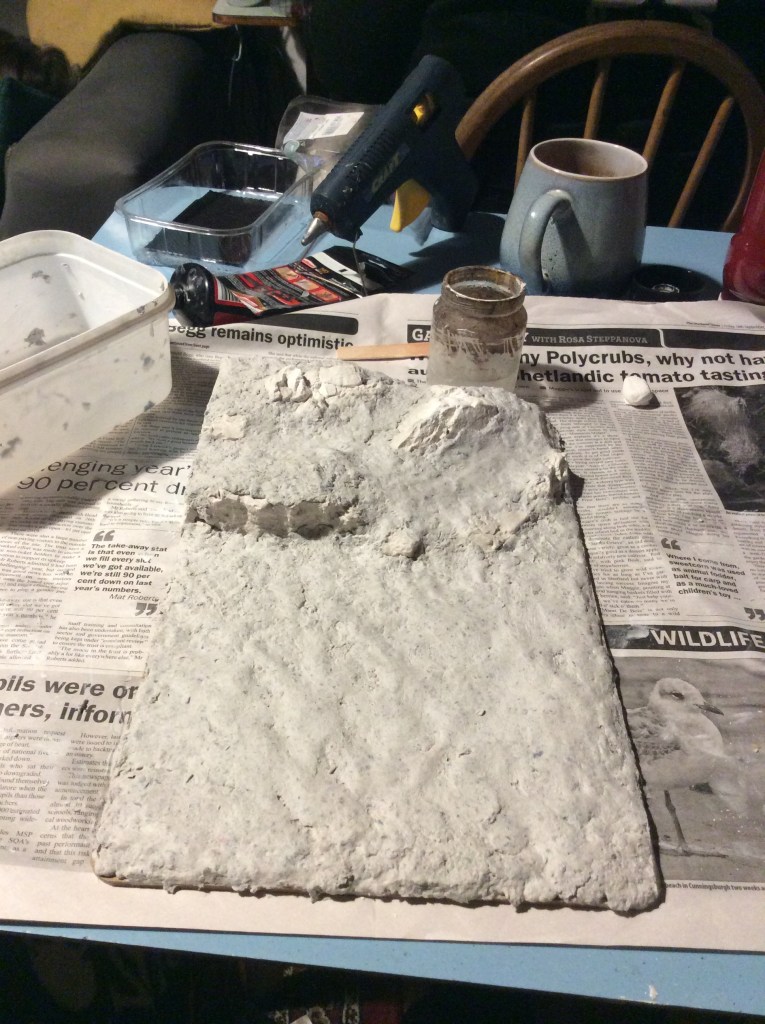
This evening I got some more rocks stuck on. I scored the baseboard and then used the hot glue gun to get some uneven surfaces to allow the basing stuff to hang onto. I got the Compound mixed up and splatted on. Once it was going off I tried smoothing it down with water. I met a bit of a problem in that as I have had it a good old while then the plaster went off a bit quicker than I expected. Anyway this is what it looks like after the messy bit…
The next problem I am expecting is warping of the MDF. I will cross that bridge when I come to it. Another conundrum I have come up with is how to cover the raw foam on the side and back. I may cover it in black card to begin with as it is easy to cut and will stick nicely with PVA. It won’t be very strong but this thing will spend its life living in a box so there won’t be much handling involved.
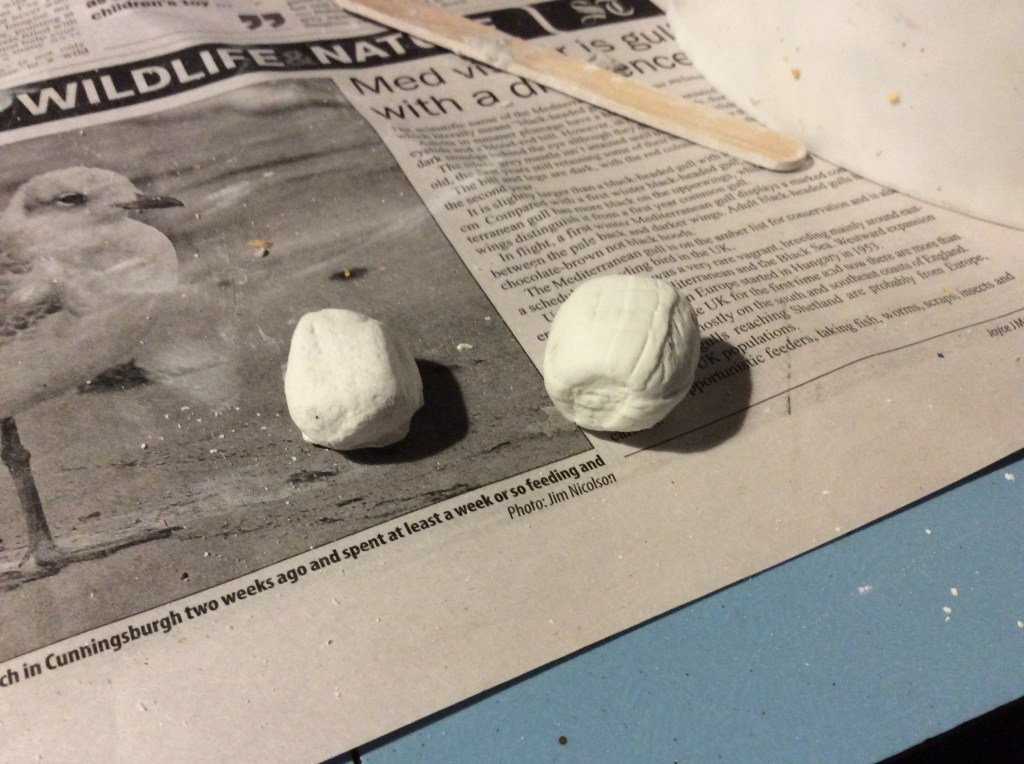
Talking of problems, I decided to scoff a couple of sweeties and shoved one onto my table while the other was in my gob. Bet you can’t guess what happened here with the plaster rock?
Tomorrow I hope to get some paint down onto the ground and then start work on the rocks… after that get some grass and things down… so here is a question for the diorama builders who have inspired me to have a go… do you put the miniatures on last or do you build them into the vegetation?
So after another bit of time, I rescued the two bits off the print bed…
Small wonder I couldn’t work out what was what. The tree supports went everywhere. Unfortunately removing said supports caused various bits to fall off the models. In the end the bridge ended up without it’s handrails as did the Torri gate…
I don’t think that they are too bad a size. I will try again tomorrow after I have taken the village off the build plate. (Yes I am printing more 6mm houses 😂).
So, thankfully after just under 27 hours the castle made it through.
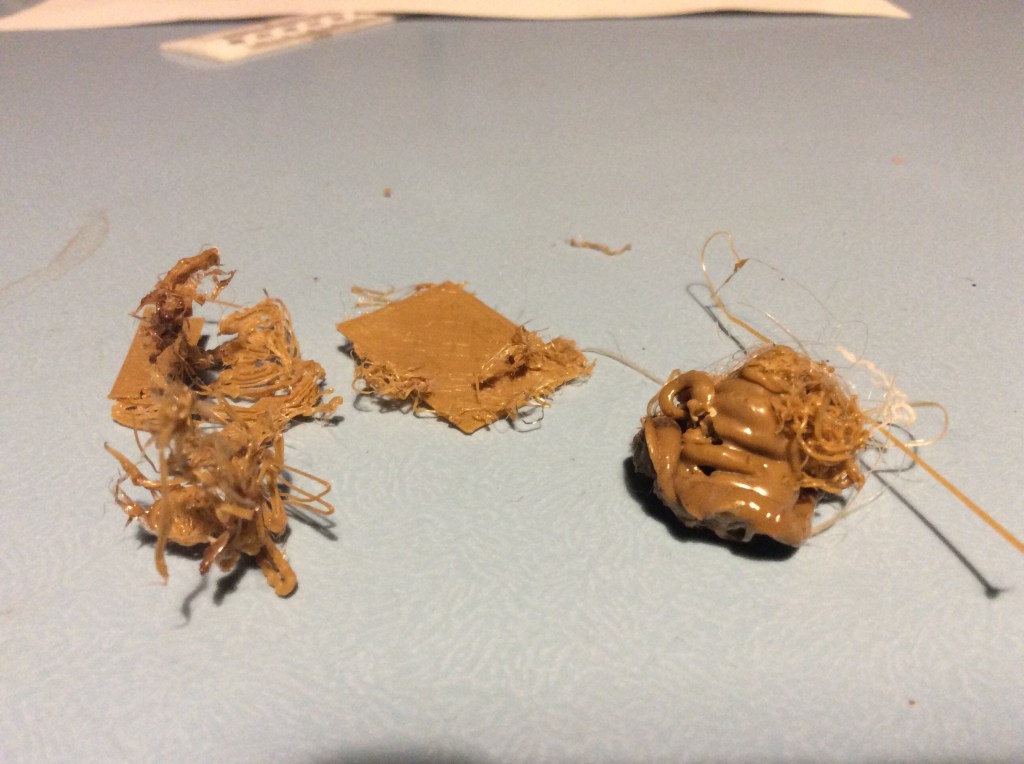
There was a lump of spaghetti sitting on the build plate and to be honest I haven’t got a clue where it came from. I needed a visit to the loo at 03.00 and it was sitting there then, so it happened between then and 01.00. It looks like the Ender struggled with the tiles on each level as there are a couple of strands of filament hanging down at each level. The same thing happened to the other one (not to mention the spaghetti monster on that one too (in exactly the same place). With this in mind then I reckon something weird is going on with the STL.
Although I tried my best efforts to keep the thing in situ, it did actually move about a millimetre out…
It can just be seen above right on the stick and white tack. I reckon a bit of filler or Greenstuff and it will be invisible. Not bad really considering that whole top corner had come adrift and it was guesswork where it went. The other bit with a wobble is the top end gate which has moved in about a mil or two.
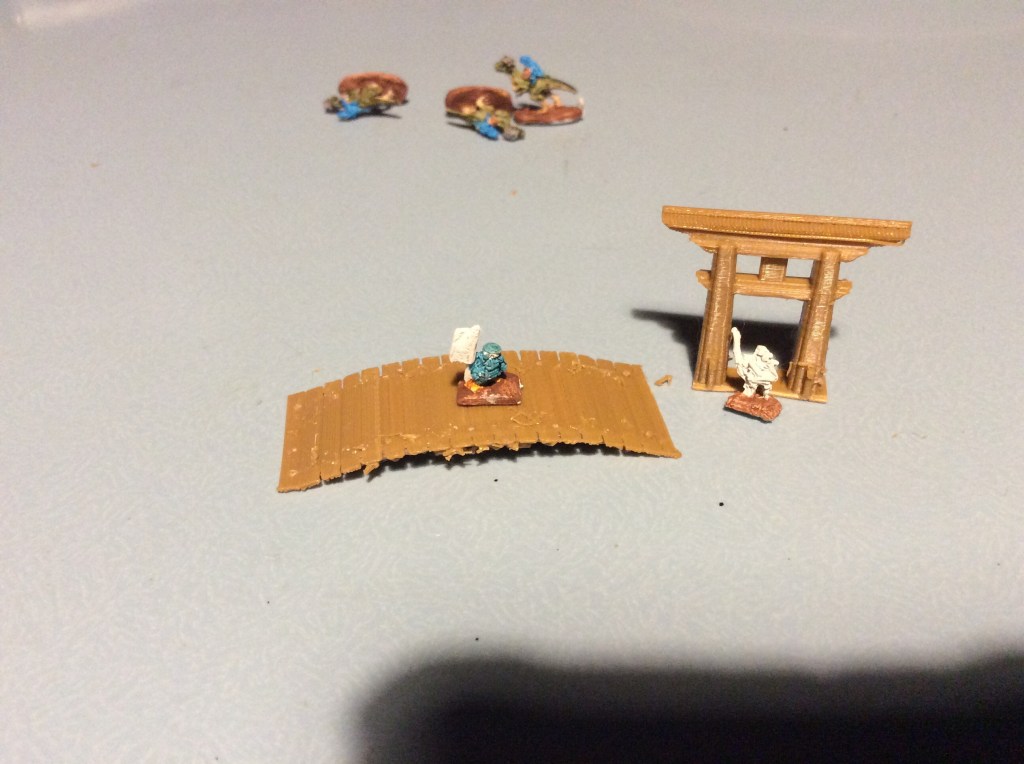
After this came off the build plate I decided to do a Torri and bridge. Evidently the printer decided that I wanted the surrealist version!
I had to replace the build plate top so that there was some adhesion, but I am now getting to the stage where I am thinking about getting a flexible steel sheet or a glass one as these replaceable ones are really beginning to annoy me.
I am printing a new bridge and Torri and they seem to be holding onto the build plate, but I really should have relevelled the bed, I am afraid I forgot. They look a right mess at the minute as I added tree supports and I don’t know what is support or model at the minute.
Got an hour before they come off, so fingers crossed.
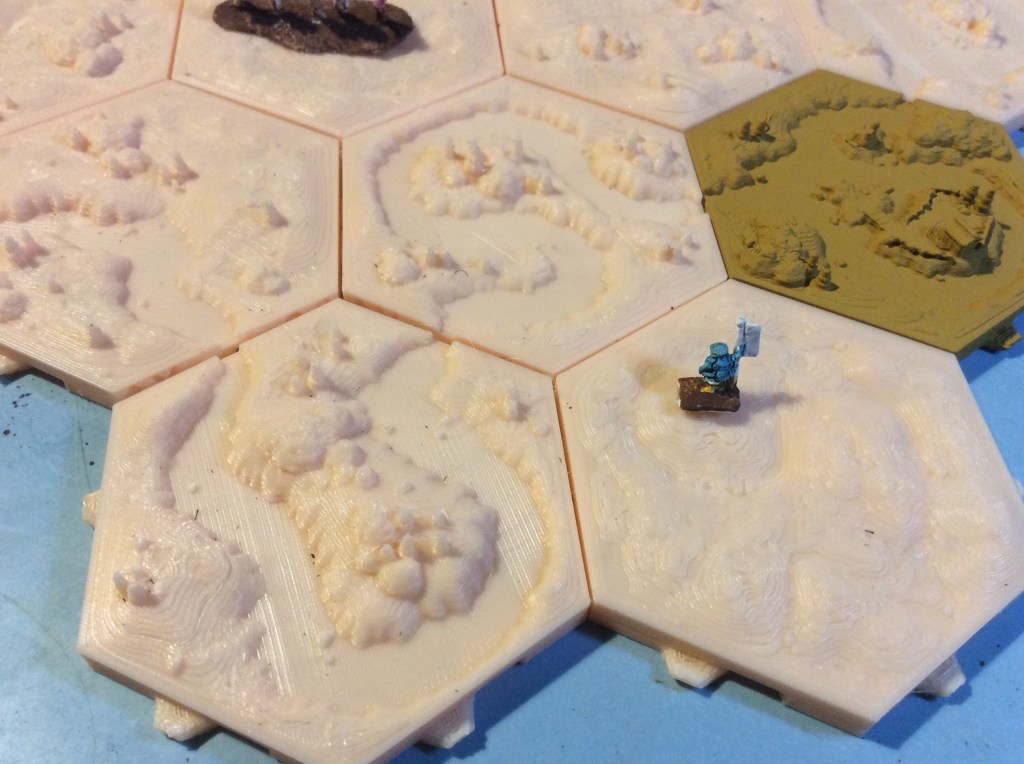
So after owning these tiles for about 3 months I eventually decided to make a start on them. I am going to do one of each (I think) I will then write the tile number in the back with Sharpies and the. I will have a reference to work to as well as having something to play with.
So here we have six river tiles and six plains tiles (plus the three original test ones). I stuck some stuff 6mm miniatures on to give you a sense of scale. I am quite pleased with them. These are not a quick print. Each of these sets of six took about 8 hours 40 minutes to print. The woods are going to be over 12 and the mountains 14.
Here we have a close up…
Still not sure what I am going to use these for, but based on the 6mm miniatures then I think I have found my counters for whatever campaigns I use. If a desert version ever comes out it will be used for my Sudan campaigns.
I think I will print all I need and then paint them so that they all look similar rather than having mix and match. The upside is that they will look the same, the down side is it will be a mammoth painting mountain…
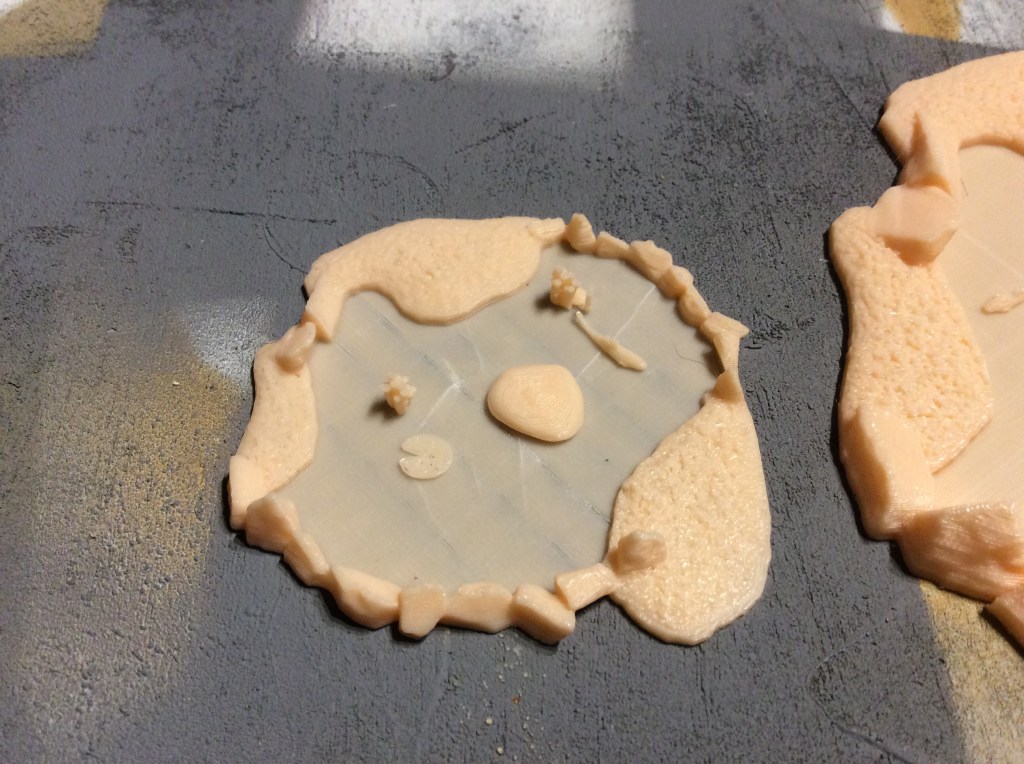
Today I sliced all of the bits to go into the pond. I printed the pond at 100% but all of the flora and fauna at 50%. It made some really small things!
I was surprised at how well the fish and turtles etc came out. To be honest the Lilly pads struggled a bit at 50%
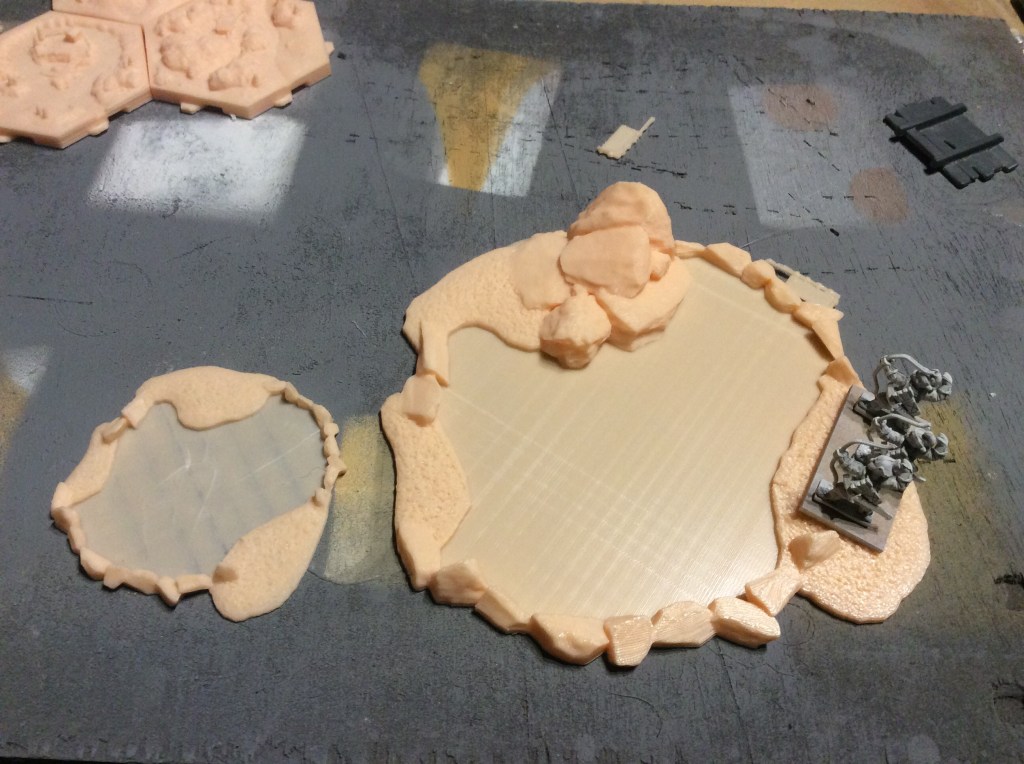
I shoved some of them into the smaller pond too…
I am really chuffed at how well they look. I have actually bought some resin so that I can add ‘water’ to these. It is so long since I have done anything like this it will be interesting to give it a go. I am also going to add some to the paddies and if there is anything left then I can make some canal pieces up too.
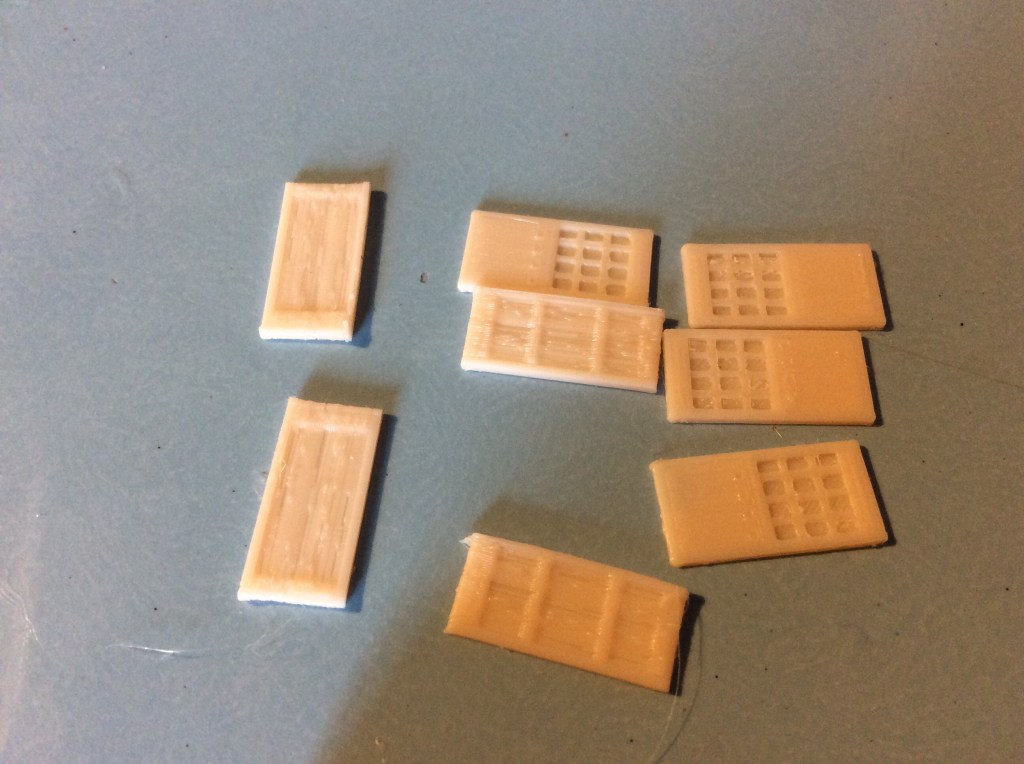
I had a print failure today. I started printing some building pieces for my mates birthday and for some reason I had a failed print. One of the end pieces came partially adrift and was threatening spaghetti monster everywhere. Now in hindsight,as it had been just under 2 hours, I could have actually kept it going instead of cancelling the print. The piece hadn’t fully come adrift. I could have done a rescue ‘hold it in place’ rescue so that the rest could have printed…. ah well hindsight is a great thing.
I decided to do a full sized pond today, but to make it a bit different I took the Teahouse rocks and blended them into the pond in 3D builder.
The 50% one took about an hour and ten minutes. This one took five and three quarters. I did have a bit of printer problems to begin with. First off nothing was printing so I changed the spring on the extruder (well not exactly) I removed my two screws and added the proper bit in. I also re levelled the plate as the front right corner was pretty much out and nothing was printing there at all. So eventually when everything was tip top. I started again and voila, it came out properly.
Where I added the rocks is pretty obvious when I compare the two. I fully intended to stretch one of the axis too, but forgot.
Tomorrow I will print off some reeds and water lilies and possibly a fish or two, but there will definitely be a turtle in there too. These will be done at 50% again so that I don’t have a man sized koi swimming around in the pond.
Today was spent reading stories or rather a story lots of times for a video for the bairns in my nursery. I had an able assistant…
Louis kept messing up and I had to redo it so many times. That is my excuse and I am sticking to it.