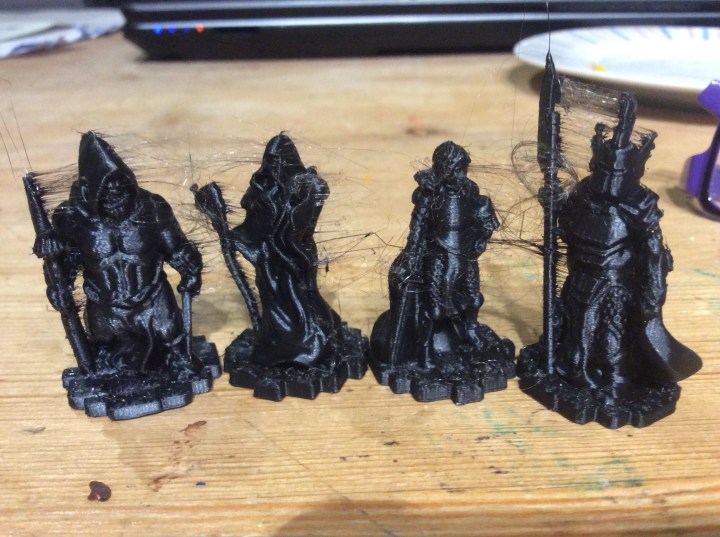
Yep the wispy filament was an absolute sod to get rid of so drastic measures needed to be taken!
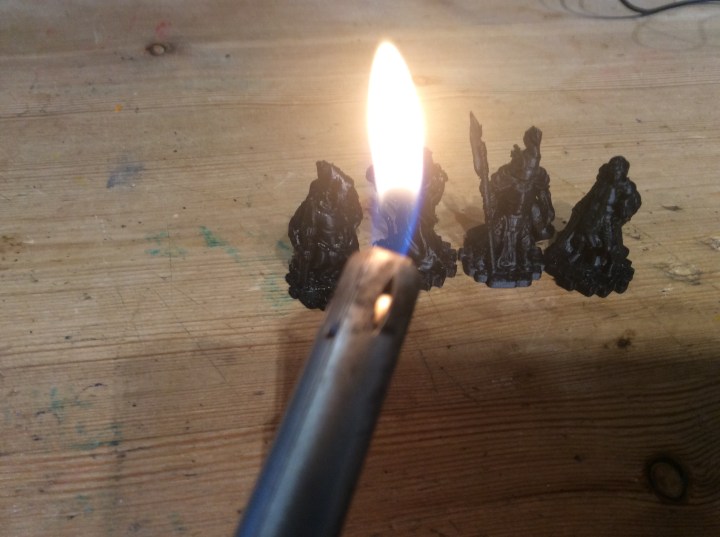
I pulled of as much as I could then set to work with a naked flame… I couldn’t be bothered to go and get the paint stripper heat gun. This is actually more controlled on a smaller front I would imagine. The down side was I had to get quite close.
I think the difference is plain to see…
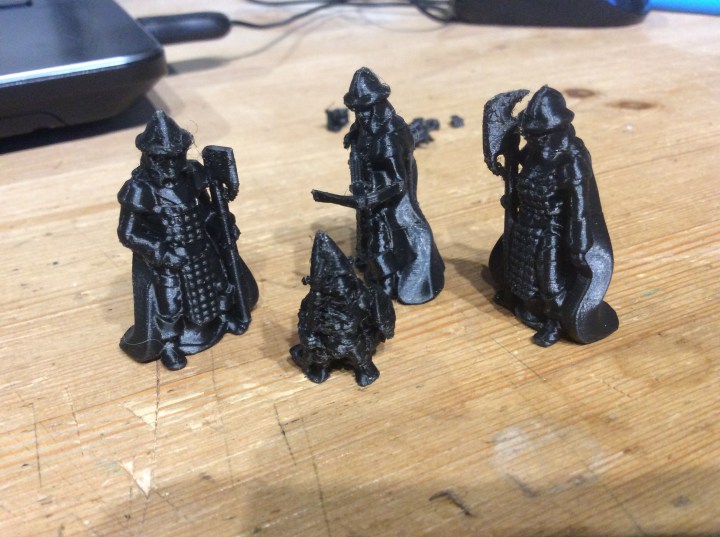
Before…
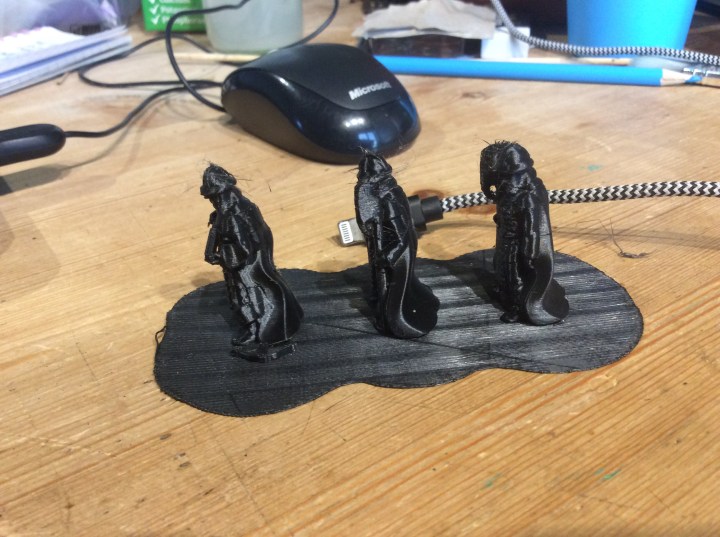
And after…
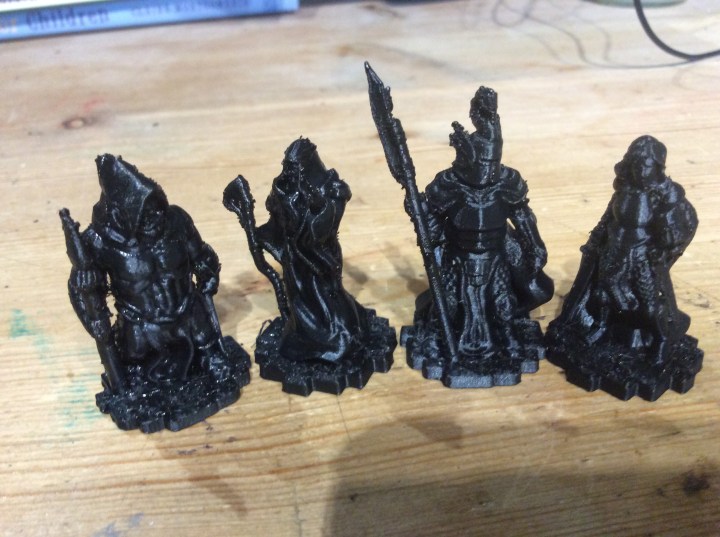
Still a bit of clean up to do but a whole lot better than spider web central. They look a bit wet as I dunked them in cold water to stop the wobbly weapon syndrome.
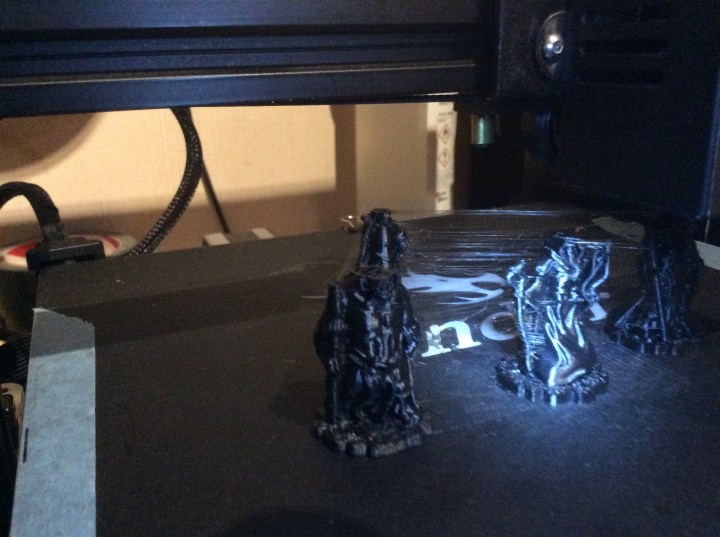
On the plate tonight is the count …5th attempt… this time however I am adding in supports… fingers crossed he works this time. I also decided to make him a base… I was quite pleased with my circular base until I started printing it… it may be many things but circular isn’t one of them😱.
Last night I did a bit of research about the spider webbing on the prints. To avoid the print head bumping the models and knocking them off I decided to use the z hop option. This drops the plate a fraction as the print head moves from bit to bit. Seemingly this can cause more webbing than if you don’t use it. There still might be too high a temperature or over extrusion that is causing it. So instead of printing the same minis again I will print an extrusion test piece and play around with that.
Here is the count, he finished just after writing the above…
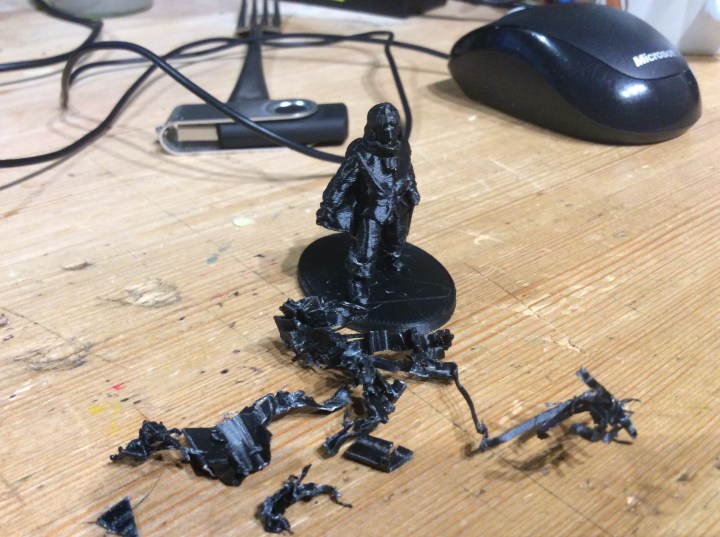
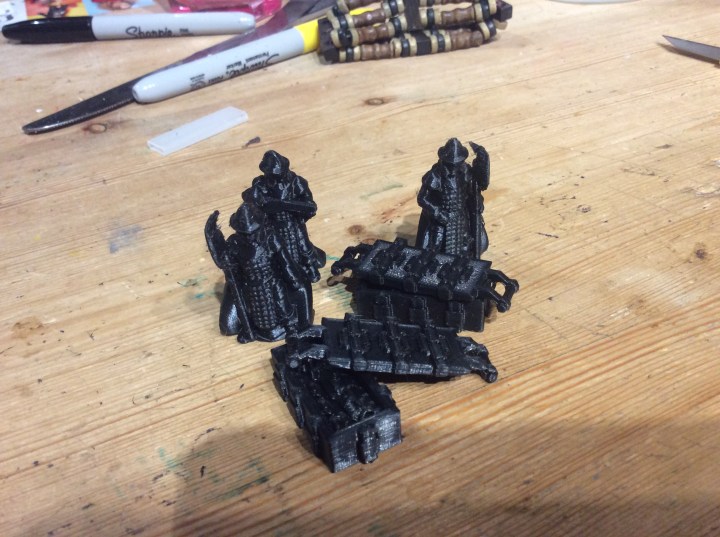
There was rather a lot of support… I may have gone overboard a bit 🤪🤪🤪
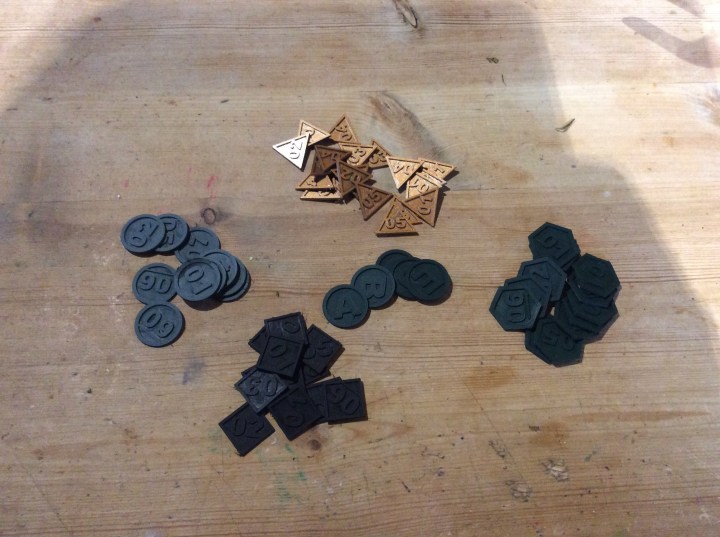
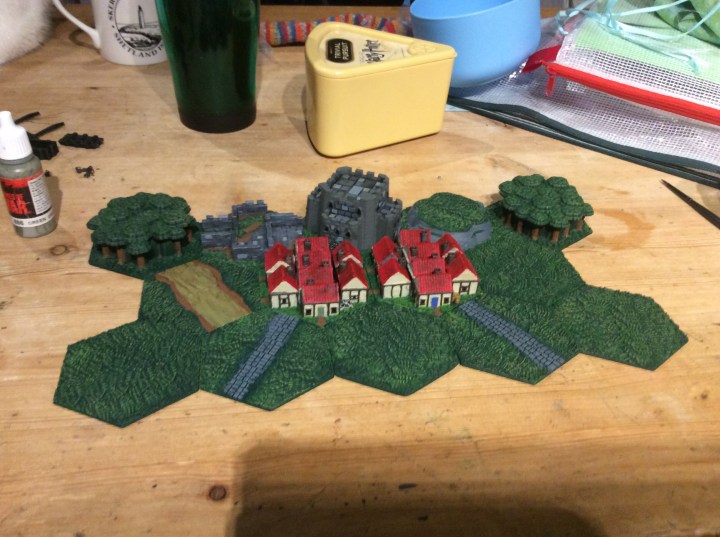
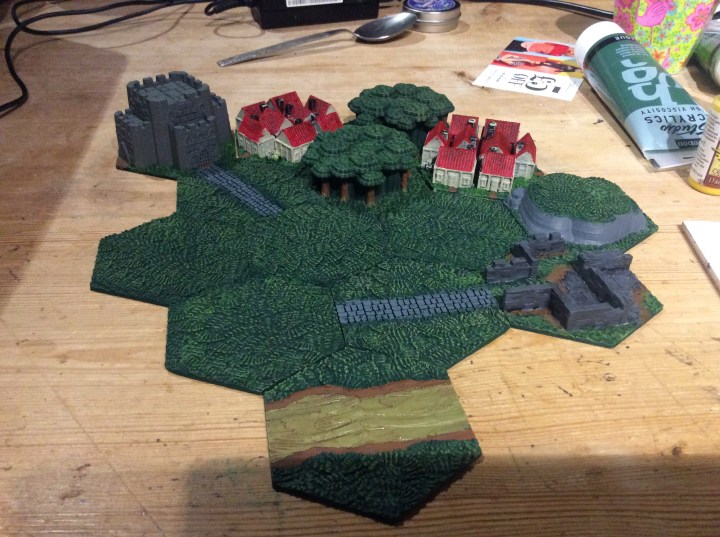
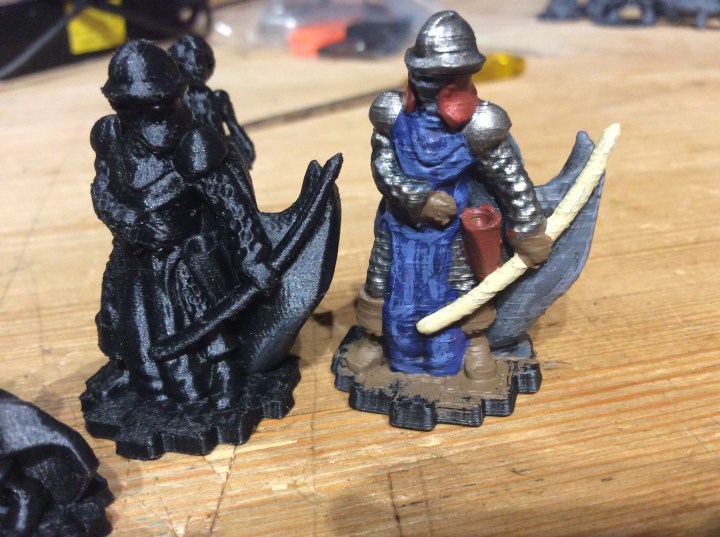
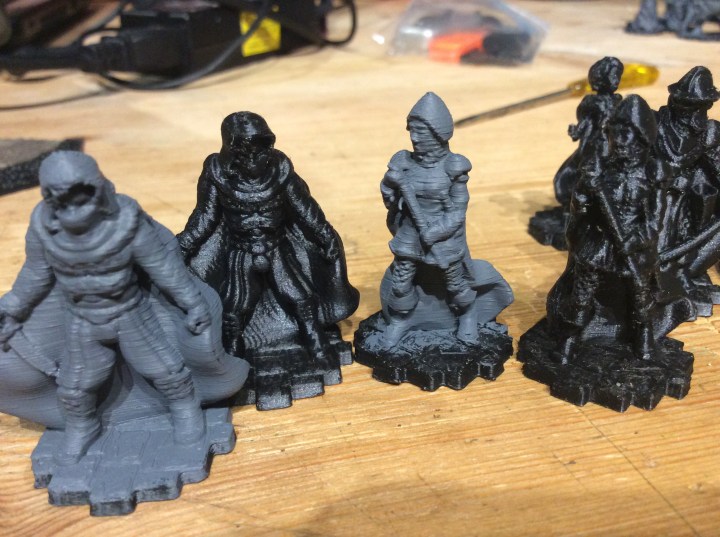
Here are a few of the recent ones undercoated…

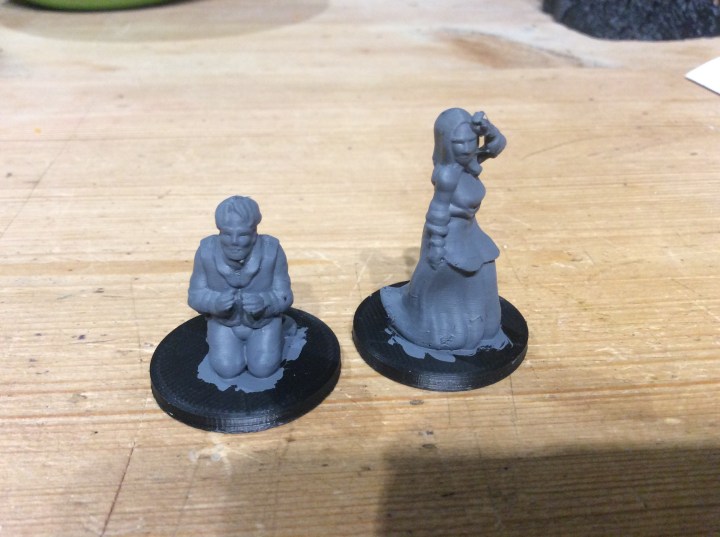
I am rather pleased with them. I got half way through painting the mage before I realised he needed cleaning up…. whoops! The baron has a few build lines, I must have forgotten to change the layer height when I sliced him.
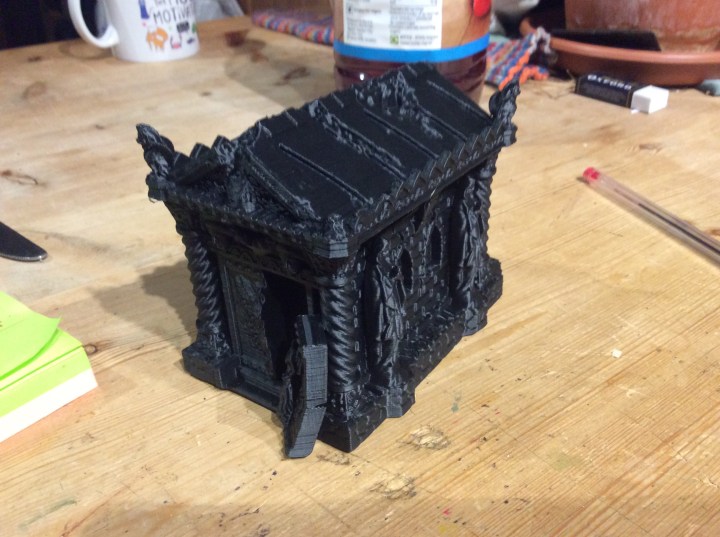
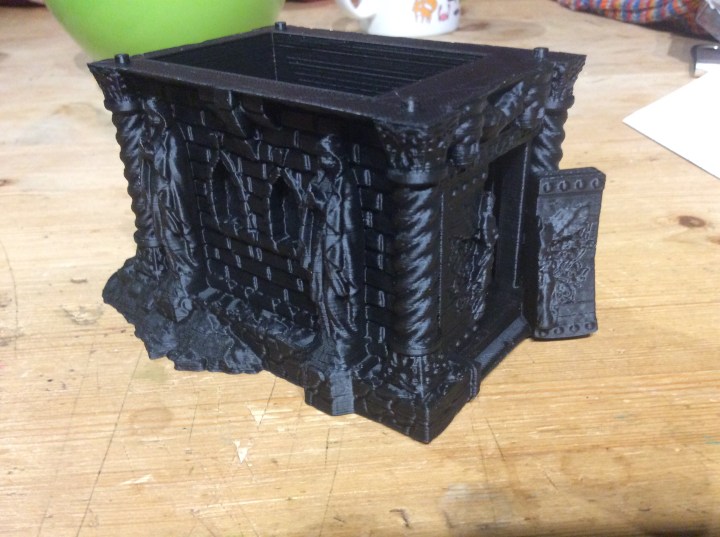
So … what next, well I have just started a 9 hour plus print of a ruined mausoleum… we will see how it comes out. I decided to print it at 0.2mm layers as opposed to 0.1. This speeded up the print by over an hour. The base weighs in at a whopping 85 grams… a whole £1.56 worth of PLA. That is if the printer doesn’t do something daft part way through.
I re levelled the bed again before starting on this one and the front and rear of the left hand side were a touch on the high side. Hopefully things will run smoothly overnight.
As the temperature has risen again I think I will take the printer back into the shed… it’s a bugger having to unplug the fridge every time I want a cup of tea 🙄.
I fully intended getting some more done on the elves tonight, but truth be told… I couldn’t be bothered.