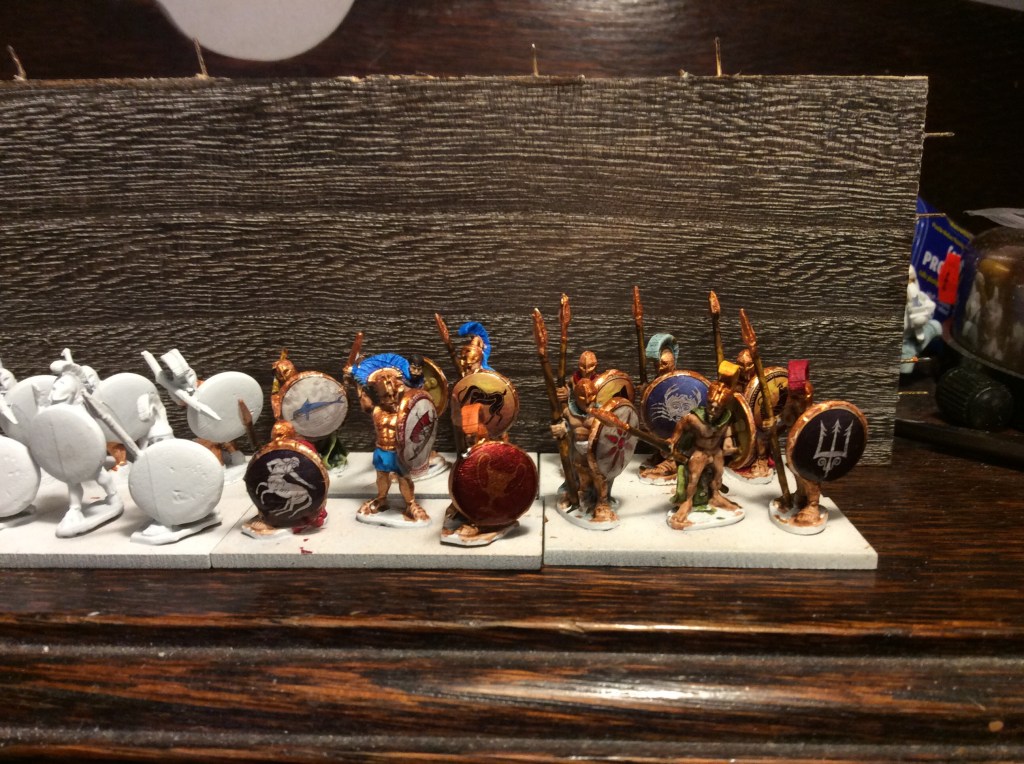
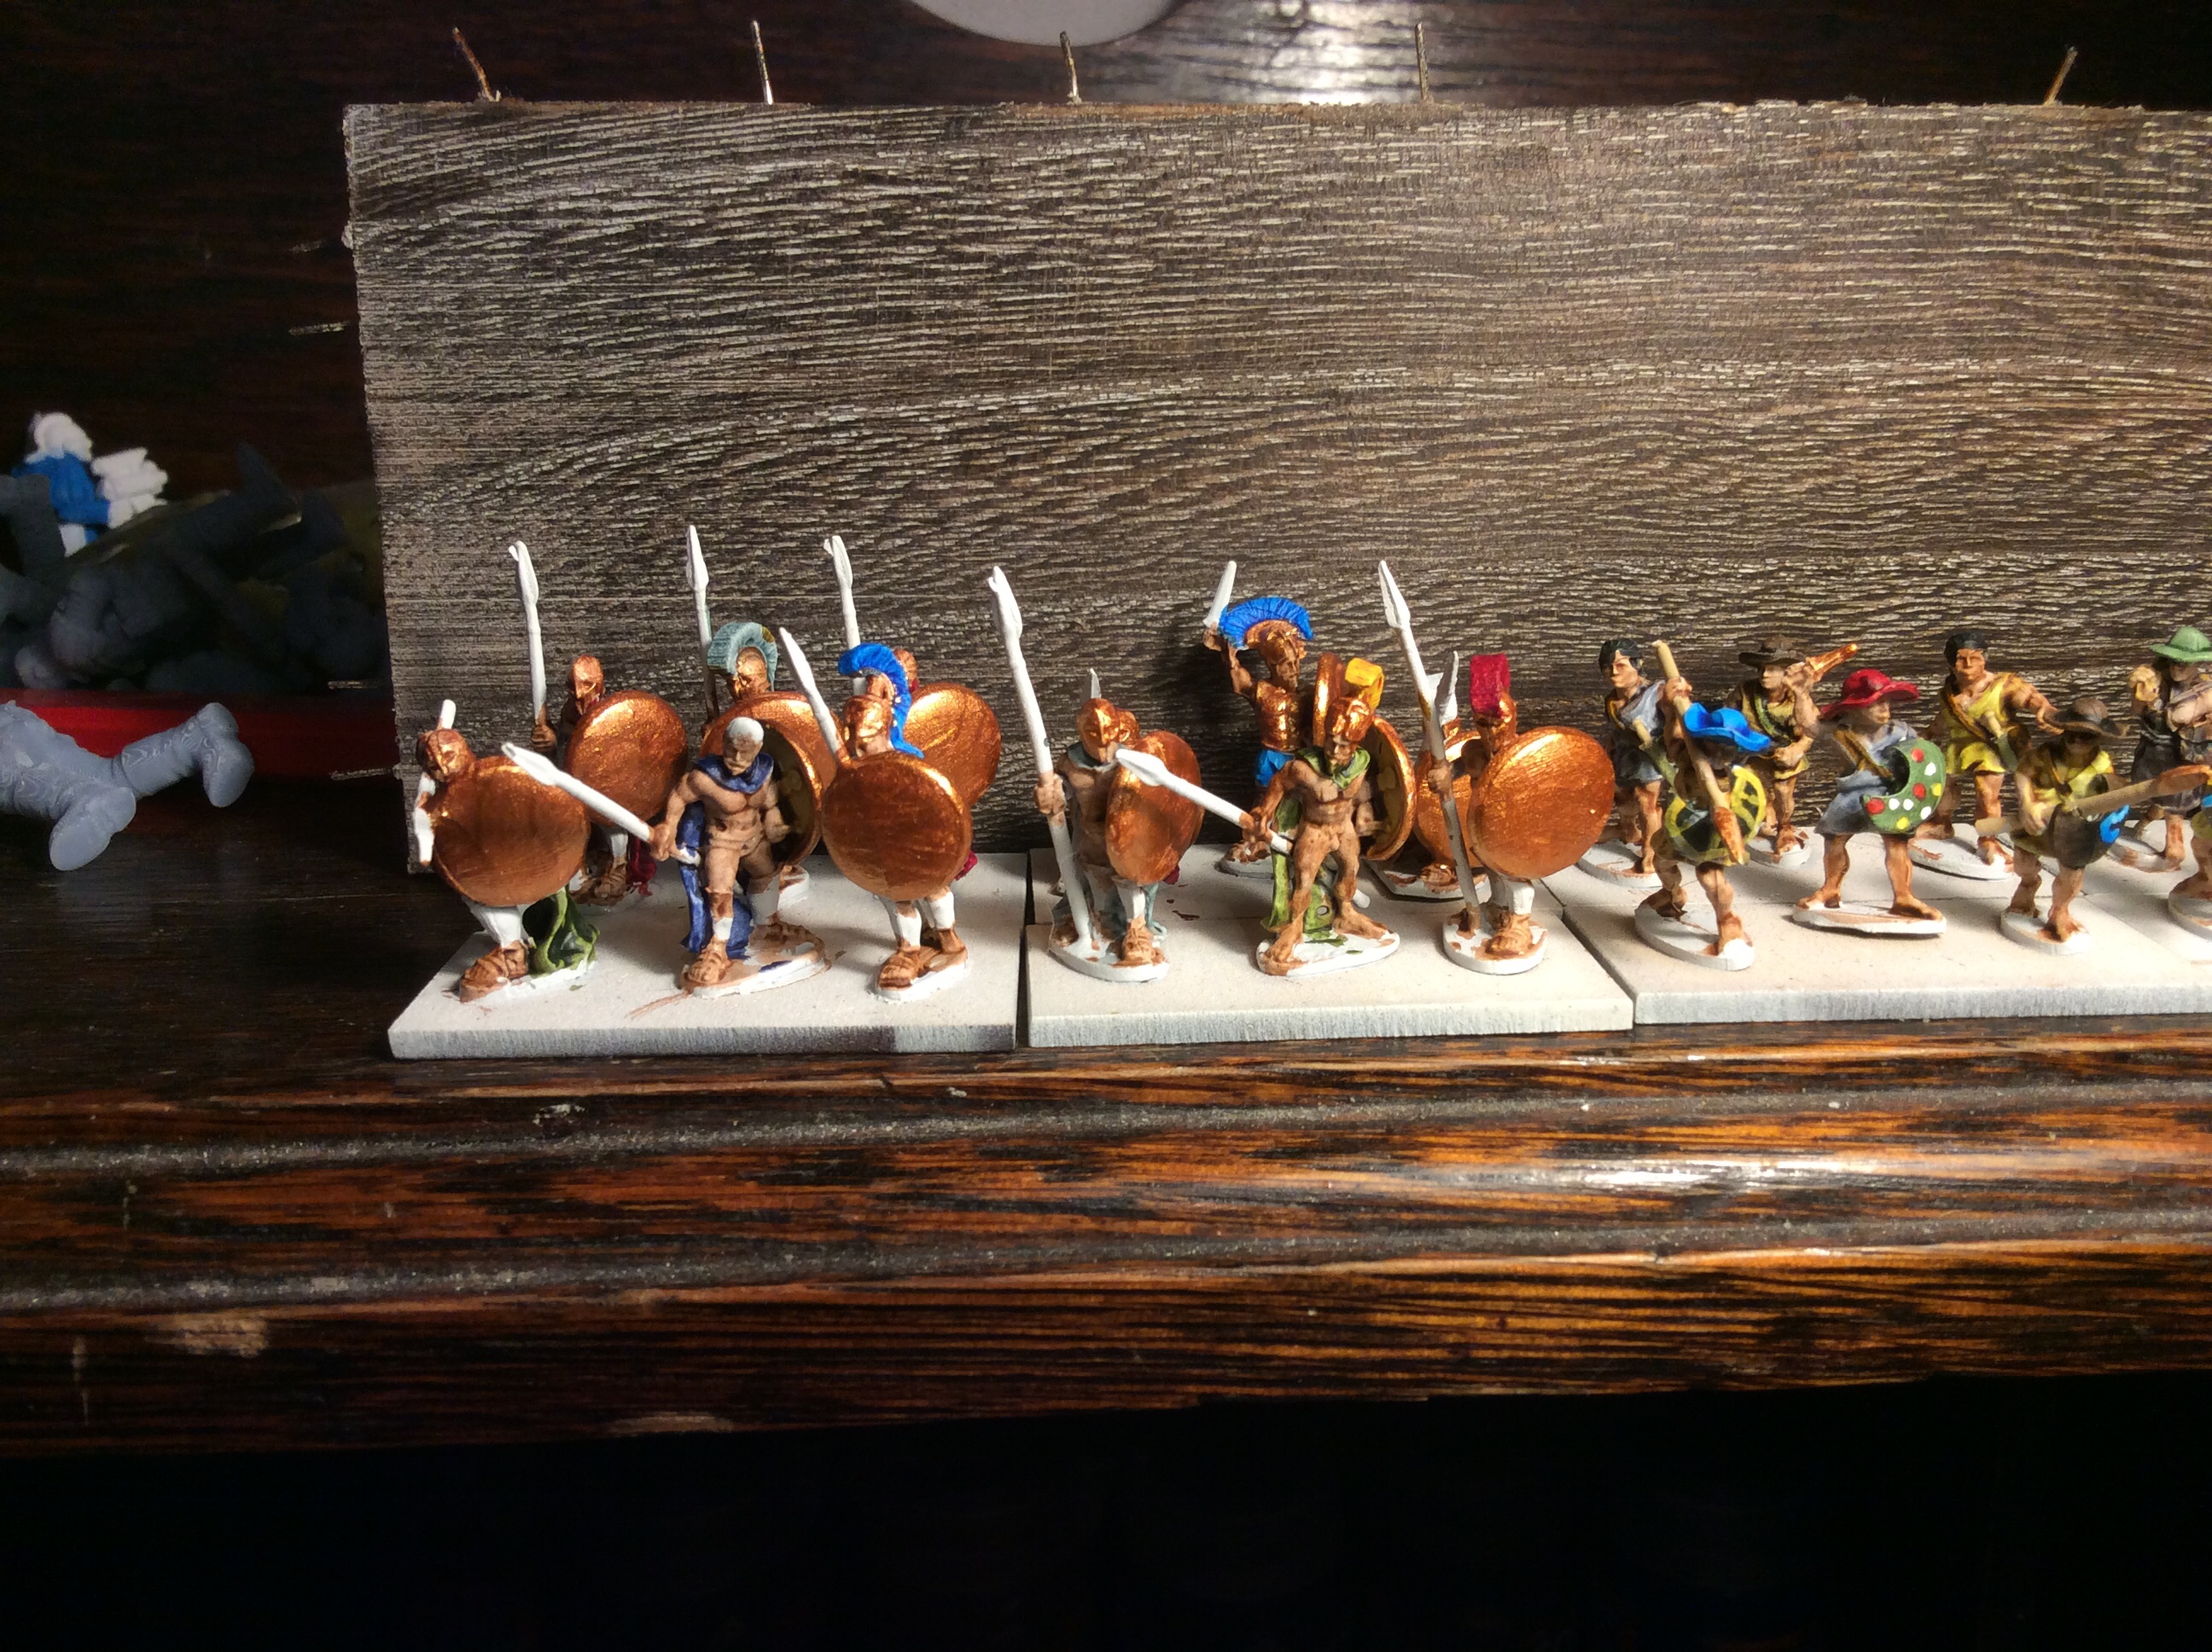
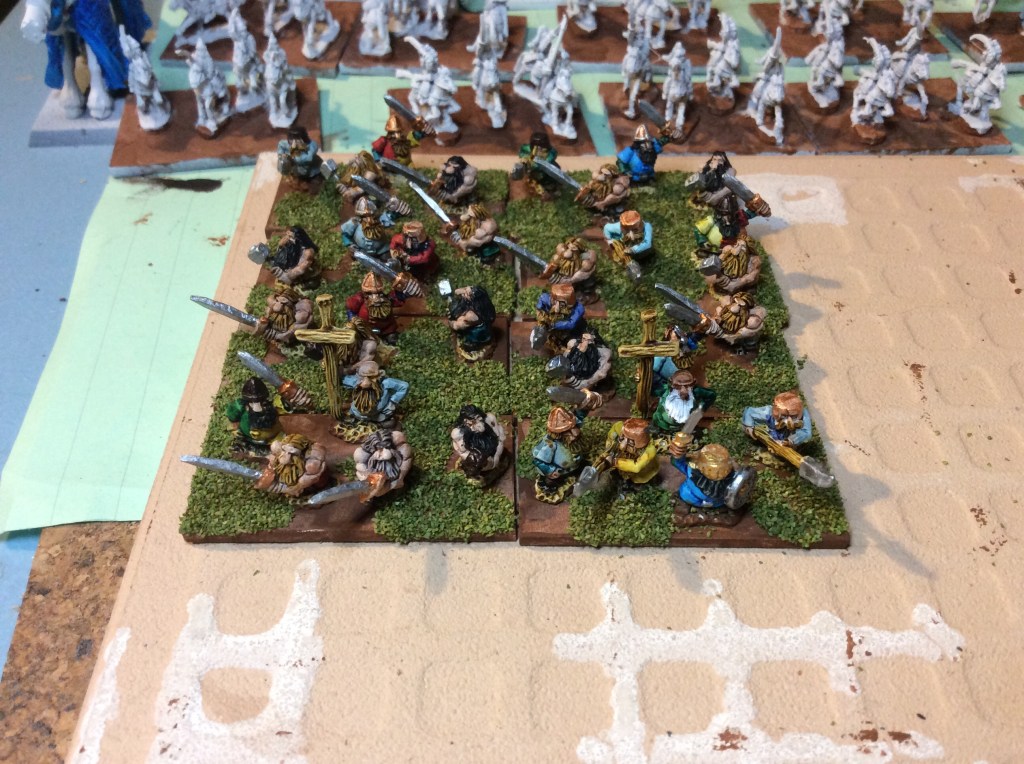
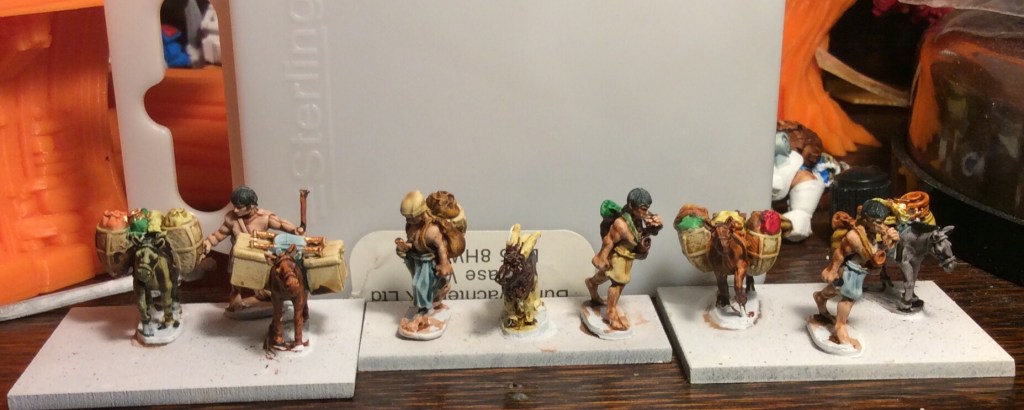
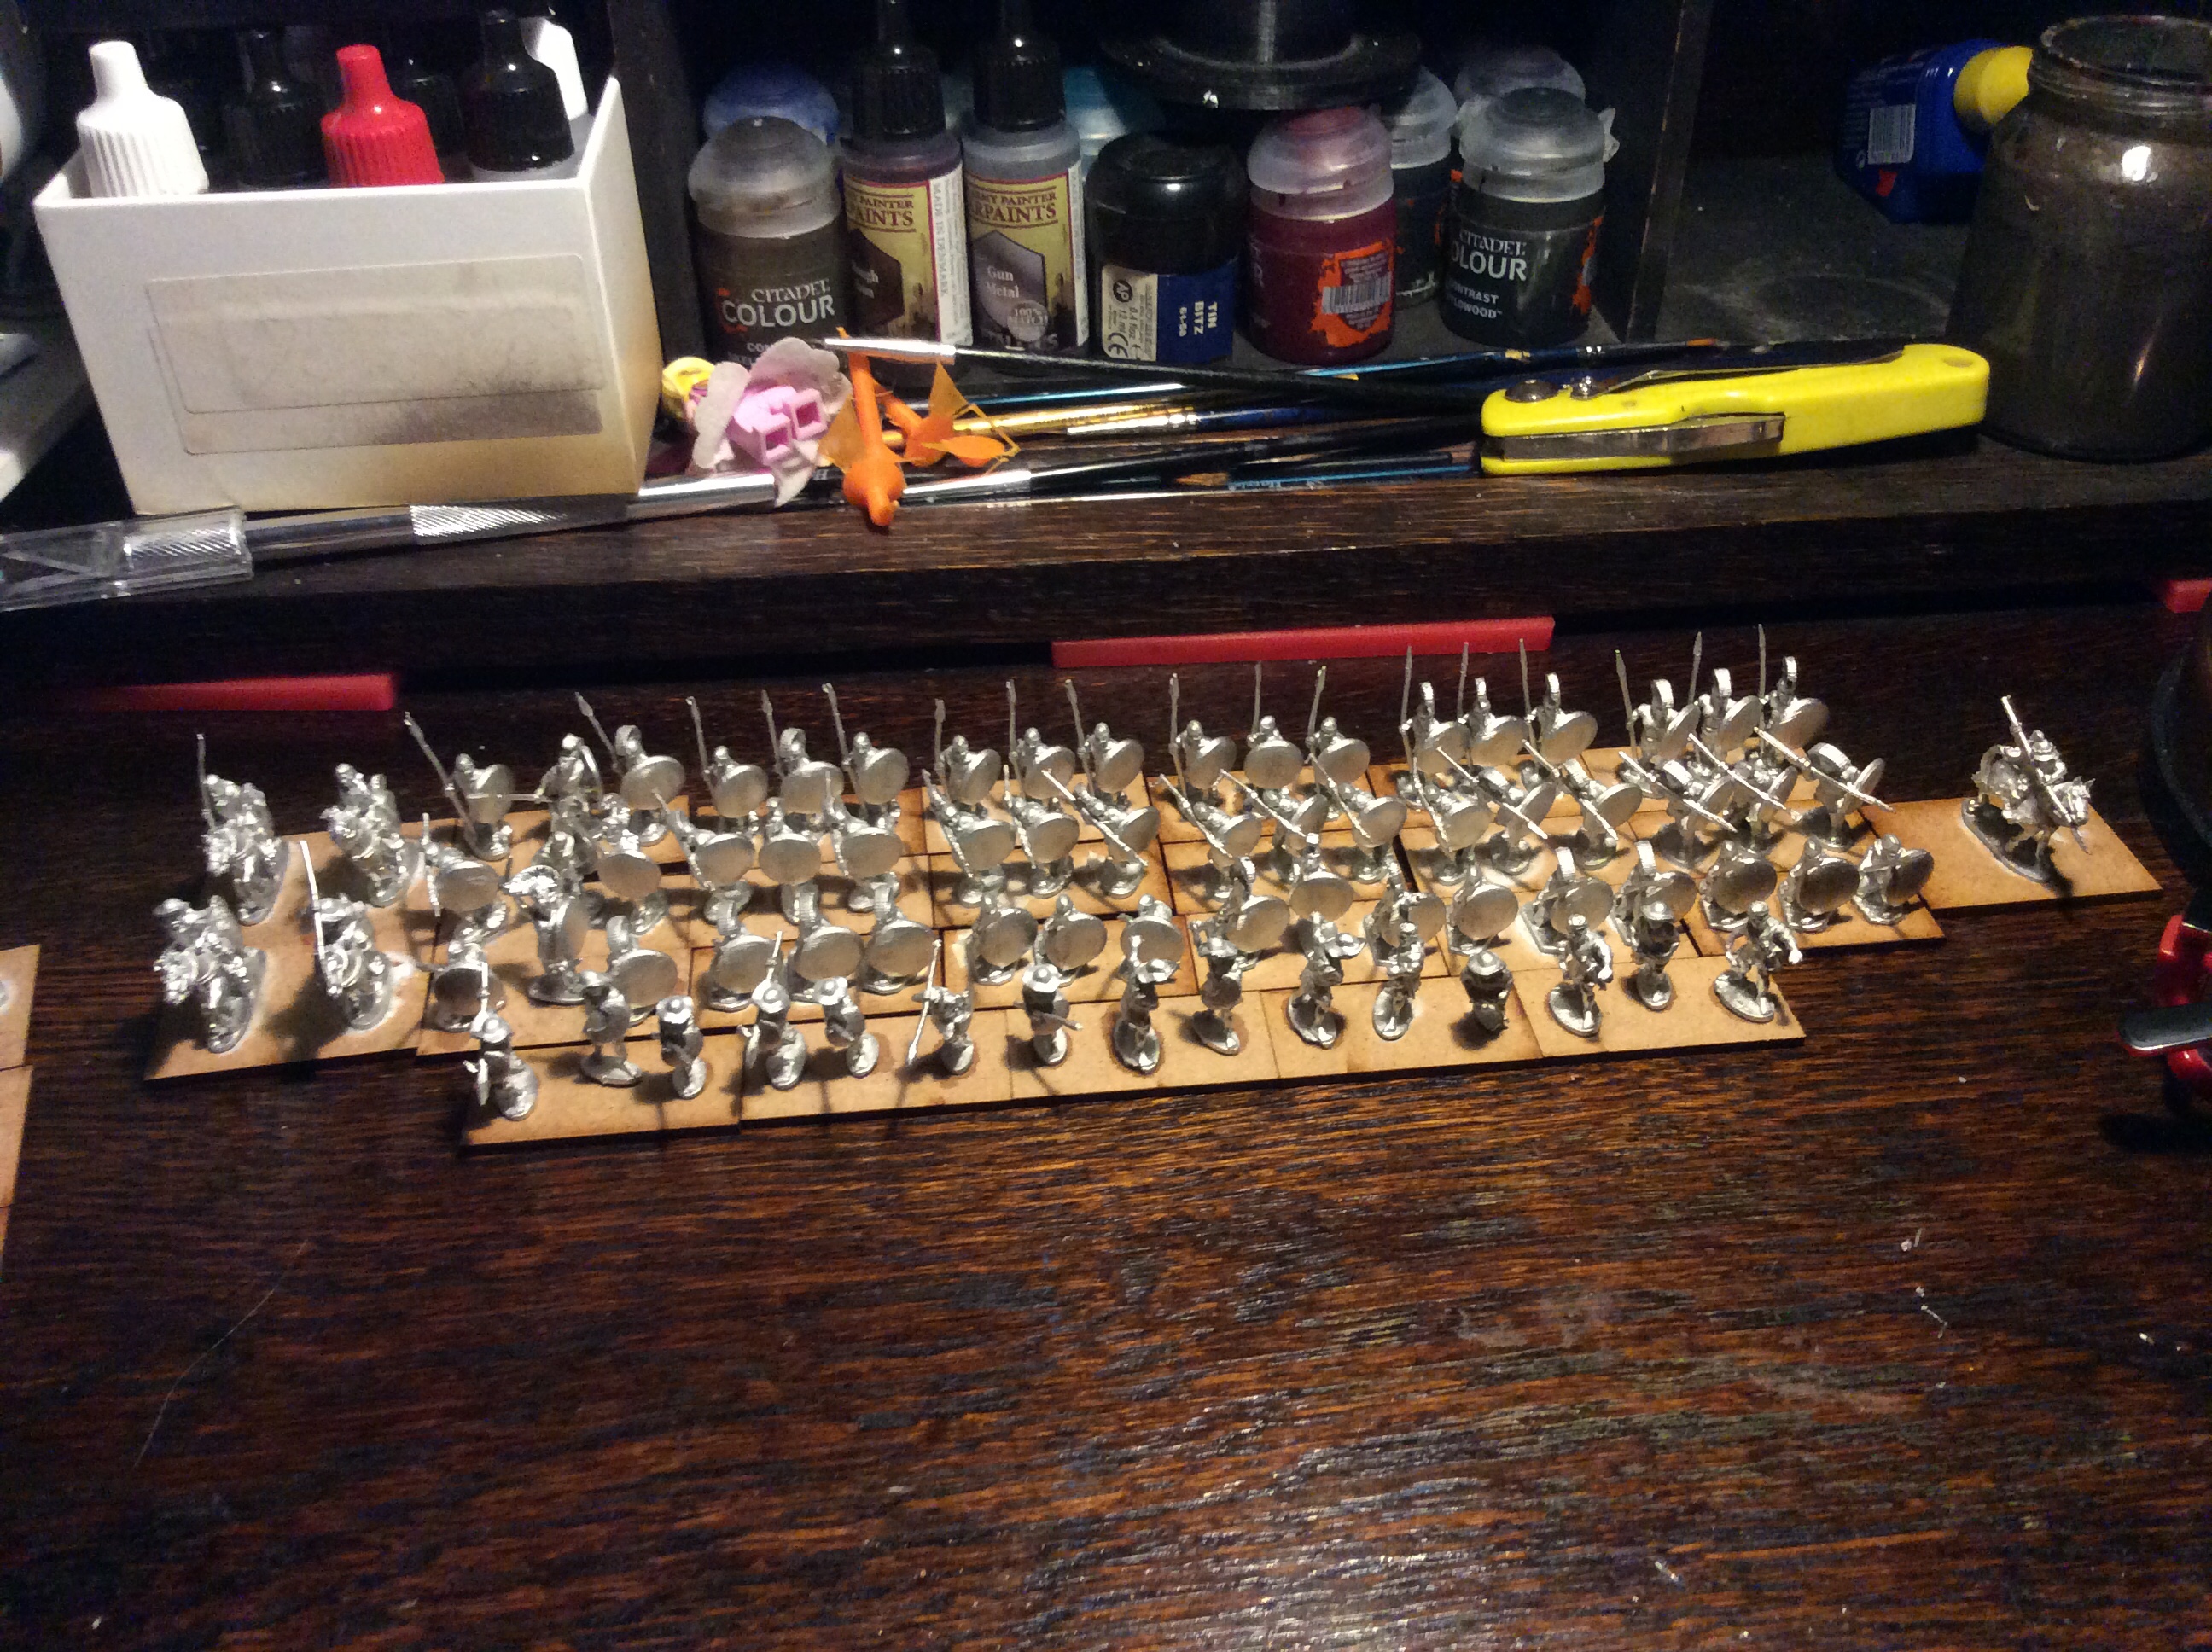
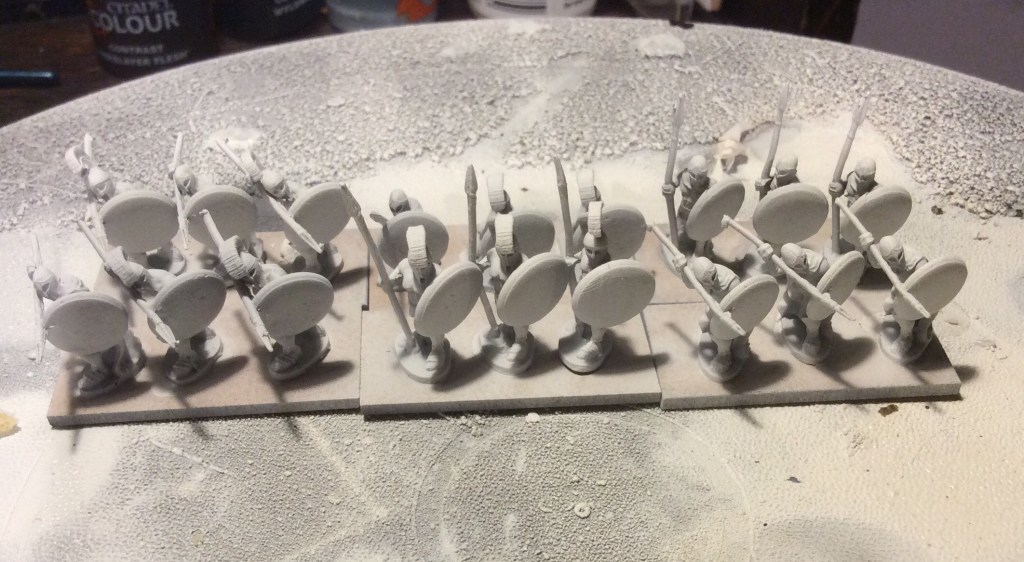
Tonight, I decided I was going to just go for it and got the next four bases done nearly to completion. There are a couple of white bits on a couple of hands and helmets but they are pretty much there…

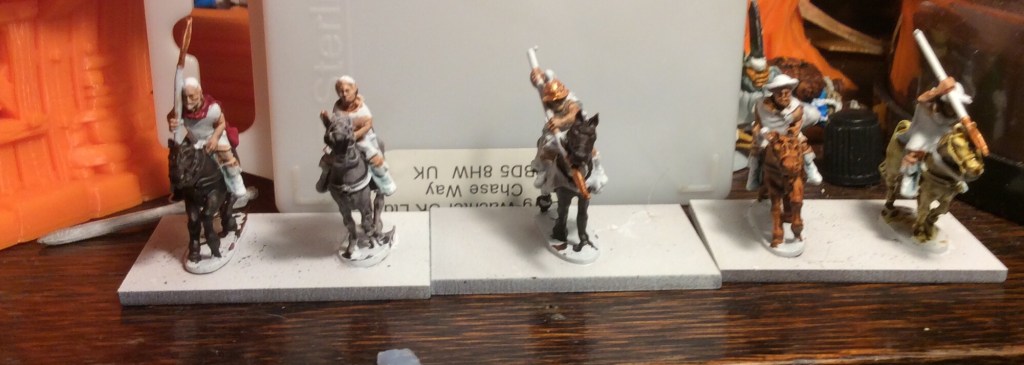
The new ones are the two by two block in the middle of the phalanx… yes I now have what feels like a phalanx 🙂. I have six bases left so I could add a third row to the above and have some form of depth.
These transfers are certainly growing on me, perhaps it is that these shields didn’t have annoying dory in the way so they went on easily. I am so pleased I forked out the money to get them, if I had hand painted anything on, like I have done in the past, then I would still be on the second base, not the twelfth.
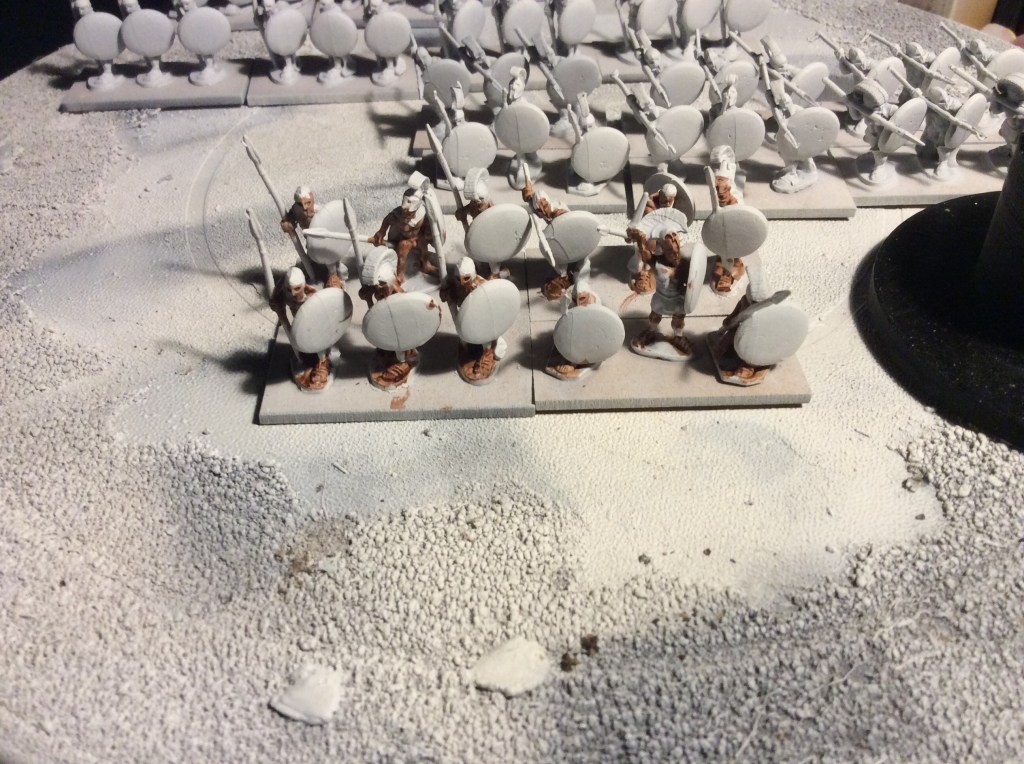
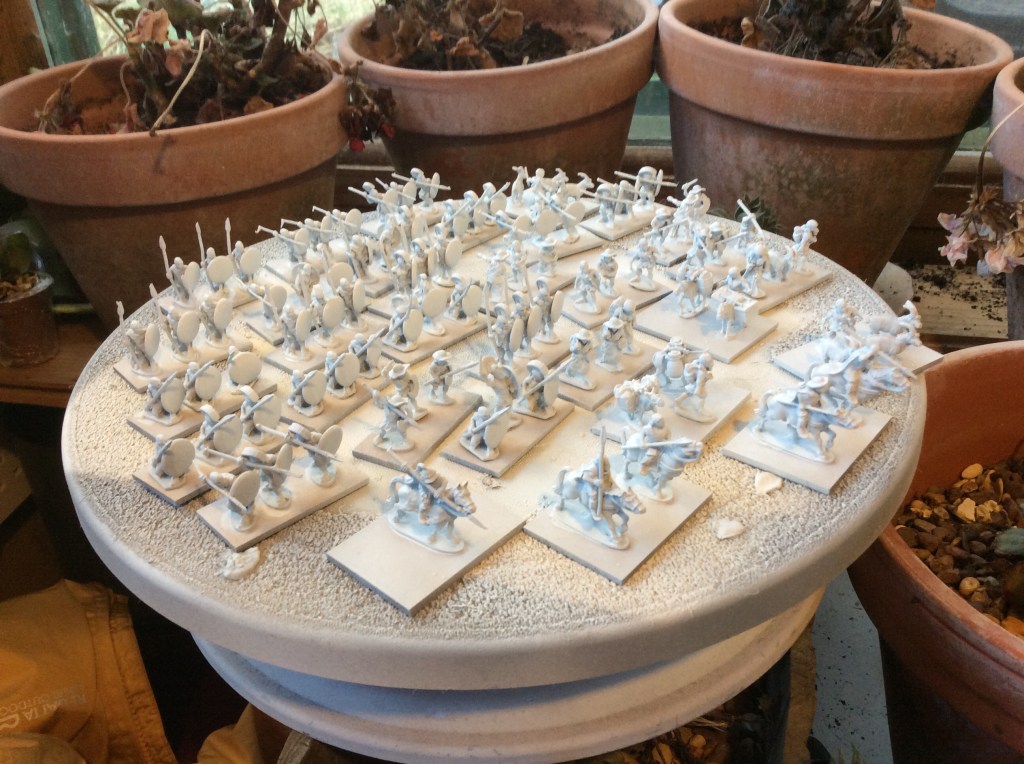
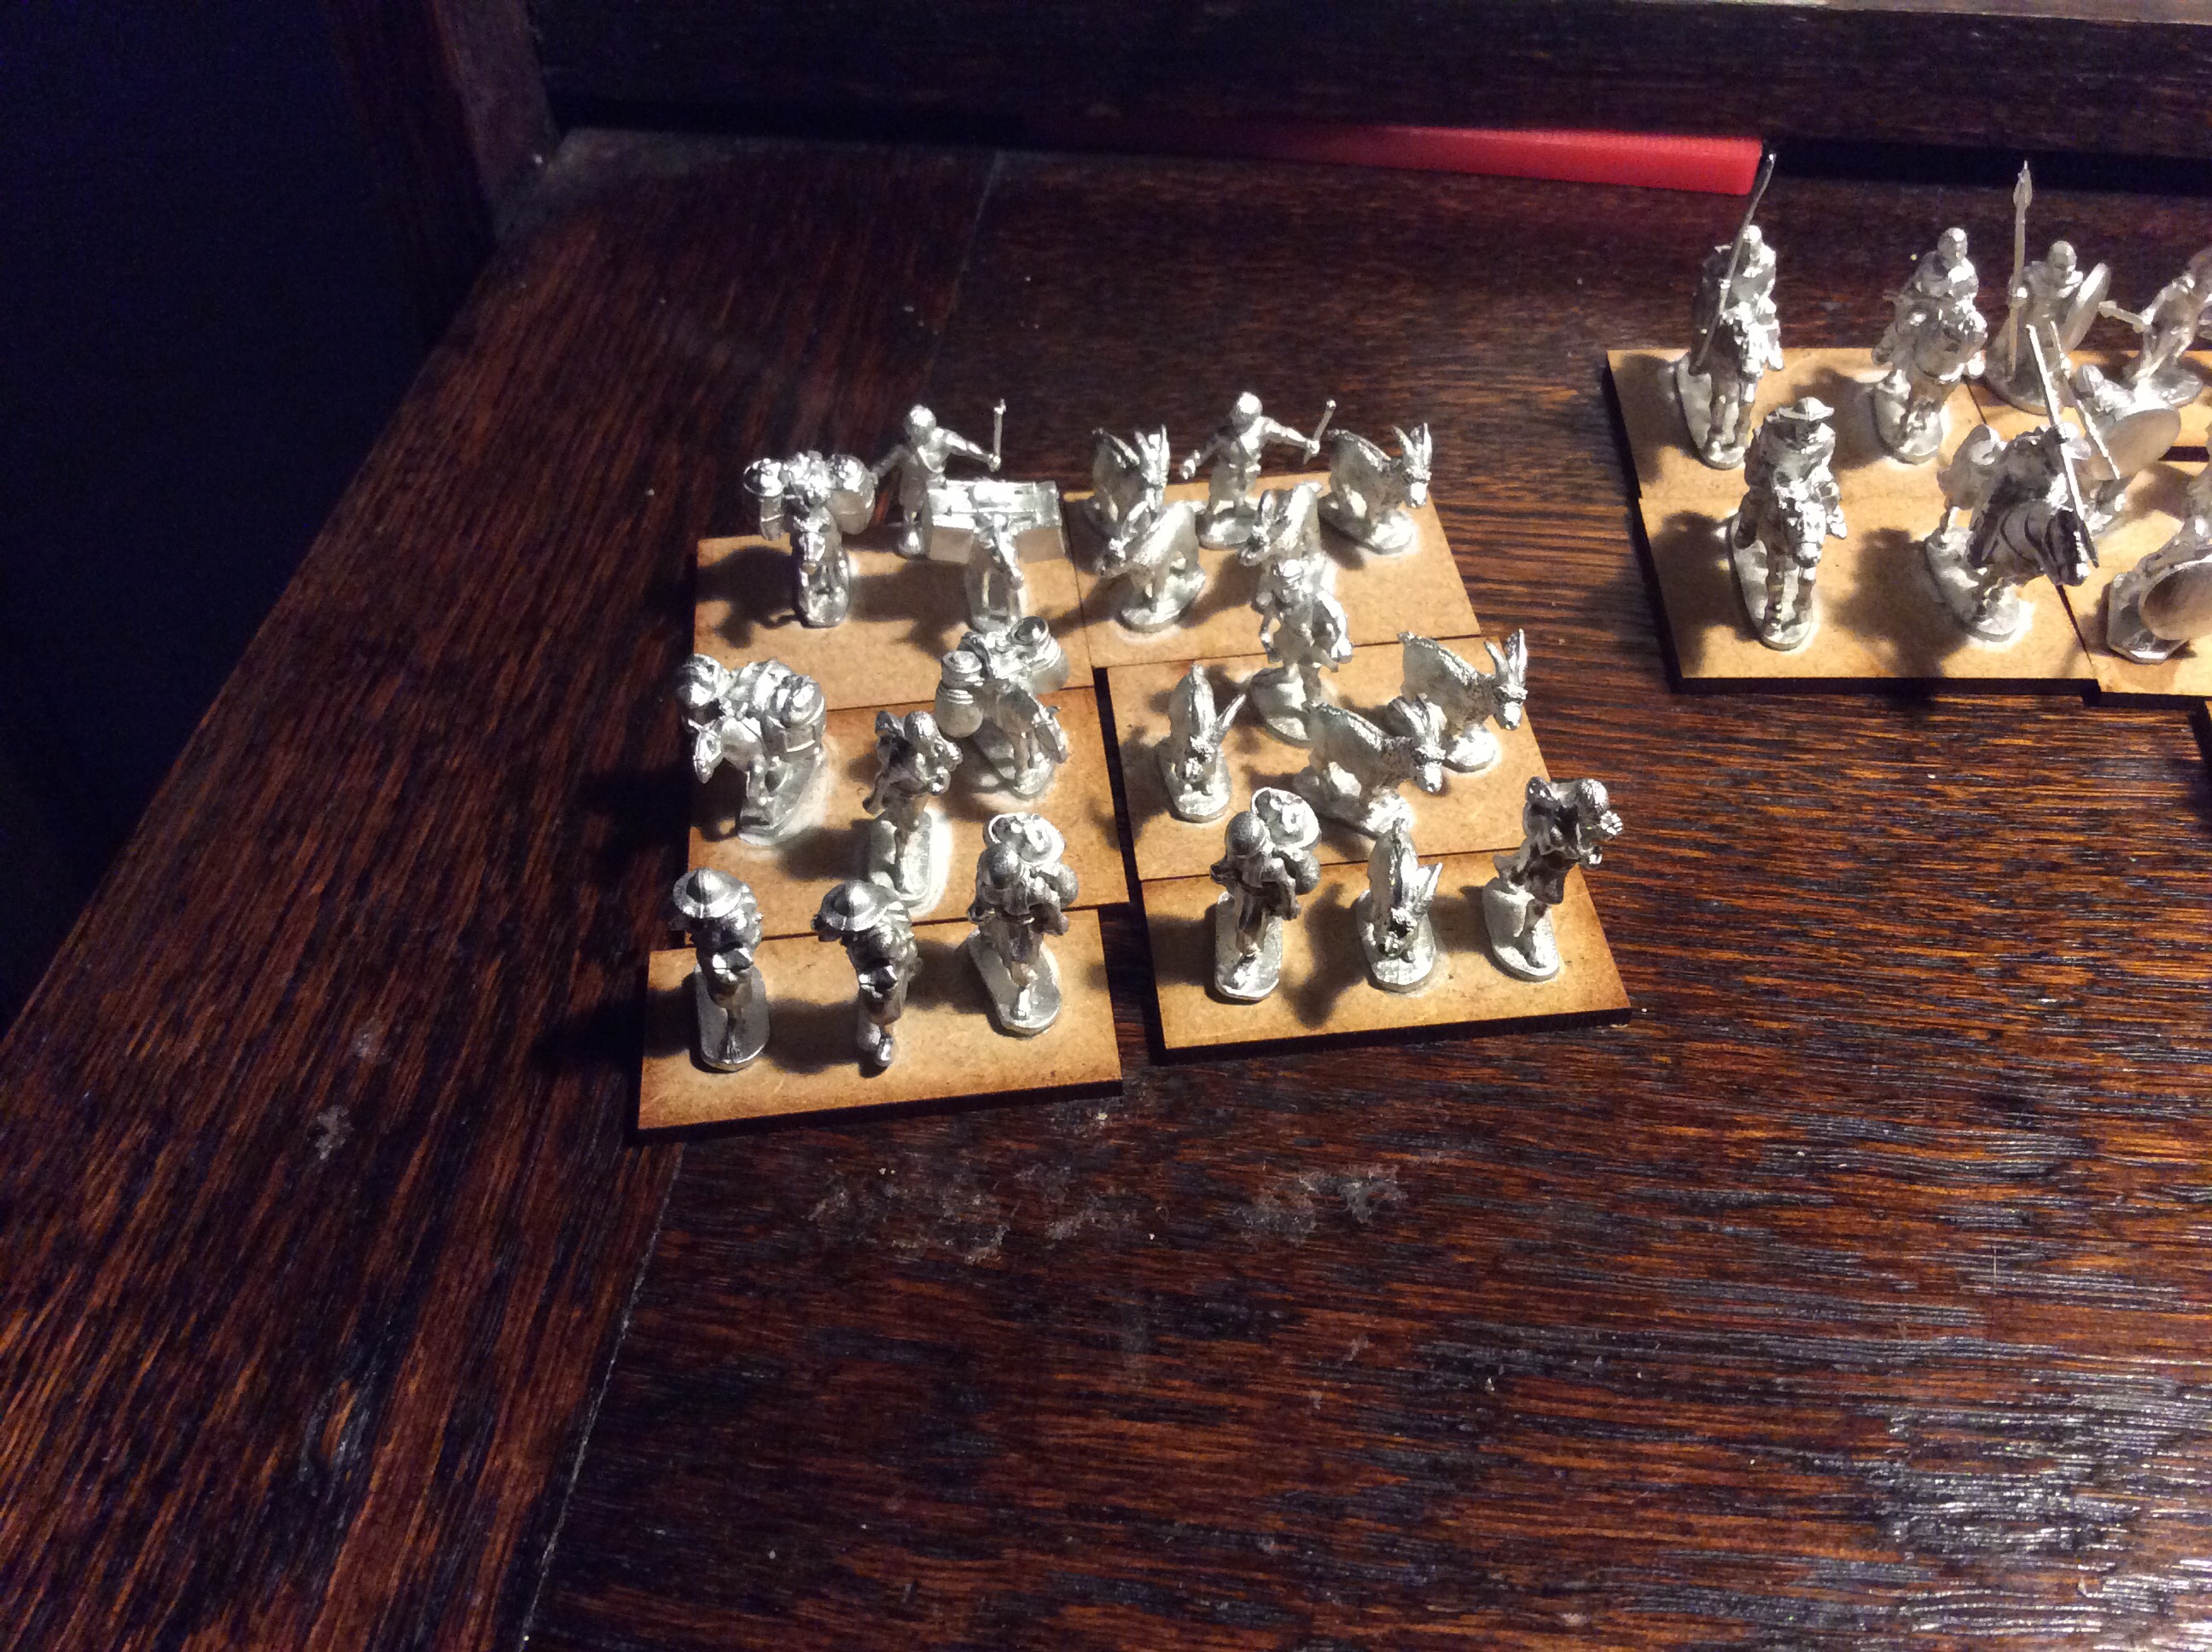
This is what I have left…
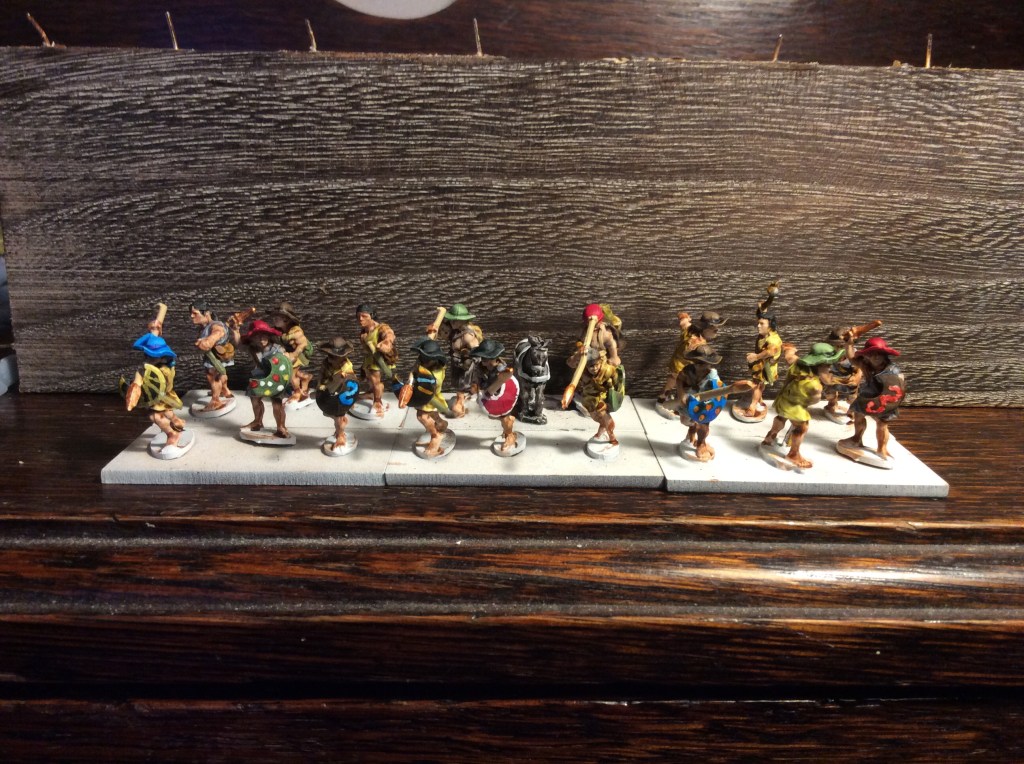
Now this army can fight my Greek undead or even Aztecs, but part of me thinks they really need to fight some Persians 🙄… that’s my birthday sorted out!
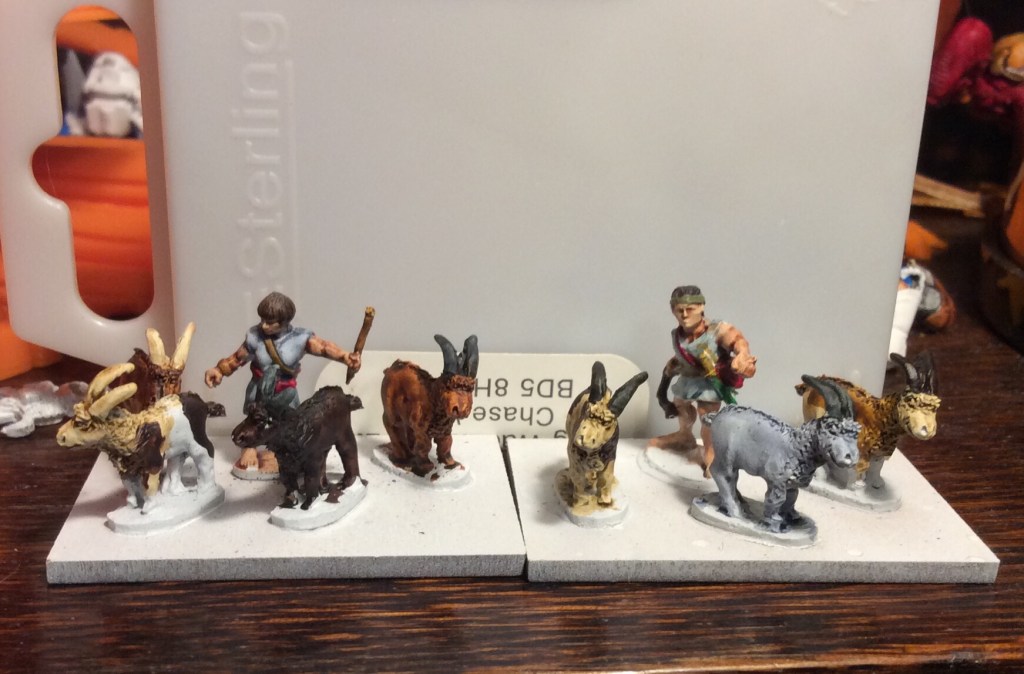
The Museum Miniatures z range Persians are really nice, there again so are their Indian range, okay my chaps are a bit early for excursions into the heart if India… but they do have elephants 😉.
Let’s see what Rabbit hole I fall down now….