Neglected Miniatures… Boots and Cloaks

I did a bit of painting this evening…

I managed to get a fair bit done on these tonight, well in the amount of time I had. Still a lot of shading and highlighting to do but I need to do the weapons, flesh tones and hair. Then onto the bases.

The velociraptors got a quick bit of blue, again that needs shading, but the smaller dinosaurs are using up the spare paint on the palette.

Then onto the infantry all 125 of them 😱. That reminds me I must buy some 20x40mm bases.

Neglected Miniatures…Manes and Tails

Only had a little bit of time tonight to do these. Part of the evening was looking for a new, second hand car and the rest was working out some more of my adventure for ‘The One Ring’ RPG.

Still a fair old way to go on these but a teeny bit of progress is indeed progress. They are at the old I really, really hate these stage. Part of it is because of the barding which to me isn’t really an Elvish thing, the other part is because I get to a certain point in most models and hate them. Probably they are still a bit messy. As each layer goes on they will get better and the happier I will get with them.

As I was drawing maps this evening my two youngest also drew maps. My daughter drew this one.

She has also decided to write a story based on the map.

My son also drew a map…

Evil Daddy told them to turn off technology, but they really enjoyed doing it so a win, win situation.

Neglected Miniatures…A Bit of Progress

I managed a smidge on the cavalry tonight…

I decided to do them all the same colour for the horses and the barding. The next question is what colour for the mane and tail.

As I was messing about with grey paint I decided to paint a pair of Troodon. A quick couple of minutes to get them done.

I will get some flock onto the base tomorrow.

I would have got some more done, but my good lady and I decided to watch ‘They Shall Not Grow Old’.

It really was amazing, I had seen some of the footage before, but obviously not in colour. I will watch it again soon.

Neglected Miniatures… Making a Start

Well I actually got my butt into gear and found some bases and got the cavalry and mages glued down and primed. Considering that these are 10mm they are amazingly detailed.

These are just primed with some Coat D’arms rust colour. I am still in two minds whether to make the riders a uniform colour or not.

I could do the barding all the same colour then add in a bit of differentiation into the cloaks and tunics.

I will have to wait and see until tomorrow. I had better watch the hobbit again to get some ideas of Mirkwood Elves.

Graveyard…Just About Finished

I may decide to add some variation to the main grass, I will have to see.

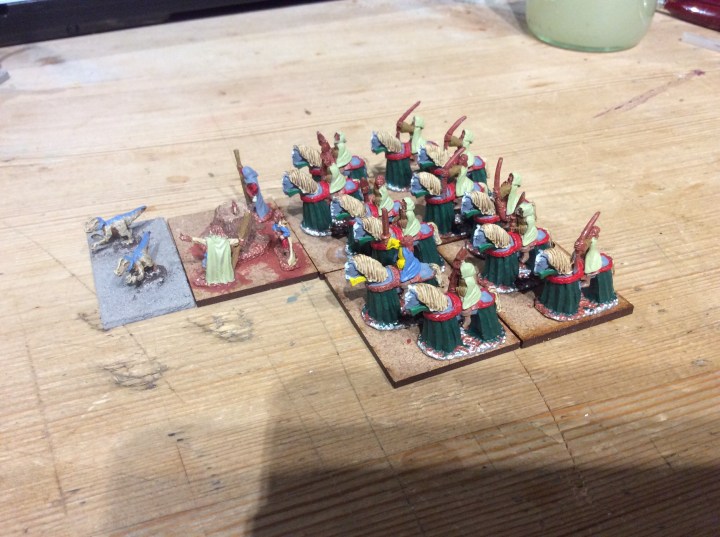
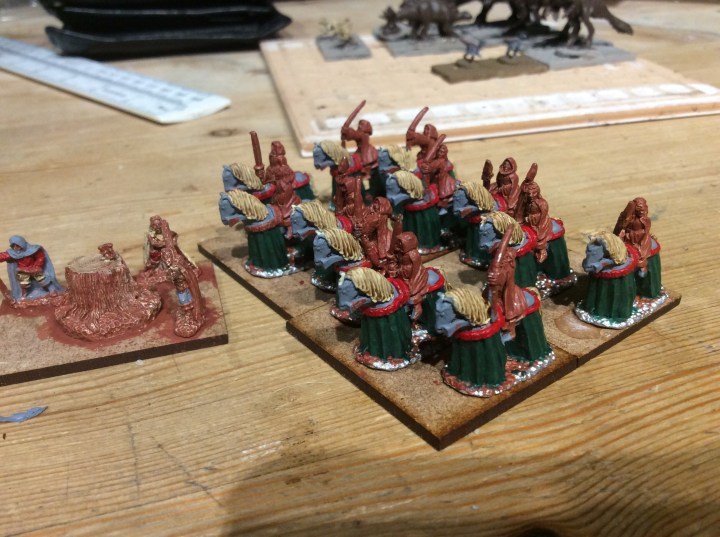
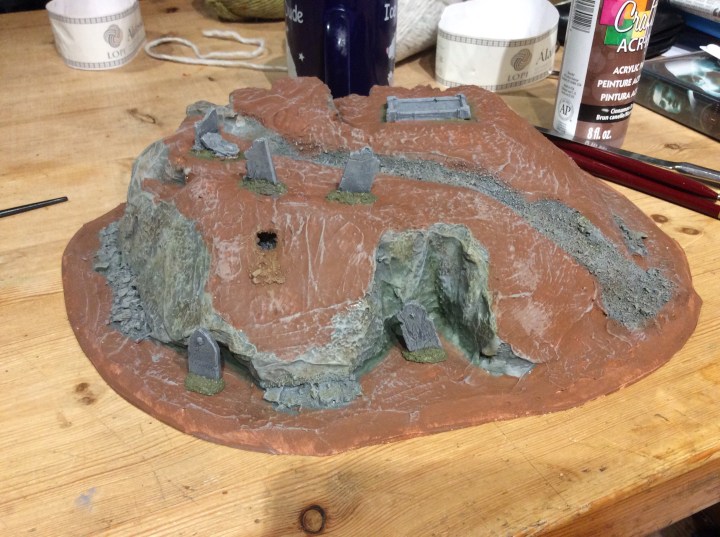
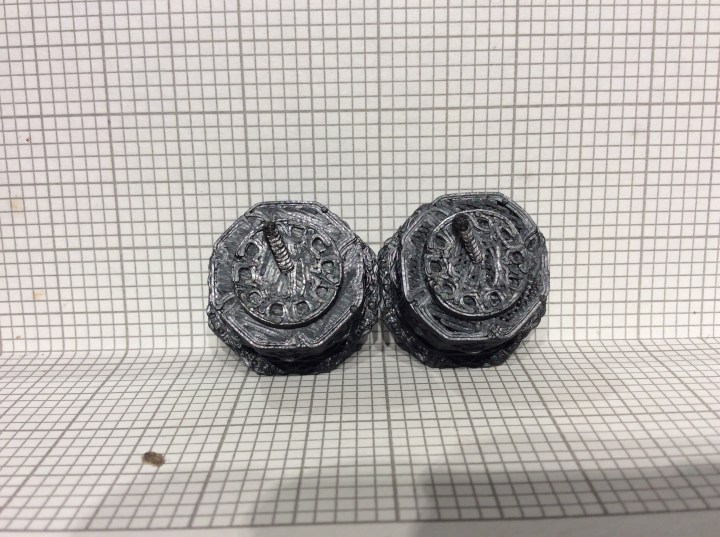
But to be honest, I am happy that I have gone from this…
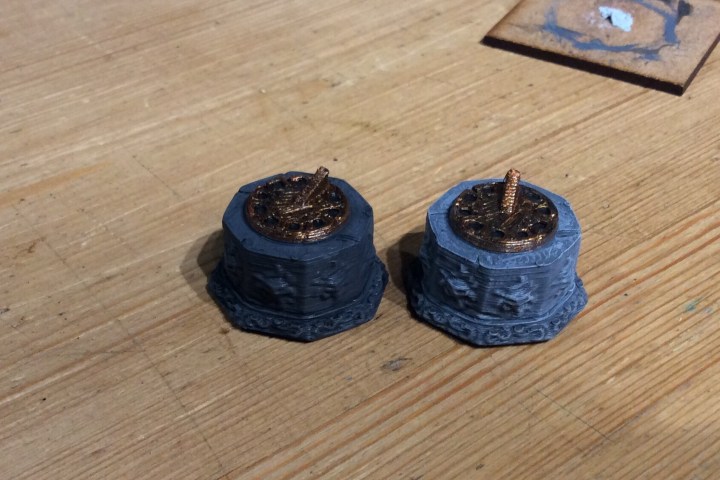
To this…

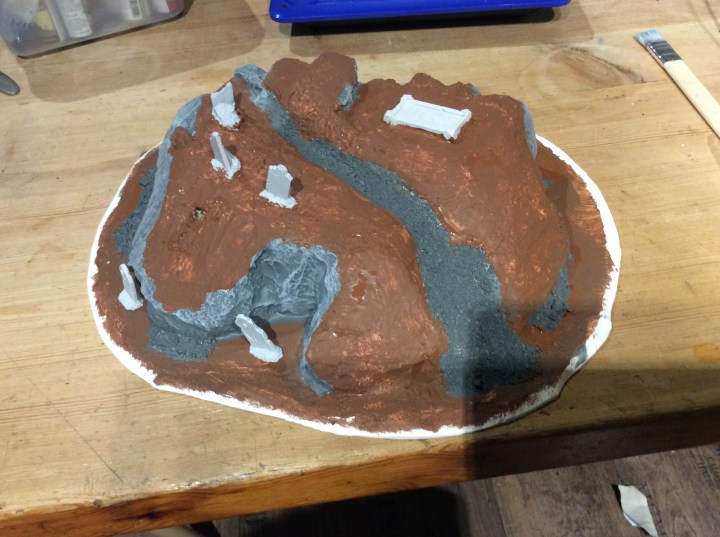
This build is a bit like the dark side of the moon in places, no-one has seen the other side, so here you go, the dark side of the hill…

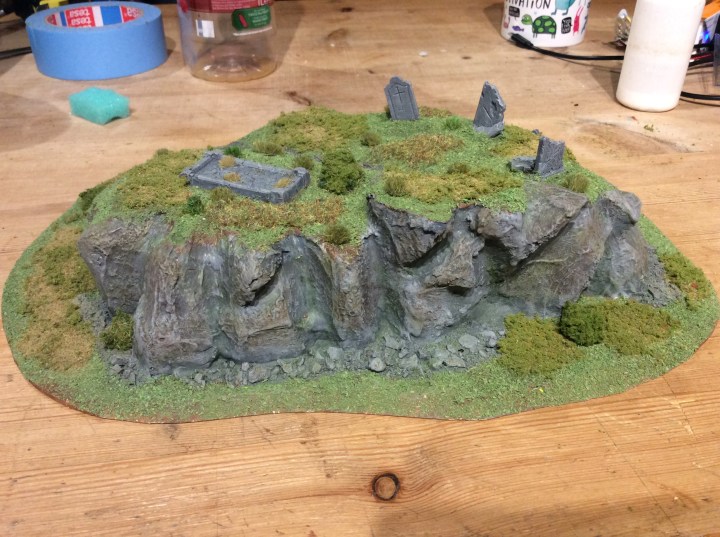
To be frank, it isn’t that exciting… but it is a nicely defendable spot, unless the enemy can fly.

So what do I think about it? Well it is pretty much looking like I had pictured it in my head, except in my head the top was bigger with a few more graves on it. I had to compromise as I was tied by the EPVC for the base.

The rabbit hole and skull was a happy accident. There were a few large holes in the foam. Some of them I filled, but this I left because of it’s location. Rabbits are a bugger for digging up Archaeology so the idea was born. I painted the inside black and then threw some PVA down and covered it in basing grit. I fully intended to paint it, but once it was dry I found I liked the colour so left it as is.

So where next? 🤔

I reckon a bit of tidying up on some of the Earth colour wouldn’t go amiss and as said earlier a bit of contrast in the main areas of grass would break things up a bit too. I also need to get this sprayed with watered down PVA.

I feel the urge to do some more scatter pieces involving gravestones. As mentioned in an earlier post I intend to put them on irregular shaped bases as opposed to CD types. I would like to do some Yew trees as they are very graveyardy trees… probably not for the January challenge, but sometime in the future.

I ordered a mausoleum for the 3D printer but until I get the laptop fixed (it is off being sorted) I can’t convert it into the necessary gcode required. Hopefully it will get sorted ASAP as I want to play with my printer again 😞

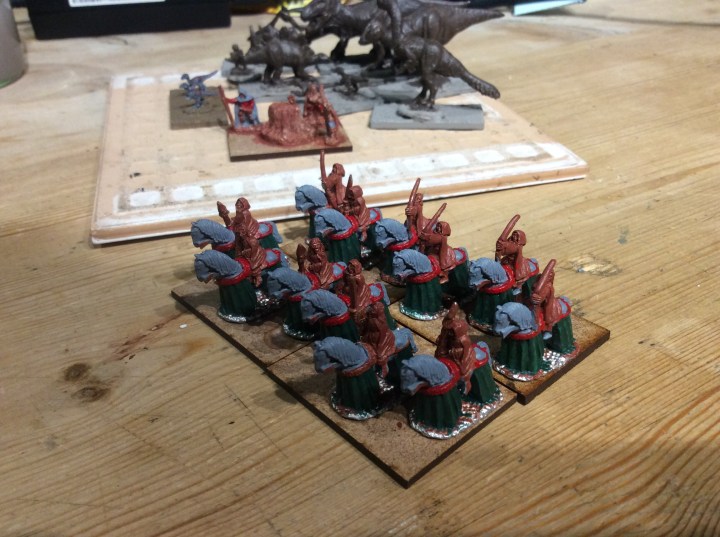
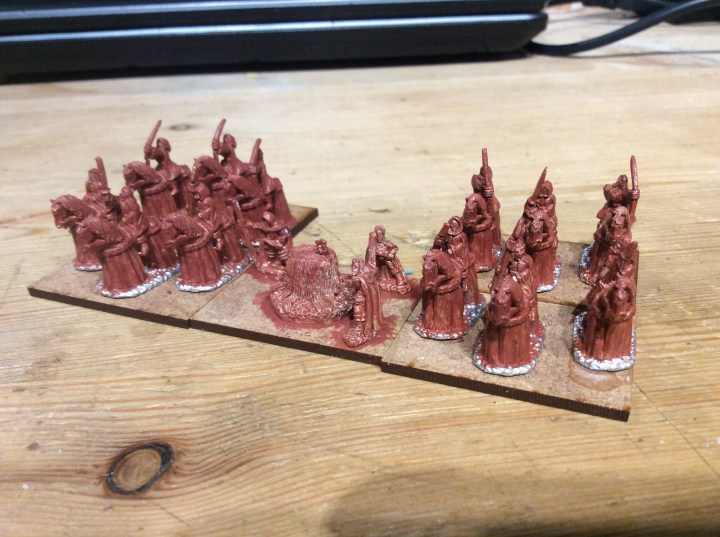
I quite fancy painting up my 15mm Lizardmen I won at the HOTT competition. But terrain first methinks then onto painting minis next.

Graveyard With Grass

Well I started on the grass tonight… I did have a bit of a panic as I was running out of my small indoor pot. Luckily I still had a fair bit out in the shed. Why the panic? This was the flock I made myself and I haven’t a clue what colour I used to get the green.

I am doing it in a few stages. The top first and then around the hill when the top dries. This green is a base level. There will be lots of textures and colours over the top of this.

I did totally balls up by covering over the spoil from the rabbit hole, but in hindsight, putting the spoil over the grass would be more realistic.

The damp bit has a lot of dark and bright green as well as some tussocks in there, not that you can really see in this photo. The bushes are not stuck down, I was trying to get an idea of what would look good. There is also a climbing plant in the damp alcove.

This is made from rubberised horse hair (or coir matting in this case) PVA was glued in random spots and then the thing was dipped in foam flock. This is very fragile at the moment and needs a dam good coating in watered down PVA to strengthen it up. It’s not a very big bush, as those are 2 mm squares. It is roughly 4cm by 2cm.

As a total aside, I caused a bit of consternation and hilarity at the yard after bringing the horse in. I informed a lady that I was having difficulties getting it up!

Luckily she realised I meant that I couldn’t get the wet horse rug over the top of the stall wall. Well if I find a packet of viagra in my tack box then I reckon she didn’t know what I was talking about.

Tomorrow I will finish of the grass layer on the base, then make a start on the next layers.

Graveyard… Looking a bit Better

I got a bit more done on the graveyard tonight…

It is starting to get there, I cleaned the brush off on the brown hence the weird grey pattern. The brown will be covered in flock so I am not too concerned about it. The deep recess in the front will be wet. The idea is to get reeds and tussocks in there.

The next problem is what colour flock to use, I will have to have a mooch about to see what I have in the shed. I will need some static grass tufts as my intention is that it will be overgrown and uncared for.

I think I still have plenty of stuff to make bushes and scrub.

There will also be other bits of graveyard to be used as scatter terrain. I think I will go for irregular shapes as opposed to old CD’s.

I will get the flock on tomorrow.

I forgot to mention the first of the Fire festivals took place on Friday. There are some very good drone and video footage, mine was time lapsed with the tablet.

We didn’t go down to watch the boat burn on the water, but this is a photo from a couple of years ago.

It’s not the biggest, but to be honest it is my favourite. It’s handy we can sit at my mates house and watch the procession go past.

Graveyard looking Naff

Well it is now at the yucky Naff stage, I had to it the brown base coat to help cover the white, I will lighten it up a bit but most of it will be covered with flock.

This layer has PVA added to help it bond with the bottom layer.

Hopefully some tidying up will help it look better. I will dry brush the fallen rocks and lower part of the cliff face when this lot has dried. When I paint it tomorrow I will not use the half inch brush I used today 😱

Graveyard A Teeny Bit of Progress

As it says… a teeny bit of progress.

I managed to get a lighter grey onto the cliff faces…. bizarrely after putting on the light grey layer I noticed some white spots where the dark grey hadn’t covered. One would imagine that the dark grey layer would have made it more noticeable.

I didn’t get much chance to get much more done as I was messing about, trying to get the printer to print something, I managed a wheel and a half. The PLA just wouldn’t adhere to the base.

The other reason is this… I spent ages reading it from cover to cover and then working out how things worked. I got the little tokens that go with the game, six each so enough for more than one tank aside.

Mark A. Morin I am laying the blame squarely at your door 😉 I wasn’t interested in tank battles until your blog got me interested.

The question I am working on is what year and what theatre, followed by what Scale. I can run 15mm Normandy onwards as I still have some Flames of War armour knocking about. From what I remember I have three M4’S a couple of Stug’s and a Mk1V.

I do quite fancy the desert war, but that will incur extra costs. I could become really awesome at 3D printing as I have found a whole host of 1/100 scale tanks not to mention 1/56 scale too. A cheaper, quicker option is to go 10mm, I have terrain and it will fit my small house better. I might see about getting a couple of smaller tanks to see how they look.

I do have a whole host of 1944 Germans and Americans but in 6mm, but I do think they are a bit on the small side. I will give the 10mm a go and take it from there. I am kicking myself that I never bought all of those really cheap Flames of War tanks I saw on Ebay when the rules became less popular.

3D Printer Test 4

I had another mess around with the printer today. I decided to tighten the belt on the x axis. It has made a difference to the shape of the models.

The one on the left is more oval. I think that the one on the right is still out slightly but it has definitely caused a change.

I also tried increasing the temperature and got better results on the top layer of the sundials too.

This time the better one is on the right, still not perfect but better than before.

One in the graveyard would be a useful addition (well the gravediggers would need to know when to get the hole dug by).

They painted up ok ish … The build lines are really visible, but not from a distance.

I was going to make a start on my raised bit of the graveyard however it is cold and wet out there and I am wimping out going to the shed to get the necessary bits and pieces.

I had another try at printing the ladder. Successful prints: 1 and total failures: 6. Not sure what the cause is apart from the bed must have lost level as the filament was extruding ok but wasn’t adhering to the bed properly.

I really need a bed levelling print, but need to splice one on Cura to make it work. At least that way I can get it all tickety boo.