3D Printing… Undercoat

Well tonight I shoved a base coat of grey onto all the miniatures I had in the kitchen with me and I must say I am really pleased with the results (the miniatures that is and not my ability to slap grey paint onto plastic models).

It really has shown how good they look. The black shiny plastic didn’t make it easy to see the details. I would argue that from this picture you can’t really tell that I printed them at home. If you look closely you can see extrusion issues
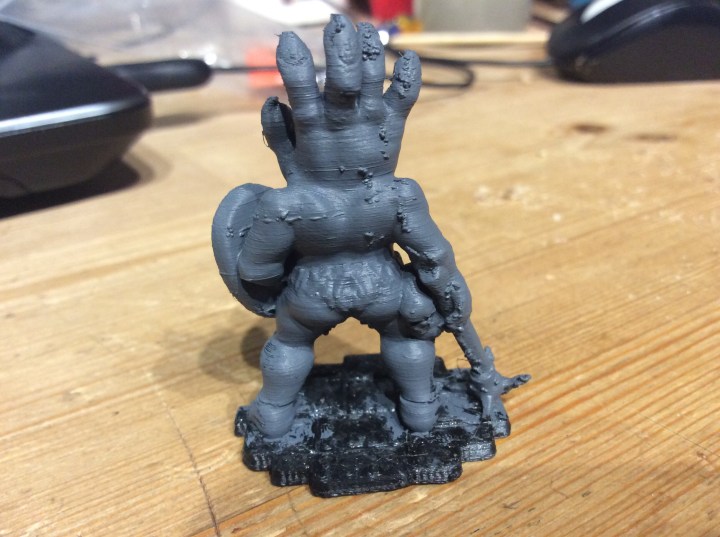
This can probably be sorted, it might be over or under extrusion. The extruder might need calibrating or alternatively I could have filed it off! At this distance the printer lines are a lot more visible but as it cost nowt apart from about 7 pence worth of PLA and time on the printer. In fact all of the figures above cost just over 75 pence worth of PLA. I have worked it out thus…. 1 kilogram of PLA cost me £18.00 . Therefore 1 gram costs 0.018p…. I think my maths is sound there… multiply that by the 42 grams for the weight of all of the figures… giving a total of… 0.756 or in other words just over 75p

Somebody please correct me if my maths is wrong! 😱

The printer is merrily printing of a night fiend… something I had forgotten to print for the game. As an experiment I am printing him extra fine.

Tomorrow I am going to have a bash at some Necromunda esque barricades and Alien plants. My first roll of PLA is running down so I don’t want to print anything large until the new roll goes on. As it stands I haven’t really sussed out how far ‘not much’ will go 🤔
Wood Elf

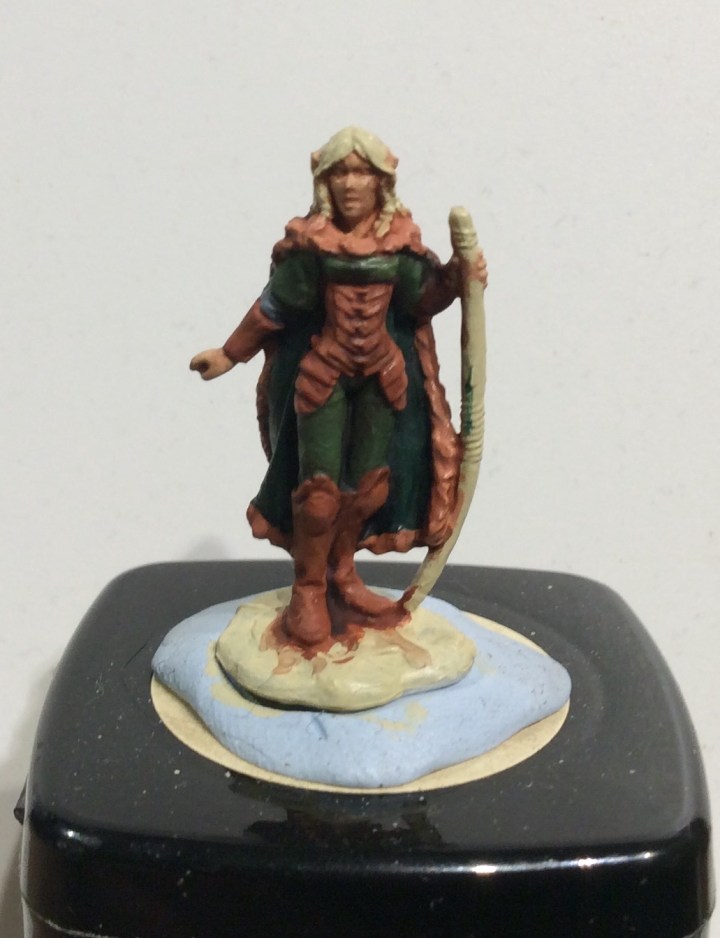
My daughter has joined our gaming group and is playing a wood elf character in our One Ring campaign. Being a kind father that I am I purchased a miniature for her and am now painting it.

Still a very long way to go, but I am getting there slowly.

We did have a lot of fun on Hero Forge making up characters but at $10 for the download and $20 for a physical version we went for the cheaper option of £3.25 for a reaper bones mini.

Scatter (brained)

Well I had a whole month to make terrain and instead of doing everything I was going to do, I basically didn’t. Getting the 3D printer in and working properly didn’t really help but it is a bit of a naff excuse as the prints take hours to finish. I suppose I just lost a bit of motivation brought about in part by the realisation that I have to store everything somewhere.

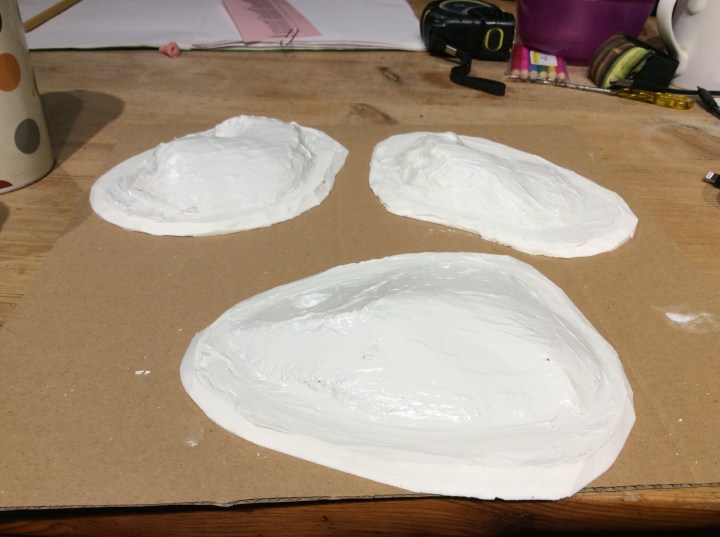
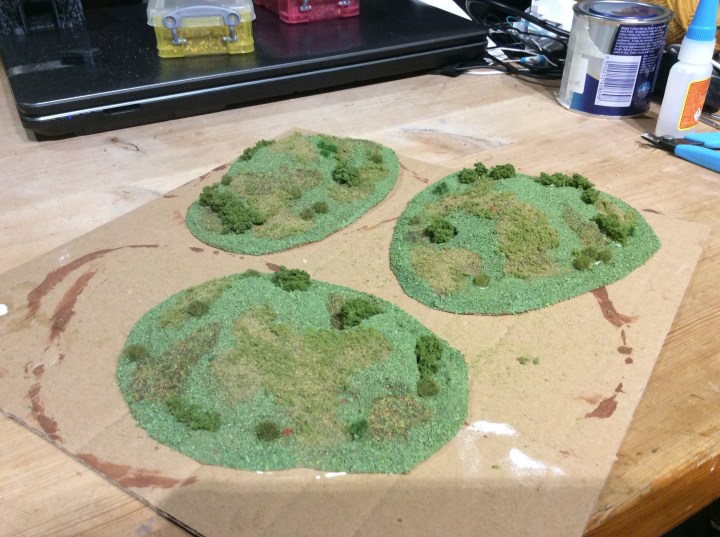
That Not withstanding I did manage to finish the hillocks.

The biggest is about 15cm long by about 13cm wide the other two are roughly 15×10

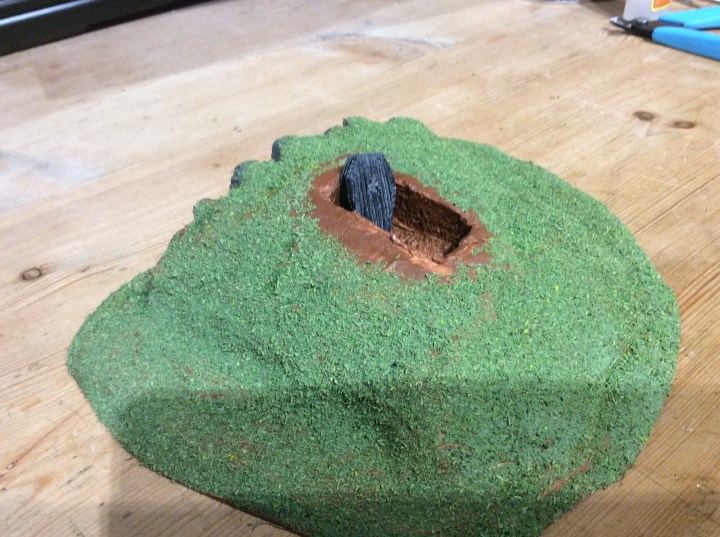
I also got some base grass on the open grave hill…

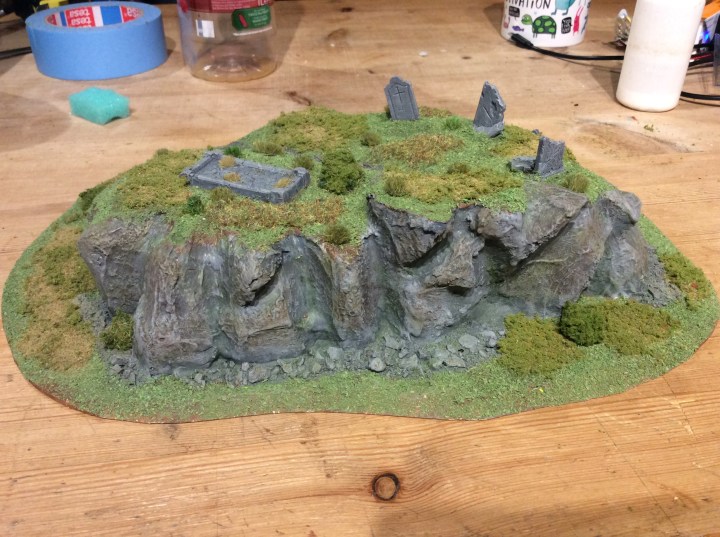
This is bigger, sitting at 16 x 19 cm. it is about an 3cm high at the cliff end. Hopefully I will get it finished tomorrow a bit late for January’s community challenge, but it will definitely fit into February’s neglected challenge as it sat ignored for a good while.

The last piece of terrain I made a start on was my mausoleum. This came off the 3D printer this morning. It took 8 hours 40 minutes to print. The two 32mm figures show the scale of it.

It is pretty close to a 6cm cube with sticky out bits (I am tired and can’t think of the correct word!)

I am printing the roof just now. It is an hour and a half into a three hour print. Once this is done I will print the iron door and the sarcophagus for the interior. The coffin in the open grave sits in the sarcophagus. I can’t remember how much the above cost PLA wise, once the whole thing is finished I will price it up.

I will get it all painted up and put on a small base.

Graveyard Scatter… Further Work

I got some filler onto the bases and smoothed down with a bit of water.

I am making, what is best described as, slow progress. There is still plenty left in the tube in case I need to do another layer in places.

The filler in this case is Tesco super cheap stuff £2 a tube..

This contains 330g. Plenty left for other projects. This is the cheapest I can find up here. I can probably get a better deal online, providing the postage is free.

I am toying with the idea of doing an open grave, as I still have another pile of squirty foam ready to go. One of these was going to be a grave, but some knacker glued it to the base before cutting out the shape of the hole.

Another project that could do with sorting out is the 6mm road wars terrain. Once these are done I might make a jump to do the 6mm stuff, not to mention a pile of MDF buildings in 15mm.

Some good news is… the laptop is fixed, however my good lady forgot to bring it home with her. Much to our dismay, we will give her one more day or it will be dry bread for tea 🤣🤣

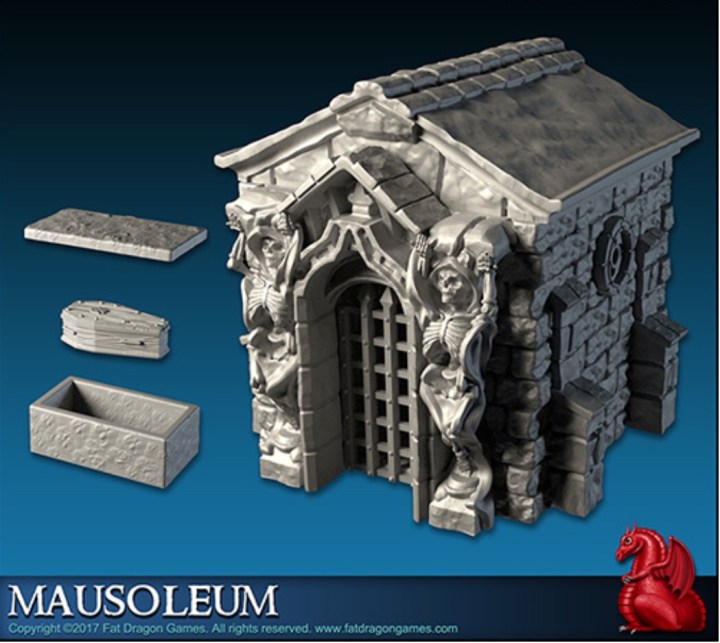
The following mausoleum is one of the things I have purchased from Fat Dragon Games and was going to be part of my January terrain build challenge, I might still squeeze it in as I have 9 days left.

I am really looking forward to getting this printed.

Click on the link to see it Mausoleum. Not a bad model for £2.49 in the sale. Full price would have been just over £3.00 so I am not complaining in any way, shape or form.

Graveyard Scatter… Making a Start

Well after a nice run up to Yell yesterday to be a quasi supply teacher again I decided to make a start on some scatter bits for the graveyard.

I used the offcuts from the large hill to make these ones. I kept them for this purpose.

These were made in exactly the same way as the big hill. Stuck down onto EPVC and then, in this case, held on with painters tape. Once the glue is dry I will get some filler on.

It was a nice run up to Yell yesterday…

Graveyard…Just About Finished

I may decide to add some variation to the main grass, I will have to see.

But to be honest, I am happy that I have gone from this…

To this…

This build is a bit like the dark side of the moon in places, no-one has seen the other side, so here you go, the dark side of the hill…

To be frank, it isn’t that exciting… but it is a nicely defendable spot, unless the enemy can fly.

So what do I think about it? Well it is pretty much looking like I had pictured it in my head, except in my head the top was bigger with a few more graves on it. I had to compromise as I was tied by the EPVC for the base.

The rabbit hole and skull was a happy accident. There were a few large holes in the foam. Some of them I filled, but this I left because of it’s location. Rabbits are a bugger for digging up Archaeology so the idea was born. I painted the inside black and then threw some PVA down and covered it in basing grit. I fully intended to paint it, but once it was dry I found I liked the colour so left it as is.

So where next? 🤔

I reckon a bit of tidying up on some of the Earth colour wouldn’t go amiss and as said earlier a bit of contrast in the main areas of grass would break things up a bit too. I also need to get this sprayed with watered down PVA.

I feel the urge to do some more scatter pieces involving gravestones. As mentioned in an earlier post I intend to put them on irregular shaped bases as opposed to CD types. I would like to do some Yew trees as they are very graveyardy trees… probably not for the January challenge, but sometime in the future.

I ordered a mausoleum for the 3D printer but until I get the laptop fixed (it is off being sorted) I can’t convert it into the necessary gcode required. Hopefully it will get sorted ASAP as I want to play with my printer again 😞

I quite fancy painting up my 15mm Lizardmen I won at the HOTT competition. But terrain first methinks then onto painting minis next.

Graveyard With Grass

Well I started on the grass tonight… I did have a bit of a panic as I was running out of my small indoor pot. Luckily I still had a fair bit out in the shed. Why the panic? This was the flock I made myself and I haven’t a clue what colour I used to get the green.

I am doing it in a few stages. The top first and then around the hill when the top dries. This green is a base level. There will be lots of textures and colours over the top of this.

I did totally balls up by covering over the spoil from the rabbit hole, but in hindsight, putting the spoil over the grass would be more realistic.

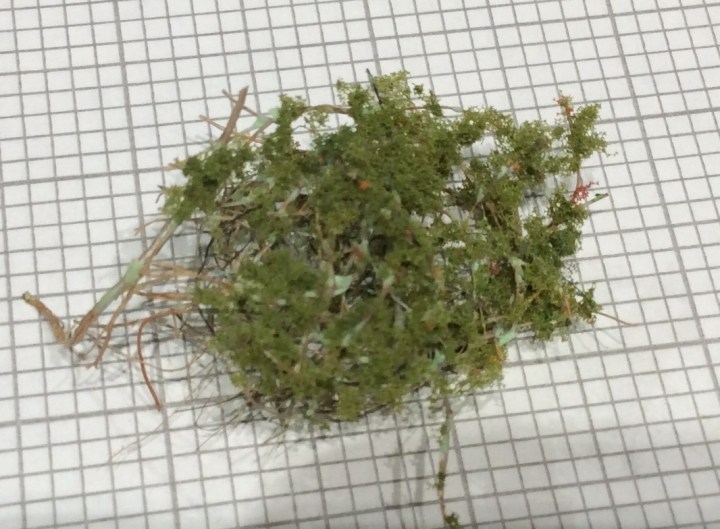
The damp bit has a lot of dark and bright green as well as some tussocks in there, not that you can really see in this photo. The bushes are not stuck down, I was trying to get an idea of what would look good. There is also a climbing plant in the damp alcove.

This is made from rubberised horse hair (or coir matting in this case) PVA was glued in random spots and then the thing was dipped in foam flock. This is very fragile at the moment and needs a dam good coating in watered down PVA to strengthen it up. It’s not a very big bush, as those are 2 mm squares. It is roughly 4cm by 2cm.

As a total aside, I caused a bit of consternation and hilarity at the yard after bringing the horse in. I informed a lady that I was having difficulties getting it up!

Luckily she realised I meant that I couldn’t get the wet horse rug over the top of the stall wall. Well if I find a packet of viagra in my tack box then I reckon she didn’t know what I was talking about.

Tomorrow I will finish of the grass layer on the base, then make a start on the next layers.

Graveyard… Looking a bit Better

I got a bit more done on the graveyard tonight…

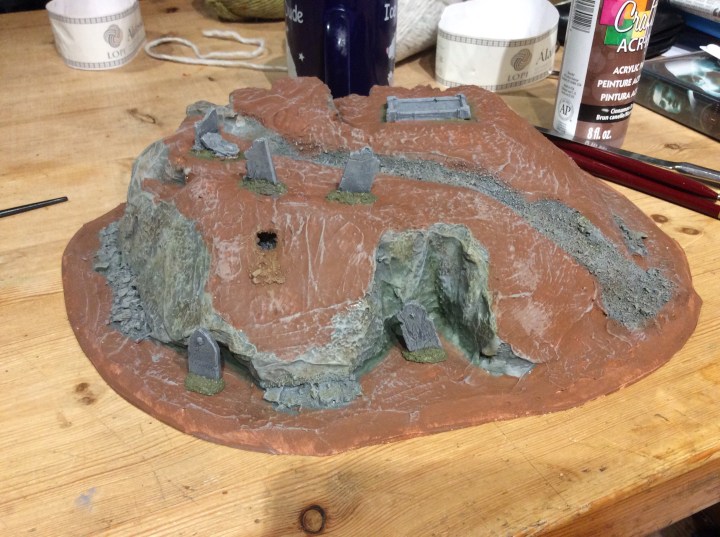
It is starting to get there, I cleaned the brush off on the brown hence the weird grey pattern. The brown will be covered in flock so I am not too concerned about it. The deep recess in the front will be wet. The idea is to get reeds and tussocks in there.

The next problem is what colour flock to use, I will have to have a mooch about to see what I have in the shed. I will need some static grass tufts as my intention is that it will be overgrown and uncared for.

I think I still have plenty of stuff to make bushes and scrub.

There will also be other bits of graveyard to be used as scatter terrain. I think I will go for irregular shapes as opposed to old CD’s.

I will get the flock on tomorrow.

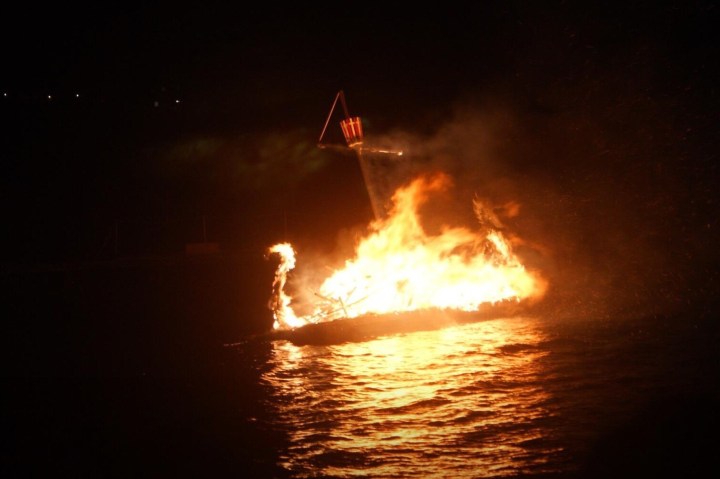
I forgot to mention the first of the Fire festivals took place on Friday. There are some very good drone and video footage, mine was time lapsed with the tablet.

We didn’t go down to watch the boat burn on the water, but this is a photo from a couple of years ago.

It’s not the biggest, but to be honest it is my favourite. It’s handy we can sit at my mates house and watch the procession go past.

Graveyard looking Naff

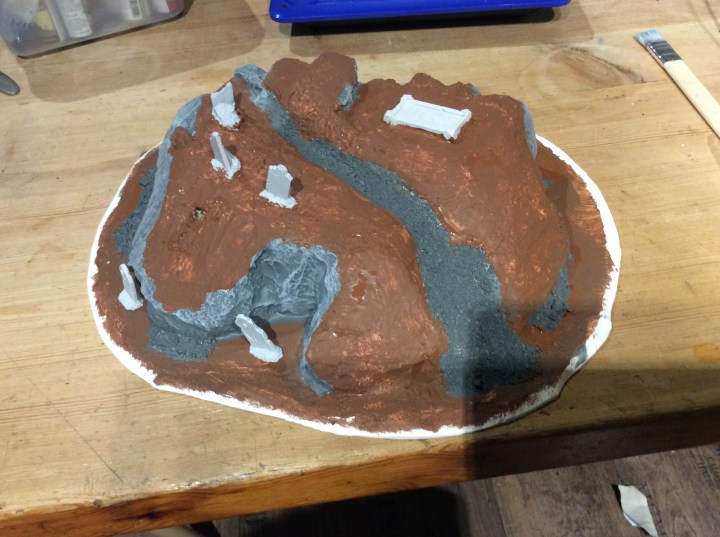
Well it is now at the yucky Naff stage, I had to it the brown base coat to help cover the white, I will lighten it up a bit but most of it will be covered with flock.

This layer has PVA added to help it bond with the bottom layer.

Hopefully some tidying up will help it look better. I will dry brush the fallen rocks and lower part of the cliff face when this lot has dried. When I paint it tomorrow I will not use the half inch brush I used today 😱