3D Printing…. A bit of painting.

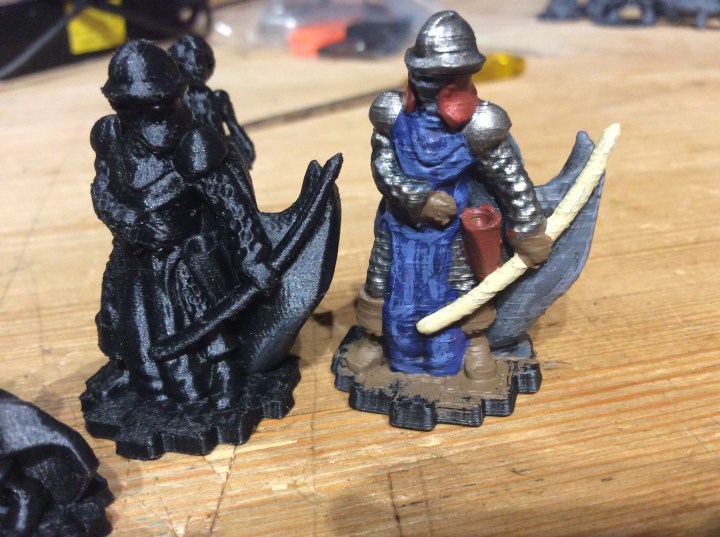
I decided to start getting some paint onto my miniatures that I have printed.

These are all from Ill Gotten Games. Still a very, very long way to go. I probably would have got further, but I also painted 54 pairs of 10mm elven boots too.

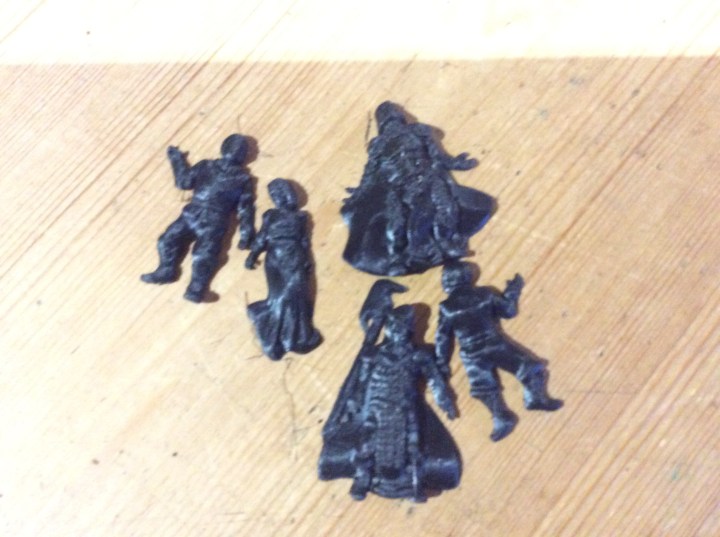
I forgot to show the casualty figures…

These need a bit of work on the top layers. I will have a play around with the slicer settings and see what I can do. The STL files looked fine so it is the slicer that needs the change.

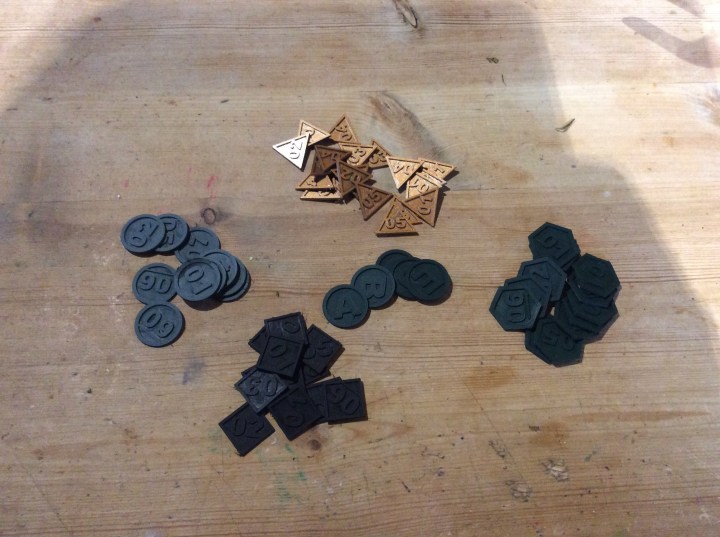
The final bit for this evening are the painted counters…

My initial idea was to paint the numbers a different colour. But as they are very clear anyway I might just save myself a job.

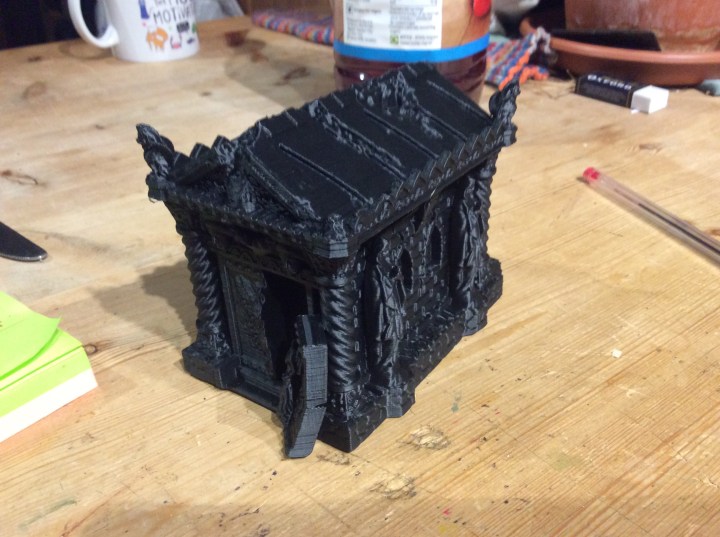
3D Printer Mausoleum Finished

Well that’s the roof printed and it looks rather fab…

The one thing that isn’t obvious from this picture is that either the front or back is off the table by about a mm. It can just be seen as a black shadow below the doorway. One corner had raised a bit on the first couple of layers and got stuck back down with some pritt stick. Looks like as the build went on it separated from the base plate again. In the grand scheme of things it doesn’t really matter as it is barely noticeable but in the printer scheme it might mean a sneaky error has crept in. It could be anything from a loose belt to a too hot or cool nozzle. Looks like some more research is on the cards…

The whole thing was designed by Ecaroth and found on Thingiverse. Total print time around 15 hours. 10 plus for the base and 4 hours 11 minutes for the top. The thing is that you set it going, make sure it is going to bed down okay to the build plate then leave it to do its thing. Come back later and voila it is either finished or a nest of spaghetti.

I am hoping to get this and the other one painted up this weekend. I have a long weekend so four days of work… huzzah!

3D Printer another Mausoleum

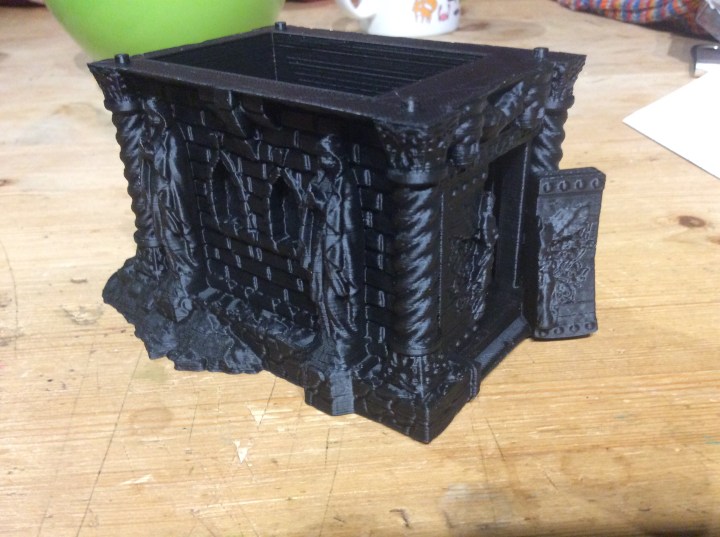
Yep I decided to print another Mausoleum, this time from a designer called Ecaroth. This took a whopping 10 hours 45 minutes, with an expected 3 hours 45 minutes for the roof. This is the ruined version, there is also an intact version of the same tomb.

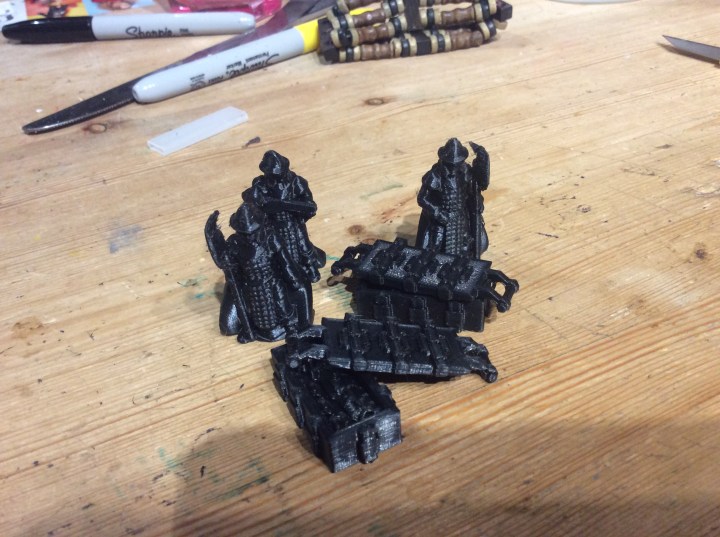
I also downloaded some civilian ‘casualties’ from Ill gotten Games.

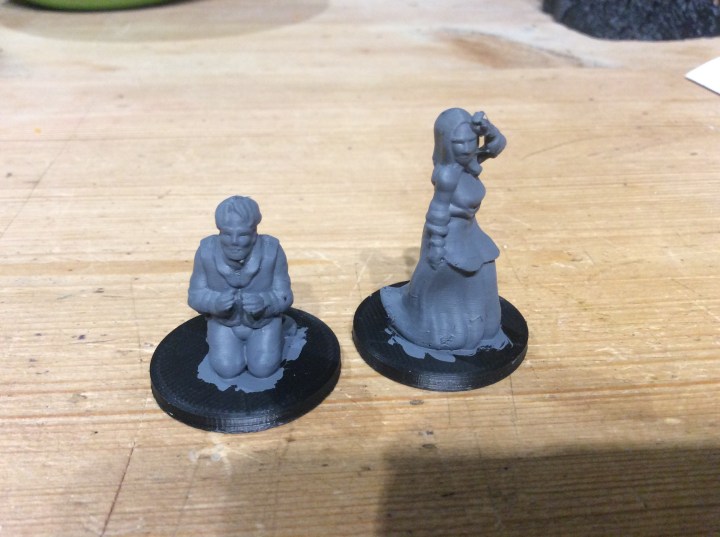
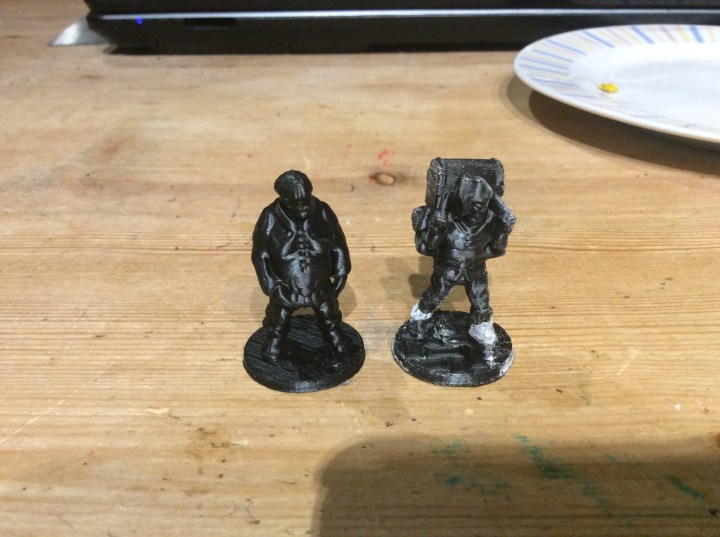
These are two of the upright civilians, the rest are having a bit of a lie down. They are still on the print bed. Now these all come without bases, so I decided to have another go at producing a base to attach the mini to. This is another great set. They only came out yesterday I think.

These are both on 30mm bases that I made in 3D builder and then merged the. miniature with the base. I made them 3mm thick, but may shave it down a bit.

Interestingly enough there were no whispers on these, all though I did do them individually. The wounded or dead ones were all printed together. I didn’t notice too much stringing before I left them.

I will find out tomorrow. As I was feeling a bit knackered I decided that a very early night was required. This means no elf painting….

3D Printer… Adding Flames to Miniatures

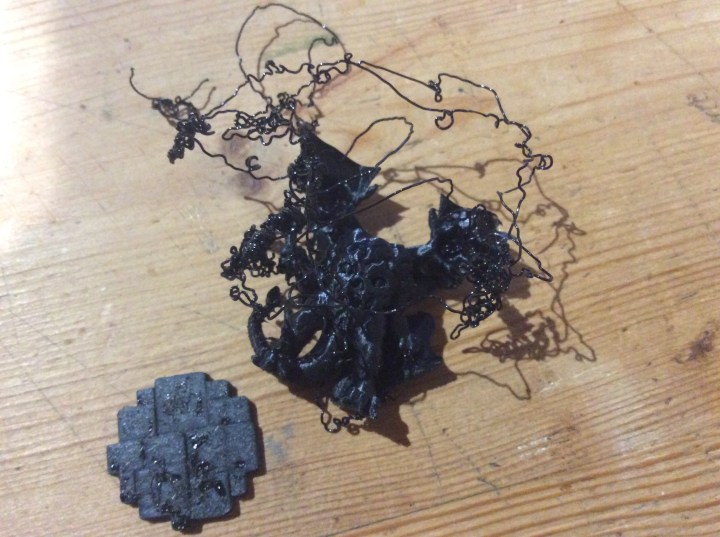
Yep the wispy filament was an absolute sod to get rid of so drastic measures needed to be taken!
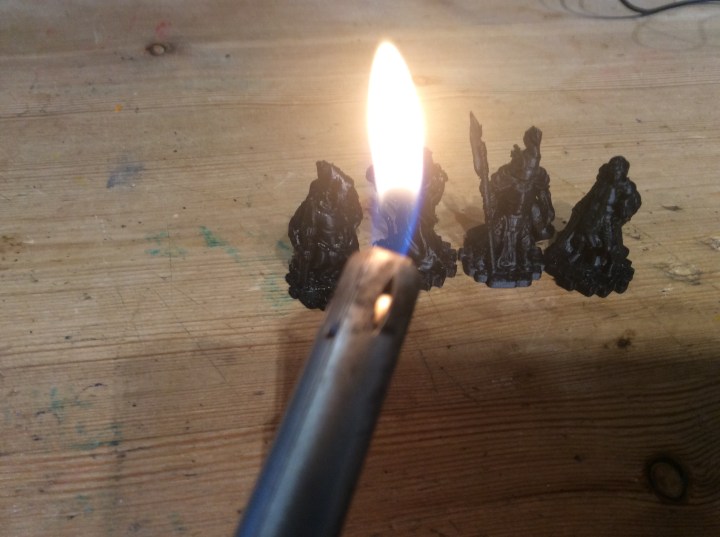
I pulled of as much as I could then set to work with a naked flame… I couldn’t be bothered to go and get the paint stripper heat gun. This is actually more controlled on a smaller front I would imagine. The down side was I had to get quite close.

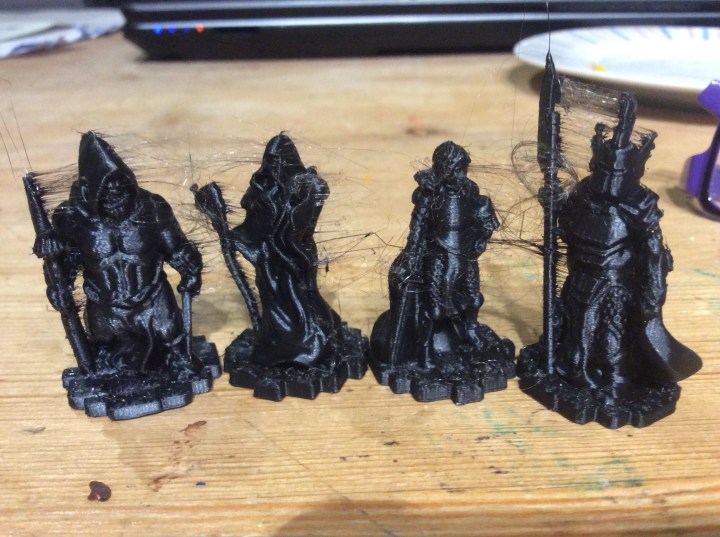
I think the difference is plain to see…

Before…
And after…
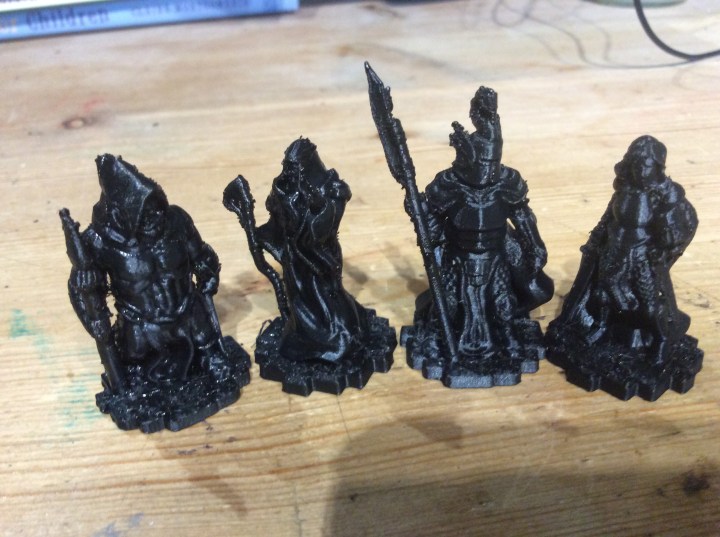
Still a bit of clean up to do but a whole lot better than spider web central. They look a bit wet as I dunked them in cold water to stop the wobbly weapon syndrome.

On the plate tonight is the count …5th attempt… this time however I am adding in supports… fingers crossed he works this time. I also decided to make him a base… I was quite pleased with my circular base until I started printing it… it may be many things but circular isn’t one of them😱.

Last night I did a bit of research about the spider webbing on the prints. To avoid the print head bumping the models and knocking them off I decided to use the z hop option. This drops the plate a fraction as the print head moves from bit to bit. Seemingly this can cause more webbing than if you don’t use it. There still might be too high a temperature or over extrusion that is causing it. So instead of printing the same minis again I will print an extrusion test piece and play around with that.

Here is the count, he finished just after writing the above…
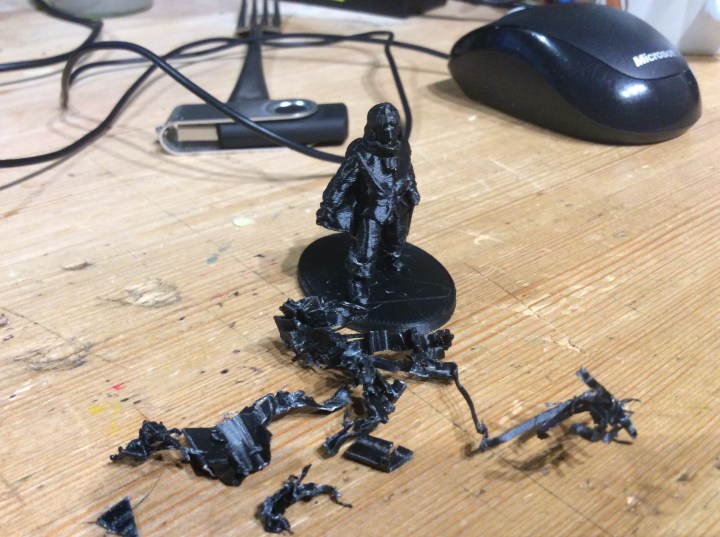
There was rather a lot of support… I may have gone overboard a bit 🤪🤪🤪

Here are a few of the recent ones undercoated…
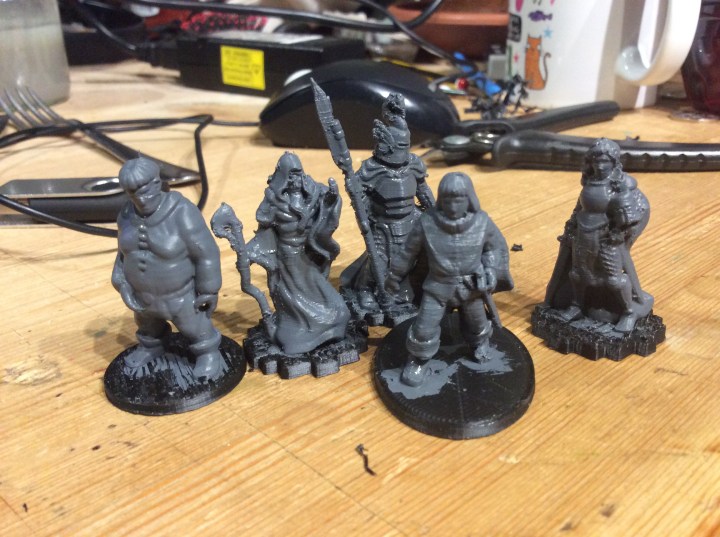
I am rather pleased with them. I got half way through painting the mage before I realised he needed cleaning up…. whoops! The baron has a few build lines, I must have forgotten to change the layer height when I sliced him.

So … what next, well I have just started a 9 hour plus print of a ruined mausoleum… we will see how it comes out. I decided to print it at 0.2mm layers as opposed to 0.1. This speeded up the print by over an hour. The base weighs in at a whopping 85 grams… a whole £1.56 worth of PLA. That is if the printer doesn’t do something daft part way through.

I re levelled the bed again before starting on this one and the front and rear of the left hand side were a touch on the high side. Hopefully things will run smoothly overnight.

As the temperature has risen again I think I will take the printer back into the shed… it’s a bugger having to unplug the fridge every time I want a cup of tea 🙄.

I fully intended getting some more done on the elves tonight, but truth be told… I couldn’t be bothered.
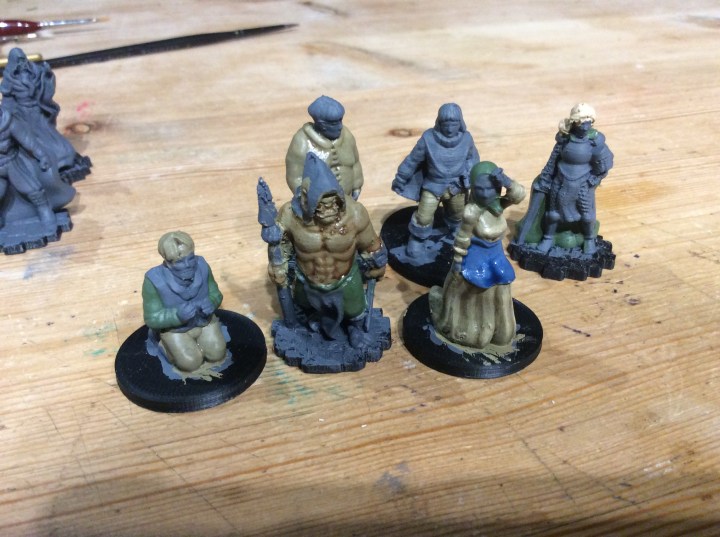
3D Printer… More Miniatures

Yup I downloaded More minis today 😱…I am beginning to think I am developing a problem.

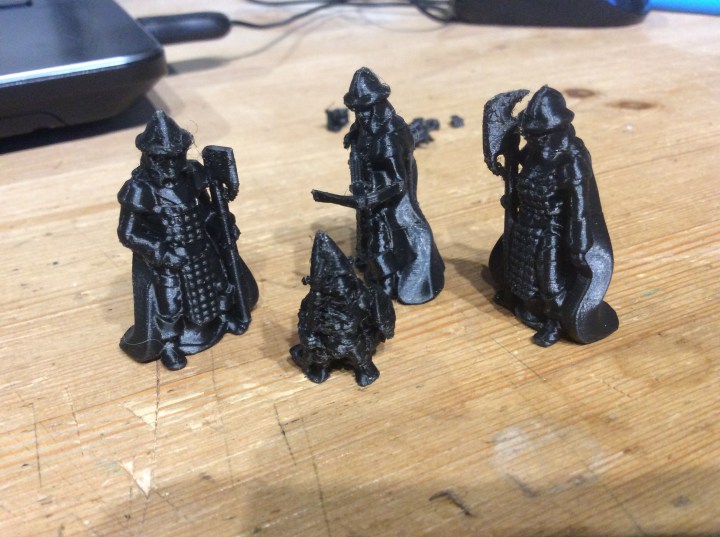
The next three town guards try to work out what to do with the goblin. The other two are a big oaf and a porter. I managed to snap the porter off at the ankles and then dropped the other one and the top of his head sheared off! I think I might have to increase the infill a bit or at least change the structure.

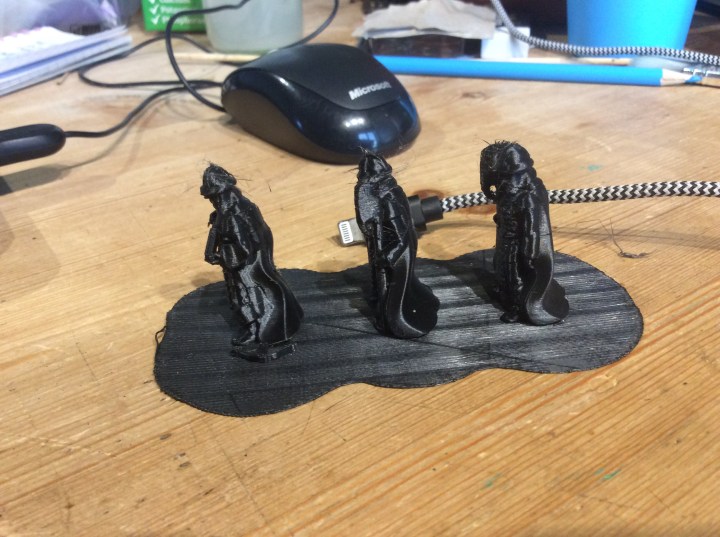
In case you were wondering, this is how the guards came off the printer…

I put them on a raft to make sure they stuck. They also had a lot of whispery material between them, you can probably just about see it on the heads.

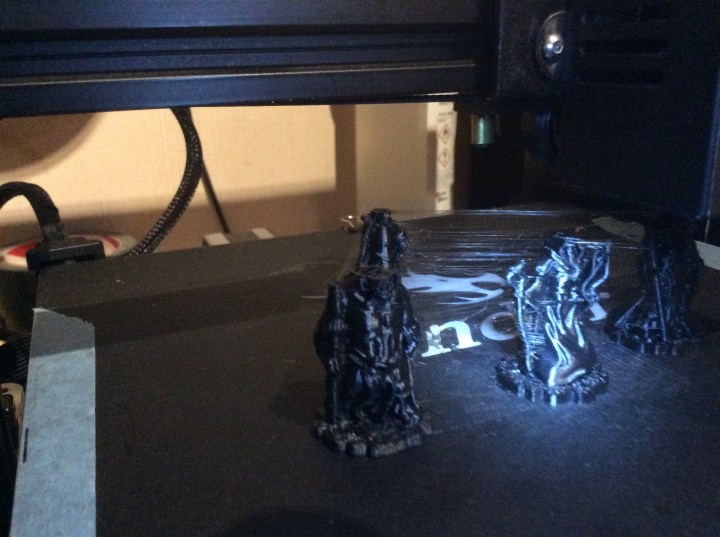
It kind of looks like this (apologies for the naff photo)…

It is some form of extrusion issue. I am trying to work out whether it is too much or two little going through the nozzle. I do know that it is a right bugger to clean up properly.

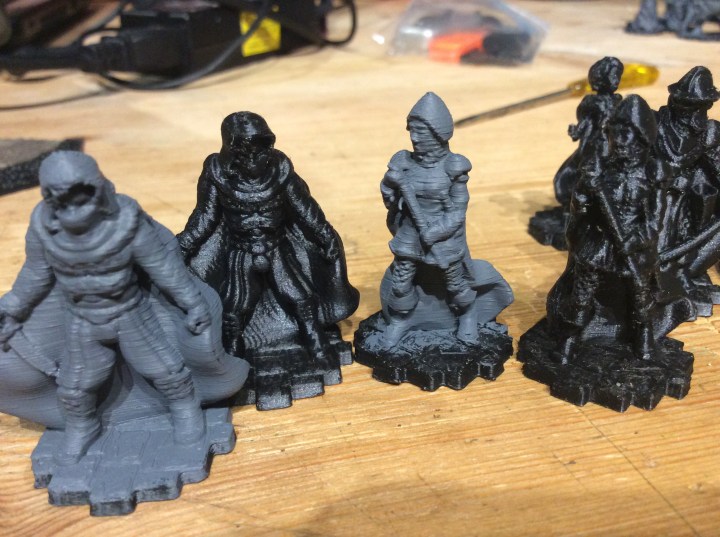
The four above are 4 Alternative hero miniatures for the printable game I am working on now. You can really see the issues with the strands on these and to be honest this is the worst I have seen.

Once again all Of these are from Ill Gotten Games.

I also managed to spray all of the tokens tonight. Note to self … wear a mask when spraying lots! I found 4 different coloured sprays to make them different.

3D Printer… eclectic mix

The title says it all really…

A couple of Sci Fi crates, one with a couple of heavy stub pistols and the other with some kind of combat shotgun.

The three guys are town guards from Ill Gotten Games. Two of them have halberds and the other has a crossbow. The guards were printed with a raft in case they needed it. Sadly it stuck too well to the plate and it has taken me about 45 minutes to get it off.

I set the thing off to print a big air vent and of course now the bed doesn’t seem to be level. I am too tired now to faff on with it tonight. I will level it properly tomorrow. I just hope that the plate hasn’t lost any of it’s adhesion properties.

As the guards were covered in fine wisps of filament it might mean there is a problem developing. I will have to have a proper look tomorrow.

Tauriel a Wood Elf from Mirkwood

My daughter’s character is now finished.

I am rather pleased with it and she is really pleased with it.

It has come a long way from the bare white plastic… I spent quite a while on this one, probably longer than I would have with one of my own.

Tomorrow the party have to try and rescue an idiot youth from a wily old troll. This task is made all the more difficult due to the fact that two of them are hobbits!

3D Printer Updates…

So the printer has been running quite a bit this afternoon and evening…

I redid the heroes for the game… much better this time round… but then again they took 5 hours plus to print. I still managed to snap the spear off the same one again! I reckon the PLA just isn’t strong enough. I will drill it out and put in a wire spear or something similar.

This is still without the specific miniature profile for the slicer.

The other thing I made was a vat of bubbling something or other.

It isn’t exactly the largest thing to hide behind, but I reckon I could double the size. This size took an hour and a half to print.

I also made a start on printing the game tiles….

Still a very long way to go. I fished my Dark green rattle can out of my shed and have brought it into the house to warm up a bit. I will give all the fields etc a spray with it then get some variation onto them. Part of me wonders about adding flock to them, but I am worried it might look weird. On the upside I can print a tile off and give it a go…..

On the plate now are some 40k style ammo boxes with separate lids… They should be done in not much over an hour.

3D printing…. Sci-Fi and the Spaghetti Monster

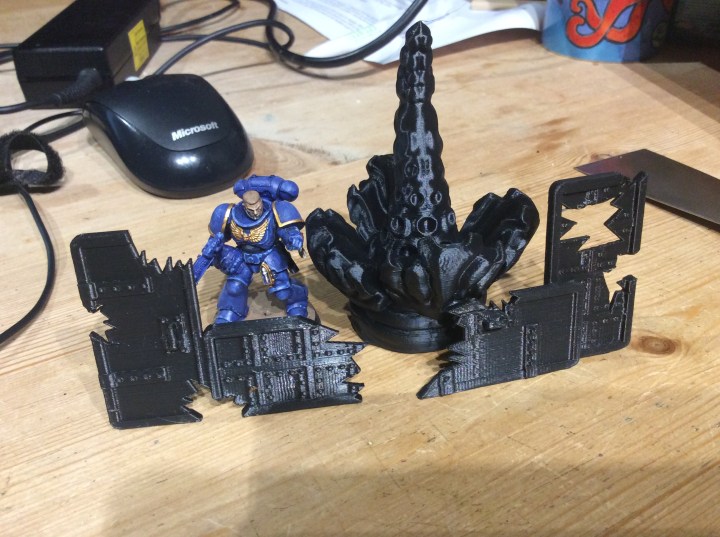
So I decided to print a few different bits and bobs tonight… I decided on a bit of Sci-Fi theme…

A couple of barricades and a big alien plant. The barricades took about an hour each and the plant just under two hours. There is another Alien plant on the build plate just now, this is a different one to the one above and has about another 45 minutes to go. I have some other barricades and a couple of vehicles downloaded. They just need slicing. The issue I am having is that the PLA is running down and as it gets towards the end of the spool then it kinks up as it is tighter.

Looking at the other plant, I haven’t got a clue how I am going to get it off the print bed 😱😱😱

The other thing I printed tonight was the night fiend as the one last night had a bit of bad luck.

Viewing discretion is advised as he doesn’t look a pretty sight!

I am not sure what happened to knock him off his base… it might simply be that he hadn’t stuck properly to it. Either that or the nozzle did something weird and smacked into the wings. Either way I printed another one.
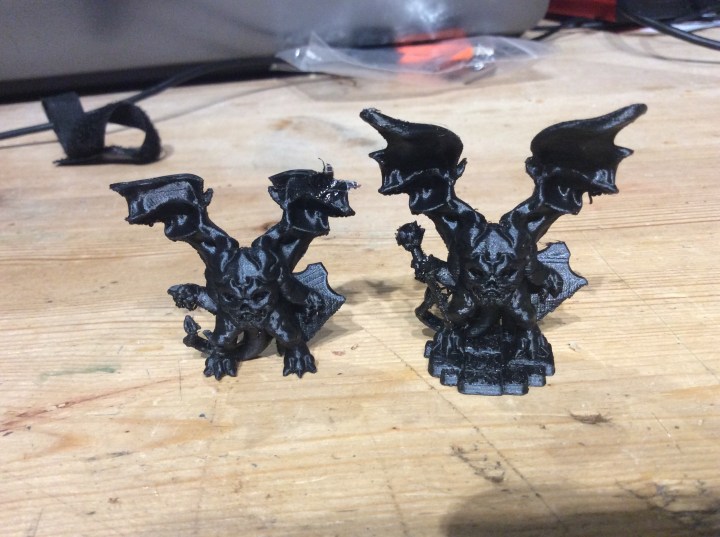
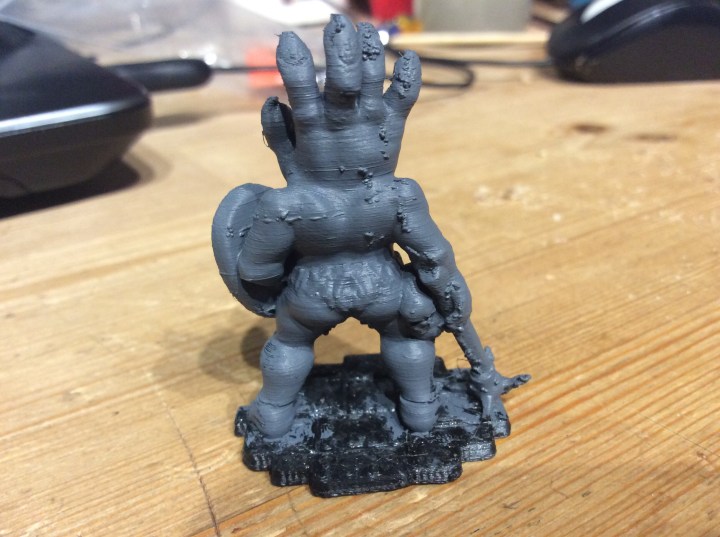
Here he is with his full wing capability.

I decided to support I’ll gotten games through Patreon as it only seemed fair that I have got another two of their games ready to print… not to mention 101 other things they have designed.

3D Printing… Undercoat

Well tonight I shoved a base coat of grey onto all the miniatures I had in the kitchen with me and I must say I am really pleased with the results (the miniatures that is and not my ability to slap grey paint onto plastic models).

It really has shown how good they look. The black shiny plastic didn’t make it easy to see the details. I would argue that from this picture you can’t really tell that I printed them at home. If you look closely you can see extrusion issues

This can probably be sorted, it might be over or under extrusion. The extruder might need calibrating or alternatively I could have filed it off! At this distance the printer lines are a lot more visible but as it cost nowt apart from about 7 pence worth of PLA and time on the printer. In fact all of the figures above cost just over 75 pence worth of PLA. I have worked it out thus…. 1 kilogram of PLA cost me £18.00 . Therefore 1 gram costs 0.018p…. I think my maths is sound there… multiply that by the 42 grams for the weight of all of the figures… giving a total of… 0.756 or in other words just over 75p

Somebody please correct me if my maths is wrong! 😱

The printer is merrily printing of a night fiend… something I had forgotten to print for the game. As an experiment I am printing him extra fine.

Tomorrow I am going to have a bash at some Necromunda esque barricades and Alien plants. My first roll of PLA is running down so I don’t want to print anything large until the new roll goes on. As it stands I haven’t really sussed out how far ‘not much’ will go 🤔