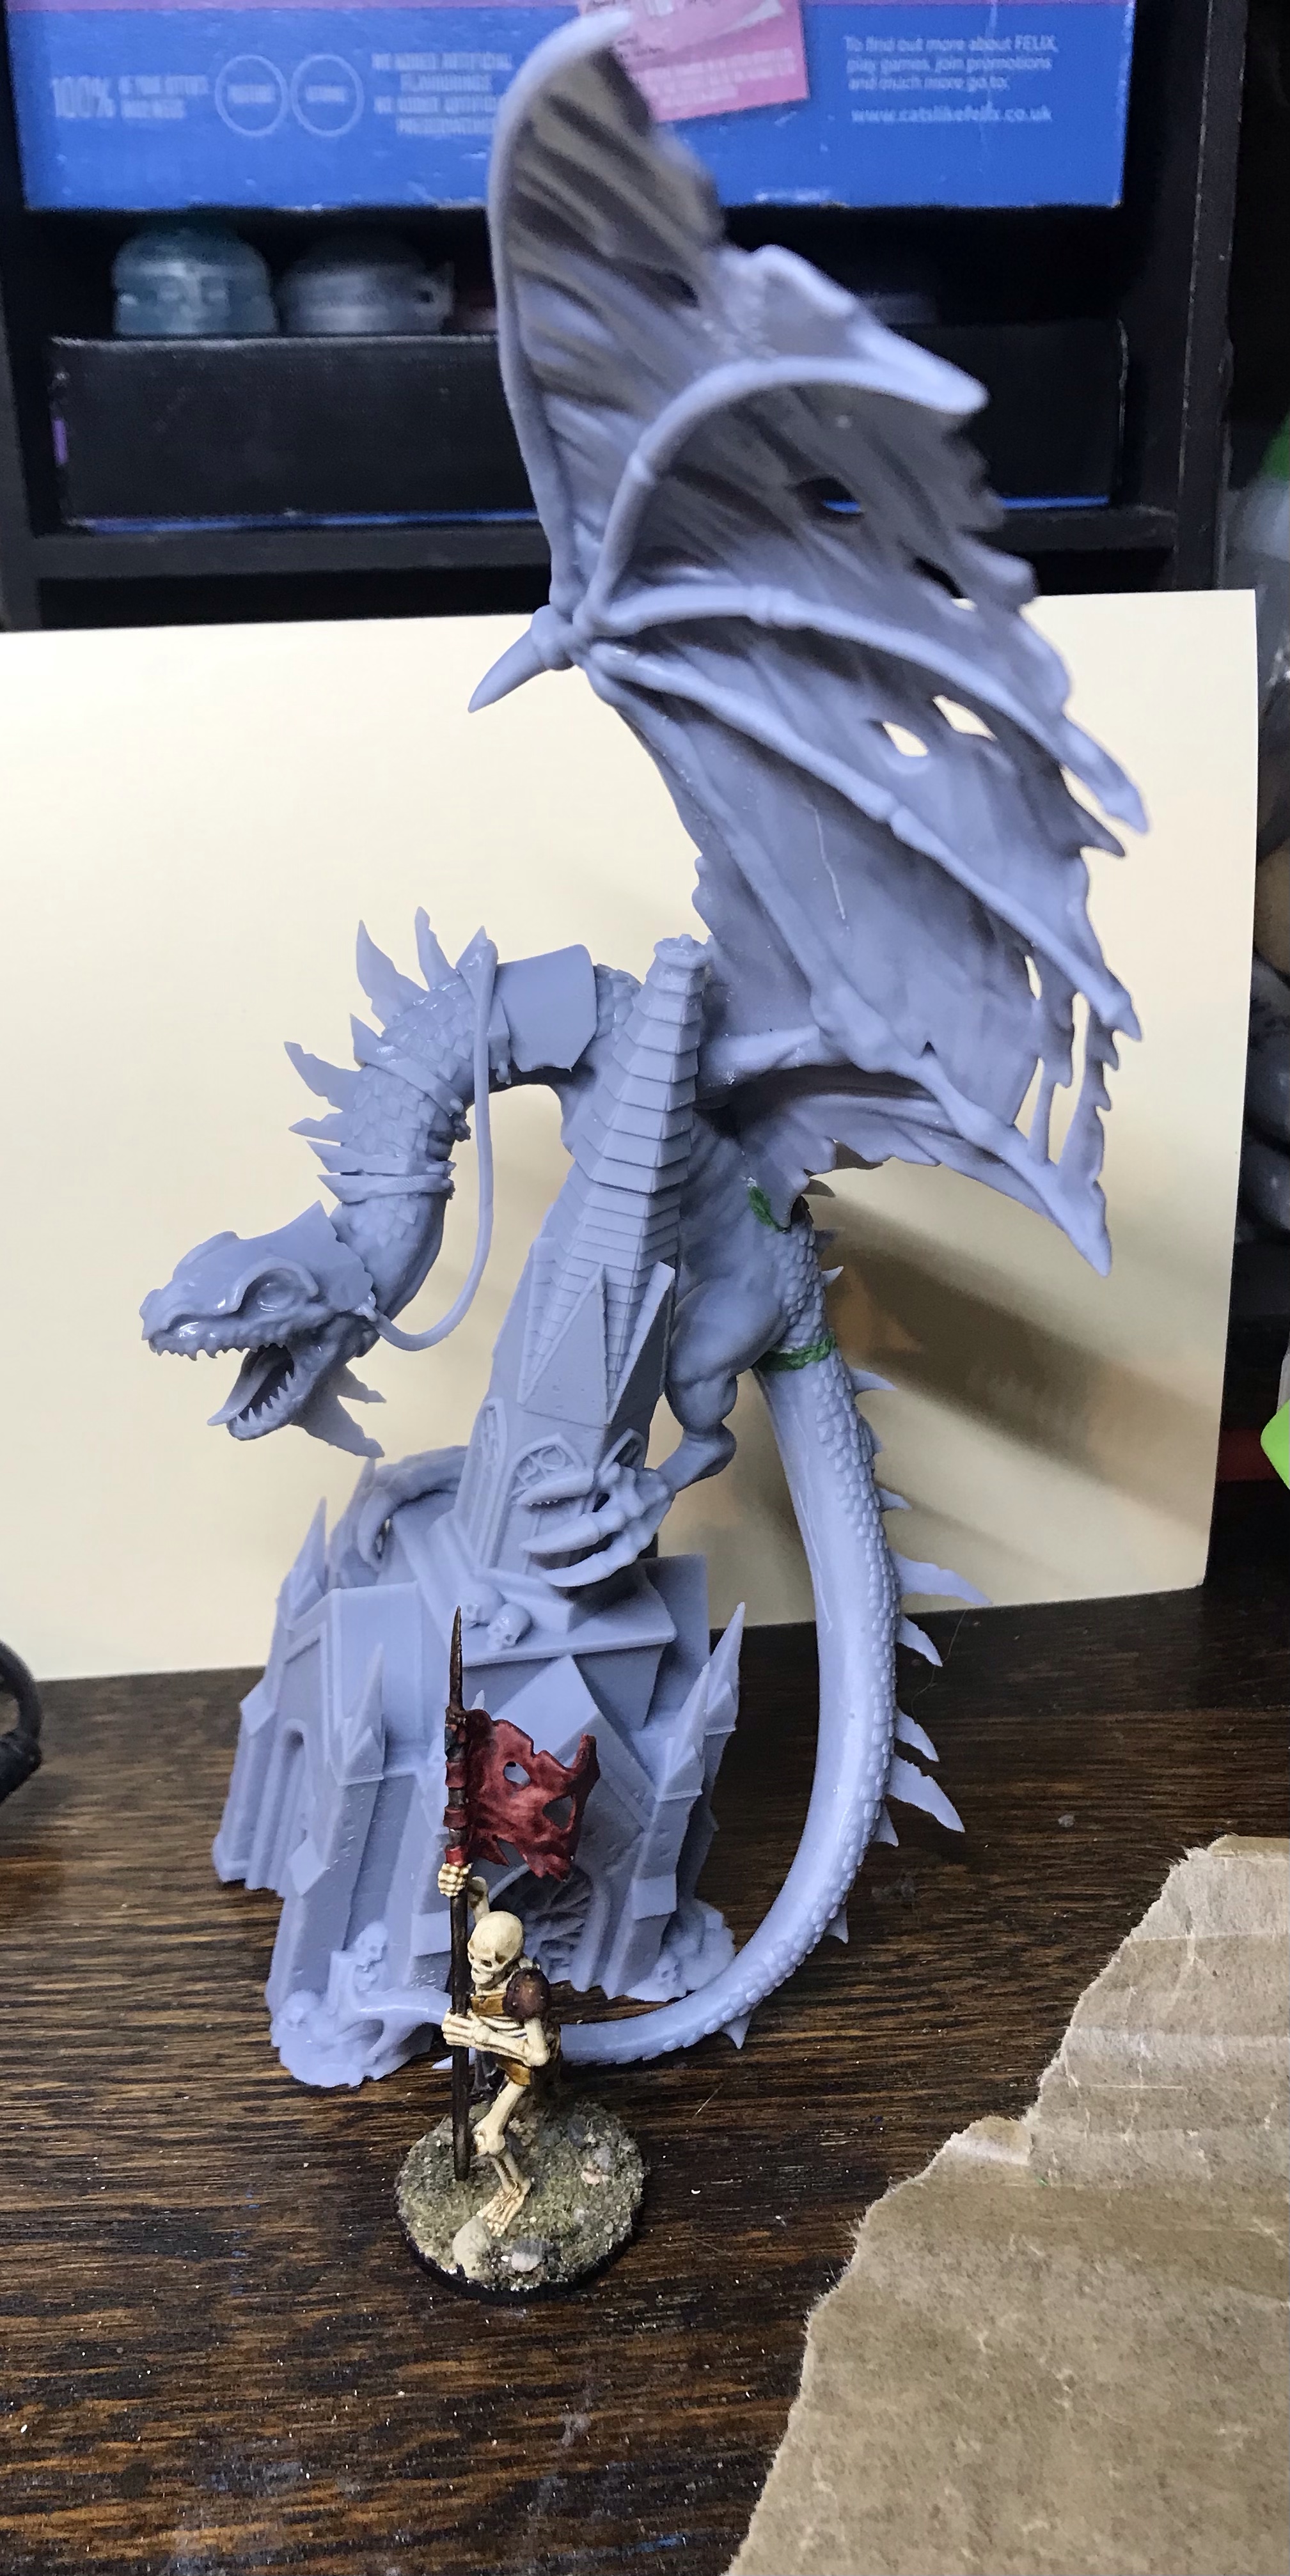
Well my 8 hour print was successful and so was the following 6 hour one. I have a print going just now and will then need to print the rider but I am really pleased with this so far…
The 32mm skeleton will give a sense of scale. I have added green stuff to the tail and wing joint and will do the same with the right wing.
Once this is done I will slice up some cavalry for a bit of oomph and then see what I think. Bows are going to be my box of 16 GW skeletons. it would be good if I could find another six to bulk them out to two units of twelve. I could of course print some command figures to do the job for me.
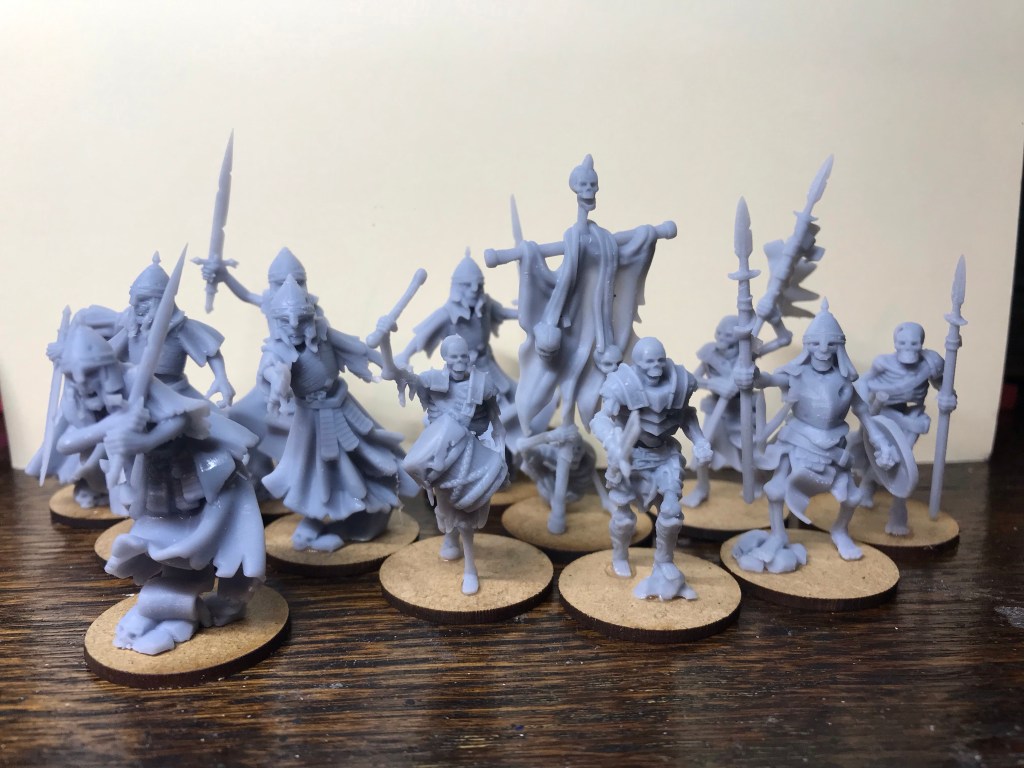
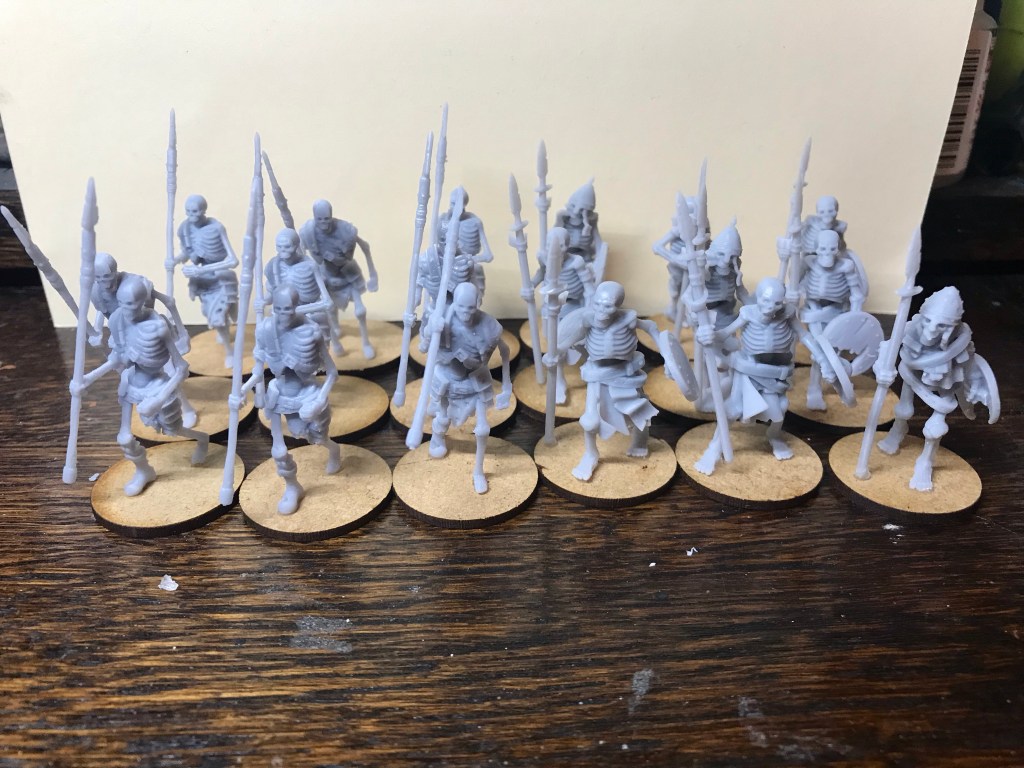
Anyway I set about with my necromantic arts and managed another eighteen skeletons printed. These were the old type on the left and the new type on the right. The new ones were a nice and easy and the old ones nearly made me pack in 3d printing.
I ended up taking off two feet and an arm trying to remove the supports. They had absolutely loads of supports on and with the new super strong resin they were a complete and utter pain to remove. To put it into context the nine on the right took me about 5 minutes to remove the supports, the ones on the left about 25 minutes.
The older ones came with separate shields which I printed too. They are all out in the porch in their nice white undercoat. I have taken the two command units off the build plate and am printing half a dozen wraiths just now.
Tomorrow I will do the second lot of wraiths…aka I flipped them on the build plate so there are some that are left handed and some that are right handed.
I do have a general on a big flying beast so he will get done sometime soon.
Today I did a lot of slicing… I decided to build an undead army so off I set.
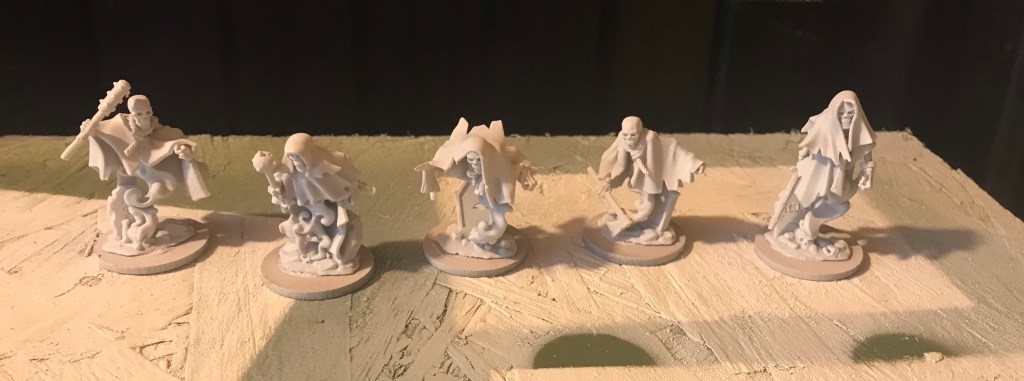
I also got three skeleton command miniatures printed and undercoated.
I also got my small scale hills sprayed green. Added bases to the 15 mm Samurai, started building four market stalls and made a start on the Sohei monks…
My youngest was in a play this afternoon so we went to watch that too.
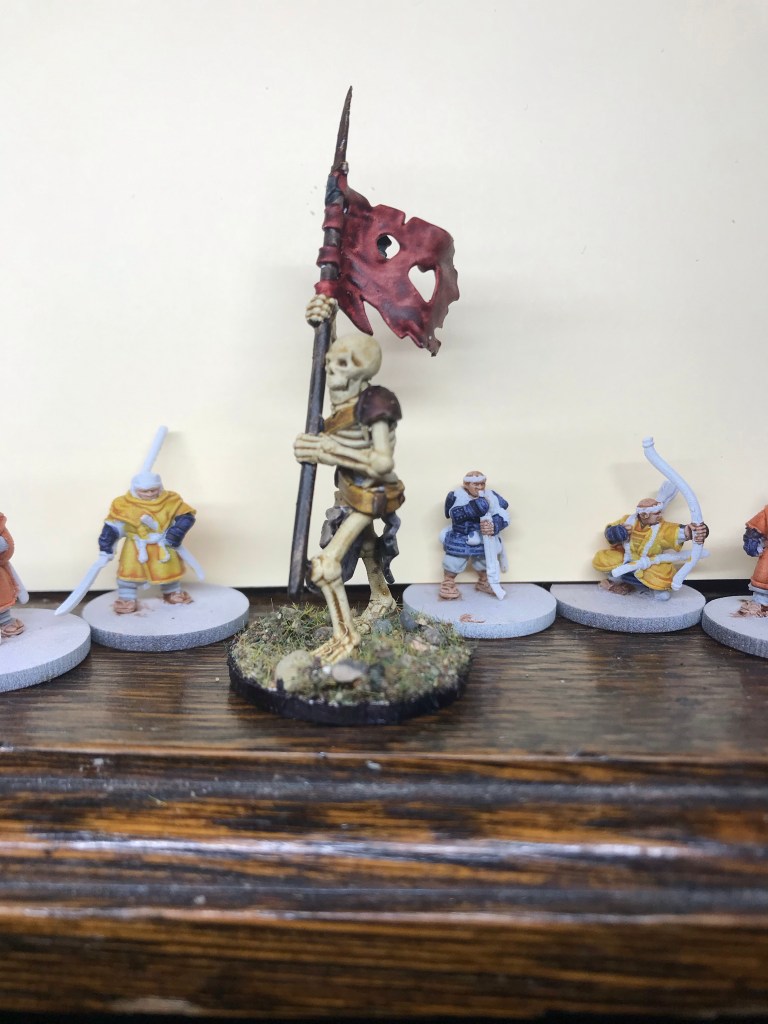
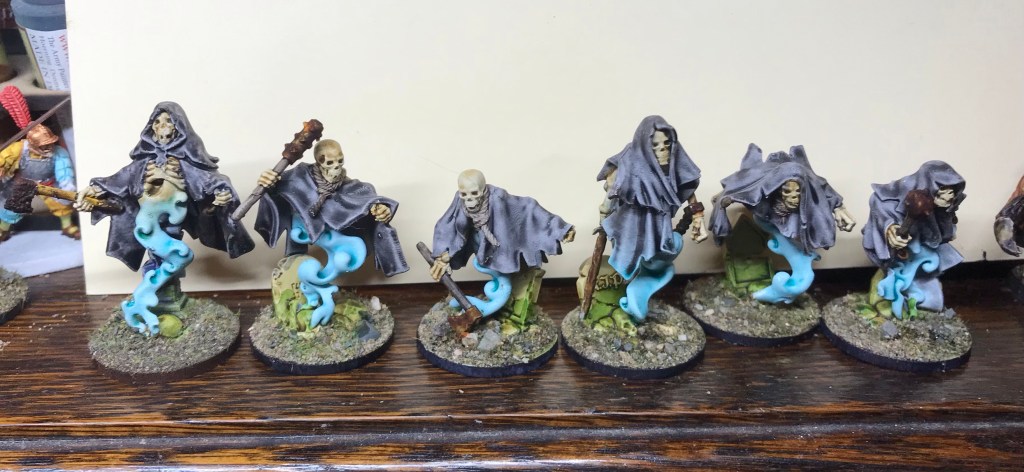
Tonight we had a family game night and as such I didn’t get a lot of time for painting. I did however repaint the blue shroud to fit in with the grey ones…
I had another blast with the rust this evening. I resprayed the piece and this time on the back side I put the superglue and baking powder on first and then spayed it afterwards … it was a heck of a lot quicker than yesterday’s version….
I also got a bit more done on the ghostly skeletons…
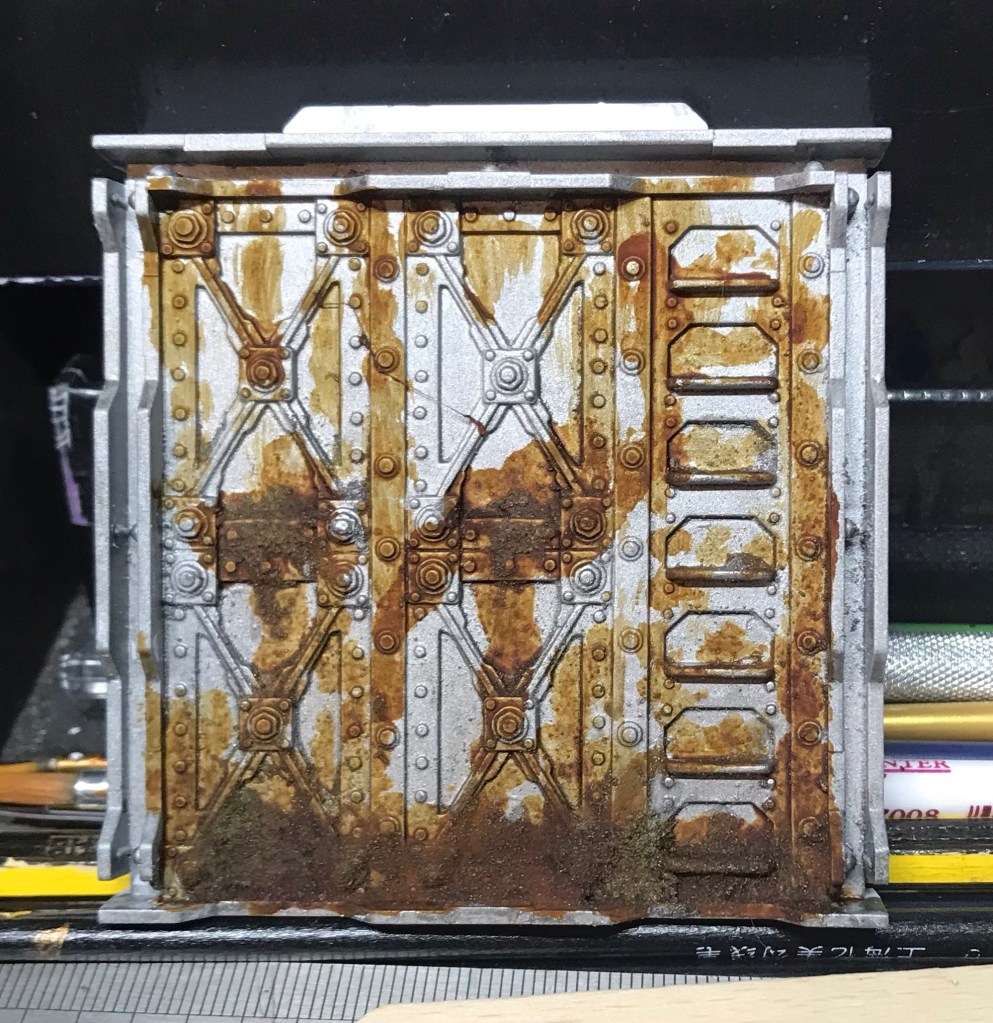
Tonight I wanted to give the rust effect a go on something a bit bigger than an axe. Luckily I dropped my small brush down the back of all my boxes on my painting station. And voilà I found anold style Necromunda plastic wall.
Quick spray white and a cover with a mettalic paint… in hindsight I could have just spayed it a metal colour with a rattle can…
I then threw some superglue and baking soda on it…well when I eventually got the glue out that is!
This was then covered with the metallic colour. When dry I splashed on the rust effect….
The effect is somewhat spoiled by my crap placement of it.
Since taking the photo I have noticed the bottom layer is actually becoming more orange…it looks like rust!
While waiting for things to dry I got my treeman finished…
The bits needing to dry were these chap’s…
As you can see I changed cloak colour… I may repaint the blue one.
Well after painting loads of undead Napoleonics and starting on a plan to take over the world with undead skeletons I decided that I needed a way to make rust look good….so i had heard of this range of materials…
So rather than just slop on the rust I decided tonuse some superglue and fine sand to make a texturedsurdace on the axe…in hindsight I should have just used baking powder, but hey ho…
So when it was dry I slapped some metal colour over the top and then threw some of the rust stuff on the axe head…. bloody he’ll in about two minutes it looked like rusty metal… I kid you not
I was actually bit gob smacked, sadly with the size of the mini it is really hard to see with a camera but I did try and get a photo…
You will have to trust me, it looks better in real life.
I then went for the moss effect for the grave stone…..
You can just about see the rust colour on the head of the axe in this shot.
Again I was happy with the result.
Now to be honest this was me spending 30 seconds flinging a new product on a model, but it seems to do what it is meant to do. I will find something a bit bigger to paint another day.
This stuff isn’t cheap, at all. Makes Contrast paint look cheap. The best deal I got was the three bottles for £22 with free postage. It is a solvent based paint and dries really, really fast, so no smoking fags near them when they are open. As you can see from the bottles they are a good old size, so should last a while.
As for the verdigris, I want some of the skeletons on bronze armour…so thought this might help.
I am hoping to do some more testing of these sometime soon and will keep you updated to speed on what I find.
I went to work today and wasn’t exactly firing on all cylinders, so g time i returned home I was just about able to watch YouTube and sit onbthe sofa going blurgggghhh.
My intention was to paint one of these gone fellows but sadly, it didn’t happen…