Work on the Ponds and Greenstuff Finger

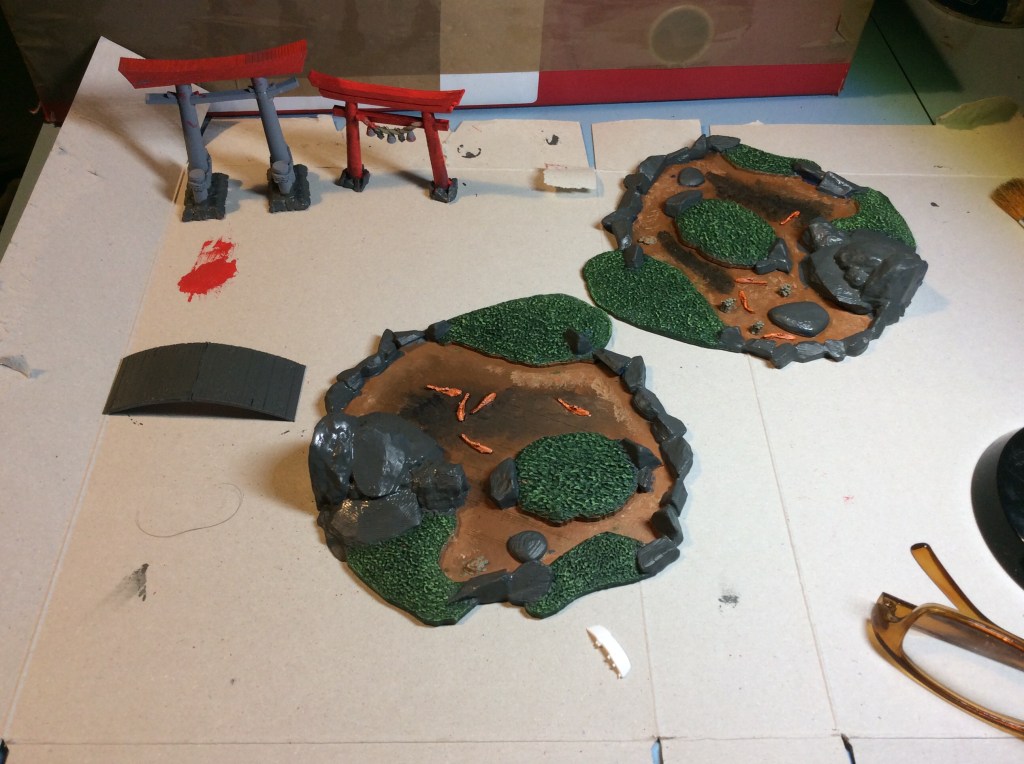
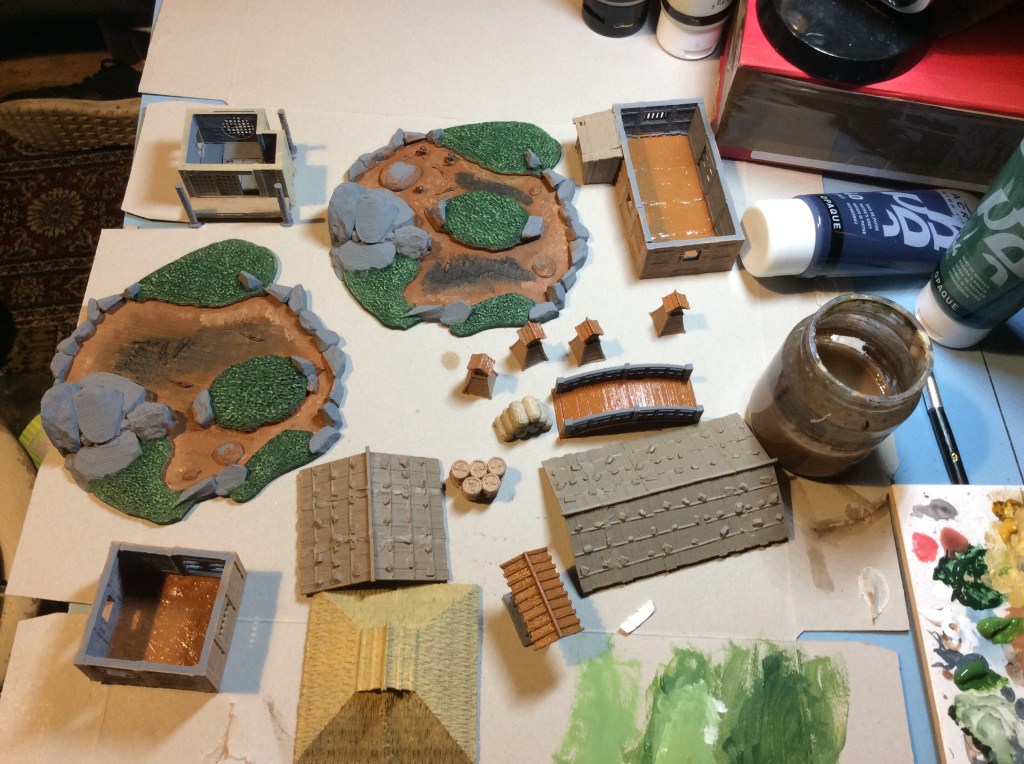
Tonight I actually got on and painted the rocks on the pond, by paint please read, dry brushed. They do look a lot better now. Ready for the resin soon.

Looking more like rocks now!

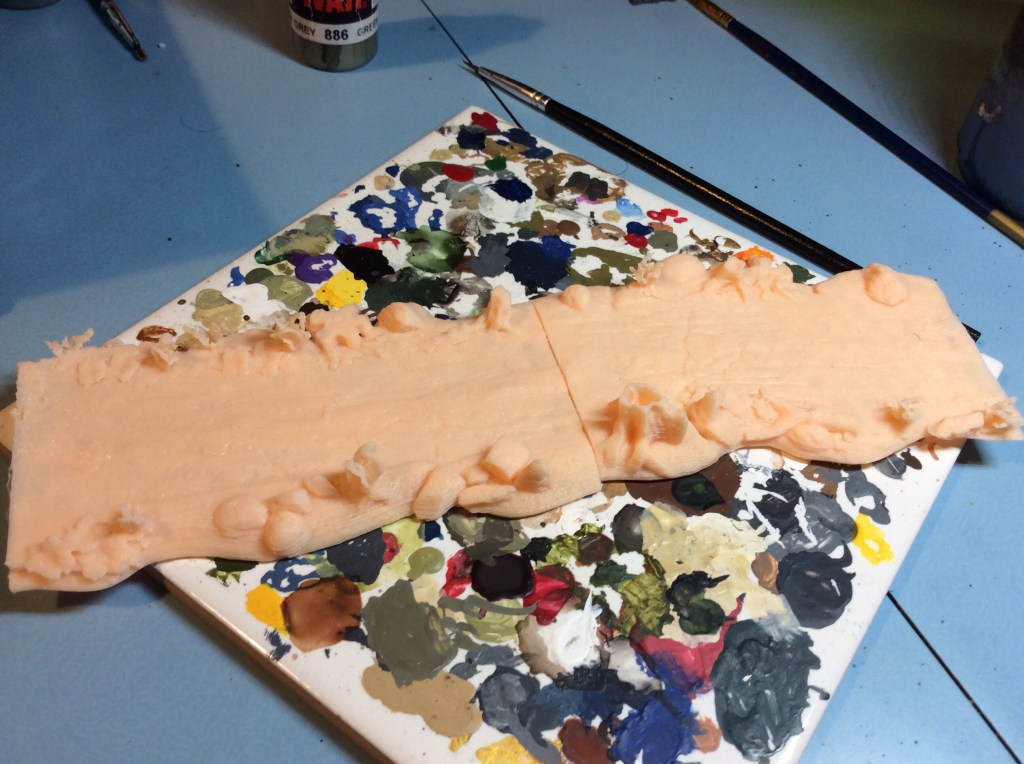
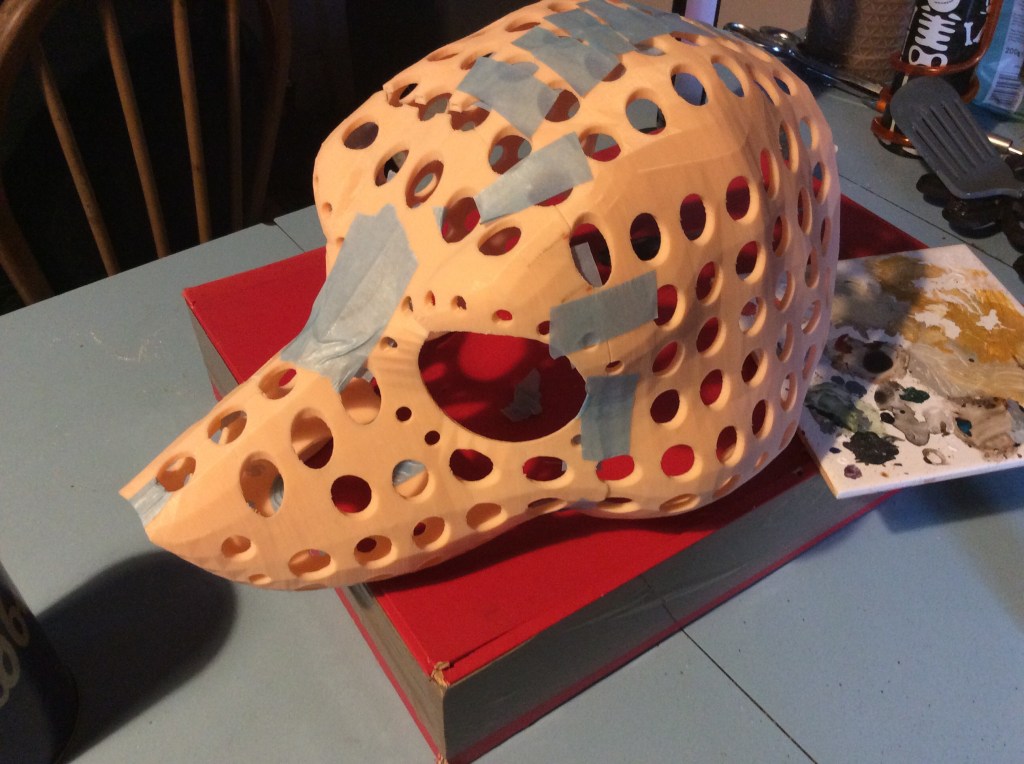
The Greenstuff finger was caused by smoothing the stuff across some rough prints.

It would have been easier if I hadn’t messed up some of the prints and didn’t have gaps everywhere. All I can say is that I am glad that I don’t have fingerprint log in on my index finger on my right hand.

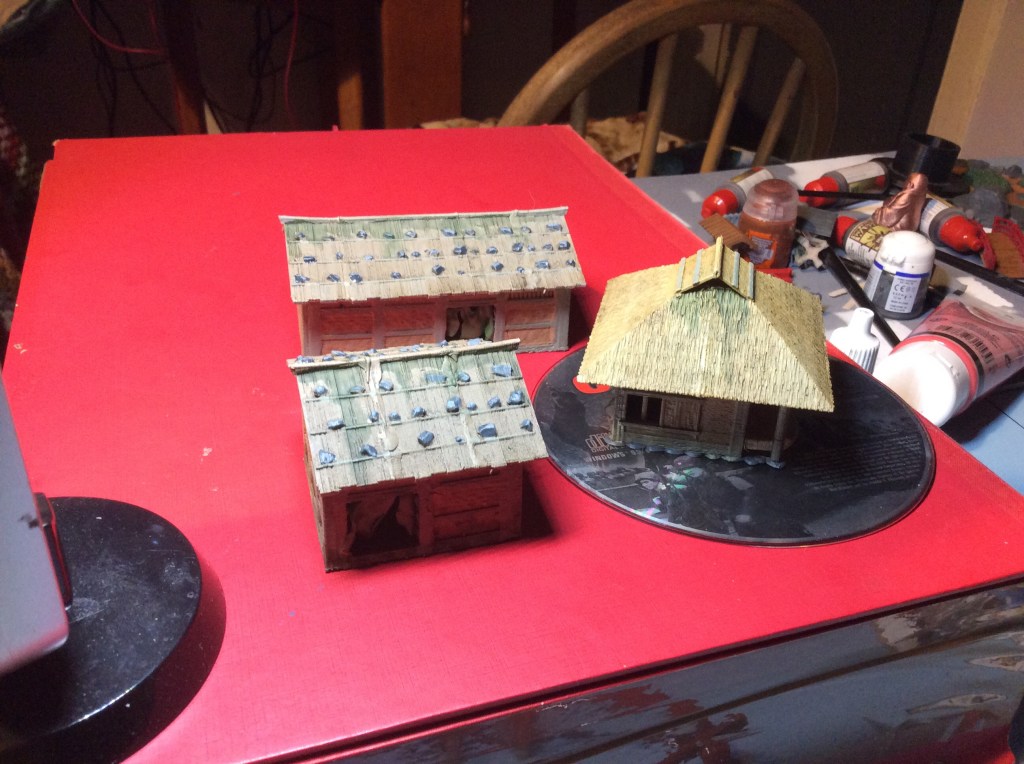
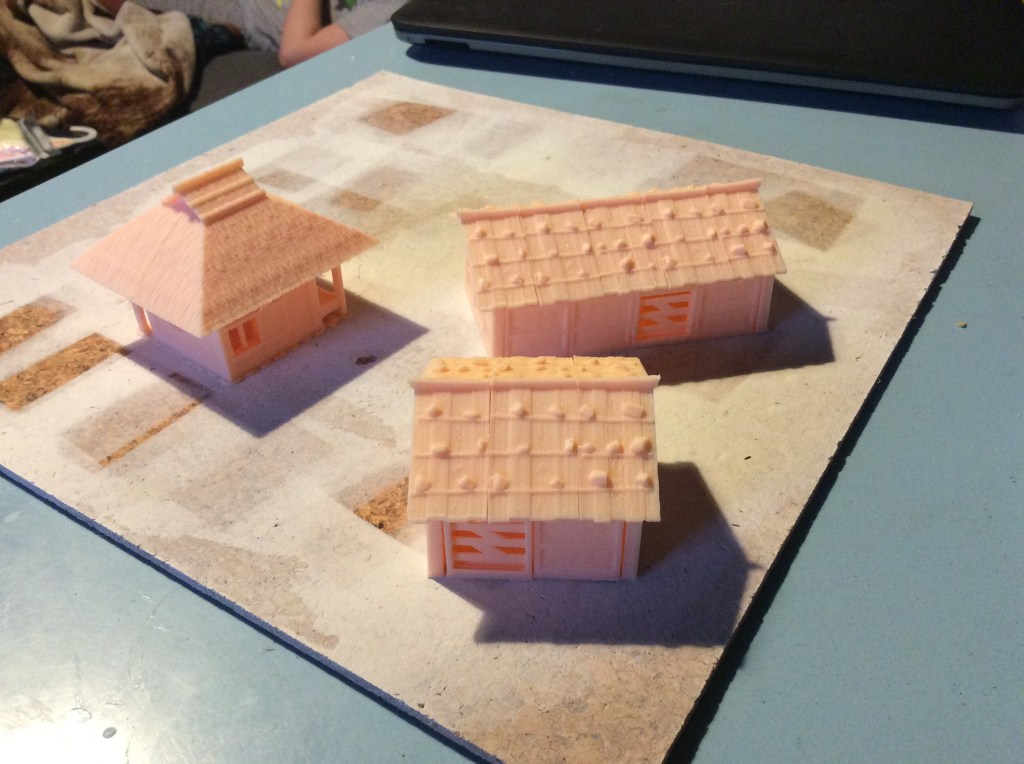
I also did my multiple rice paddies…

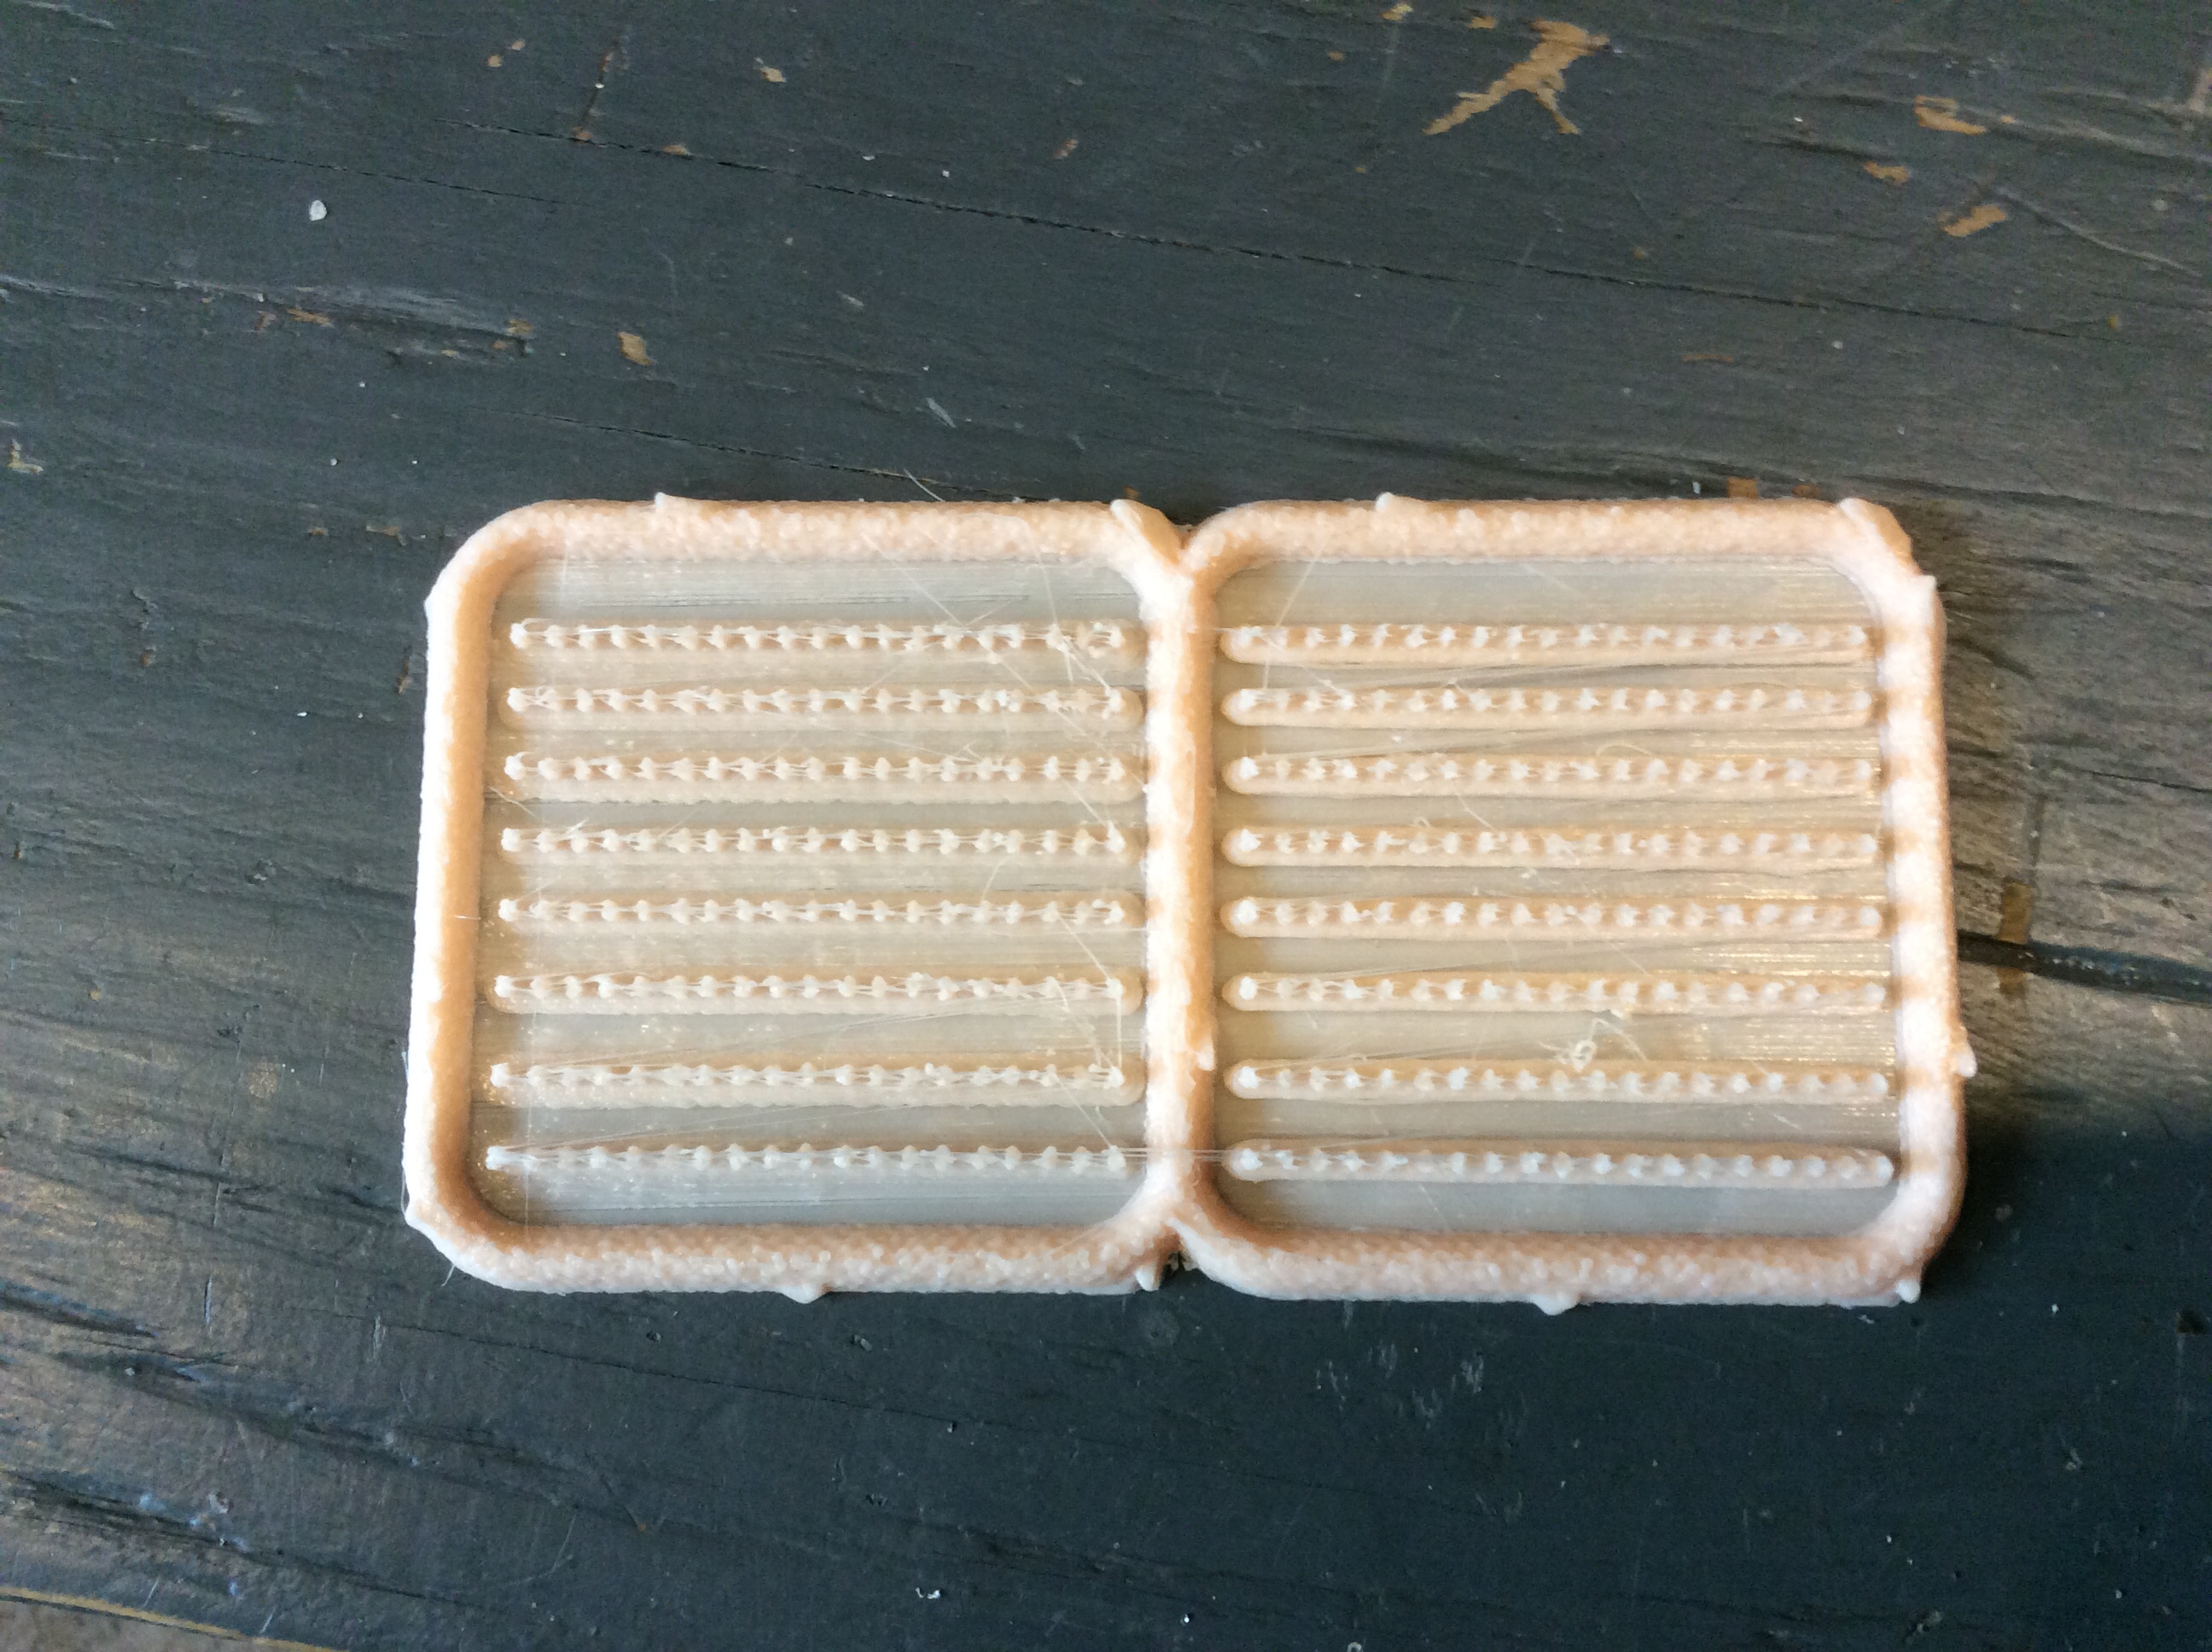
I have done the two and four version. Unfortunately I forgot to merge the various bits in 3D builder, meaning that the rice is just sitting on the top. It is easy enough to glue down but the idea was to have it just print it and go.

Finally, the roads at 50% are a nice size for the 15mm minis.

A fight breaks out on the road!

Slowing down…

Yep I think with this being my 301st post in a row that I am flagging. More likely the stress of the job teaching from home, but anyway some progress was made on the buildings…

I also did a test print of the roads I kickstarted…

50% size

I am really pleased with them, apart from my printer played silly buggers and decided to lift at one end on each of them. I had a check and the right hand side springs had released so it had nothing to hold the build plate up. Hence the lack of adhesion on that side. The rice paddy I did last night did the same and I honestly thought it was due to a draft causing one end to lift… nope just a badly maintained piece of equipment. The double rice paddy being printed now is fine. Something I must keep an eye on.

The one thing I am going to have to learn how to do is to increase the top layers to stop the obvious ridge lines caused by the printer. They aren’t really obvious until you undercoat the bits with a spray can 😉.

Ponds with improved Rocks

Tonight I did a lot more slicing as well as redoing bits and bobs for the Japanese themed villages. I have put four paddy fields together and filled them with rice in 3D builder.

The other thing I did tonight was to get the rocks repainted. Thankfully they look more like a base rock colour now rather than RAF blue.

I also replaced the fluid in the sonic cleaner… before and after photos follow…

Clean
And Dirty,.. I honestly didn’t pour coffee in here, or have an accident in it either!

The other news on the printing front is that the roads STL’s have been downloaded. I will do some test prints tomorrow.

Japanese Village III

I managed Further work on the village tonight whilst watching Conan on Netflix. The biggest problem I had was the grey. I mixed it and it ended up blue… being the silly bugger that I am, I forgot I had paining in the shed that was mixed to the required shades of grey. Oh well repaint tomorrow is in order.

The buildings. Instead of doors I went for hangings.the big one still needs the wood painting in.
Bugger, the rocks are blue!

I undercoated a whole lot more today too…

And finally for today my new rules arrived and amazingly I actually found some 6mm Samurai. I was looking for black acrylic paint and I came across these. They must be twenty years old at least!

Japanese Village…Further Work

I really, really couldn’t be bothered tonight, but I forced myself to do a little bit on the village. My Get up and go evidently got up and went. But never mind progress is progress.

My horse went out into his summer grazing today so we can have a lie in in the morning. I really, really need one. I found out a really interesting thing today. If you don’t eat that much then scoff loads of walnuts then your world drops out your bottom. It was a definite case of Imodium or a cork. Luckily we had some of the former in the house.

So I got everything that needed it washed in a sepia wash I made myself. It really has sat too long so I need to redo it. This was my first attempt using washing up liquid which foams if you shake it vigorously. I also undercoated all of the flora and fauna in the pond white. This is to allow the colours to show up better when they get done. Finally I got some red on things that needed to be red.

Hopefully I will feel more like painting tomorrow.

My new toy came today. It is a sonic cleaner. I have a bucketload of painted miniatures that need stripping. I got a cheap one to see how it does. So far nothing seems to have budged, but to be honest I don’t actually know how long it will take. If anyone knows then I am all ears.

Today’s random re-enactment photo is this one…

Lance swirling without a horse!

Japanese Village

Tonight I decided to get some paint onto the farm buildings, not to mention anything else I could think of that needed doing.

Everything is a bit wet still in this photo but at least I got some paint onto things… I still need to blend the deeper part of the pond on the right hand one. Hopefully I will crack on with these. There is no way that I am going to get it done by the end of the weekend. But that was a self imposed deadline so there is no one to worry about apart from me.

Off the Printer

My daughter’s mask (or part of it) is finished.

It fits really well

There is still the lower jaw to do but the main bit is finished. It only took 60 hours over four sessions to print. I had to cut it into four and drop the size down to 90% to make it fit on the print bed.

I did have a. It of a problem with one of the rear pieces as it fell off before the end of the print (which I had forgotten about) and as such it doesn’t meet in part of it.

The gap is clearly visible on this photo. I will fix it with some Greenstuff. Hopefully the lower jaw isn’t too hard to print!

Birthday Buildings

Today has been spent printing more bits and bobs for my mates birthday on Friday. The miniatures haven’t arrived yet so I will need to get these sorted ASAP.

None of these are glued yet!

This will be his small farm. I still have the shrine base to do, but as I am nearly out of filament on this roll then I will need to put a new one on first to print it out.

Hopefully tomorrow I will get the gaps filled on these and get them sprayed on Thursday. I thought I would point out that the gaps are there as I seem to have a bit of a warped bed. Sometimes they appear when I print in different places. It could simply be that the bed has become a little thinner in those places leading to the wonk.

Big Pile of Prints

I spent today cracking on with my mates birthday present. Apart from the Buddha they are all from 3DALIENWORLDS.

I still have a raised area to do for the Buddha and some more roofs for the farm houses. I will do some rice paddies and some more fences to make fields. I will do some more rice stores too. One for him and some more for me.

3DAlienworlds have just posted a list of upcoming files for the Samurai. Very excited! I must be, Facebook informed me that I was a top fan 🤣.

The one thing I am going to do is to print a couple more Nobori banners for my shrine. I was reading somewhere that they were sometimes used to name patrons of the shrine. So a couple would look quite good just before the bridge.

Last check of the printer methinks and then bed. Catch you all tomorrow.

Torii and a Pond

So today I set the printer running to get some terrain done for my mates birthday. I decided to do him a big pond. Thankfully at about the 2hour mark I checked on the print and the front end was starting to lift. Luckily the blue tape was handy and I had enough to fasten it to too. For some reason the front of the print plate seemed to have dropped a bit. Hence the problems. It still looks okay so once I get it onto something flat then I will fill in the gap. Luckily it is where the stones are at the bottom of this image so it is hard to actually see from the top.

I printed out the accessories too and made a smaller torii gate.

My PLA order arrived today too…

It should keep me busy for a while.

I printed off some fences, another well and a Buddha to build a mini shrine for him. I will also do him a couple of farm houses too.