Today I suddenly realised that I had a can of Army Painter green. Joe brought it back for me ages ago. But well done past me for asking for it.
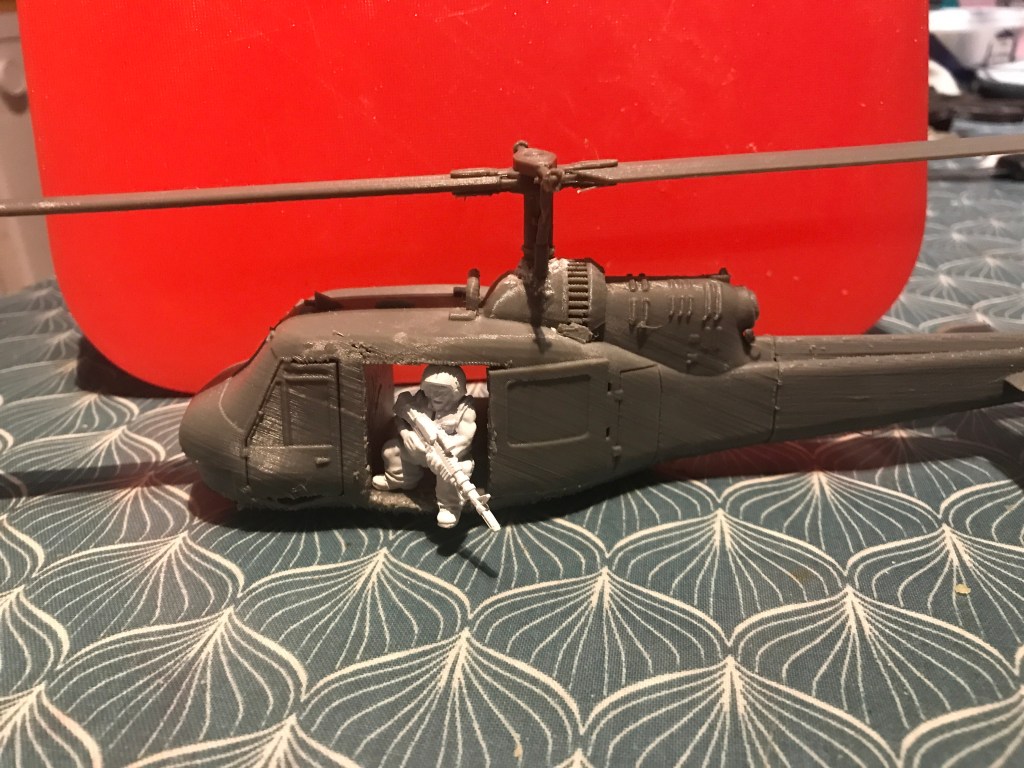
The Hog looks a bit better now that it is green.

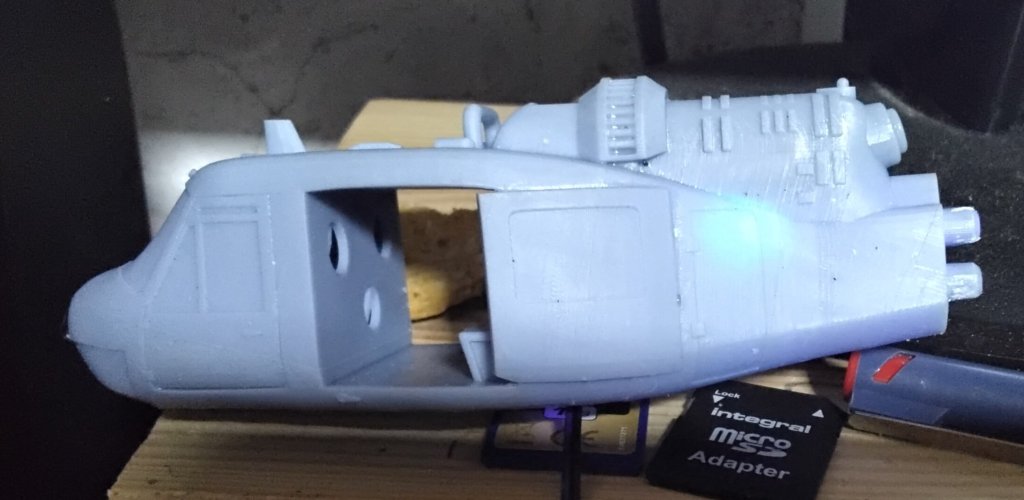
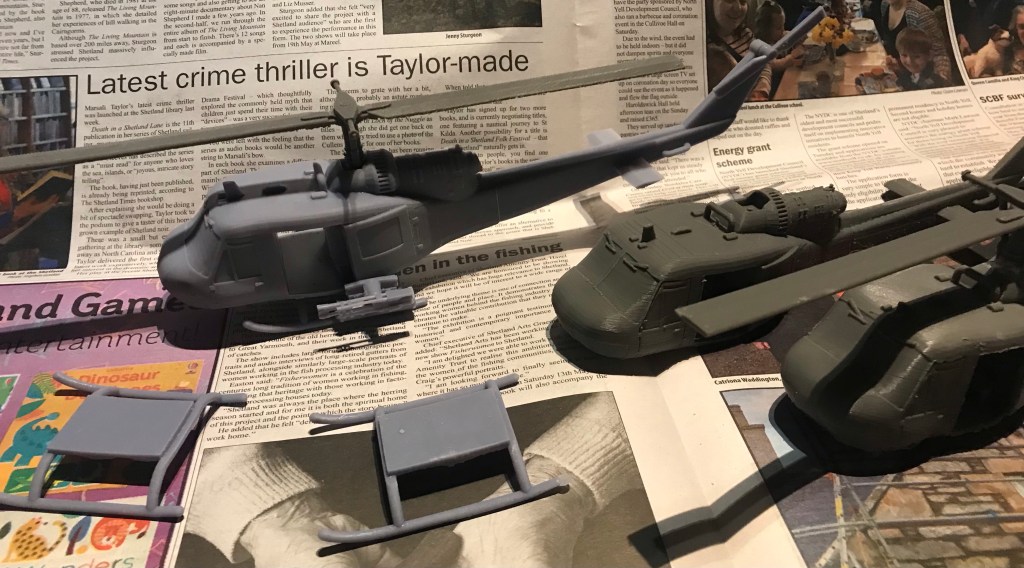
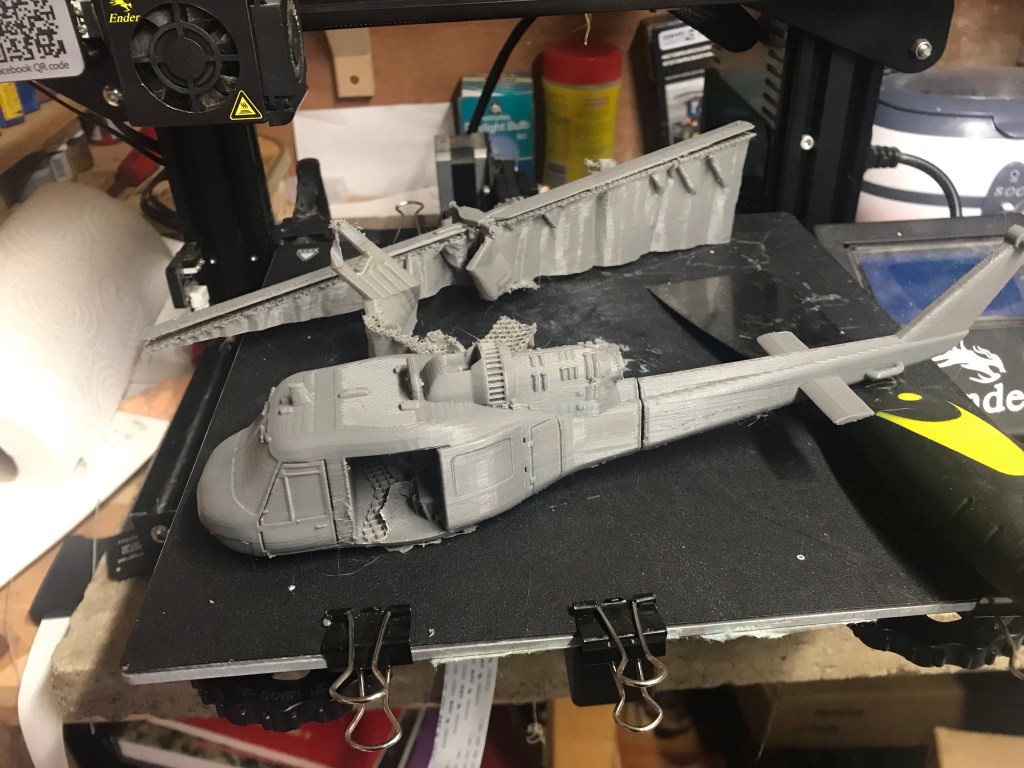
Well this whole thing got me thinking, the rotor sticks out a long way forward and we will not even talk about much it would stick out sideways. So in my rather foolish brain I wondered about electronically boring out magnet holes in the rotor and the fuselage.
This would mean in game all of the rotors wouldn’t be bow/stern. There could be some variations.
Over the next few days I will work on this and see what I can come up with painting wise. I am actually going to have to use normal paint! Eek!