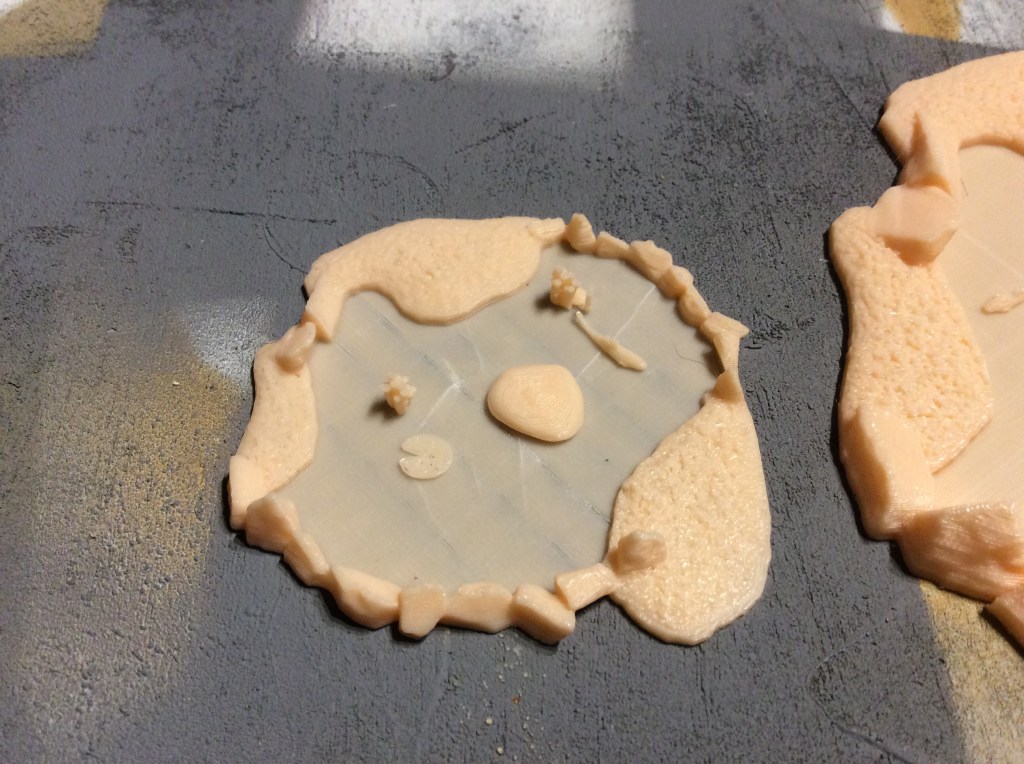
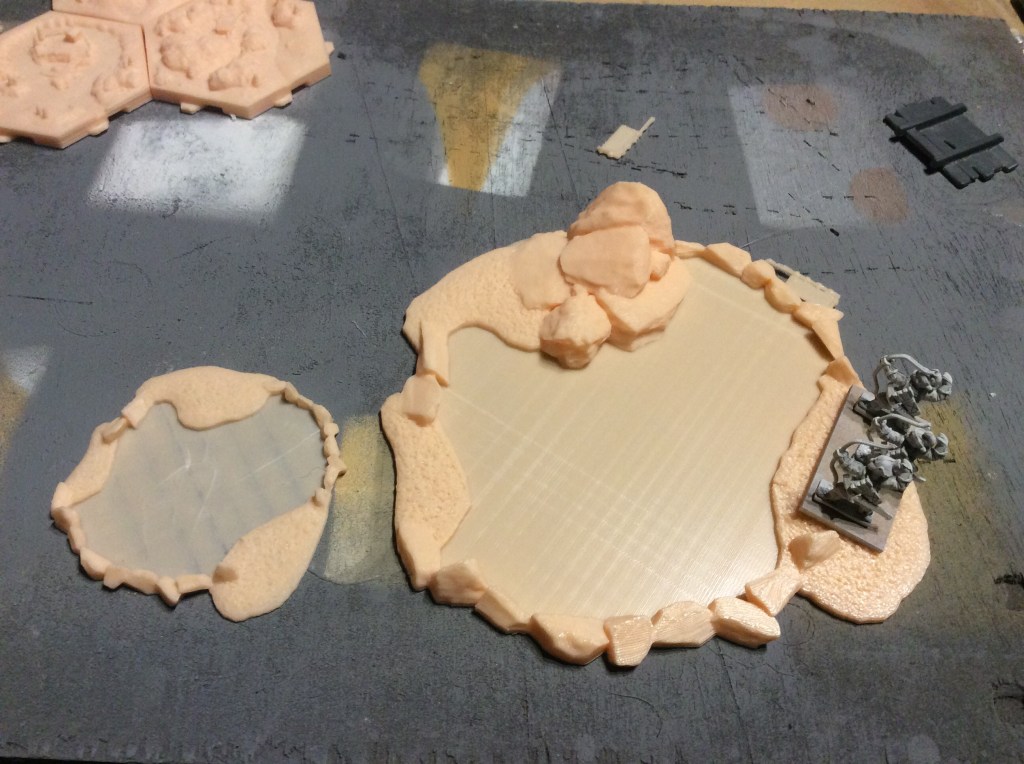
So today I set the printer running to get some terrain done for my mates birthday. I decided to do him a big pond. Thankfully at about the 2hour mark I checked on the print and the front end was starting to lift. Luckily the blue tape was handy and I had enough to fasten it to too. For some reason the front of the print plate seemed to have dropped a bit. Hence the problems. It still looks okay so once I get it onto something flat then I will fill in the gap. Luckily it is where the stones are at the bottom of this image so it is hard to actually see from the top.

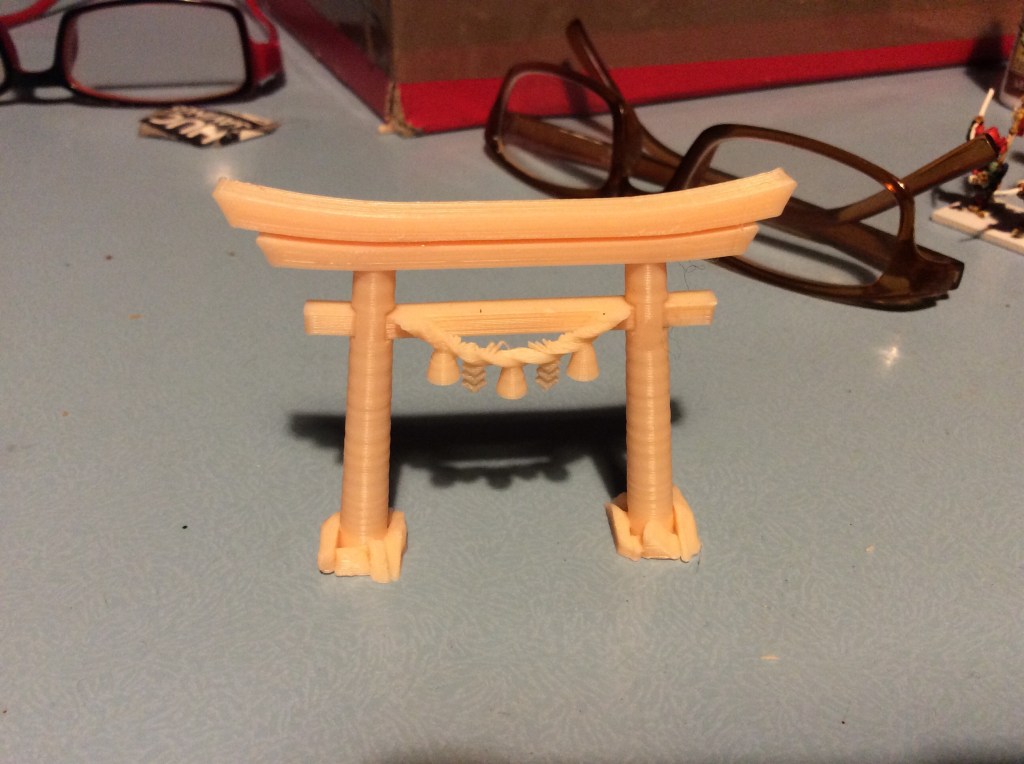
I printed out the accessories too and made a smaller torii gate.
My PLA order arrived today too…
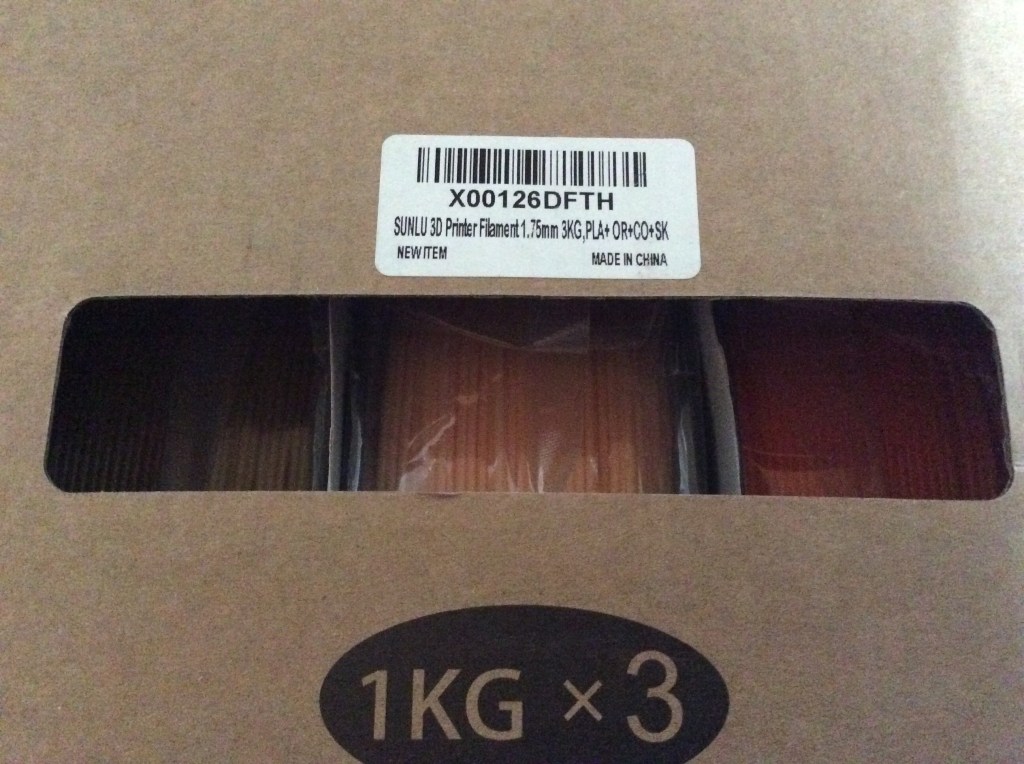
It should keep me busy for a while.
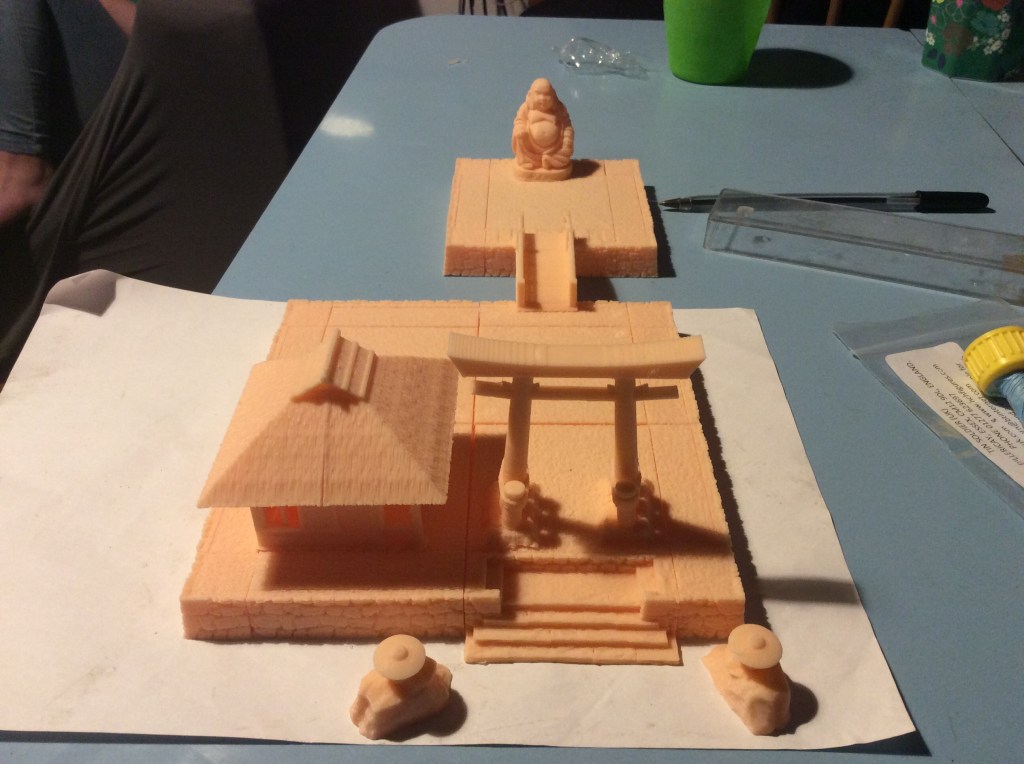
I printed off some fences, another well and a Buddha to build a mini shrine for him. I will also do him a couple of farm houses too.