Neglected Miniatures… Making a Start

Well I actually got my butt into gear and found some bases and got the cavalry and mages glued down and primed. Considering that these are 10mm they are amazingly detailed.

These are just primed with some Coat D’arms rust colour. I am still in two minds whether to make the riders a uniform colour or not.

I could do the barding all the same colour then add in a bit of differentiation into the cloaks and tunics.

I will have to wait and see until tomorrow. I had better watch the hobbit again to get some ideas of Mirkwood Elves.

January’s Community Challenge

January’s challenge was terrain, so I decided to give some a go. I was rather pleased with the result, however I could have done more if I hadn’t become rather lethargic and lacked motivation.

But anyway I managed to get from the raw squirty foam to a few pieces of terrain.

As I had a bucket load of resin gravestones I decided on a graveyard theme. Rather than a flat graveyard I wanted something a little more dramatic.

I was pleased with how the ‘grave hill’ came out.

I then did some smaller hillocks using the off cuts from the foam. These were originally going to be covered in graves too, however I decided that the pieces would be more flexible if I avoided the gravestones.

I also made a start on another hill, but ran out time…

One of my other plans was to get this completed in January…

I did manage to print it in time, but it was meant to be based and painted too…

I will endeavour to get the last two finished sometime soon.

Forgotten Forces Friday

Well it’s another FFF day.

This time this will tie in with the neglected models in February’s Community Challenge. This lot are a Pendraken Warband Army pack. I chose Wood Elves as I like Wood Elves.

There are about 125 infantry, 12 cavalry and a command group as well as a group of mages. I decided that I wouldn’t use them for Warband, but would base them up for HOTT or something similar this will match in with my other Forces.

They are nice miniatures, as can be seen from the mages and their pet squirrel below.

So my plan, if I leave the 3D printer alone for long enough, is to get as many of these based and painted as possible by the end of February.

I also evidently got a command group for my Barbarians so I can add those to my list too.

I only hope I have enough of the smaller base sizes!

Scatter (brained)

Well I had a whole month to make terrain and instead of doing everything I was going to do, I basically didn’t. Getting the 3D printer in and working properly didn’t really help but it is a bit of a naff excuse as the prints take hours to finish. I suppose I just lost a bit of motivation brought about in part by the realisation that I have to store everything somewhere.

That Not withstanding I did manage to finish the hillocks.

The biggest is about 15cm long by about 13cm wide the other two are roughly 15×10

I also got some base grass on the open grave hill…

This is bigger, sitting at 16 x 19 cm. it is about an 3cm high at the cliff end. Hopefully I will get it finished tomorrow a bit late for January’s community challenge, but it will definitely fit into February’s neglected challenge as it sat ignored for a good while.

The last piece of terrain I made a start on was my mausoleum. This came off the 3D printer this morning. It took 8 hours 40 minutes to print. The two 32mm figures show the scale of it.

It is pretty close to a 6cm cube with sticky out bits (I am tired and can’t think of the correct word!)

I am printing the roof just now. It is an hour and a half into a three hour print. Once this is done I will print the iron door and the sarcophagus for the interior. The coffin in the open grave sits in the sarcophagus. I can’t remember how much the above cost PLA wise, once the whole thing is finished I will price it up.

I will get it all painted up and put on a small base.

Graveyard Scatter…The Return

I managed to get a bit more done on the scatter terrain this evening.

I got the small hill painted brown..

Still the cliff face to paint, but getting there. The one thing I forgot to do was the spoil heap from the hole. I will see what I can come up with tomorrow.

I also managed to get some flock on the other three bits…

Still some clump foliage and tufts to add.

My 3D printer is working away on my longest print yet. I decided to get the Mausoleum printed. The walls will take over 7 hours with the roof taking another 3.

I reckon it will be done at about 03.30 tomorrow.

I was supposed to be traveling to the island of Yell tomorrow morning but as the temperature has dropped to at least -6 and as the gritters were off work today due to Up Helly Ah then I seriously doubt I will get out.

What is Up Helly Ah? Well it is Shetland’s main fire festival, supposedly the biggest in Europe. You can find out more about it here: https://www.shetland.org/things/events/up-helly-aa/lerwick-up-helly-aa

It does look pretty impressive…

Taken from Uphellyah.org

Guess What…. Not 3D Printed

I actually did something for my Graveyard… yes I really did. Look photographic proof!

I went for the open grave look. I decided that the original three scatter pieces were going to become just lumps and bumps as opposed to graveyard related. I decided upon this course of action as the graveyard would suit 28mm post 1700 games. Not much use when I have a lot of 10 and 15mm miniatures too. They will still be finished in the same flock as the large graveyard but will be minus the Gravestones.

I did however do some printing 😉

I did the missing wheel for the water cart.

I thought I might as well add a couple more as wheels are always handy

Oh and as I am writing this the printer is chuntering away making me some more barrels (the ones above), a couple of coffins, one open, one closed as well as a treasure chest too. I am still toying with putting the open coffin propped up against the end of the open grave…

Tomorrow I will get the terrain flocked and the other bit painted. Thankfully I am off tomorrow so hopefully I can get something done on them.

More 3D Printing

I promise I will stop sometime!

My MKIII and panzer 38t’s

I also printed a water barrel cart.

It has only one wheel as, although I printed two, I hadn’t realised the wheels are stuck together to make a thicker one. It’s a 10 minute job tomorrow so not a worry really. I would have printed an extra pair tonight but I am part way through printing a 15mm Panther.

Pete asked me how much does the printer cost to run, I had heard about the price of a lightbulb, but in reality I honestly don’t know. I tried doing a bit of research, but the internet is so bad tonight, Pages wouldn’t load. One I did manage to see was $370 dollars per year if he ran it 24 hours a day. Others were saying 2 cents per hour. So I think the consensus is pretty much… not that much. Mine has a heated bed normally sitting at 60 degrees, it has 2 fans in the print head and three small electric motors. Plus a fan on the board (similar to a computer fan).

Another site I found worked on an electricity tester and ran a 5 hour print with the total cost of £0.04.

Whatever the actual real cost is2 cents an hour or just under a penny an hour it still is great fun.

My Panther is now half way through…

3D Printing… Do I have a problem

Whoops I seem to be hooked by this 3D printing malarkey….

I printed the Tiger 1 over night but the rest was today….

A sock ruler for my good Lady, A Hufflepuff crest for my eldest, a pile of markers for our One Ring RPG… I have left it printing 2 panzer 38t and a couple of MKIII.

I suppose the novelty will wear off soon.

The nice thing is all of the above STL files cost nothing. So quite a bargain.

The one thing I will do this week is credit the designers for everything, something I have meant to do but have forgotten so far. 😬

The white bit on the barrel of the Tiger is a mix of superglue and bicarbonate, sets like rock… some knacker tried knocking the barrel off. Tomorrow I may attempt to finish the Graveyard Scatter.

Further 3D Fun

Today was a day if 3D ups and downs…

First the ups…

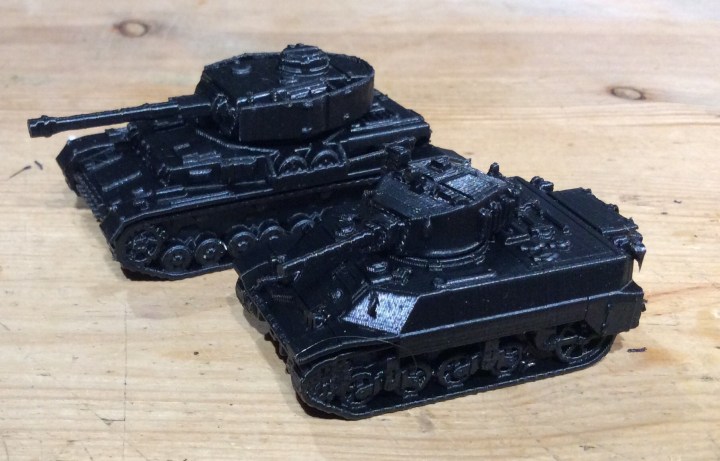
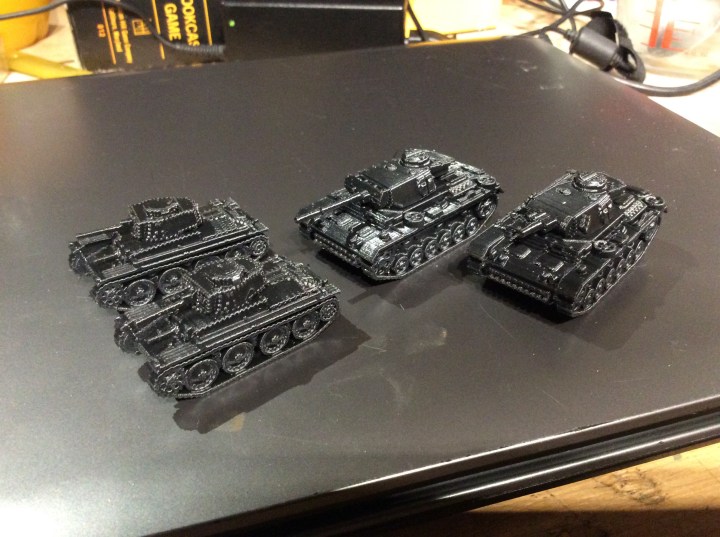
A nice little Stuart light tank.

I also printed of a Lego clone warrior for my little boy, some eggs for my daughter to paint like real ones. My wife wanted something printed as she was feeling left out.

Then the weirdness started. It wouldn’t print her stuff properly, I checked the bed level and the extruder, eventually I noticed that the nozzle kept getting covered in plastic that kept coming back.

Eventually I dismantled the hot end and found this…

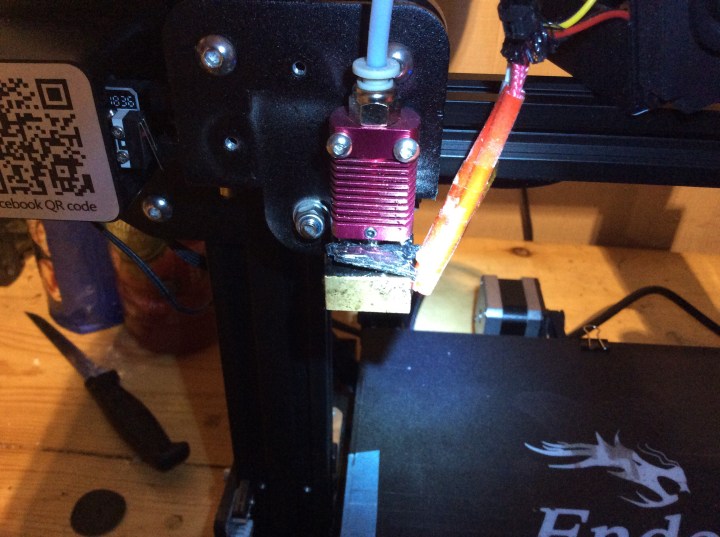
The black stuff between the heat block and the metallic red heat sink should not be there. So this all had to be cleaned off and sorted. I added a new nozzle as the first had probably had it. It had worked itself loose too.

I also changed the Bowden tube, the white thing leading into the heat sink. I also changed the coupler, only to find the tube wouldn’t go through it!

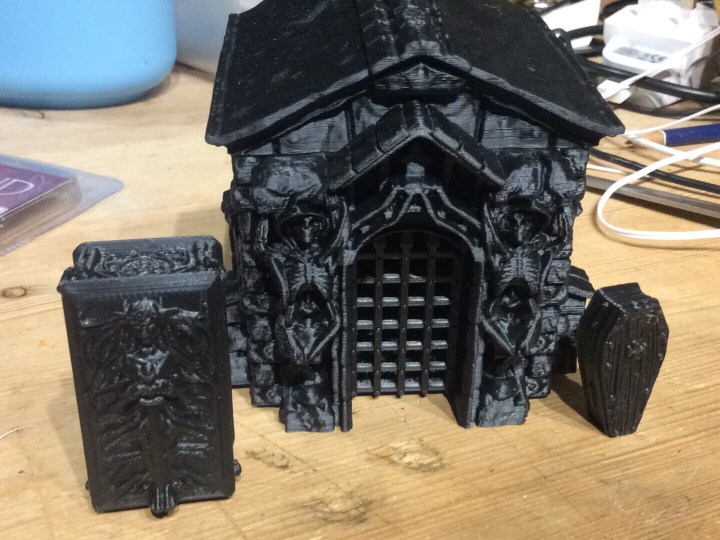
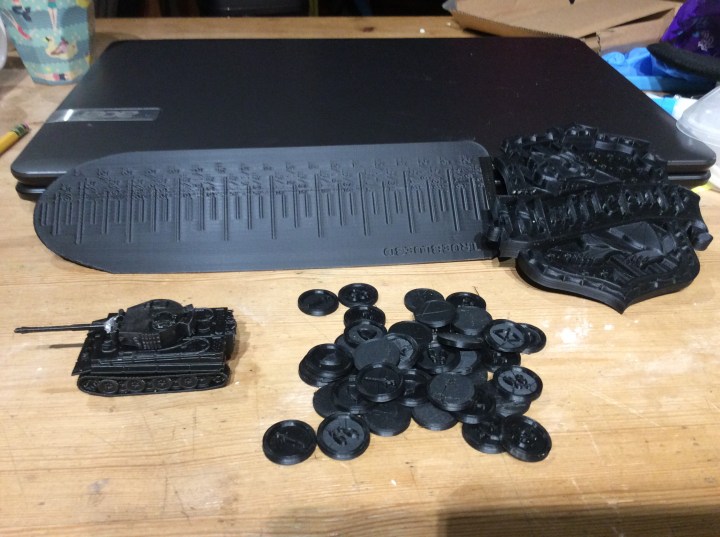
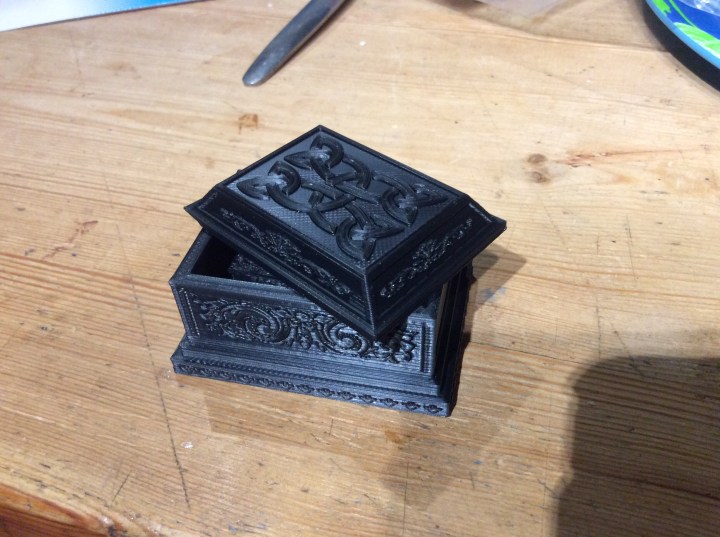
I printed a new bit of an upgrade and am now printing a sarcophagus which I thought was going to be a quick one… I reckon it has another hour or two yet….

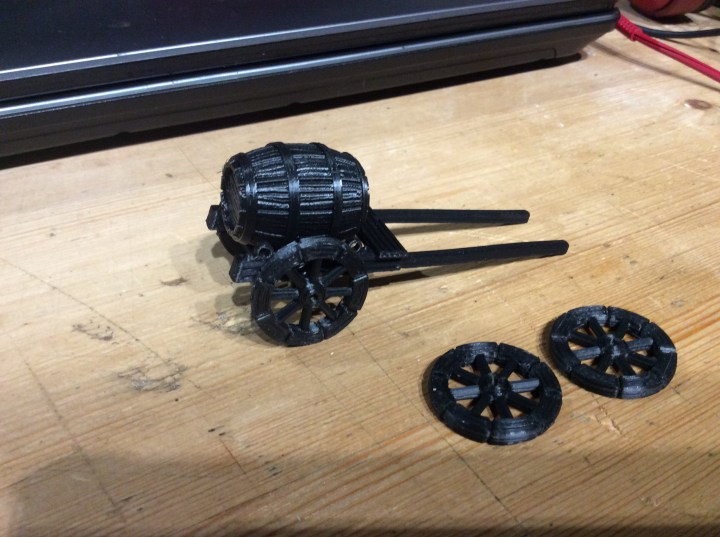
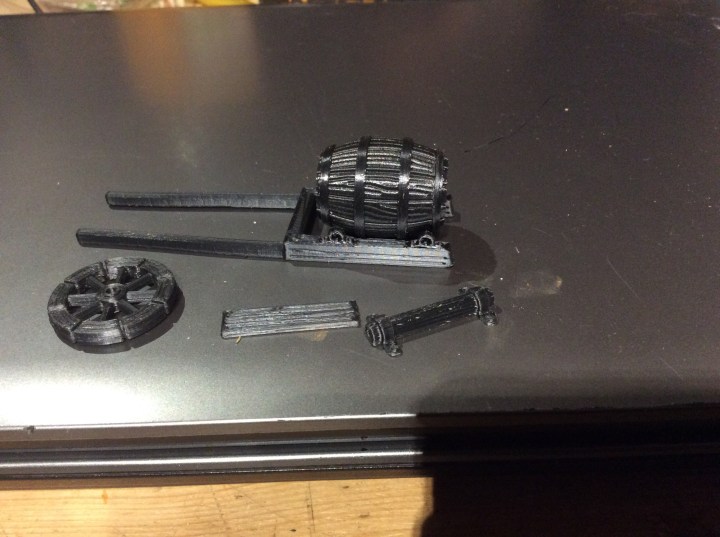
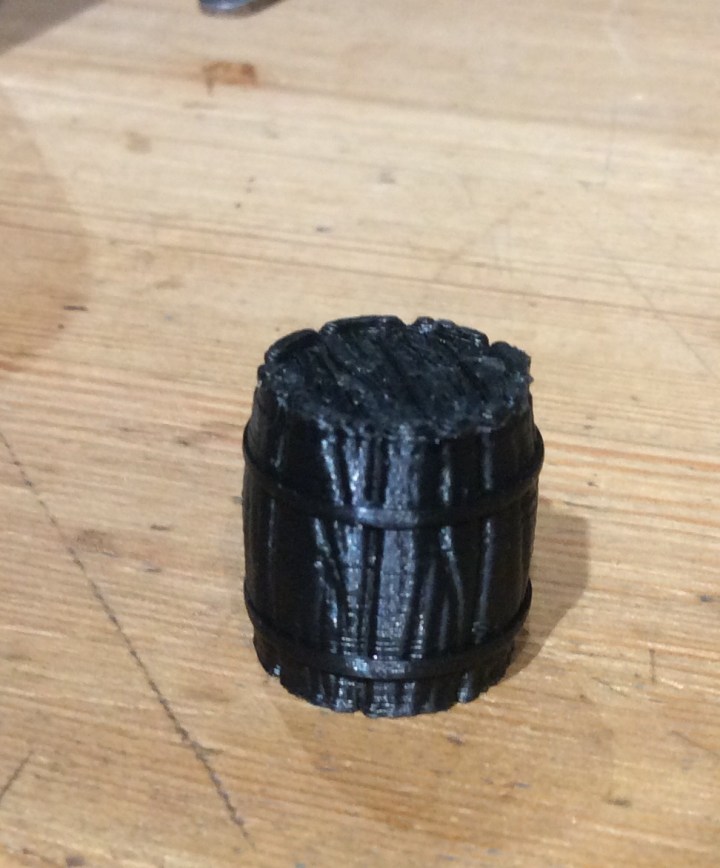
I also printed a nice little barrel

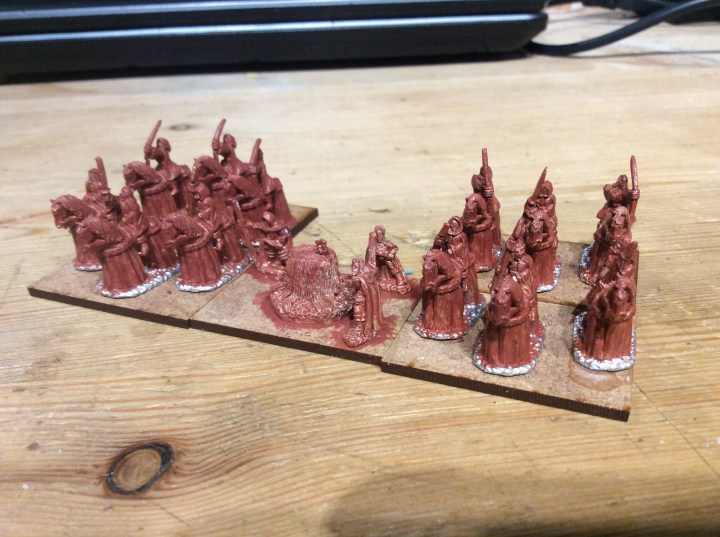
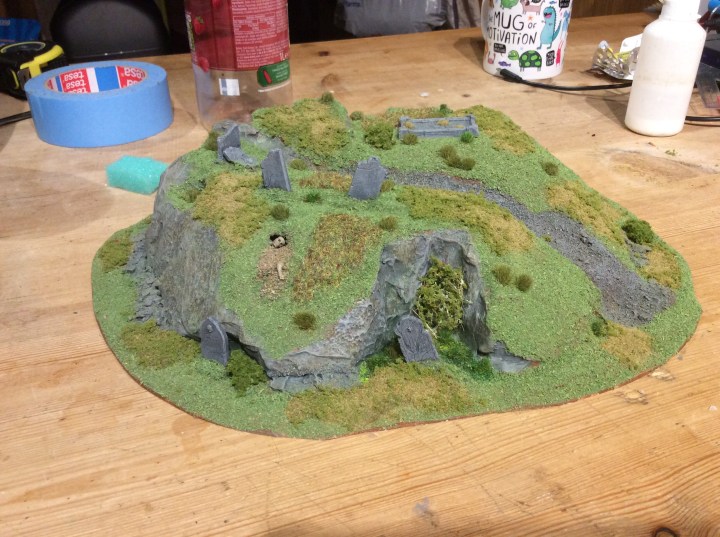
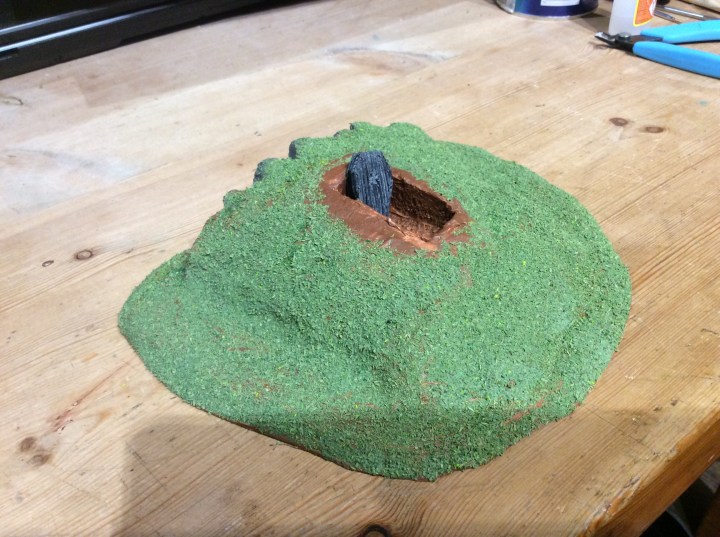
Tomorrow I must get back to my graveyard bits and bobs…