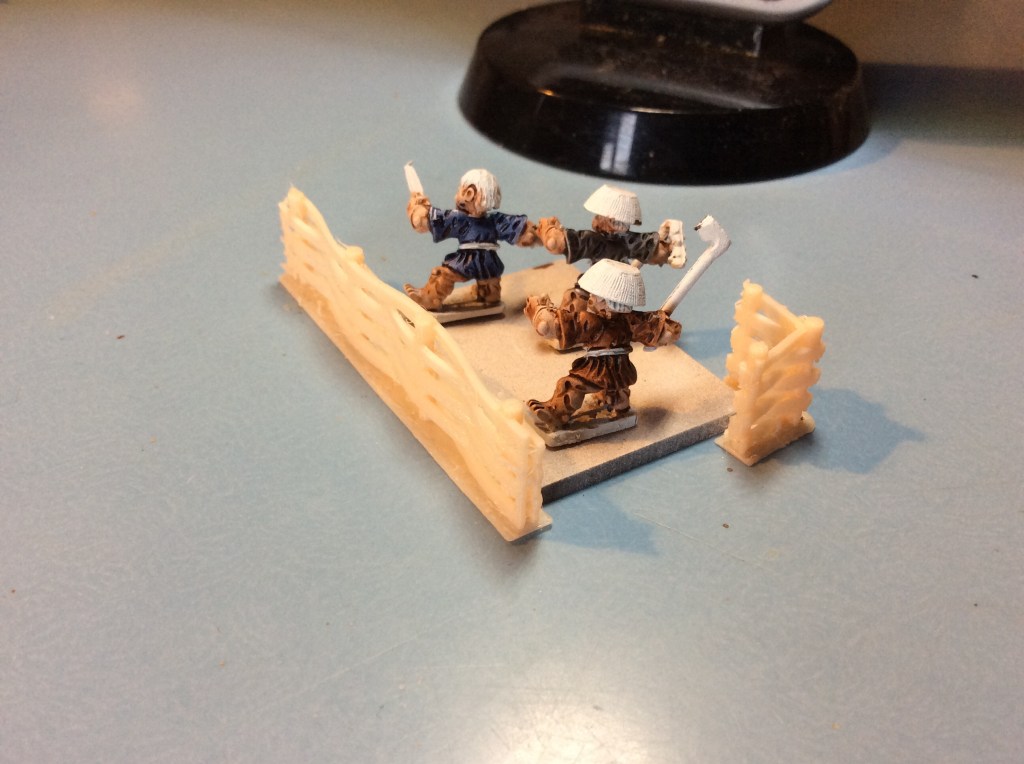
Yesterday I did a couple of test prints to see how the scale was looking. The fence was a bit on the large side and the buffalo a bit on the small side…See here .
So today I dropped the fence from 60% to 50%…
This seems to be better. It looks more like a farm fence than a zoo fence. I messed up by adding supports to it, so it took the same amount of time as the bigger one. These two bits took 44 minutes.
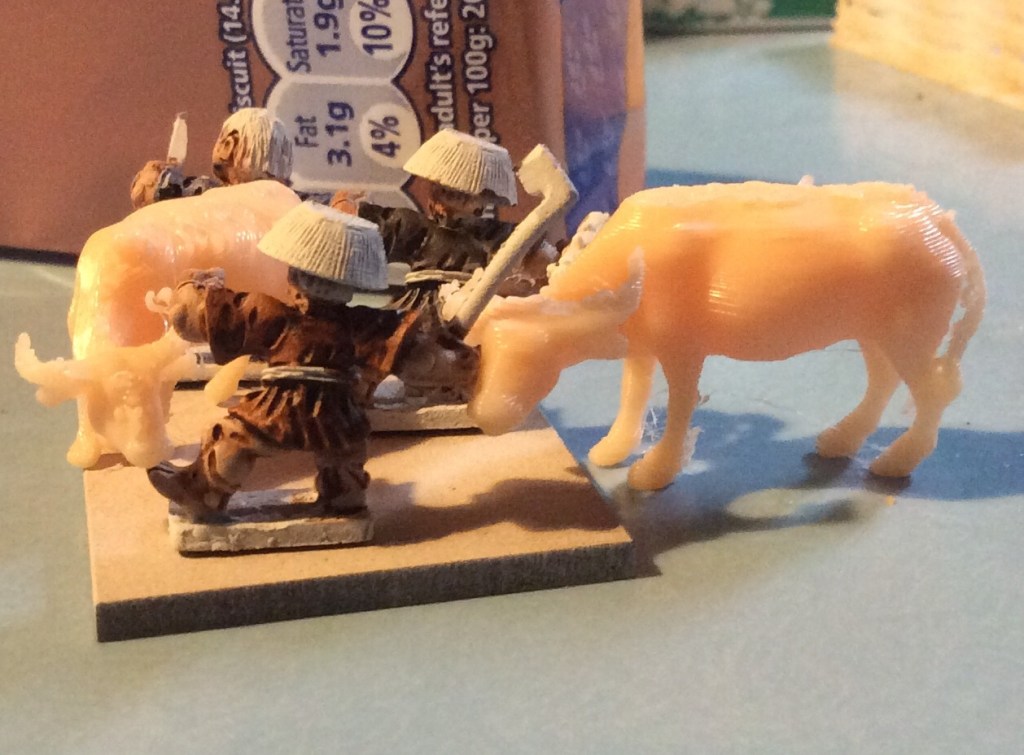
The next thing I did was to increase the buffalo from 60% to 70%…
Chasing the cows
The cows look okay too, perhaps a bit on the large side, might try 65% or perhaps I will just leave them as is. They are stage dressing for a war game table so they should be fine.
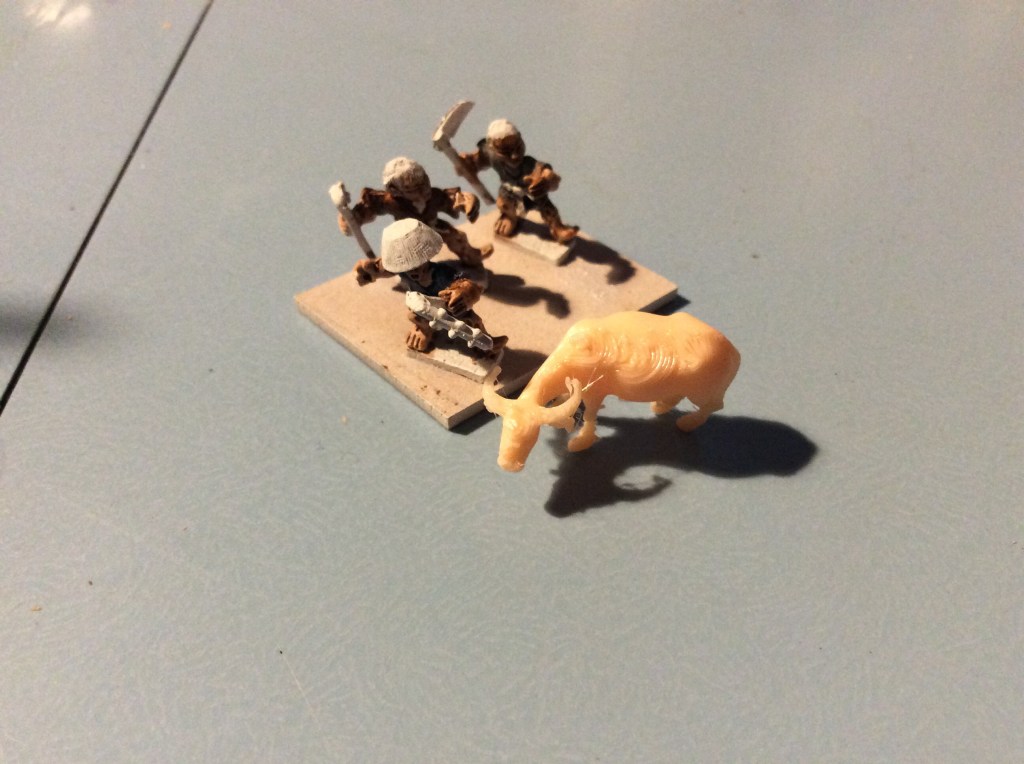
Actually when I look at the 60% water buffalo on the base with the miniatures then it doesn’t look too bad actually.
Am I taking this size thing too seriously!
So right now I am printing off a farm house with a thatched roof. It is done at the 50% sizing. It might be a bit big for a war game dwelling when one miniature equals a number of real people. We shall see.
The advantage of having the STL’s is that I can faff around with the sizes. I want to make a 15mm Force or two for my Ronin rule sets. If the house is too big for a multi base war game then it should be fine fir a skirmish game.
The building will take four hours for the walls and then another four plus fir the roof.
So tonight I got my STL’s through from 3D Alienworlds . They are really nice files but designed for 28mm. So I decided to drop them down to 60%.
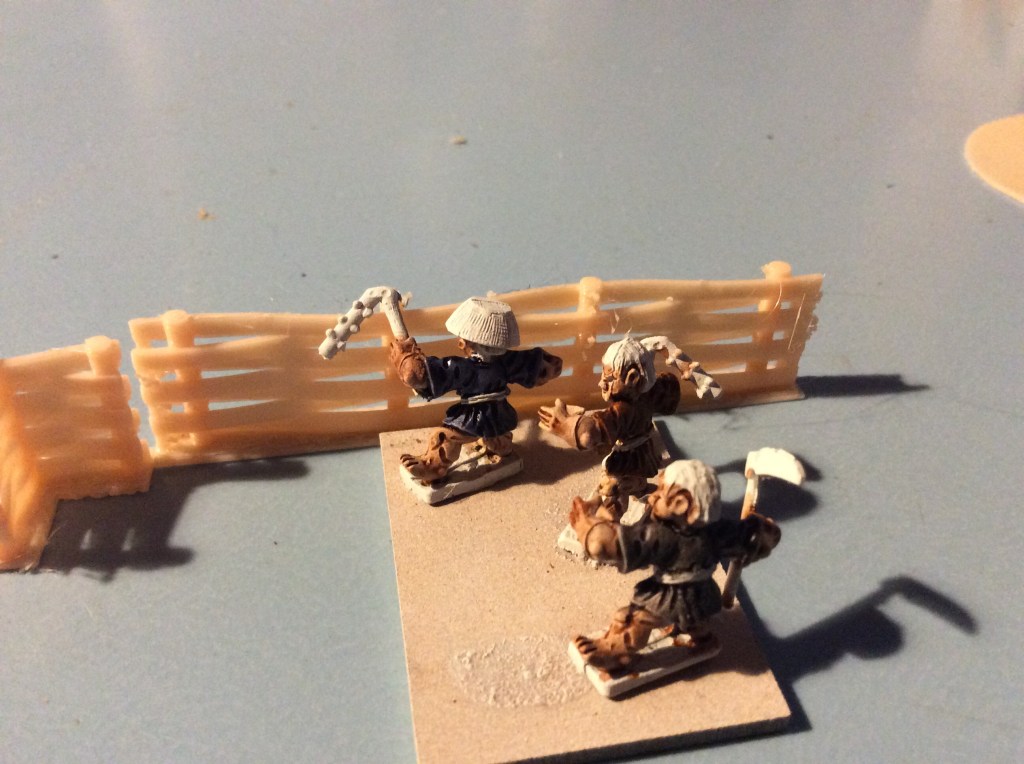
First up we have the bamboo fences.
Now I am not sure whether these are still a bit big. I would really be interested to hear what other people think.
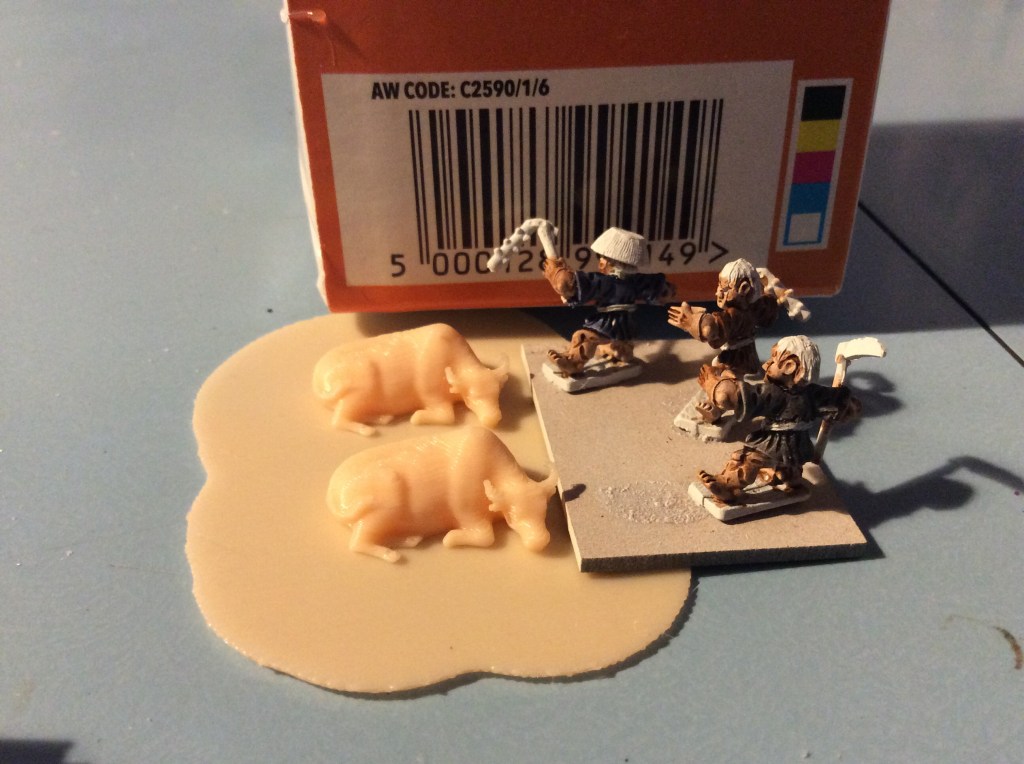
Just for fun I printed up some water buffalo…
Having a rest!
Funnily enough where I think the fence might be too big then I think the buffalo is a bit on the small side.
Tomorrow I will try and get some stuff painted (some more should be here by the end of the week). I will also give the fences a go at 50% . I got the farm and farm houses, wooden and stone fences so will have enough to keep me busy for a while with the printer.
Well I used the last of my white spray paint to get these undercoated…
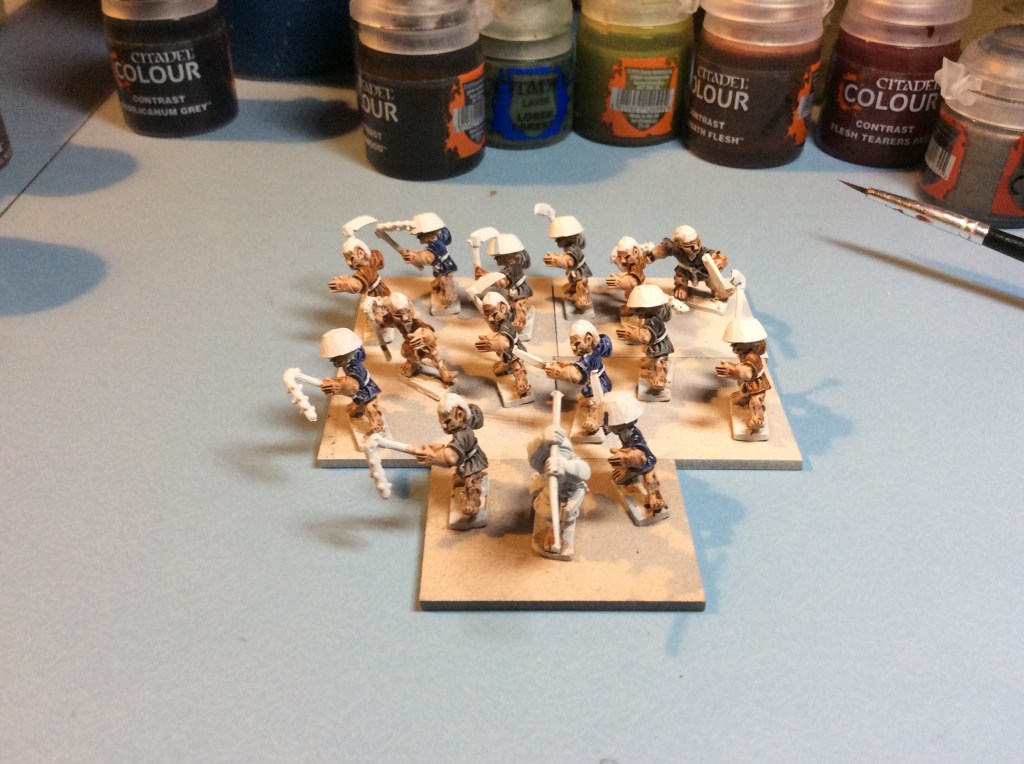
The coloured ones are my test pieces that came with my Aztecs ages ago. I did however manage some painting this evening. I decided to start on the easy ones and went for the peasants.
Getting there…
Still a fair old way to go, but at least I managed to make a start.
I also found someone who does STL’s for Japanese terrain, so I spent a bit of cash and got a few sets.. mainly rural farm stuff. Hopefully I can get some of it test printed tomorrow .
Ooh I forgot why my huge two Dragon Samurai army never got their back banners… tonight I remembered!
Their helmet rims stopped them running up the back so instead I had to angle them into bits of the body where they could have some form of connection (rather than a couple of mm where it touched the helmet). I put 22 on and it took for evvvvvvver! There is more glue on me than there is on the miniatures. But never mind, these are done (guess who forgot to get any more from Tin Soldier! So it looks like it will be pins and paper for all of the foot Samurai and Ashigaru.
Some how I believed that the amount I got would be enough. Yeah right… 30 is just about enough for the cavalry, the 15 Ashigaru are going to have to wait for theirs.
The other thing I did was to add various weapons to the peasants. As with most things the weapons wouldn’t go in the gap for their hands… superglue saw to that… eventually!
My original plan to get these glued and sprayed today fell short. I will get them sprayed tomorrow and see how I get on from there.
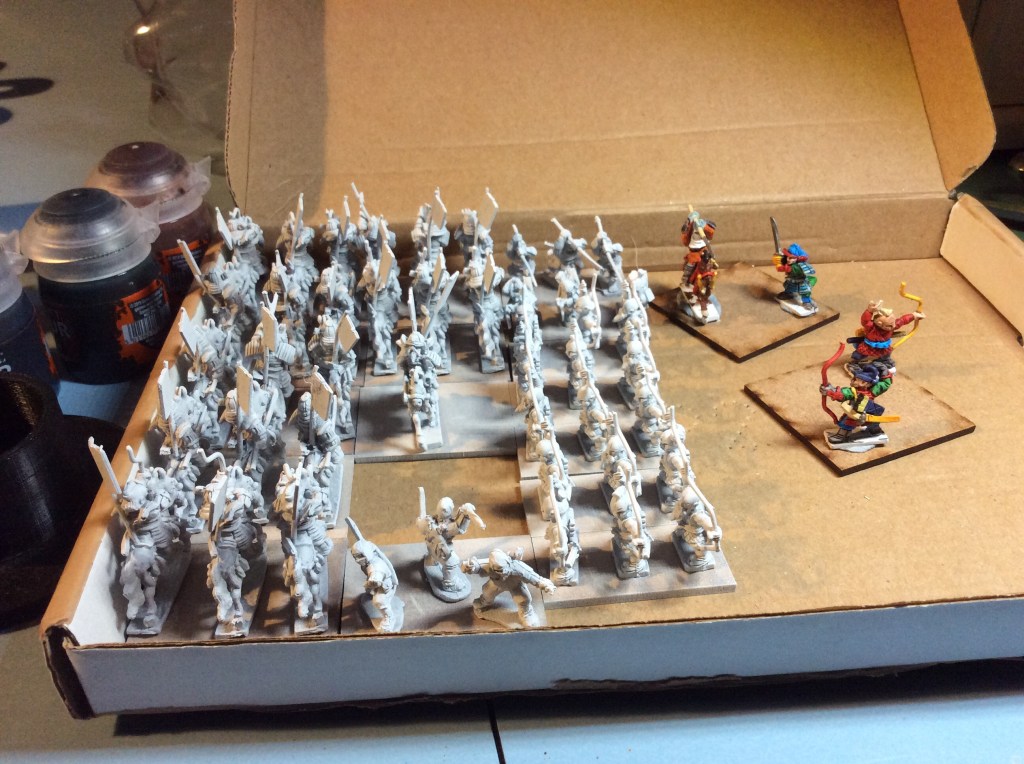
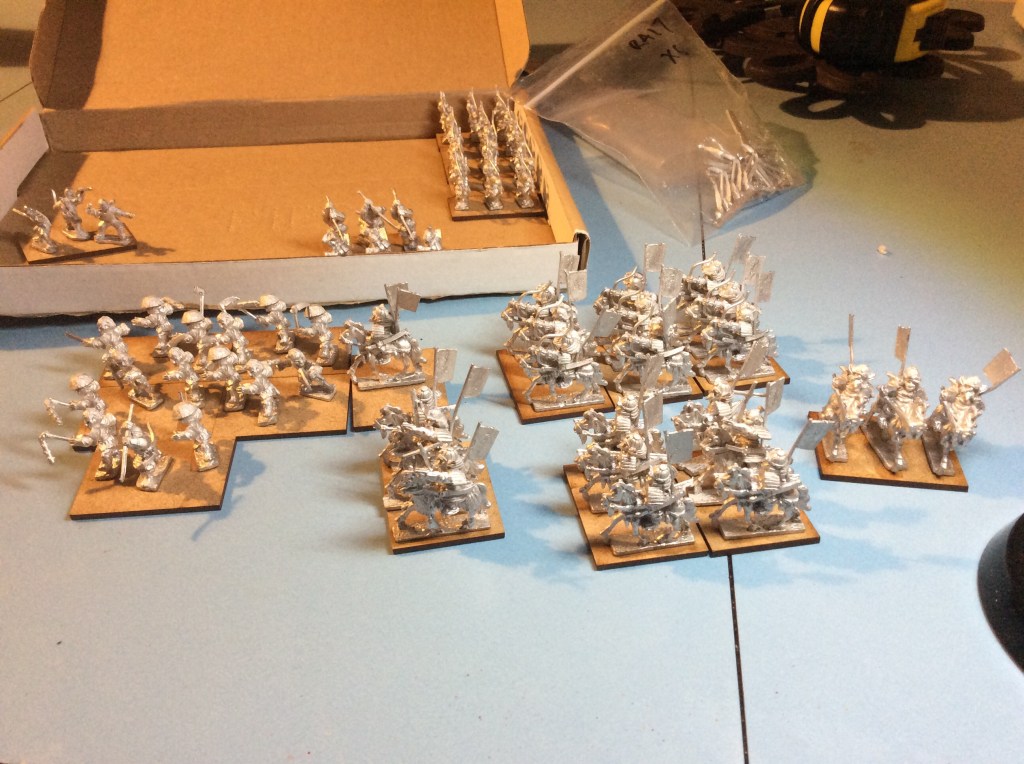
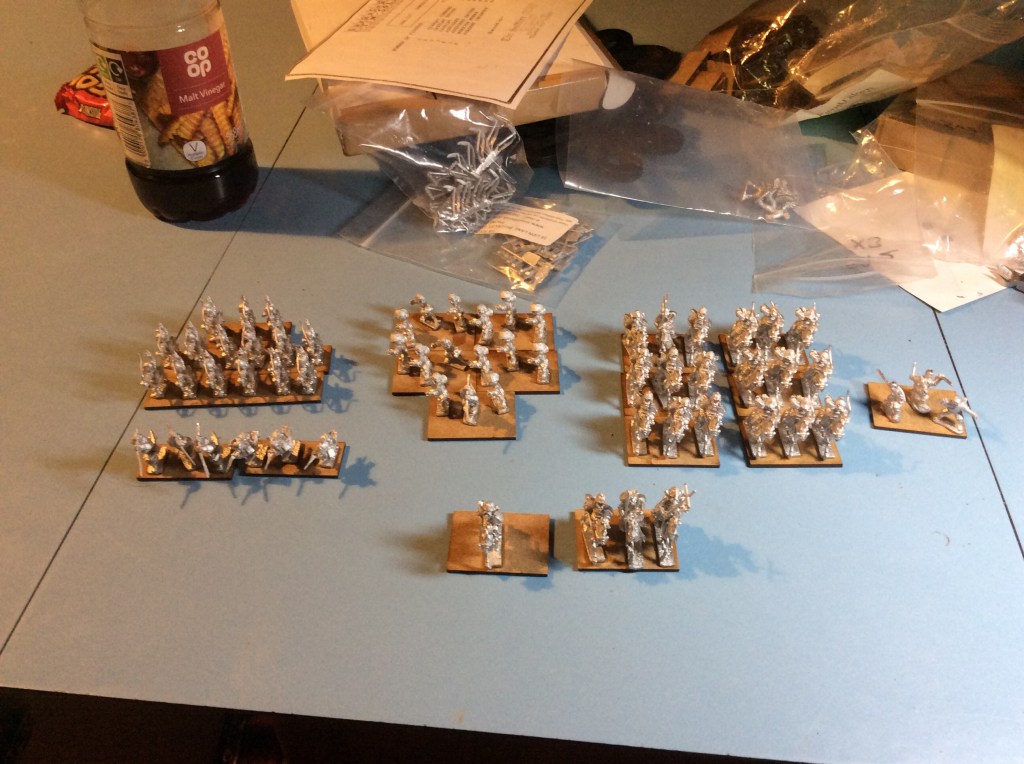
Tonight I decided to get all of the Samurai I had put onto their bases. And … because I am me, I have just ordered some more! Well there weren’t enough foot Samurai or mounted monks or…. yeah I think you get the picture!
This lot is DBA army list 127. But because I am me everything goes on 30×40 for cavalry and all infantry on 20×40 apart from the horde who use the cavalry bases. Makes buying bases in bulk a doddle 😂.
Start of the Samurai Forces
On the left we have five bases of Ashigaru archers, with a base of Ashigaru and monks in front of them. Next big block are the peasants led by a monk (well I had one figure spare). In front of them is a champion and General. Next up a set of three bases of cavalry and then three of mounted archers with a unit of Ninja next (well you just have to don’t you 😱).
I have still to add the Sashimono to everything as well as put the various improvised weapons into the hands of the peasants.
The army is from Tin Soldier. I do like the style of these. They are a little cartoony for some people but they do work for me… the Ninja are Battle Valour Games. Luckily the UK supplier is a mate of mine and he had some in stock to buy (handy when he lives on Shetland). They fit in quite well scale wise.
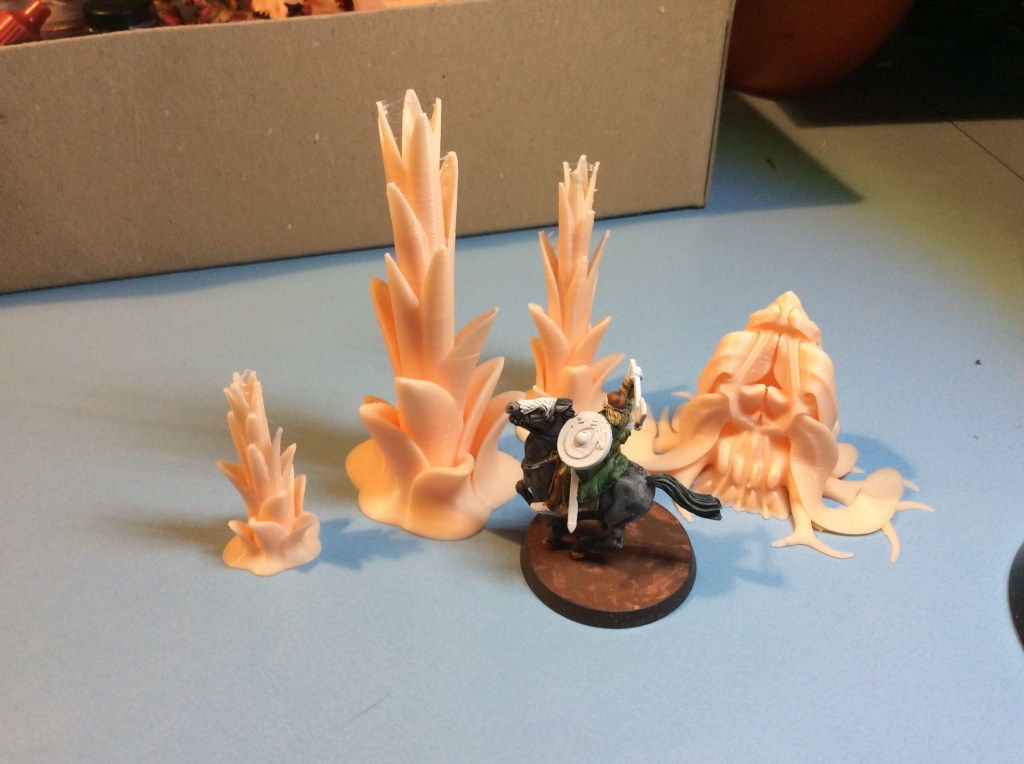
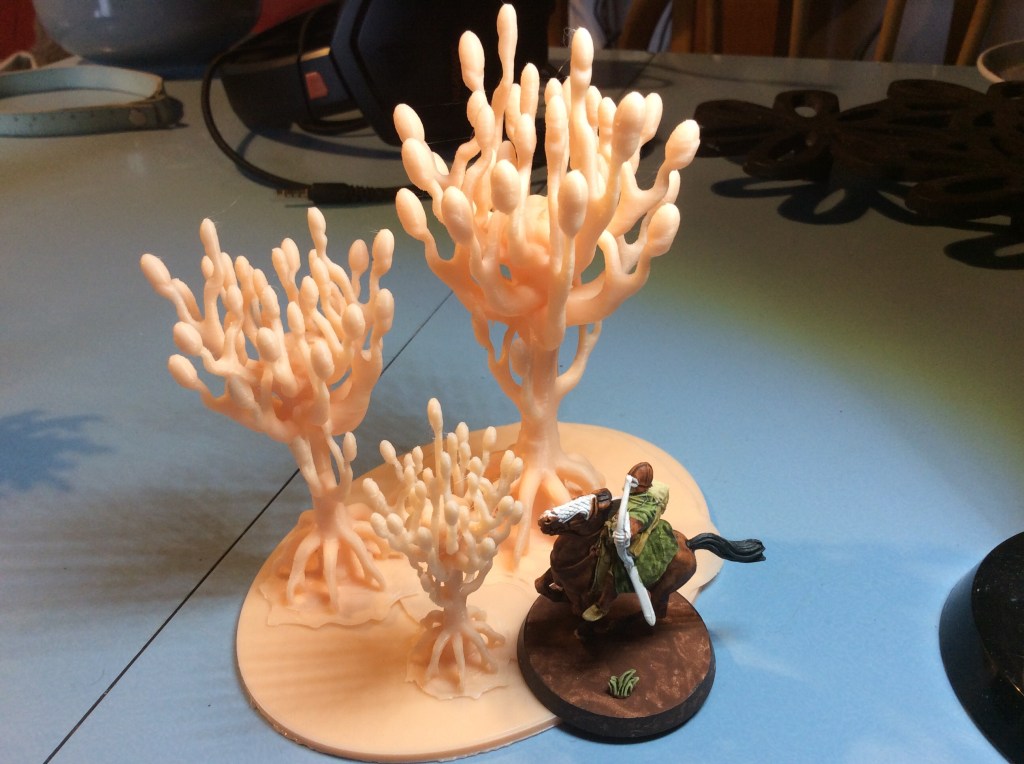
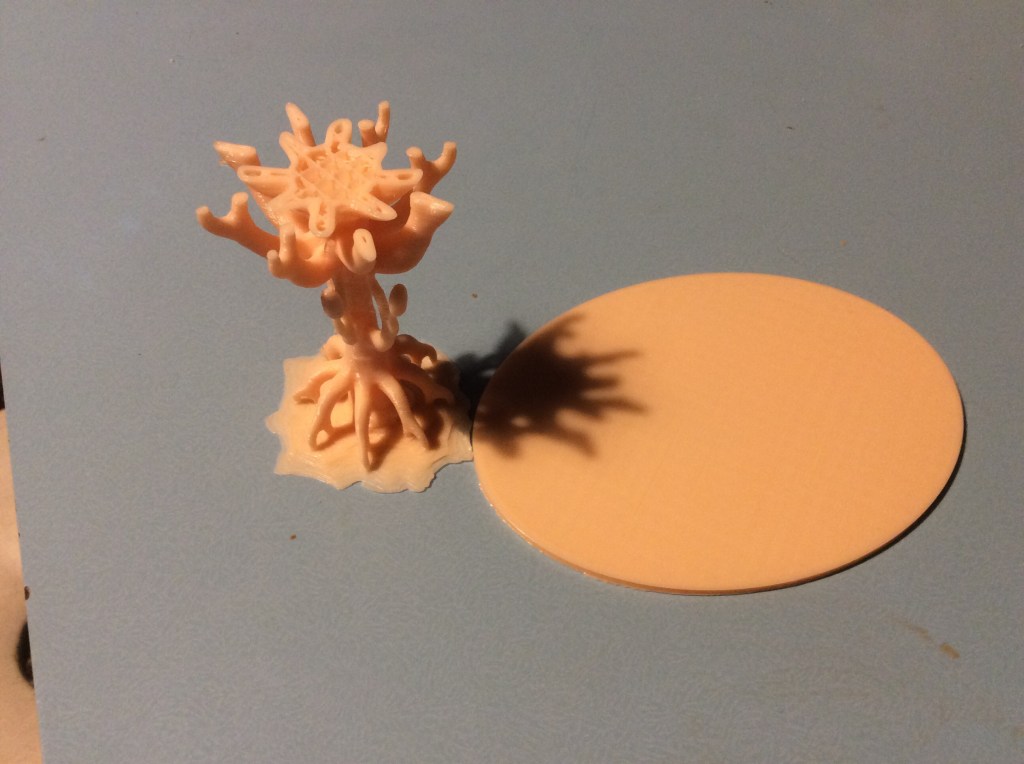
The other thing I did today was to print some of the funky trees. These were done at 75% and 50% of the full size. They are shown next to the unfinished full sized one from yesterday.
I am printing a full sized one again just now. It will finish after midnight which is a bit of a pain. The 75% one took just under 3 hours and the smaller one just under an hour and a half to print. I did add a raft to help get them off the bed so they would have been quicker without.
Tomorrow I will use the remainder of my white spray to get the Samurai undercoated.
So today I printed my 120 x 90mm base for my allosaurus. I also spent ages finding various jungle/fantasy plants to go with the various bases.
I even designed a big base with multiple plants on it, but as it was going to take 8 hours plus to print then I thought sod it and just sliced various plants instead.
Anyway the base was a success, it is the same size as the GW one… so I will get it onto it tomorrow and then based up.
I then decided to print a tree thing… kept going back and It was taking forever! So after 4 and a half hours I went in and noticed that some of the support had fallen over, so after a bit of swearing I cancelled the print and took it off the plate. It was only then that two things struck me… then first was that it didn’t need supports and that second the actual print was perfect!
The tree that never was!
I will re slice it tomorrow, without the supports and hopefully get a nice tree out of it.
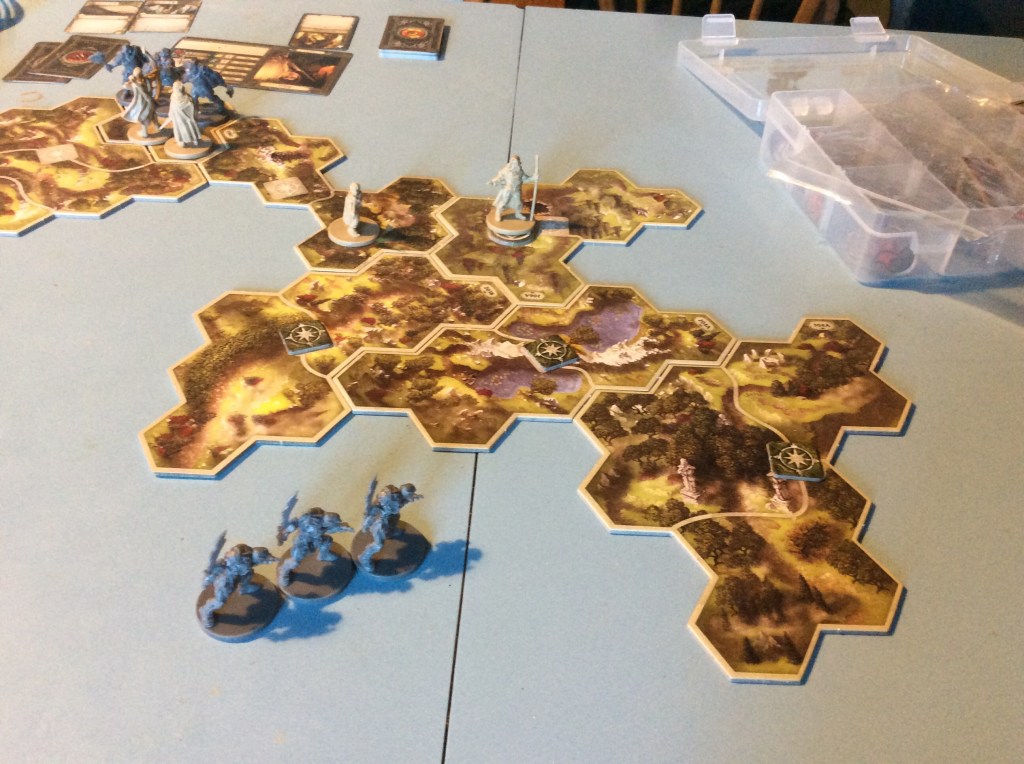
Didn’t get any painting done today as we played Journeys in Middle Earth. Four of us went on an adventure. I think it was a bit slow paced for my 9 year old but the girls and I enjoyed it.
We ended it, with Legolas and one of the others about to get their backsides kicked very hard by three nasty orkses.
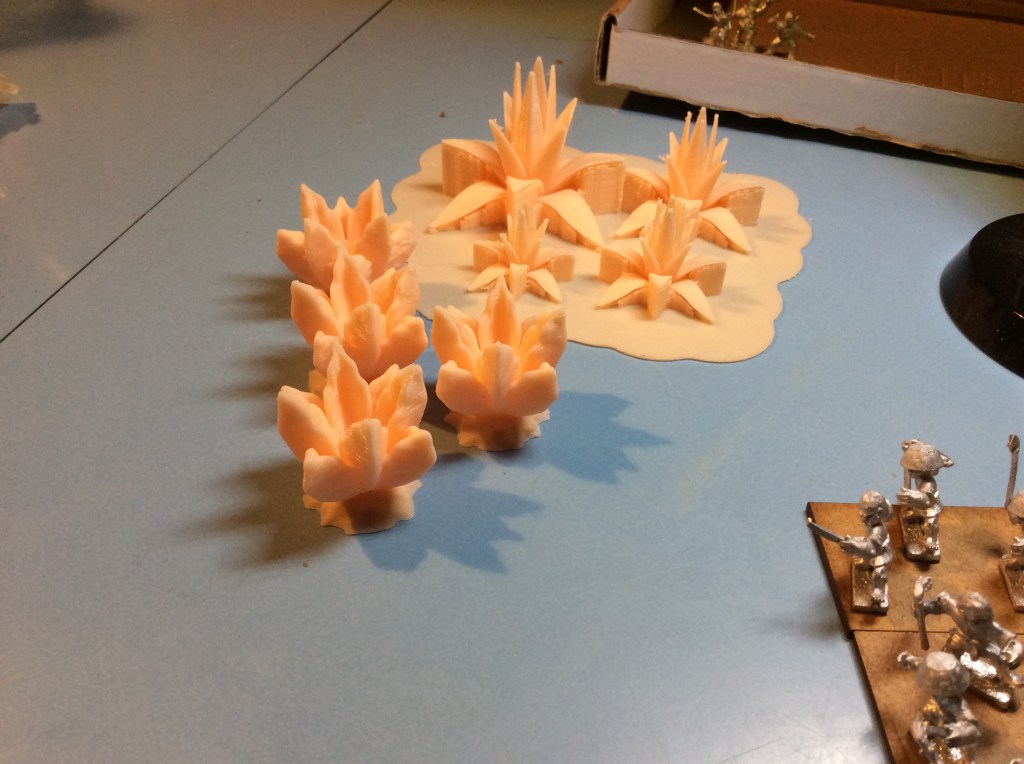
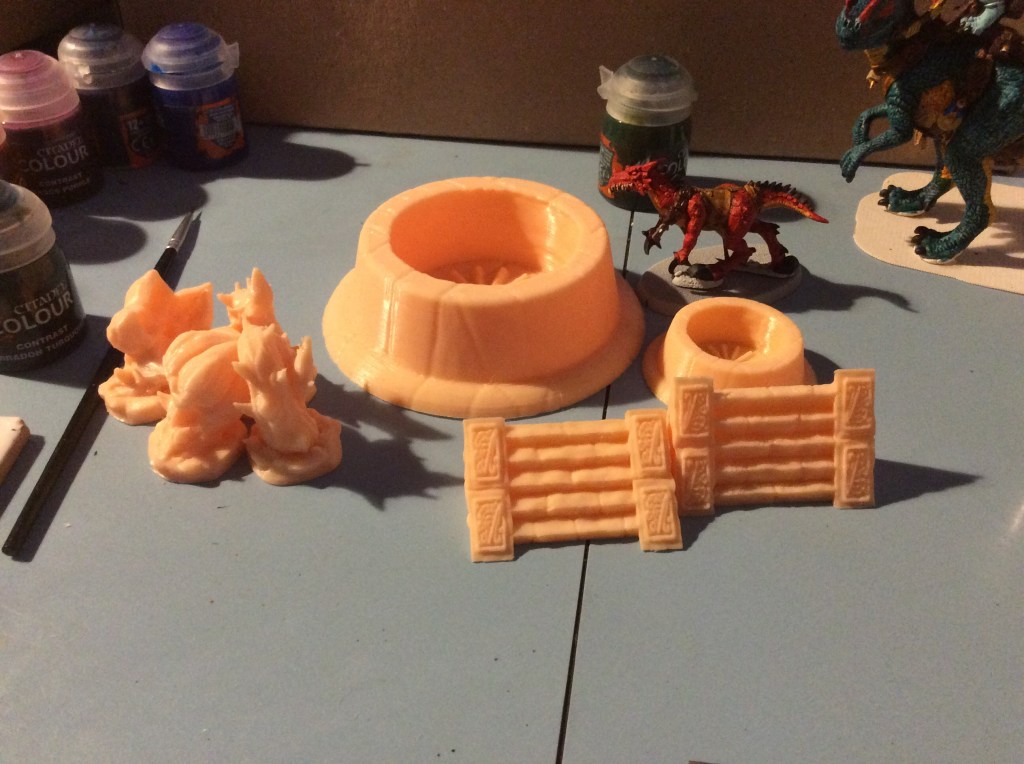
We have the big pool I started last night with a smaller version from today. I decided to print off some more deadly plants as well as a couple of low stairs. The stairs are the same print, just put in different orientation. My plan for these is to make some kind of a plaza with the throne on it. The stairs will allow entrance to it.
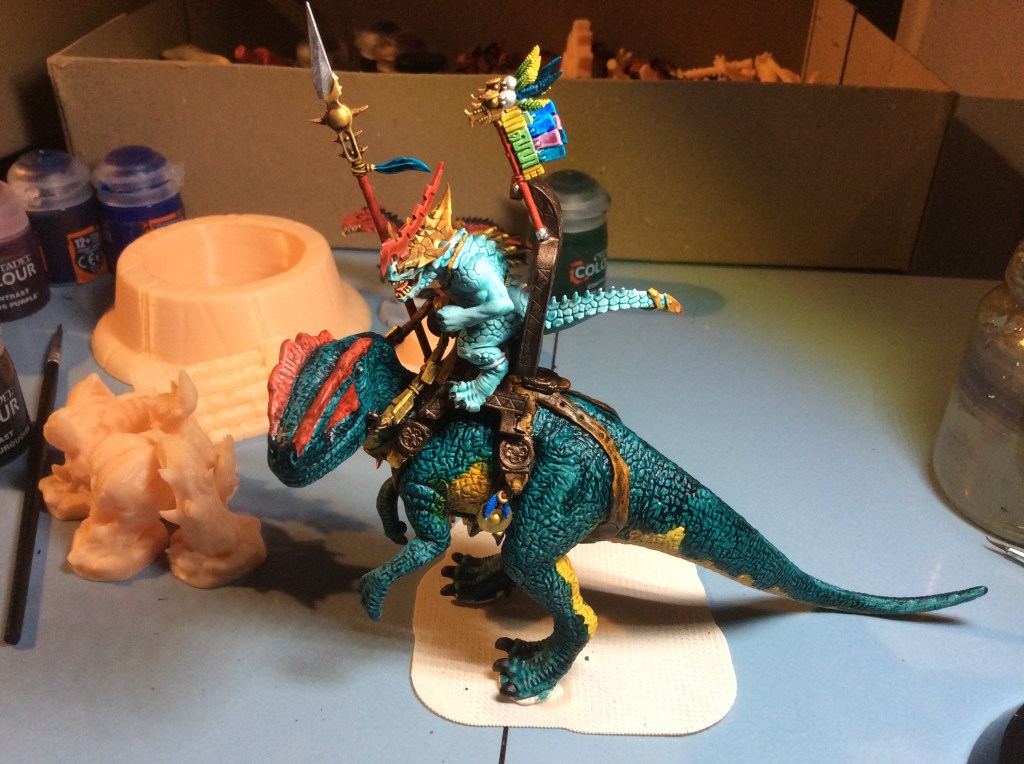
I also managed to repaint the back banner on the hero.
A bit brighter than yesterday. I also added a bit more to the skink oracle, he is drying as I managed to snap his wand off!
Tomorrow I will build a base for this in 3D builder. I might see if I have any STL’s for plants etc that I can add into the designs.
Off to play on Hunter: Call of the Wild… my go to chill out game