Yesterday I managed to get to a year (365 days) of posting every day. In the past year I have managed to post about 380 times. So much for my blog not lasting more than a couple of weeks.
It has now become a habit, sometimes I don’t have much to say but on the whole I can find something to witter on about. So where do I go from here, you may or not be happy to know that I intend to rabbit on for a bit longer yet.
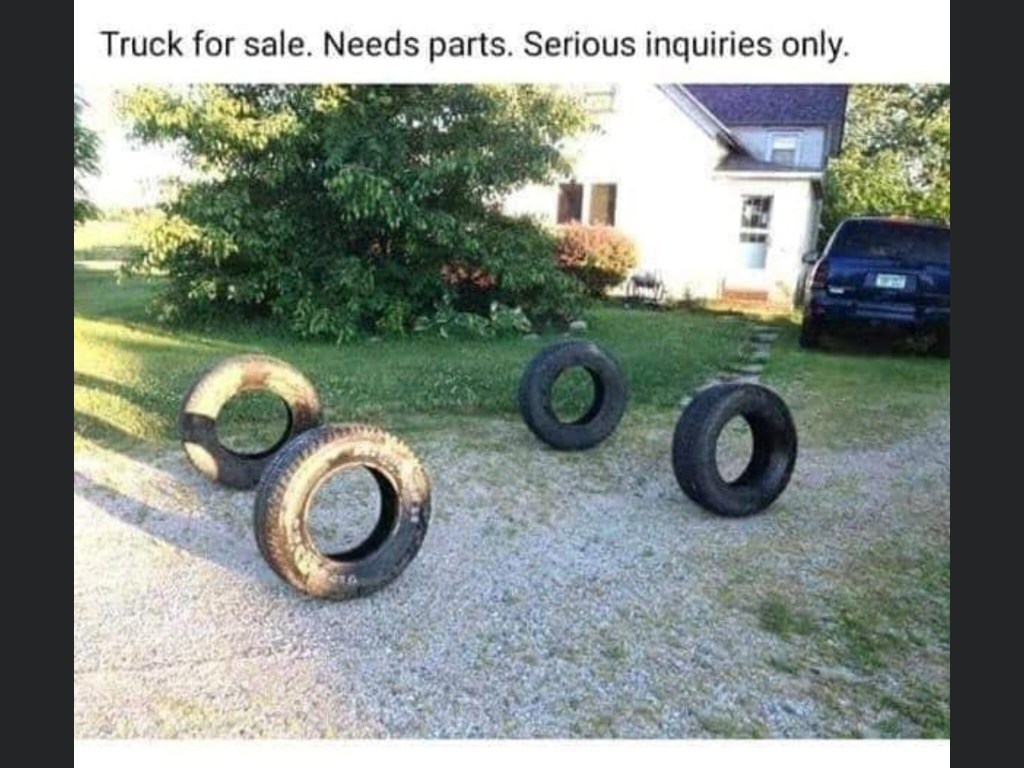
So in my excitement I decided to purchase a new vehicle… it does need some parts, but I reckon I will get there eventually…
On a totally different note… someone has stolen the golden orb in the sky… yes it’s only 23.30 and it has gone dark outside, what the heck is going on!
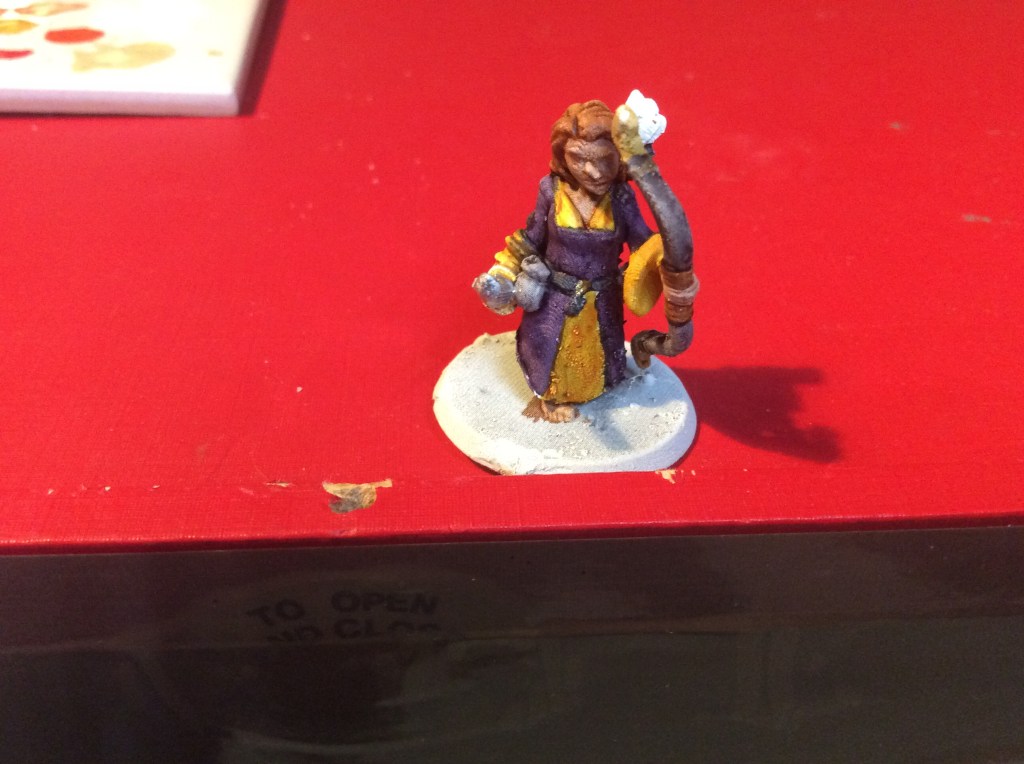
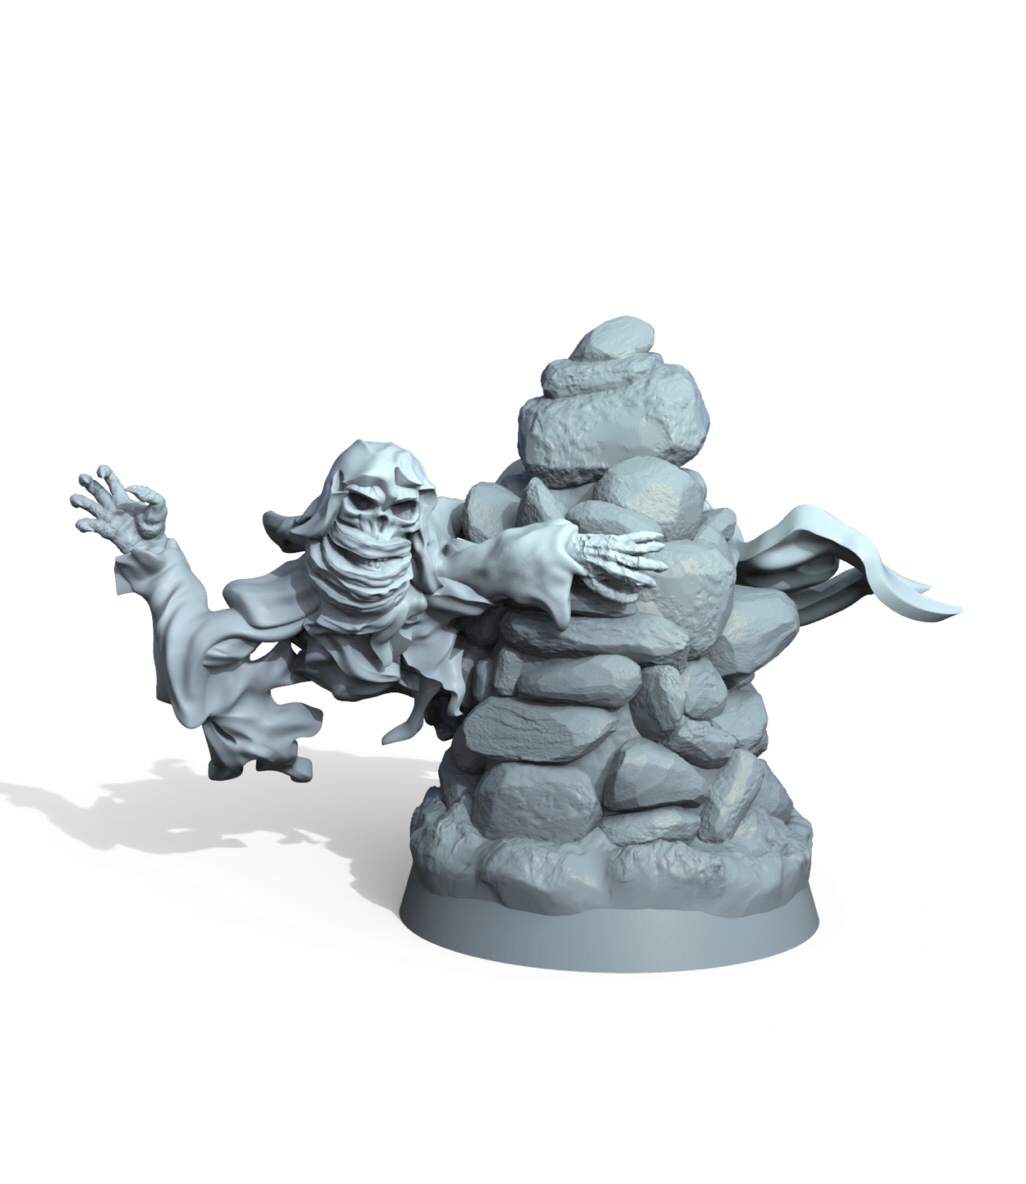
Allow me to introduce mistress Celandine. The final miniature for my players…
My friend, Maggie, likes purple hence the dress colour. Yellow and purple do go quite nicely together. I found this out ages ago when I painted up my vampire for Witchlands.
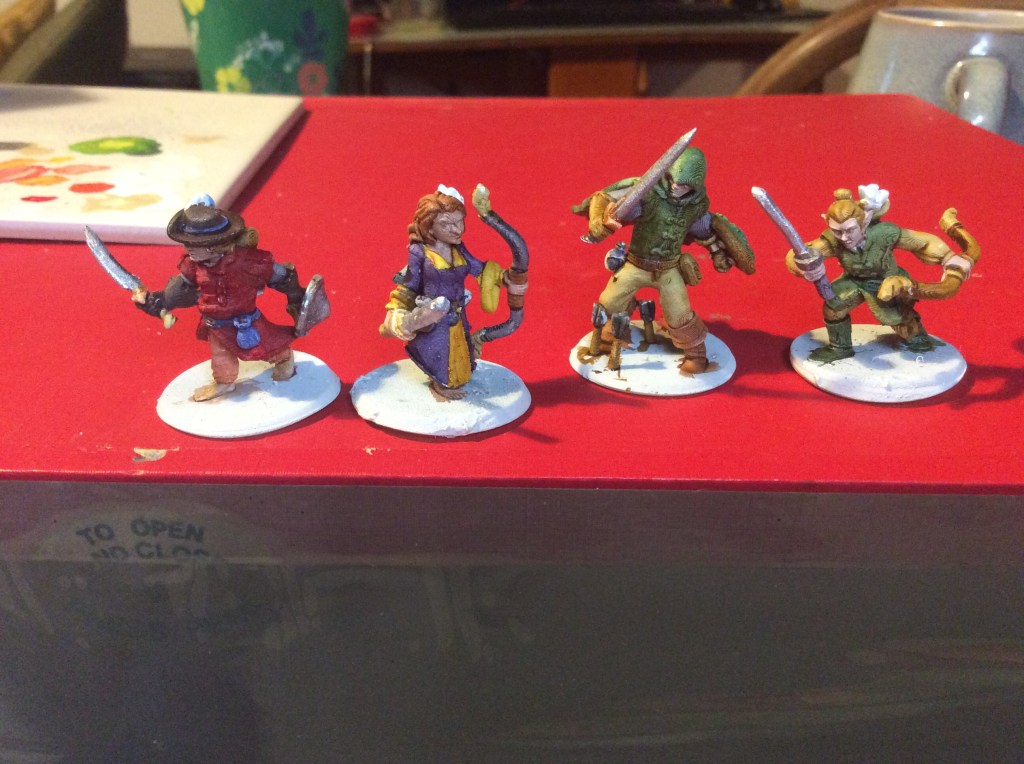
Here she is with the rest of the party…
Tomorrow I will print up some bases (or find some GW ones) and base these up.
A bit of a rambling post, but I think I might have found something to change my mind.
So around about time I was writing the original post I was on YouTube and randomly came across Tyler’s YouTube channel. He was doing a video on testing the printer resolution through a resin exposure finder…https://youtu.be/GL-9Ia0SibQ
Anyway, Tyler also has a Facebook group which I joined and the other day he shared an upcoming Patreon. Unfortunately I missed the post, but caught up with it yesterday.
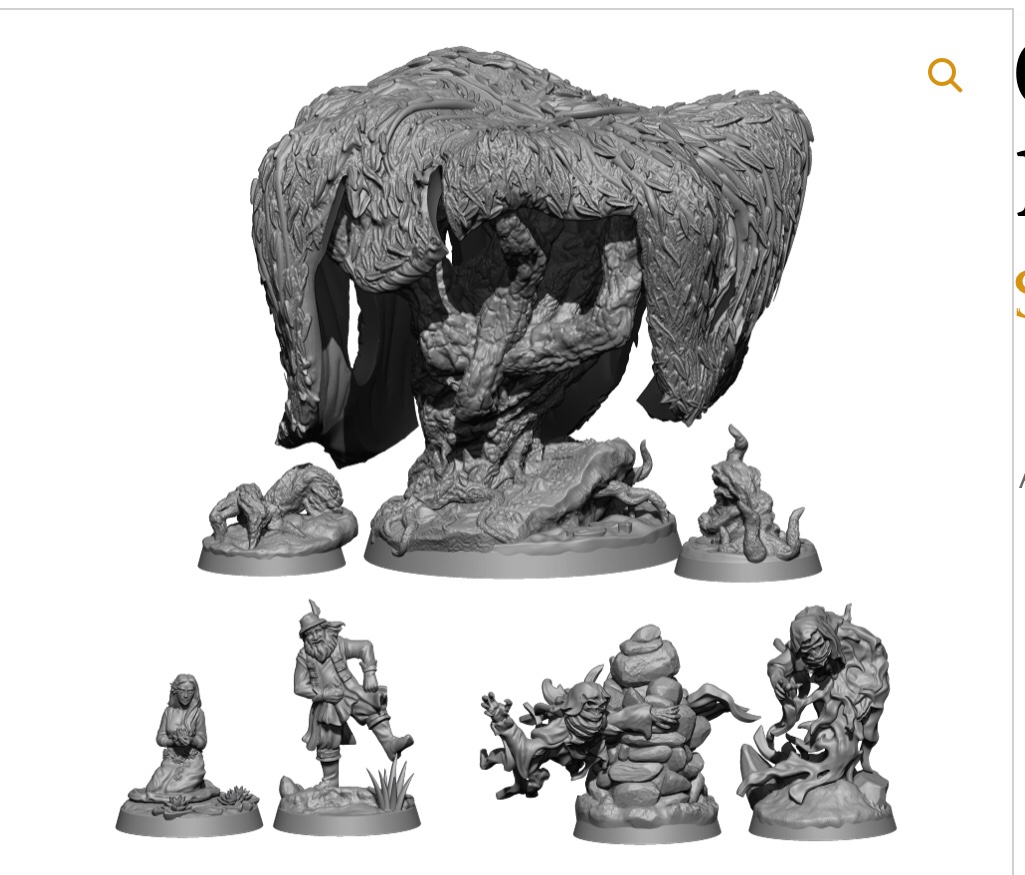
I blagged these photos from the website to show you what they are up to.
I am well into my ‘One Ring’ RPG and this looks like it is going to be very useful as it is Tolkien inspired, rather than D&D inspired ones. I am definitely going to look into this. It depends totally on price per month. If it is the $5 -10 bracket then It will pretty much a definite yes. Anything above that I will have to think about it a bit more. Luckily there will be an online shop if I decide not to jump in with both feet.
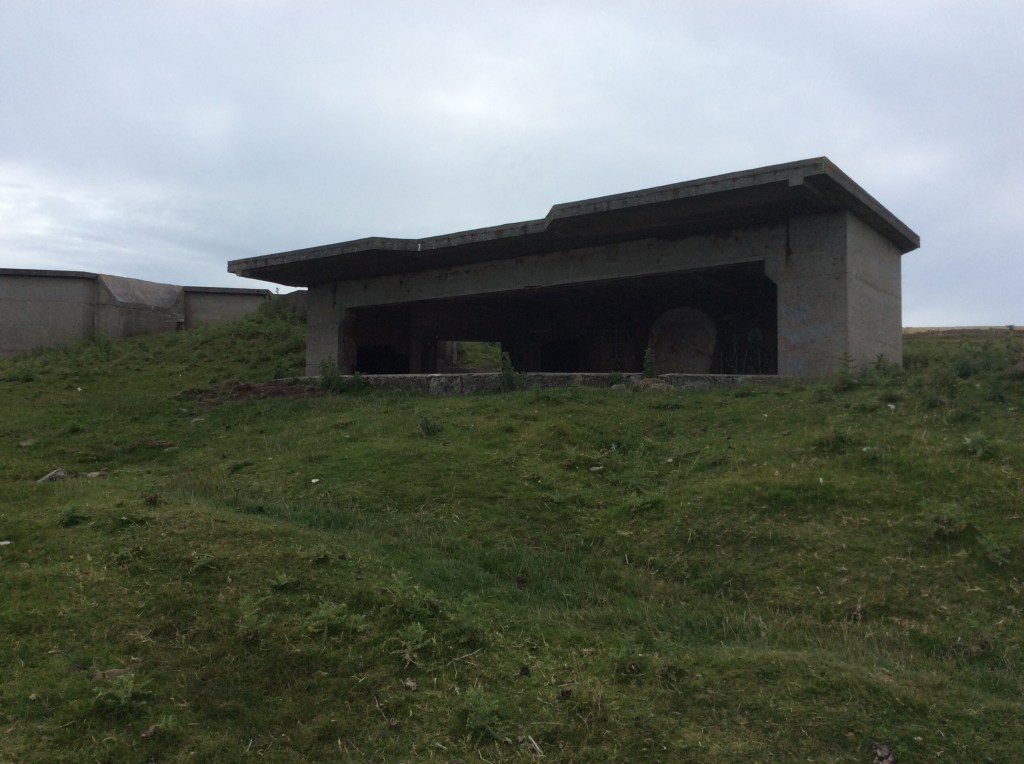
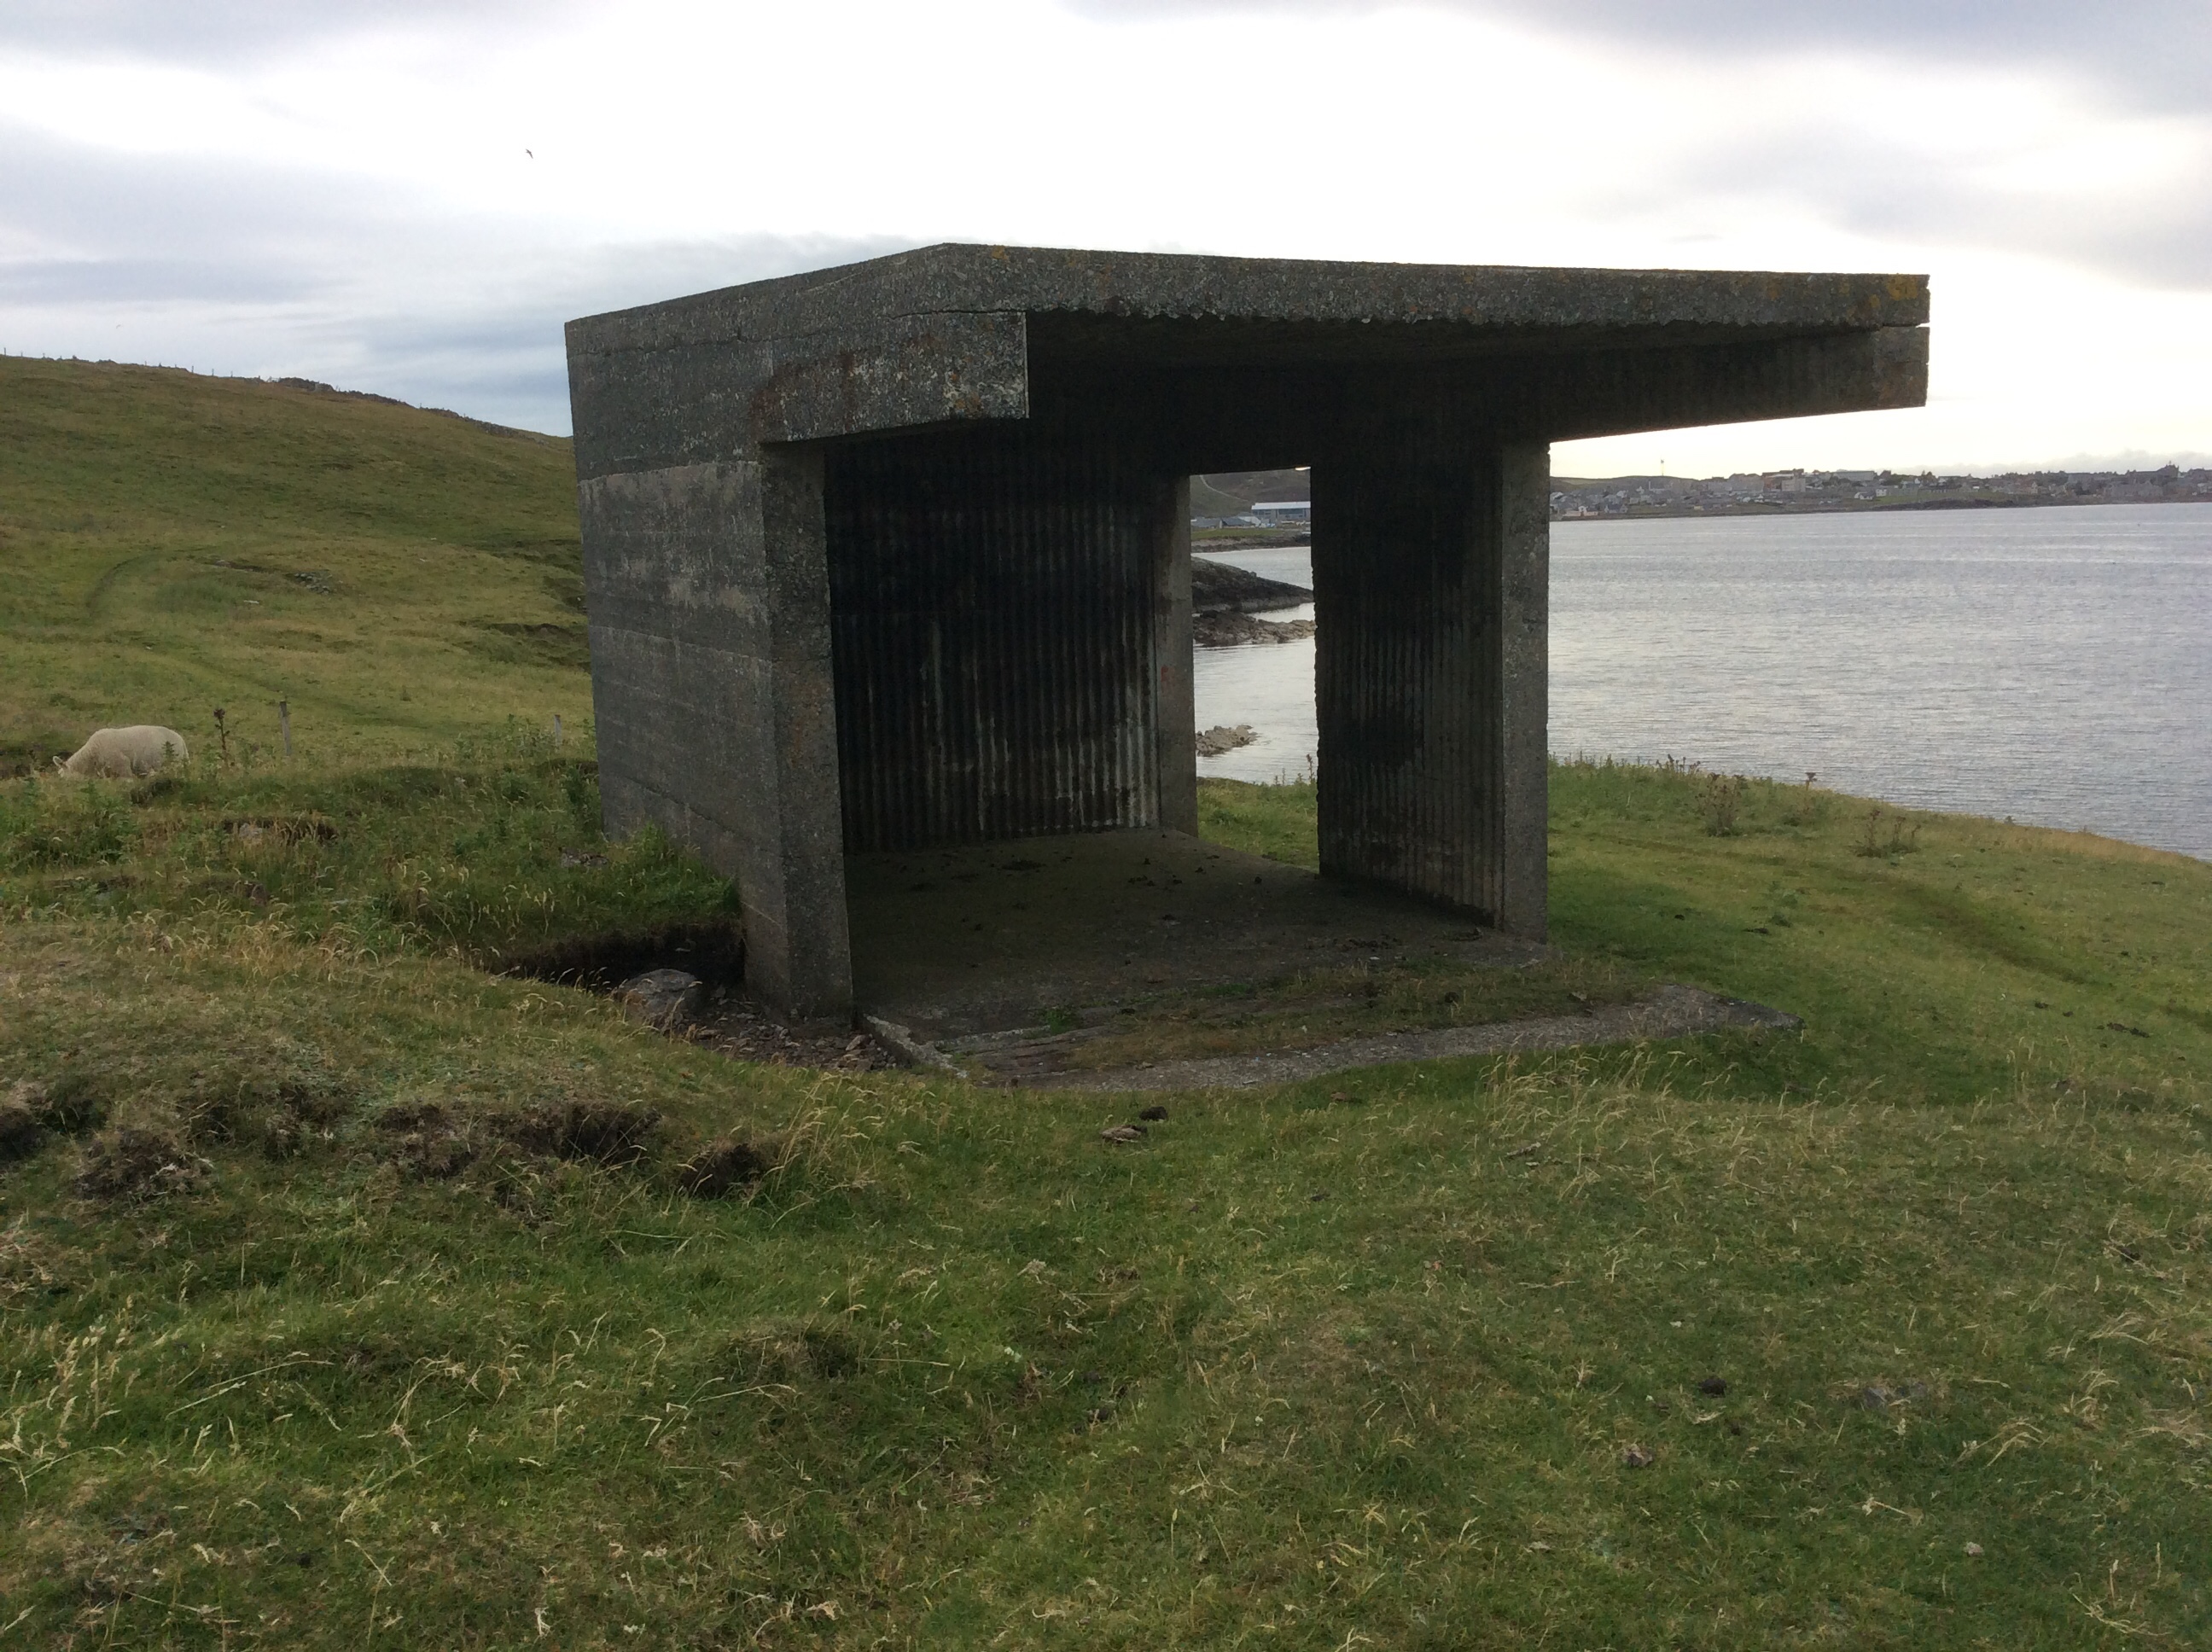
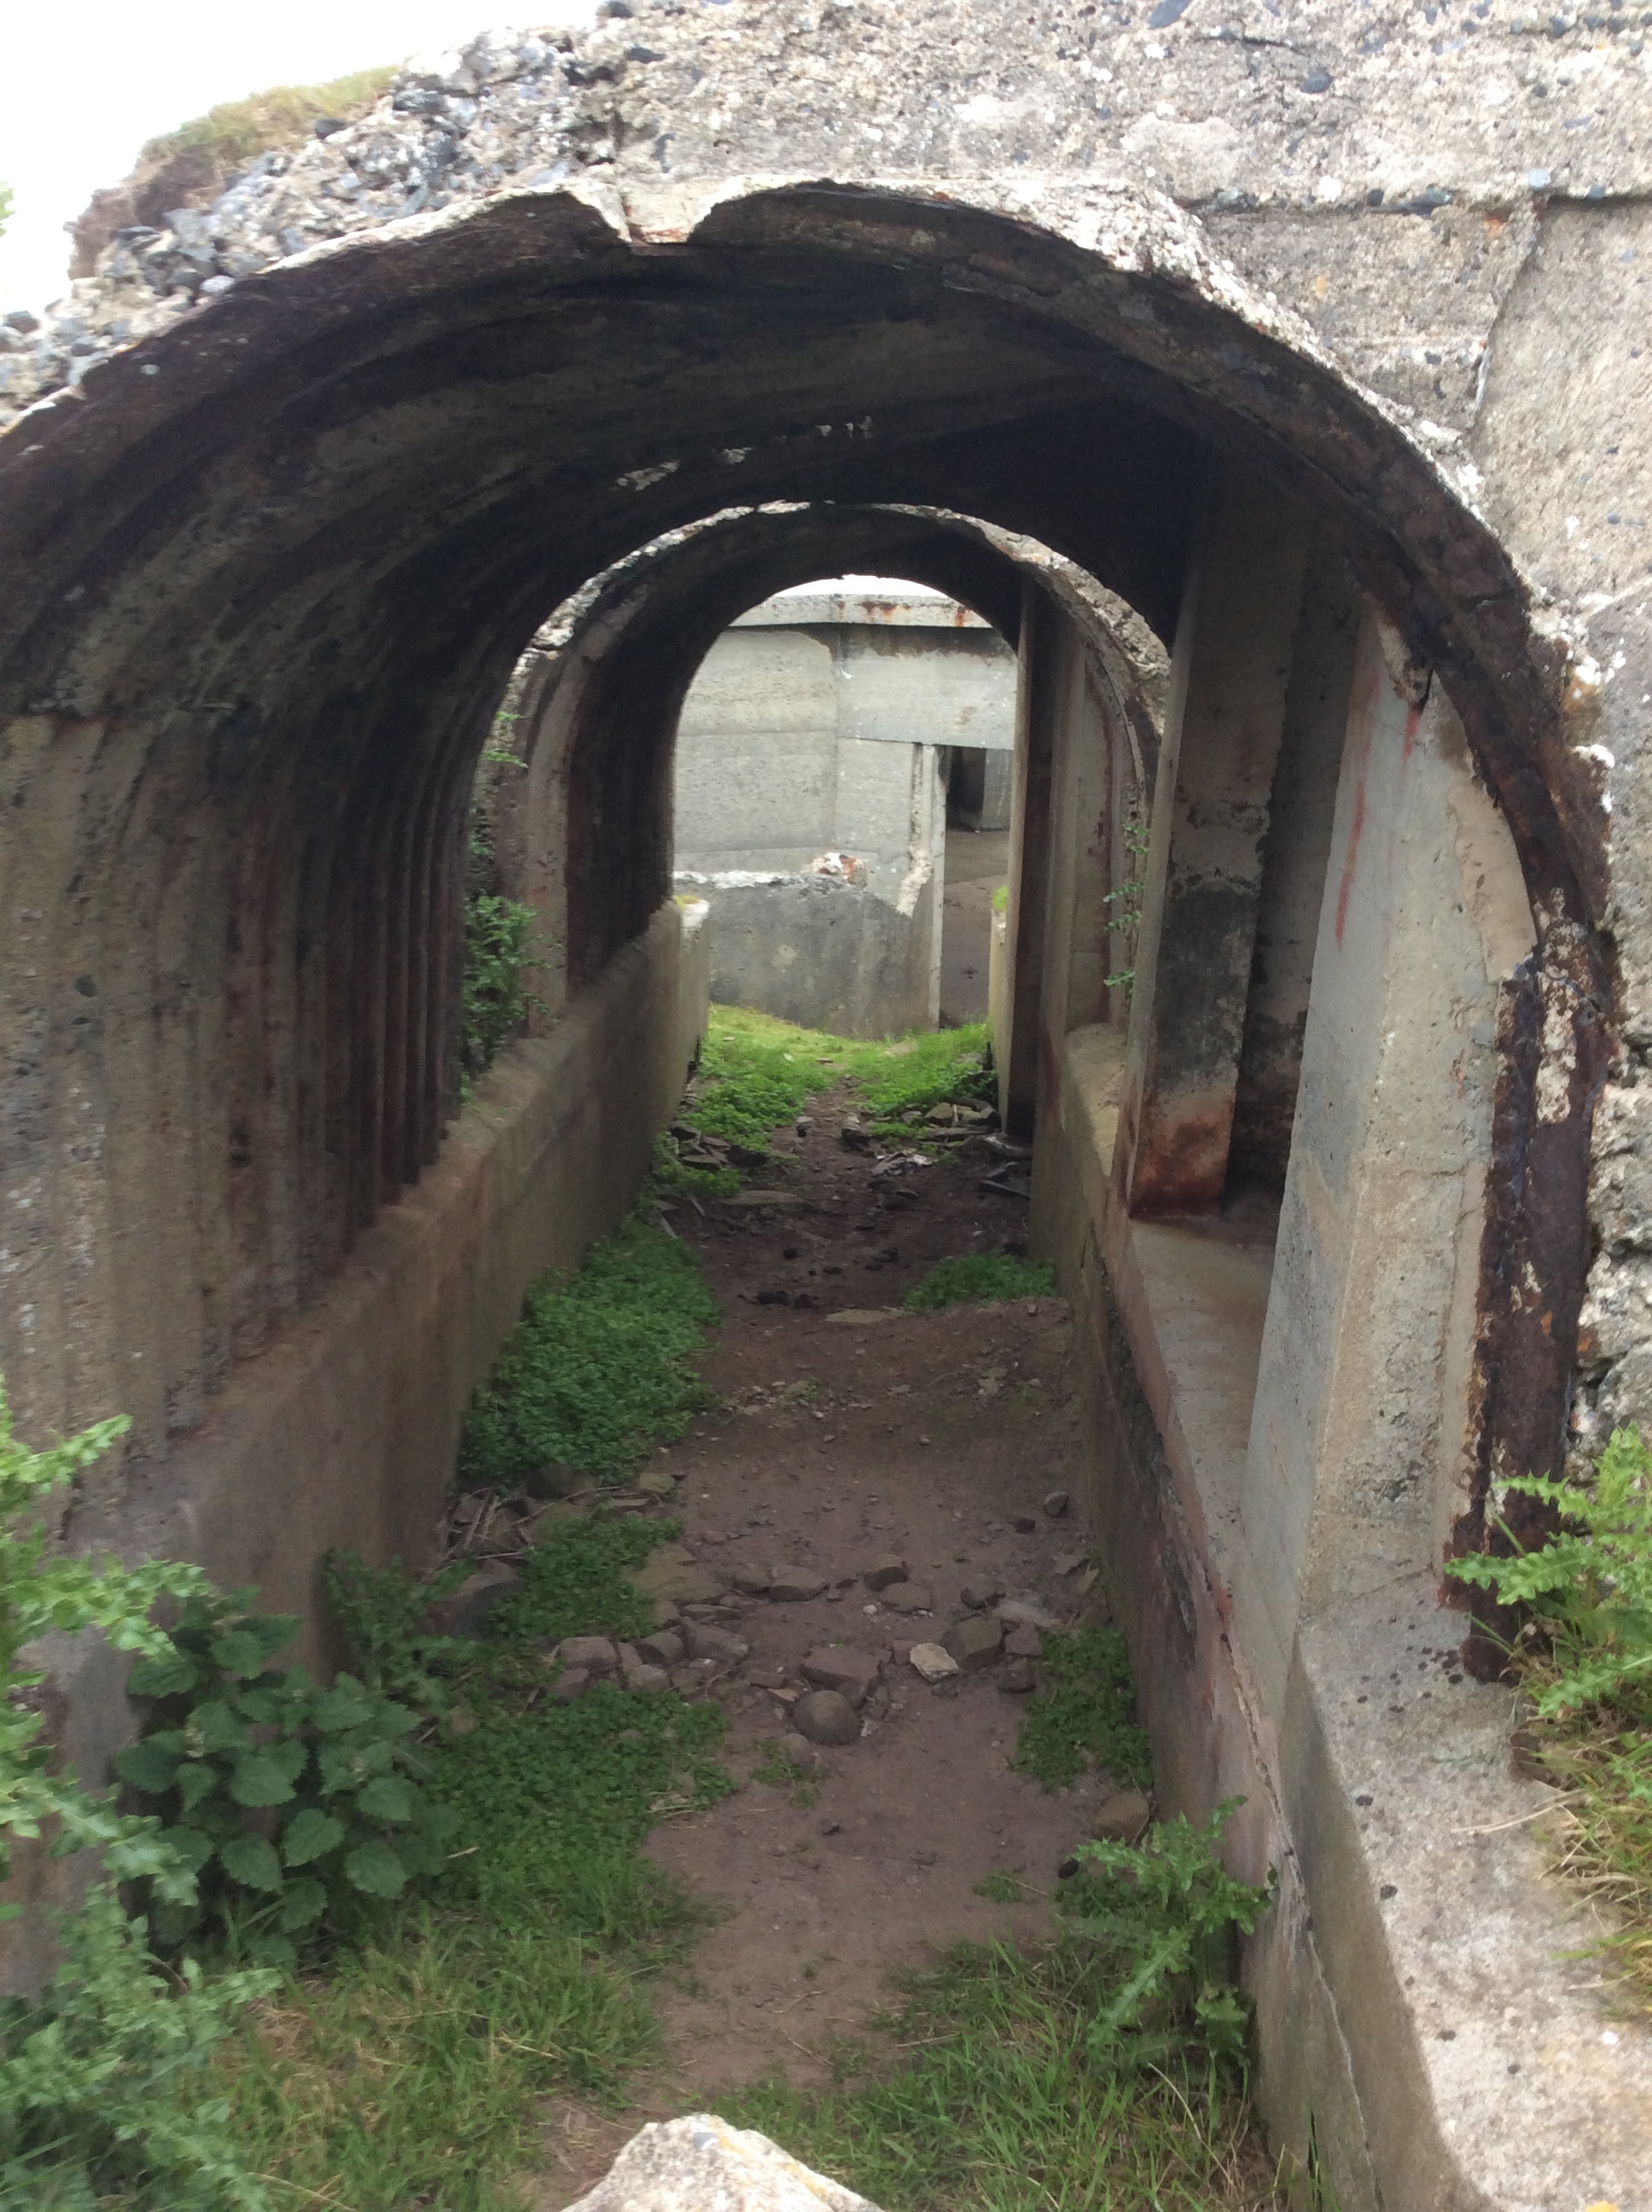
On our Wedding Anniversary my good lady and I took a stroll to the Sound Battery.
The bunkers were there to protect the South end of Lerwick harbour, sadly the North end ones are no more.
In June 1940 two 4-inch guns were emplaced and only a month later in July 1940 by two 6-inch guns. The two 4-inch guns were moved to Calback battery at Sullom Voe.
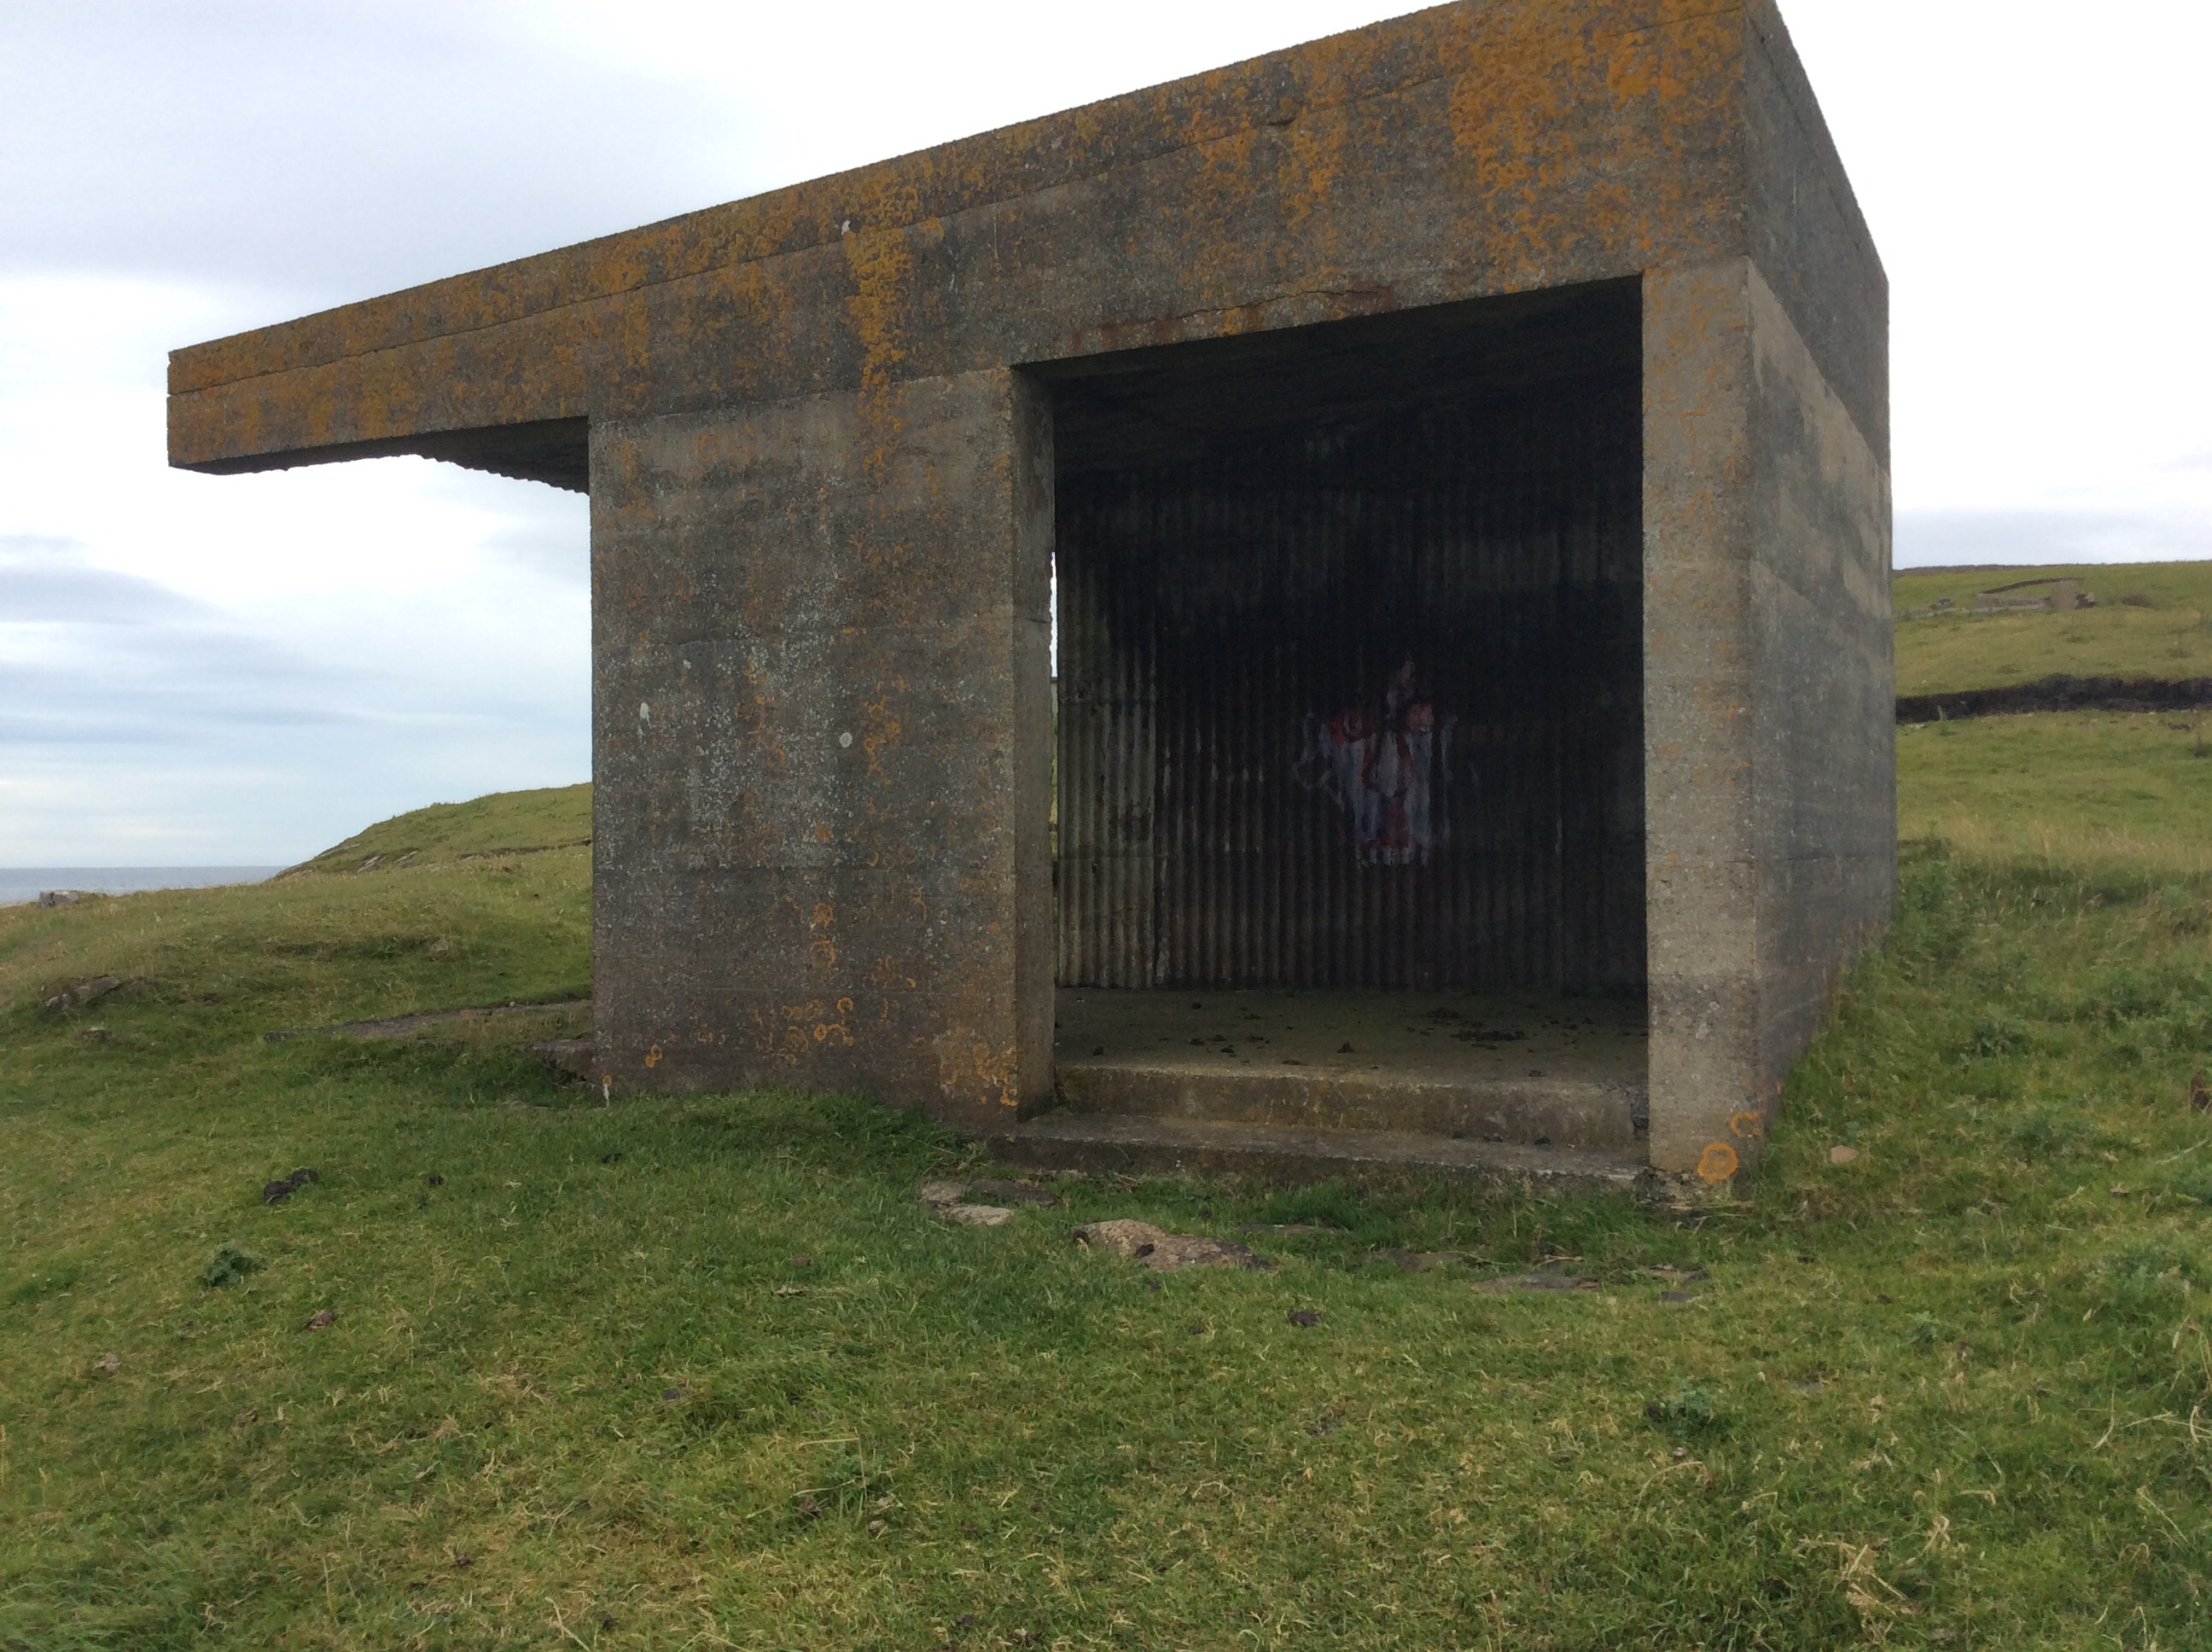
Fire control left and gun 2 right.
Searchlight position, front and rear shot
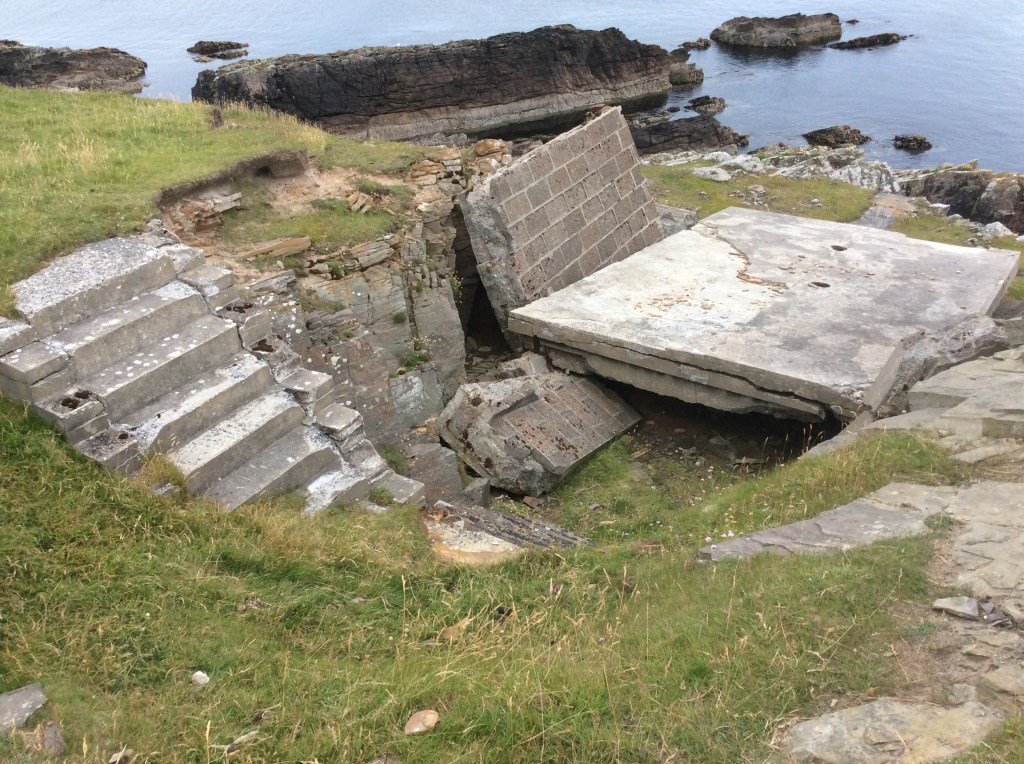
This searchlight position didn’t make it…
Hopefully no-one was in it when it went splat!
the third searchlight position is further South along the top of the cliff.
Now that is a lot of scrap iron!
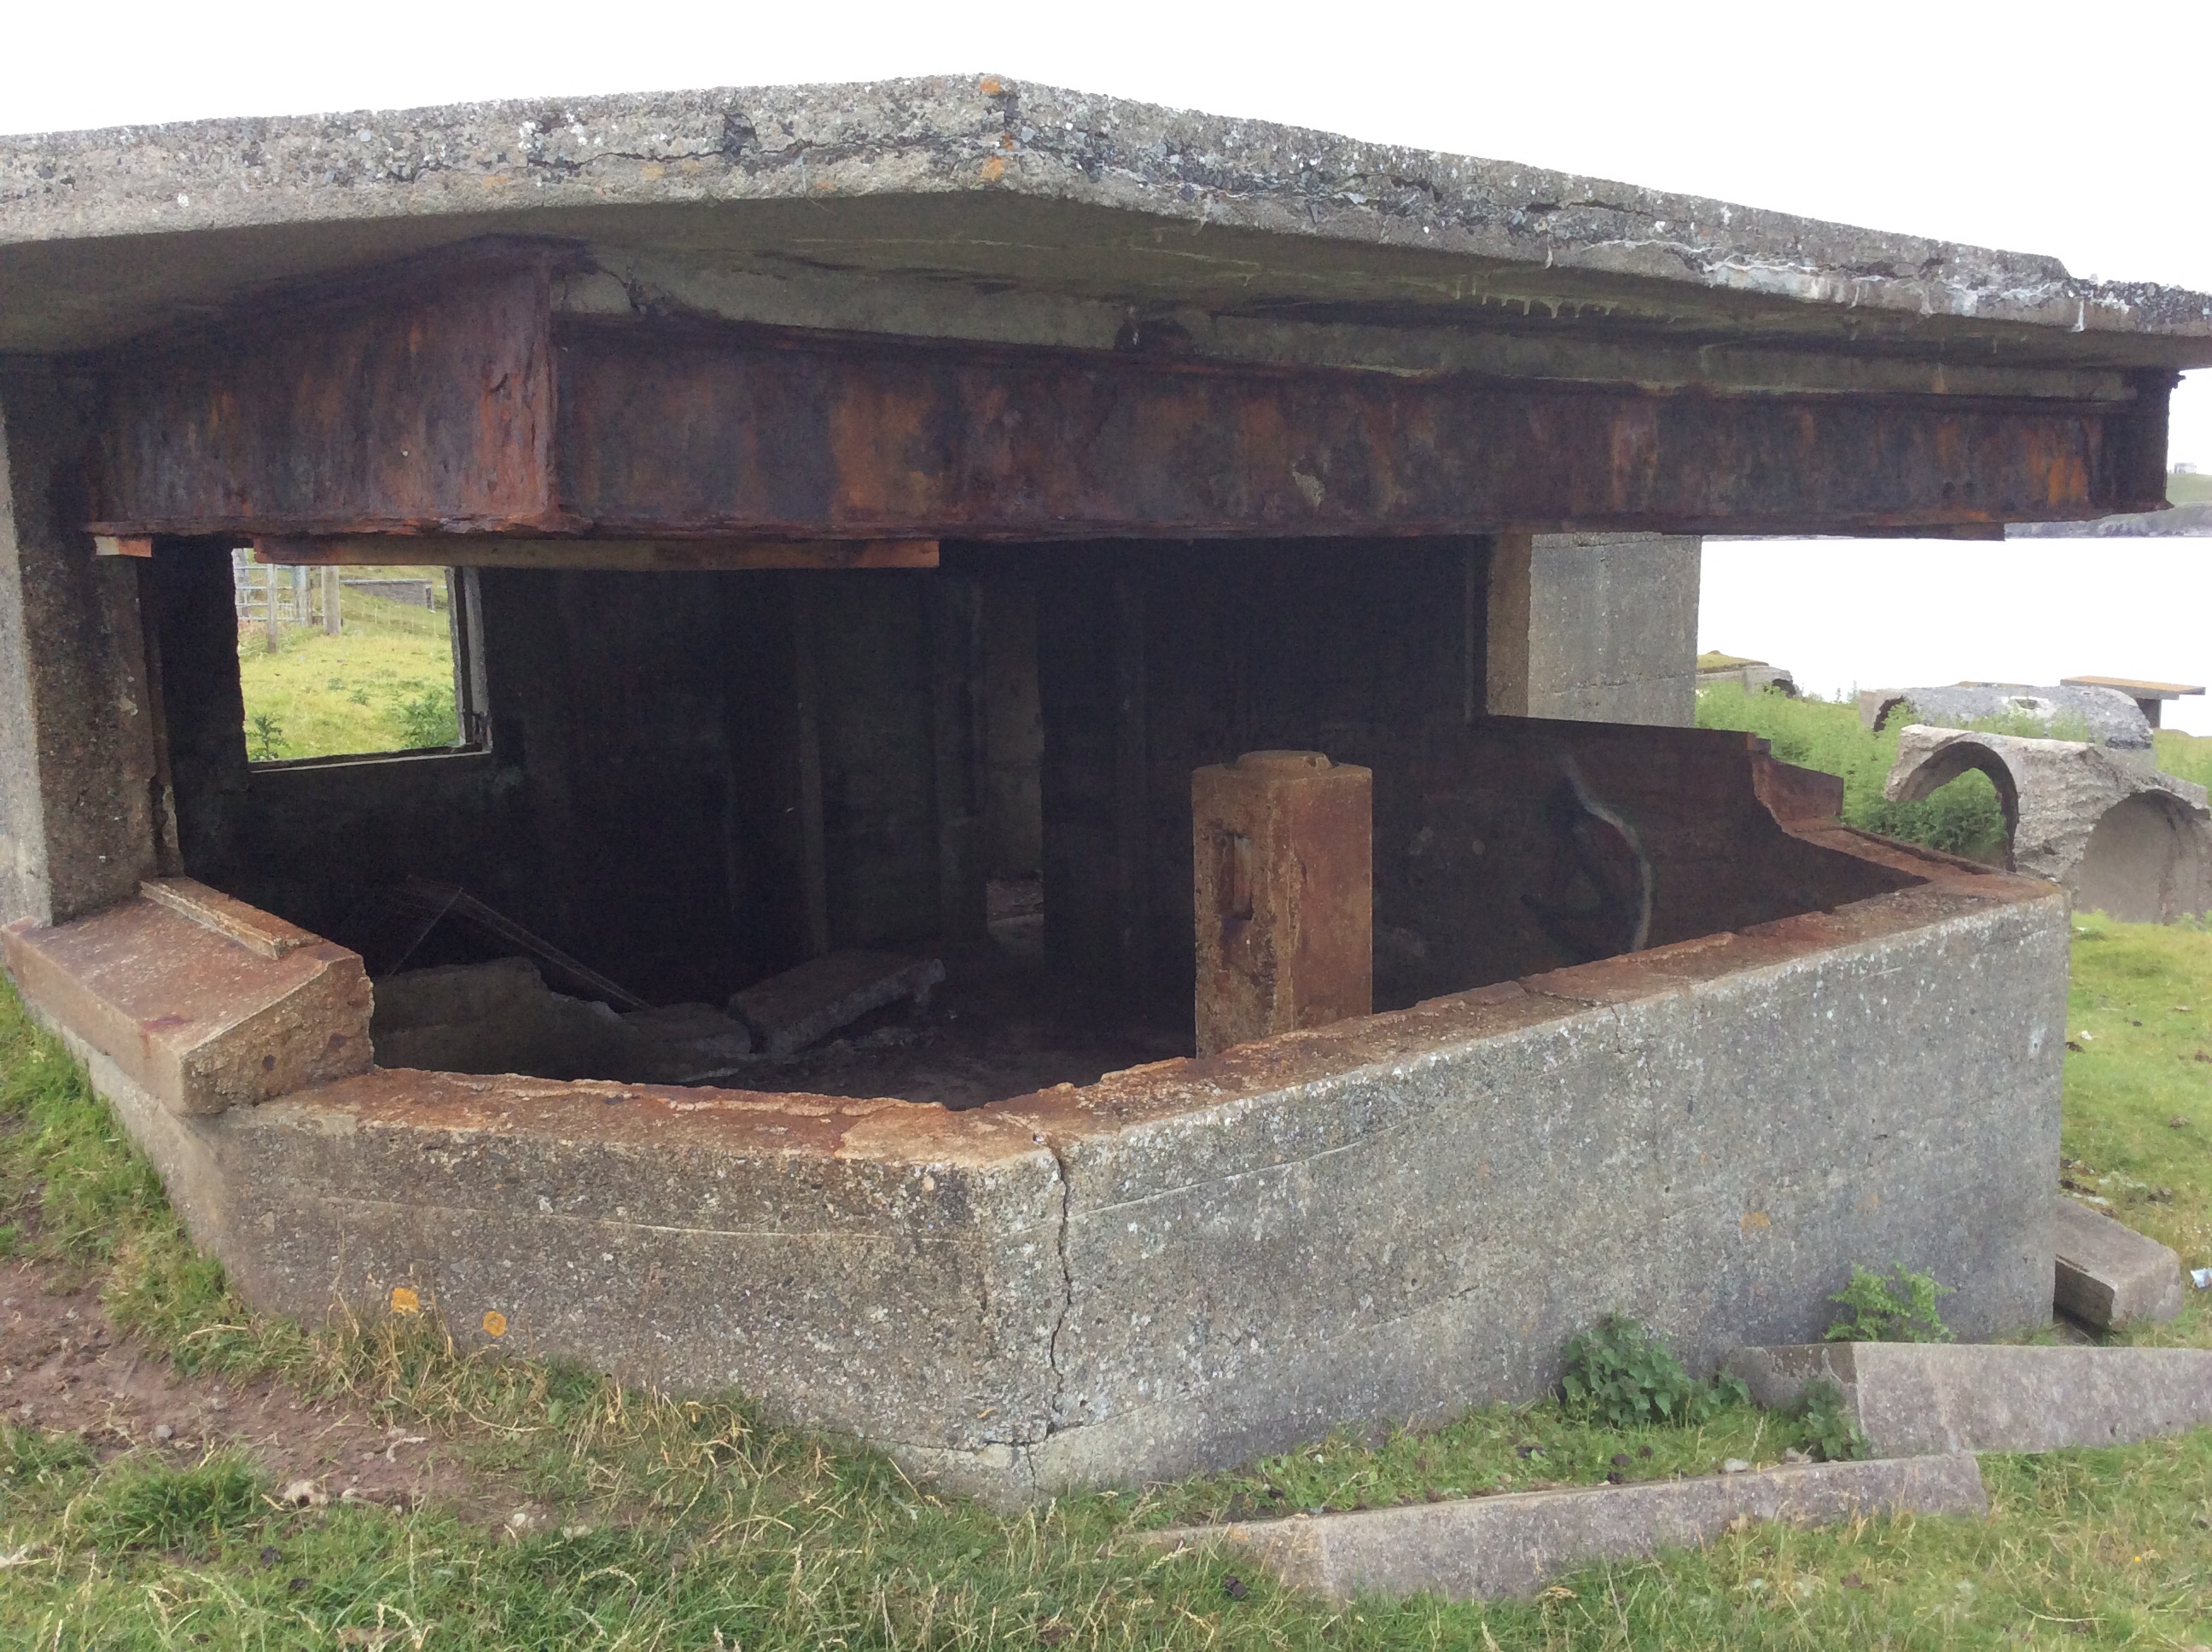
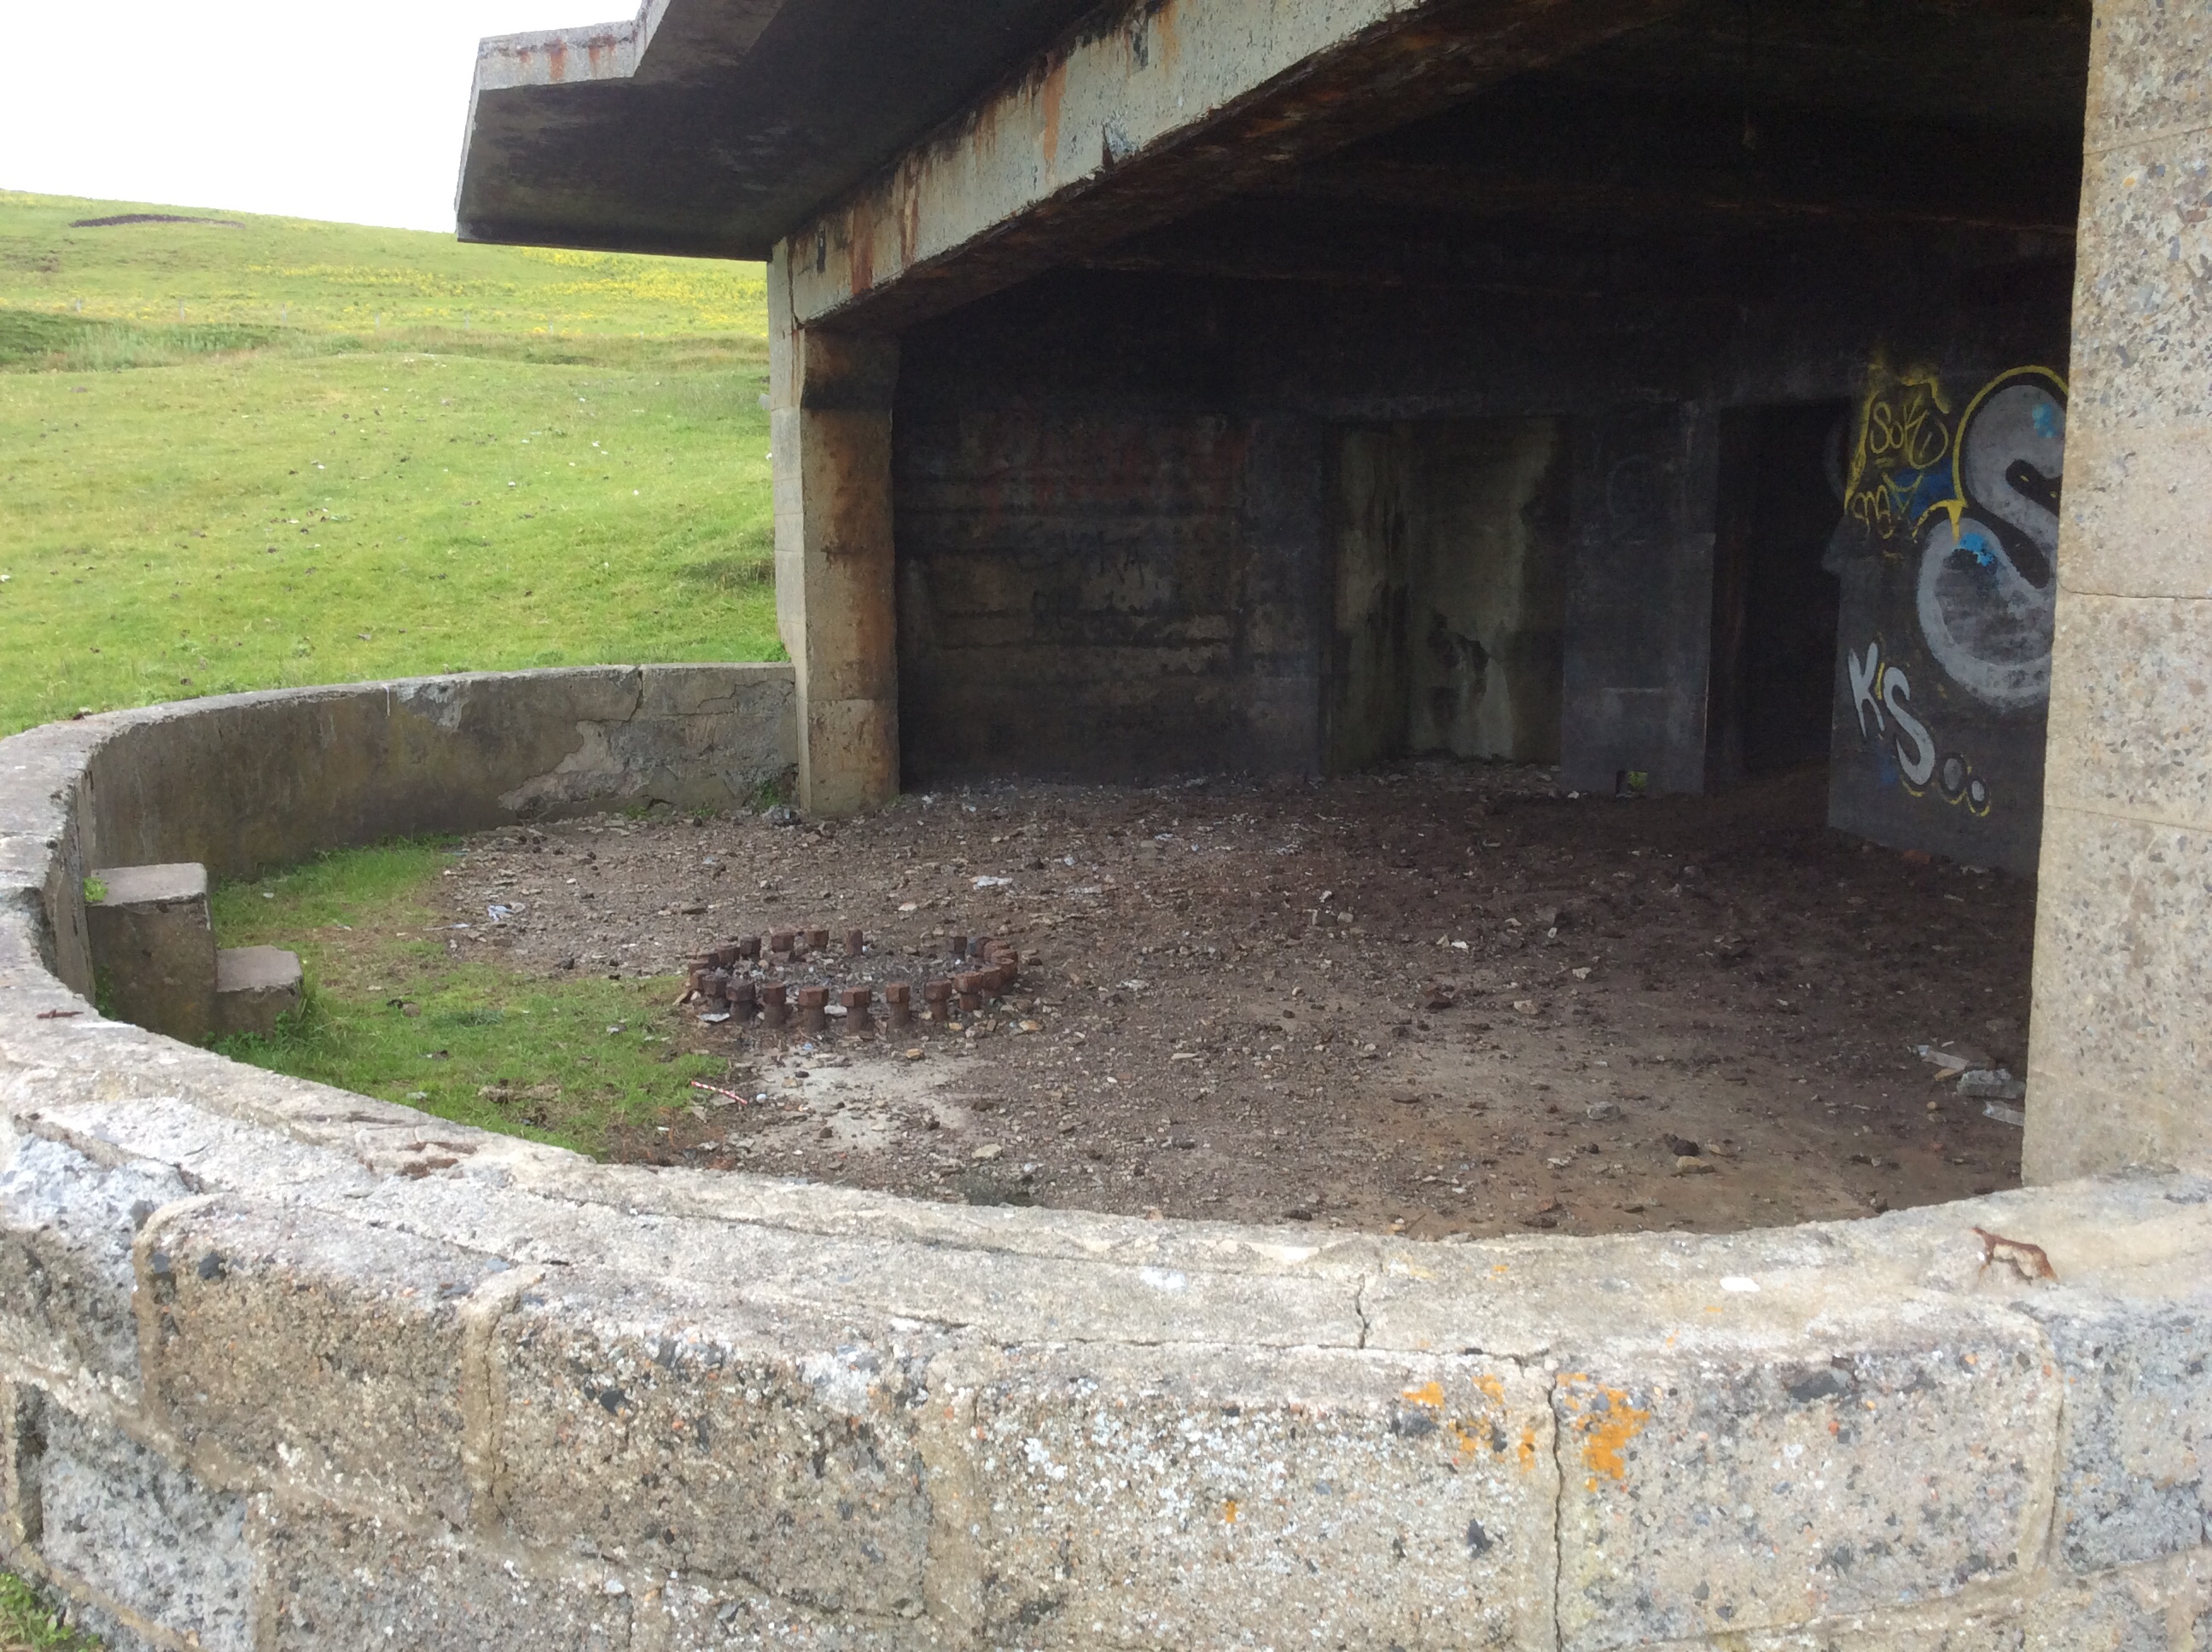
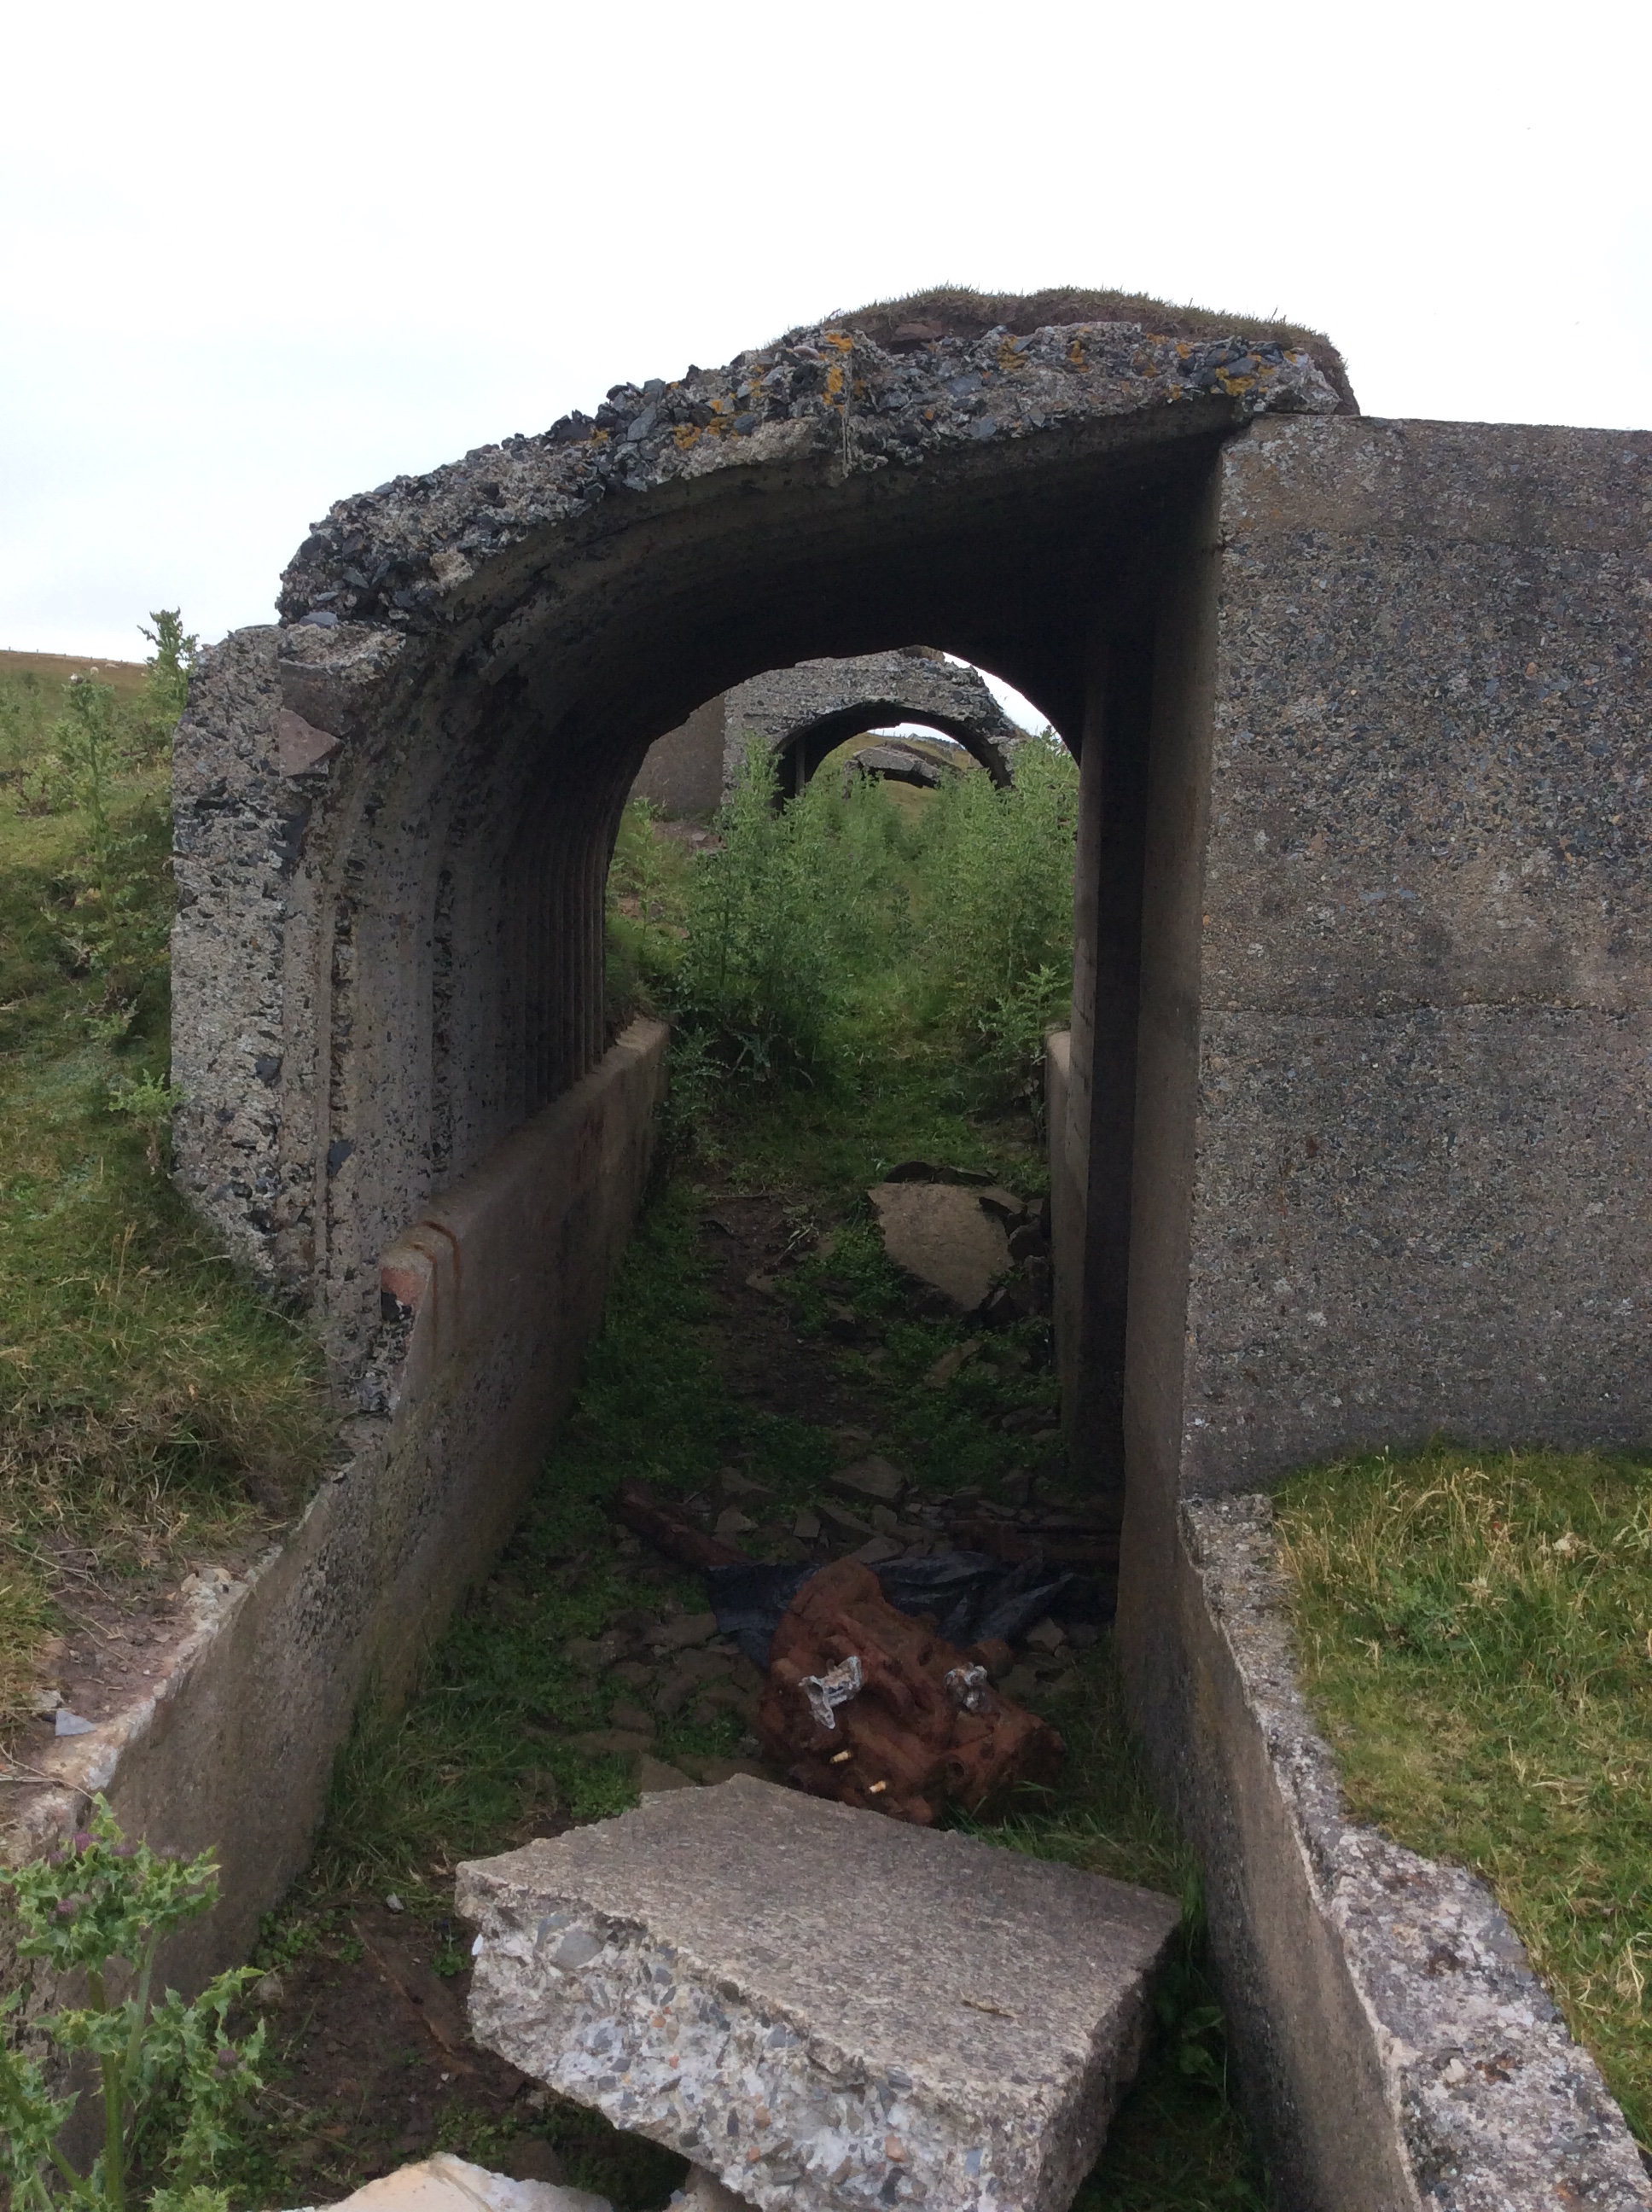
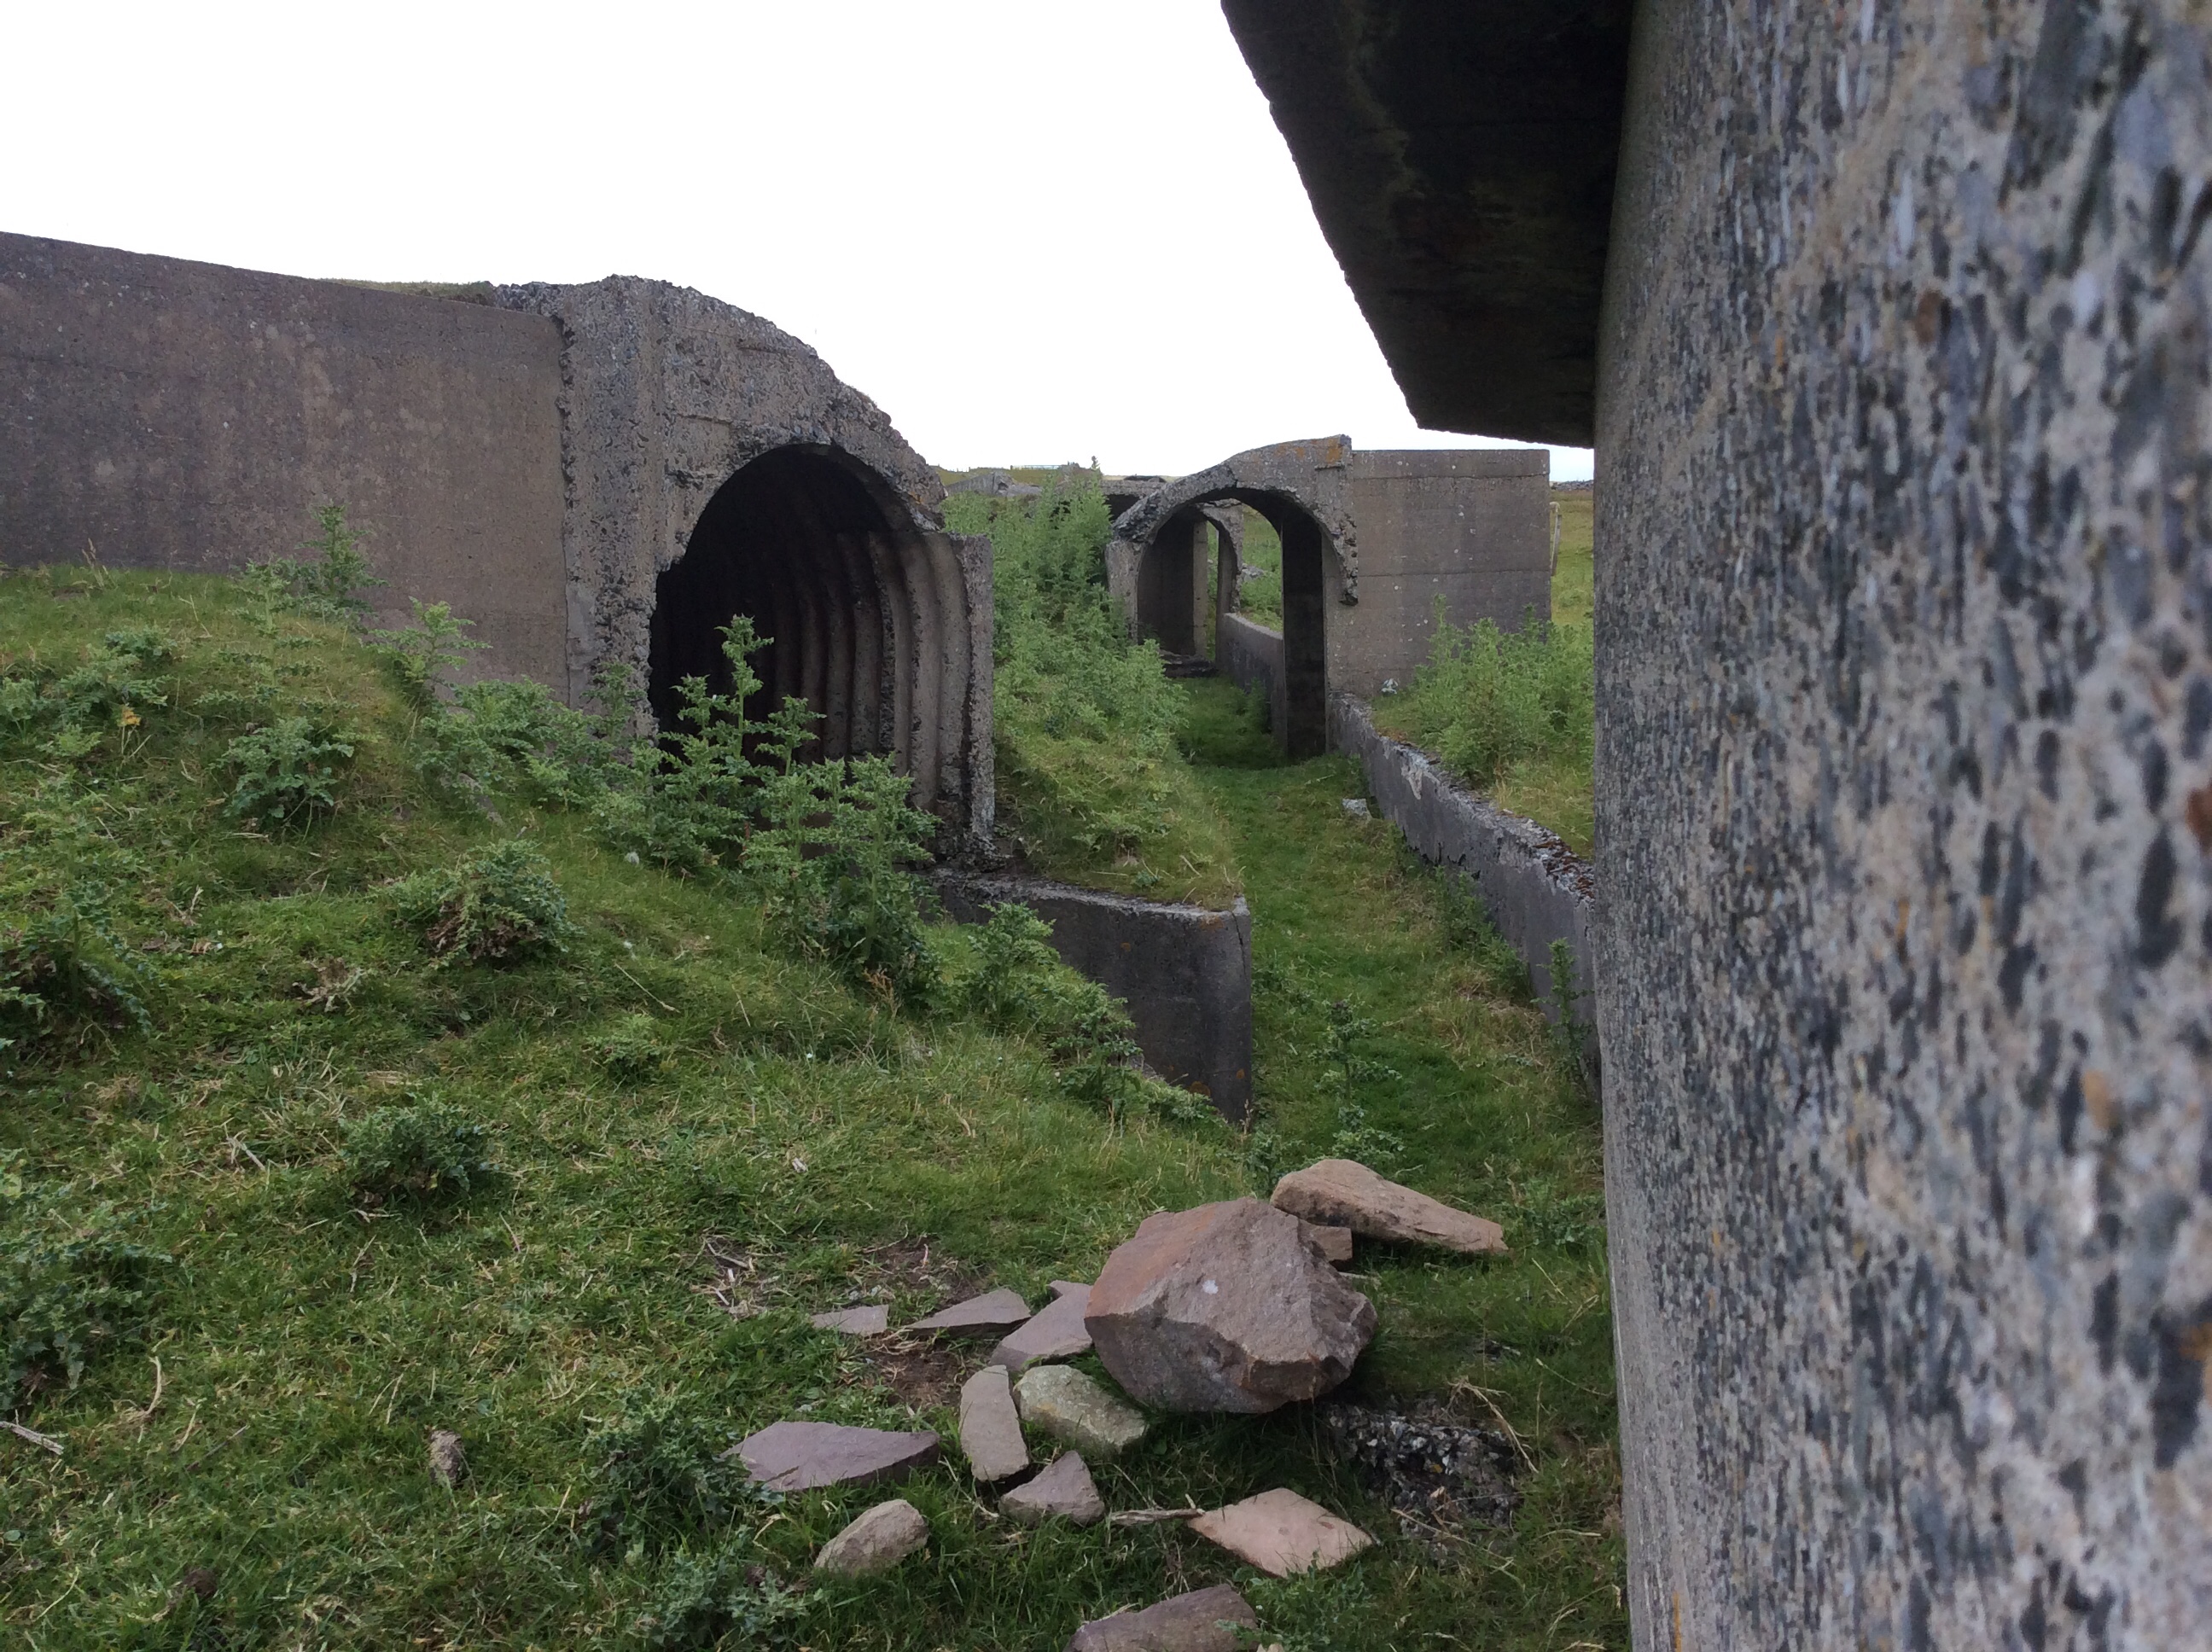
The unusual thing about this battery is that the trenches were all covered…
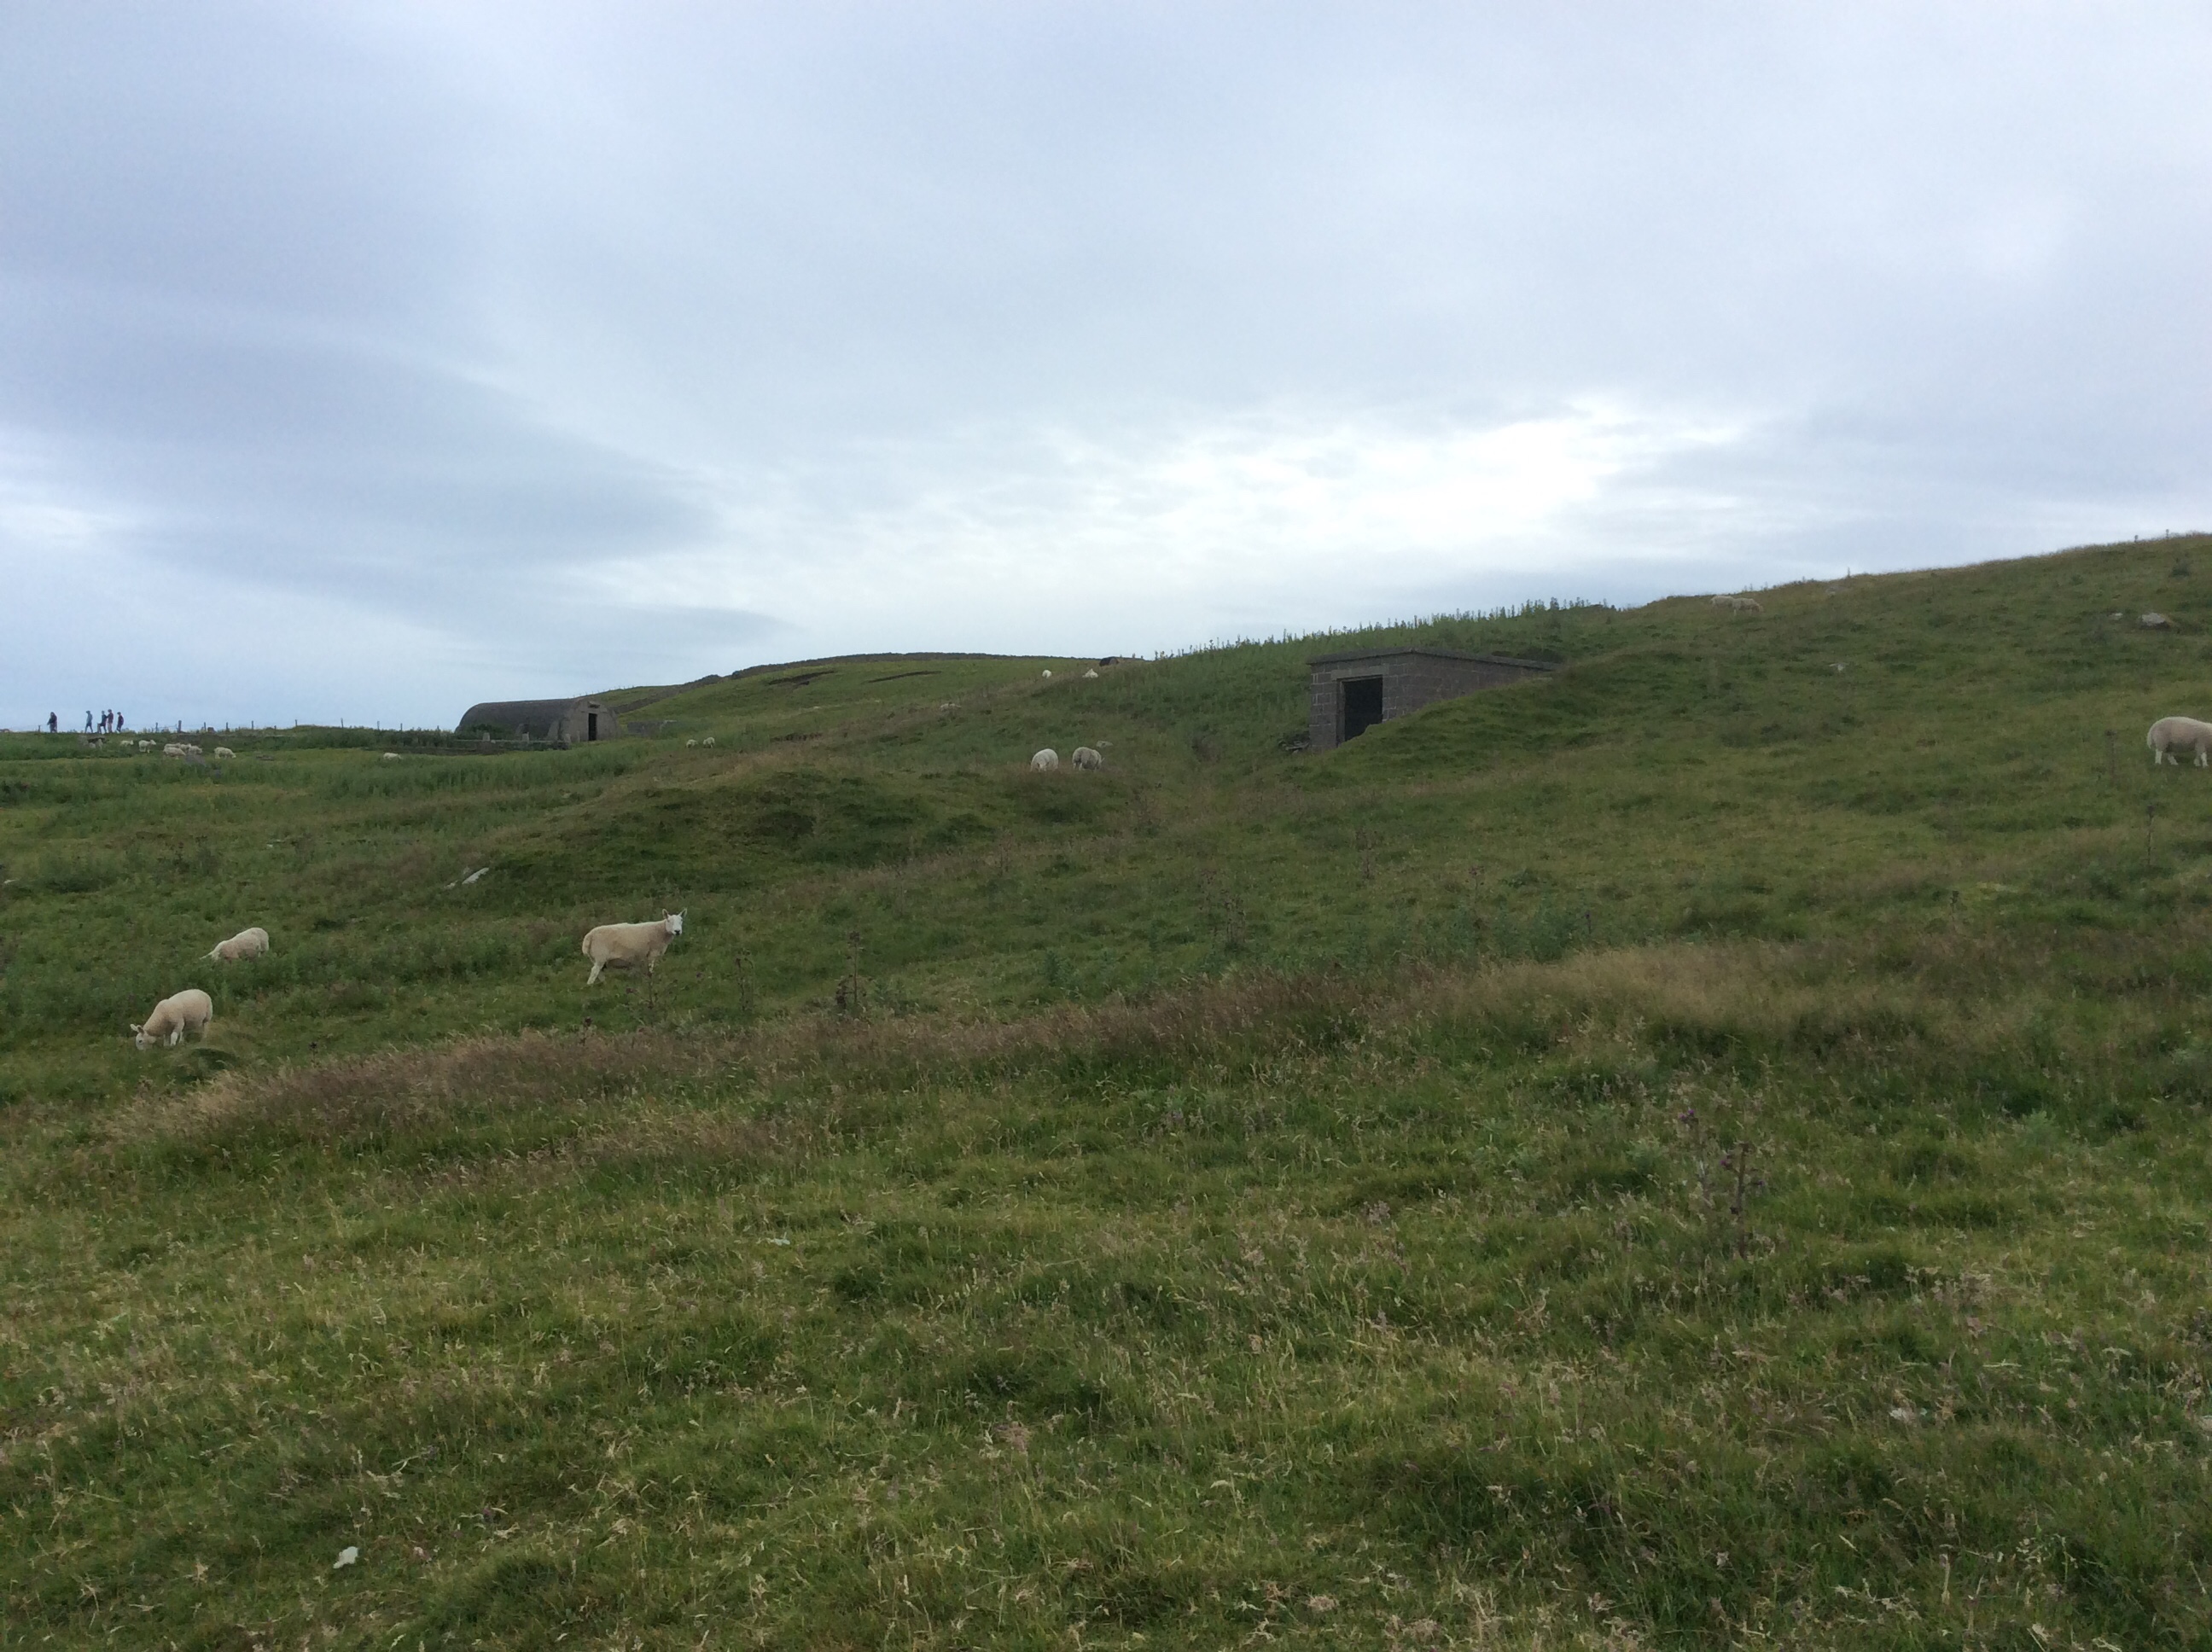
The engine room is still standing and the foundations for the quarters of those manning the guns can still be seen.
Engine room in the distance…
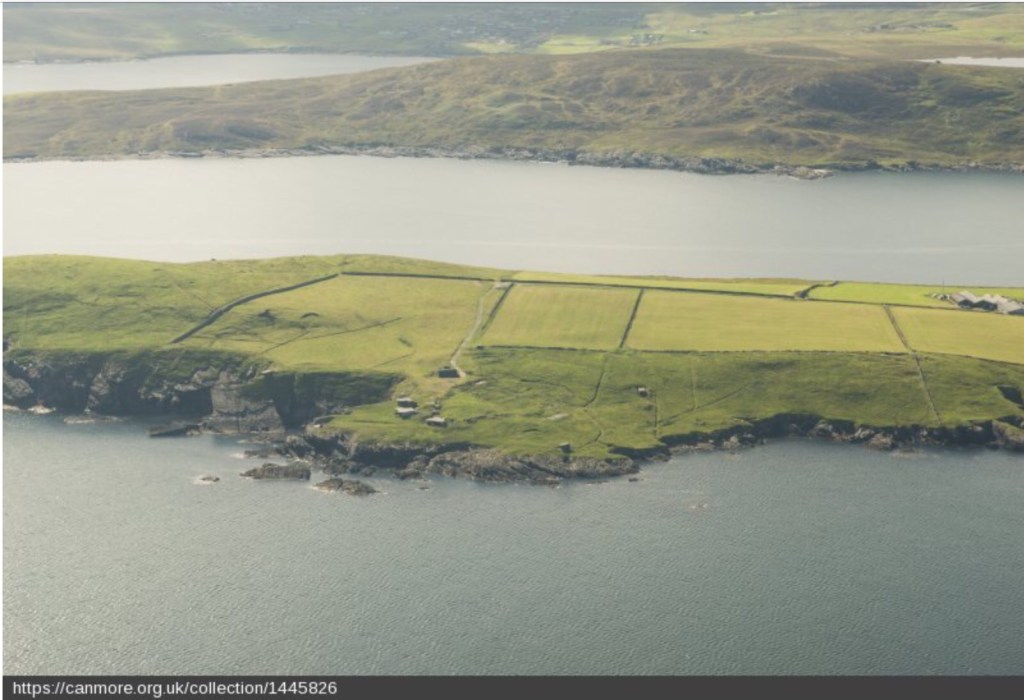
This is the battery taken from the air,
Sadly I cannot find the one taken in 1946!
Hopefully I will find some more bits and pieces and post them at a later date.
Okay, so it wasn’t that I was doing nothing. I have been messing with slicing files for both printers.
I am going to give some miniatures a go tomorrow, with the settings I have of 0.2 and also 9 seconds a layer then they are going to take over 8 hours to do six of them! Hopefully it will be worth it.
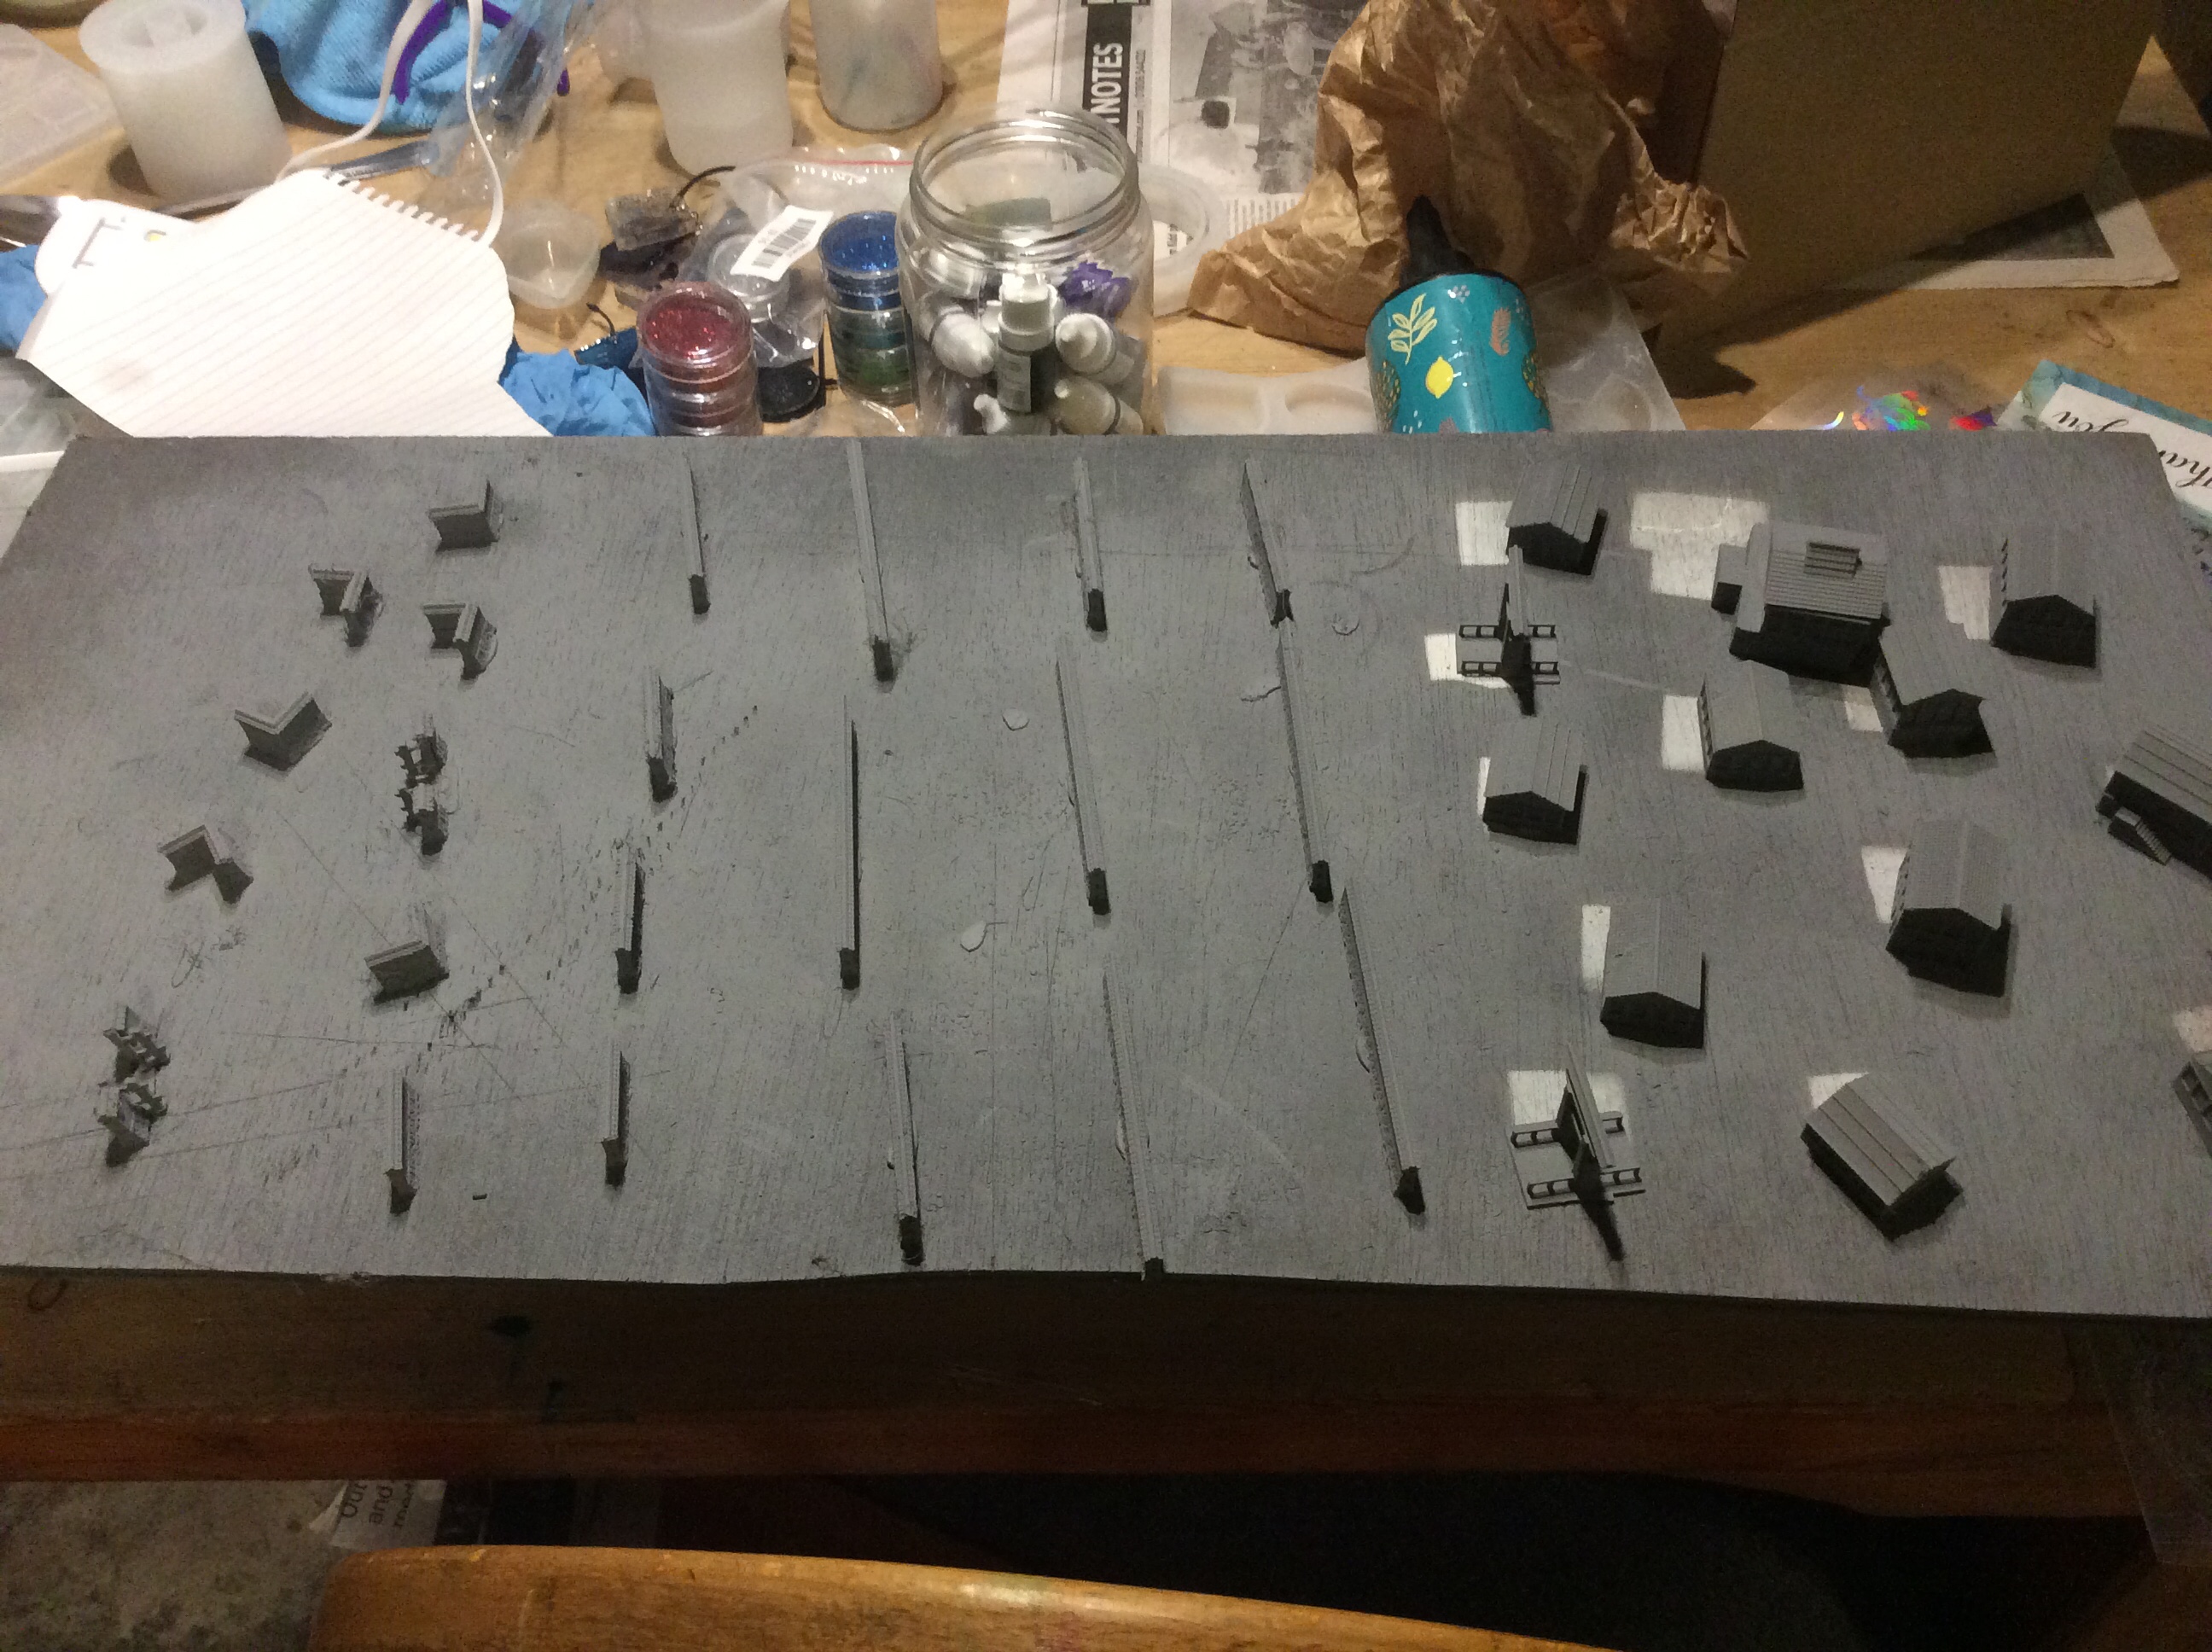
I also sliced the 6mm Japanese castle that I got with the terrain. This is going to take over a day to print, it is pretty huge. This is my 6mm one. I will get the 3DAlienWorlds one for my 15mm stuff.
As can be seen, I have sprayed the buildings and walls as well as print the multiple paddy fields. It is probably a bit big so might end up for the 15’s. I can always print off another one that is a bit smaller tomorrow.
Finally keeping with my Japanese theme. My good lady made me a new mask for going shopping in.
I always feel sorry for Hokusai as poor bloke is trying to paint a nice picture of Mount Fuji and a ruddy great wave hurtles into view. 😂
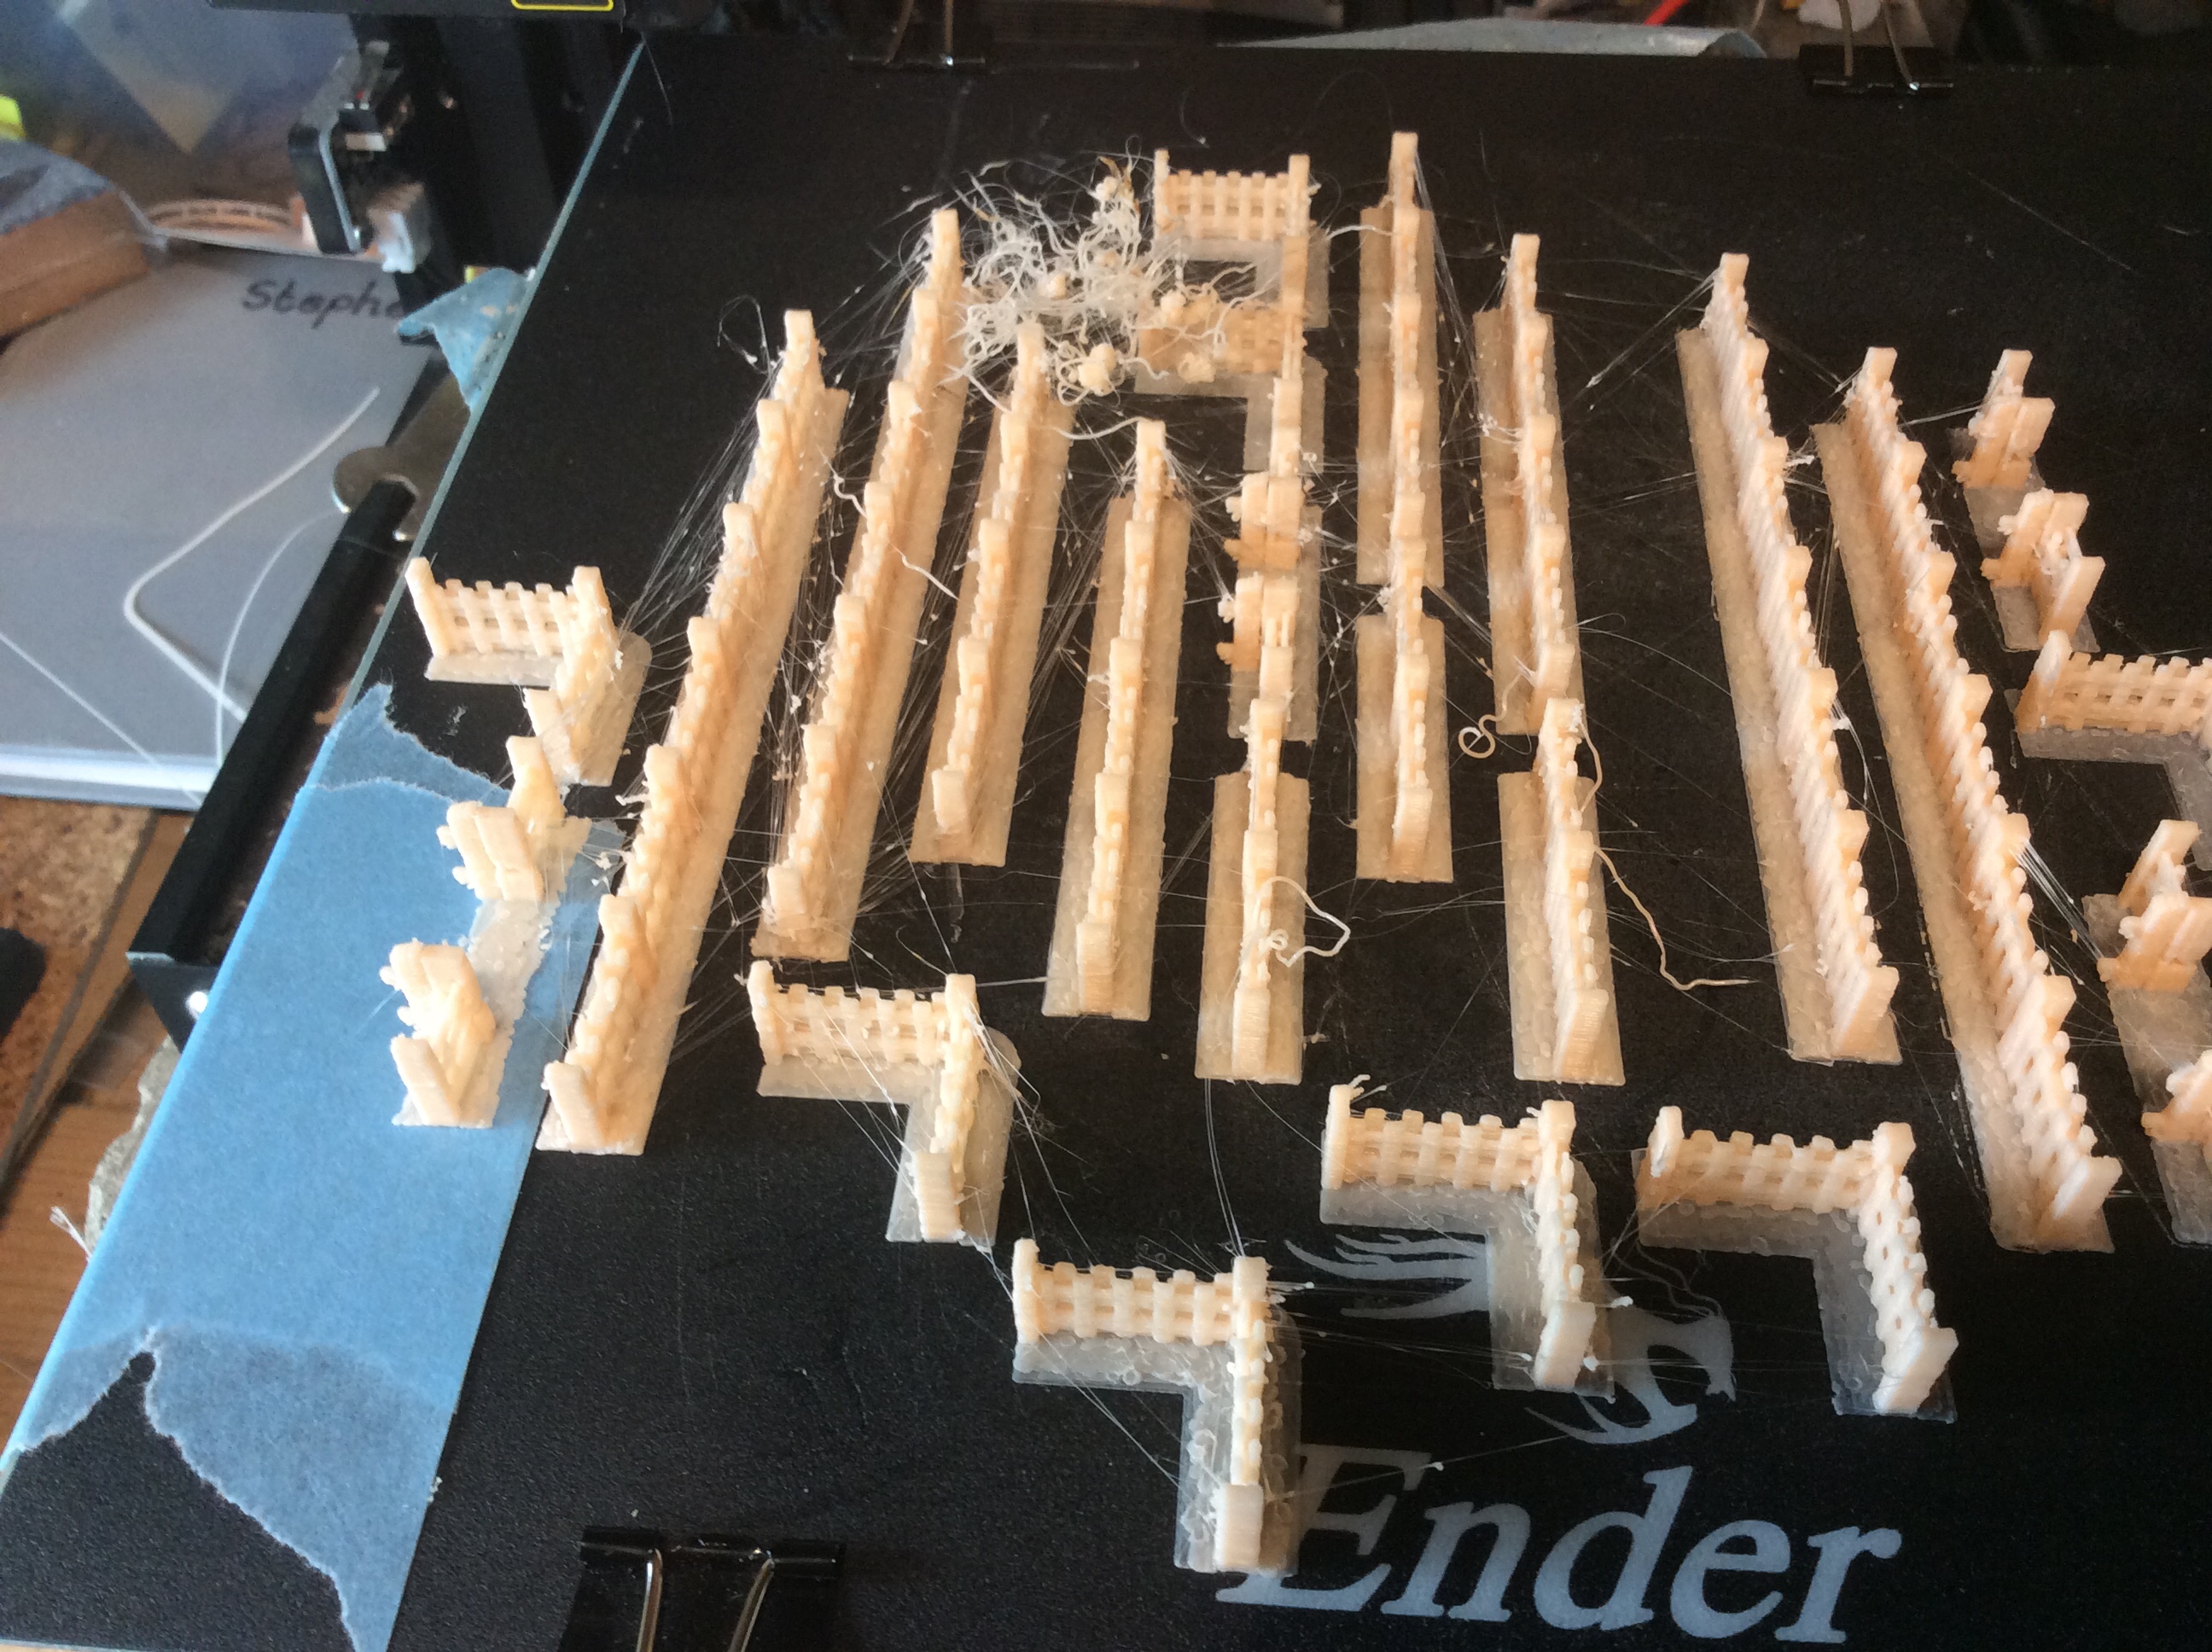
So the walls finished overnight only one failure and to be honest I don’t actually know what it is 😂. I had to do some speedy repairs to save the bottom left gate. Luckily two layers of the blue tape pretty much matched the base that had pinged.
The other problem I had was stringing. Before I went to bed I bumped the temperature up about 10 degrees. I think it was too much. I used to do this over the colder months, so just automatically did it last night.
When I did the test print I had no stringing, so I reckon the change in temperature was the problem. Easy enough solved with a lighter…
I have been busy constructing the sitootery again today. It was meant to be heavy rain, but thankfully we had a couple of twenty minute drizzling and that was it. Strong winds are forecast tomorrow so I might not get any more done.
Achieved sod All tonight, this is not totally accurate. I painted nothing, but I did get the pachy cavalry stuck onto lolly sticks and then got them and some 28mm resin stuff undercoated.
I also got some more walls sliced. My plan is to make a small based town using the printed buildings surrounded by the stone walls. I will have a go at the wooden walls for a village tomorrow.
I was busy today building a sitootery. Basically a conservatory made by myself (its a good Shetland word). Pretty much got most of the frame up today. We made concrete a few days ago which has cured nicely. tomorrow I shall carry on with it. Only one minor injury today, I tried bending my finger 90 degrees in the wrong direction!
Whilst marinading in the bath I was watching one of my all time favourite YouTube channels…
This guy is a legend… he covers all kind of craft and I just find his voice so soothing. Someone said it was a Louisiana accent, but I honestly haven’t got a clue.
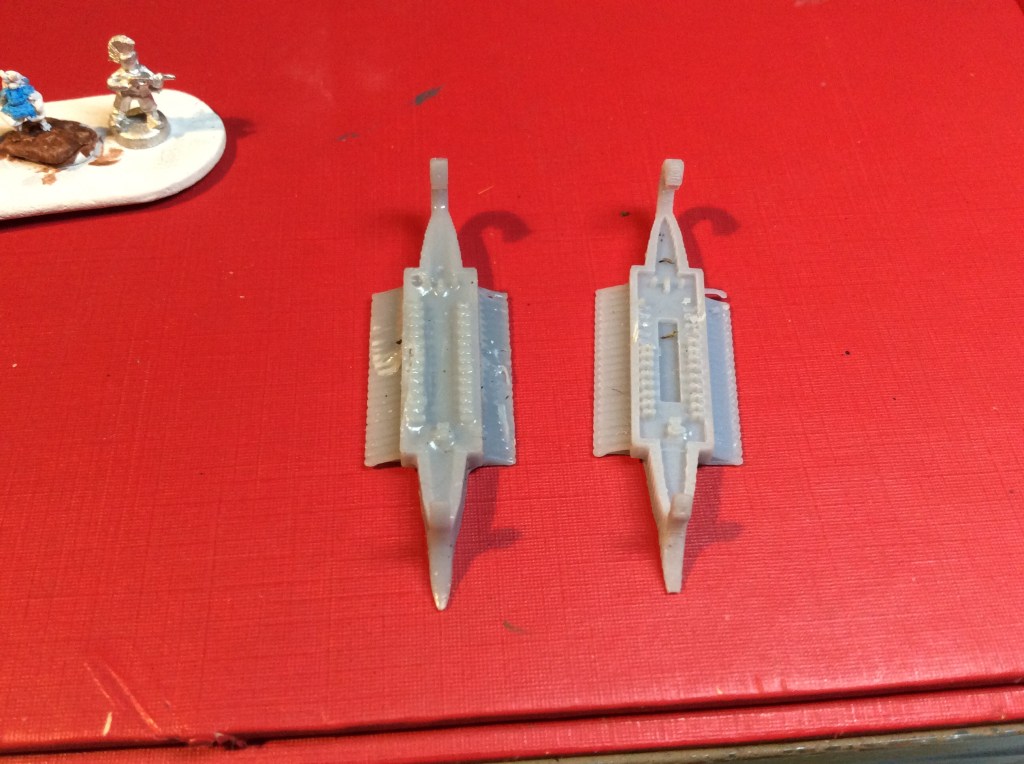
The title says it all really. Making sure that the ‘raw’ resin is removed from the parts is really important. You can tell from these two galleys…
I bet you cannot tell which one was cleaned the best!
Mikko very kindly gave me some advice and it certainly has made a difference. These things are really small, that is a 6mm miniature in the background. I have now got some new resin so will need to do a test print to begin with as this one is translucent green. I reckon that I need 9 seconds to get the best quality at the present layer height. I intend to try increasing the resolution and see what I can get out of it.
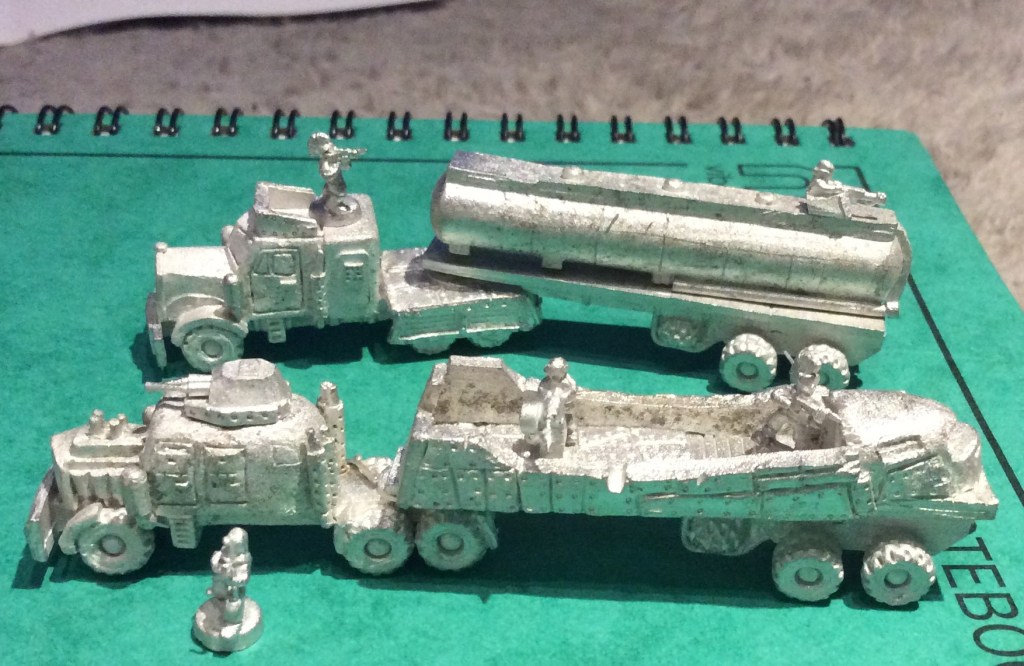
Looks like we got us a convoy… yes some more 6mm loveliness arrived this morning all the way from the USA.
Was the dark of the moon on the sixth of June In a Kenworth pullin’ logs Cab-over Pete with a reefer on And a Jimmy haulin’ hogs We is headin’ for bear on I-one-oh ‘Bout a mile outta Shaky Town I says, “Pig Pen, this here’s the Rubber Duck “And I’m about to put the hammer down”
Yes Convoy is one of my favourite films… I have it on DVD and haul it out to watch every so often… One of the best Theme songs ever…
Back in the Day I had a CB and used to belong to the Citizens Band Radio club in the village where I lived.
Although I love the Convoy Theme… this is a close second 😉
So enough of big rigs and CB Gibberish…. the other thing in my parcel was my Lizardmen cavalry…
These are the lizards riding Pachycephhlosaurus which I thought made a nice change from Utahraptors and the like. I did quite fancy some of the other big dinosaurs, but will have to wait a while for them.
This is the link to the website: https://www.microworldgames.com/ the shipping worked out at $12 which to be fair is about as some companies in the UK want to charge me for parcels to Shetland.
Tonight we got back into our RPG campaign suitably distanced. it was good to get playing again. Nobody died, even though they decided to spend 5 days wandering around the barrow downs… we shall continue with it next week.
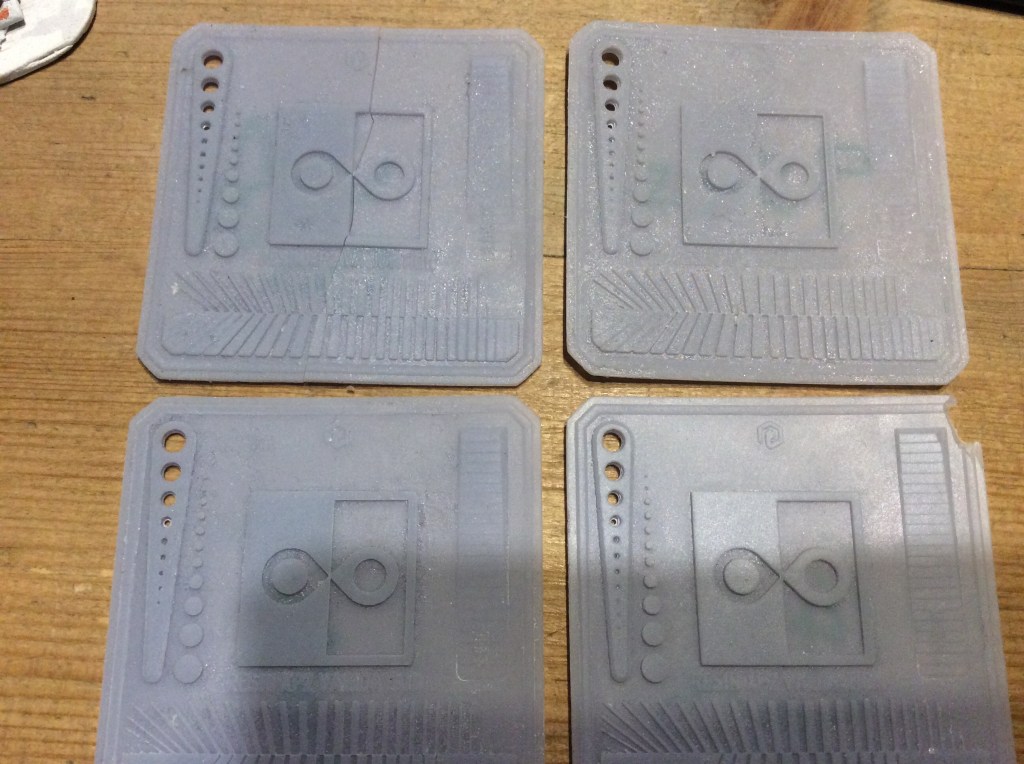
So after printing nearly 40 miniatures, a pile of 6mm buildings and a small ancient fleet I decided to print some test matrixes to help with the dialling in off the printer…
From left to right, top to bottom, we have 8.5 seconds, 9 seconds, 10 seconds and 14 seconds a layer. The 14 seconds is overexposed I think, but I may be totally wrong with that. From what I understand for circles and pegs you need to have the same amount of holes as pegs, for the bars at the bottom, the bars should technically be able to fit inside the slots below them and the two parts of the thing in the middle should just be touching, problem is they all look the same to me apart from the last one! Well I reckon I have until next Monday to ponder this as that is when the next bottle of resin will arrive.
Pete asked an interesting question about cost of resin over filament. There is definitely a difference. Resin cost me £29.00 for 500ml and filament was £25.00 for a one kilogram roll. Before lockdown the rolls were coming in at £18 a go. So there is definitely a price differential in place. However I have printed shit loads of things. Nearly 40 figures as well as my fleet and buildings so cost per thing is below 50p per item. There is a time differential as well. I can print six figures in the amount of time I could print one on the resin printer. Unfortunately the same cannot be said for the Ender. It would take six times as long to print the six miniatures.
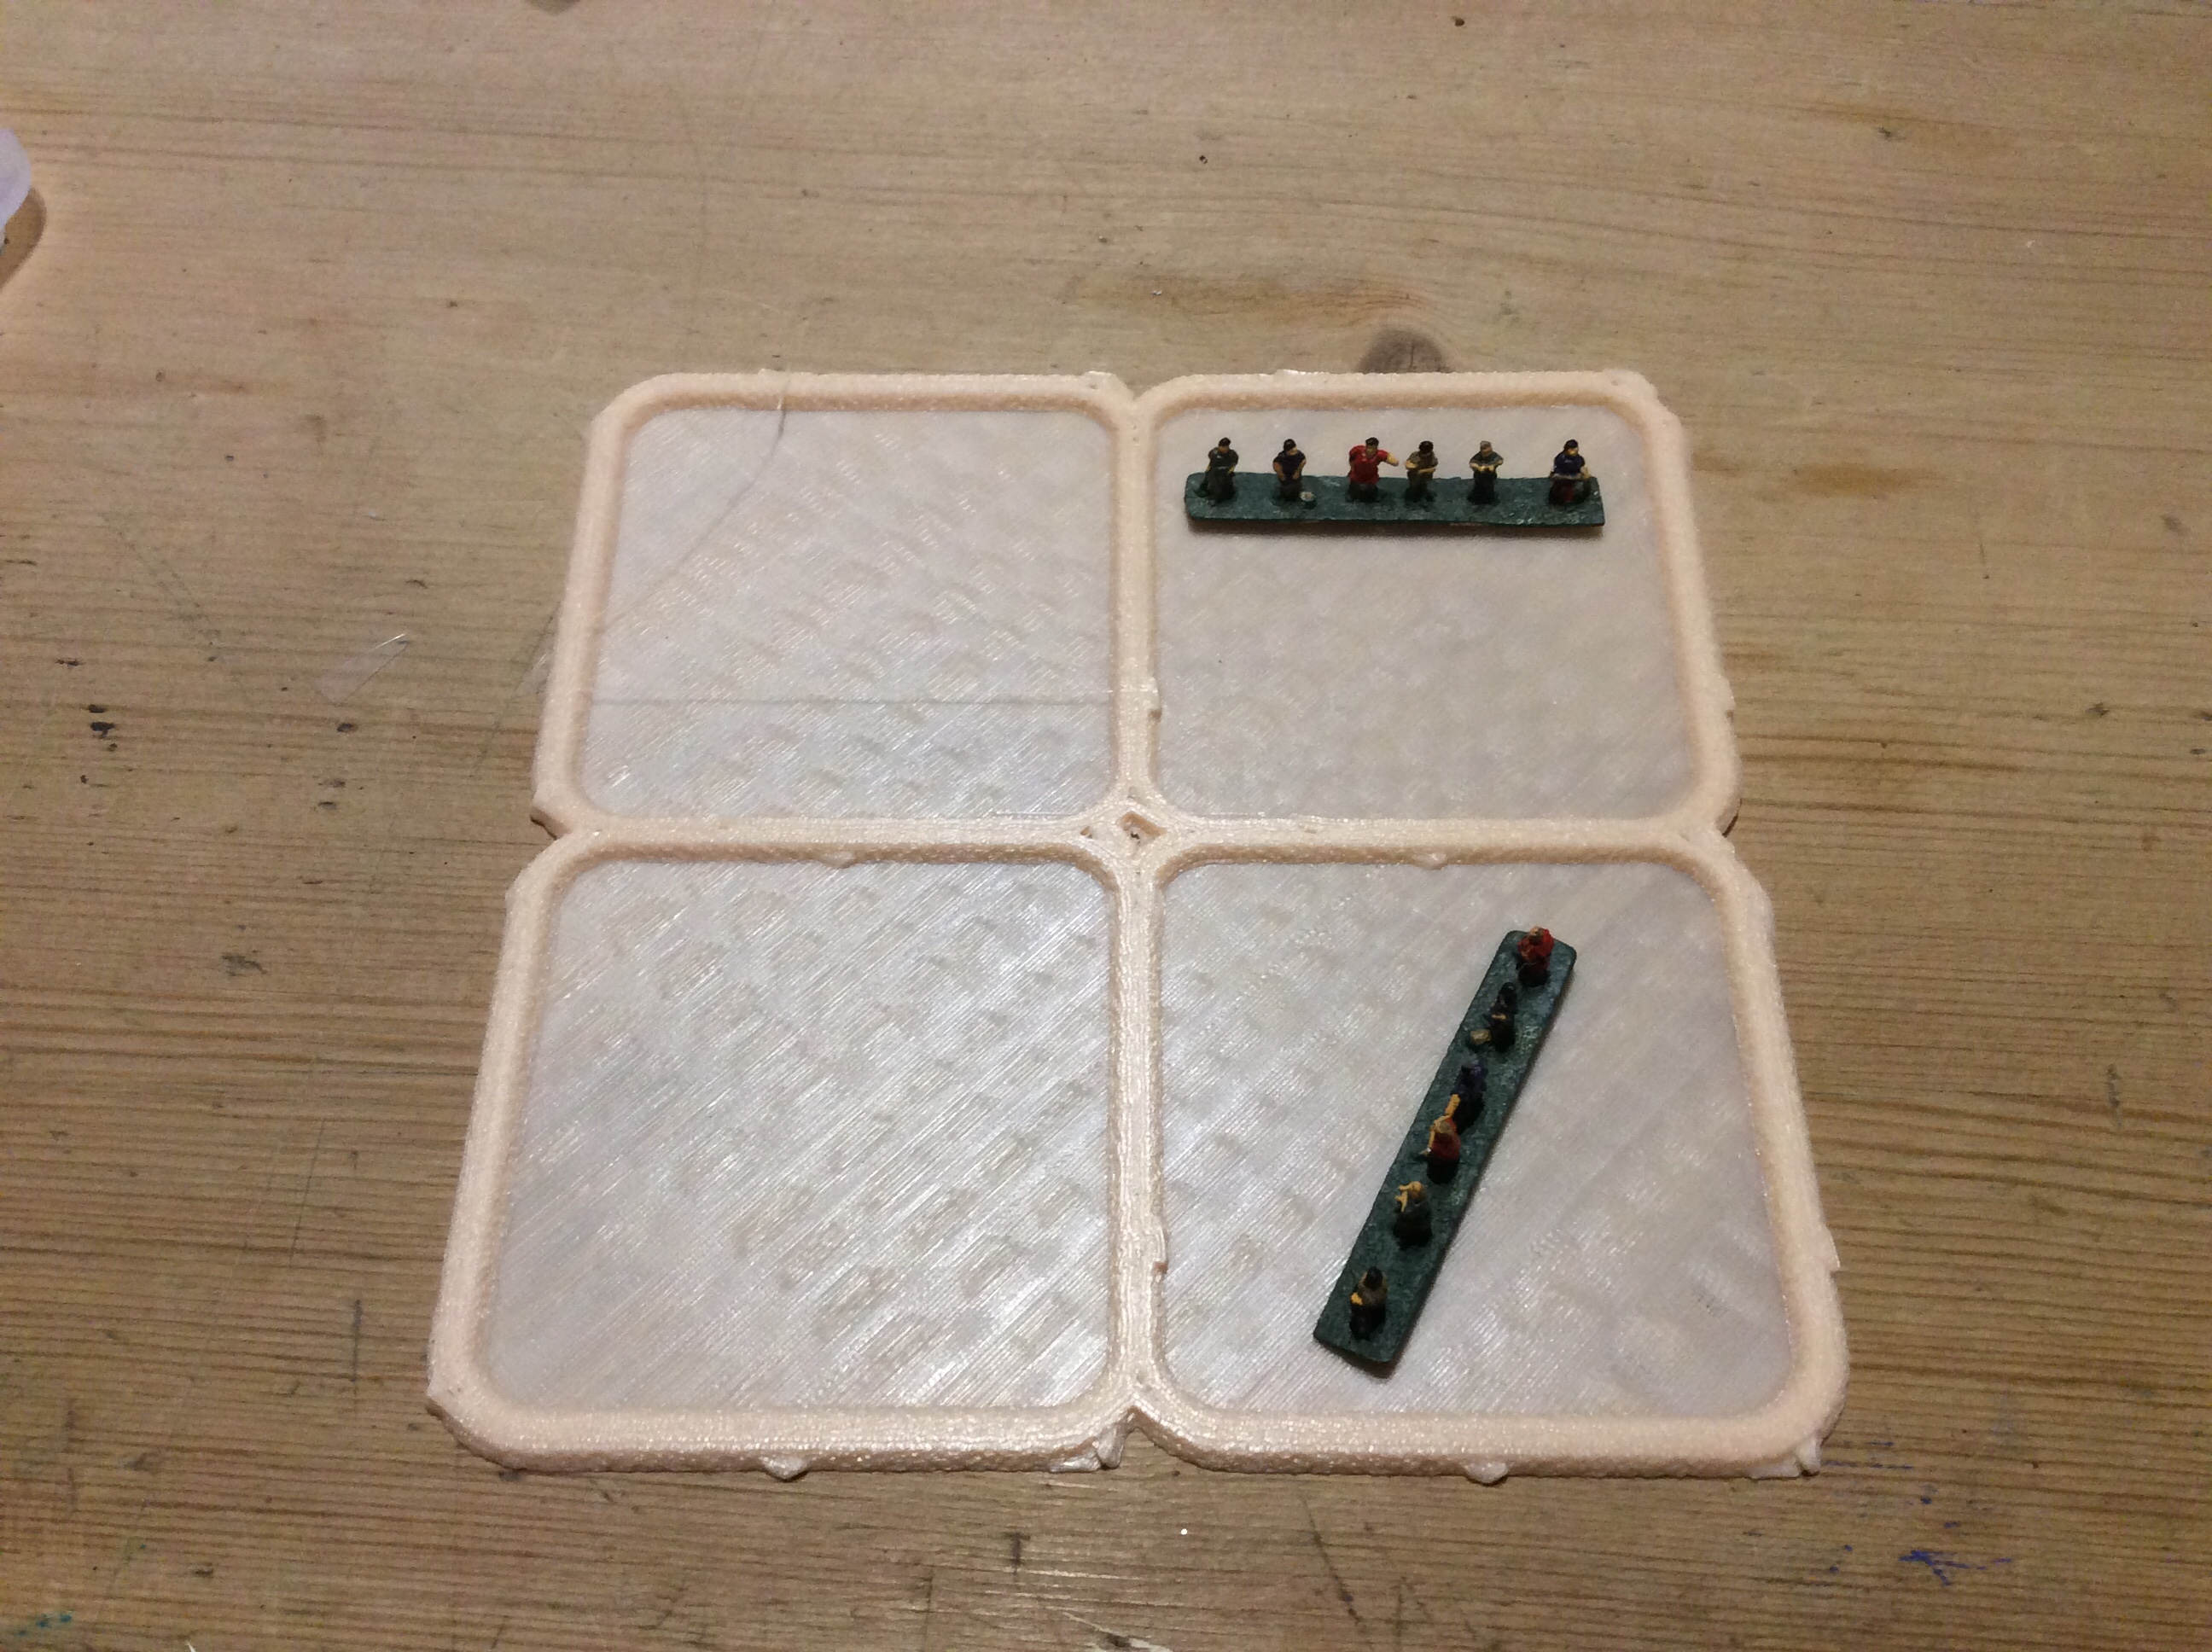
I printed these for my eldest, just under 11 hours on the Ender (okay it was high quality)
Height determines the length of time on the Resin Printer.
I will get some of the resin stuff painted ASAP and also shove one onto the Ender and see what the difference is when painted up. A bit of a long journey, but I am enjoying it so far 😉.