Printing Tanks II

So tonight I decided to get the Somua S35 completed.

A nice French Medium tank…

Nice flowing lines etc….

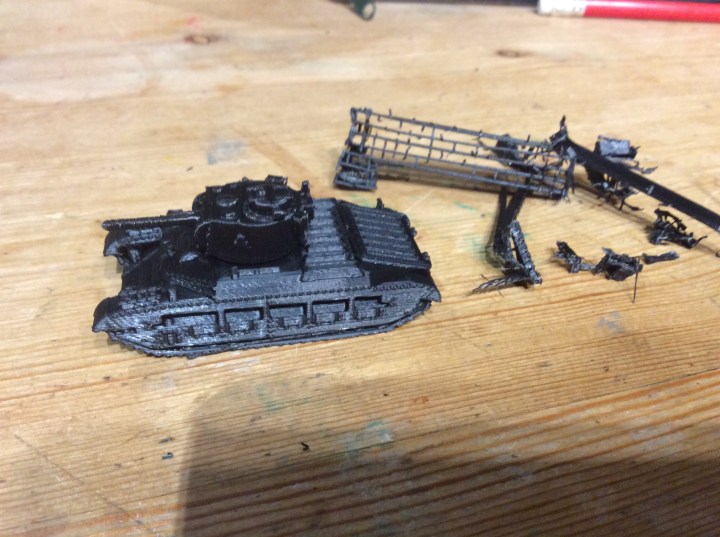
Sadly I returned to this!

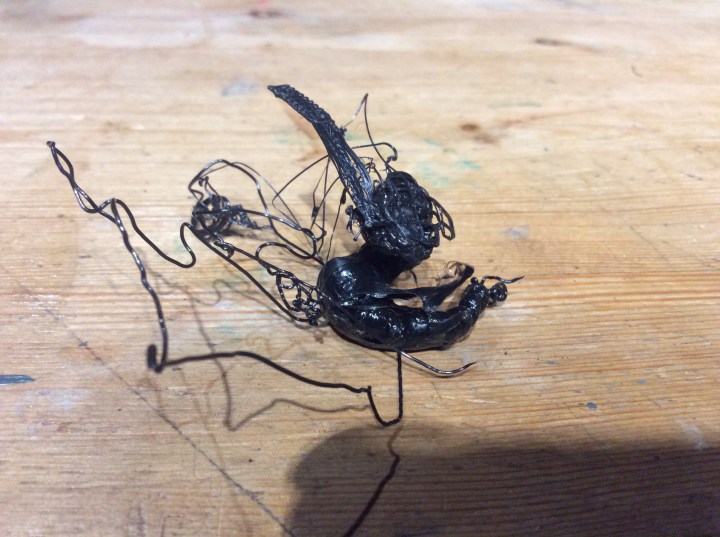
To be fair there are some nice flowing lines in there too…it must have popped off the bed the second I left the room. Interestingly enough. I tried again, instant failure. I decided to give another Matilda a go…

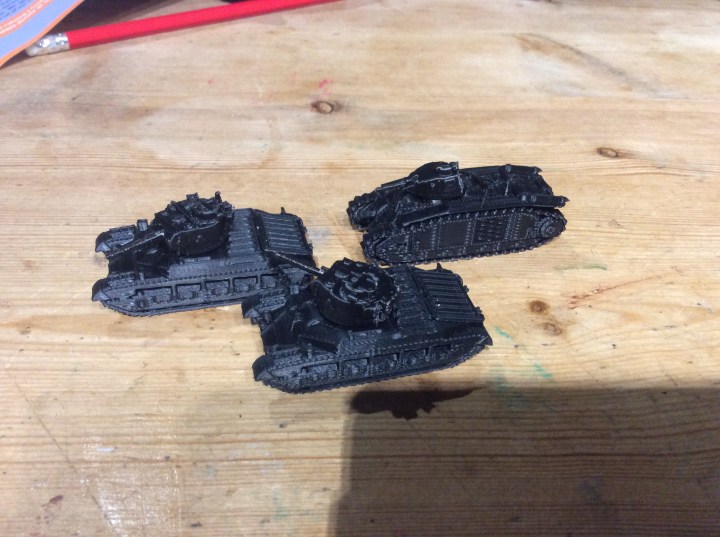
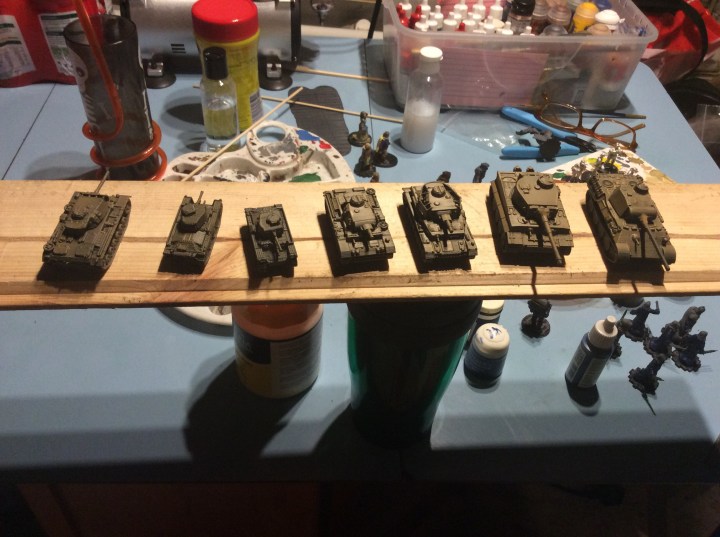
Worked fine, I went for another Char B… last time I looked at it an hour in, all systems were go.

The one that failed was front left, the ones that succeeded rear left. It could be that the front left has lost the level or that it is a bit greasy. Either way I will give it a wash and a re level tomorrow.

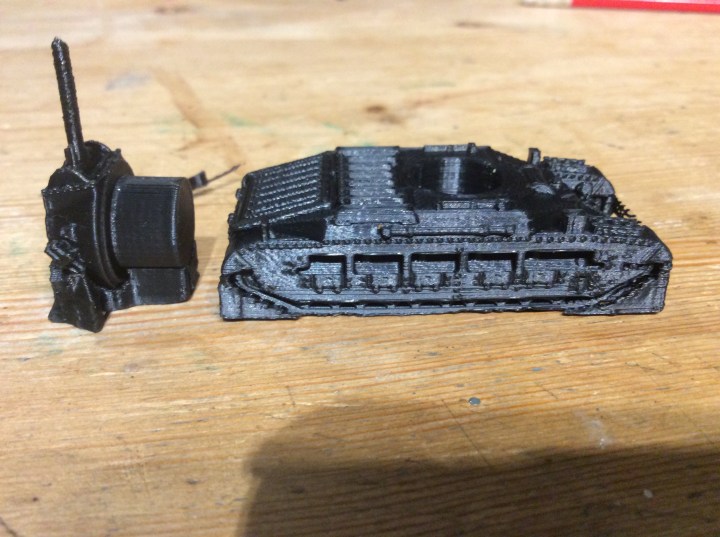
As can be seen from the photo above the Char B came out spot on! Below is how it came off the plate.

As with some of the other tanks the 37mm gun was a little fragile and snapped off.

So tomorrow we try the Somua again (possibly in a different place 🤔).

Printing Tanks

A Matilda to start with….

A picture of how it came off the plate.

You can really see the support network to help it print properly. I have always printed it vertically before (like the turret). This is the first time on the tracks and to be honest, there is less chance of it getting knocked over, the down side is a lot more waste.

Here you can see the stuff that has been pulled away from both bits…weight wise not really very much, it just adds to the time required.

And finally… here she is all trimmed up and ready for a run into the paint shop.

I am printing off a CharB just now with a Somua to follow.

To be honest I don’t know what theatre of operations or date to go for. At the cost of these I can print of a fair few different ones and see what catches my fancy.

I did consider the desert war. The advantages are that I have some palm trees etc as well as some 6mm buildings. I also have a terrain mat and some desert style hills.

I reckon I can print some 15mm buildings and off I go!

More Dwarves

Well, I finished my first three dwarves and took them outside for a photo shoot…

I then decided to print a couple more to see if I could make them look a bit different.

I think I achieved my goal of changing their look. The beard and fur was made from Greenstuff the plastic bits and bobs are from the original Mordheim plastic sprue.

I added a bit to the back too…

Painting Dwarves

Well I got a bit more paint on the printed dwarves and they are beginning to get there.

I am quite pleased with them so far. Once they are shaded and highlighted a bit more then I think They will look spiffy 😉

I will try and get them finished tomorrow.

I have now found my theme tune (after a crap week at work… well actually make that a fair few months)… please do not listen if you are easily offended. It is very rude!

Hi Ho, Hi Ho, It’s off to Work a They Go…

Okay not very original when discussing dwarves.

These three are from Ill Gotten Games from the pre Kick starter tester we were given. I intend to have seven for completeness… well okay maybe not seven…

I decided to do the third one at 0.06mm layer the one on the left is at 0.15, the middle one is 0.1. I forgot to record the time but the highest quality was an hour and 40 minutes. The middle was somewhere round the hour.To be honest for the print time difference between the higher quality and the mid quality there isn’t much real difference. I will fiddle around a bit more to see if I can make it better.

I also painted lots of bits and pieces on various figures. I would have photographed them, but it didn’t seem much point.

The rest of my evening was spent trying to find costume parts for my two youngest for bloody World Book Day!

3DPrinter… Something Useful

I actually designed and printed something useful at the request of my wife and daughter.

My youngest daughter has her own hens but as the eggs are smaller than the standard size then they fall through the egg rack hence the request…

To be honest not the world’s most complicated design, but I am still quite pleased with it.

It actually fits too…

You can see from the picture above our normal method of keeping them in…

A Fair Old Bit Of Painting

Lots of painting but sadly not the elves….

First up some 15mm German armour, they still need another coat or two, perhaps sand straight over black wasn’t the best idea. I ran the airbrush to get these sorted. Still not sure whether to add camouflage or not.

Then some of the 28mm 3D Printed miniatures

We were all out in the shed and the elves were still in the kitchen and that is my excuse. Just look at the age of the GW paints I am using. The white stuff in the bottle is Matt medium and water.

My mate has asked me to paint up some sci fi miniatures (on the painting tile) for when we start our new top secret game.

In My Grey Phase

I decided to eventually get some paint onto the mausoleum and the Mech.

My son wanted his mech to be grey so who am I to argue. From what I remember he wants the cockpit glass to be blue and the rockets red.

My intention for the mausoleum is to give it a black wash once this grey is dry and then get it dry brushed up to a lighter grey. I keep thinking some kind of metallic colour for the doors but I haven’t quite decided that far ahead.

I really do like it and reckon it will come up a treat once it is finished.

I managed sod all else tonight apart from reducing the bug down to 75% size to see how it looks. It is merrily printing away as I type this. I was going to watch one of the films tonight to get a scale of the things but I couldn’t be arsed to do that.

And it looks this big….

Stick it on it’s very long legs and I think it will look fine… I will print the arms and legs tomorrow and see what I think.

BUUUUGG!!!

Technically it should be BUUUGGGS…

but I only made one!

This thing is bloody massive. I reckon I need to drop it down to about 25% smaller at least and see how it looks. If you were wondering…the white stuff is baking powder. It causes a reaction with the superglue and sets instantly.

I had some de-lamination problems with the legs especially at the ball joints. Therefore I quasi posed it and then glued everything rigid. I printed the arms on a raft and had no problems with them so that might be the way forward if I do decide to do another one.

The one thing I forgot to mention and that is that this is a poseable bug (well it would be f I hadn’t superglued everything in place). It was designed by JOOXOE31 and again downloaded from Thingiverse.

I didn’t get any painting done this evening because of building this beastie, and various family related shenanigans… (including a stint of Ghost recon with my son. Who hasn’t quite grasped the tactical disadvantage of standing on a roof in full view of his father armed with a sniper rifle.) I also had a go at my hunting game and met the worlds first bullet proof Elk! Tracked him for 4 kilometres before I managed to bag him in the end.

Off playing Vikings in a school tomorrow so not too stressful a day 😁.

A Bit of Painting

I threw open my painting box and cracked on with my printed miniatures.

Still a bit to do on some of them but the front two are almost finished. The very pale yellow is going to be a darker yellow. I just wanted to make sure that it would cover ok. I also have a mage in a rather nice purple robe as well as a couple of thieves ready to go. When these ones are done I will get on with the rest of the miniatures for the game.

Sadly as I was working on these my Elves got ignored for another night.

I still can’t get my head around the fact that these all started off as a long string of plastic… a bit of computer magic and voila… miniatures.

I am going to give an arachnid from Starship Troopers a go sometime soon, but for today the printer has stood silent… an unusual thing.