Resin Experiments

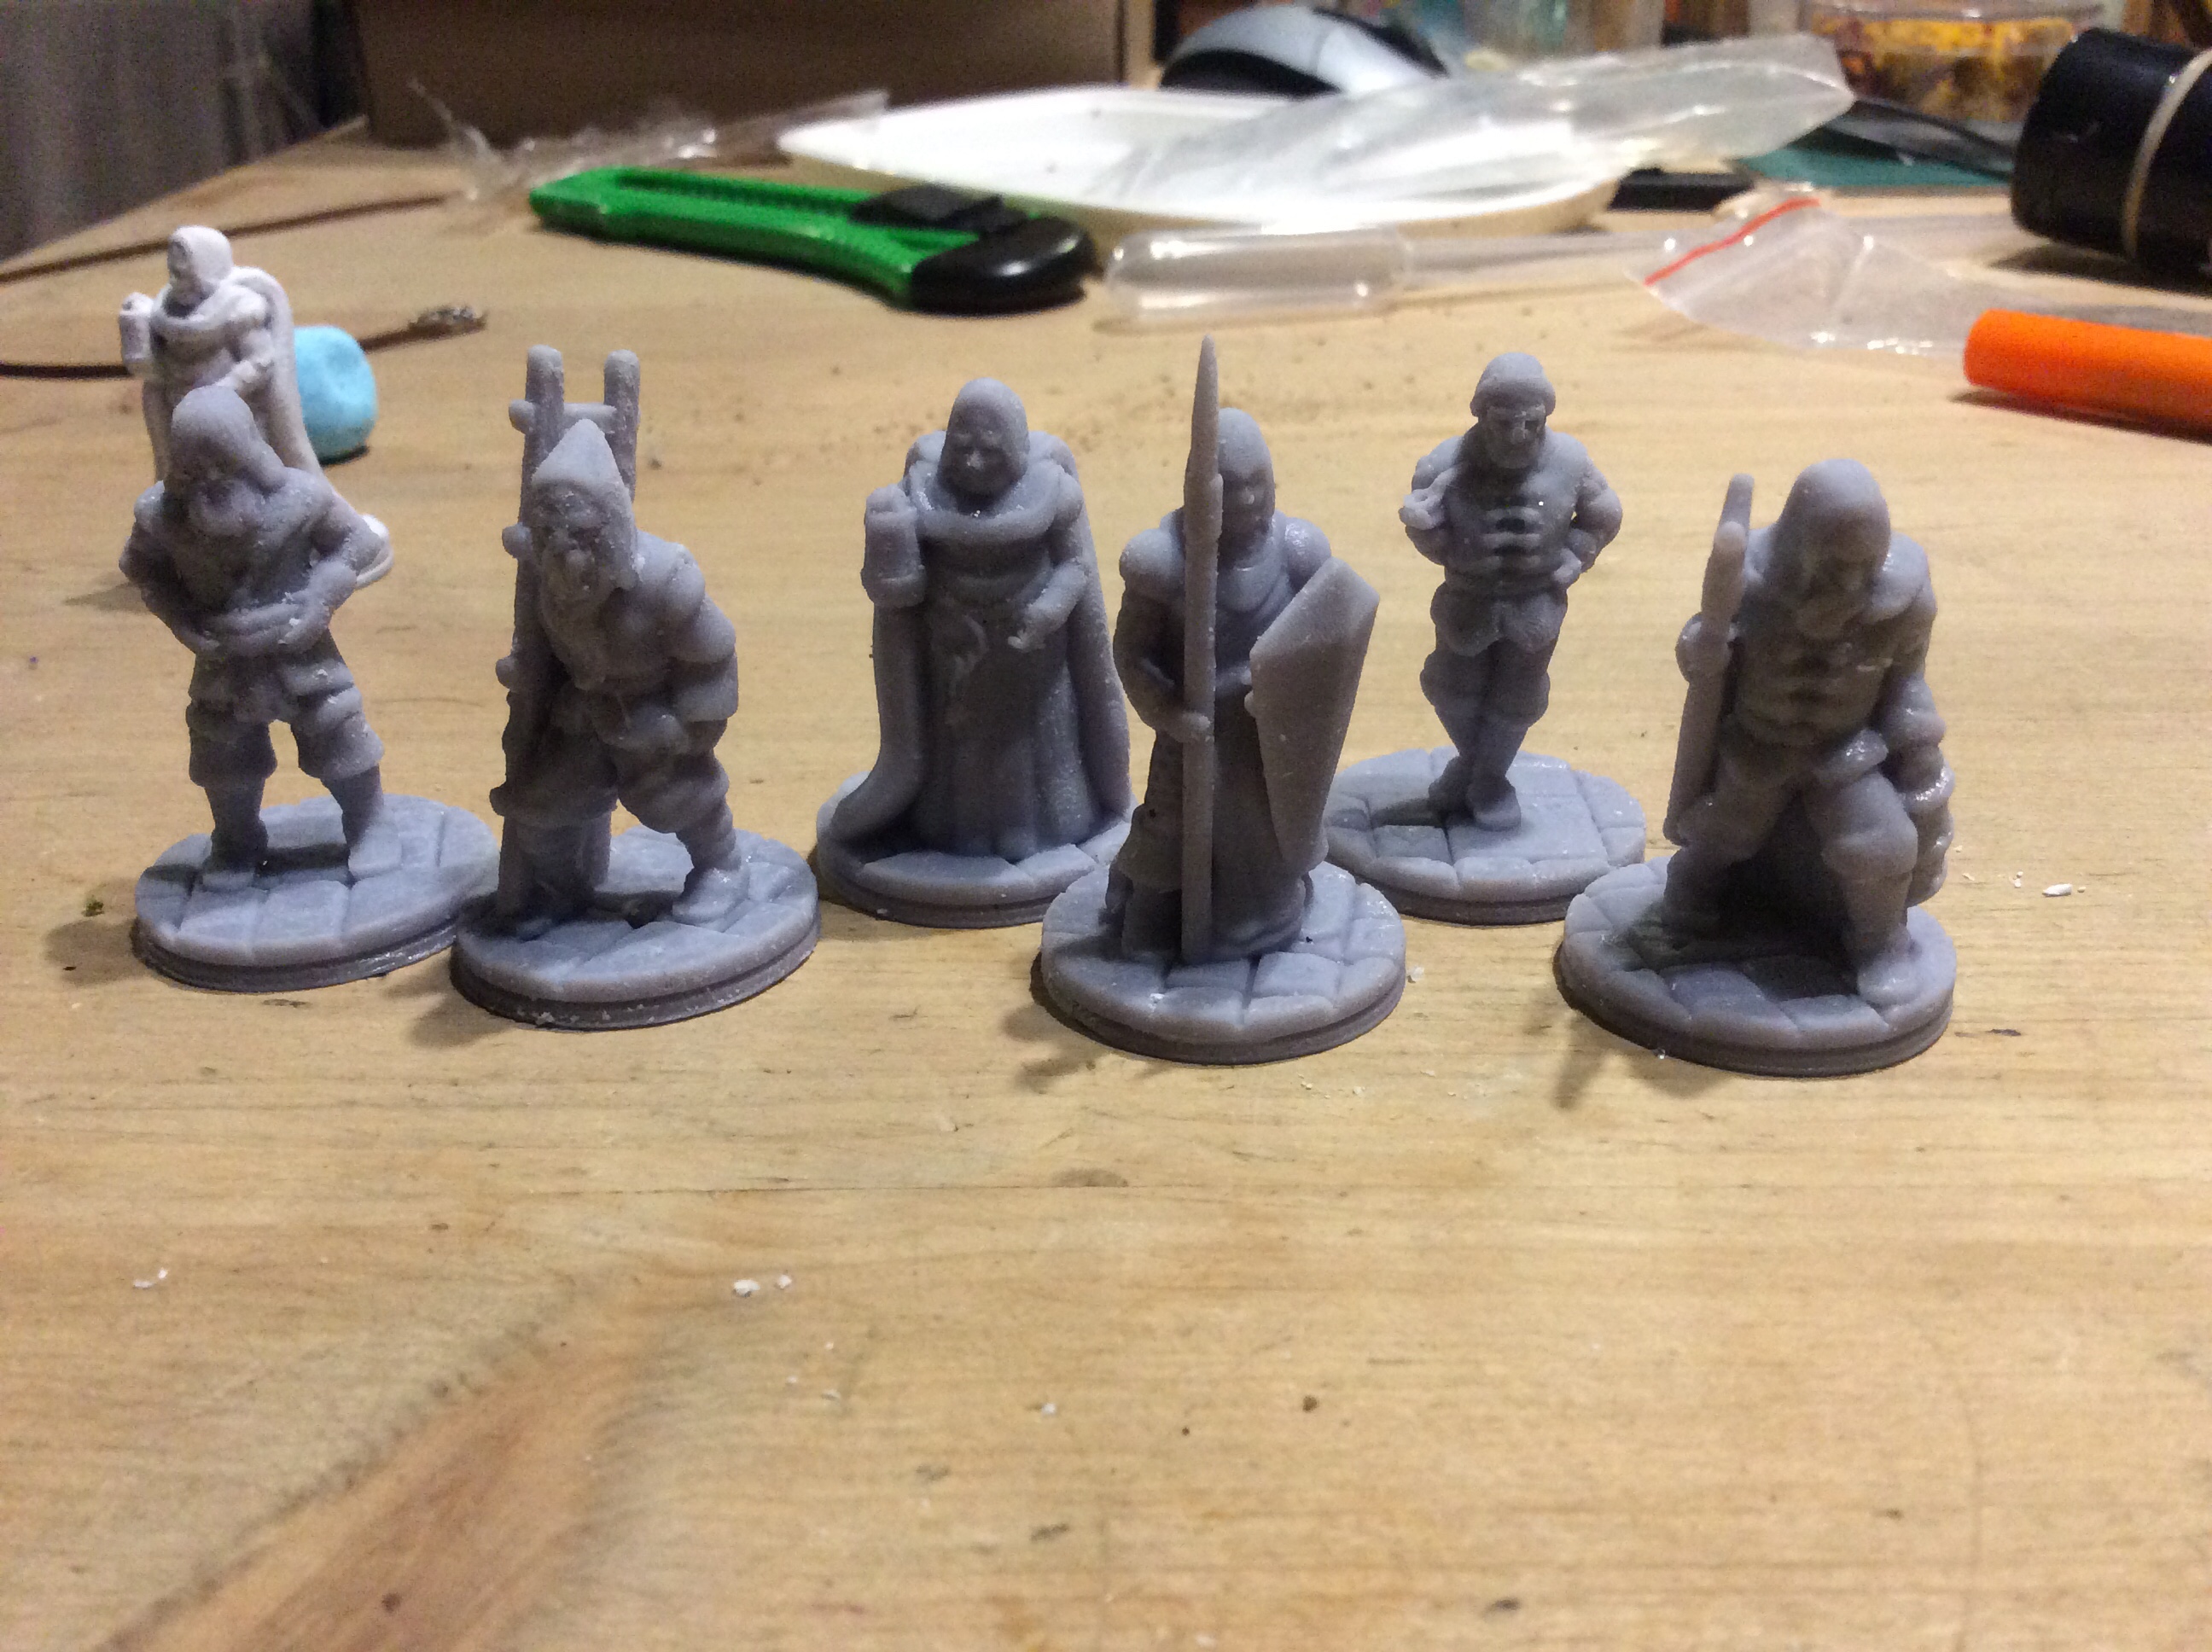
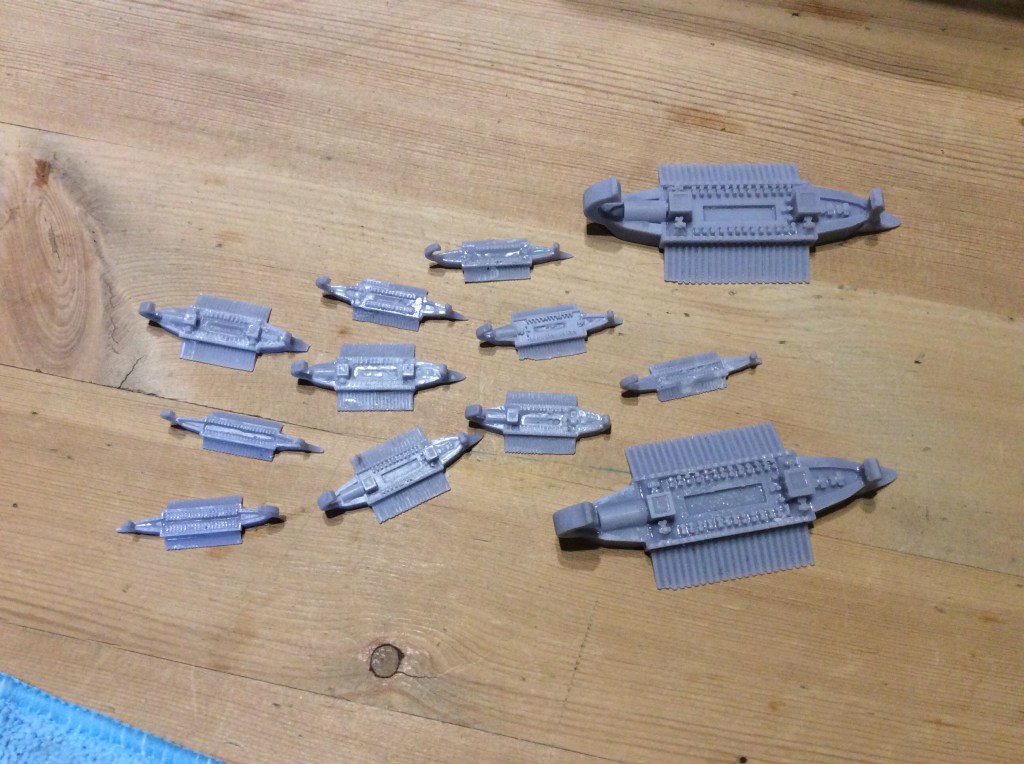
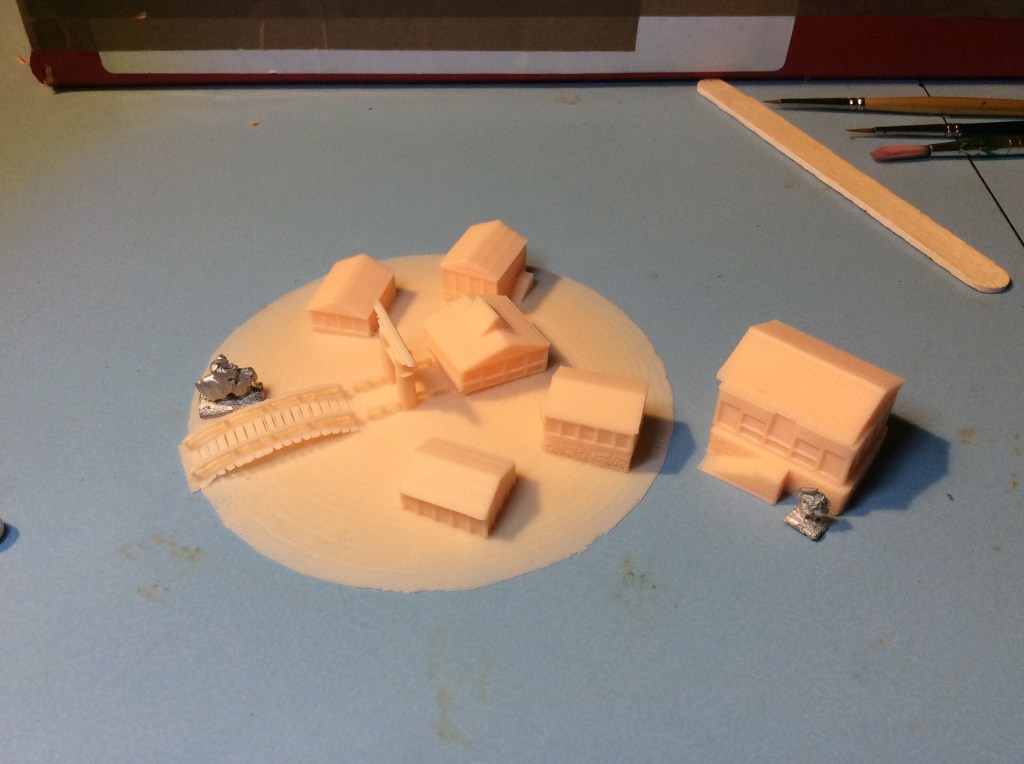
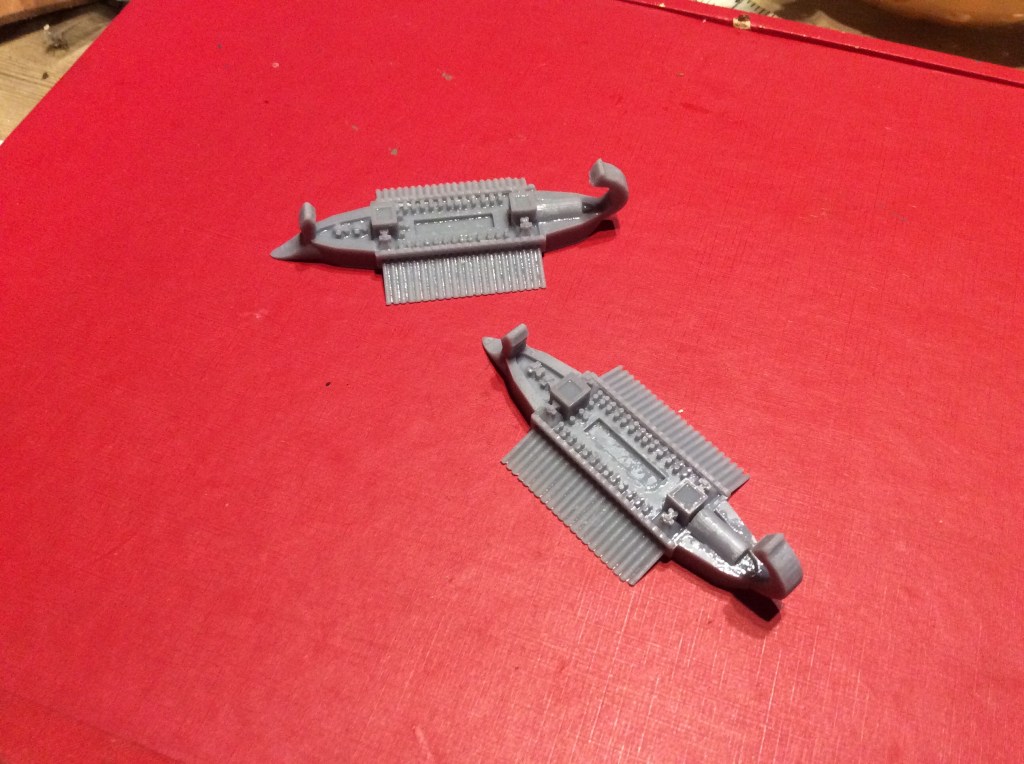
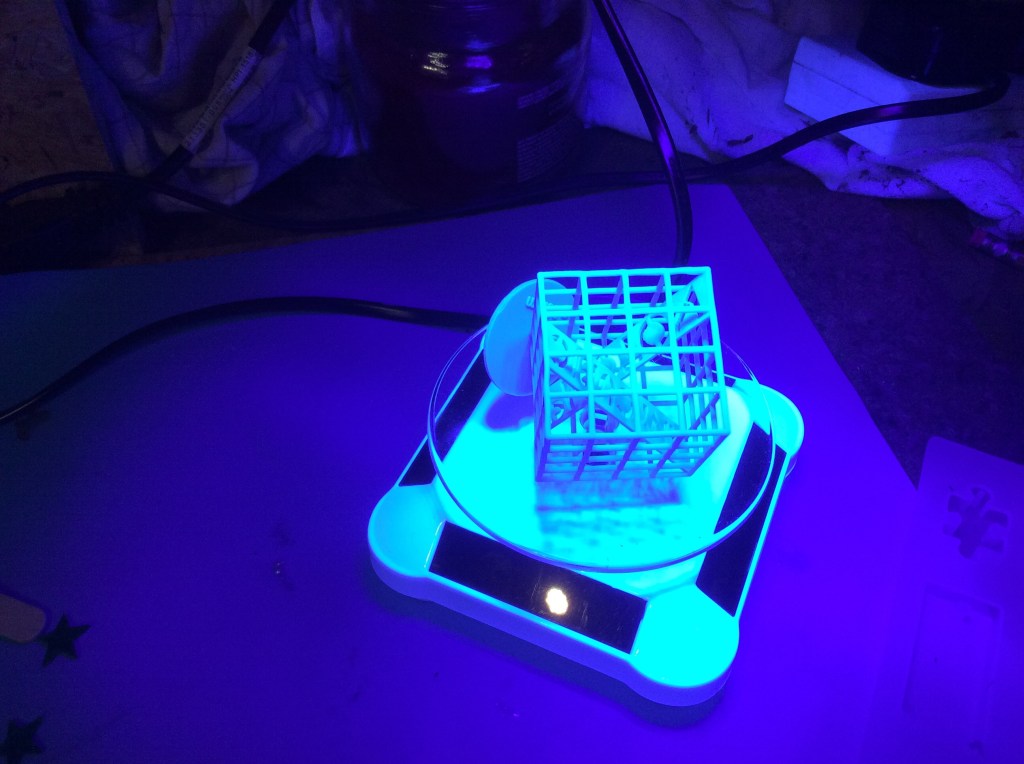
So after printing nearly 40 miniatures, a pile of 6mm buildings and a small ancient fleet I decided to print some test matrixes to help with the dialling in off the printer…

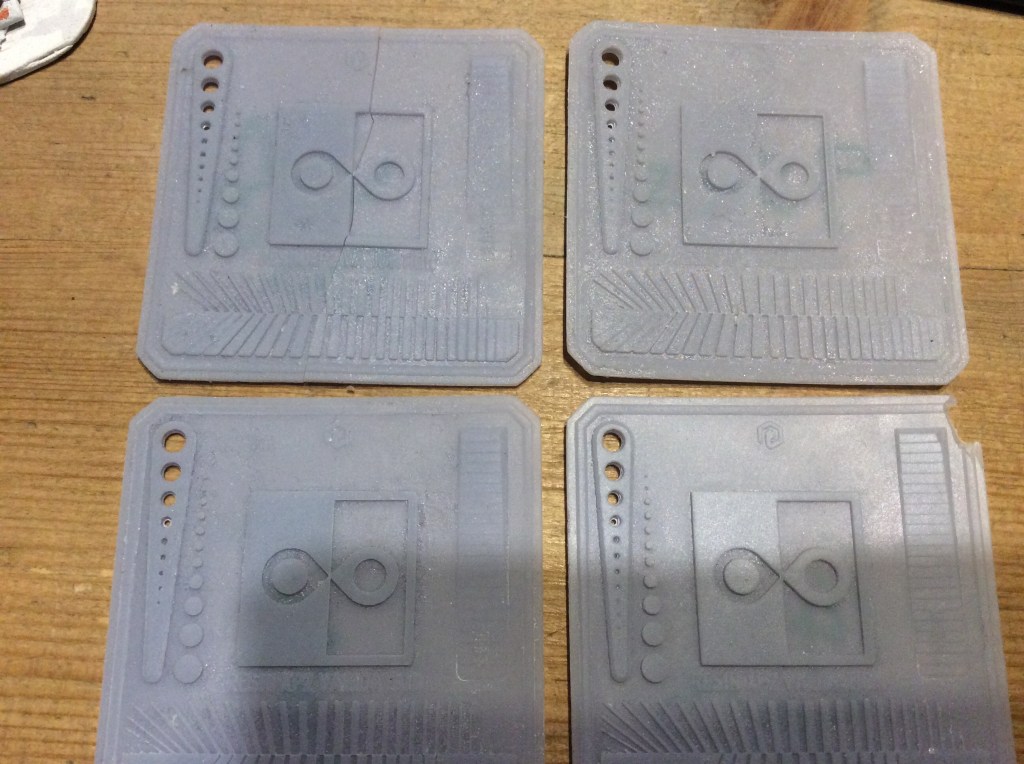
From left to right, top to bottom, we have 8.5 seconds, 9 seconds, 10 seconds and 14 seconds a layer. The 14 seconds is overexposed I think, but I may be totally wrong with that. From what I understand for circles and pegs you need to have the same amount of holes as pegs, for the bars at the bottom, the bars should technically be able to fit inside the slots below them and the two parts of the thing in the middle should just be touching, problem is they all look the same to me apart from the last one! Well I reckon I have until next Monday to ponder this as that is when the next bottle of resin will arrive.

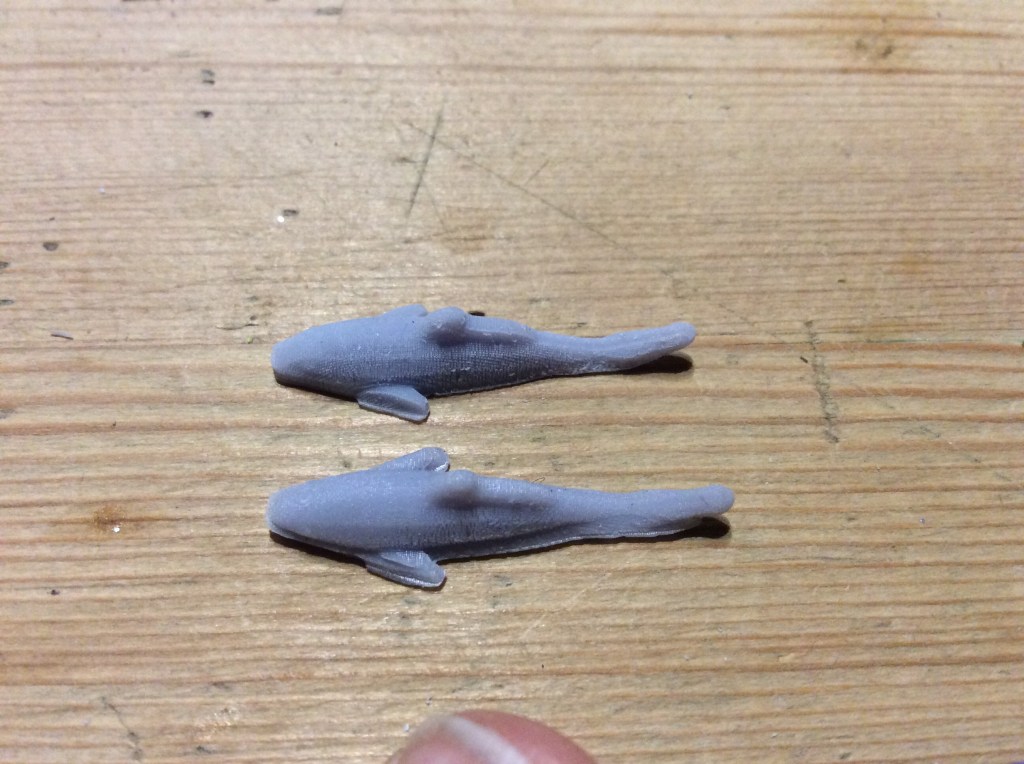
Pete asked an interesting question about cost of resin over filament. There is definitely a difference. Resin cost me £29.00 for 500ml and filament was £25.00 for a one kilogram roll. Before lockdown the rolls were coming in at £18 a go. So there is definitely a price differential in place. However I have printed shit loads of things. Nearly 40 figures as well as my fleet and buildings so cost per thing is below 50p per item. There is a time differential as well. I can print six figures in the amount of time I could print one on the resin printer. Unfortunately the same cannot be said for the Ender. It would take six times as long to print the six miniatures.

I printed these for my eldest, just under 11 hours on the Ender (okay it was high quality)

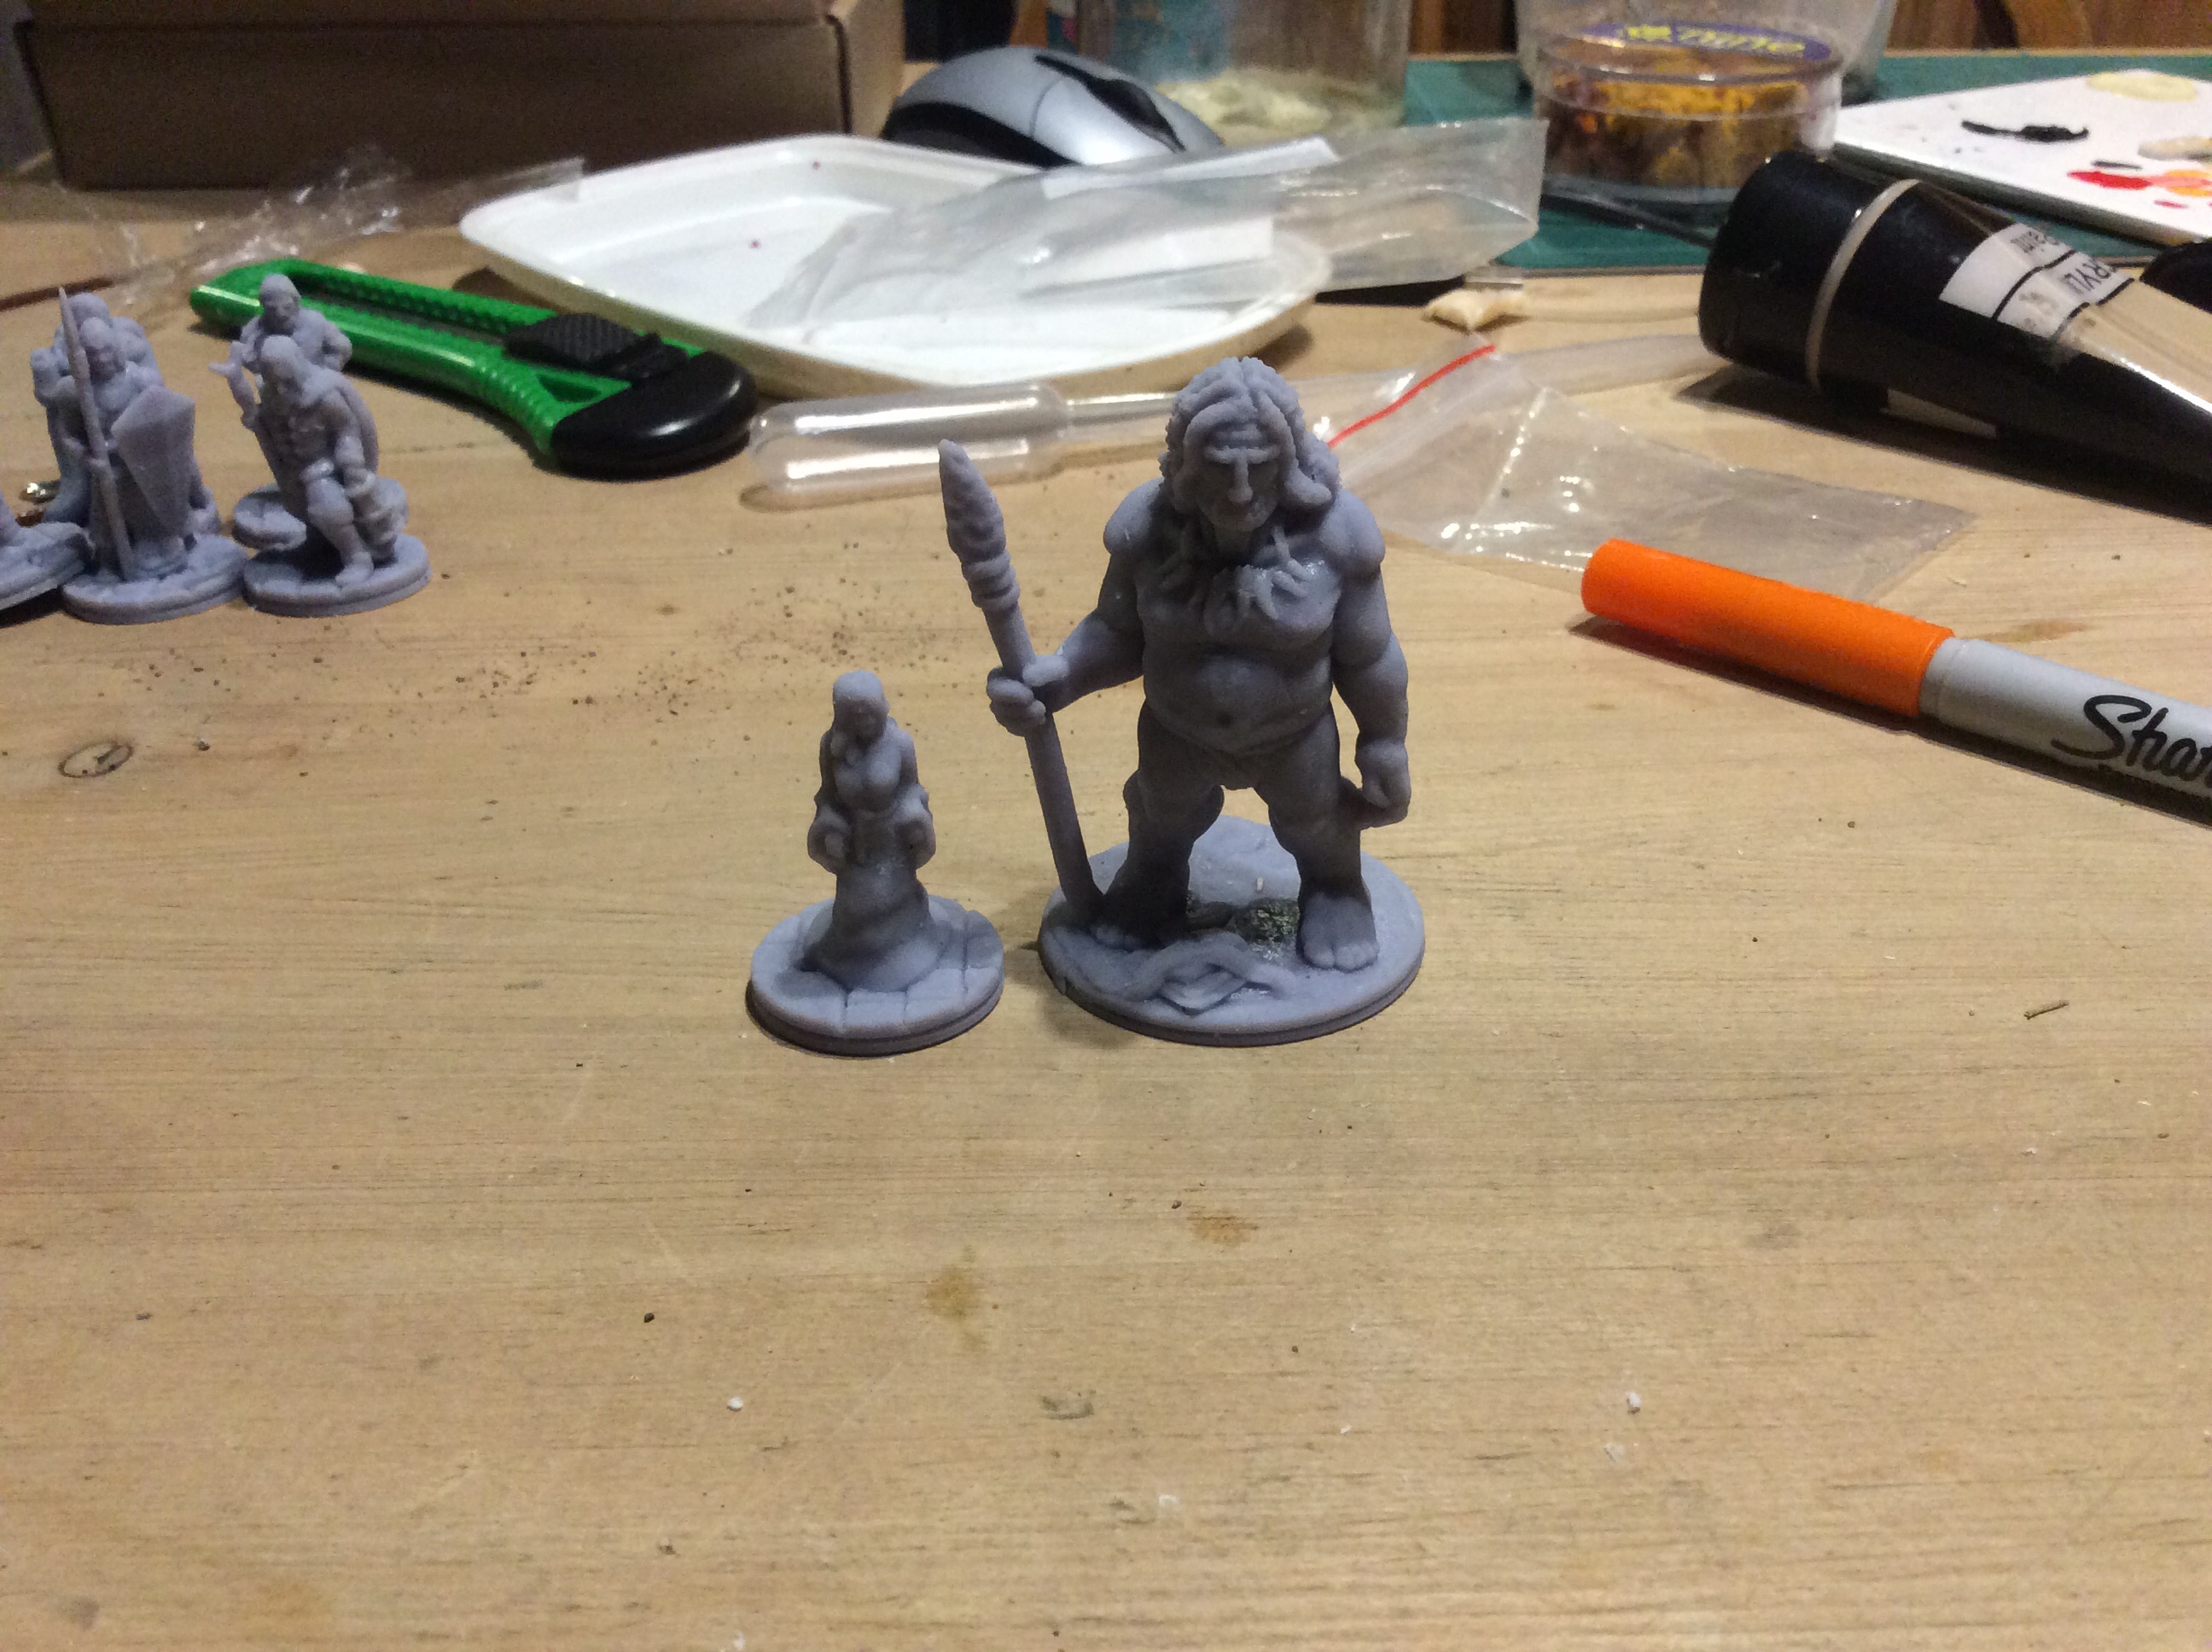
Height determines the length of time on the Resin Printer.

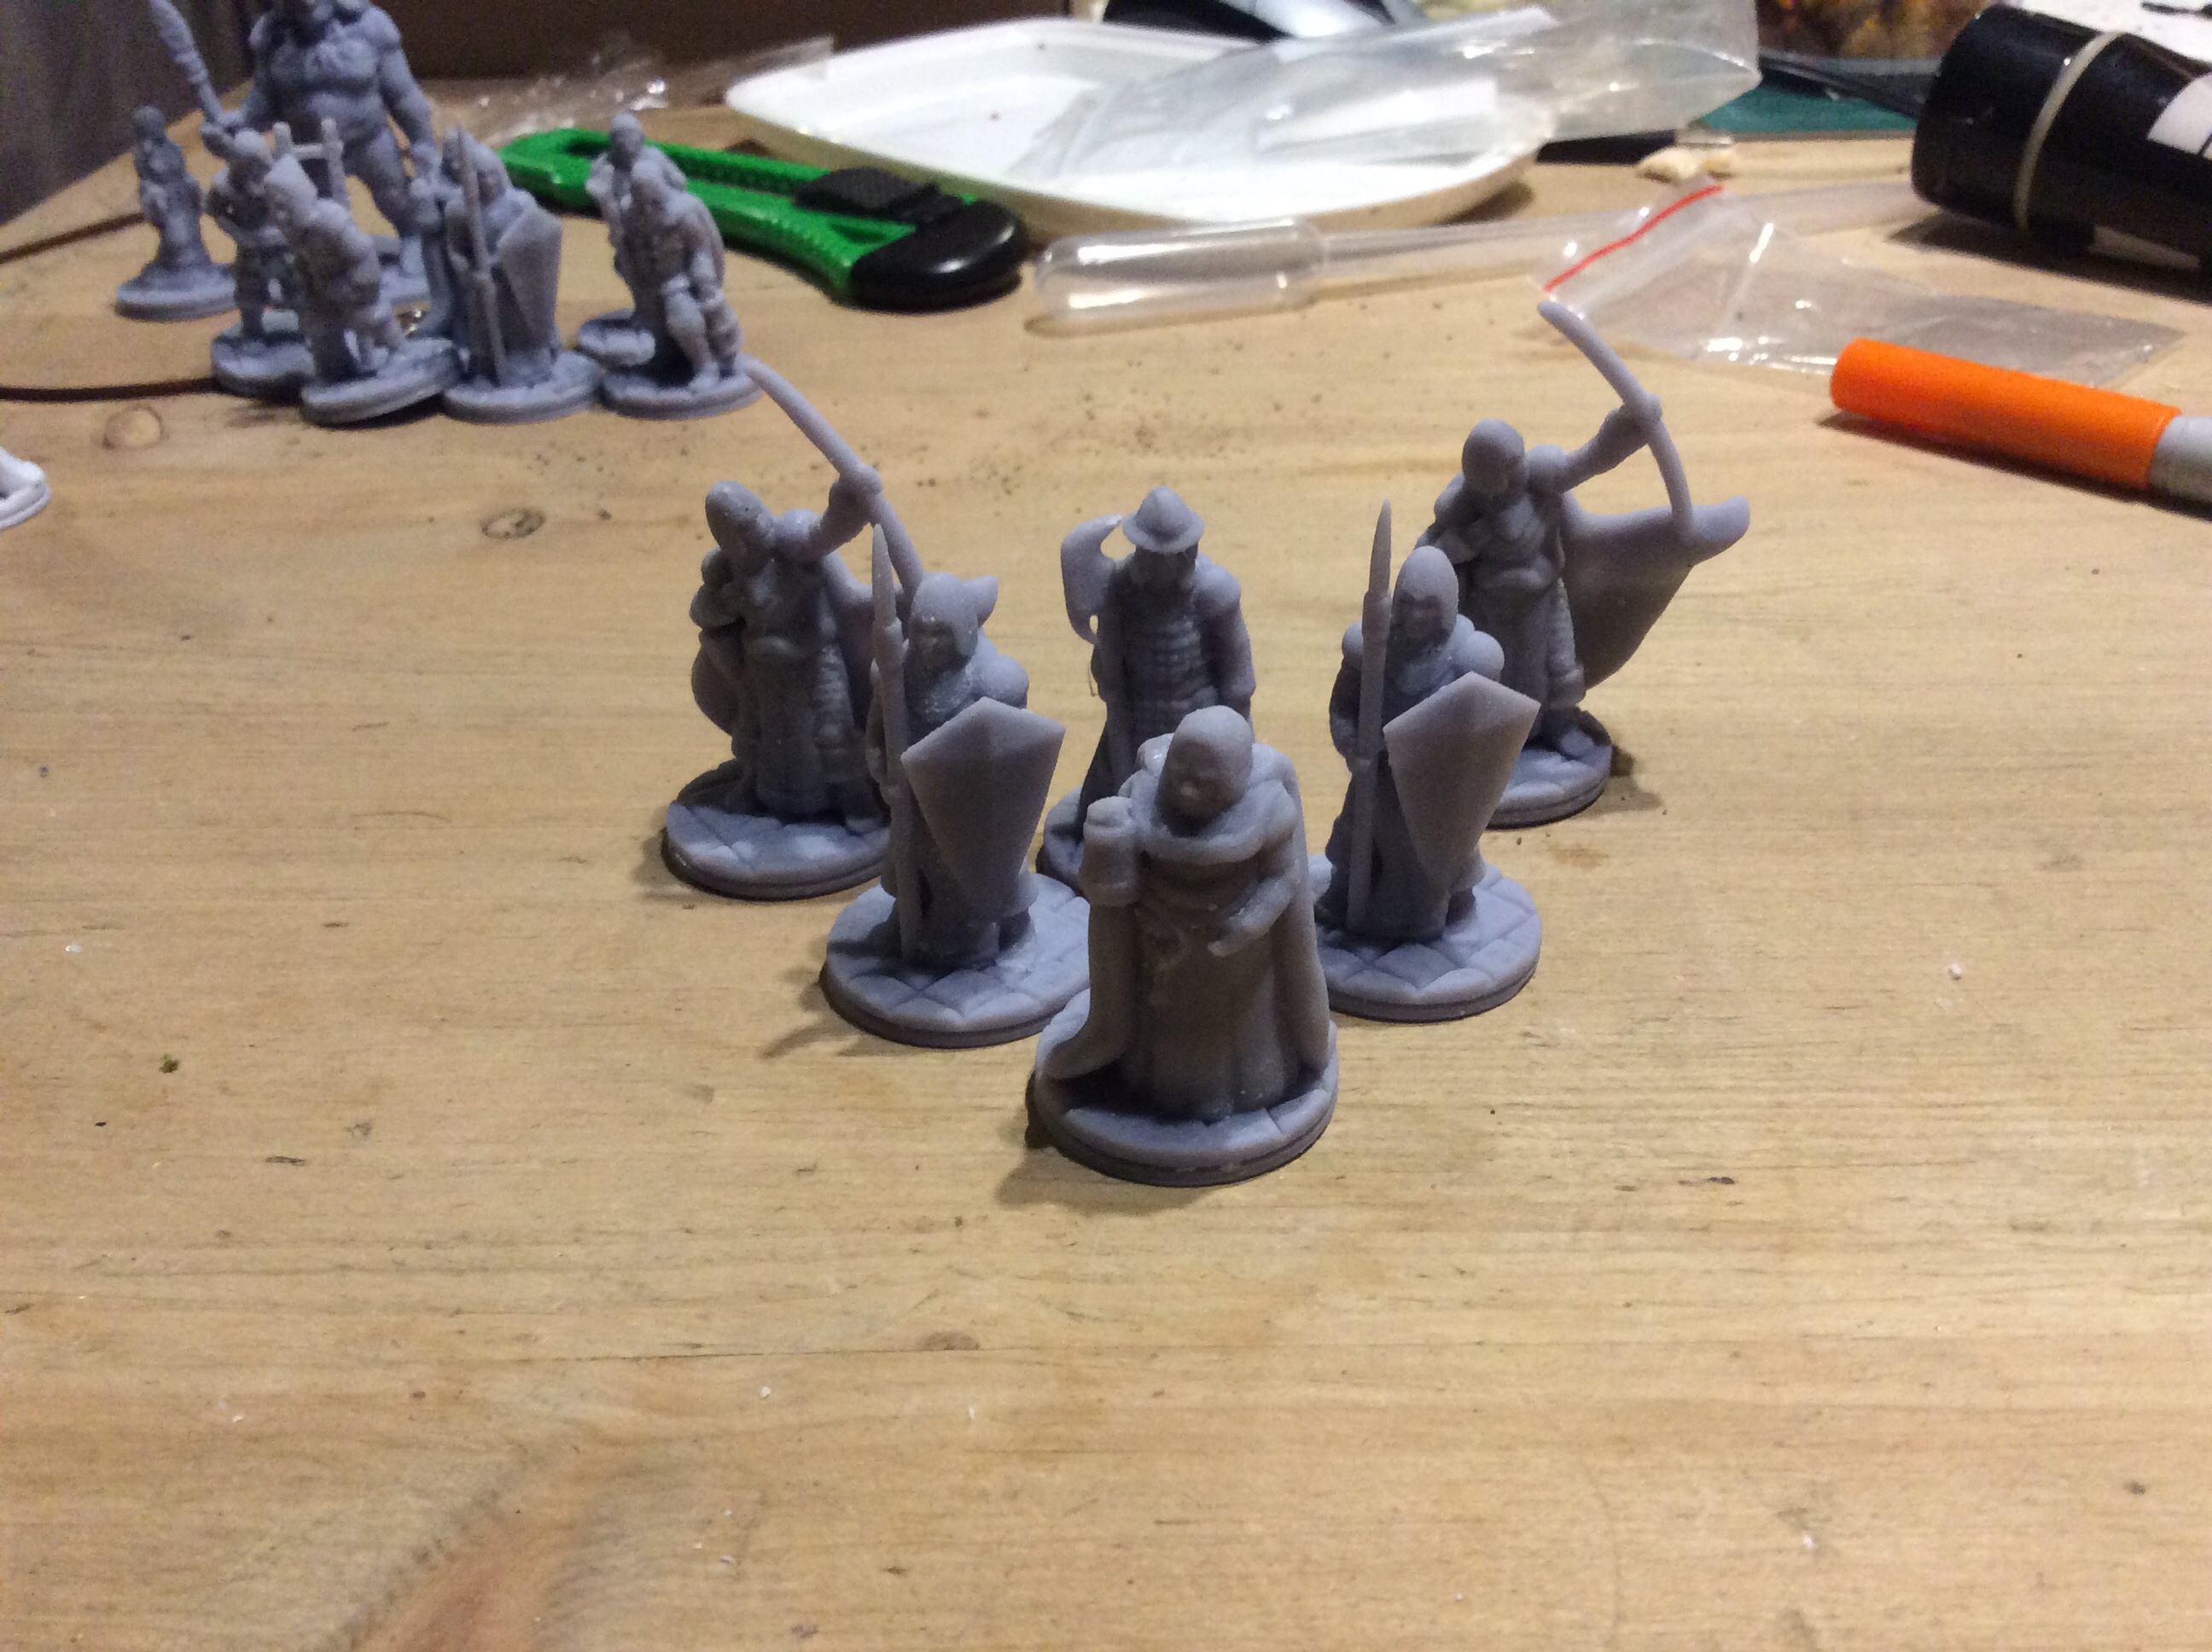
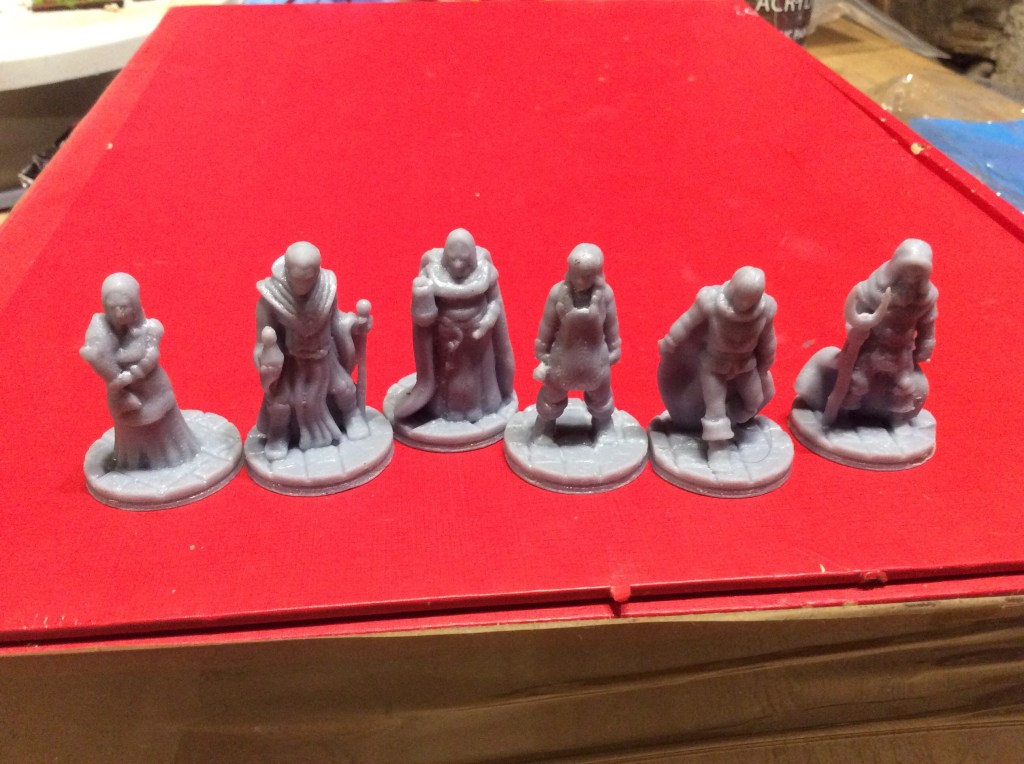
I will get some of the resin stuff painted ASAP and also shove one onto the Ender and see what the difference is when painted up. A bit of a long journey, but I am enjoying it so far 😉.

Further Resin Experimentation

Today I did some more miniatures on the Resin Printer. The one thing I have learned is that I am going to have to up my game in the post printing stage. Although I was trying to avoid the ISO, I think I am going to need it to get rid of a lot more of the liquid resin off the miniatures.

I will do some more testing tomorrow with the meths and see if that will work and if not then I will need to get some more ISO in.

In the first picture we have a merchant, lamp lighter, jailer, spearman, sailor and rat catcher. In the second we have a villager and a troll thingy (brain dead and can’t think of the name) and then we have a mix of spearmint and archers with a lone guard and another jailer. The last lot were done at 10 seconds a layer.

Tomorrow I think I will do an individual figure at different time per layer. It will probably be something small (and faster) and really try to get things clean.

Wish me luck!

My eldest wanted to do some sea creatures today but unfortunately, I had a support failure. It was the first time I had tried supports, so that will be the next thing to master after cleaning things.

The one thing that just struck me as I was about to sign off is that I am still printing at the standard resolution for the printer. I haven’t actually tried higher resolution. Something to ponder the future.

Wearable Dioramas

Today I put my resin fish to good use and made some jewellery.

I had a lot of fish (and a turtle) hence the number of pendants and soon to be pendants..

These were nice and relaxing to do.

Basically a layer of cured resin and then some basing sand, more resin then the fish or whatever with the foliage., more resin then some of the leaves I made ages ago and then topped off with more resin.

My favourite one.

Me doing this caused pretty much the rest of the family to want to do something too. So my youngest is going to do a pond inside a box. My wife and eldest are doing something in a couple of clean jars. So all in all my messing around ended up being a six hour crafting session.

My Ship had Babies

We today, I decided to try one of each of the different ships, there were in fact ten of them. This time I printed them at 50% size. These will come in handy for Poseidon’s warriors.

The one thing I must get the hang of is to clean things better. Some of these are a bit of a mess. I think it will come with practice and knowing where the resin will lurk. It also didn’t help that two of them stuck together.

I decided to take my safety seriously and decided to wear my mask (that arrived this morning)

Maybe a bit over the top, but it works!

Tomorrow I will get the printer running again at ten seconds a layer. Nine is definitely better than eight so I will do another run of miniatures. I will put the jailer in there again so that I have a consistent figure to test the settings on.

I gave the Ender an airing today and it was an absolute sod. Changed the nozzle and also re levelled the bed, and fave the build plate a damn good clean before it would let me print anything.

I ended up with a small samurai village and an individual house in three bits for my 6mm Forces.

I bought these at the same time as the galleys yesterday. The village comes on a circular base, and there are some individual houses too.luckily the Japanese ones are included. I had to shrink the singles by 50%, and I think they will definitely do. This set also came with a samurai castle.

The sets had various houses from Neolithic right they way up to ACW, so I should have a fair bit to play with. Sadly the individual ones came in at only three sets. Samurai, Tudor and Russian.

Resin, am I safe to be let out online?

Today I was having a mooch like you do and ended up getting myself some Ancient Greek trireme (or something similar) I also got some 6mm buildings (which evidently aren’t)

But the boats are nice if a little large. I will drop the size down by half I think (if not by more) as I have Poseidon’s warriors rules, it seemed a good idea…

From what I remember there are ten different boats, I printed three off at this size as the vat still had resin in it.

I also set off to print the third set of townsfolk and somehow ended up printing the second lot again.

The printer also had a moment. For some reason when I put the plate back on and it tried to head down at an angle. Luckily it didn’t puncture the FEP film on the vat, but it had a damn good try.

I also had a moment. I was holding my sieve in a pot so merrily poured 300ml of cleaning water into a 100ml pot… needles to say it didn’t fit. Did I pour it in slowly? Did I bugger! Water everywhere! I also learned an important lesson, when you shove uncured miniatures into a water bath with cured resin in and swish it about then the cured resins merrily sticks to the uncured stuff. Hence the need of a water clean as mentioned above.

Tomorrow I will print off the third set of townsfolk and also see what actual size the building are…

Resin Printing… Day 4

Another day of testing the printer… As I said I would I bumped up the cure time to 9 seconds. and it does look a bit better. The problem is that I printed different miniatures to last time.

So from left to right we have:

  • Male villager
  • Town Guard
  • Female villager
  • Lounging bloke
  • Female villager
  • Lady of ill repute.

I found the reason for my layer shift today… a simple case of user error. If you look at the photo below… you will just about see a nut above the Anycubic logo. The twice I have forgotten to tighten it fully then I got a shift.

You can really see it with the two koi below…

So note to self, I will need to ensure that the nut is tightened. It doesn’t matter really with these supportless miniatures, but when I move onto supports then a layer shift can cause a right pain I would imagine.

One other thing of note with these is that these bases are an absolute sod to get off the plate. For the next lot I am going to put a little gap under the edge of the base to allow a blade to fit in easily.

Resin…Day Three

Today I spent a good while adding bases to miniatures in 3D builder. I found the bases on Thingiverse, but sadly forgot to note down the designers name, I just went and found them as credit, where credit due…

https://www.thingiverse.com/thing:3675552 Designed by ecaroth. I have used some of their stuff before.

So I ended up adding eighteen I’ll Gotten Games miniatures onto the Ecaroth bases and these are the first half dozen.

So here we have:

  • Fishmonger
  • Alchemist
  • Jailer
  • Blacksmith
  • Courtier
  • Farmer

These six took 2hours 48 minutes to print. Now personally I think I should have cleaned them a bit more, but let’s say 3 hours tops plus curing time.

Now with these I dropped the layer curing time from 8 seconds to seven to see if it was over exposing. Next lot I will bump up to 9 seconds and see if there is a difference (the first lot were done on stock settings of 8 seconds per 0.5 layers.

I would have done some more today, but my eldest snaffle the laptop for her Zoom singing thing, so I will resolve at 9 seconds tomorrow.

In terms of resin usage, they came in at around 30 grams, so hardly anything at all. I checked the resin and actually I bought plant based, which was what I was originally going to get. This states it can be washed in soapy water.

Tomorrow I will carry on with my first steps…. someday I am going to have to add supports 😱.

Resin People and the Undead

My next rock group name … Resin People and the Undead.

So today, after my successful first print I decided to have a go at some miniatures. These are some of the Ill Gotten Games Townsfolke.

As I said I would, I went and washed some in ISO and some in meths. I printed a single mini too which I washed in soapy water.

So what do they look like?

The details are quite soft on the faces, I think that this is under exposure as the print cures. I will need to dial things in a bit and re test.

But anyway, the ones on the left were washed in ISO and the ones on the right in meths. Not to be honest I can’t tell the difference at first glance. They were all put outside in the sun and left for a few hours then taken inside and put under the lamp.

As mentioned I also printed another milk maid and this time washed her in soapy water. Once washed I coated it in washing up lights and rubbed it in, then rinsed off and threw it under the lamp (it was dark by time she was ready).

This is where things got interesting….

The one on the left is the one done in water and the other is the one done with ISO. Now they are definitely different colours under the light. One has just gone under the light the other has been outside and then spent a few hours under the lamp.it will be interesting to see if they both end up the same colour this time tomorrow. The others look dark as they were out of the direct light source.

Disco Milk maids

I also managed to get my Undead up to the basing level. Hopefully tomorrow I will get them done and onto the next thing.

It Works!

We seem to have a successful print! Huzzah!!! I have got it under the UV light (hence the blue tint).

So what have I learned from this print.

  • First, remember to take bog roll into the shed with you as things need cleaning.
  • Second, get a bigger tub for the ISO, it is a great size for cleaning the model, but not the plate.
  • Third, get a small jug or a plastic funnel as the resin bottle neck is smaller than the filter supplied.
  • Fourth, liquid resin goes everywhere, especially when the filter doesn’t fit the bottle.
  • Fifth, get a silicone mat to help cover the work top. Newspaper will work but will go through. (Luckily I had an A3 plastic folder handy).

Am I happy, yes I am. Got a bit of a headache with the various fumes, so will need to invest in a proper respirator.

Tomorrow I will print the milk maids. The awesome thing is… 6 of them will take the same amount of time to print as one.

Right I am off to bed, good night one and all, well I am off to bed in about 15 minutes, I need to turn off the UV light.

Busy, Busy, Undead and Resin

Today has been a busy one, but I managed to get some painting done as well as working with resin with the kids.

I got the undead a bit further forward as well as finishing the ogres and the cart and draft oxen (I just need to find the wagons now).

I also found my 6mm Arabs from WW1. They are painted so I just need to do the Turks and I am laughing 😉.

The kids made some more resin pieces, but I also bit the bullet and got a start on unboxing the printer…

Guess what is in here?

Levelling with paper… I can do that.

To level it you place a piece of paper on the base, and click a button. The printer plate moves down and when it is right down one simply tightens the four silver bolts d voila… press another button to tell it that it is zeroed in and that’s it… ready to print.

All it together and ready to go… I put the square against it so you can see the rough size of it.

I had to print the test cube as I actually couldn’t work out how to slice the bits I wanted to print. Sadly you will have to wait until tomorrow before seeing what it looks like. I am pretty impressed so far as I could never have done it on the Ender3.

Like the Ender it tells me the print time and the amount of material used. I evidently put way too much resin in the holder. Luckily I can reuse the stuff that doesn’t cure. I can run it through a fine sieve and then put it back into the bottle.

This is the start of a very large learning curve as this thing can make hollow prints to save on resin, these hollow prints need plug holes adding to allow the interior liquid resin to escape.

Now I bought grey resin as it seemed a good idea at the time, however having done a bit more research (aka watching YouTube) it is suggested that clear resins might be better as it allows the UV light to pass through the object and cure it faster.

I have got myself a couple of pots, one with ISO in and the other with meths. Again watching YouTube people who can’t get ISO easily were using meths to clean the prints before curing. Tomorrow I will print a couple of Milk maids off and give each a go in the different liquids. I have seen some people use hot water too, so perhaps that will be a third one to test.

Print comes off the plate in 20 minutes or so, so wish me luck!