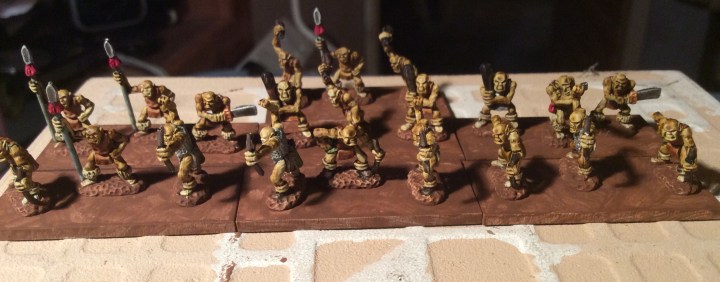
Nasty Orkses all Finished

Tonight I decided to get these done and out of the way.

They need some kind of basing material on them but the proof if colour concept seems to work and I am happy with them. Once I get the Samurai done, I will get some more if these.

Apologies for the naff photo.

Popped in to see my mate today and he seemed a bit better than yesterday, still struggling with vocabulary, but looking better in himself.. other good news.. my wife got a tax rebate as she had paid too much plus, the insurance came back with an acceptable value for the wrecked car…phew!

Nasty Orkses

Today I decided on a change of scale and genre…

I had based up a few 10mm orks from Pendraken and gave them a white bSe coat then set to work on them. I dithered about colour.. standard ork green or a More Tolkien style of colour… so I gave them both a try…

As you can probably guess by the photo above, the swarthy Tolkien version won.

so a quick spray later they are ready for their proper colour…

I got a bit of a scary phone call today, my mate had been admitted into hospital, he had gone in feeling crap and whilst there had a stroke. He has had a couple of minor ones of late and had been put on medication for diabetes. He thought the meds were making him feel poorly so went in to check…

He was able to talk to me to some extent, but has lost a lot of vocabulary.

Scary thing is, is that he is in his late forties.

Thule Gamers Open Day

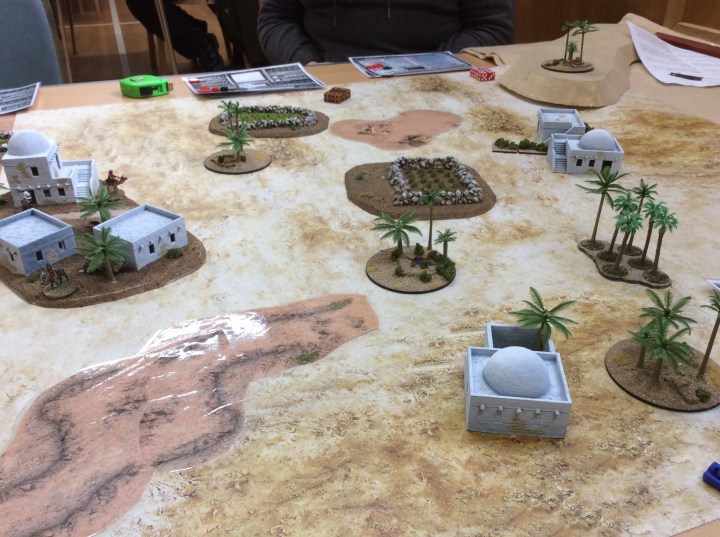
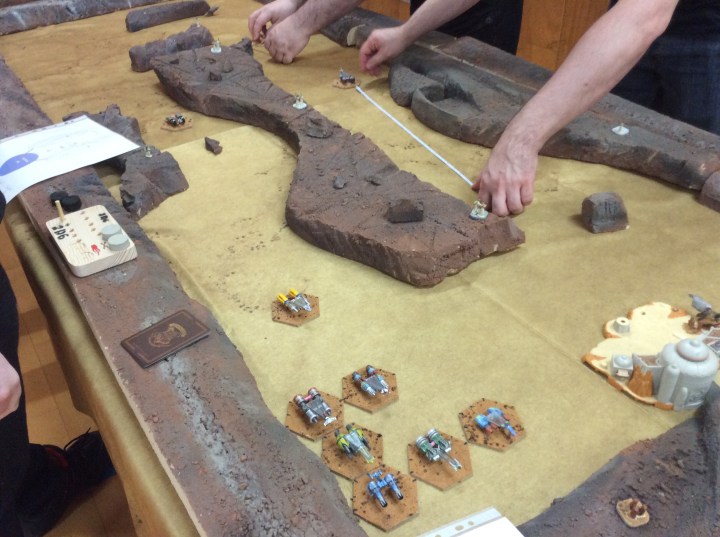
Well that is it over with for another year… the action with the tanks quite often place at very close range. Below we see part of the table set up

Anyway I got possed every game of the three I played.

In two cases I was destroyed on the first hit!

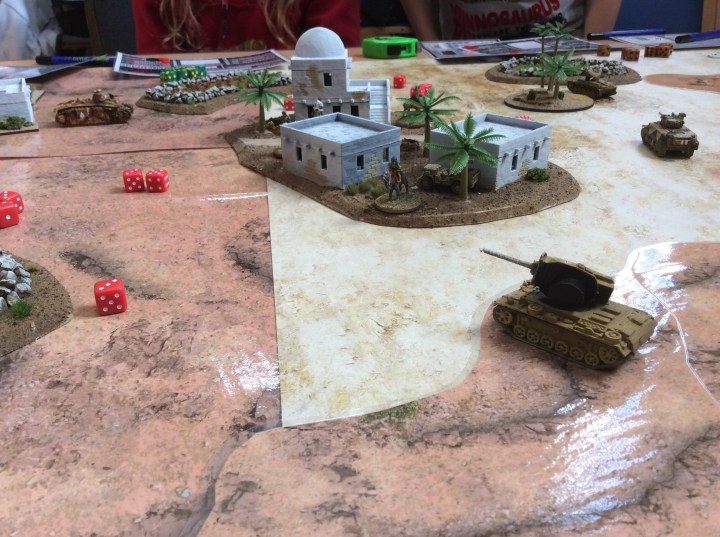
The Char B above finished off my MKIII then turned its attention on my MKII. If it had survived the honey was waiting to finish it off.

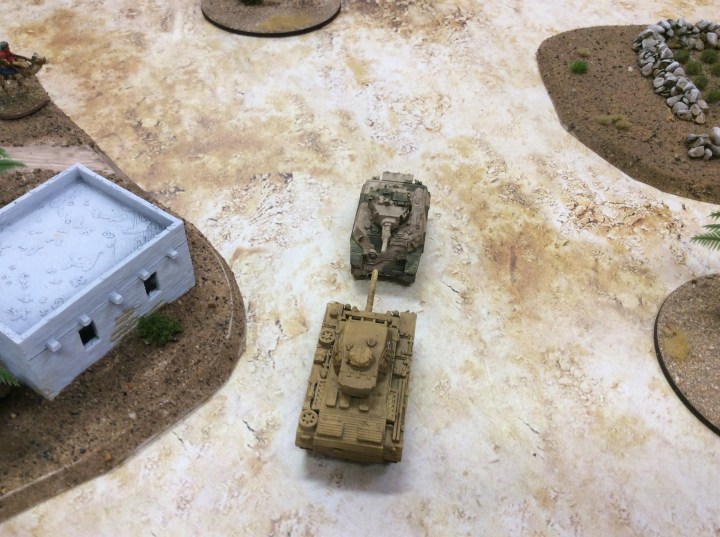
Things got up close and personal between these two, with the MKIII eventually coming off worse.

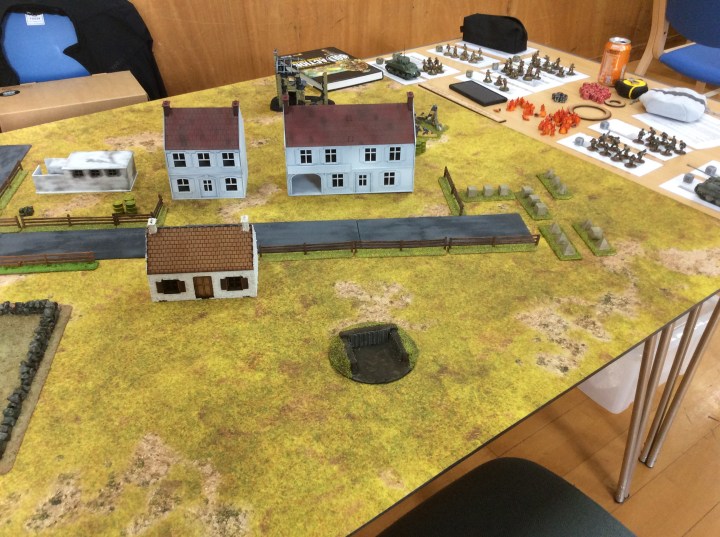
Other games were Bolt action…

Some Pod Racing action…

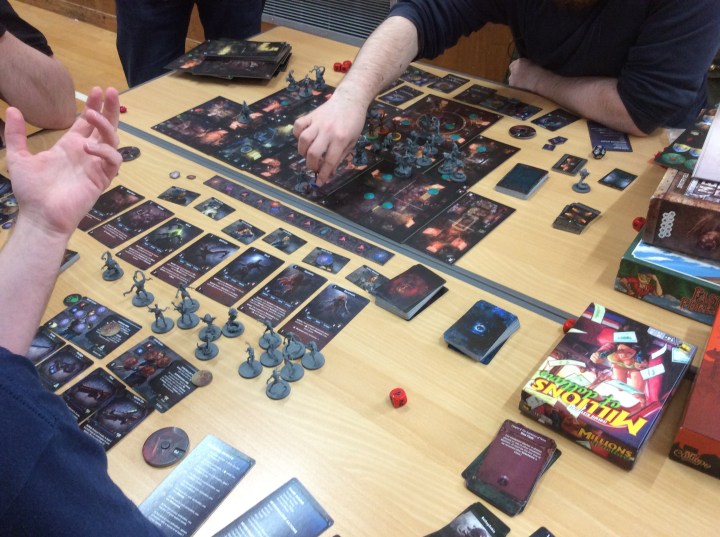
Some board games…

And some Magic the Gathering card games which I didn’t bother photographing.

We also had a ZTV game that never got off the ground as the organiser of that was also our meet and greeter.

It was a bit disappointing in terms of numbers, last year we must have had fifty plus people attending. This year was ten. Two of them were my children. In hindsight the middle weekend of the October half term (we get two up here) probably wasn’t the best, but for three weeks before we had the fiddle and accordion week with wool week (which sort of stretched to two) before that. The next few weekends are Halloween parties with our venue being booked out again. We decided there is no right time As whenever we choose is going to clash with something going on.

On the up side we met eight potential members for the club. Everyone was impressed by the 3D printed stuff and general terrain, Personally I was a bit miffed with the lack of consistent mat arrangements 😱.

Well now that I have finished painting tanks and making terrain I thought I had better paint something else…

Therefore I decided to paint some orks.

These are 10mm Pendraken. It is all I have of these, but I will give them a test paint and if I like them then I will get an army pack to fight my elves.

One More Sleep…

Well that is it, all the preparation for tomorrow’s convention are almost done.

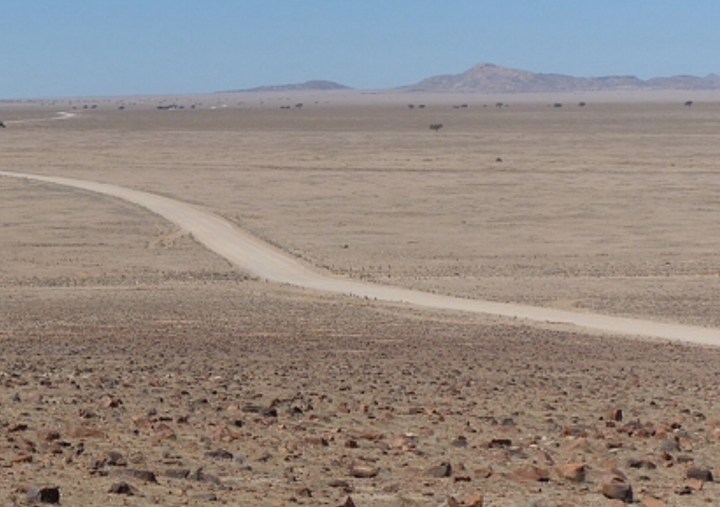
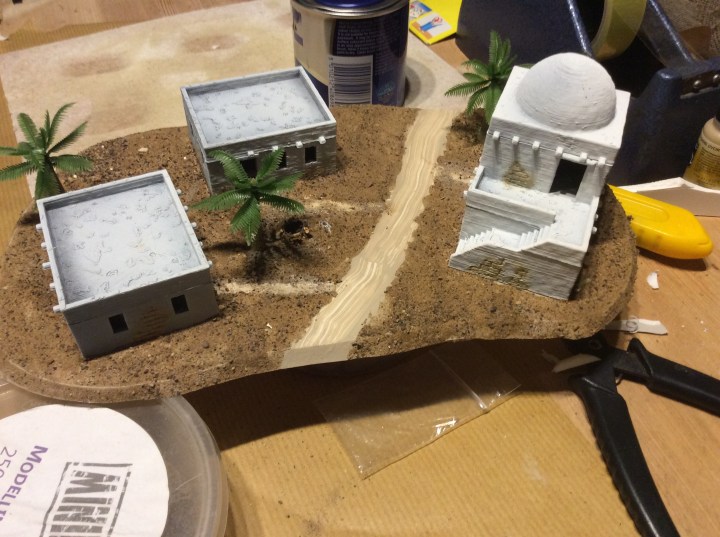
I almost forgot to put the wash on the road, but luckily remembered in time, it has darkened down nicely, but is still light enough to be seen as a road. I found photos that showed really light roads amongst darker desert and this is what I was aiming for.

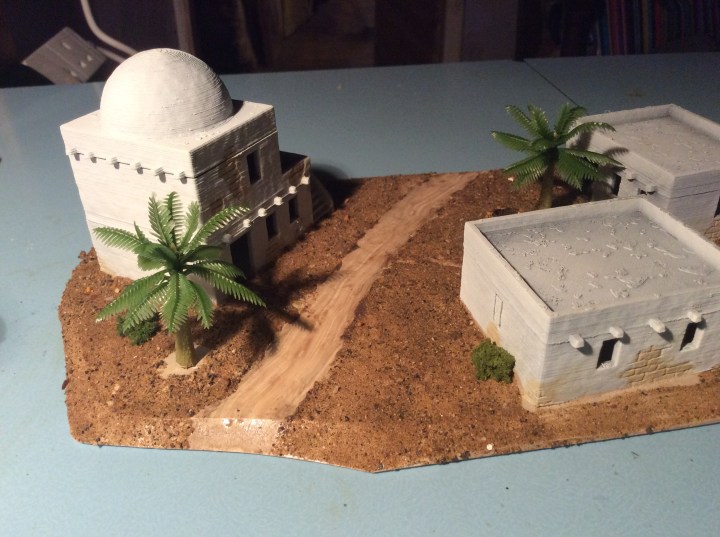
So here is the finished village…

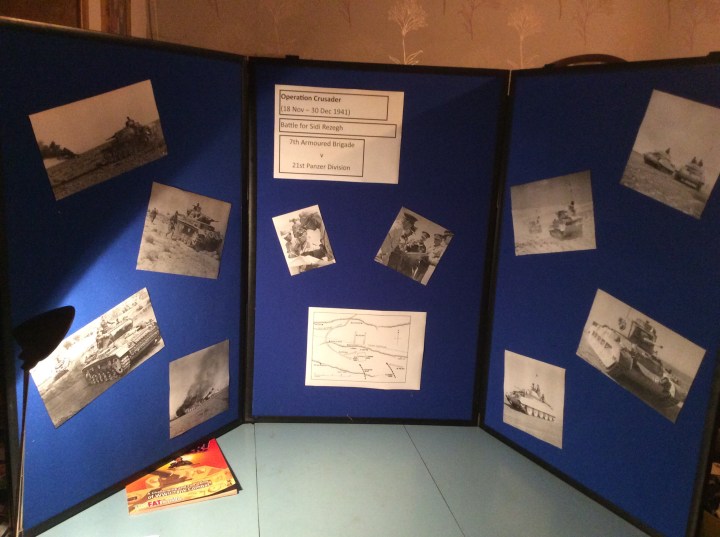
I also got my display boards done too…

Regarding the firing rules, I have come up with a change that I think will work. Under twelve inches needs a 5 plus to hit, twelve to twenty four inches needs the 6. Up to thirty six is the 7 then beyond that is an 8 on 2D6. To aid with this I have a piece of dowel 36 inches long, this has been coloured in sections to aid distances for firing. There will be photos of it in action tomorrow.

From what I recall, there are the following:

Rapid Fire,

Zombies

Pod Racing

MTG

My Tanker game

There may be more too.

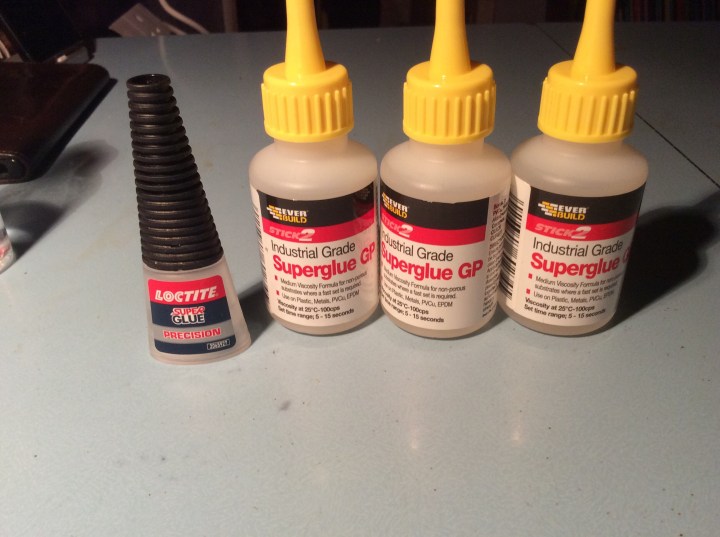
Whilst I remember, I go through bucket loads of superglue sticking things to bases etc. I decided that enough was enough with the 5g pots (sometimes 3G).

On the left 5g of superglue for £3.95 …. on the right 150ml of superglue for £7 posted.

I reckon it should keep me going for a while.

Tomorrow I shall regale you all with tales of our little convention 🙂

Walls with added Agriculture

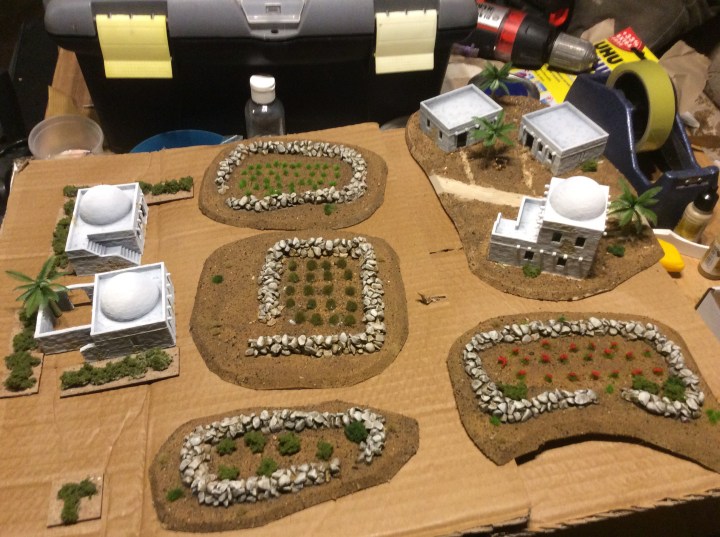
Today everything got a second spray with watered down PVA. Once it was dry I added some vegetation of sorts.

I pretty much looked through my tufts to see what might be useful. Don’t ask me what anything is meant to be as I never got round to googling crops in the desert, well okay I just have…

 Crops grown in the desert include watermelons, apples, green onions, cucumbers, corn, hot peppers, melons, bell peppers, radishes, carrots, cabbage, soybeans, pears, tomatoes, squash and spinach.

 Many farmers raise alfalfa as feed for their animals. It uses four times as much water as wheat. But wheat is also wasteful because so much of the plant ends up as straw.

So now I know!

Anyway everything is pretty much ready for Saturday.

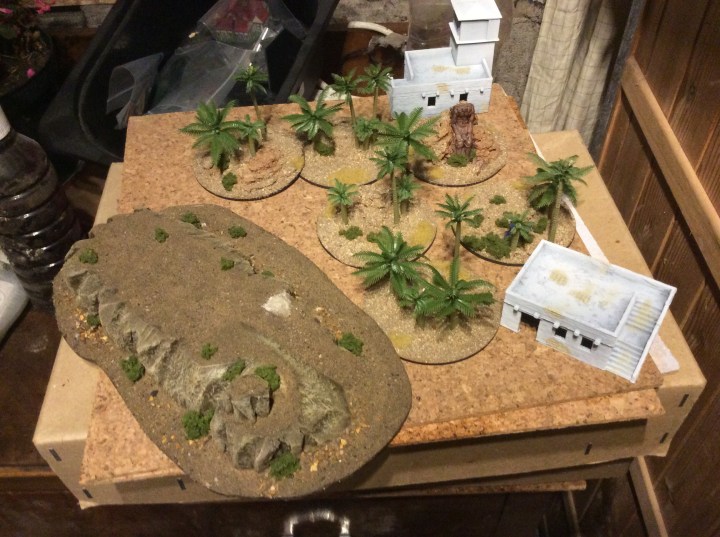
I hunted out my palm trees…

The one conundrum I now have is distances.

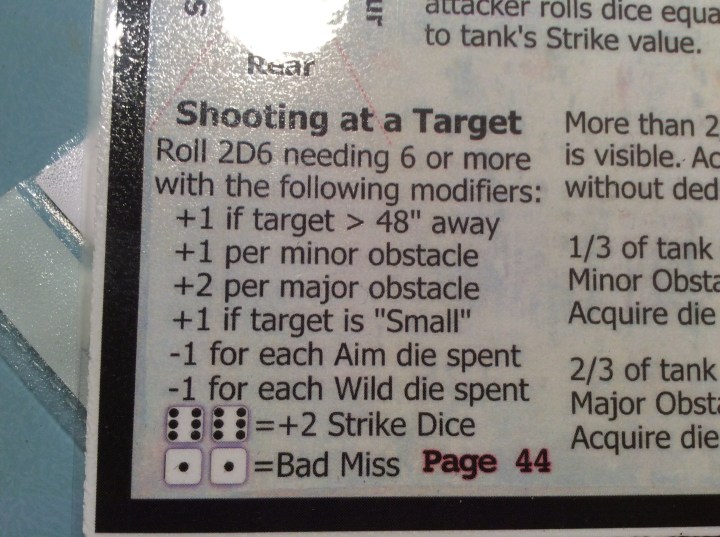
A player rolls 2D6 and has to get higher than six for ranges up to 48 inches and needs a seven beyond…Now do I half everything as I am playing 15mm. Therefore gun range becomes 24 inches for the six and over 24 becomes the seven. I would keep the movement distances of 2D6 the same.

I think this would work as although range has reduced, it means crews fire at a more effective range. As can be seen below there is no reductions for range apart from the 48 inches.

Therefore 24 inches will work just as well… I hope… I don’t want to go down the inches into centimetres route and thought this would make it easier.

What do people think?.

Walls, a Village and some Camels

Tonight I got some watered down PVA onto the fields, below you can see it pooling…

I also managed to get sand onto the village, I intend to darken the road a bit, probably with a wash…

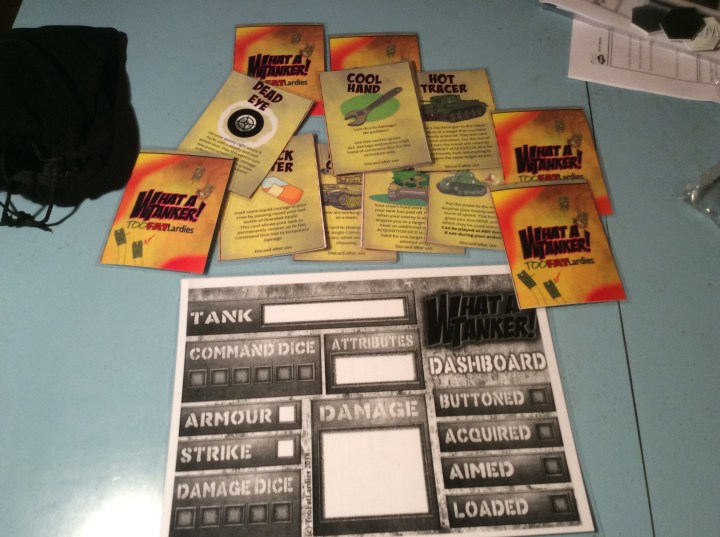
I also printed out the cards and records sheets and laminated both…

I now have enough of everything for six players using tokens or eight players using dry wipe pens.

I also found some camel riders from my Sudan wars games, although my armies are in 10mm I have a mini game involving 15mm miniatures. This idea is found in the Science Versus Pluck rules. If things go horribly wrong then each officer has a miniature and needs to fight a skirmish game to see whether they make it or not.

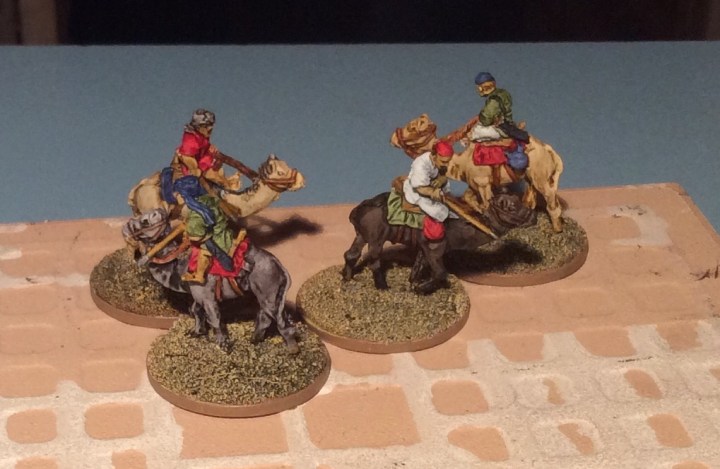
Anyway here are my Peter Pig Ansar that I painted this evening. Well I felt that I needed some camels as the game is taking part in the desert 😂. Sadly I couldn’t find my 15mm sheep and goats that would have graced the table.

For speed, once again, these were done in Contrast paint.

Tomorrow I will add vegetation to the fields and spray the PVA mix onto the village.

I had a look at my ga I got mat today and suddenly realised that it was a lot smaller than I thought it was. I have a sand coloured piece of felt that is bigger. I will also put a shout out to the club and see if anyone has anything bigger. If not then I will go with what I have.

Walls, Conundrums and a Christmas Card idea

Well tonight I got some more work done on the walls, they were dry brushed lots and then sand was put on the bases.
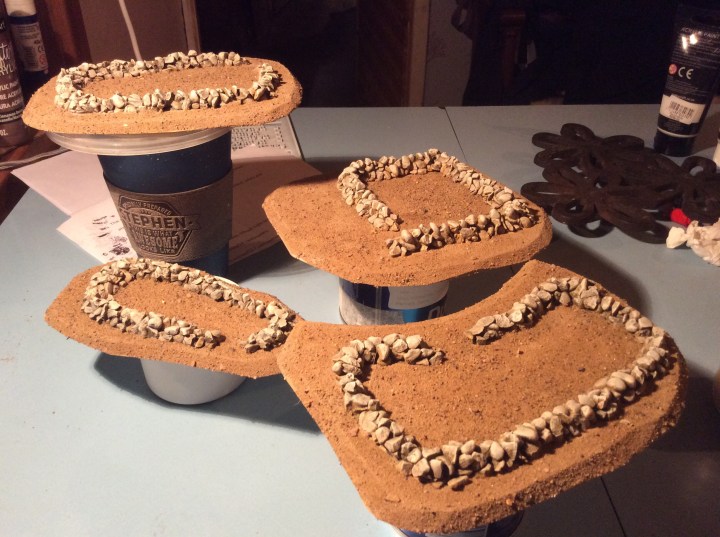
These will get some colour variations added then will get a spray with watered down PVA… oh and then I will get some vegetation on there too,.

The following is going to be my Bethlehem scene with Mary, Joseph and ickle wickle baby Jesus…
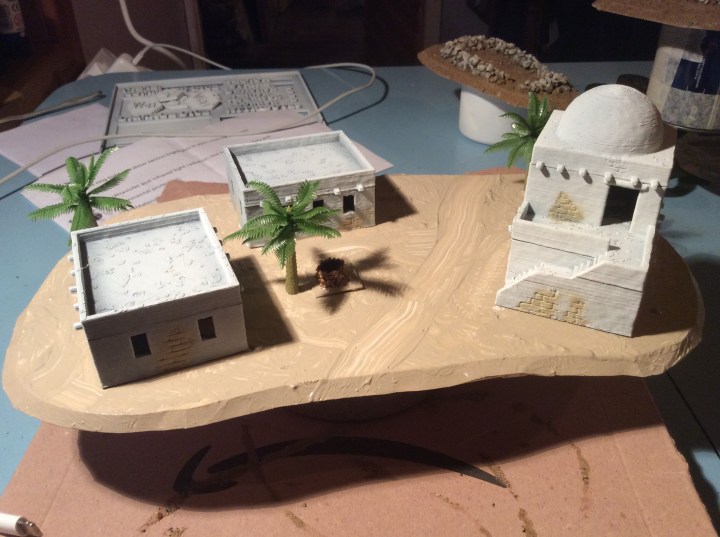
Still the sand to add, the well is just about visible under the shade of the palm tree.

Sadly I don’t have any 15mm middle eastern civilians, plenty of 10’s but no 15’s.

So onto the conundrum…. drum roll please…..

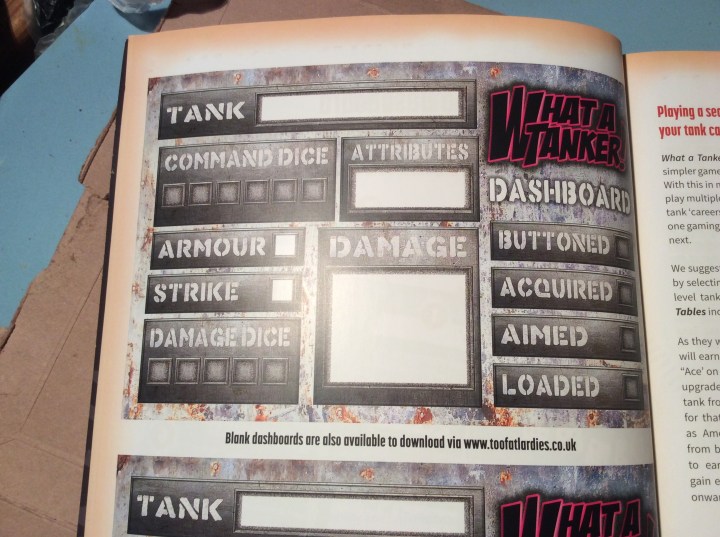
WaT requires a board to mark everything on, whether a tank is loaded, acquired etc. As I said yesterday I was going to print off the Thingiverse one and here it is…
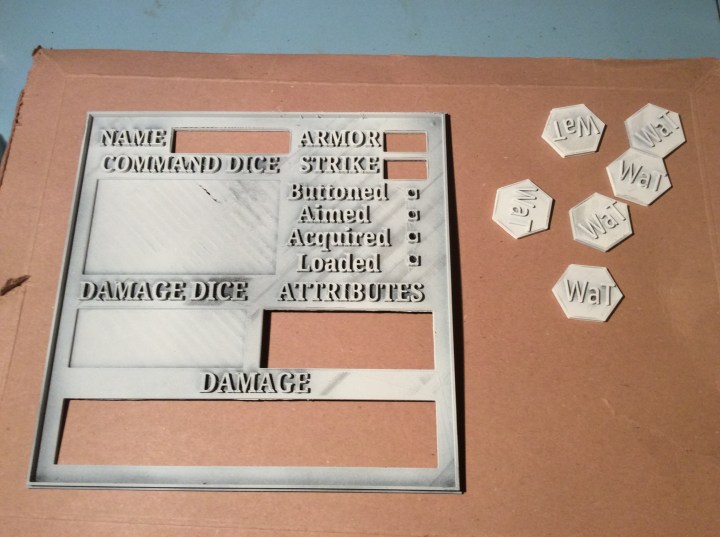
The hexagonal tokens are the universal tool that shows how far a turret can turn for each appropriate dice. 60 degrees rotation per successful dice. Now Cura, the slicing software, gave a time of 5 hrs 30 minutes to print, it was actually closer to seven. My new roll of PLA hasn’t arrived yet and I reckon I can probably get another one out of the remainder of this roll. This type needs a plasticised sheet behind it so it can have things written on it in the blank boxes, which is again more work.

Option 2 is to simply print out the ones from the book and cover them with the laminator…
Option 3 is to basically use what I have already
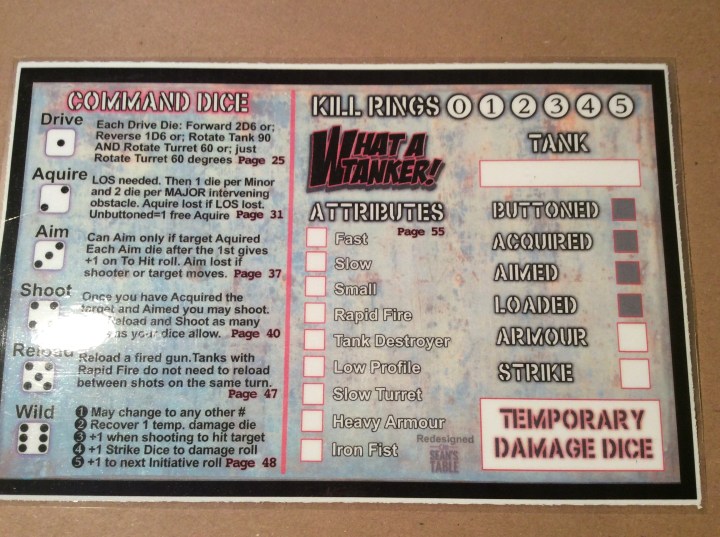
The problem with this last option is that I made them double sided…
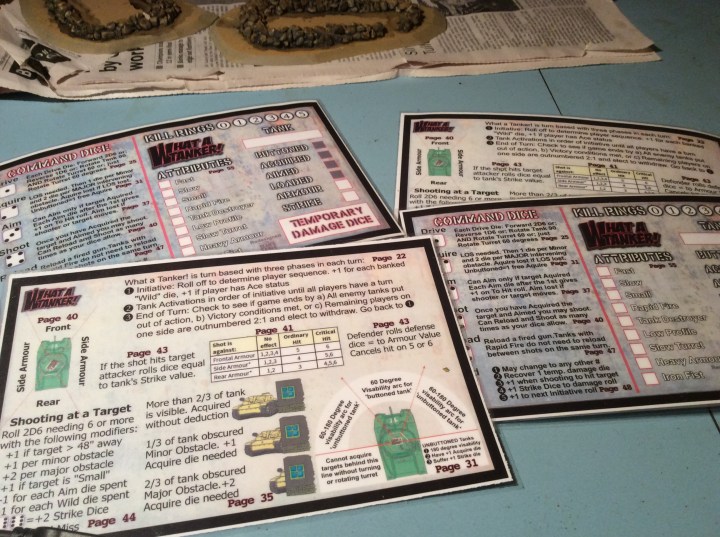
The only issue would be making sure things didn’t get wiped off and having somewhere for the temporary damage dice to go…

To be honest for ease, I will probably go for option two or three. I also just remembered that I need to make a crib sheet for all of the different attributes.

Today I had to go and get all of my crap out of the crashed car. It did look a bit broken, however when I was there I noticed this…
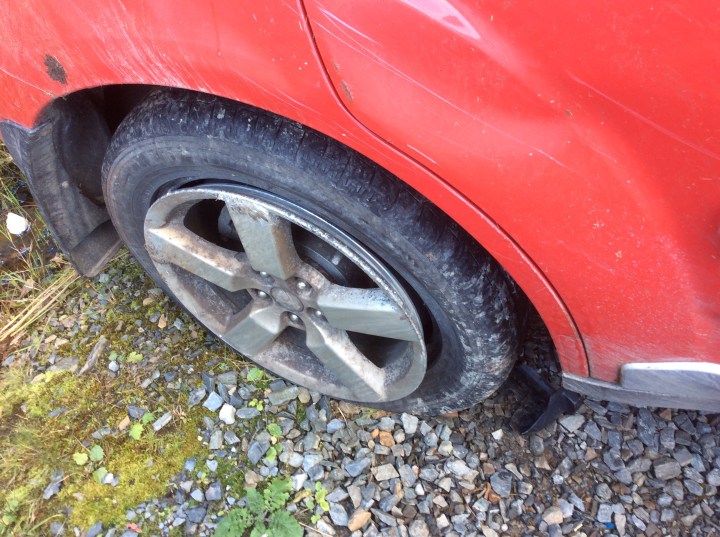
All of the other tyres were inflated and this one has run on its metal rim. It looks like it had a blow out on the back driver side. Either way the car is totally buggered.

Tomorrow I will carry on with the village, hunt out the palm tree bases and generally crack on with things.
Walls, Cheat Sheets, Photos and a Well

Today has been, what can best be described as, bitty.

The walls were nice and dry so I gave them an undercoat of grey primer, only to find I still had enough desert yellow in the can, so they got a blast with that too when the grey had dried.

Once the undercoat had cured, I gave the walls a wash with home made sepia wash with a home made black wash over the top of that.

Once the wash has dried, I will get going with some dry brushing.

When that is done it will get some vegetation added. This will be a mix of green and desert yellowish colours. The green will be used as crops etc on the inside of the walls as these areas would be watered.

The small well for the village can be seen in the middle of the walls.

The other thing I managed to do was make some support materials for the game…

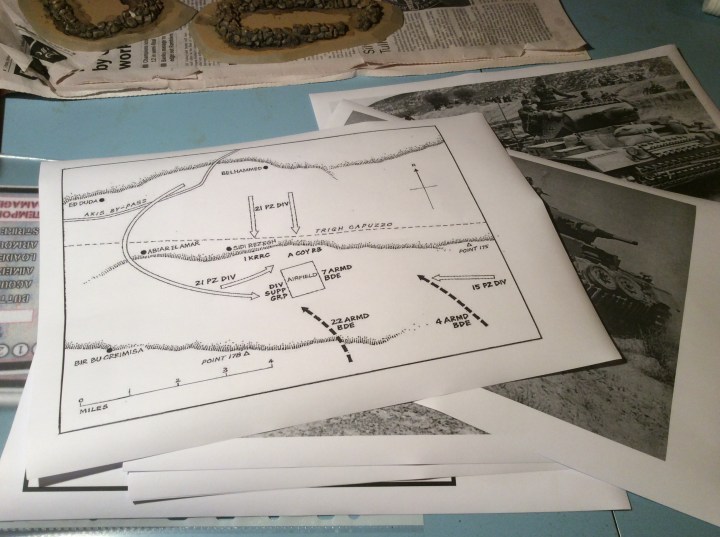
Firstly I printed off a simple map for the Battle of Sidi Rezegh which took place in late 1941. I also added a pile of photos showing various axis and allied tanks in operation Crusader.

The other thing I wanted to do was a cheat sheet for the gamers and lo and behold I came across these.

This has certainly saved me a shit load of work… so a big thank you goes to:

https://onseanstable.com/2018/06/08/what-a-tanker-full-metal-dashboards/

He (I reckon he is called Sean) added PDF’s to the page, which means I can get it sorted super quickly. His had metal in between the paper to make them magnetic. I am going to print dashboards out on the 3D printer. Each one will take over 5 and a half hours each. I am kicking of with them tomorrow. Tonight I am printing off the WaT Universal tool. I am printing off six, these are taking me a couple of hours to do (in total thankfully). They still have an hour to go so no photos until tomorrow 😉. Hopefully you can keep your excitement in check until tomorrow evening. 😁

Desert Walls

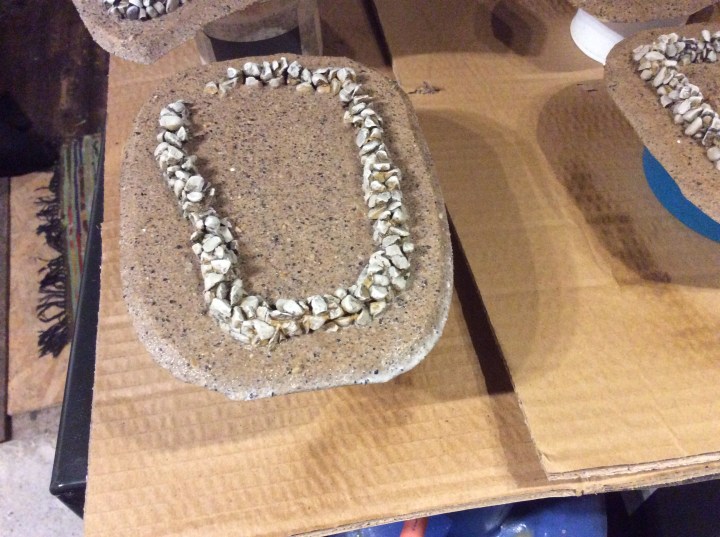
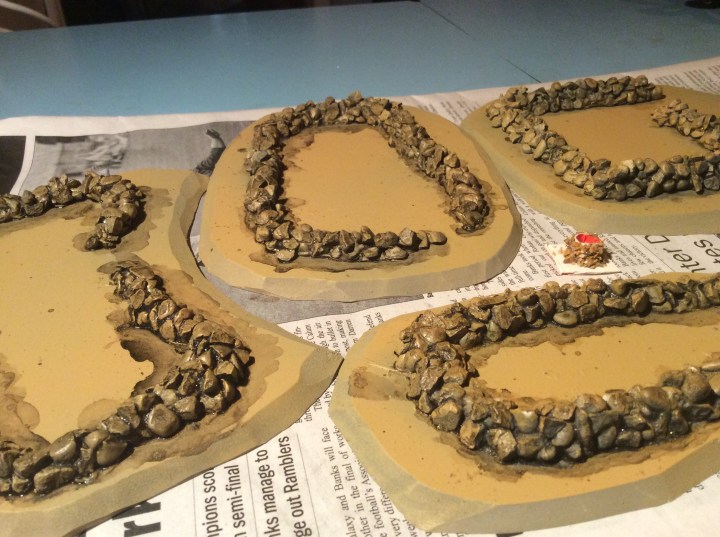
Well tonight I managed to get another three wall bases done. I say bases, but in reality I may just leave them as they are.

This lot were a lot messier than the last one as I mixed tile grout, Wood glue and brown paint together.

Needless to say I dropped things in it, put my elbow in it and generally made a bloody mess.

I reckon I am going to leave it with these 4. I also have the houses (some will be based together), I have hills and I have palm groves. There needs to be enough terrain to make it interesting but not so much that it is like street fighting.

Tomorrow I will get a well built or printed and then get some houses stuck onto their base. I printed lots of spare walls so hopefully I can make things interesting.

Today, as I mentioned yesterday, I managed an actual game. I got to play Star Saga, for those that don’t know, it is a Sci Fi dungeon crawl (or should that be spaceship crawl). It was quiet enjoyable. Four of us basically ran around lots, shooting anything that moved and somehow, against mounting odds managed to win, by escaping the level. It was funny seeing the same miniatures I used for my Mobile Infantry being painted differently and used in their intended game. Much fun was had by all.

The other thing I got today were the Ninja from Battle Valour Games. I am rather chuffed that scale wise they are pretty damn close. Aesthetically different in appearance, but aren’t the teeny tiny miniatures I was worried they might be.

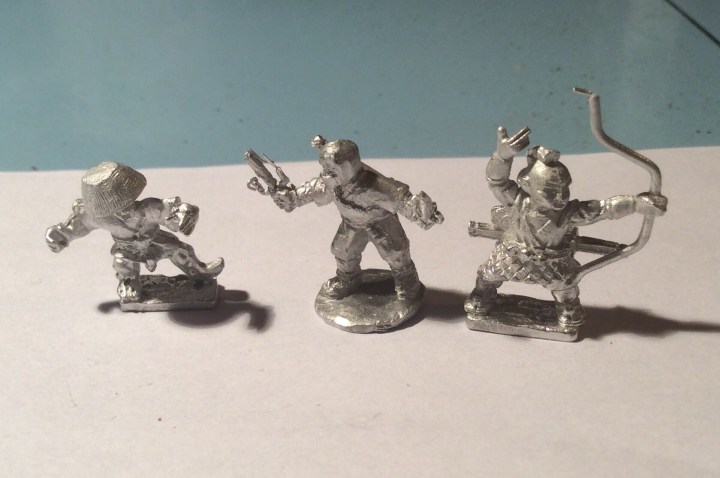
Above we have a TS peasant, a BVG ninja and then a TS archer. They will certainly do the job. In this case the TS minis have a whole lot more detail, but a ninja, in a typical ninja suit doesn’t exactly have a whole lot of detail to have. On the up side, they are all unique poses, armed with ‘typical’ ninja weapons and equipment. The only archetypal weapon missing is a throwing star.

These are not as cheap as the Tin Soldier ones. £2.75 for eight miniatures with TS, the Ninja came in at £4 for six minis. This is certainly not a criticism, merely a statement of fact. The BVG sets, have civilians as well as ONI and also undead warriors which are very tempting. The other thing is they come with the sashimono and don’t need to purchase them separately.

Although I am technically on my hols I am going to go into work to do some paperwork 😱. I need to make sure everything is up to scratch before the kids go back in a couple of weeks.

I shall Carry on with preparations when I return tomorrow evening (or afternoon if I lose the will to live).

DAK… Further Progress

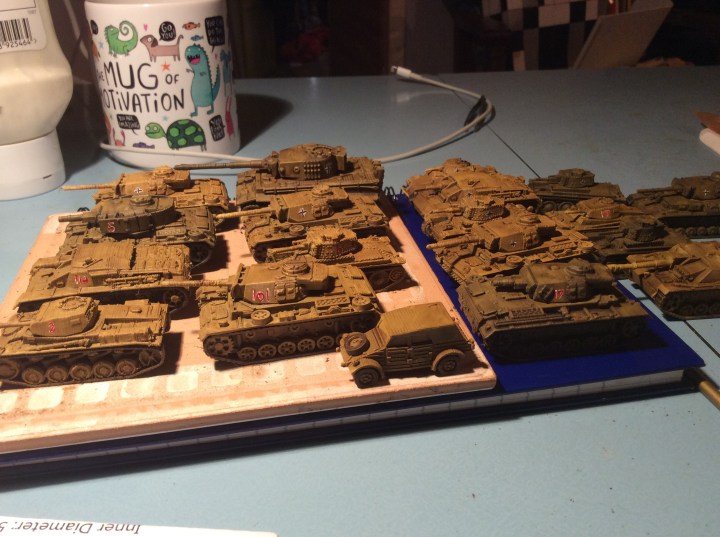
So tonight I painted numbers and crosses on the AFV’s…

I managed to paint the numbers in white without problems, but then had total hand wobbles going over things with a super fine Sharpie. No matter, they are almost done. Still tools etc to paint, but otherwise I am leaving them as is.

Believe it or not, the army painter wash ‘glued’ the turrets in position and it took a lot of force to budge them. I actually thought that one of the 38T’s wasn’t going to move at all.

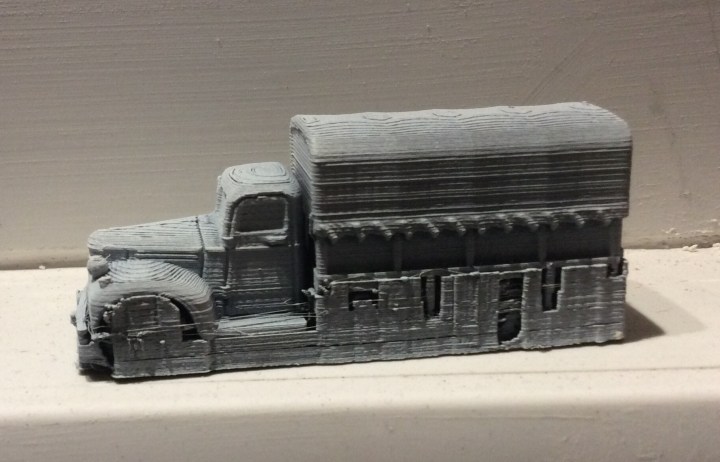
I also printed a dodge truck, this time I sprayed it with support still in place, just so you can see how they come off the print plate…

I really do need to get the top layers sorted out. I can increase the top layers in Cura and really should experiment a bit more. I could also sand it as well… so lots of experiments need to be had.

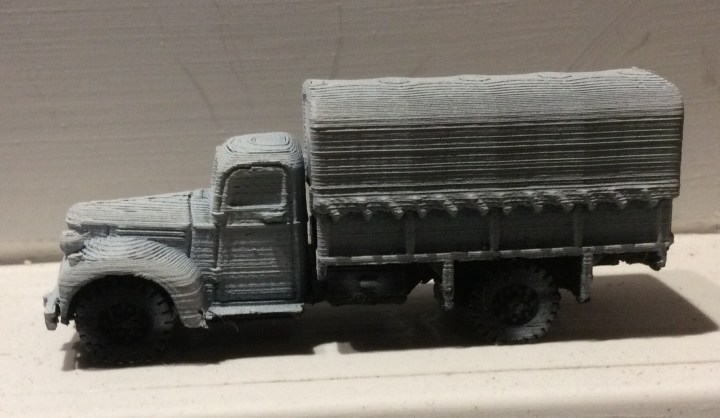
This is how it looks with the supports removed…

This was printed on its wheels so it needed support the full length of it. I could have printed it on its rear, but it would still need support in various places. On the wheels means that most of the support is underneath where it can’t really be seen.

As the kilogram of black filament is nearing the end then I ordered another roll, this time I went for a light grey, should make photographing things a bit easier.

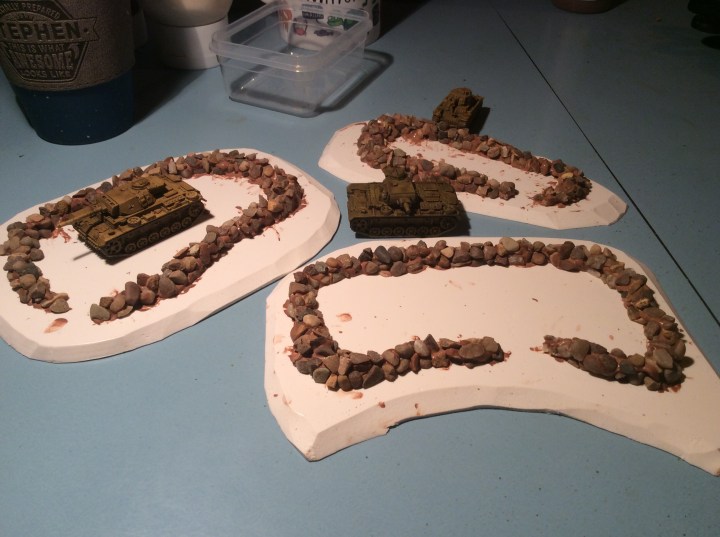
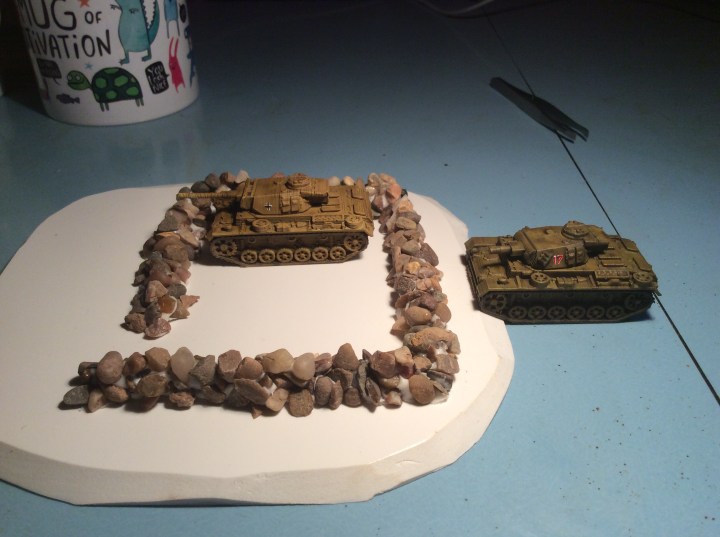
The other thing I managed today was to increase the height of my wall…

I pushed it to the back of the base, this means that tanks on the tabletop have a hull down appearance. The one inside the wall doesn’t have as much cover. Which are dealt with in the rules.

My one major criticism with the wall is that the boulders are massive. Now to be fair my rockery is made up of similar sized boulders, and indeed, when I was laying my broadband cable there were some rocks that the digger couldn’t shift. Scale size I do have some pebbles that would look about the right size but they would be an absolute sod to stack up.

Tomorrow I intend to paint the equipment on the tanks, then if fine get some varnish onto everything

I am, shock horror, going to the wargames club again… two weeks running (must nearly be a record). I will also be getting new toys as I bought a pack of the Battle Valour Ninja to see how they fit in with the Tin Soldier ones… fingers crossed .🤞