Big Beasty…Colour Test

I actually ended up coming home earlier as our geese had gone wandering down the stream and were about 600m from where they should be.

This mission involved piling along there in the 4 wheel drive as it has leather seats and can get closer down the track to where they were. After a bit of a false start we got them both.
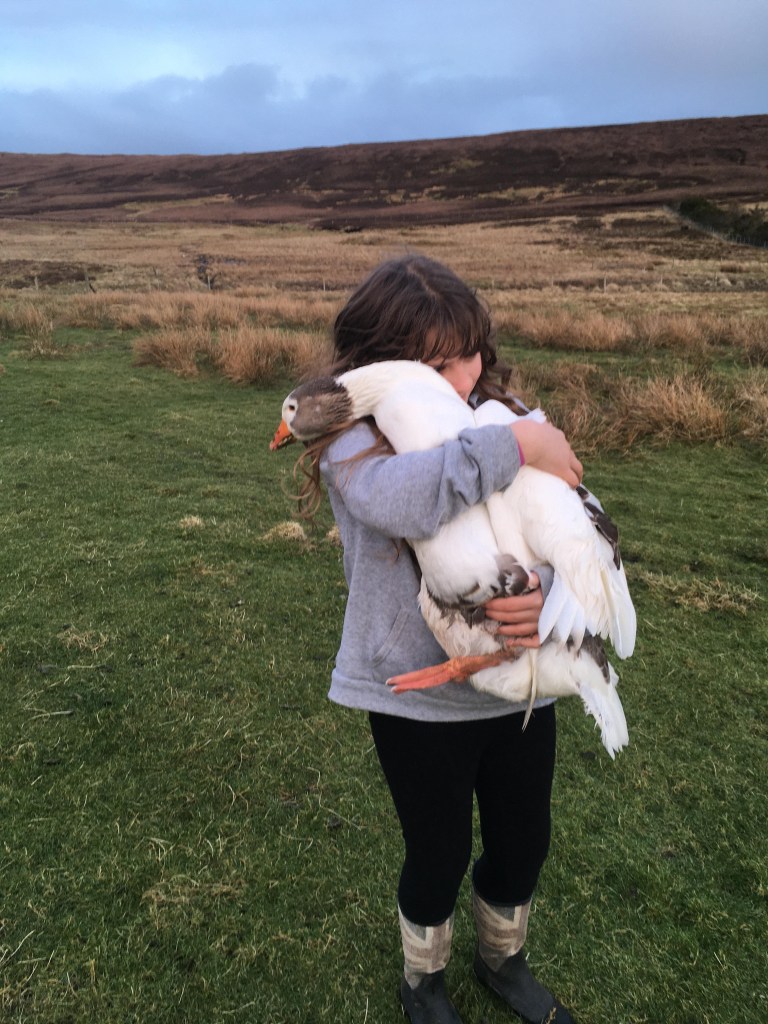
On the way to the car…

My wife and daughter had one each in the vehicle. We were nearly home when the gander stuck his head next to my ear and honked extremely loudly.

A second or two before the honk of doom!

we were nearly home when the poohnami hit! You wouldn’t believe how much crap can fit in a pair of geese.

They are now back where they should be, I can hear them honking in the darkness.

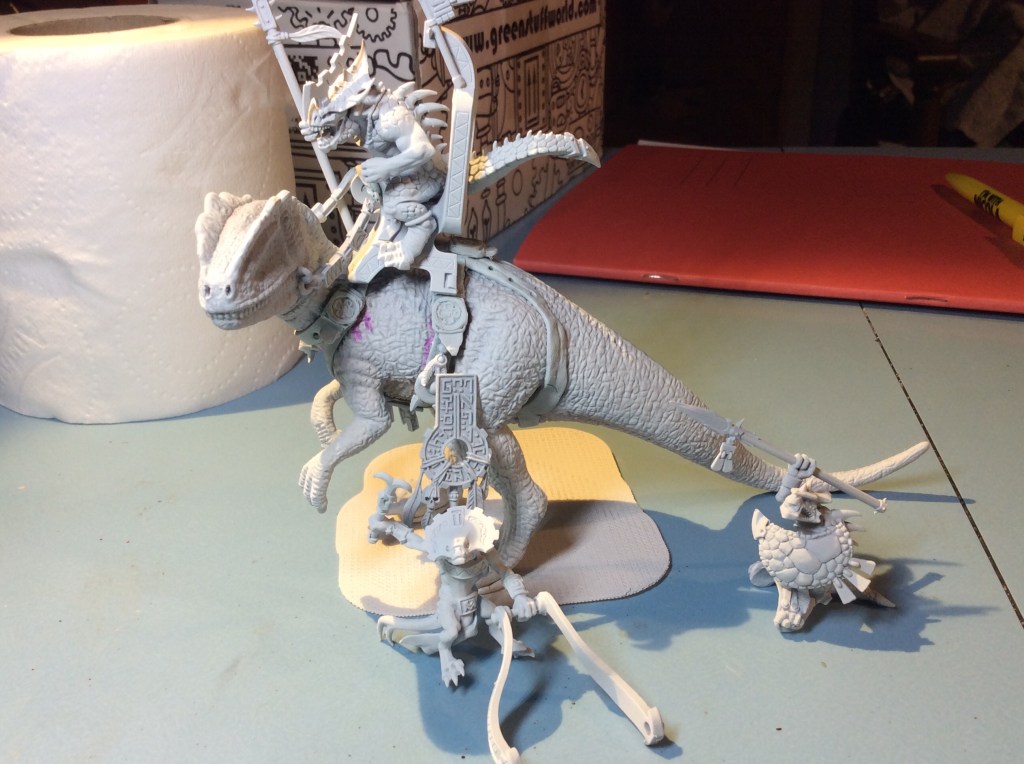
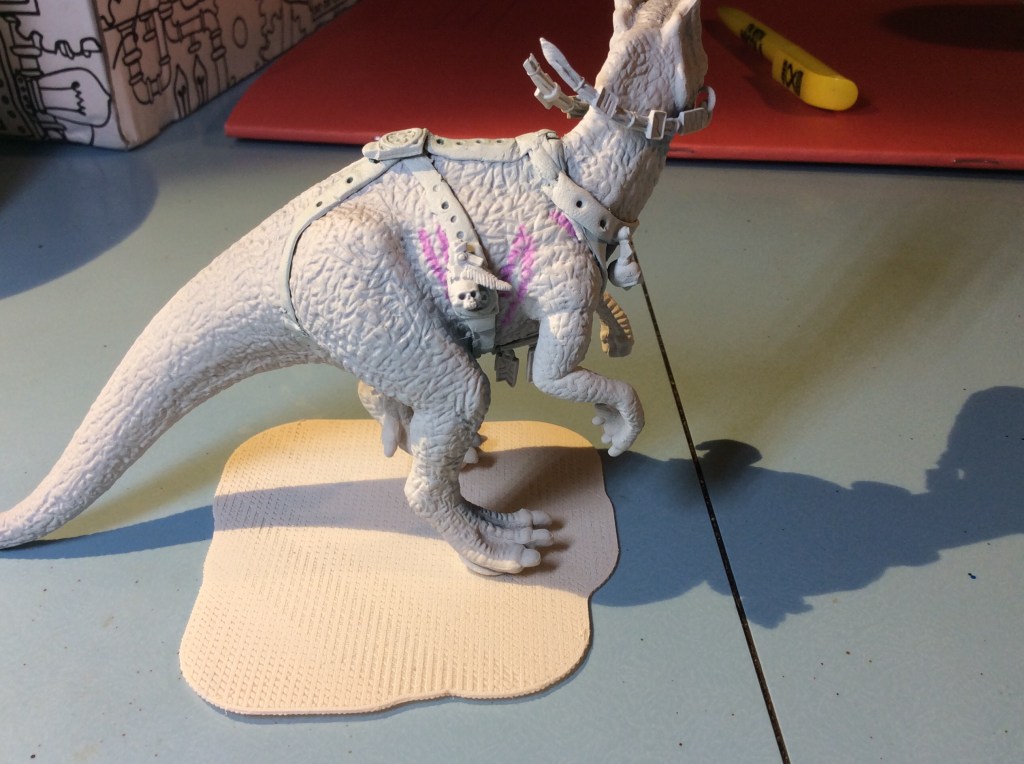
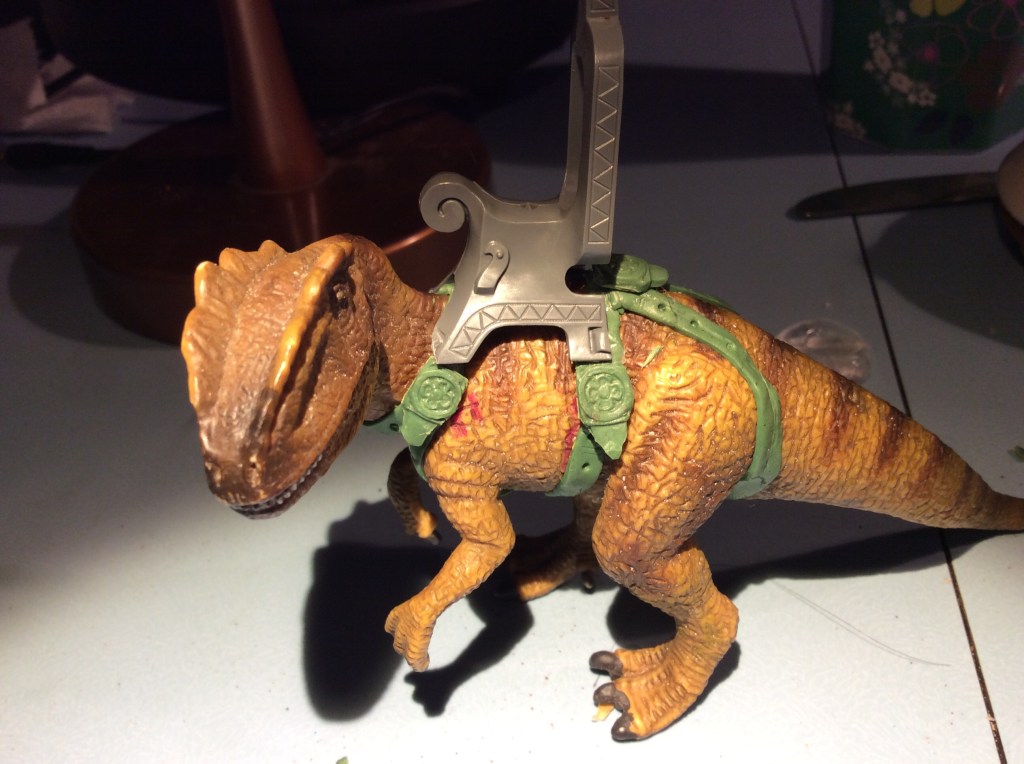
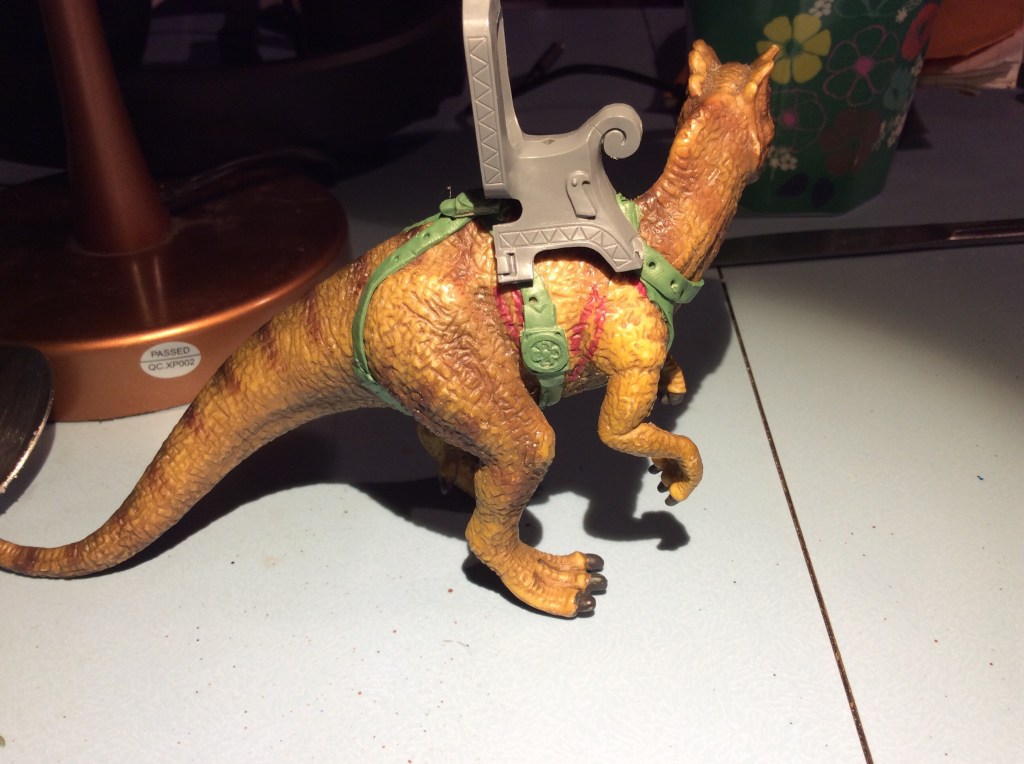
So tonight I decided to think about the colours of the big Beasty. I had decided on a yellow underside and was thinking blue or purple when I inadvertently picked up ‘Terradon Turquoise’. I thought what the heck, and gave it a go. I am really pleased that I did as I really like it.

I will consider what colour to do the eye crests as well as the face flash.

Next thing I have to do is to either print a base, make one out of EPVC or get Martin of Dragon Frog Games (https://www.dragonfroggames.co.uk/) to print me one. Luckily we game together at the club so there won’t be postage costs 😉.
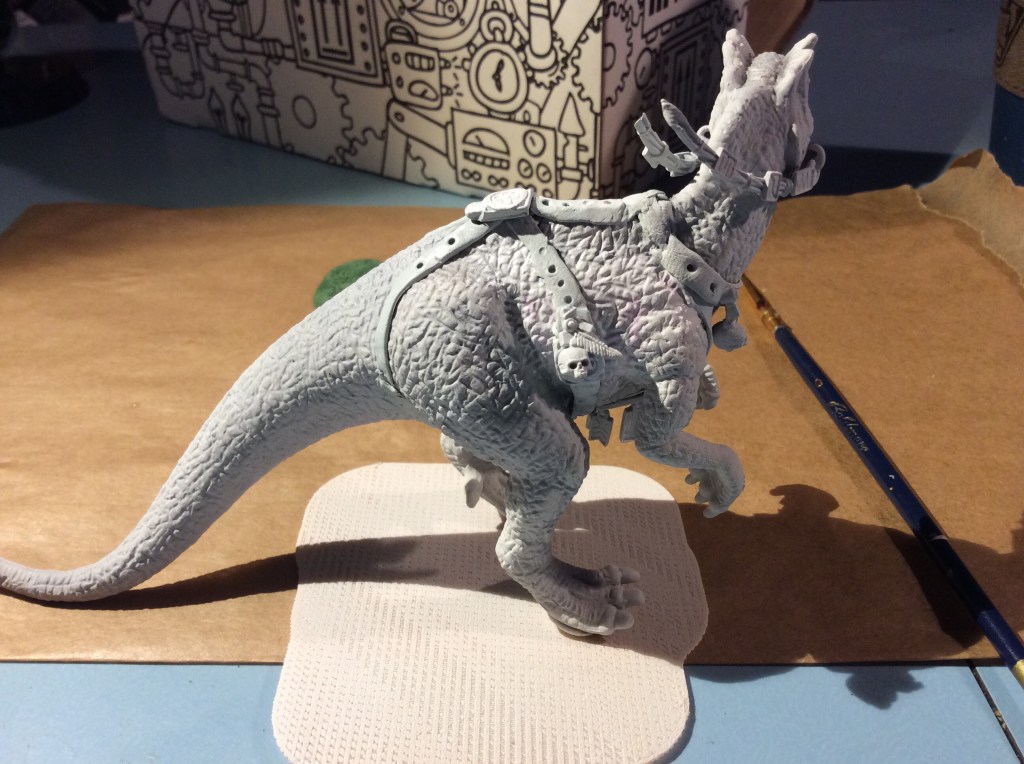
Roller… out for a spin

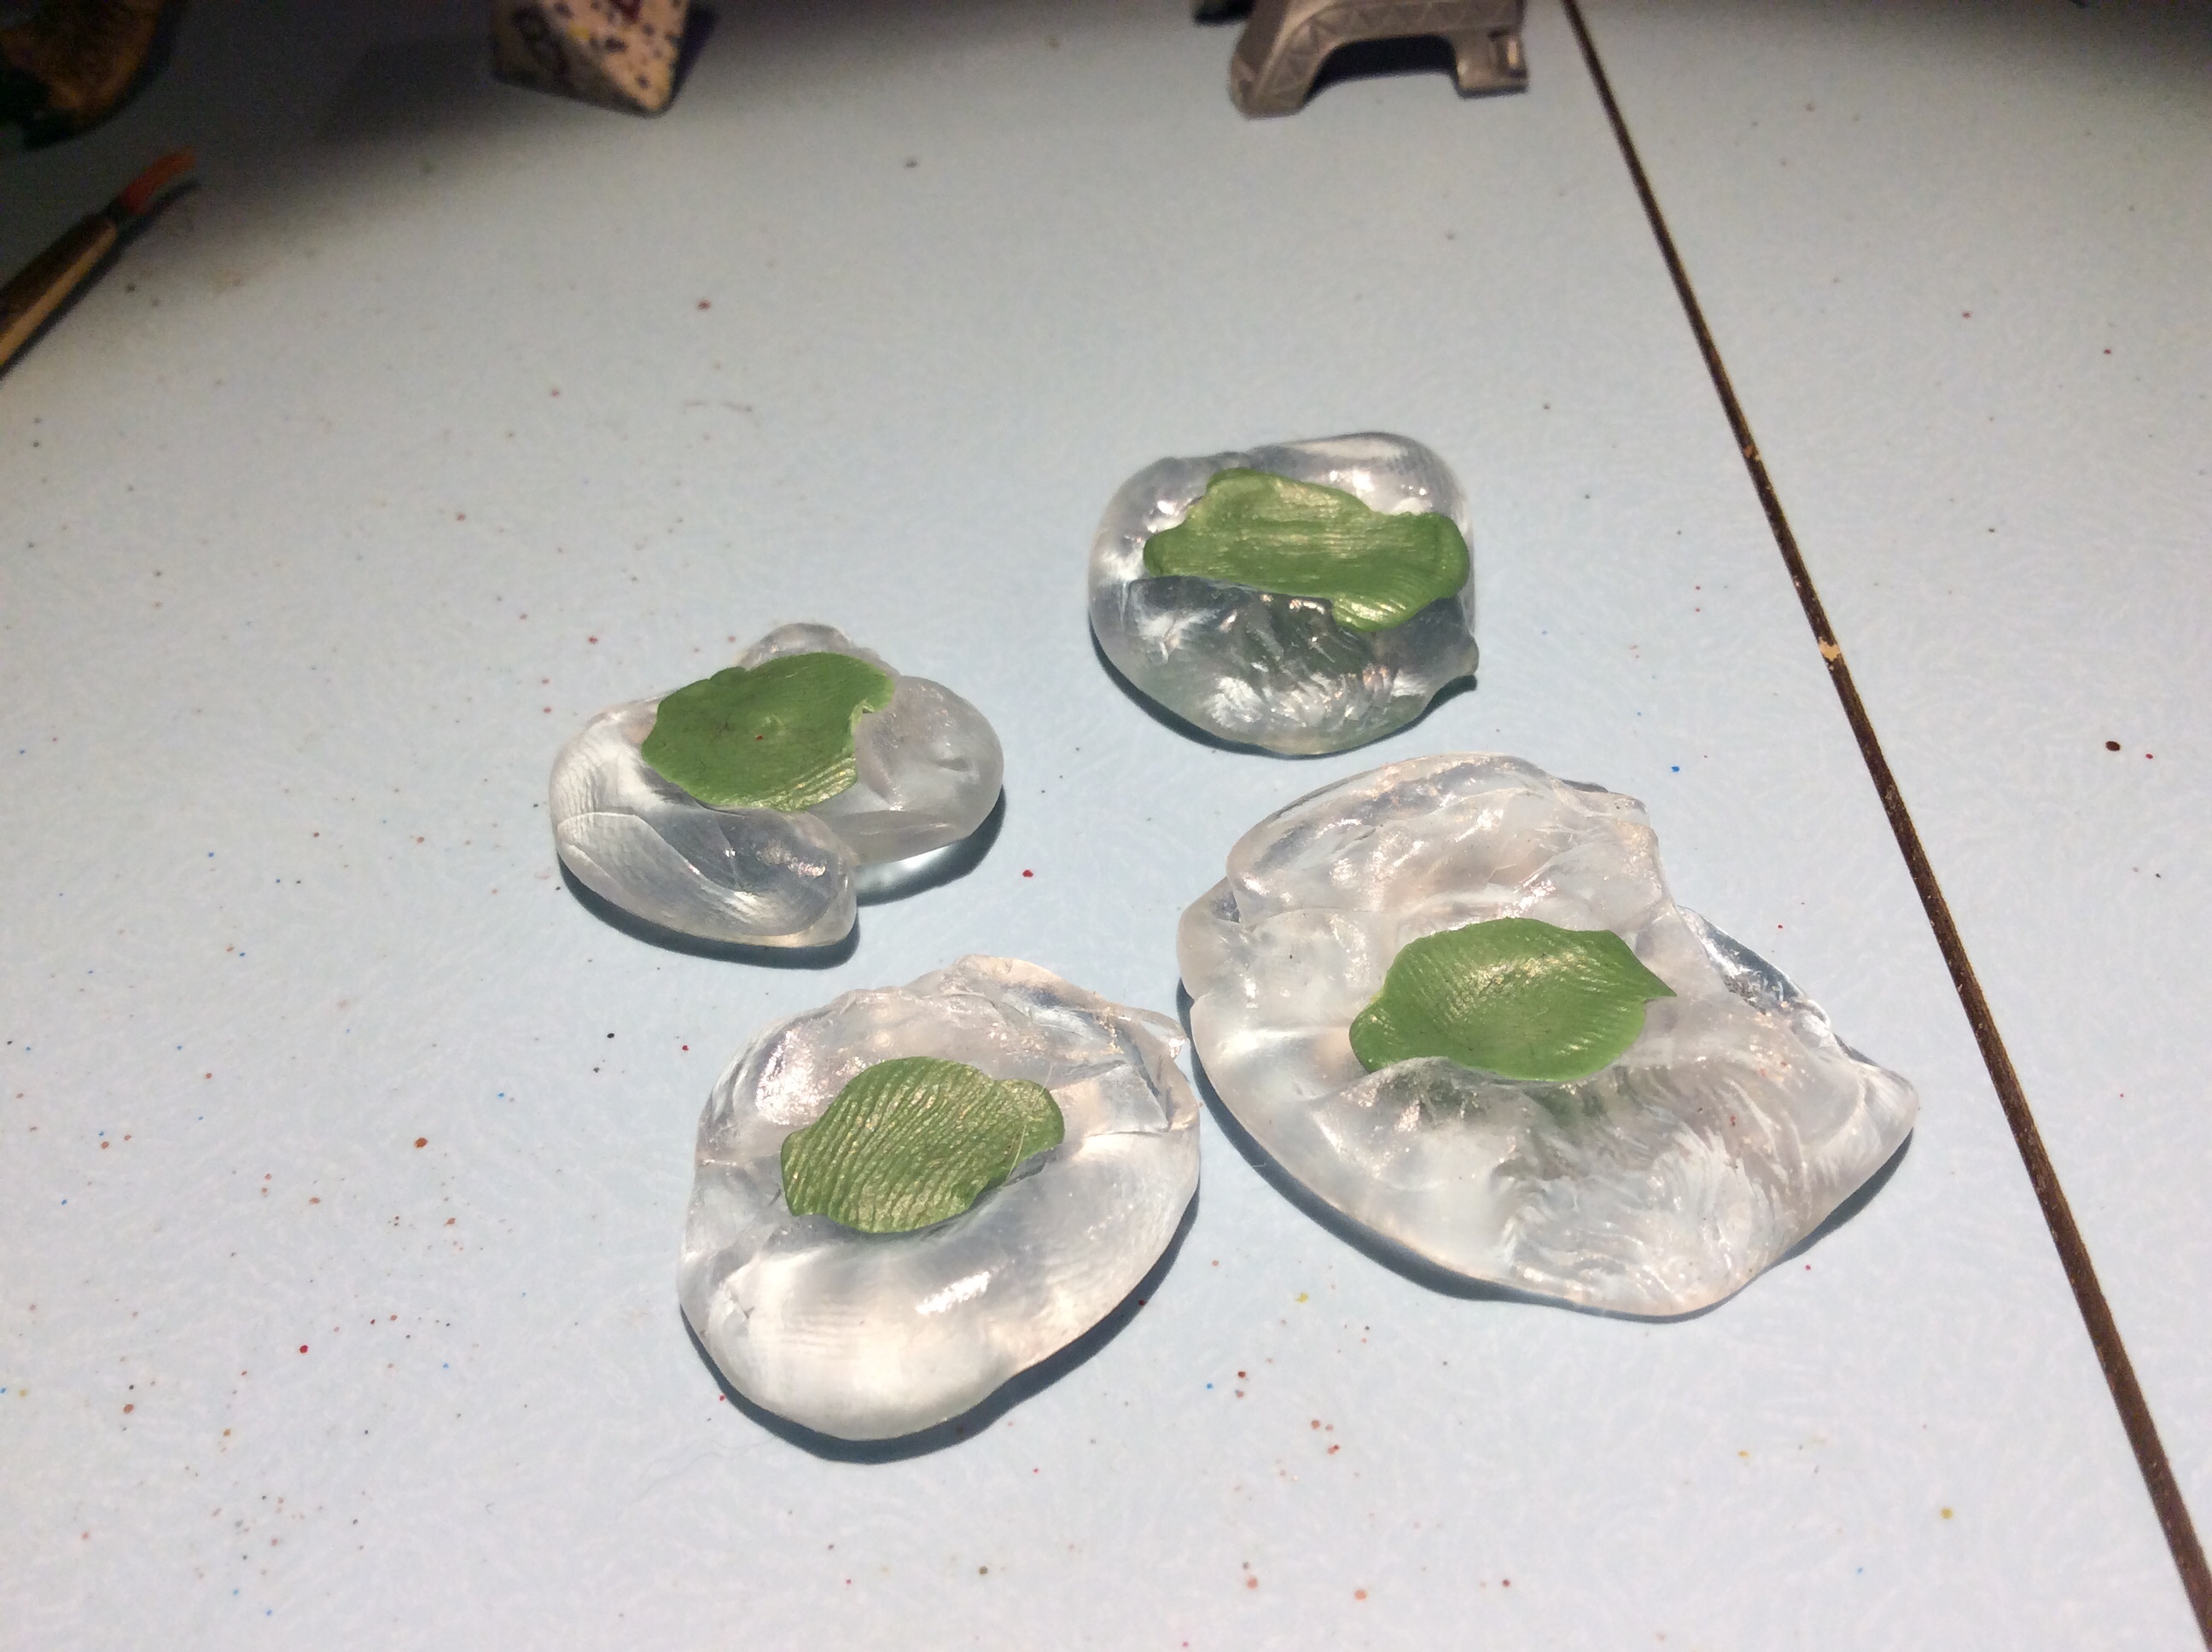
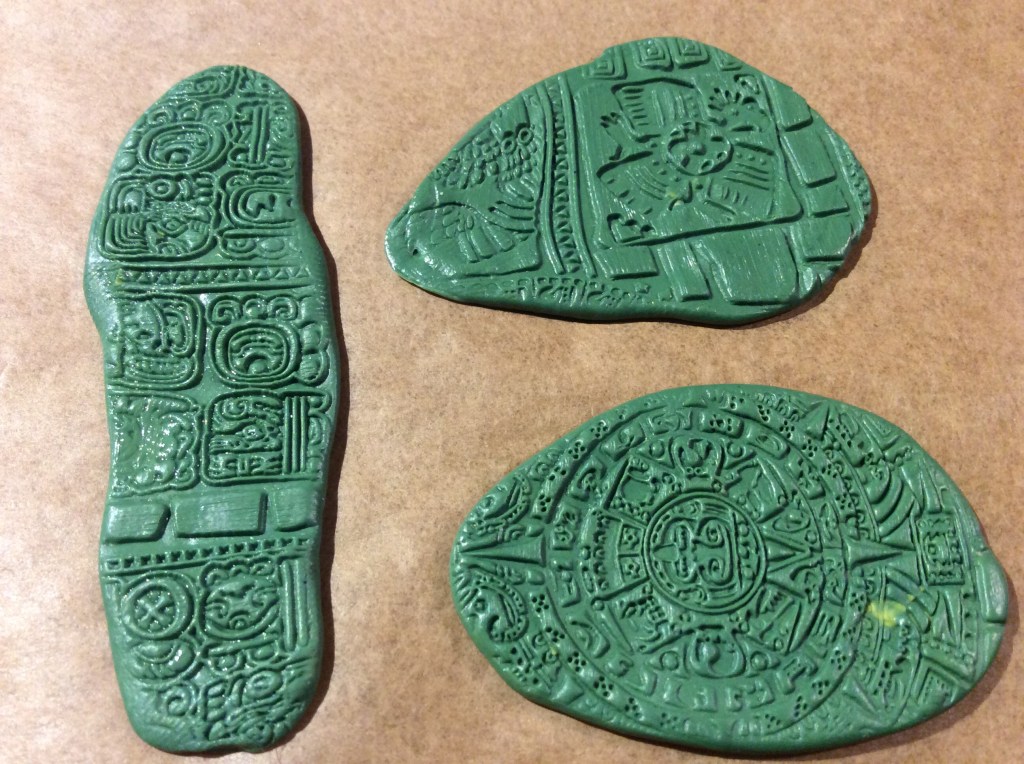
So tonight I didn’t have much time to get much modelling done so I decided to give the GS textured roller a go.

I am rather pleased with it. These three were rerolled a fair few times. There are still some blurred bits, but they will do for what I want. I will get a base or two out tomorrow and put a layer of Greenstuff on and then roll it out in situ.

I did consider getting some colour onto the big Beasty, but decided that I would try to cover over the permanent marker with brush on paint and then have an early evening in bed.

It didn’t really work….It spread it around a bit though!

Going to be a late night in work tomorrow night as I have bucket loads of things to do. So I am not sure what, if anything will get done in the evening when I get home.

New Delivery

Yey… a new box arrived today!

I really couldn’t pretend this one was tool parts 😂😂😂. So what was in the box…

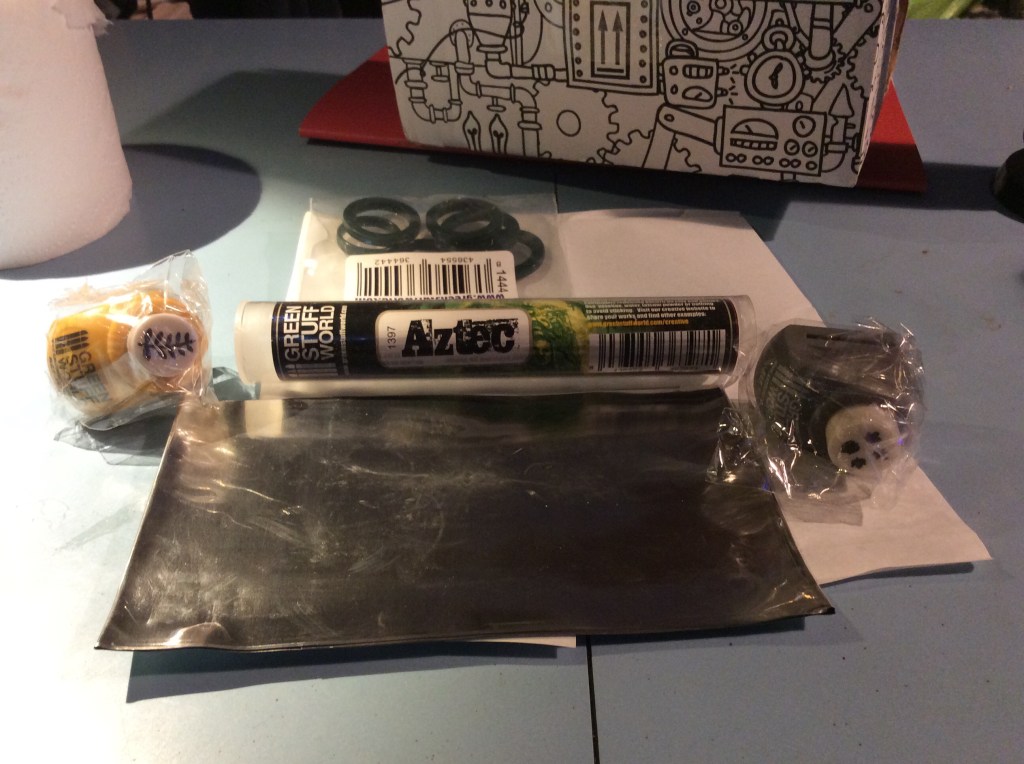
The Aztec Greenstuff roller and associated rings, the leaf punch and branch punch as well as some soft foil too.

I decided to give the punches a go.

A Tesco cookie packet makes a useful test piece of paper. The foil even though quite thick worked too.

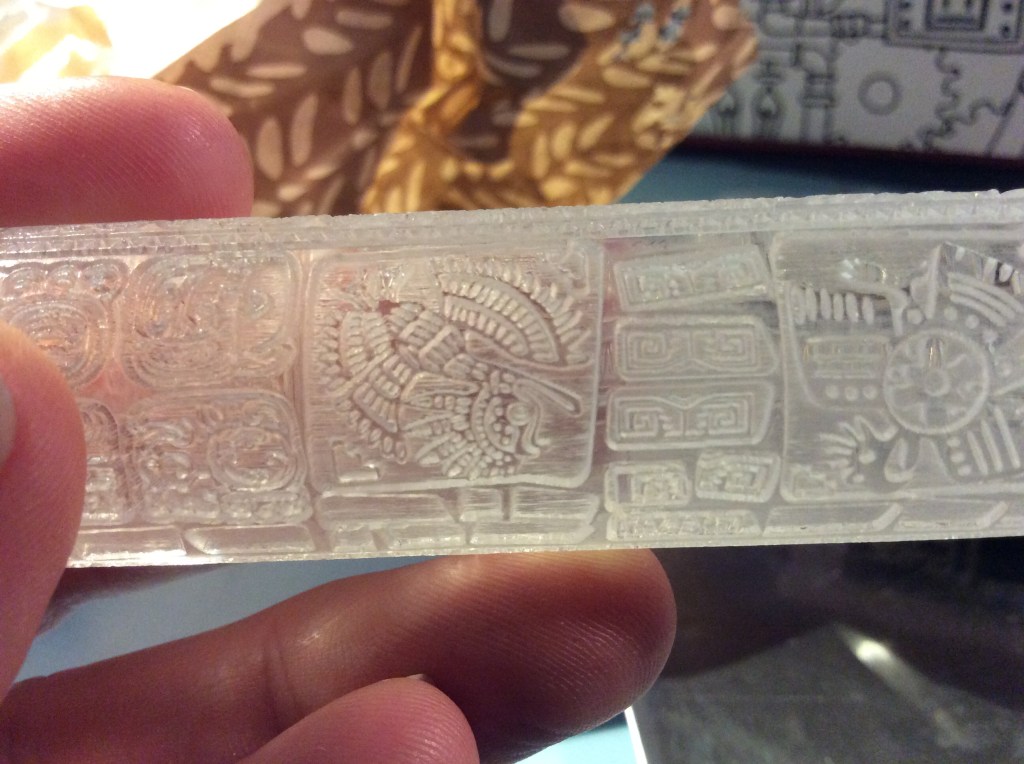
The roller has some nice designs on it…

I will give it a go to tomorrow evening.

I also sprayed everything white…

Sharpies are great for marking things on the models, but not so good for getting covered over with spray paint…

I will give it a go with brush on Army Painter white and see if it covers over. An interesting idea crossed my mind, would it be possible to add a dark bit with a sharpie, spray white and then have it showing through a light colour. I may have to investigate!

More Greenstuff Shenanigans (sort of)

Okay, so not the greatest amount used. I used a smidge on the Kroxigor weapon haft and a bit more on the top of the saddle.

I have decided to spray them separately as it will allow me to paint both in isolation… meaning I can get to all bits easily. I still have the shield to add to the rider so that I can get into his belly etc.

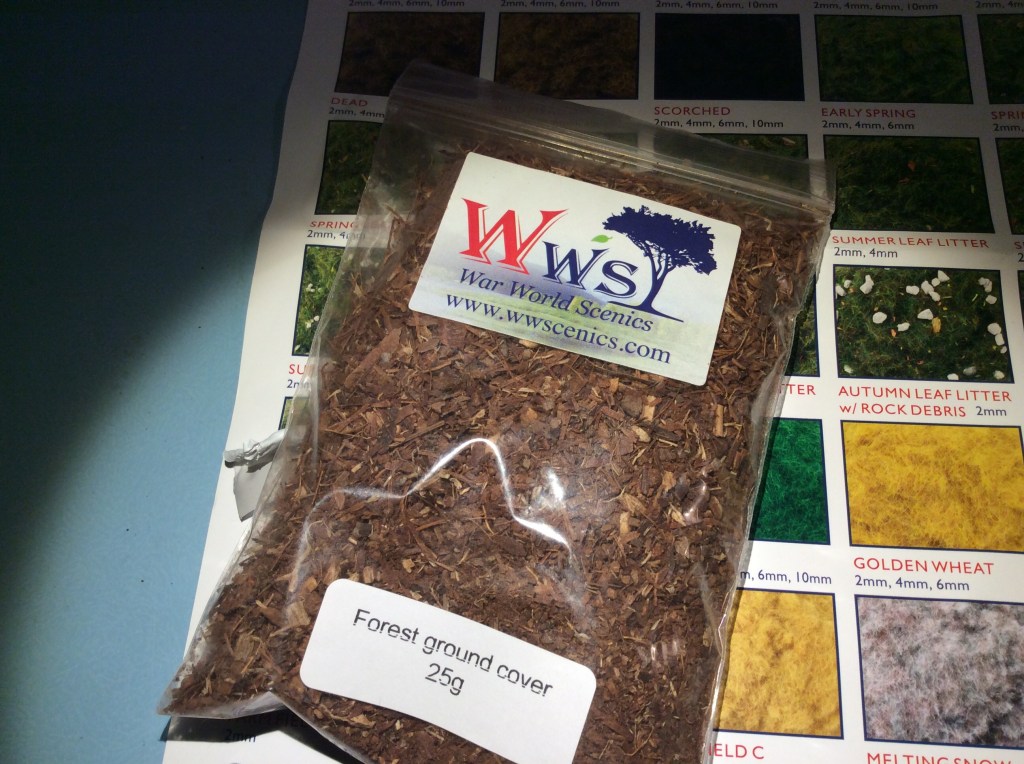
The rest of my basing supplies came…

This is a nice light colour which will be added onto the Lizardmen bases to add a bit of interest.

I did put an order into Greenstuff world and will add leaves etc onto the bases as well. All in all these bloody lizards have cost me a fortune😂😂😂

Reins and 3D Printing

I did a quick addition of reins to the dinosaur.

What I need to next is to add some Greenstuff onto the saddle to look like the two bits are joined together. My original idea was to keep the saddle and dinosaur separate and spray them in two pieces to aid painting. The problem with this is that the reins will not join. If, however, I glue the saddle down then I can build up the Greenstuff and blend in the reins.

I also fired up the printer and did a test print or two…

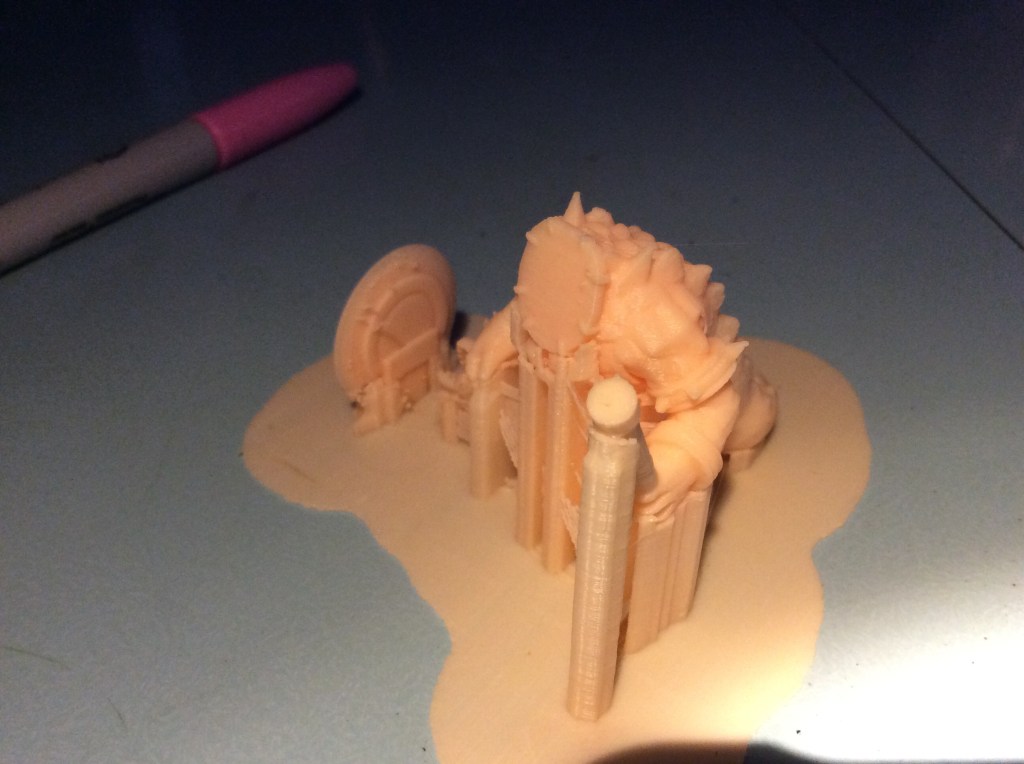
This was to ensure things were working before I started on this guy…

Complete with tree support

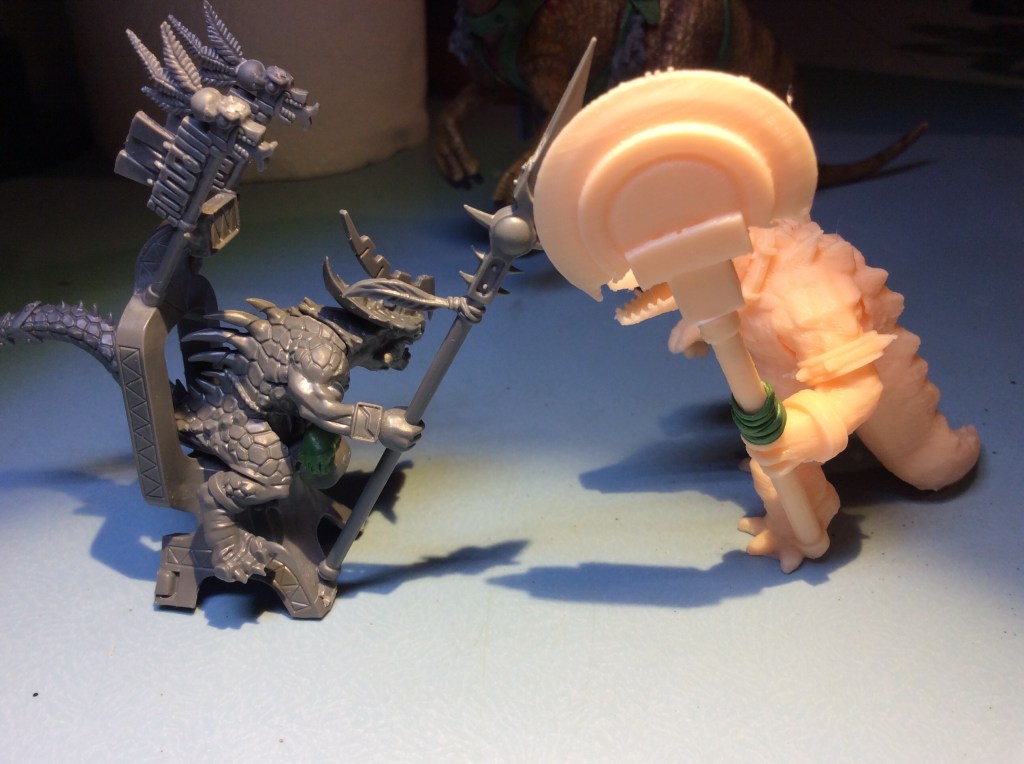
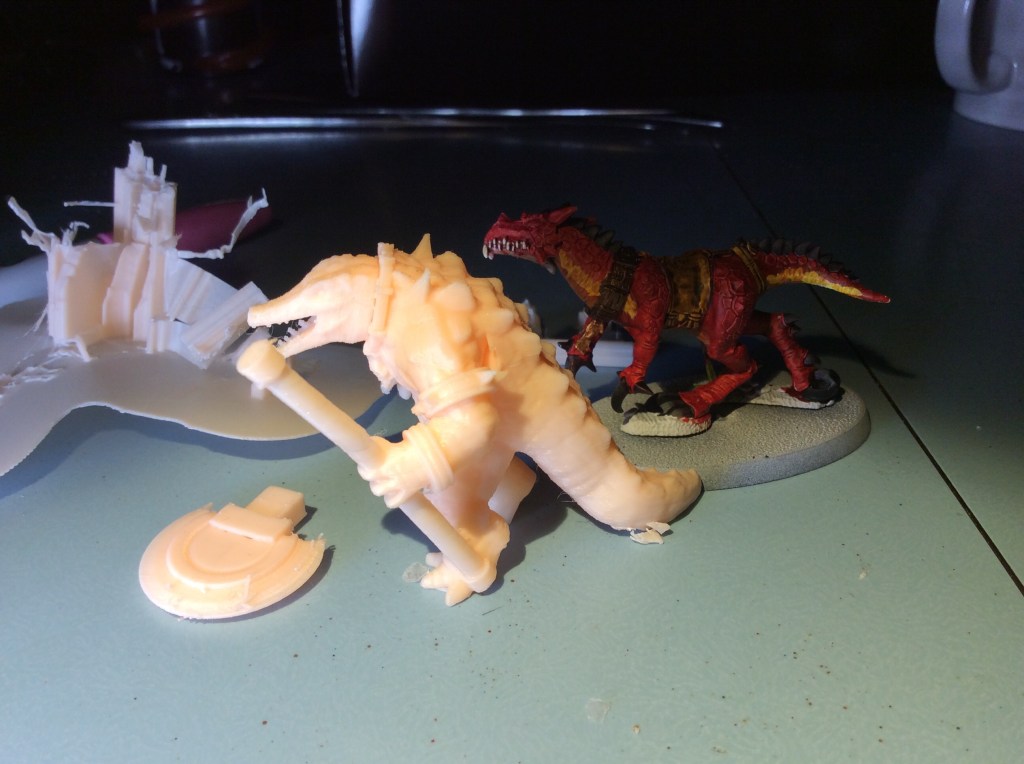
There was an awful lot of support on this miniature. I decided to give tree support a go. He looks like this when he is freed…

This chappy took 2 hours and 50 minutes to print. You can really see the amount of support in the background, along with a cold one to show scale. This is the first of my Kroxigor that I can print. Unfortunately when I was taking the supports off I managed to semi snap the weapon haft. I might get the Greenstuff out tomorrow and strengthen the break by adding some cord (or something similar). The thing on the floor sits on top to make a rather large and scary hitting thing.

I will see how this paints up before I print any more off – but knowing how I tick I will no doubt forget this and print all six off before it dawns on me that I did indeed have a plan!

Let me know your thoughts on whether or not to glue the saddle on before spraying everything white.

Saurus Cavalry

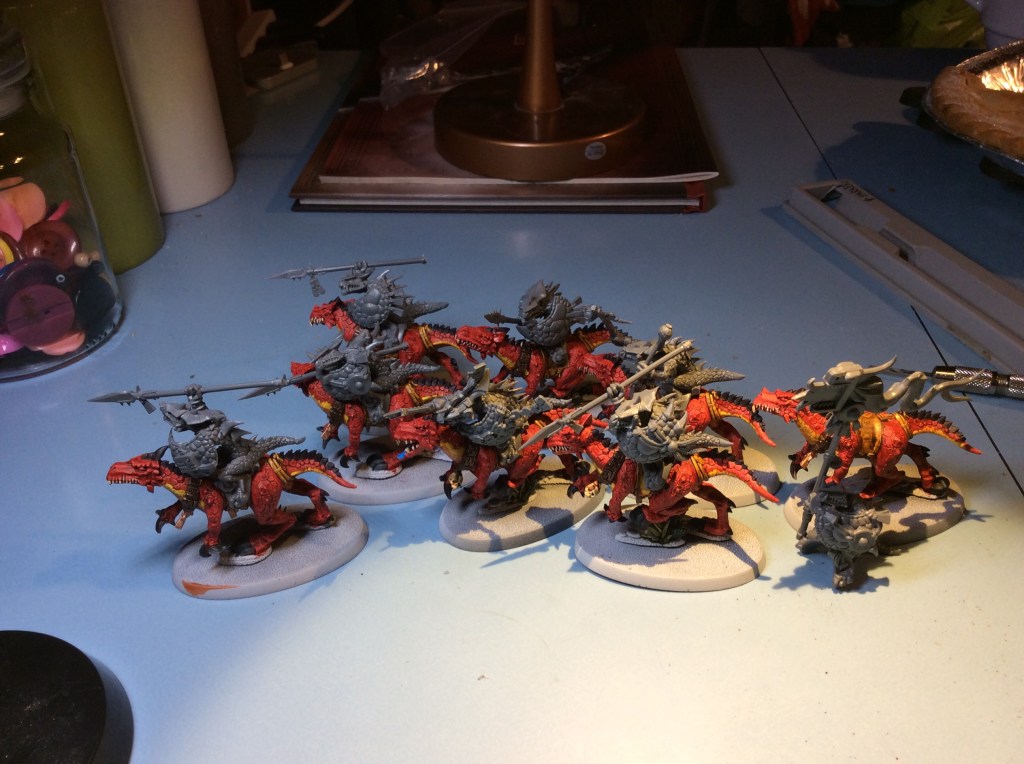
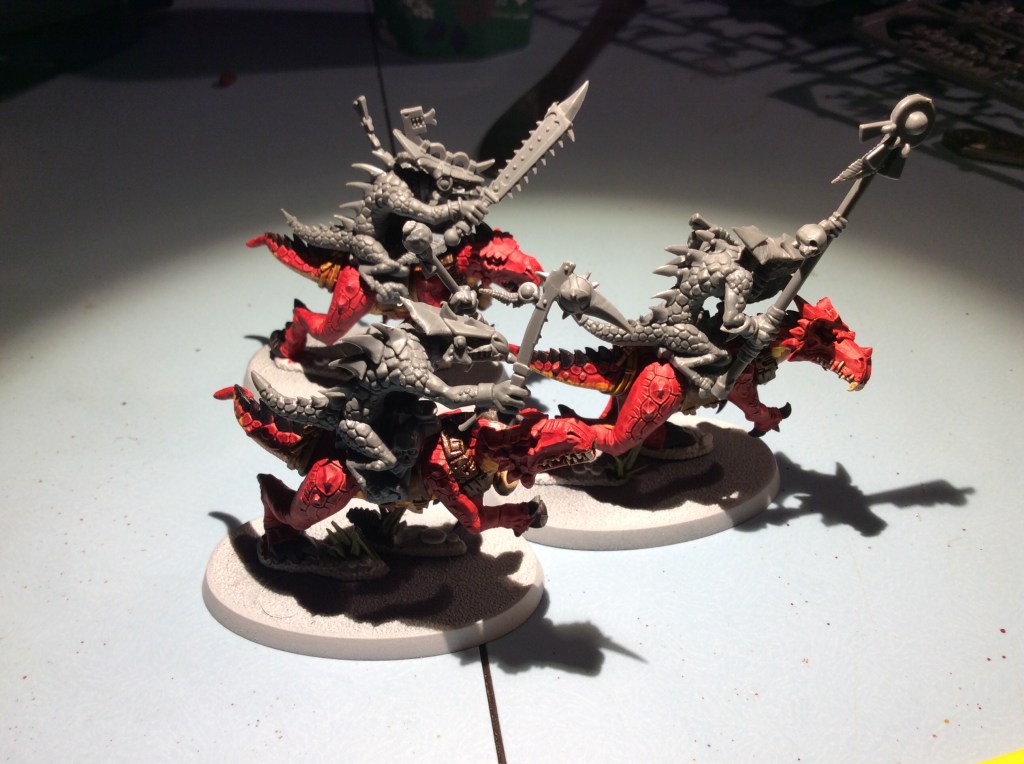
Tonight I spent a bit of time getting the remaining five Saurus riders glued together.

I would have got some of the other ones done if it hadn’t been for these being terrible to go together… well it wasn’t that they were tricky, it was that they pinged across the table and onto the floor. They dry fitted together perfectly and when the glue was added they wouldn’t go together at all!

Next problem was balancing the riders on the mounts. I would just get them all on then one would fall off and knock the rest off too.

I managed a quick thirty second job by adding the two banners onto the hero seat.

We are off to Archery tomorrow morning and I have a cack load of work to do for school in the afternoon. Hopefully I will get some time to do something tomorrow evening.

I

Lizard and Rider

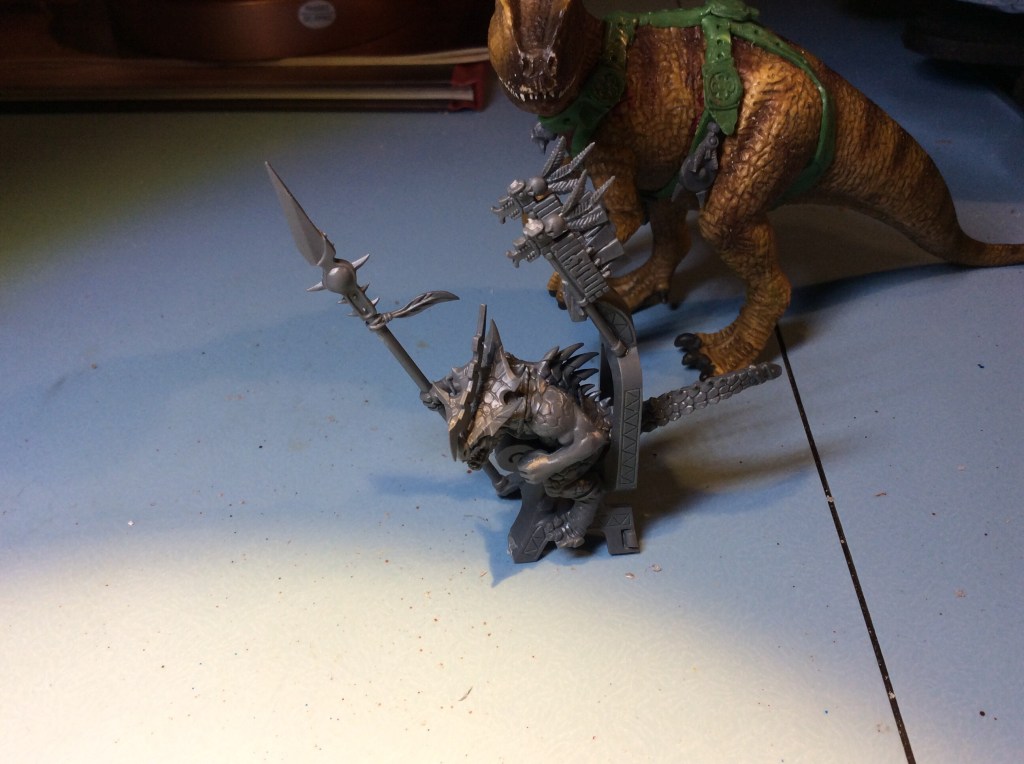
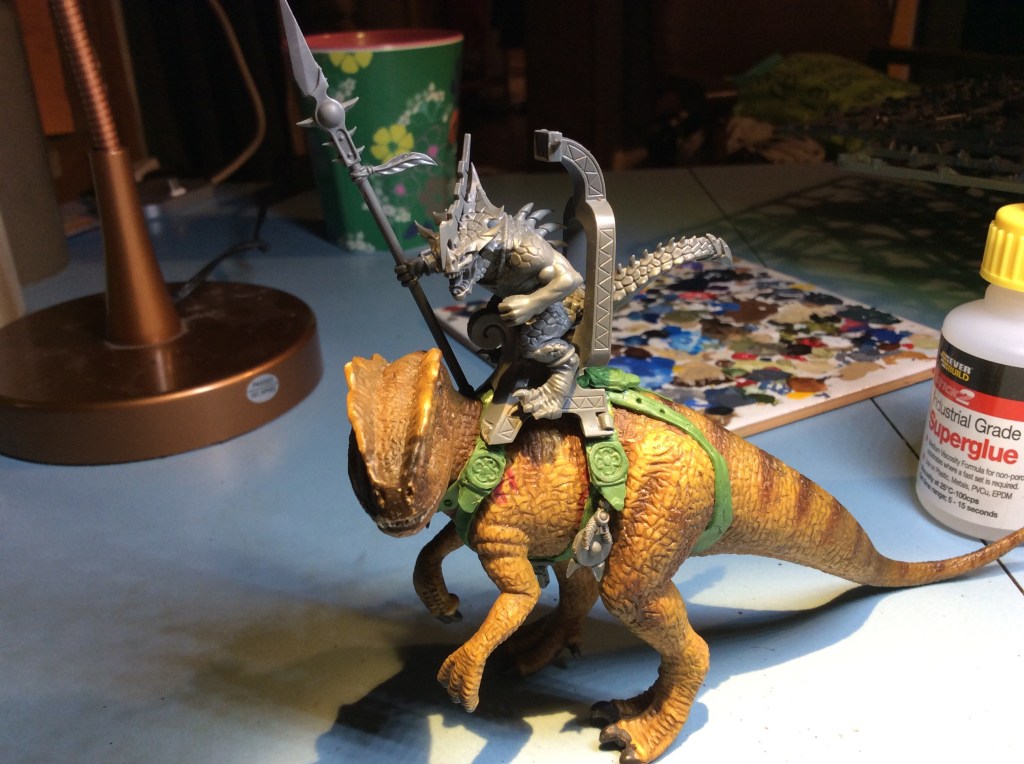
Got in really late tonight so motivation level was down, but after supper I stuck the dangly bits on the harness and as I got a second wind I decided to build the rider for the saddle made days ago. I was a bit worried that he might look too large, but in all honesty I think he looks okay

I had the choice of a Scar Veteran or an Oldblood. I decided to go for a The Veteran as I fancied it. As I have no rules or anything else useful apart from what is in the manual I went for what looked good…I decided to give him a spear as he is on a big bloody lizard and a little sword wouldn’t reach anyone on the ground (the Hussars found this out in the Sudan, when the dervish laid down during a charge).

So here is the Scar Veteran on his mount.
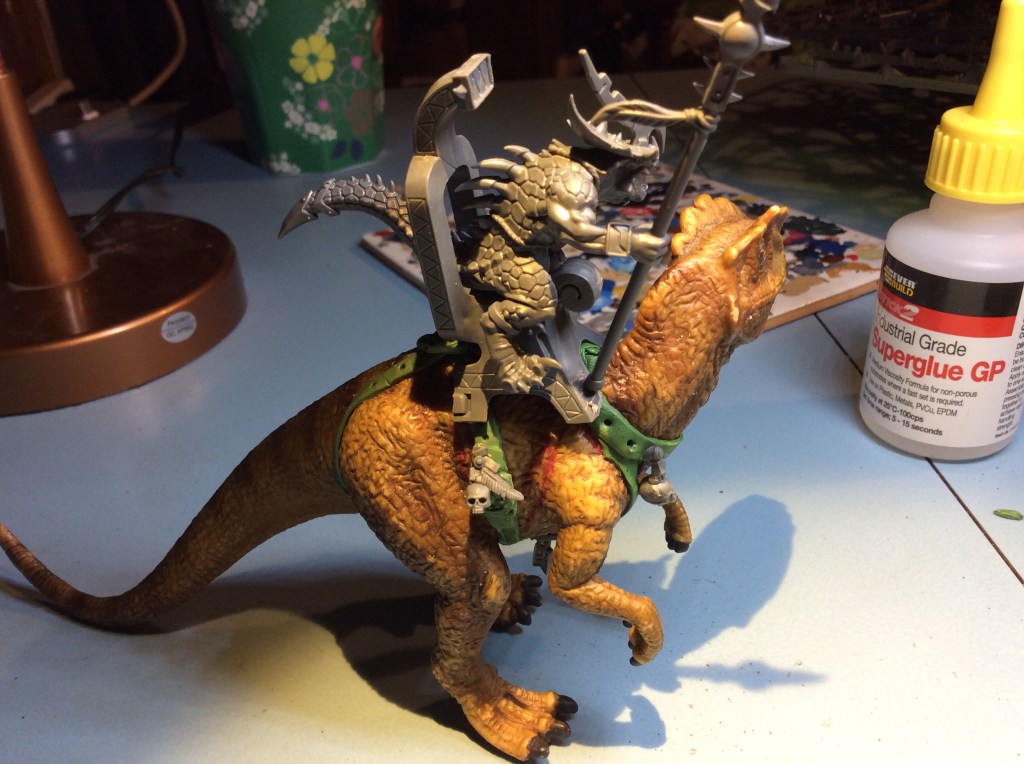
The other side, complete with more dangly bits!

The saddle in the instructions has a whole host of horns jutting out from behind, but I am going for a more streamlined look, plus he won’t look as big. In the set there are a couple of smaller back banners that I might add to the back of the saddle just to add a bit more colour.

Hopefully I will be able to get this pair sprayed this weekend, along with the cold one riders.

Looking at the pictures, I do wonder how he gets up there. It was bD enough fir me getting on a 17 hand horse! This thing is way bigger…🤔

An Update

Well as we were chatting In the house a little while ago, I decided to get some Greenstuff added to the dinosaur.

I also added the other half of the banner. In typical annoyingly GW style it is way over sized. If it is gold like most of them seem to be it would way more than the lizard carrying it. Mine shall be papier-mâché with a silk tail.

Lizards and Moulded Greenstuff

I have technically had, what is best described as one of those days so my urge to do anything was minimal.

I did however decide to add the moulded bits onto the strap work on the dinosaur.

Not exactly the most elegant of things bout it will do for now. I put two on the flank as seen in the photo. One on the back just to the back of the seat and the final one on the opposite side.

This last one will need a bit of work to make it look like the strap is connected and not just superglued on.

Tomorrow I will do something with the strap and then add all of the bits and dangly pieces to him.

Lizards and More Greenstuff

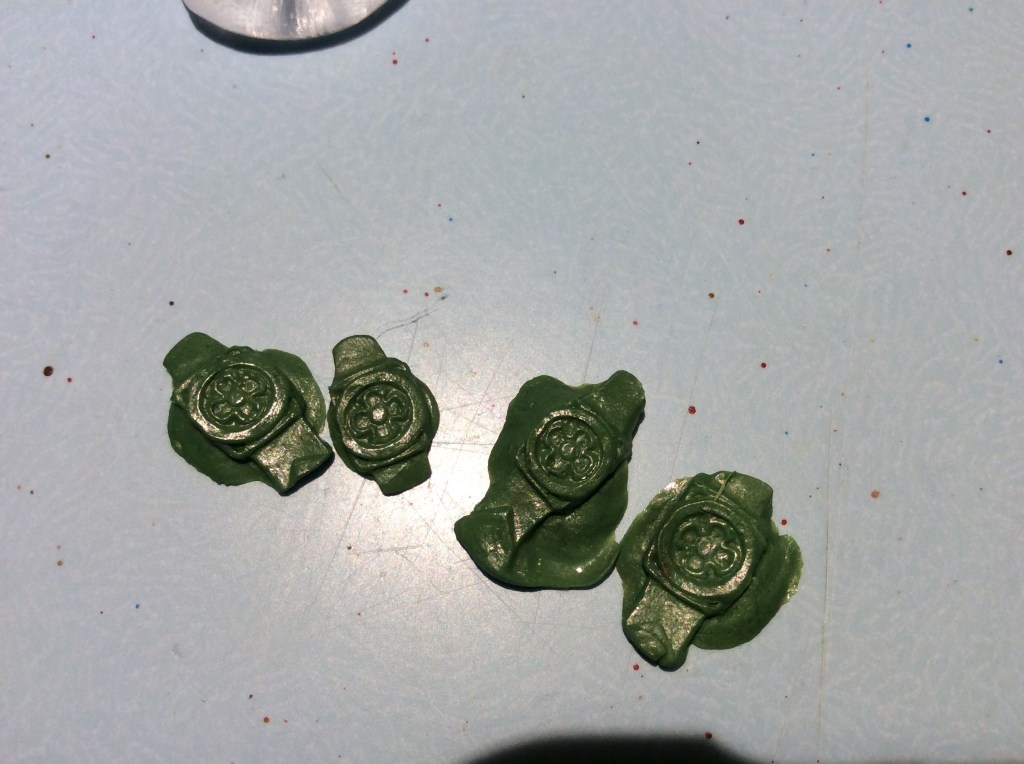
Tonight I decided to try adding some buckles or something similar to the straps on the Dino. Let’s just say my sculpting wasn’t that brilliant, so I decided to do a little simple moulding using this stuff…

So I dunked it in boiling water for a few minutes and then squished it onto the thing I wanted to mould. You can just about see it in the following photo!

So I got a little mould and shoved GS into it…. problem is…. I couldn’t get it back out again without buggering it up. So the solution was easy….

Throw it back in the boiling water again and then make four mini moulds. We shall see how they come out tomorrow. I have used Milliput in the moulding material before, but unfortunately it leaves a residue that soon ruins it. So this time I am sticking to the Greenstuff.

I have found a whole host of bits and pieces in the box of Lizardmen that will get added to the Dino before painting. I might actually use one of them as the mould to add to the straps.. we shall see tomorrow how they look.

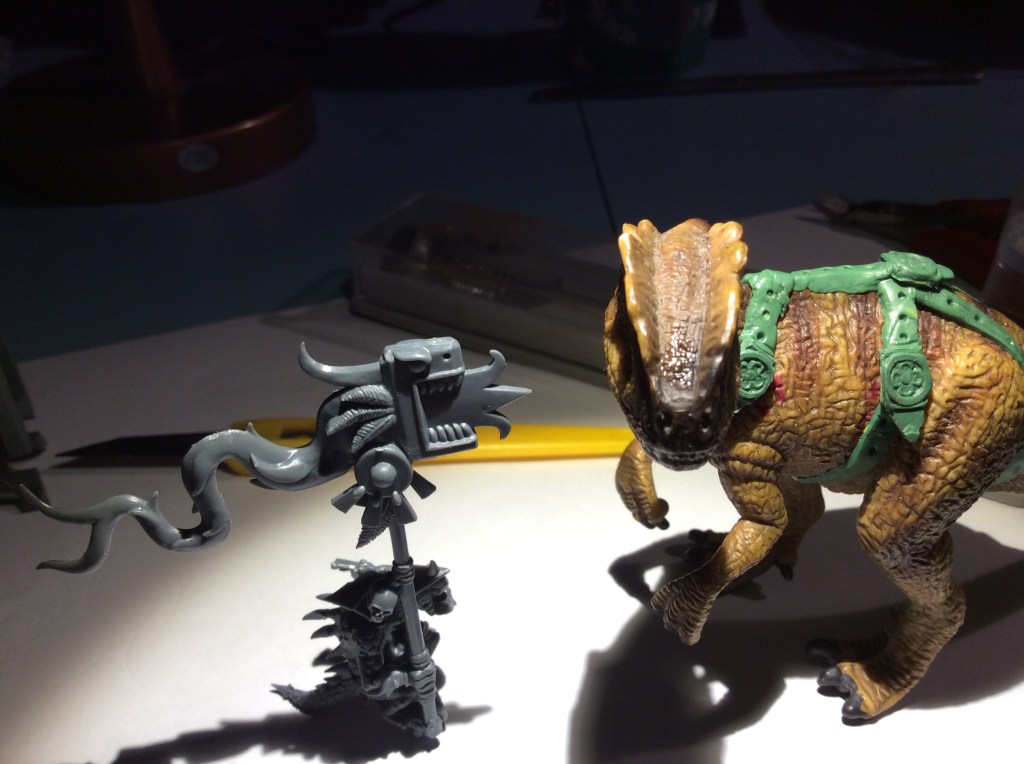
I also managed to build a couple more riders, this time the drummer and the standard bearer (or Fantasy equivalent).

Instead of giving the drummer two drumsticks I gave him one and a sword as a drumstick in combat is likely going to be a hindrance.

The other one just has the flag pole at the moment. I will decide which variant I put on the top tomorrow. I do quite fancy the ‘draco’ style with the silk tail.

So tomorrow we shall carry on with the Dino prepping… I am considering horns and spines along his back… I will have to sleep on it.

TTFN