Destructive Day

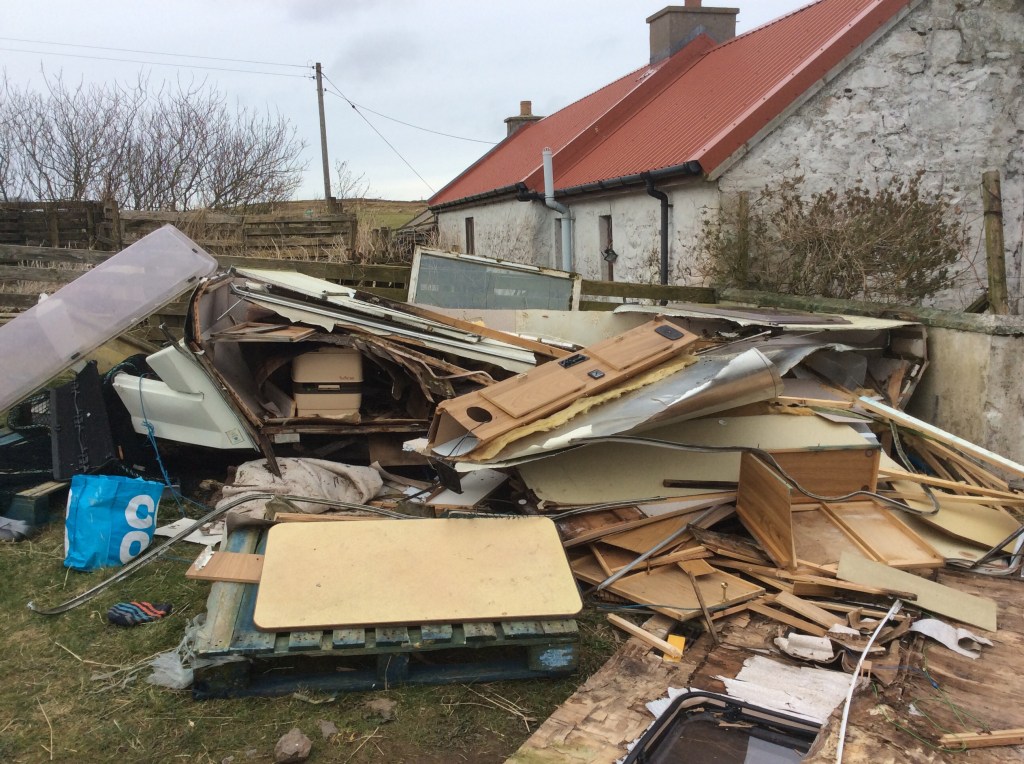
Today we decided it was time to do something about the local landmark of our rather knackered caravan.

Here it is this time last year

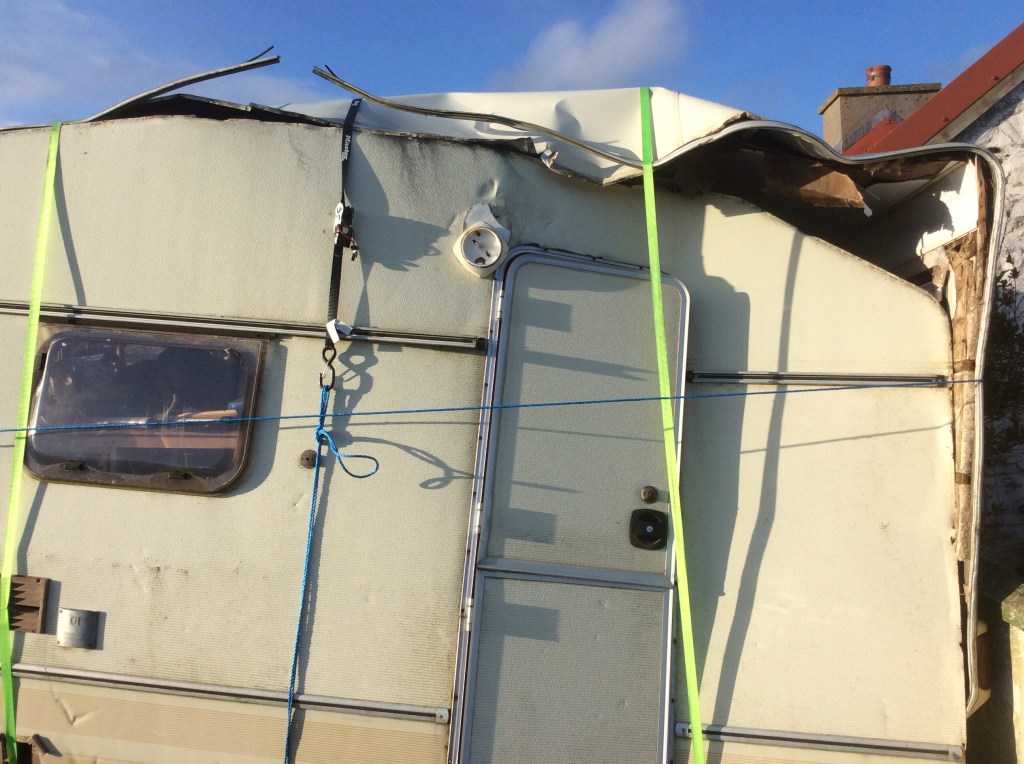
Well we were going to cut it up last year then the starlings got in and made their nests in it, so we couldn’t, then Lockdown came, then we didn’t have a car to pull the trailer…all in all the winter totally buggered it… well okay buggered it more is a better way to describe it…the last big wind caused this side to completely collapse.

We decided that before the birds nested in it again then we would start to take it down. This proved to be a bigger job time wise than we thought, but with a bit of brute force and ignorance we now have it down to waist height…

We tidied up after this shot 😉

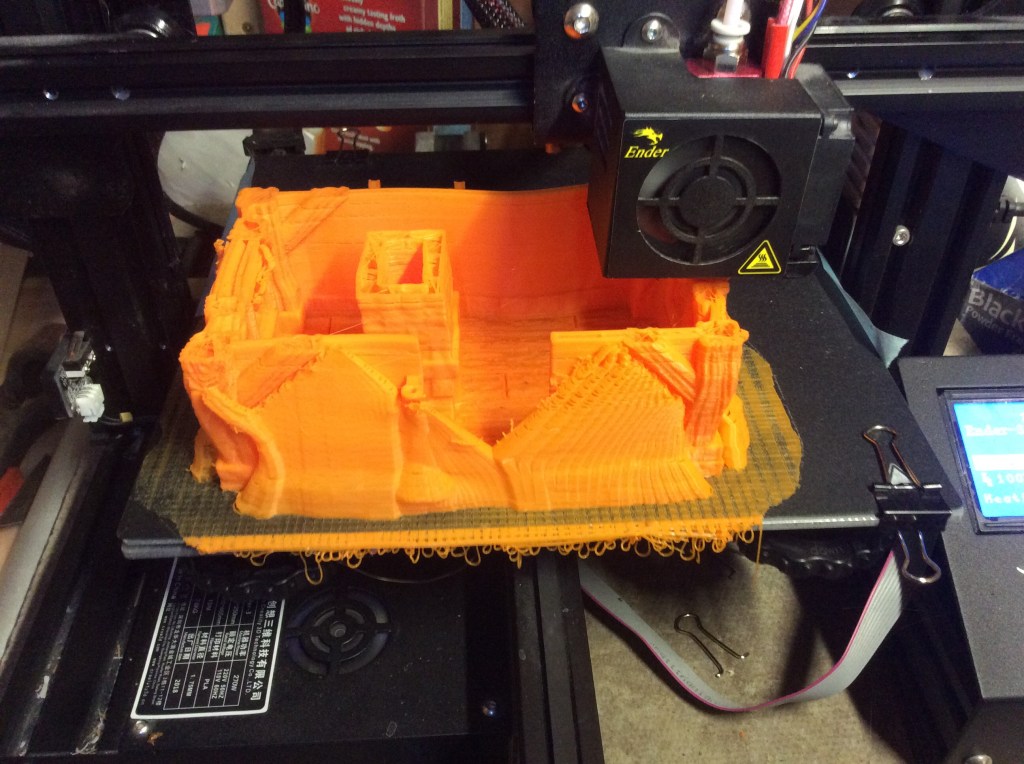
I now ache like buggery…part of the reason for this was using the reciprocating saw upside down and back to front as I tried to cut it into manageable bits. Needless to say I haven’t got any painting done this evening. I did manage to get the reprinted cottage of the build plate…

This is a much better size than yesterday’s attempt. I am now printing the larger cottage, with a small animal barn and some barrels… oh and a hen on her nest too.

A Smidge of Painting

Tonight I got my brush out and sat down to paint something only to realise that is was 22.00. So I didn’t get that much done. Argentbadger had suggested I leave the flesh tones white, so I had a go at the Contrast white over the base colour of white and it was giving a bit of a shading, but it just didn’t look right. So I added a smidge of flesh tone into the white and added a fair bit of water… this was the effect…

It’s not white, but it is a really light skin tone. So a bit thanks to Argent as I really wasn’t sure what colour to do the faces etc.

I set the FDM printer away this evening and got the cottage printing again, this time at 65% original size. Part of me now thinks it might be a bit small, but I will see in fifteen hours time.

It has been a long two weeks since all the kids came back into school. I am now on Easter break and tomorrow morning I do not want to get up until I wake up… if that is 15.00 then so be it!

Printing Cock-Ups

My FDM has now been running for 26 hours straight and is making a rather lovely small cottage… there is however a bit of a problem, this one seems to be a bit on the large side, especially for a small cottage.

Considering that the build plate itself is 22cm square then you will see what I mean. I am just going to let it run its course and then shove some figures near to it and see what they look like. To be honest I can’t remember adding a raft or the tree supports, so I am now wondering if I had somehow clicked a button to increase the size.

My other balls up was my goblin Warg rider and Warg…

Now the more observationally astute will notice… a) the lack of any goblins, or Wargs for that matter and also b) its a 2 legged moose… evidently I pressed the wrong button last night on the resin printer too…

So as I was faffing on for so long, the prints have eventually finished, the FDM printer taking 27 hours plus to finish, and it is indeed bloody huge….

On the up side, the goblin and Wargs printed properly this time…

Diorama Idea number 2

Finally… when I was hunting through a box Then I came across some of my earliest ever painted miniatures and I thought it was time for their 25 (or more) year update. So they are going to get stripped and redone in a new paint scheme… let’s see how I have progressed…

Firing up the Printer

This evening, after about four months I fired up both printers again. The Resin did a multiparty elf and dwarf and the FDM is having a go at a 28mm cottage.

I did the elf and dwarf as an idea for a diorama….

I will either do the one on one combat as above or possibly these two against a goblin on a Warg… battle of the five armies style.

I also managed to get a bit of paint onto the cultists. I decided to just go for black on the weapons. I had spent a few days trying to work out what colours to go for them…

I haven’t forgotten about the foam armour, it’s just I have run out of foam and have had to order some more.

A Night Off

It has been a hard couple of days at work and I am knackered. I am two, no three staff down as of today and the fly with a blue bottom is the best way to describe me as of late.

Anyway my daughter got her photos into a exhibition led by creative Scotland, so we watched that over Zoom and then I messed around downloading all of the 3D printer files I haven’t got around to saving yet… this sadly took a long time as there were rather a lot of files to organise.

If truth be told I have too much and will probably never ever print half if it, let alone print it.

Working on the Leather

When I got home from work today there was a nice parcel waiting for me. This was the 1 and 2mm EVA foam. This will be used to add designs to the pieces instead of the cardboard.

I decided to try and get some more done on the arm guards this evening… the one on the right is working just fine, the green and fold certainly need some work, but I am getting there.

Now this is going to sound really pretentious, and it isn’t meant to be, but I keep forgetting these aren’t 10mm leather. When I was taking the photo of the one outside the other day, I really couldn’t get why it was blowing away.

I really am enjoying doing these, one it is because my daughter really appreciates them and two they are really good fun.

It is hard to describe how I feel about them. I suppose, in a round about way, I am proud of them, more so than painting miniatures…it is something that I am doing from start to finish. These all started with a flat bit of foam and ended up being something wearable. I suppose it is like people doing dioramas. You take an idea and run with it from start to finish. There are lot of you out there that will know more than me.

1:1 Scale

Today we were sorting out a new run for the ferrets, it took a little longer than expected but we got there in the end (we hope).

So we have a couple of ferrets that are about six months old now (probably older). Now they come out a fair old bit to play with us, but we felt that it would be good if we could give them a bit more space than in their hutch so we set about building them a play area.

So here are Tonks and Luna, enjoying their new place. Luckily we decided to see what they got up to.

Firstly one of them decided that climbing was their method of escape, so climbed up the concrete wall at the back…

Queue Mission Impossible Theme….

The front of the Knox was 60cm… it is now 80 as she then climbed up the door and then proceeded to shimmy her way out.

The other one is evidently a good jumper… she just about got out of the end using the log in the first photo as a launch pad. We used and angle grinder with a cutting disk in to put a piece of Crain pipe over the edge of the wood to stop her managing to get her claws on the top and haul herself out…

Fully the last time we looked they were still in, unfortunately they decided to both cram themselves in the blue house thing and gave us heart failure as they weren’t anywhere to be seen in the house or the box.

I managed to get the first layer of brown onto the armour… hopefully it is going to work out as well as the other one. Tonight has been video research on using EVA foam.

Even More Armour

Tonight my daughter and I worked on some different upper arm armour. We used the shoulder piece from yesterday and added some extra plates.

The extra plates were increased in size to match the original increase. We also decided to make these plates from rough leather. So using the old ball of tinfoil we roughened the top layer up a bit. In the case of EVA foam then we needed to heat it up a bit first and then when it was warm push the foil into it. Now as I write this I suddenly remembered my soldering Iron tin foil roller. This was a loose sleeve of foil over the heated end of the iron. This was then passed back and forth across the foam to make it textured.

This fits my daughter really well. A third plate would make it too long for her. I could manage a third or even fourth plate.

While I remember, this is what the vambrace looks like outside…

Tomorrow I will get the bits sprayed and then onto the painting tomorrow evening.

Regarding painting, I did manage a bit more colour on the Ork and on the cultists…

Back with the Armour

Tonight, I thought I would fiddle around with some colours for the armour. I wanted the leather to look a bit worn and scuffed. I didn’t exactly achieve scuffed, but I did end up with something sort of leather looking.

I will try and get a better photo tomorrow as the towel it is on is turquoise!

I also had a go at adding a curve as well as increasing the size from a pattern. I did better with the latter, than the former, but we all have to start somewhere.

I also had a bash at texturing the EVA foam. To be honest I did the same as I would with XPS, but in this case I heated the foam a bit and then attacked it with a ball of aluminium foil. Voila… rough leather…

I reckon a heat gun would assist me in my endeavours, the one I had, well technically it is a paint stripper with a temp dial, seems to have packed in.

I will get these looked at tomorrow and see what I can do, if anything to fix them.

Back with some Painting

Tonight was bit of a pain in terms of running about and picking up kids etc. This week at work is what can be best described as interesting. So all in all I was surprised that I managed to get my backside into gear and get anything done.

I decided to get some paint onto the cultists. My plan was to try a tan colour for the armour and I was pleased that the Aggro’s Dunes turned out to be exactly what was in my head. I found a spare Ork when I was in the shed yesterday and as he was already undercoated then I decided to Chuck some paint on him too…

I also got some bits and pieces done on the arm guard…