Well today I started off by printing the village water source…
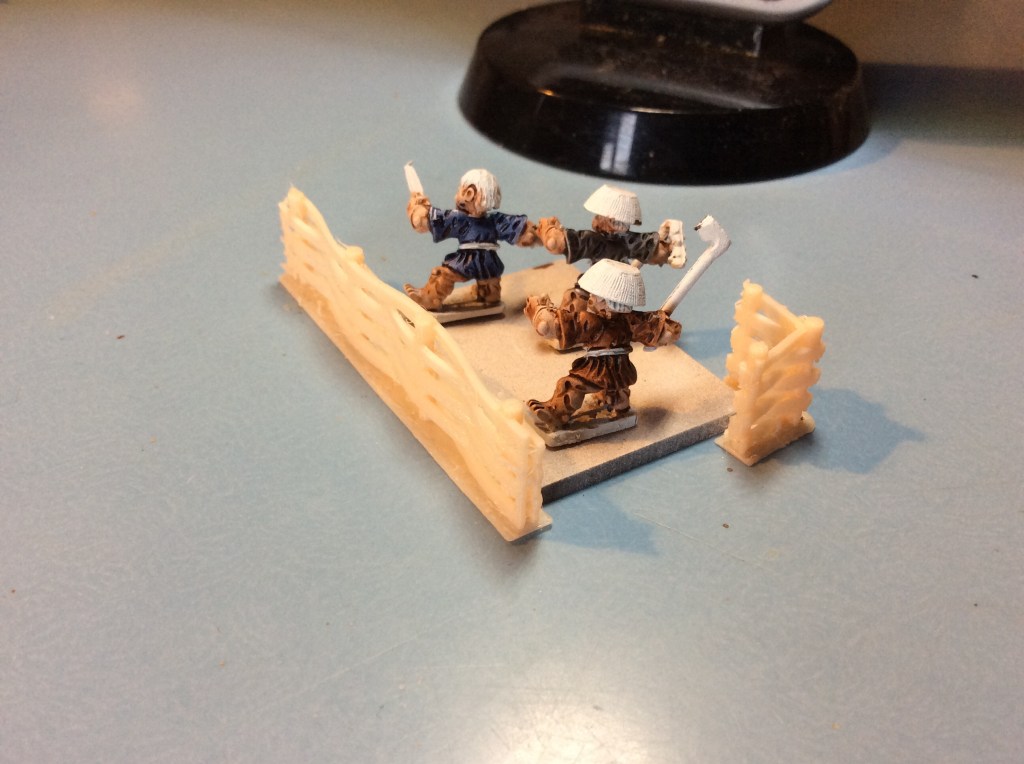
Here it is next to the peasants… next up the fences…
I did some test prints of the rice for the paddy fields. I am not sure whether I will carry on with them as they are a bit on the small side. What I might do is blend them into the actual paddy field in 3D builder.
I printed the horse at 70%… way to big… really nice but looks like a Clydesdale compared to the rest!
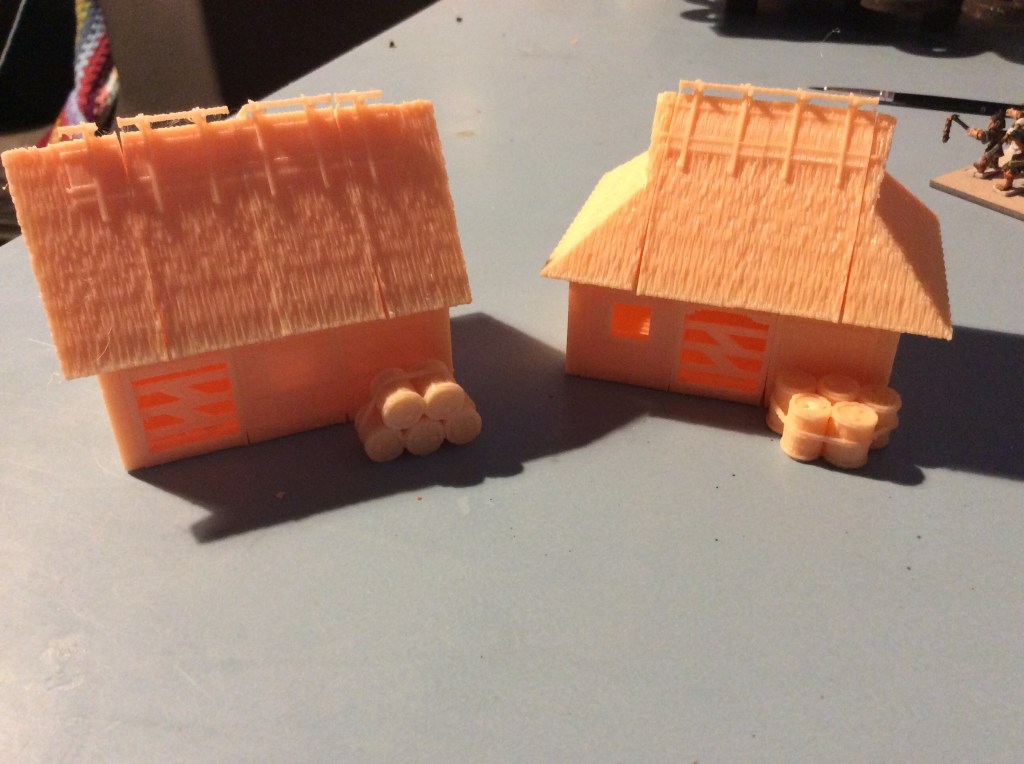
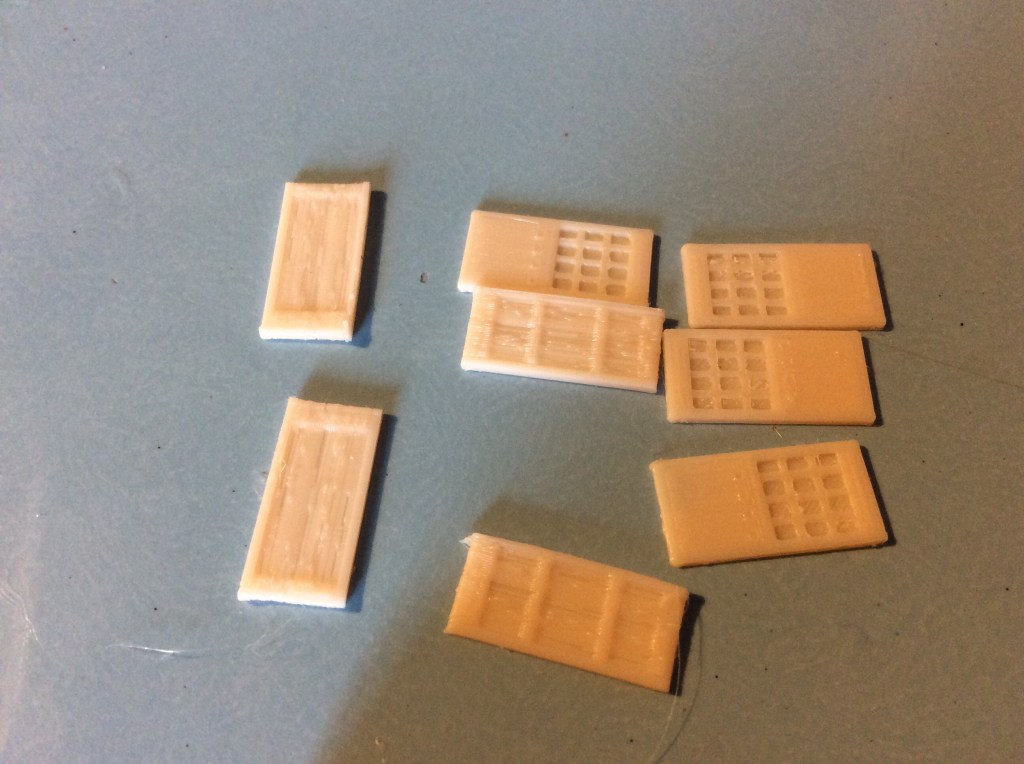
In case anyone was wondering, the houses come in bits…
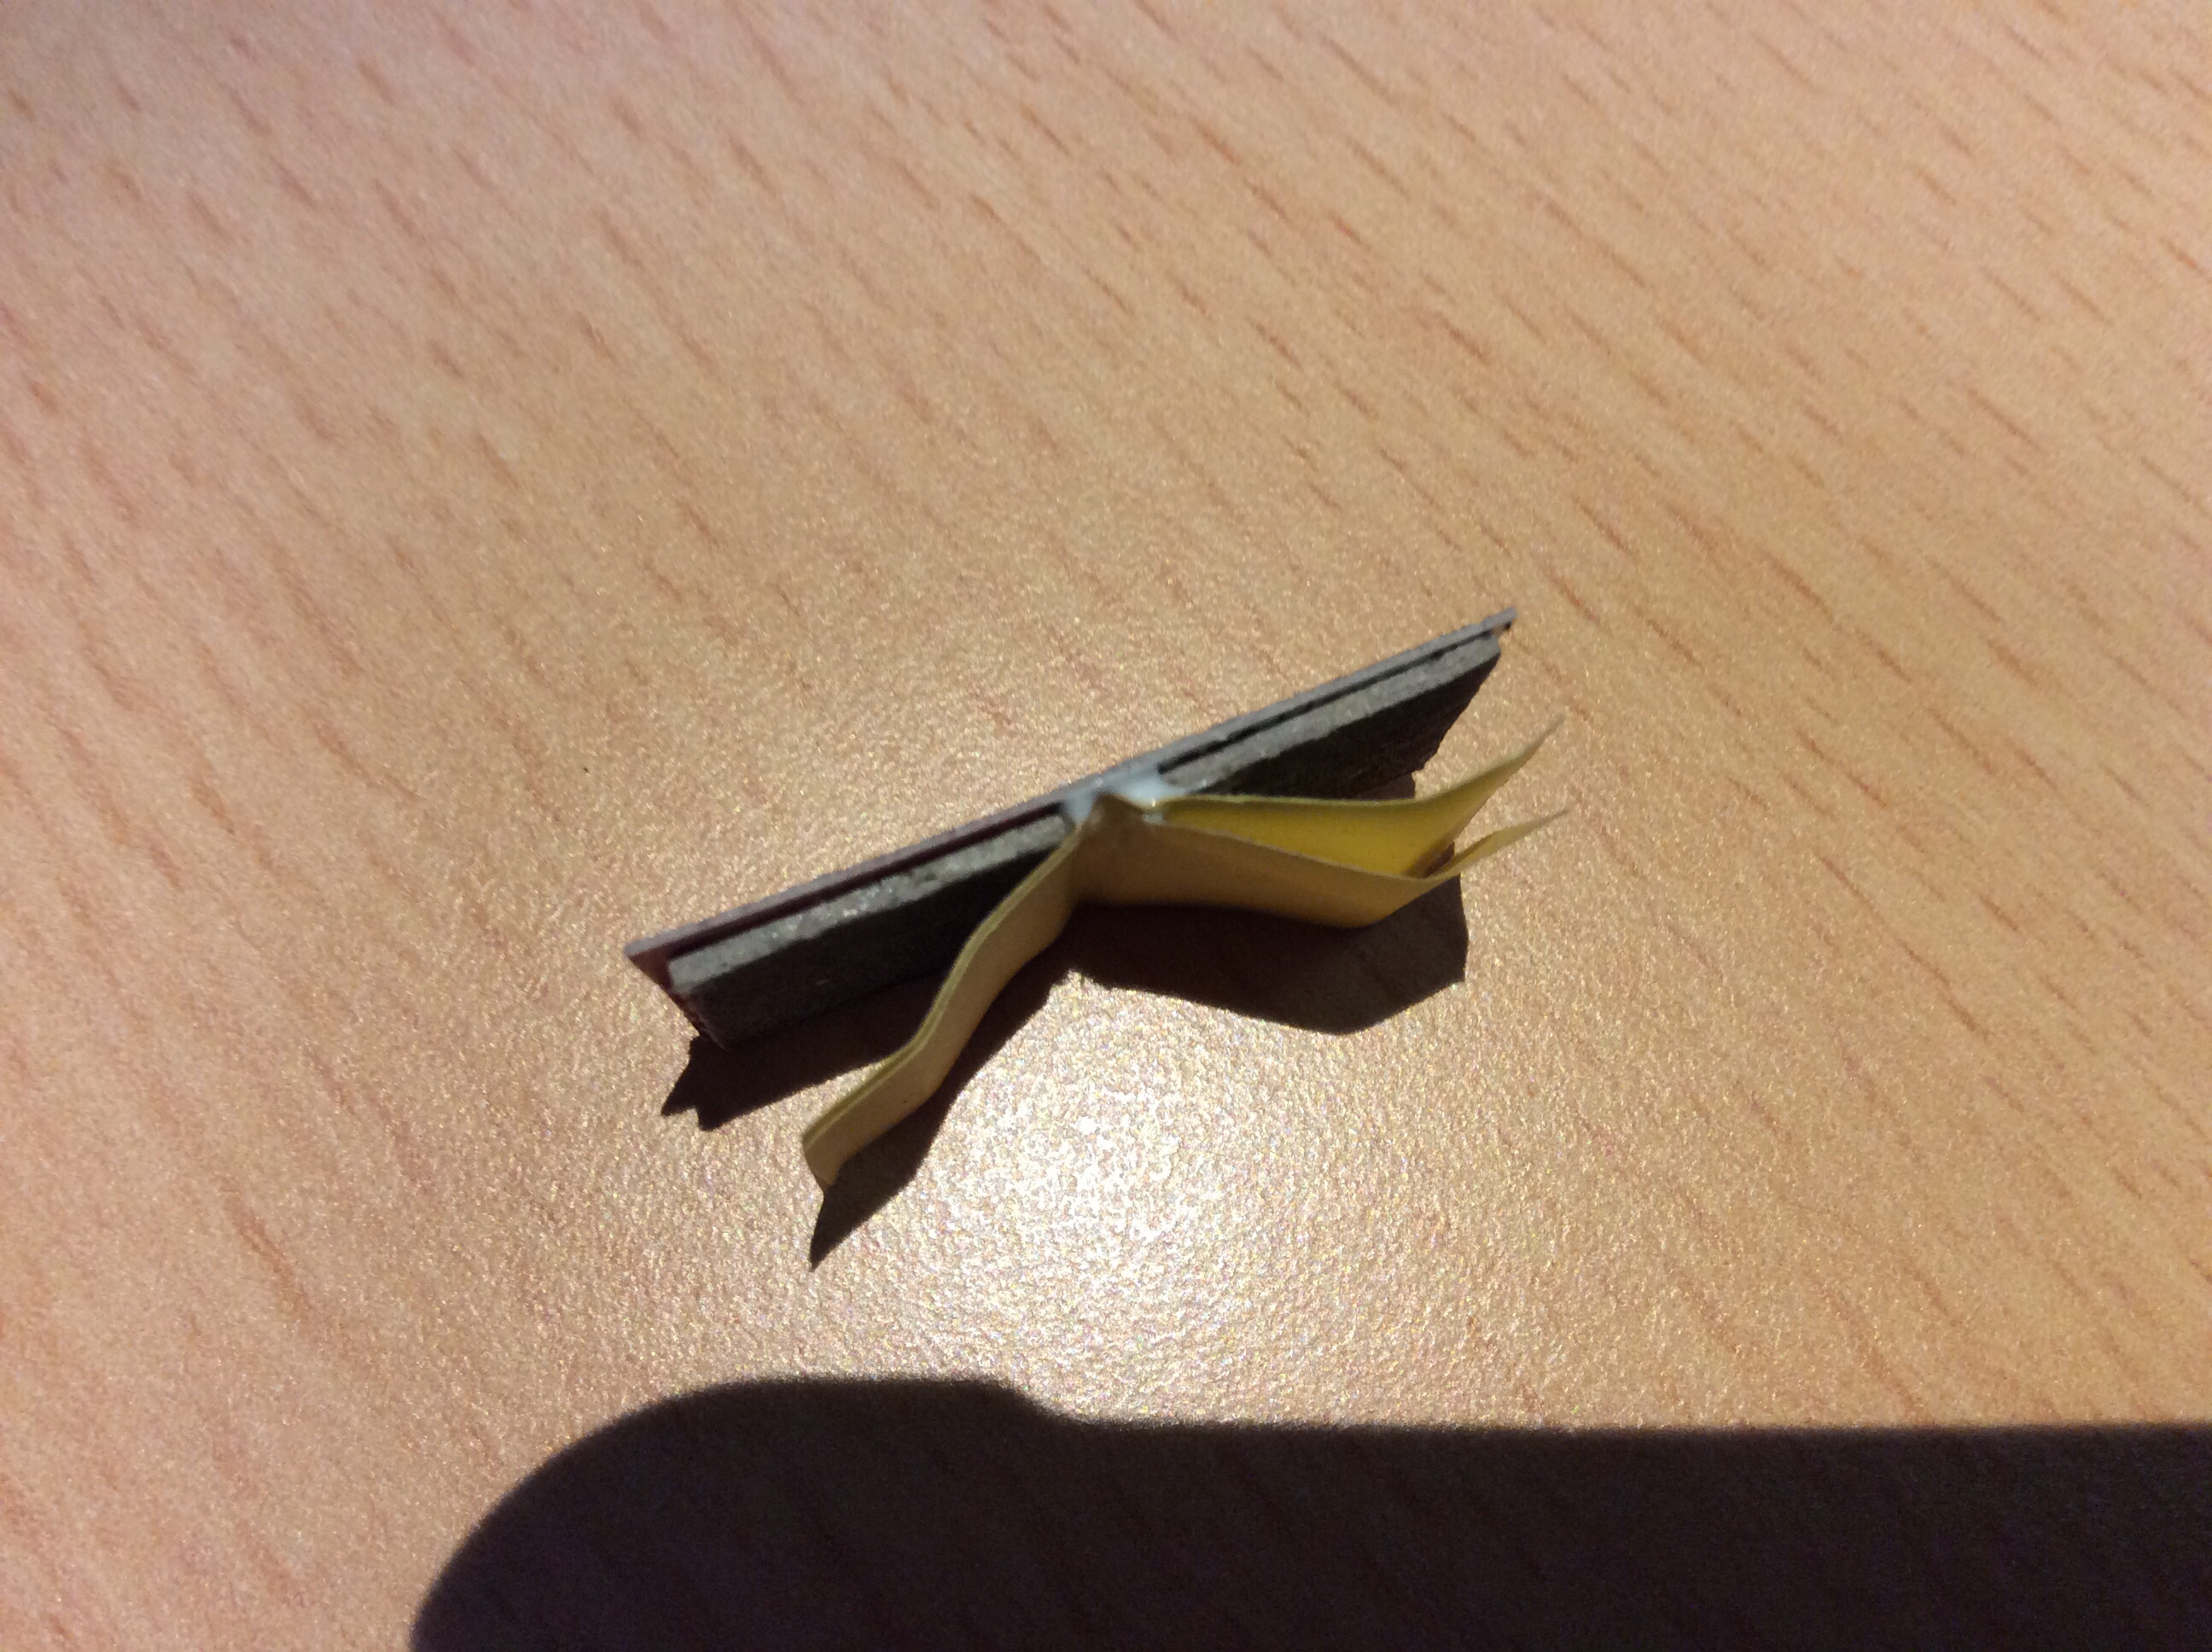
The buildings I have made so far are made up of three room sections, two end walls and four roof sections. These houses can go from two room sections up. The walls are either mud or wood (they are farm houses after all). Roofs are either thatch or wood. The thatch comes in two styles as seen below.
I am having some problems with the corners lifting on these ones. I think it is because the temperature has dropped again. It may be that the bed has warped or something similar. But my money is on a draft as that is one of the things that causes such problems.
I have still got a lot of bits to print out including wood and stone walls, not to mention fields. The rice store is printing right now. Tomorrow I will see what I will print next… since I started printing the big Beasty I have used over a full roll of filament.
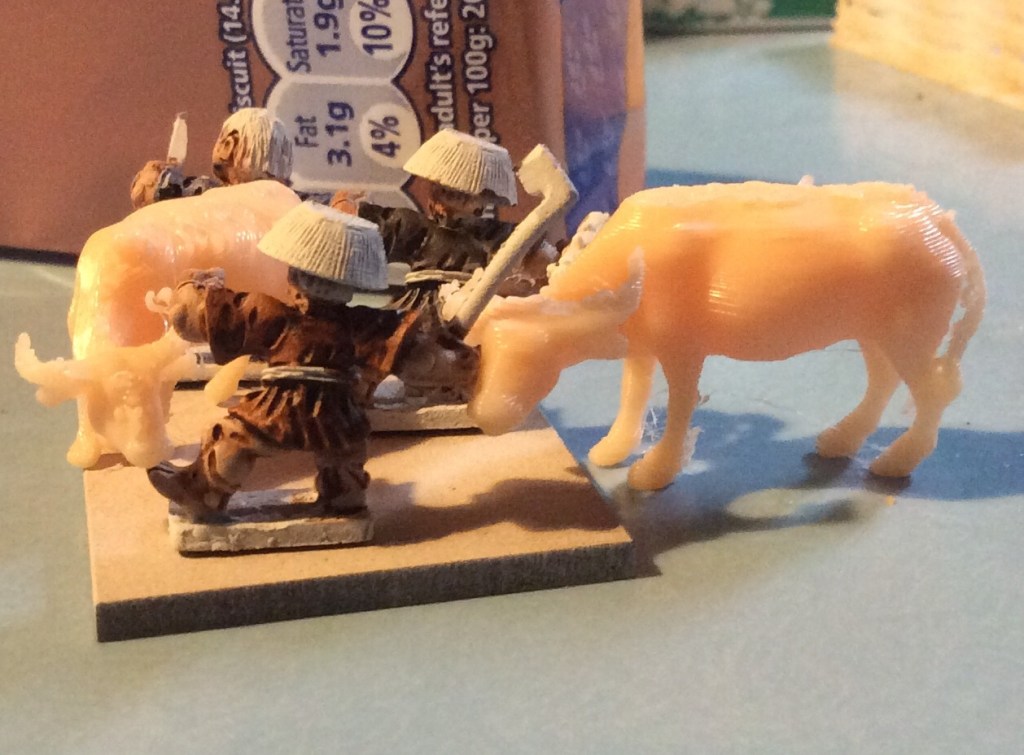
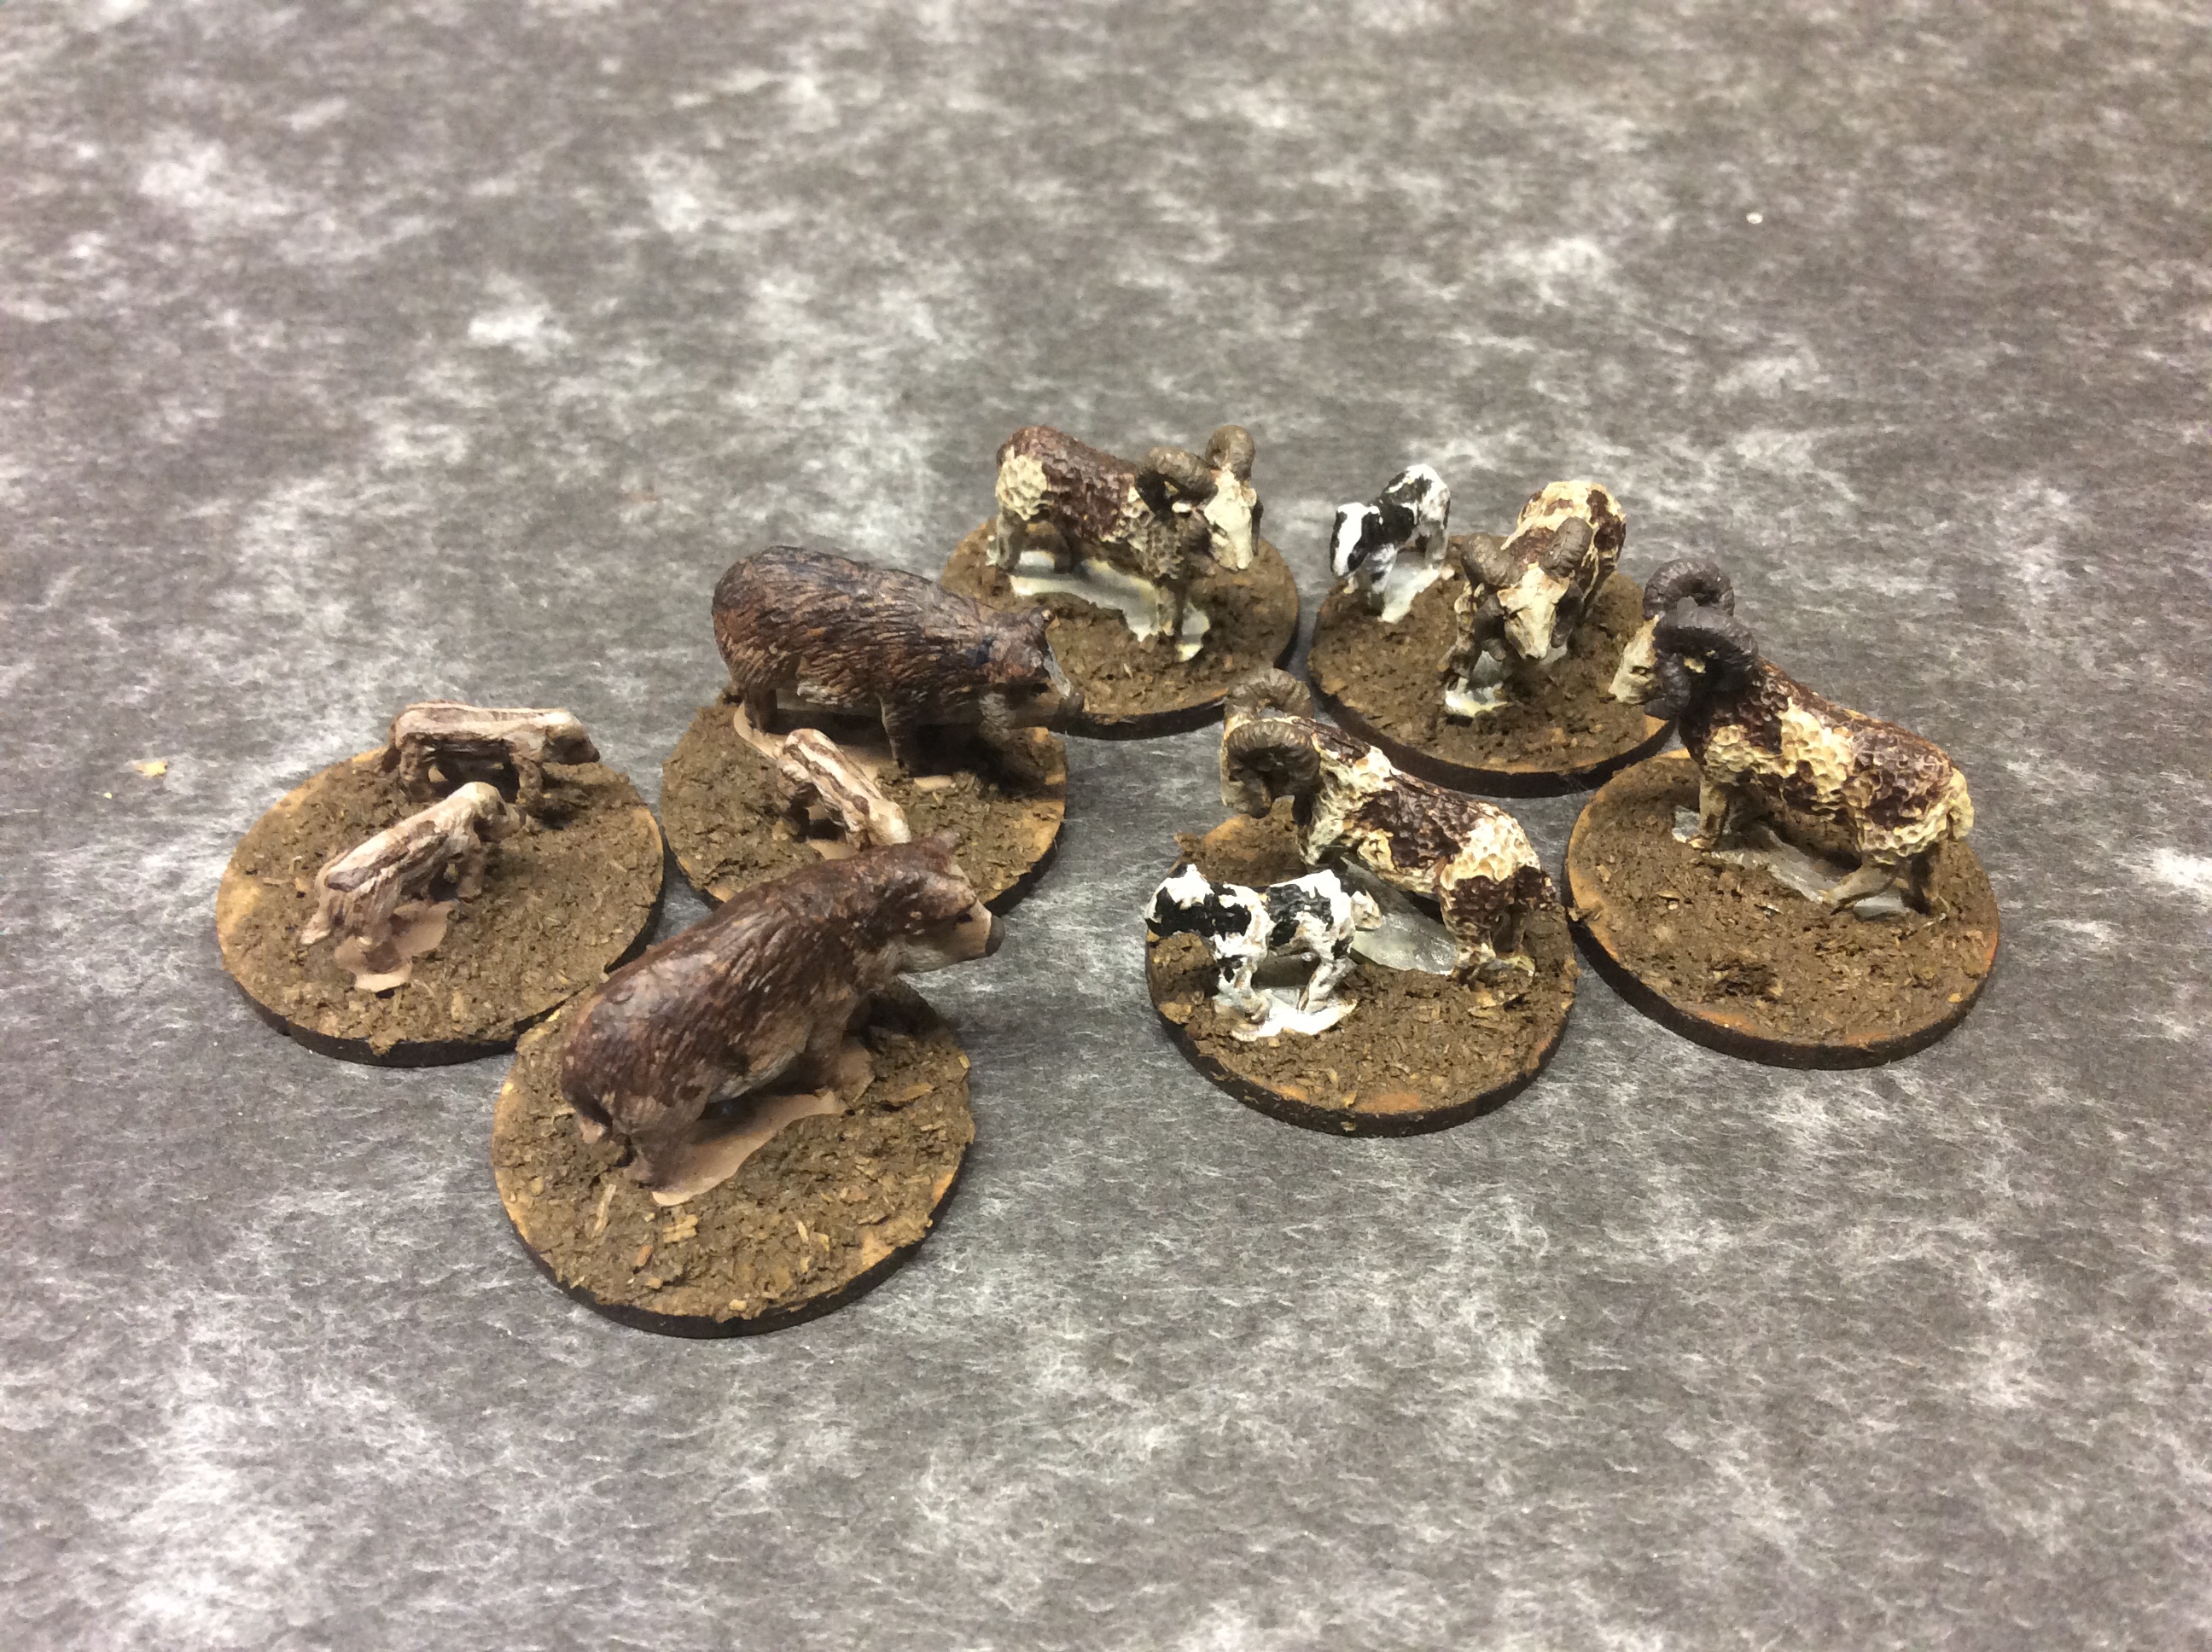
Yesterday I did a couple of test prints to see how the scale was looking. The fence was a bit on the large side and the buffalo a bit on the small side…See here .
So today I dropped the fence from 60% to 50%…
This seems to be better. It looks more like a farm fence than a zoo fence. I messed up by adding supports to it, so it took the same amount of time as the bigger one. These two bits took 44 minutes.
The next thing I did was to increase the buffalo from 60% to 70%…
Chasing the cows
The cows look okay too, perhaps a bit on the large side, might try 65% or perhaps I will just leave them as is. They are stage dressing for a war game table so they should be fine.
Actually when I look at the 60% water buffalo on the base with the miniatures then it doesn’t look too bad actually.
Am I taking this size thing too seriously!
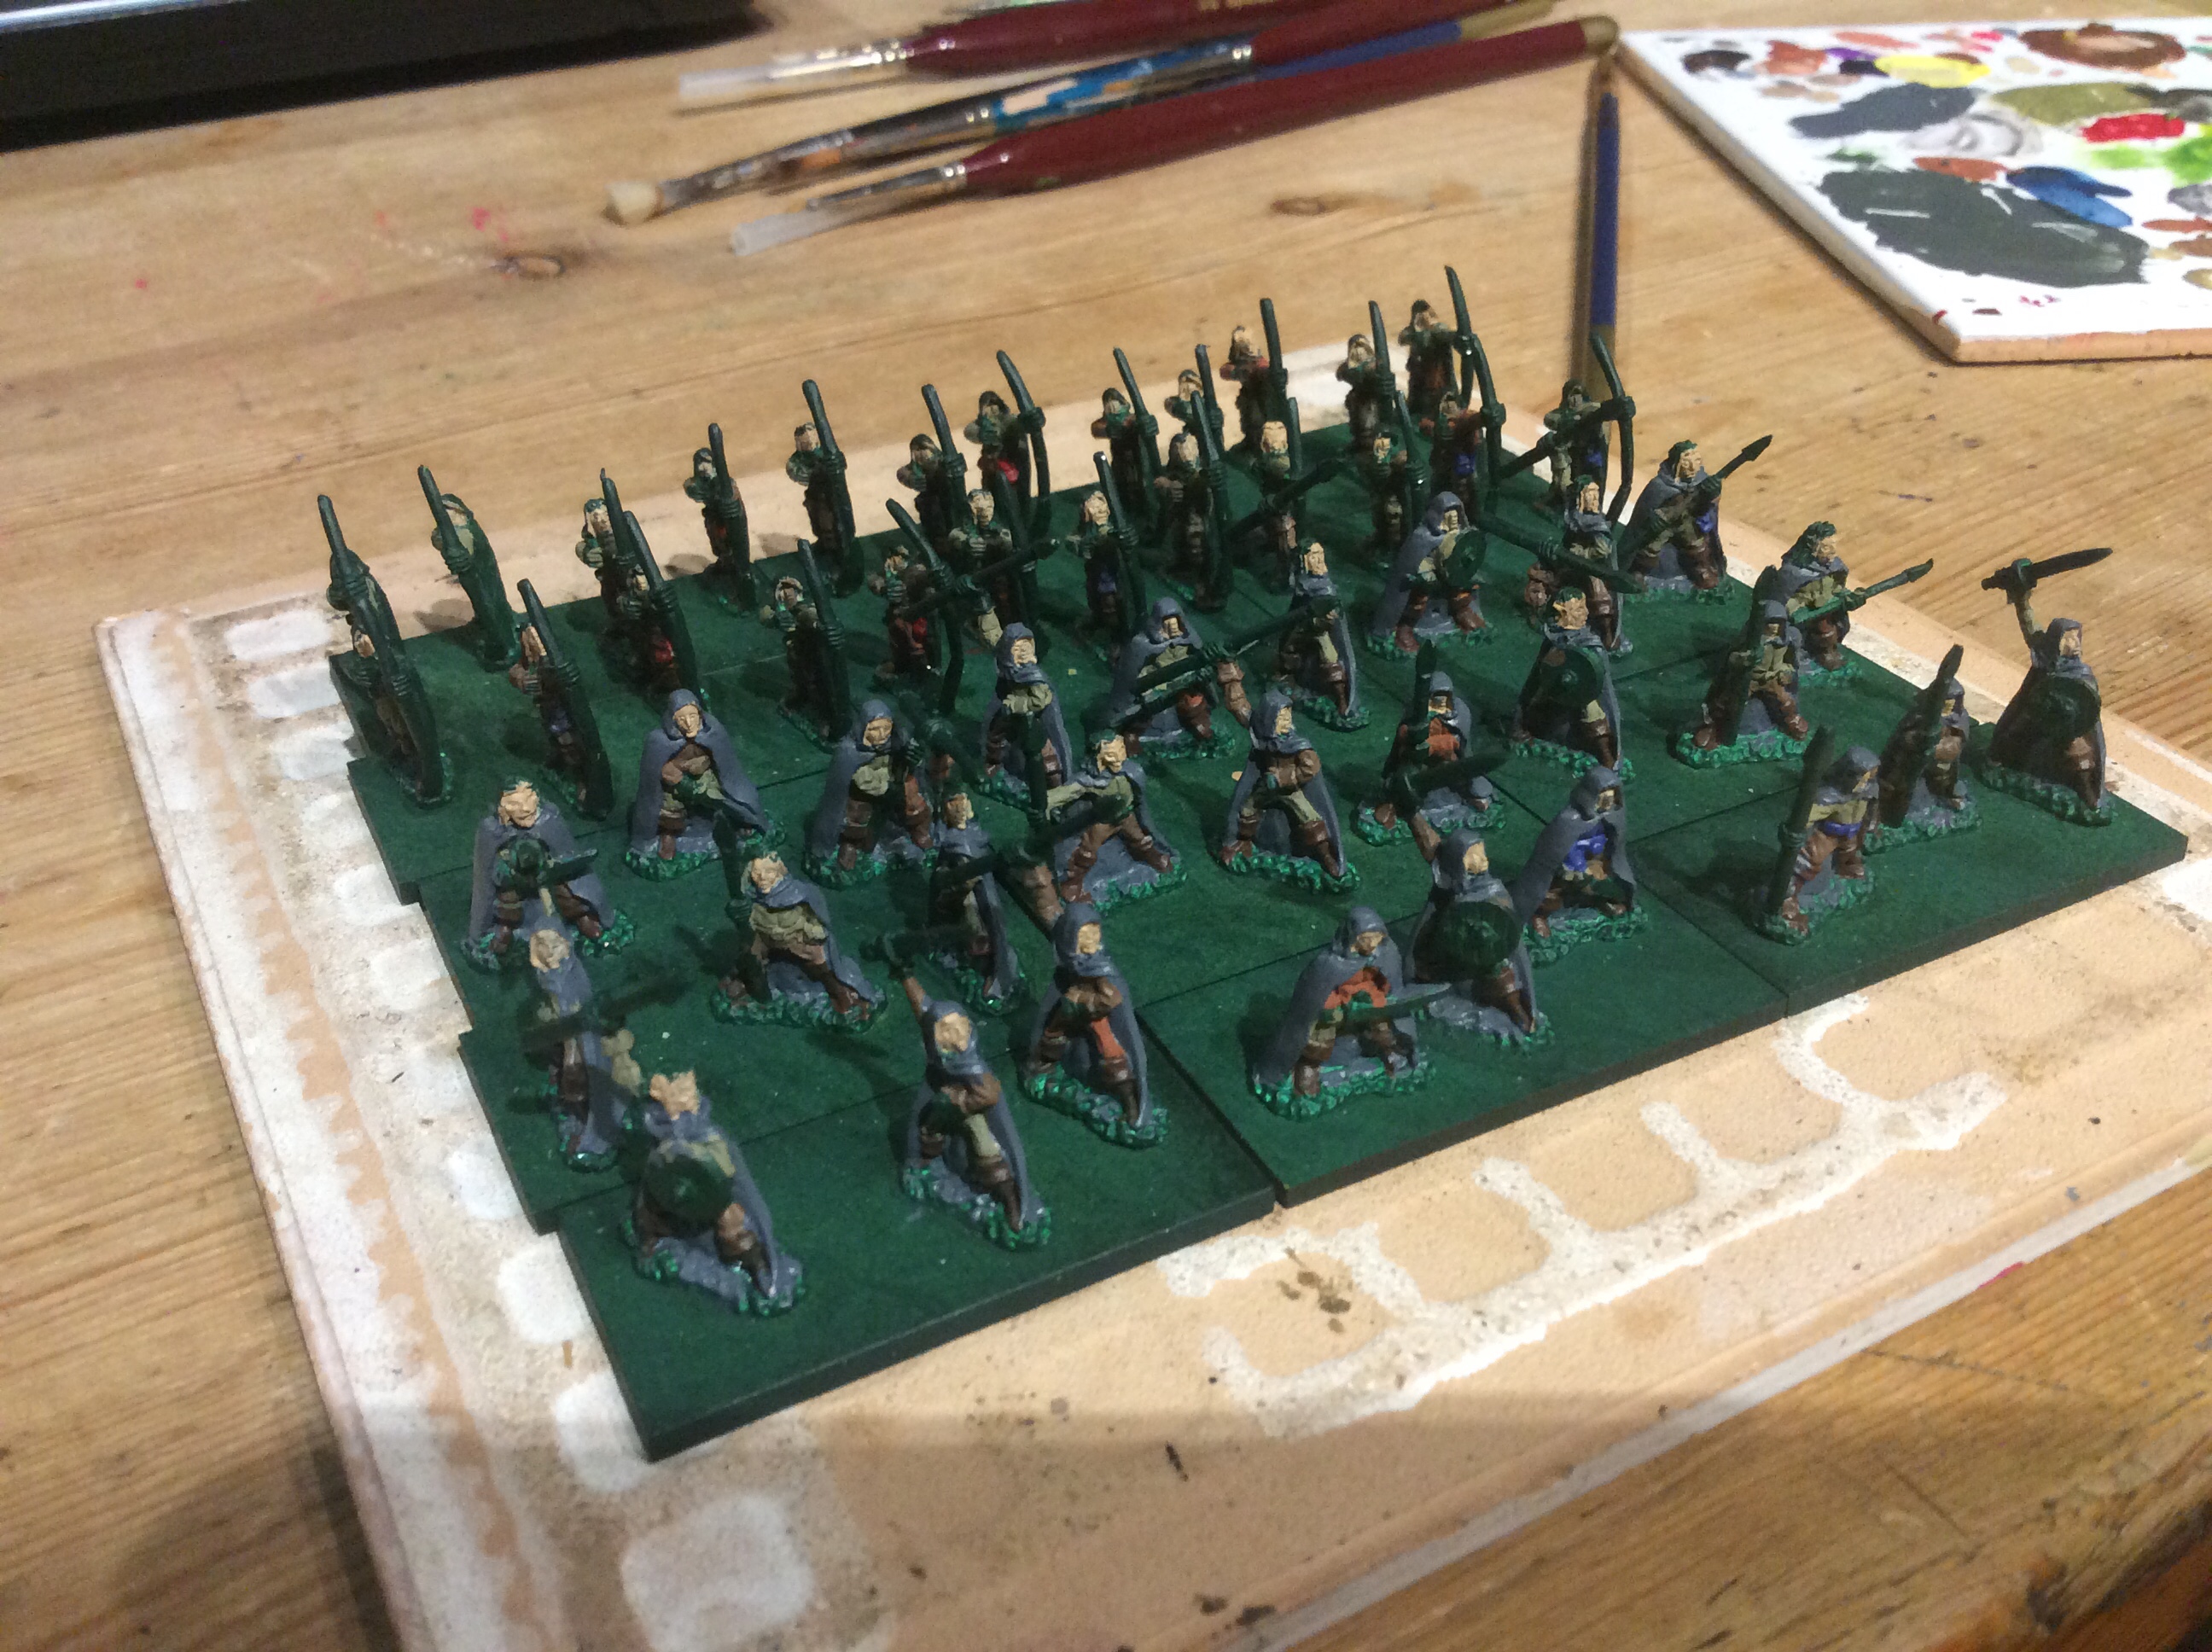
So right now I am printing off a farm house with a thatched roof. It is done at the 50% sizing. It might be a bit big for a war game dwelling when one miniature equals a number of real people. We shall see.
The advantage of having the STL’s is that I can faff around with the sizes. I want to make a 15mm Force or two for my Ronin rule sets. If the house is too big for a multi base war game then it should be fine fir a skirmish game.
The building will take four hours for the walls and then another four plus fir the roof.
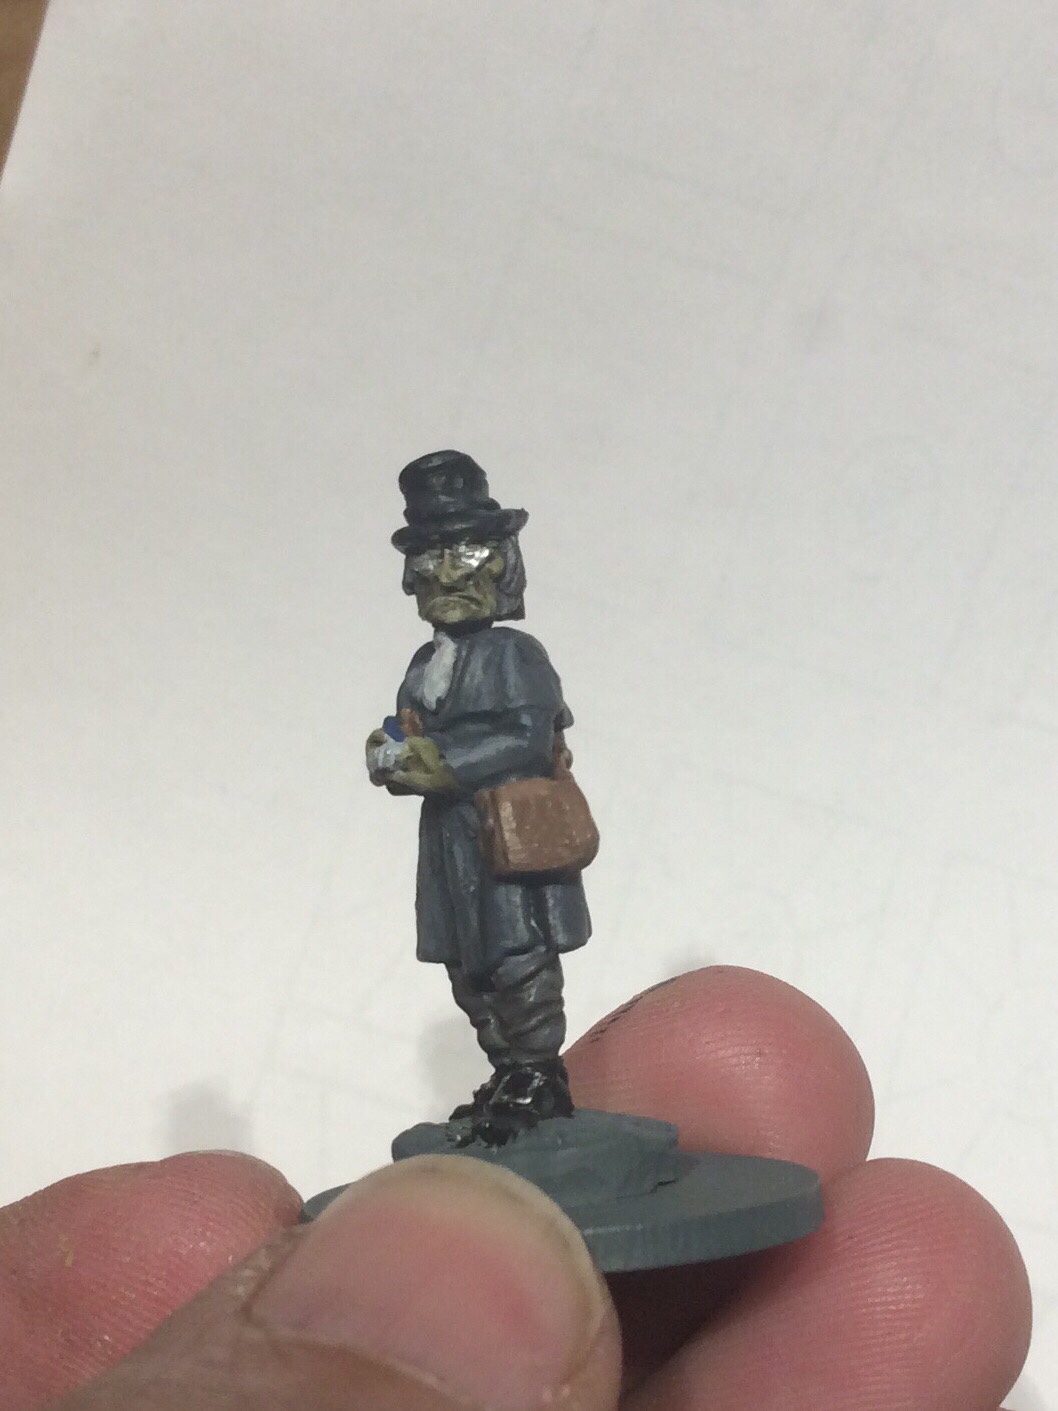
This hobgoblin miser was sitting there undercoated. I fancied painting something and half an hour later he is pretty much finished. Not my best painting ever, but another figure down in the lead pile.
I doubt I will get my aristo finished tomorrow night as I am off doing internet safety in one of the schools.
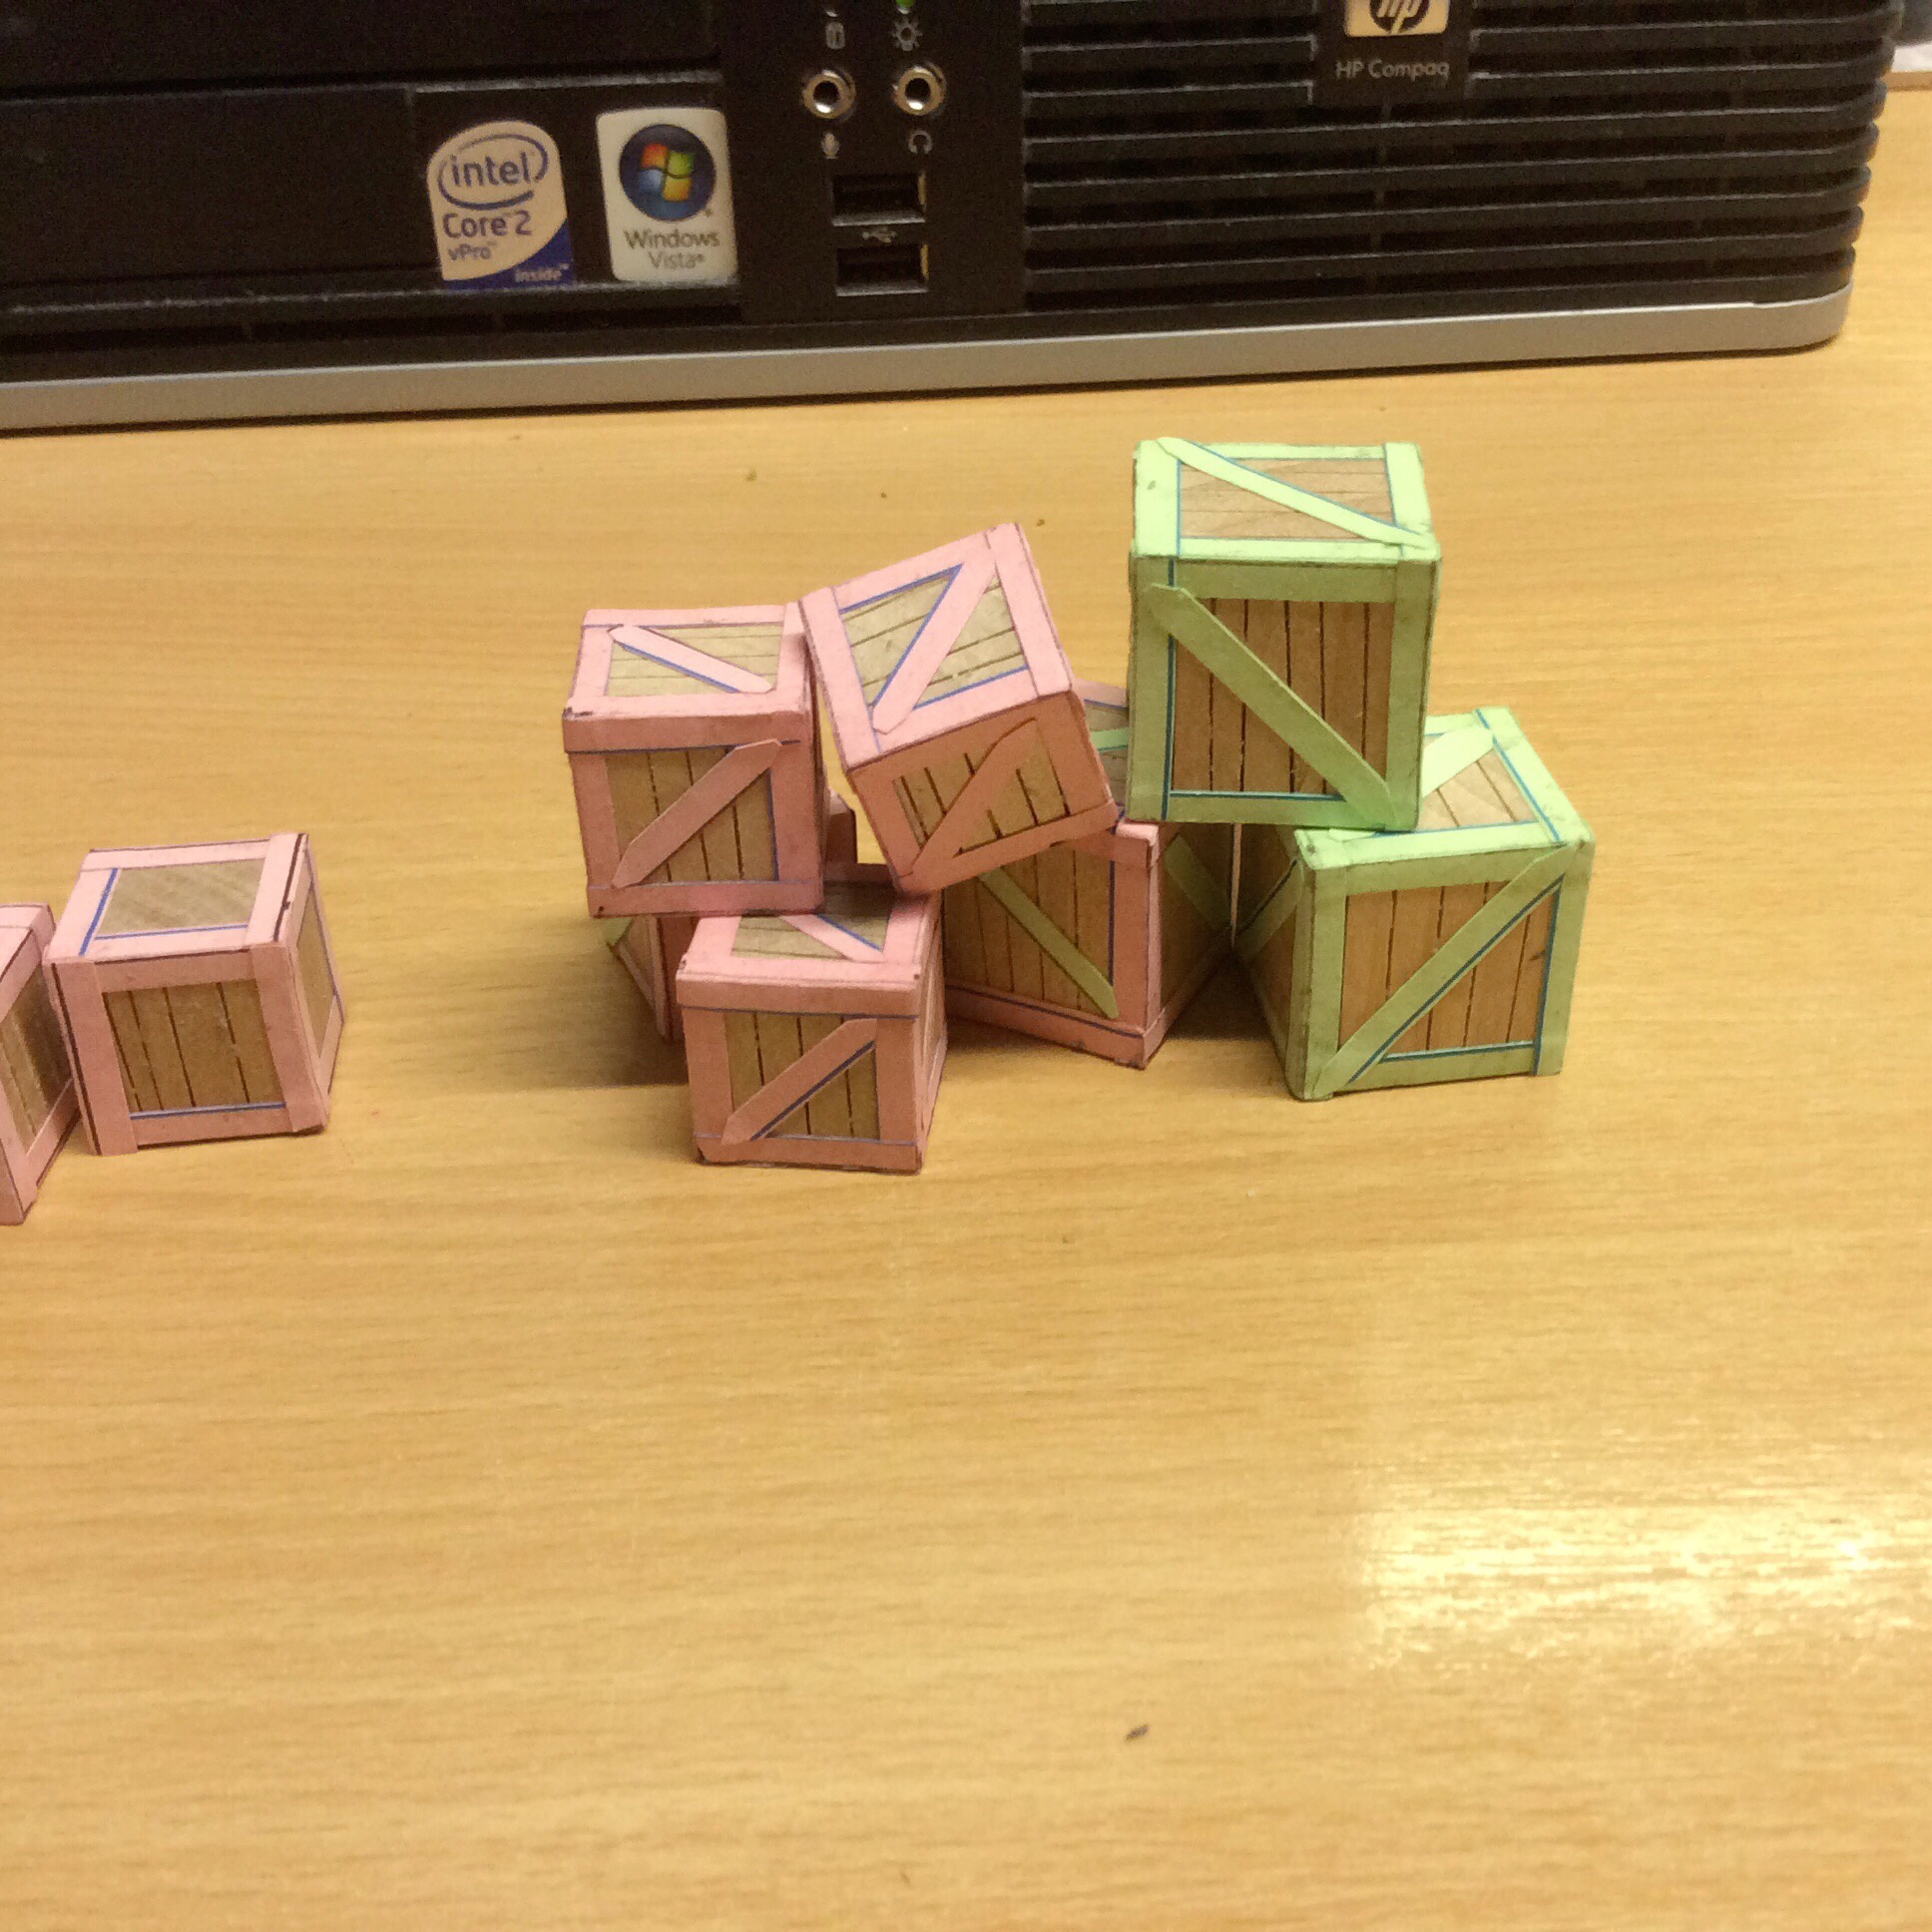
I spent a bit of time this lunchtime getting some more of the crates ‘built’
I still have half a dozen of the larger ones and one of the smaller ones to saw the planks into. I have two sitting there half finished too. I imagine they will look a lot better once they are painted.
By the time I am finished I will have 10 of each size. I was, however, considering making a double length one to see what it looks like. If I had thought about it earlier I would have done it with the smaller ones too.
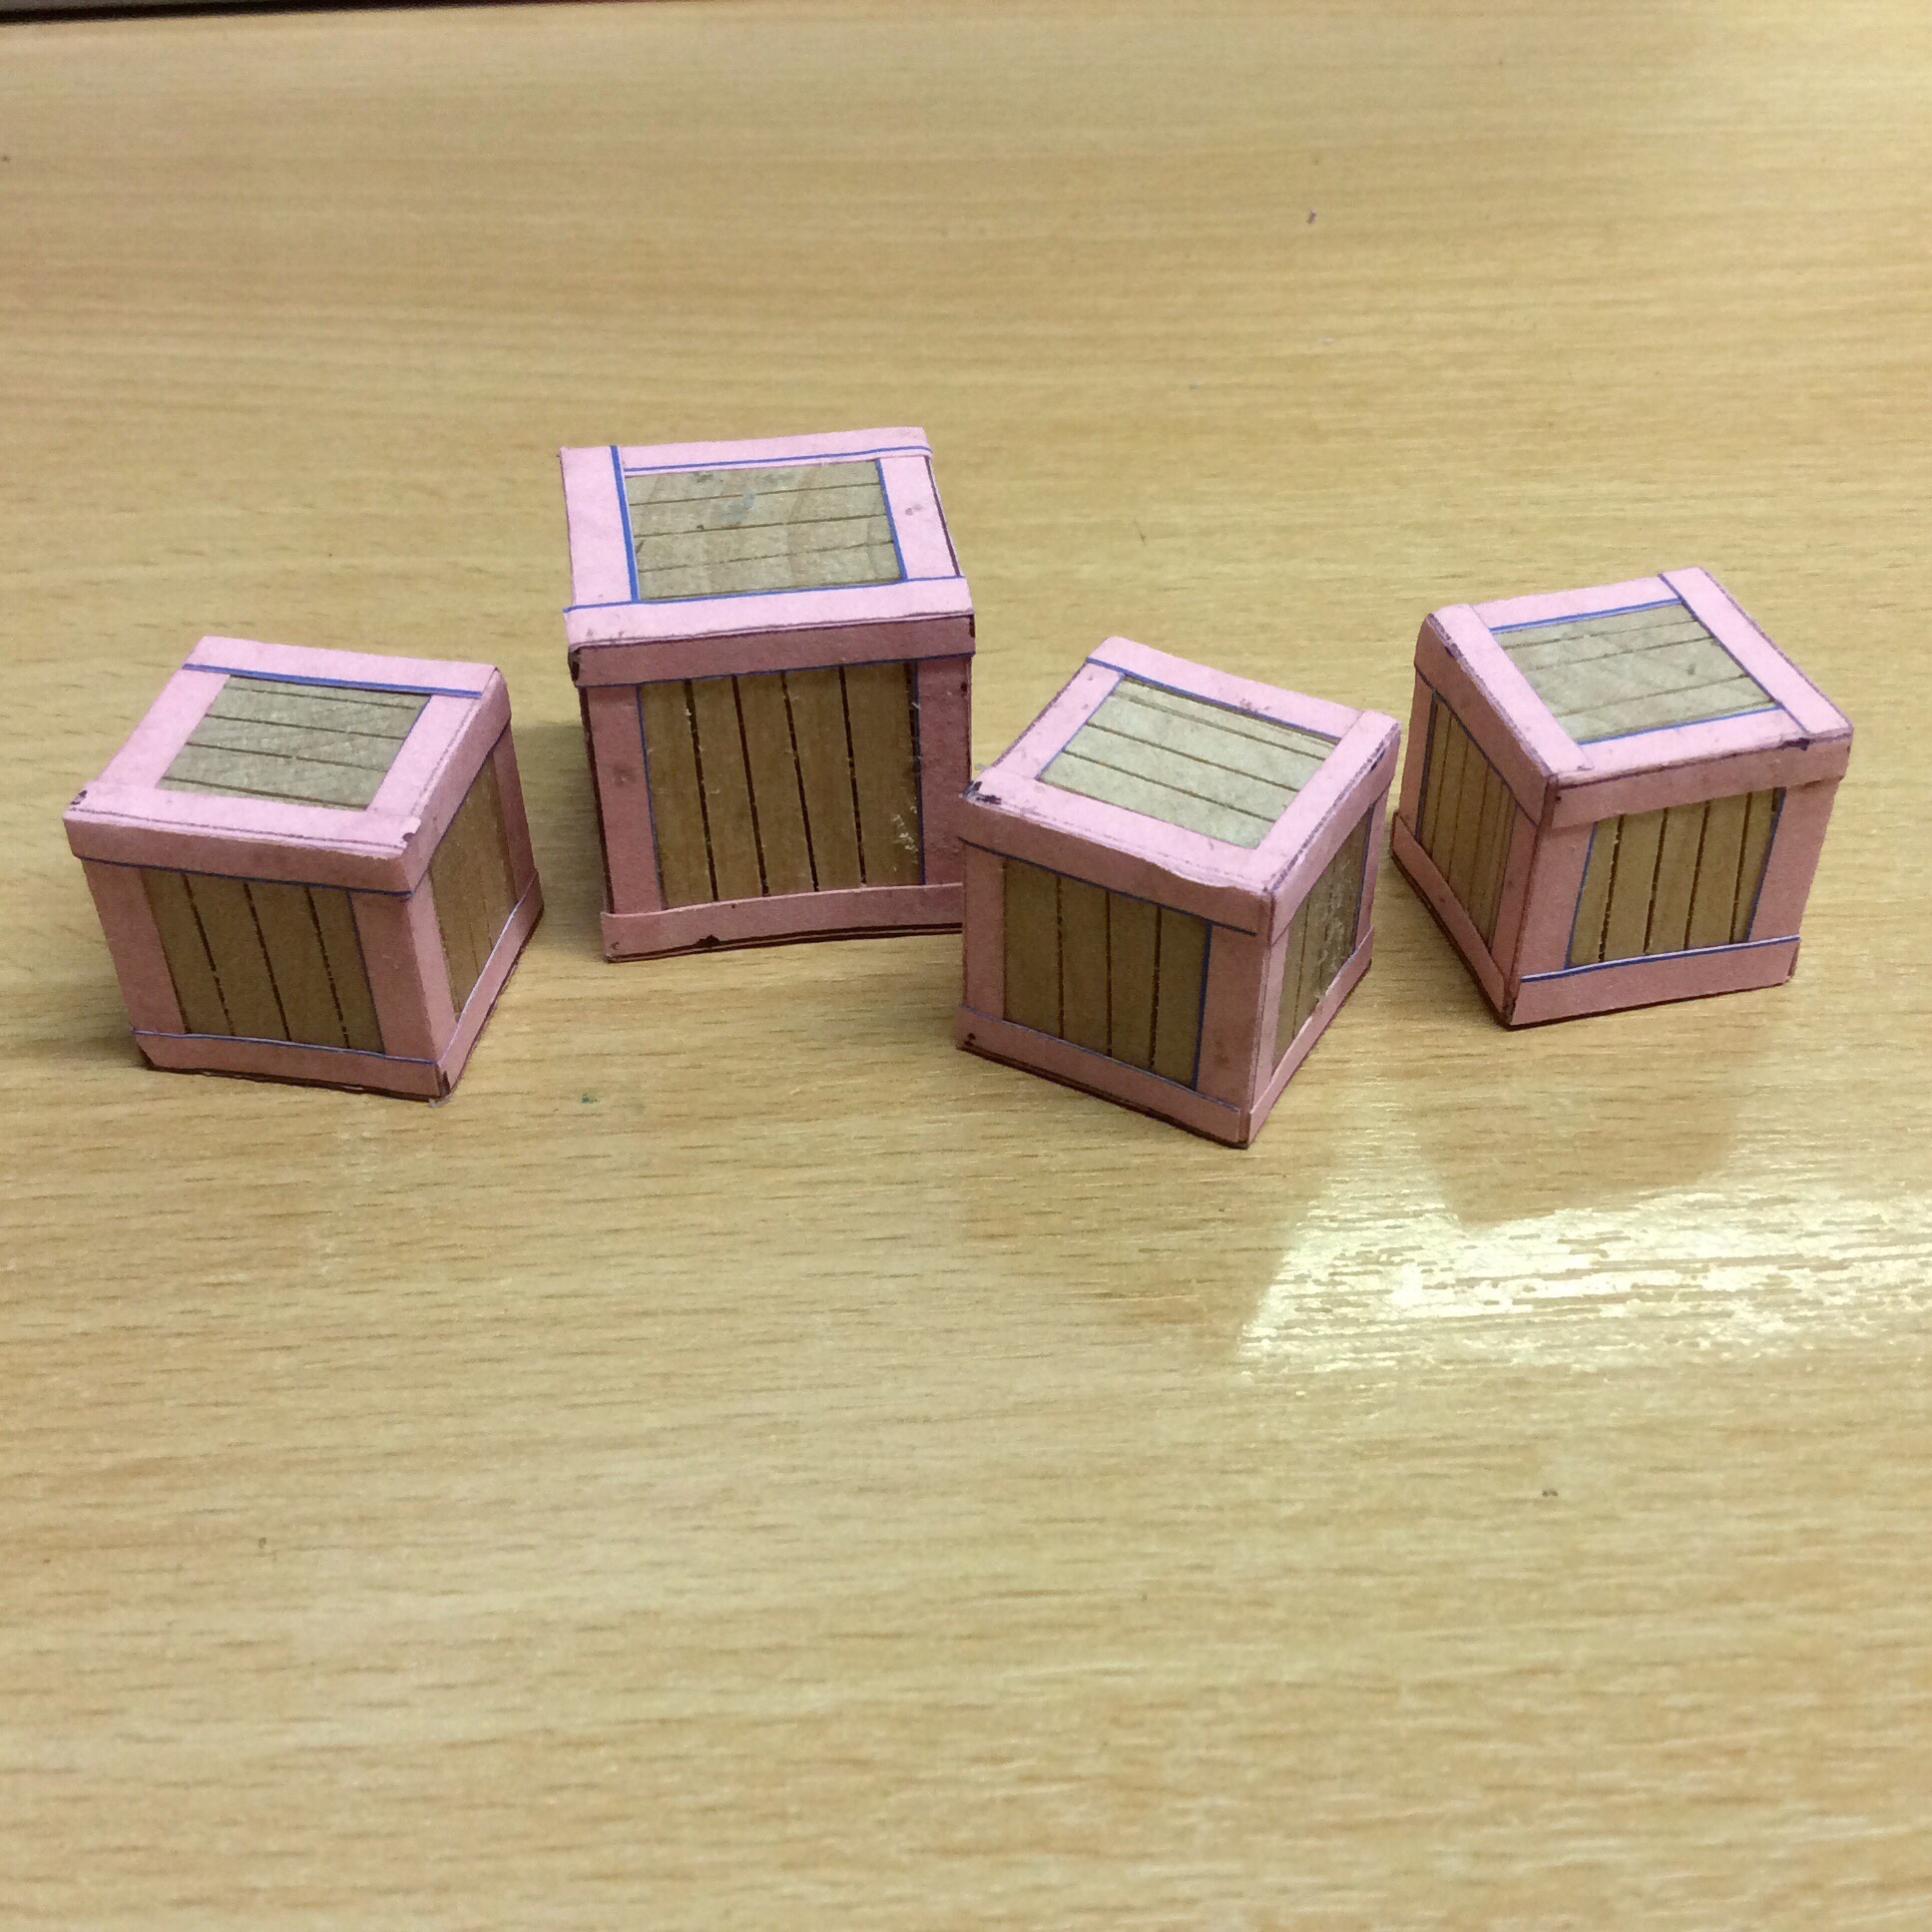
I decided to do some more crafting this lunchtime. I had sawed lines into a pile of cubes so I brought them in to get them sorted.
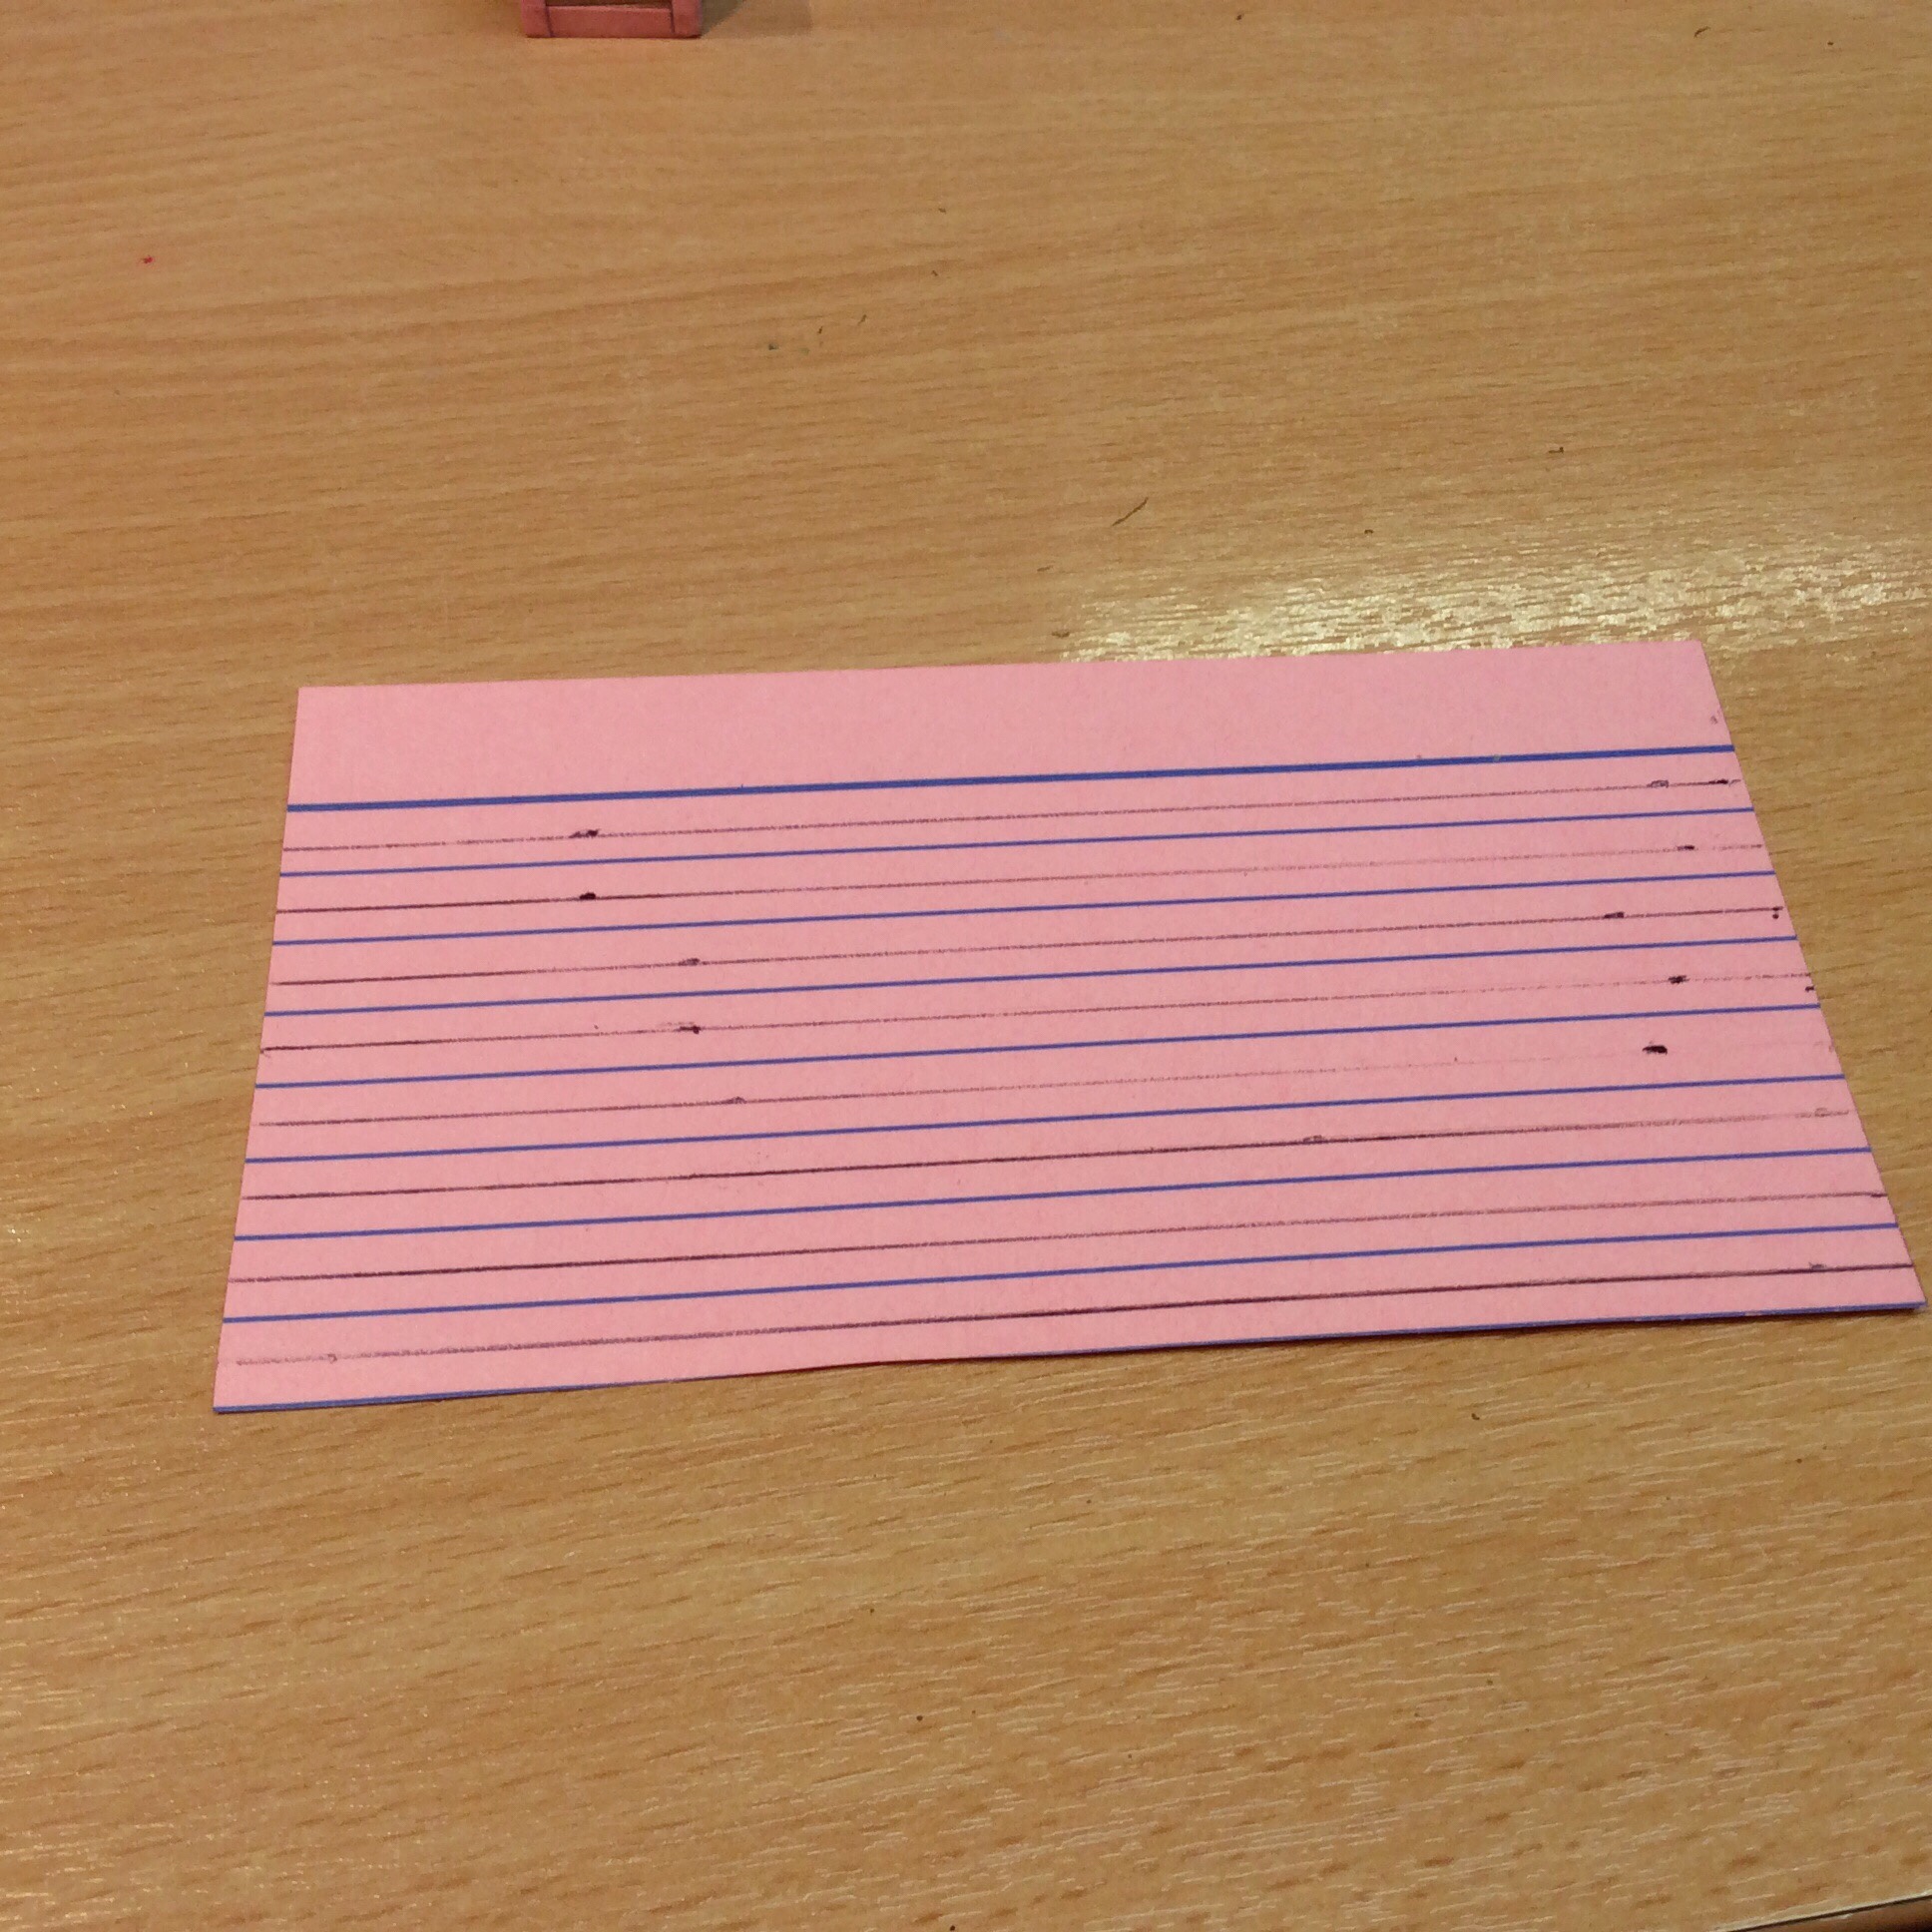
I found that the index cards are an ideal thickness as well as having a pile of lines on them. This meant that I would only have to measure the inner widths.
The first time I did this, I used a single length of card and then when it ran out I cut some more.
Each cube uses twelve lengths of card… I can get 6 x 20mm out of each piece of index card. Luckily I can also get 5 lengths of 25mm card.
I did a whole card to start with. I cut the strips out and folded each.
Once they were all folded I measured the required length of each cube face and cut these out.
It was then a simple case of adding them to the cubes with PVA. I like this glue to affix the card to the wood as it soaks into the card making it easier to bond them together.
Although seeming to be tedious, to begin with it actually meant that I did the four cubes in not much more time than I did two.
I am still to add cross pieces to all of the faces, however, part of me wonders whether I should bother.
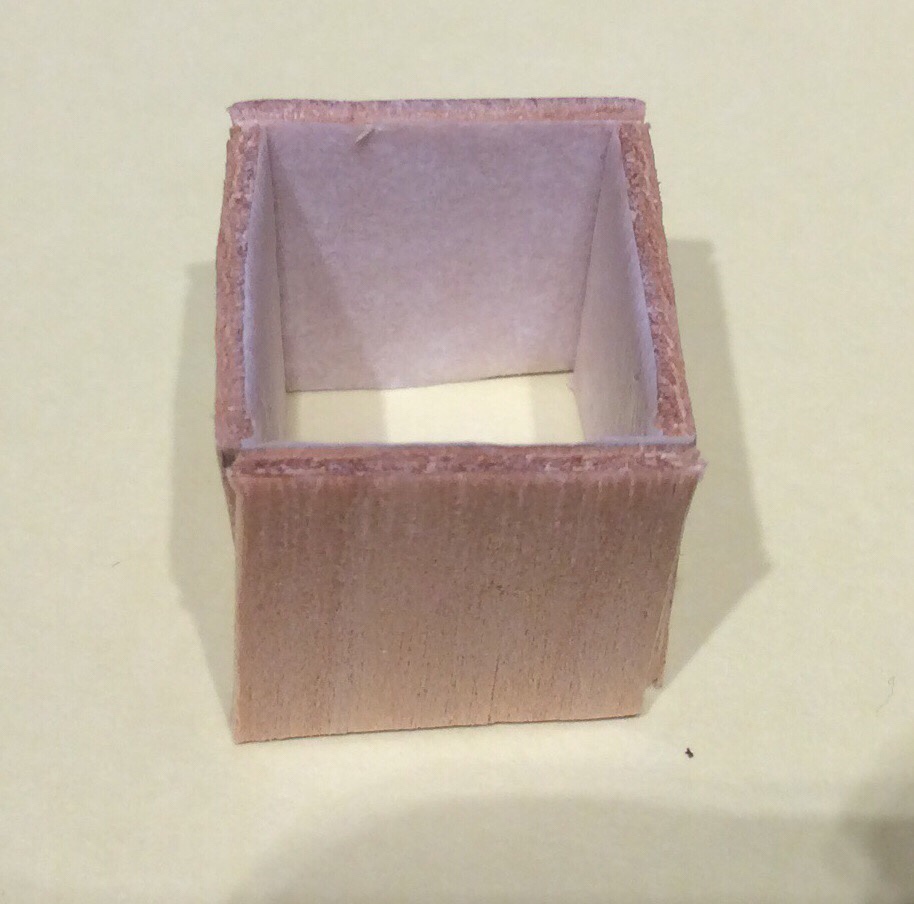
I was waiting for my daughter to get home so I made a speedy packing crate.
To be honest it isn’t the most elegant thing ever. But there was no measuring involved. It is made from a tongue depressor and some paper from an exercise book. Once the PVA is dry I will get it painted.
I used a second depressor to mark out the 4 sides.
These were cut out and placed on a piece of masking tape
Planks were etched into the pieces of wood (not shown here)
The tape had a tab left on one end and then folded in on itself so the tape was on the inside.
A bottom was then glued on and trimmed once dried.
The edging was folded in half and glued onto all edges. Cross pieces were cut out and added.
After watching a YouTube video on making books, I decided to have a try.
basically I used 2 types of card; a thicker and a thinner piece.
I cut about a cm wide length of thick card and about a 12 -13mm length of thin card. I also made some bigger and smaller books by simply increasing and reducing the size of the card cut.
I cut two rectangles of the ticker card and then stuck them together. These were, in turn, glued to the end of the thin card strip. I made sure I had a little border of thin card around the edge.
Once this was dry I folded over the extra length of thin card and glued in place. It was simply a case of cutting off the extra length to match the first bit.
I did try experimenting with a book mark by placing a piece of post it note between the two thicker pieces, but I made it a bit wide and it just looked wrong.
I left it all to dry and then painted the pages in bone white (basically cream) and then the covers in various muted colours.
The open book followed a similar principal but in this case the pieces of thicker card were glued side by side with a small gap in between them.
I cut a piece of post it note to the same width as the thicker card.
I added the extra pages by adding glue to the gap and pushing it in with a cocktail stick. in this case I added a second piece (making sure it was slightly longer to allow for the squishing into the gap)
Basically paint as before.
I used a ultra fine sharpie to add writing by doing little scribbles.
The idea came from:
Gareth has some really good simple ideas (mainly for D&D, but to be honest it can be used for anything mini wise)
Vanessa at the Crafting Muse is another fave…. Well worth checking them out. (The video below is my next piece 🙂 )