Fear not, this is not an order, but more a description of my latest prints.
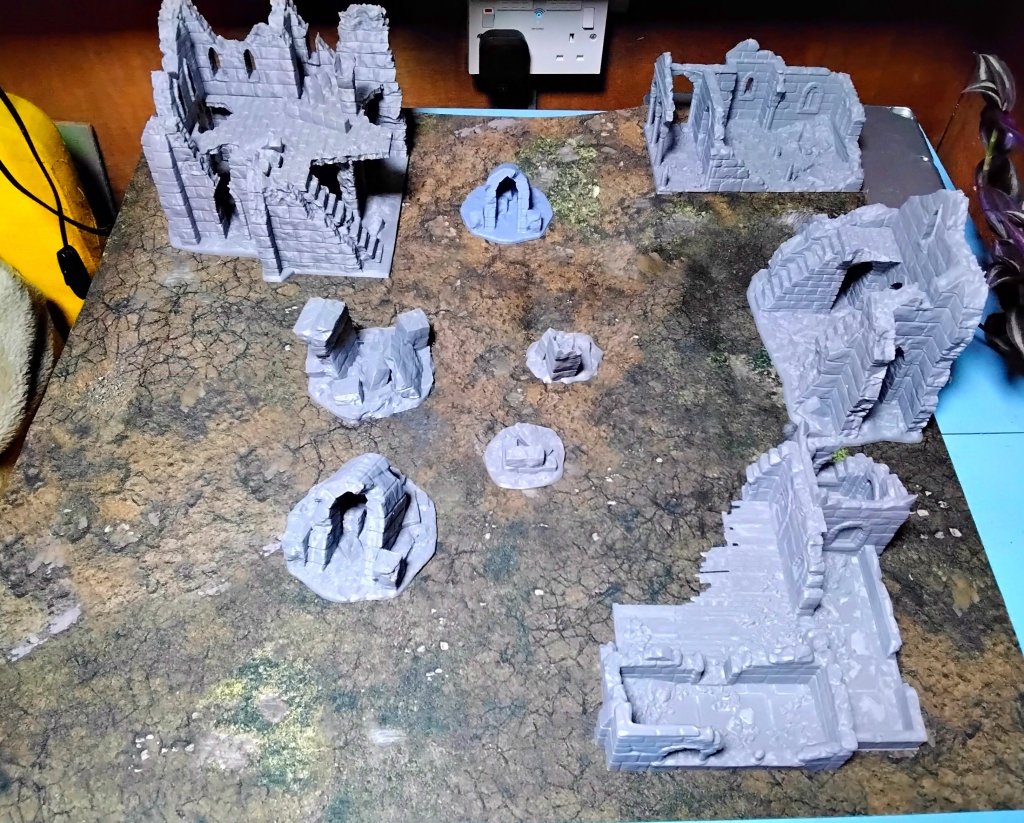
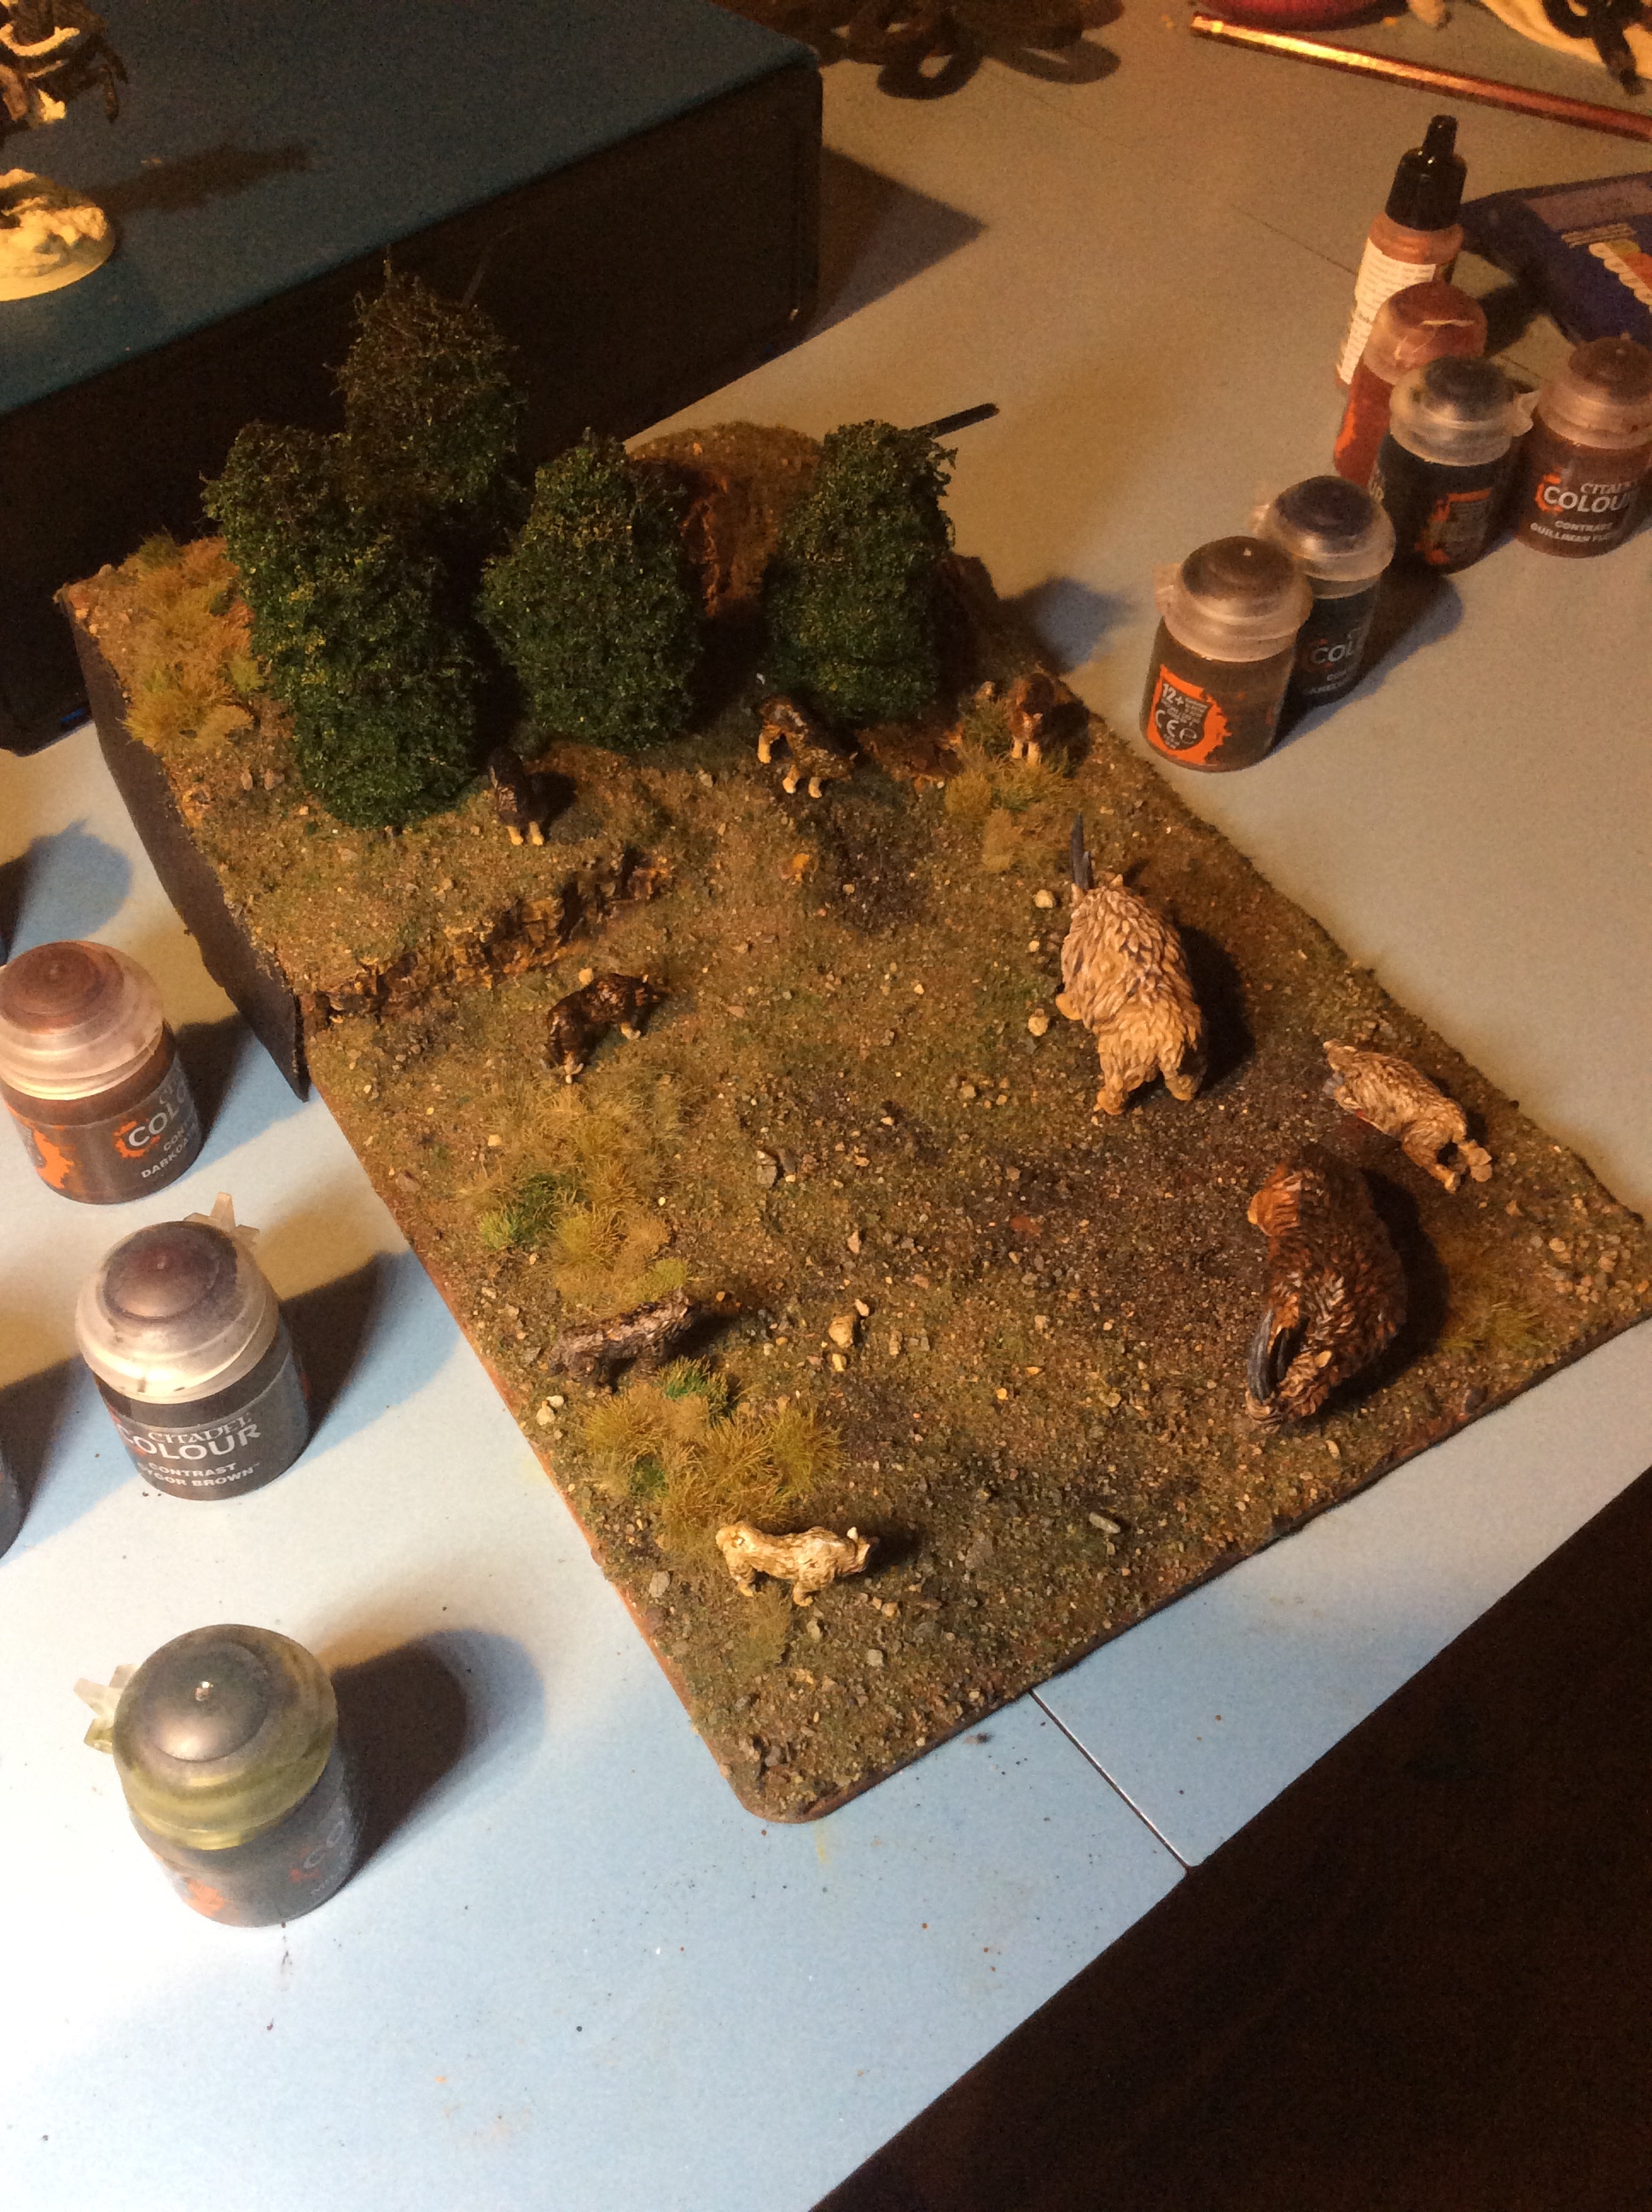
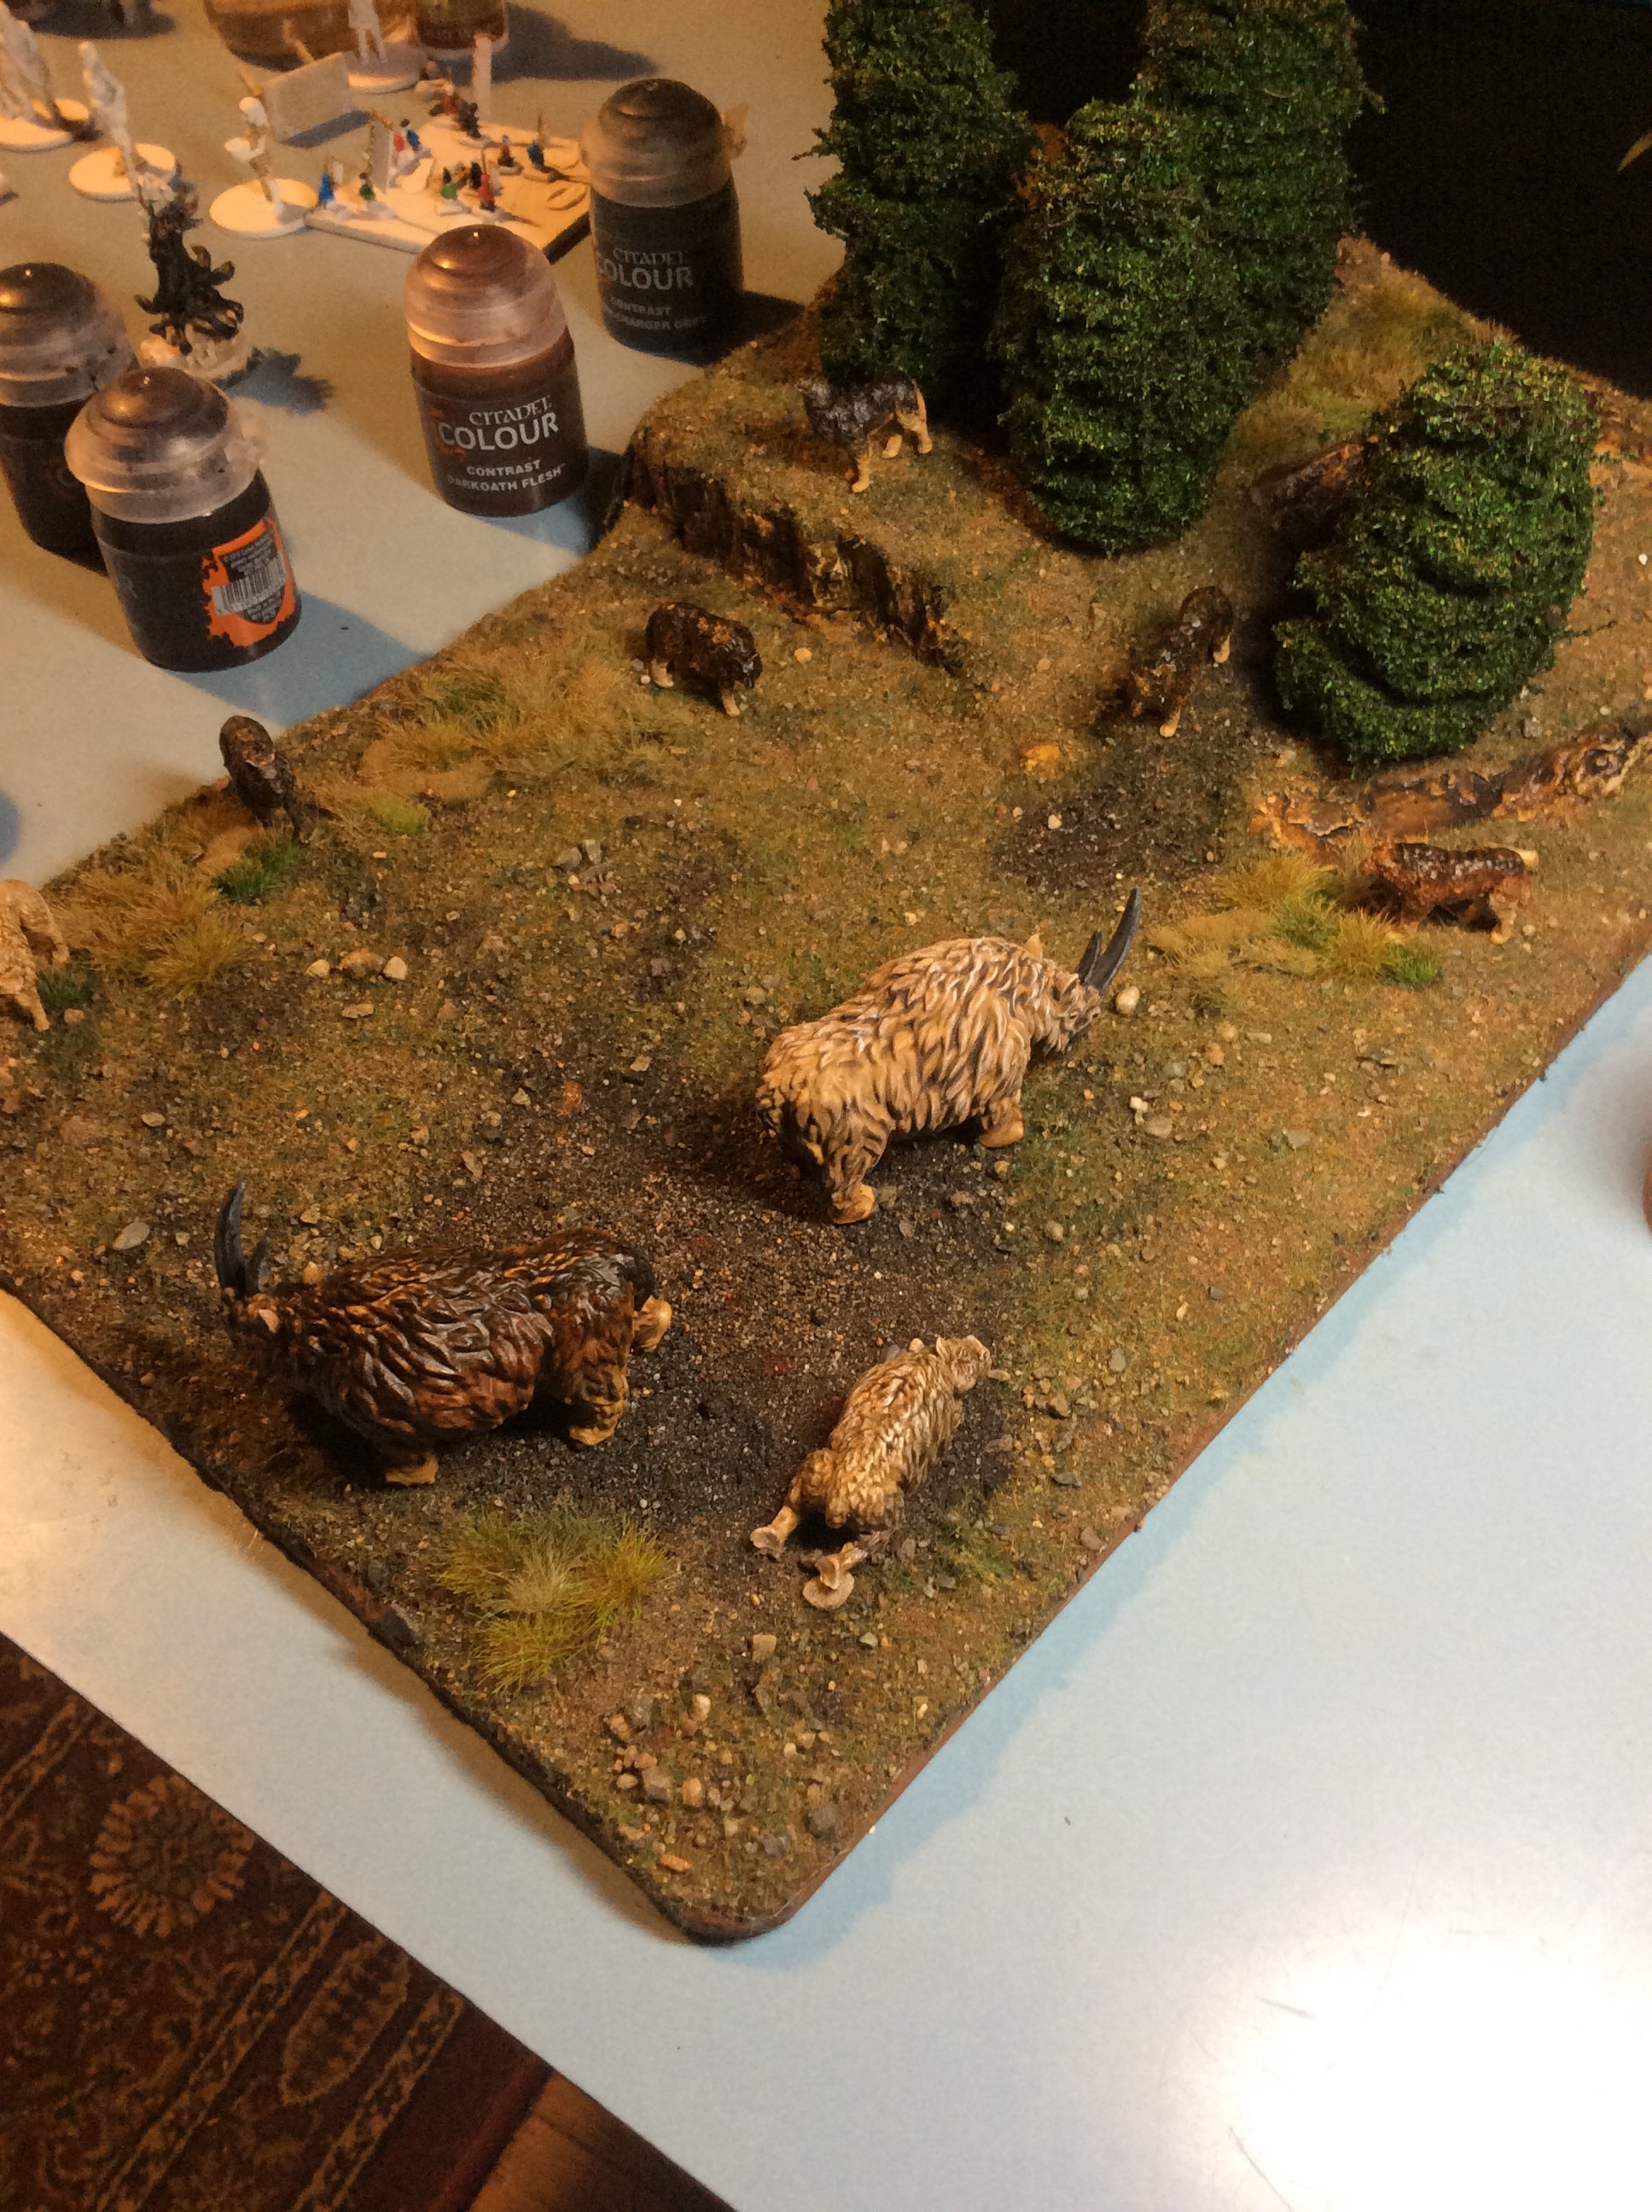
The four in the centre were done overnight. I put them on my 2 foot square terrain mat. So as you can see they are not tiny things. I am printing a second set off as I don’t I will have enough filament on the spool to do anything bigger. Over the next few days my plan is to do a lot more scatter style pieces to use up the remains of the roll.I
I will see what is in this range and then look at my stuff from Lovecraft or Highland Miniatures. Some scaling will have to be done with the Lovecraft miniatures as they are massive compared the these.
After purchasing various bits for the FDM printer I found two things, one – my motherboard won’t accept them and two – I got it working again!
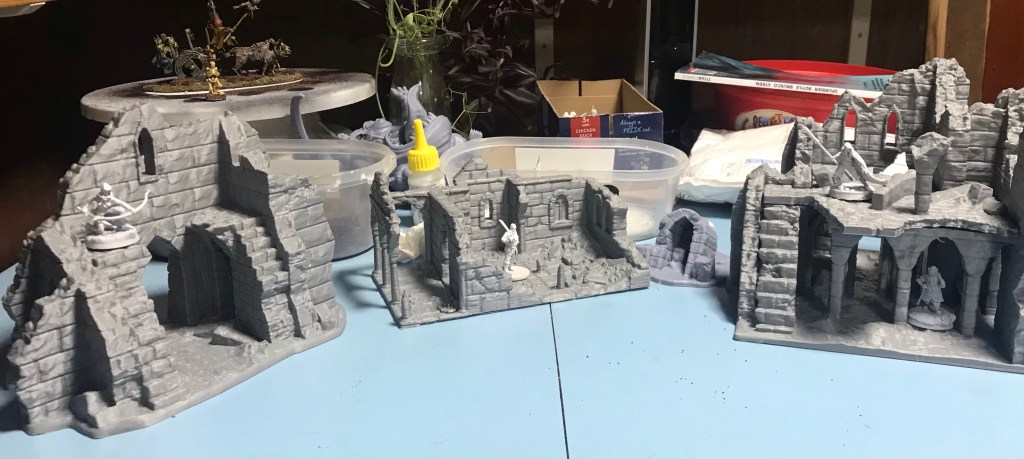
So with a bit of swearing and faffing with the build plate on the fly I have managed to get some buildings printed. Now the centre one really needs redoing as it has printed badly. The columns at the front are really fragile.
I also had a power outage and somehow the printer actually got back on with it accurately (it is meant to, but sometimes what is meant is not what happens!) The one on the right is the affe Ted one here.
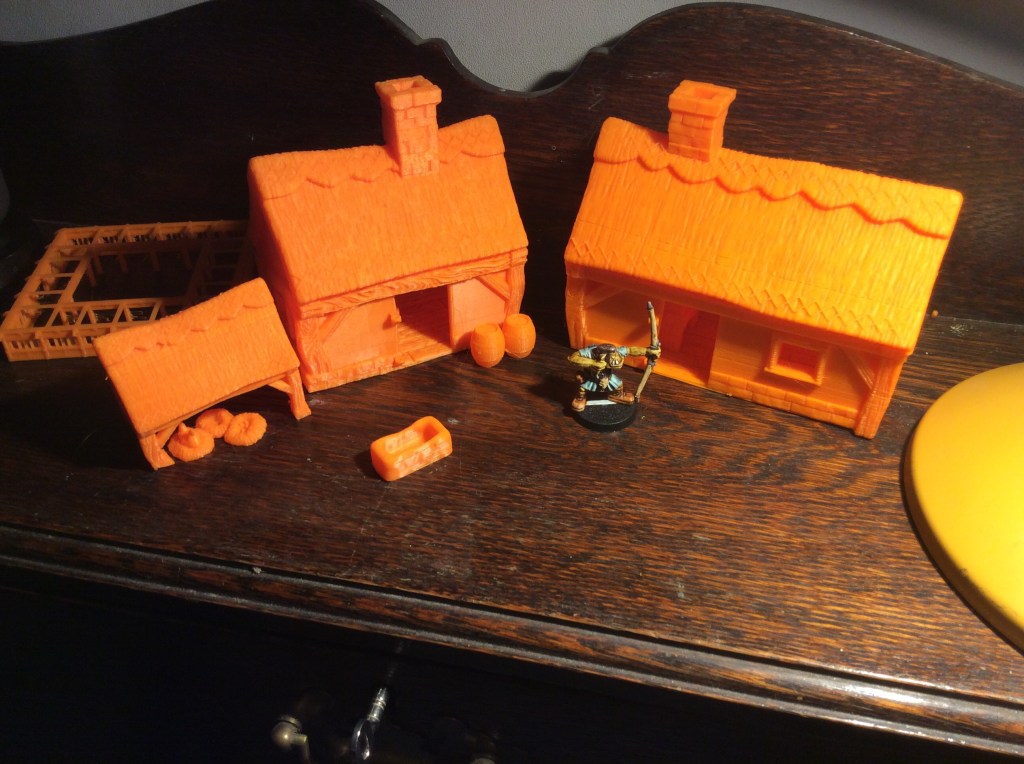
So here are the three new ones…
These are all from the Printing Goes Ever On. The one on the left is from an earlier download, the other two are from the ‘not’ Osgiliath set.
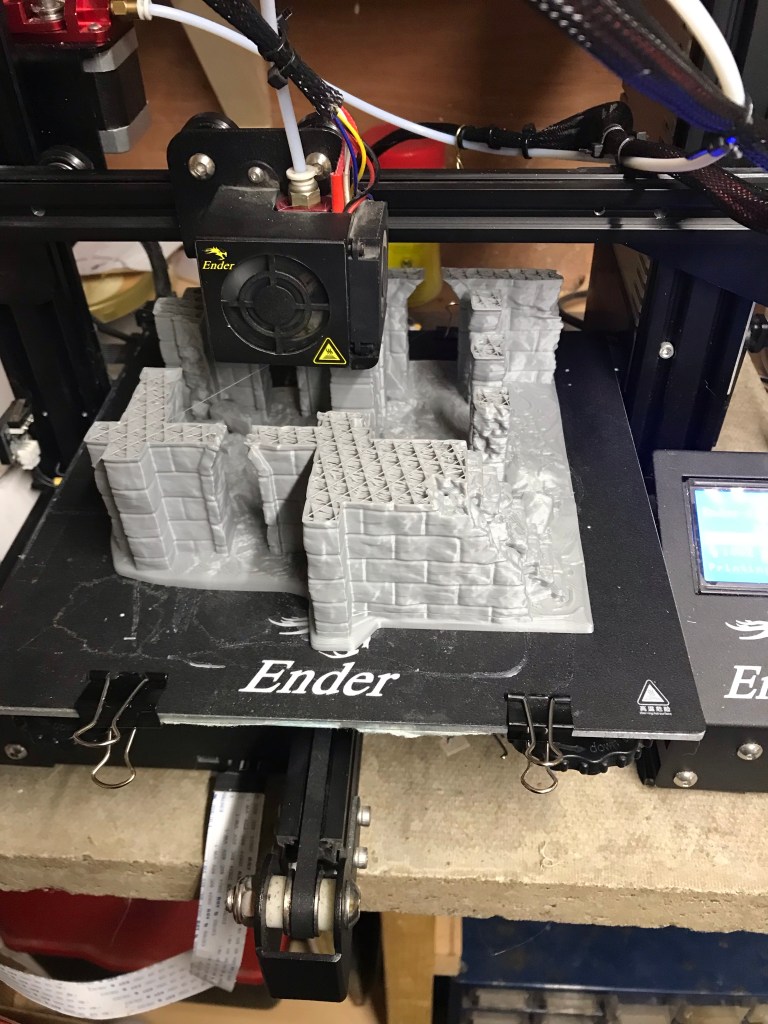
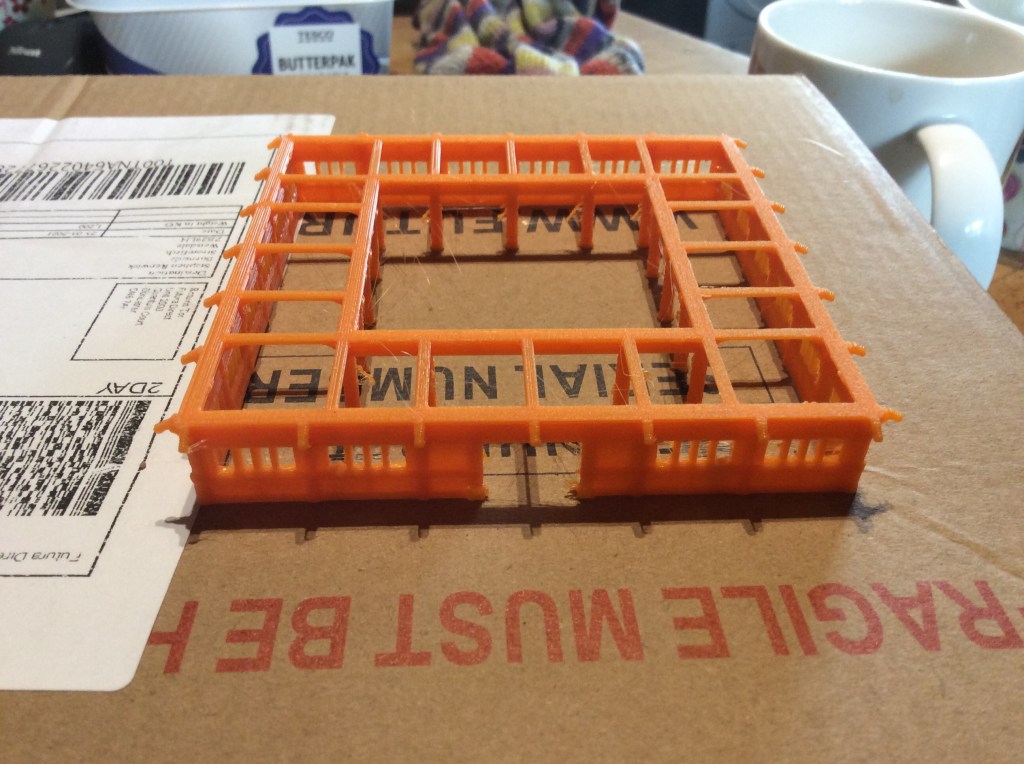
This photo shows my 20% infil. It was taken when he power came back on…
The right hand model has a first floor that comes off and was printed separately.
I am renting another one off right now. Four hours in… and I cannot really see the timeline moving… the FDM takes forever. The building on the right took 32 hours plus another 5+ for the separate floor.
In case you are wondering, the printer is sitting on a concrete paving slab. This is because I have to leave it on for so long.
It’s my mates birthday at the end of the month so I have got him some market stalls for his Monster hunting games.i sad a couple of issues, fire off, the corner of the front curled a bit. So to hide it I am going to base each one and get some ground cover up to the edge. Either that or stick a box in front of it. Second problem is the thatched roof. It is meant to come in two bits but for some reason my printer decided it was going tombow each end… easy fix… Inshall ‘build it’ in the software and print it as one piece. I will still probably mess around with greenstuff with this one… always good to have a bit of practice…
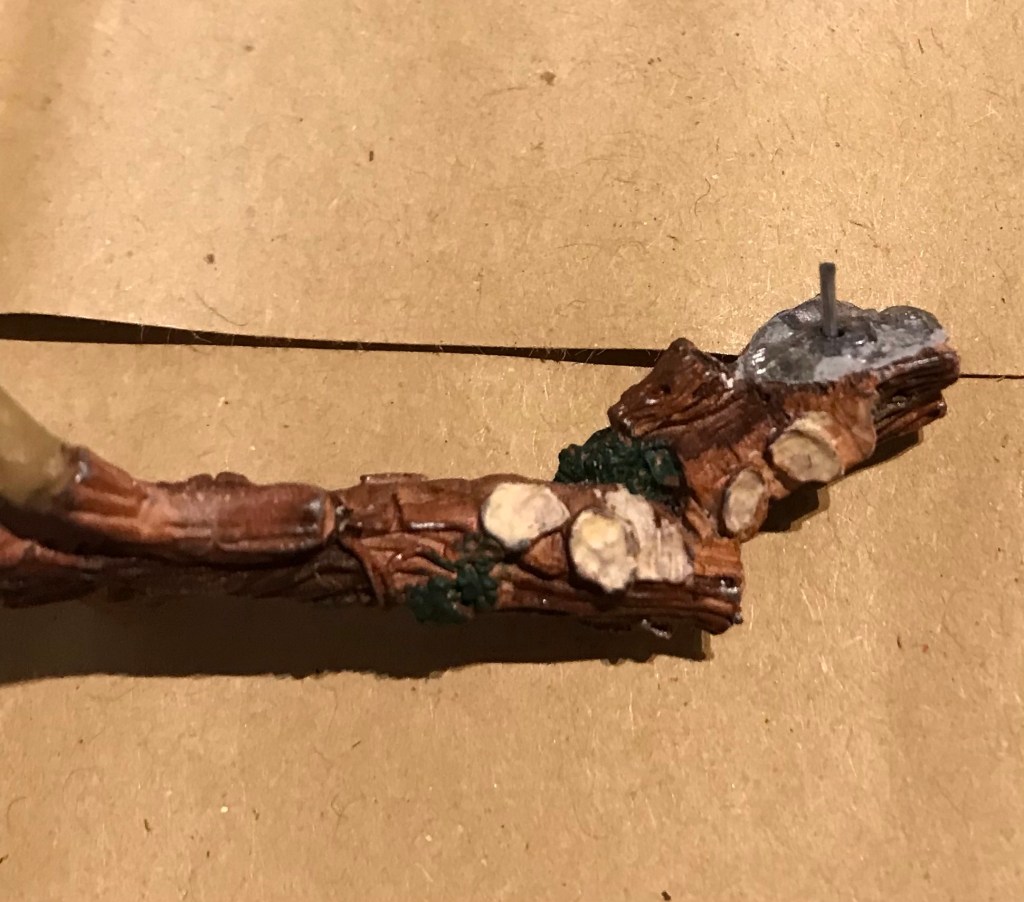
I also did some pinning of a model that I have had since the 90’s I found it in a box and decided it would be ideal for the Silver Bayonet… can you guess what it is from?
Finally I have just seen a Great value kickstarter for anyone with a 3D printer. The kickstarter is there to support the people of Kharkiv in Ukraine. You can find it Here.
Chief Vitalstatistix was somewhat nonplussed to hear that his rival Mykingdomforanorse had got a bigger fort than his, so he popped over to Brittania to see for himself….
My original plan was to use milliput to build the ramparts, but as I had about a litre and a half of my original modelling compound then I thiugh I would try an experiment, building them with that instead.
I increased the height of the original hill in the centre and the started using small amounts to do the ramparts.. you can see the size difference with the original one.
This one will need a bit of work once it is dry as some of the bits justlook stuck on to the base…
My plan is to add some more defences where the opening is… got to confound those Romans somehow.
It looks a bit weird in it’s raw state. Once I have got some paint on it, it may look better. If it doesn’t then it cost pence to make and about 25 minutes in terms of time.
I have decided that this thing is protected by cliffs on the sides nearest the camera. These will be painted accordingly.
I will try and get some miniatures painted tomorrow evening. I might even go for 2mm, 6mm and 28mm…I do also have a 15mm Dervish warrior undercoated too!
This evening I worked on my hill fort interior… Aka making some houses. I spent ages trying to texture my own roof for a simple one I had designed. I really needed something other than Meshmixer. This is able to make the basic shape, but I really couldn’t get it to do any texture on the roof.
So I went back to plan B. I cut out a house from the original village in Meshmixer and repaired it. I the copied a few and supported them. To be fair I should have dropped my support density from 74% but I forgot.
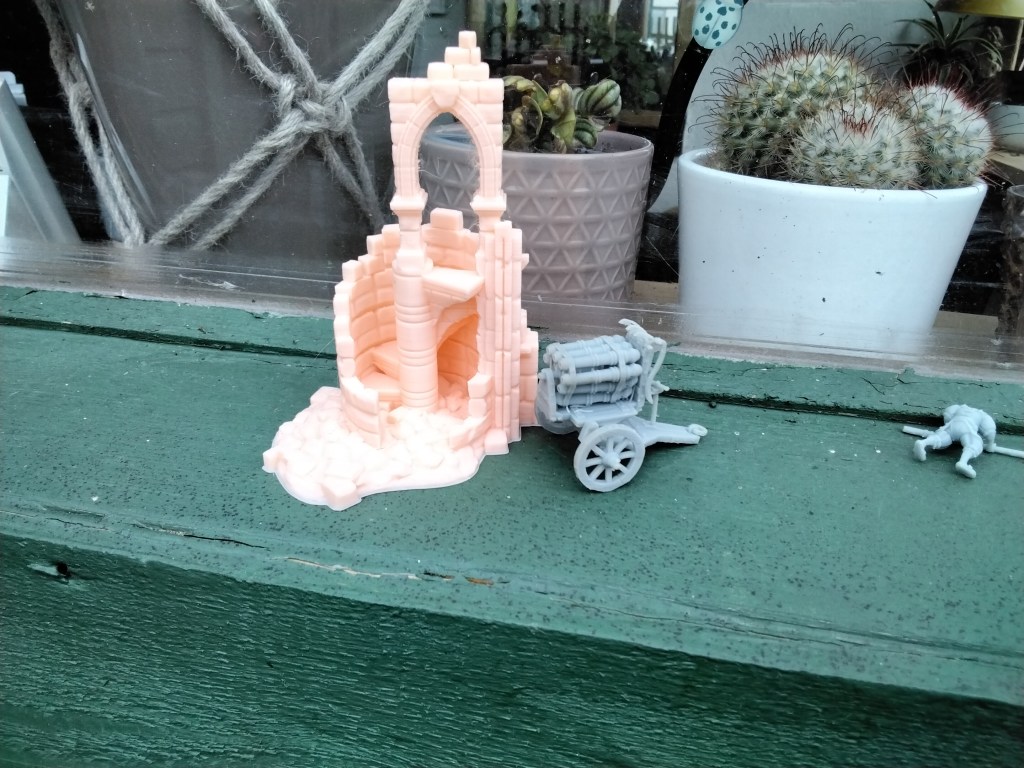
As you can see, I also got some texture onto the thing too… the house is the small grey thing next to the chariot. Chief Vitalstatistix is pleased with the progress. I reckon I will get four or five of the houses in to the space I have.
I will probably do a bigger one than this. I was looking at pictures of hill forts, I never realised that there were so many in England… 1224 to be precise… or more rather 1224 that we have found yet. We have more Brochs on Shetland than there are hill forts in Dorset
I will get the sand covered with watered down PVA tomorrow. Hopefully I will get up early enough to get it done in the morning so that is dry by time I get back
I got another ruin printed today.this onetook just over 5 hours to complete. I also printed off the multi barrelled organ gun…
As you can see there is also a pikeman sneaking into the picture. I now have a full unit of twelve, with for some reason, an extra half dozen heads… teach me to try and add up when I am tired. I also did a driver for the wagon with a pile of camp followers too. They are still in the print head now. I will show them off tomorrow.
Tonight I did a bit more work on the Japanese Temple, now to be fair I have done no research on this thing, so the colours are probably a bit naff, especially the bronze roof tiles, but I do like it😉
Still knackered so I wanted something nice an easy to have a go at, this seemed to fit the bill.
Cor blimey, I have been busy today, shopping, building, sawing, Printing, Painting and making dinner to name but a few.
Well as you know I do like my 6mm Samurai and 3DAlien World’s has produced a very nice temple building. It came out today so I just had to get it. In 28mm it would be huge, in fact the Ender would only take one base bit at a time, luckily I was going 6mm. So I built bits in 3D Builder first and then reduced them down to 24% the base is printing right now, but the walls came off really nicely…
Unfortunately I don’t think I am going to be able to pre build the roof, but I will most definitely give it a go.
I also got the Trewell Common buildings finished too..
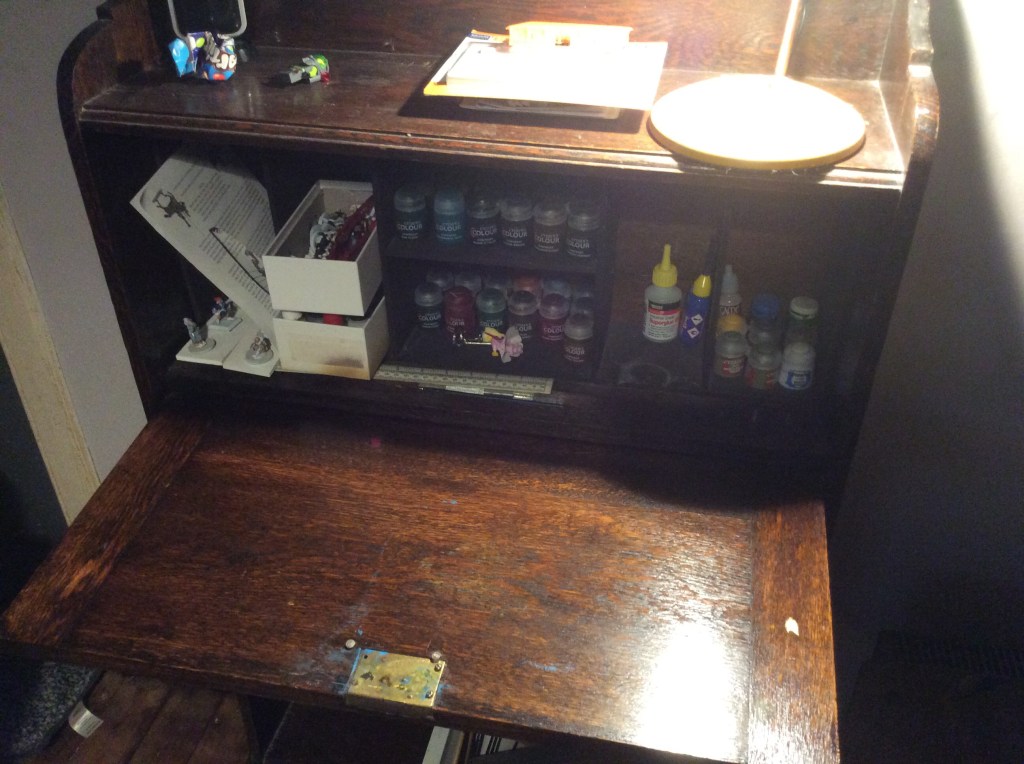
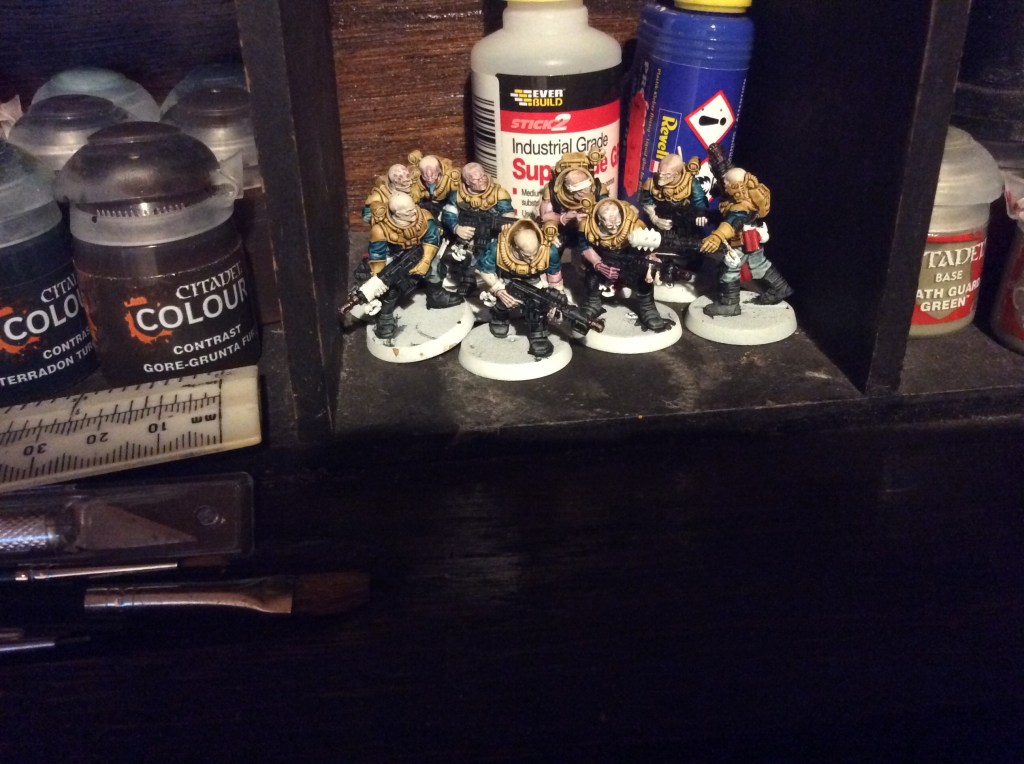
Now you may notice that the photo was taken on a different surface… this is because I now have a dedicated painting place I; the lounge…
This pretty much can store most of my paints miniatures and other bits and pieces. I tried it out this evening and did some more on the Cultists…
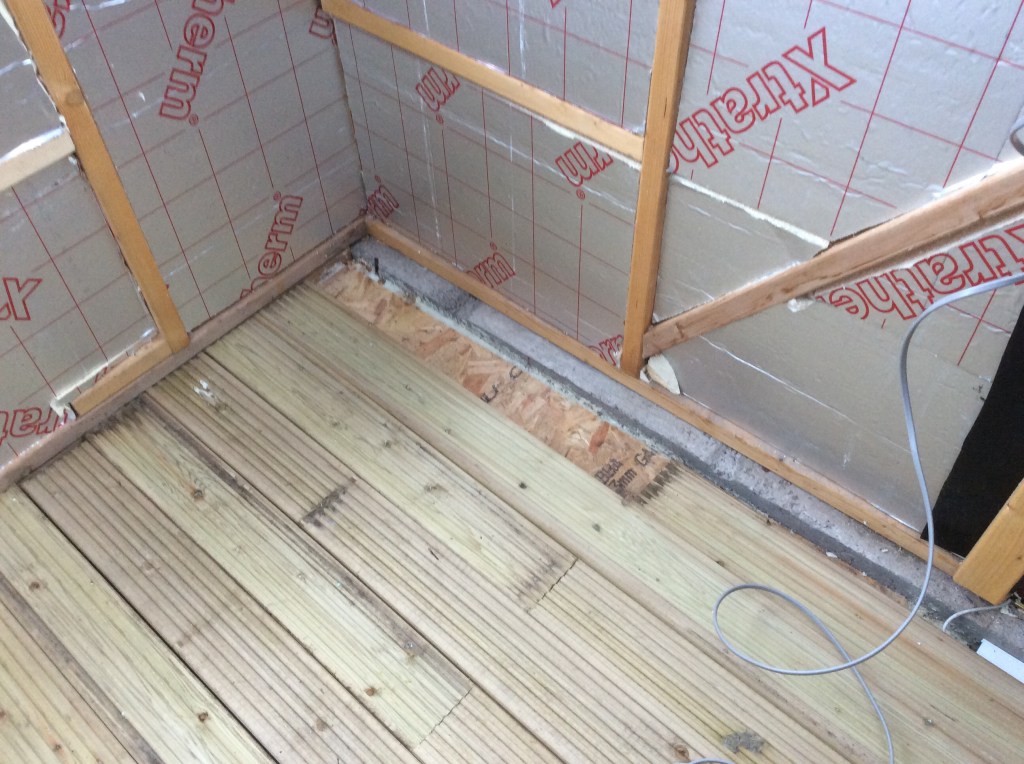
I also did some work on the conservatory. We are putting down decking as a different kind of flooring and to cut a long story short…short being quite appropriate here….
I swore….lots!
80cm short! It comes in 4.8m lengths… hopefully there will be a knackered piece that I can get cheap… wish me luck!
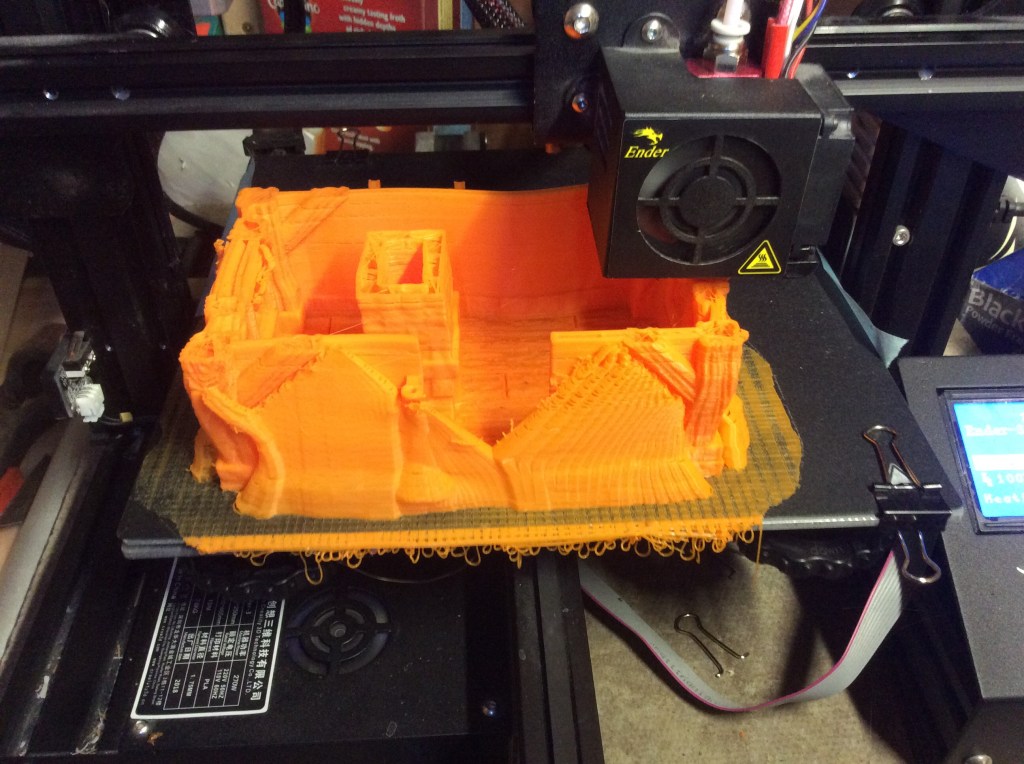
My FDM has now been running for 26 hours straight and is making a rather lovely small cottage… there is however a bit of a problem, this one seems to be a bit on the large side, especially for a small cottage.
Considering that the build plate itself is 22cm square then you will see what I mean. I am just going to let it run its course and then shove some figures near to it and see what they look like. To be honest I can’t remember adding a raft or the tree supports, so I am now wondering if I had somehow clicked a button to increase the size.
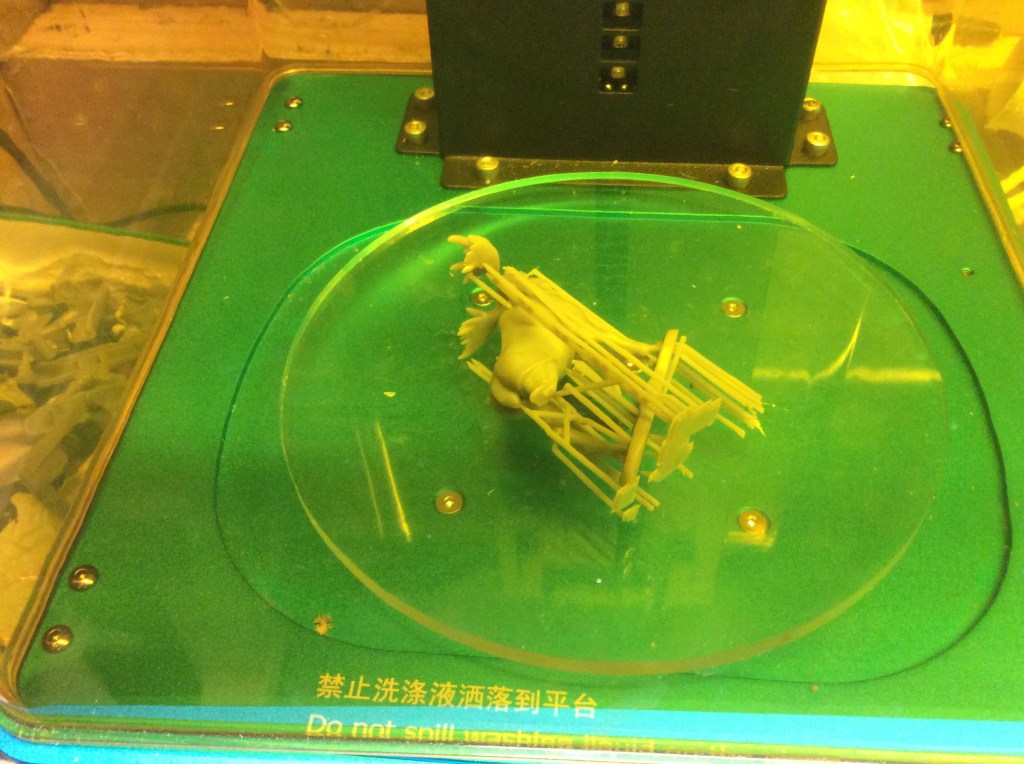
My other balls up was my goblin Warg rider and Warg…
Now the more observationally astute will notice… a) the lack of any goblins, or Wargs for that matter and also b) its a 2 legged moose… evidently I pressed the wrong button last night on the resin printer too…
So as I was faffing on for so long, the prints have eventually finished, the FDM printer taking 27 hours plus to finish, and it is indeed bloody huge….
On the up side, the goblin and Wargs printed properly this time…
Diorama Idea number 2
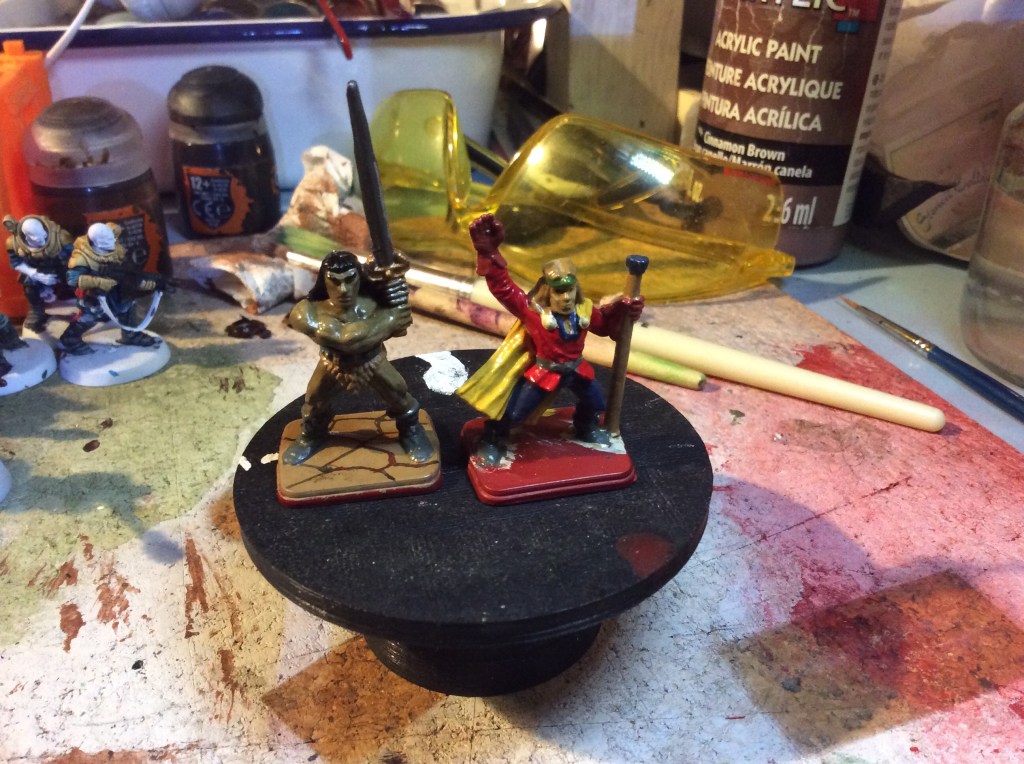
Finally… when I was hunting through a box Then I came across some of my earliest ever painted miniatures and I thought it was time for their 25 (or more) year update. So they are going to get stripped and redone in a new paint scheme… let’s see how I have progressed…
I decided to get the diorama finished tonight. I went for some blood in the end, I think it looks okay. Not much, but a bit of red to give a bit more to the story.
I also got some paint put onto some more of the 3D printed stuff. I needed the superglue to repair a few miniatures too.
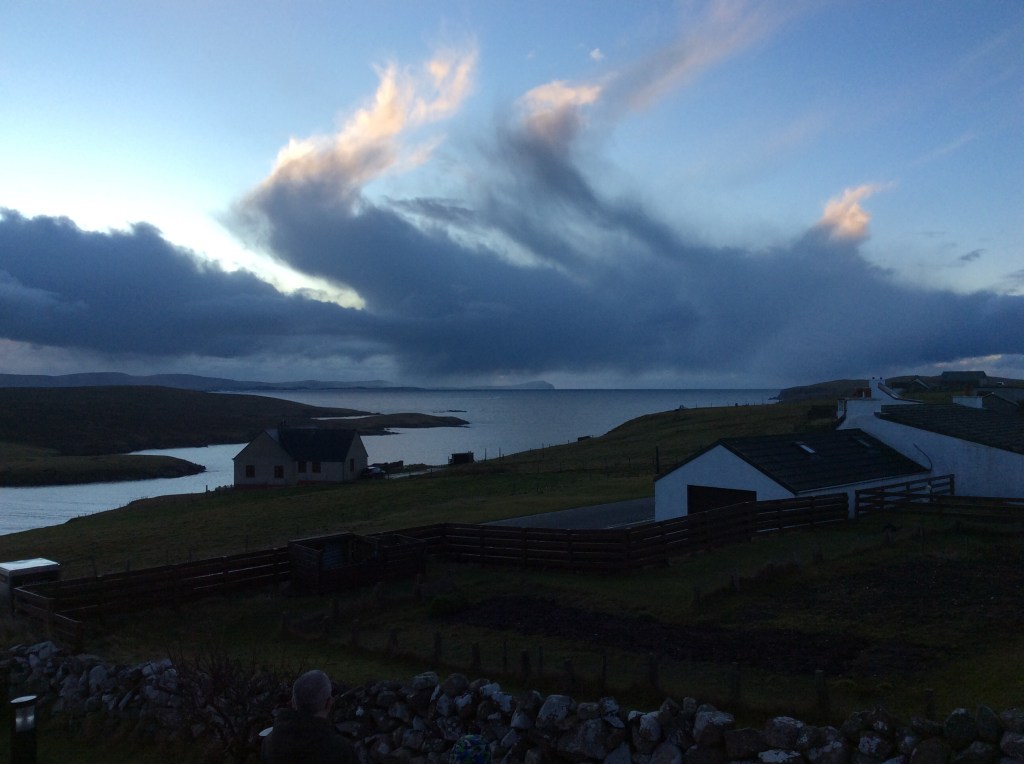
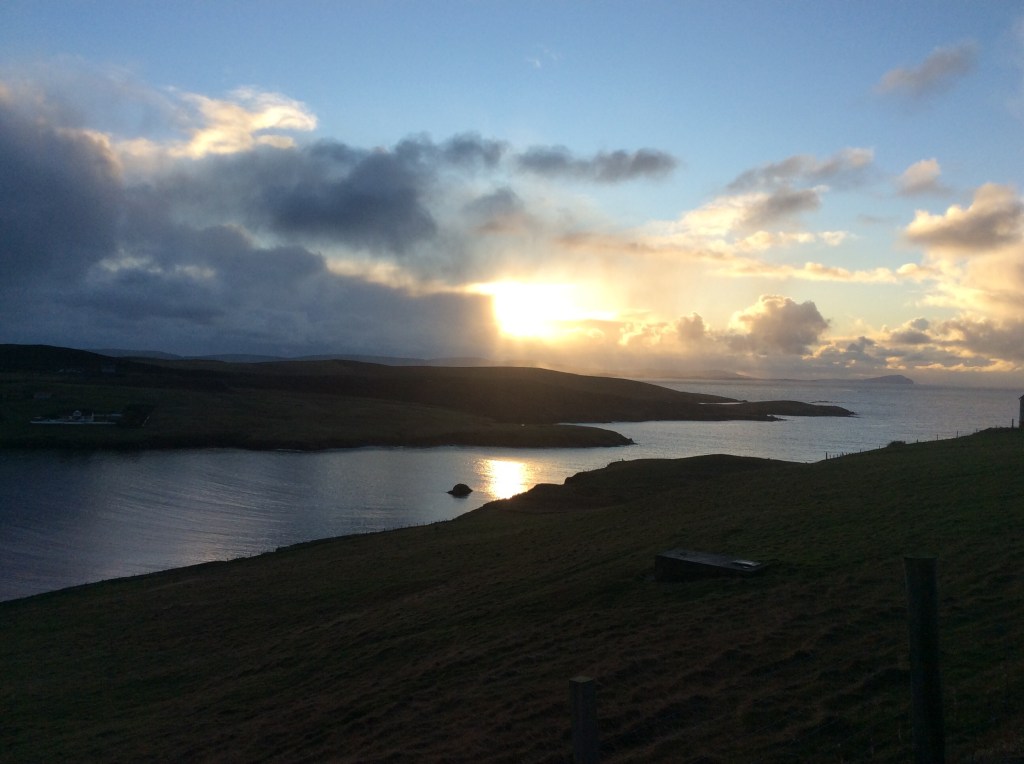
We had a bit of excitement in school today as a pod of Orca came into the bay. We went for a look, but by time we got out they were motoring away…
You can just about see them in the photo…
We took the kids for a walk down to the pier, it was a nice morning for it…