So left to right we have the vampire with his two Dregs. Slightly to the front is the necromancer. Behind her are five zombies with three ghouls finishing off the roster.
In the box is a dire wolf, which could be added to the roster at a later date or swapped prior to the first game.
Dinocrocuta make very nice dire wolves… in hindsight I should have gone for an armoured one. They look cool!
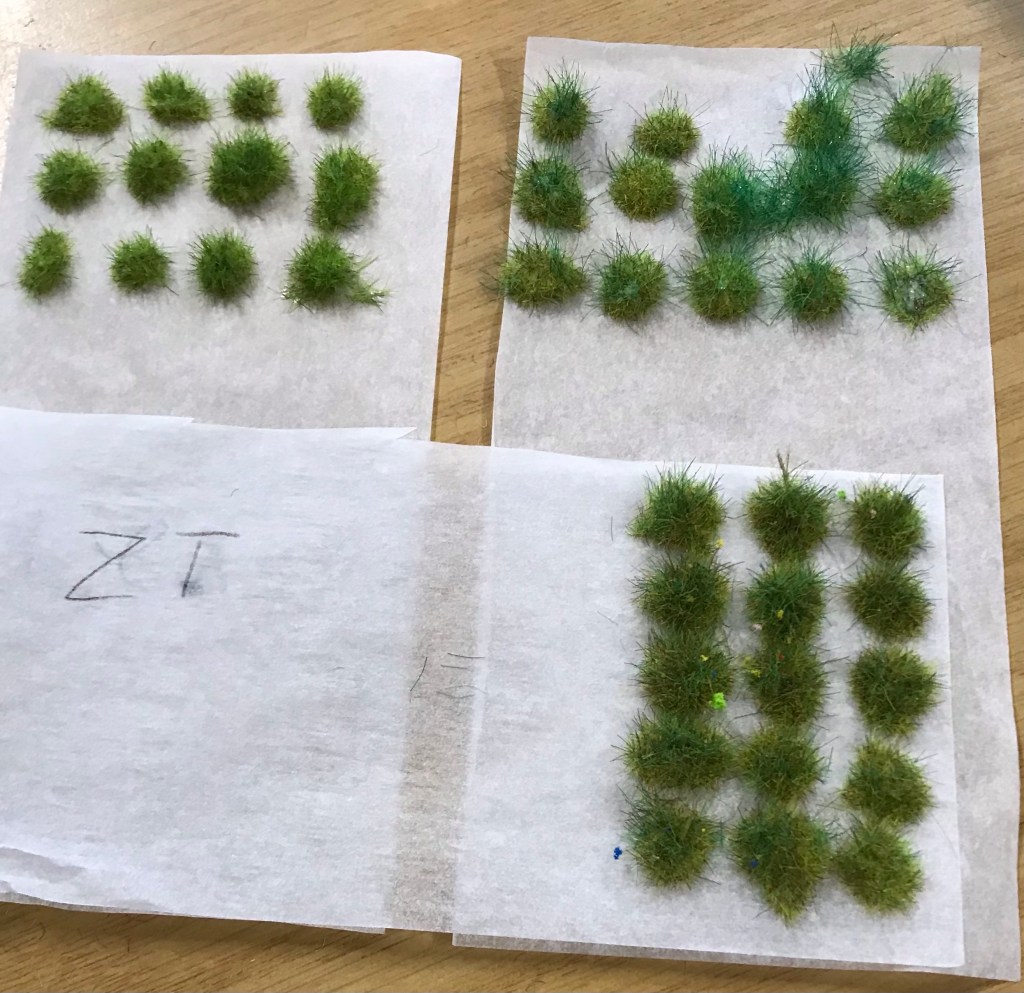
Geek club had a go at making their own tufts today…
This evening I decided to try the tuft glue and flock box. Not sure what I did but I got a couple of little shocks from it. I will contact them and see what they say.
This is my first attempt using it…
The glue is still wet here so they look a bit weird.
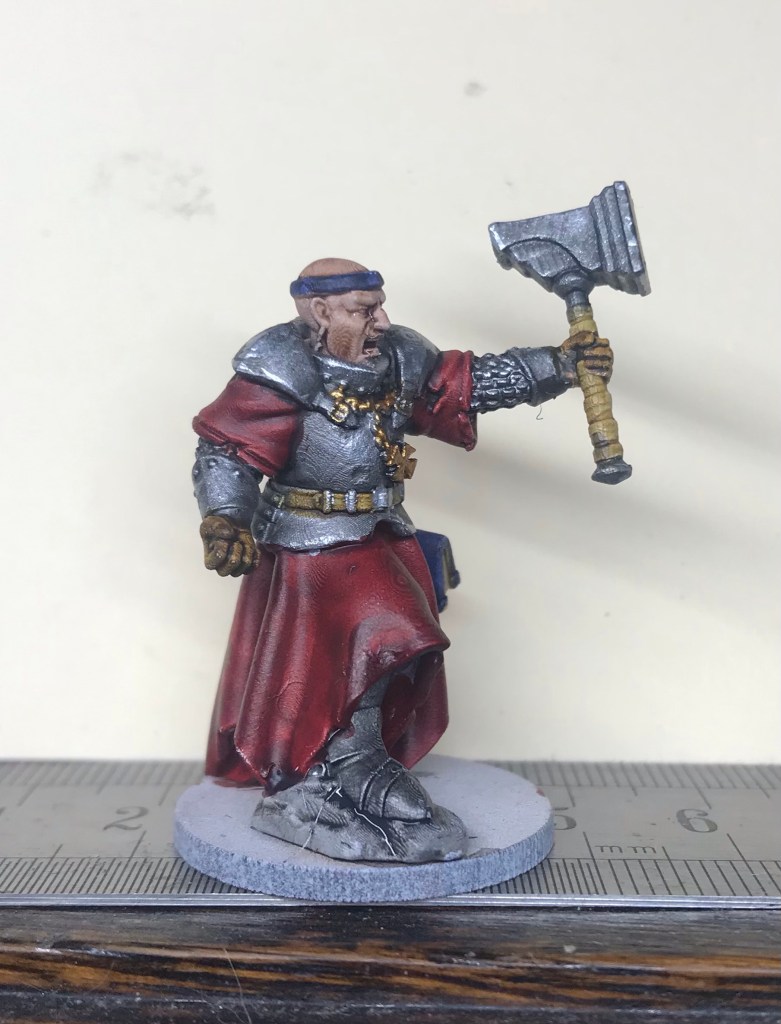
I also managed to get this little chap finished in the Geek Club…
So as the title says I am feeling a few twinkles short of a rainbow this evening. I have got things out and put them back so many times that I reckon I have burned all if the calories from my evening meal.
Hopefully tomorrow I will get something done. Its club night so I am going to attempt to go. Probably the safest bet us drive straight past home and head into Lerwick.
They are playing Grimdark Future by One Page Rules… so I have been mooching about to see what I have and voilà…
One small problem… I hate putting plastic miniatures together… I have also got this lot already painted though!
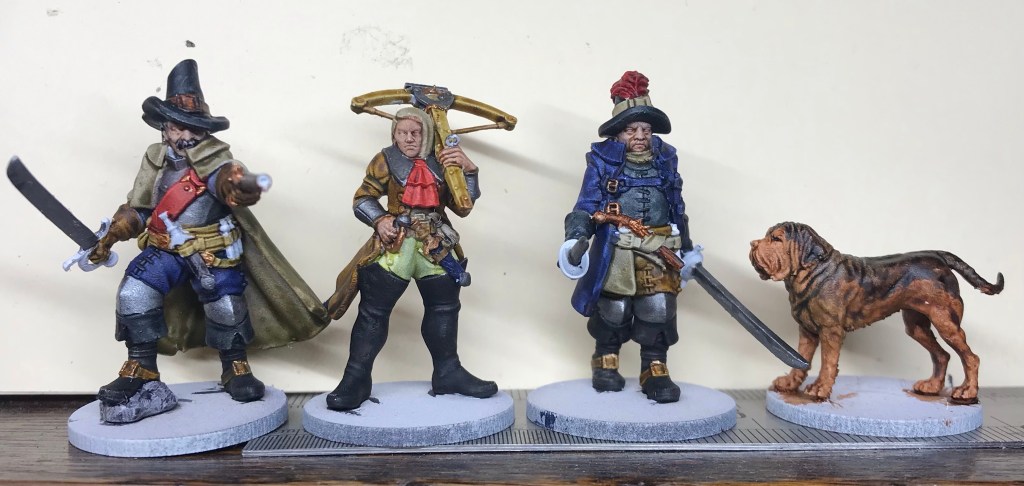
Tonight I worked on the Last four of the witch hunters…
I really am struggling to like the one with the crossbow. I think it is her yellowy trousers wirh the jet black boots.
Now I still have to build the armour back up as it has just had a wash. This lot should be finished tomorrow evening I hope.
I switched out the Highland Witch hunter dog for this one, which comes from my LOTR stash.i felt this one looked more like a war dog than the other one seen below.
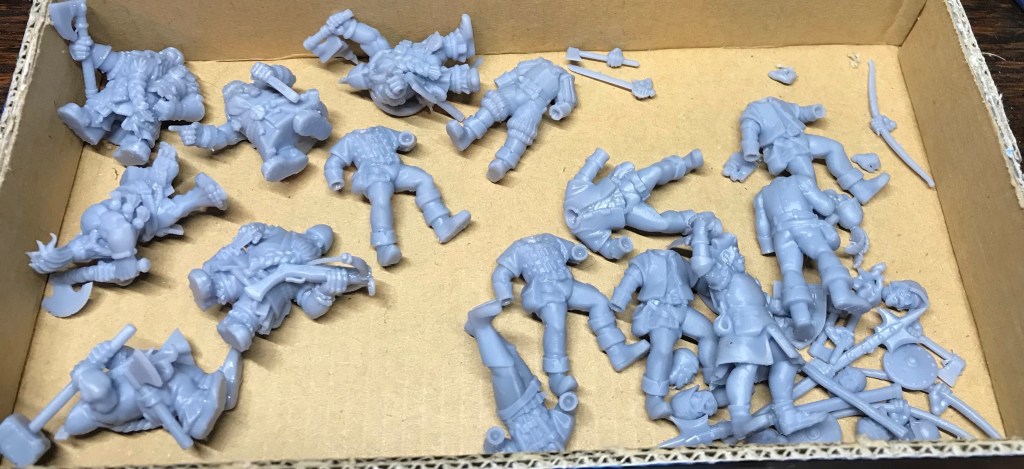
Once they are done, I will need to get this lot sorted out…
The one problem I have with the Highland miniatures dwarves for this project is the lack of young dwarves. I am making do with a couple of the artillery crew. The other mass of body parts is for my Reikland warband.
Nine miniatures for the humans, six for the dwarves.
I still have the Sisters to paint too…
Schools were off today due to the snow and will be tomorrow too. Its bloody freezing! Again!
Or in the words of the famous Corporal Nobby Nobbs… ‘Sodding Nutters’.
As I had been painting the various miniatures I kept adding any spade paint on the pallet to the various miniatures in the box. These were actually quite a long way to being finished, hence two for one.
Now with these I decided to arm them with bows as well as their bludgeoning weapons as I felt that the Witch Hunters needed some form of ranged weapons.
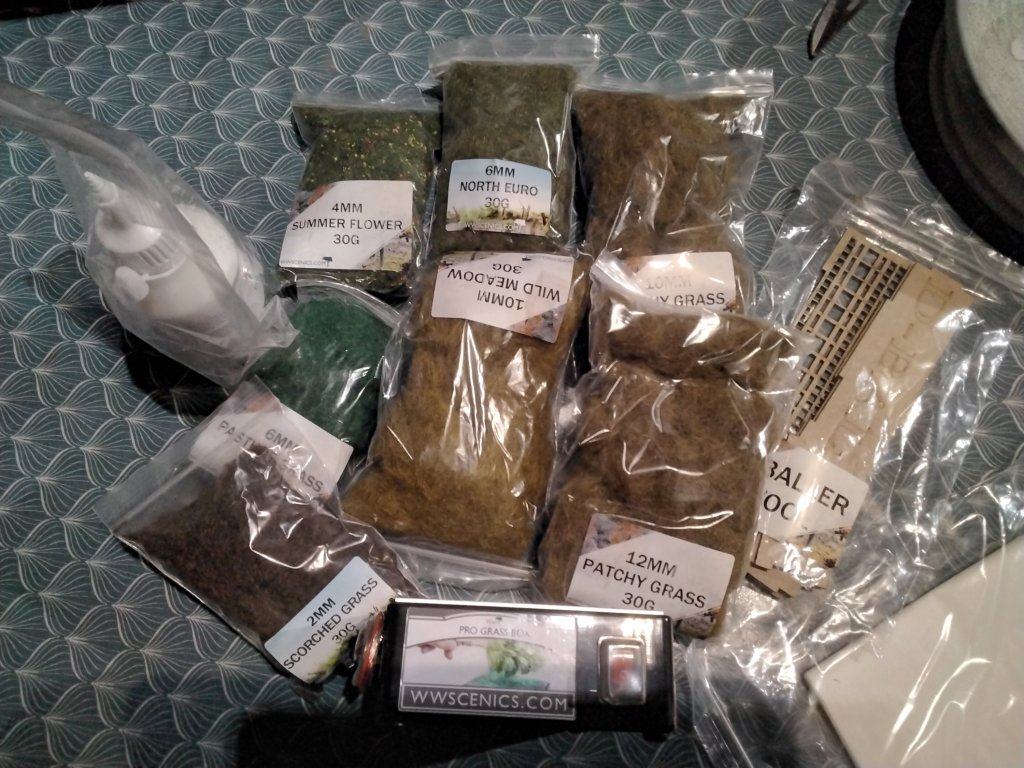
I also got a new toy to play with…
Yes I decided to get a flock box to make speedy tufts… I haven’t fired it up yet, but will get round to it eventually – mainly when I find something to cover the table with as I think the stuff will go everywhere.
Further to this I have been playing around with the mapping software quite a bit…
This was a speedy 30 minute map. I am playing around with the basic controls… there is so much more I can do. What I need to do is find out how to make the roads wider so they can be seen easier.
So after faffing around for ages I managed to sit down and do some painting.
Here is my Priest of Sigmar for my Witch Hunter force. He has joined my flagellants on the nearly finished list.
I printed off most of my Reikland troops today. I may have forgotten to slice two of them as I only have seven miniatures. To be fair I didn’t really scroll through the drive slowly so they may be there. Either that or I saved them somewhere odd, which is more likely.
I am sat here listening to the wind driving the rain against the window… it is not a nice night. I believe the snow is coming back tomorrow, which will be a change from relentless rain.
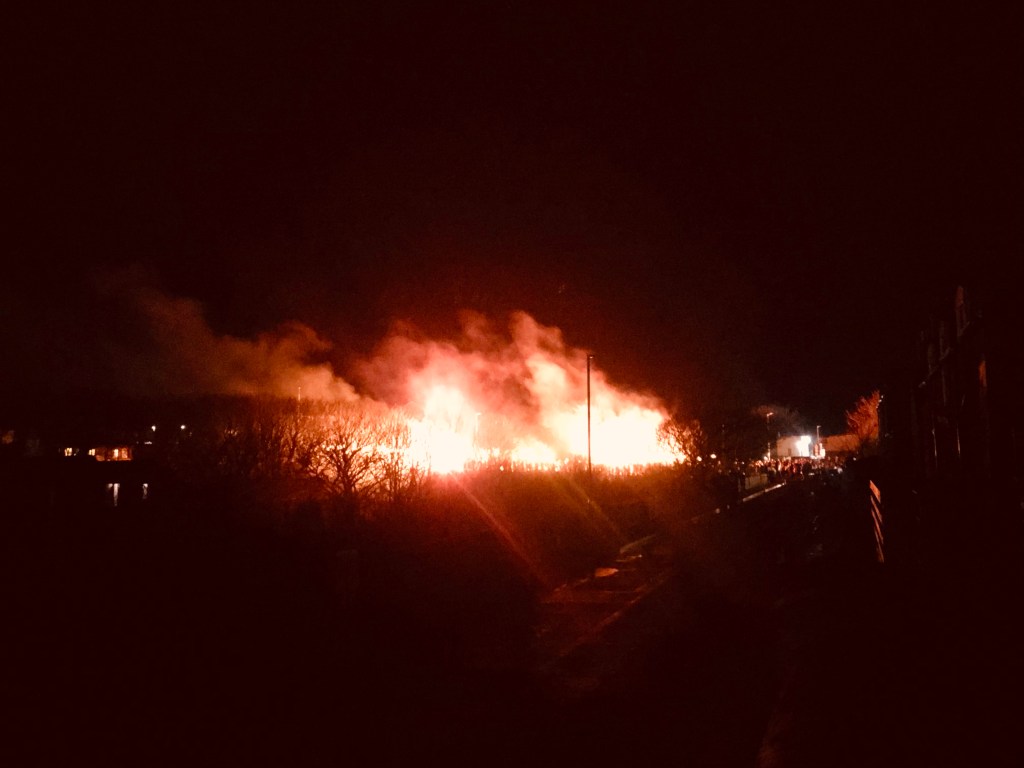
So we are into January and Fire Festival season is upon us. First up is the Scalloway one. This is the one I usually go and watch. Well my mates house is on the route and they have their Birthday on the 11th so they always combine the two.
Only a couple of photos as for some reason my phone camera started going all blurry.
Lighting up the torches The march past… back of the procession
So I really doubt that I will get anything done on the witch hunters this evening.