Much swearing occurred this evening, stupid stuff wouldn’t stick to the stupid glue on the stupid helmet, but apart from that I managed a little more on the first heavy layers…
As you can see I am onto the top now I will get onto the right hand side tomorrow.
I just found a pile more flocks and scatter material this evening so I reckon I can make it pretty.
I really haven’t got a clue as to whether the stuff will stay on…but with a few layers of watered down PVA then there is a chance that it will stay on at least until the photos are done 🥴
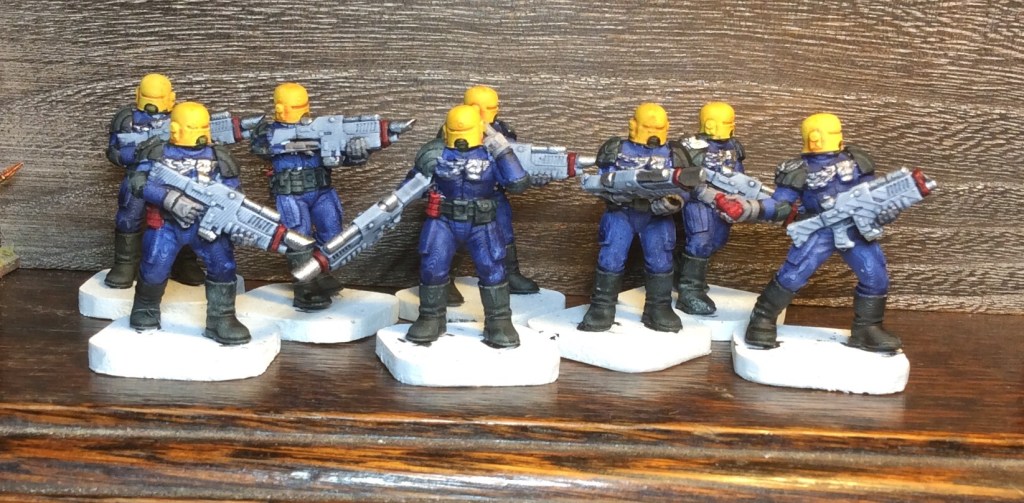
Tonight I managed to get some more paint onto these chaps and am nearly done them. I want to get a wash onto the metalwork and then a dry brush. I added a dark paint into the mouth area and it made me a bit happier than yesterday…
So this is them nearly finished… I will get some of the dark sand onto their bases tomorrow. The one thing I did notice this evening, or should I say notice properly, is that the one chucking the grenade has lost his rifle barrel.
I had a go at printing the last two from this squad.. it was a bit of a pain to be honest. Chitubox, the slicer program was playing silly buggers and messing with the resolution. I eventually overcame it by totally reloading it and voila my printer appeared, so apart from the failure of the force truncheon (or whatever it is called), the rest printed ok.
So we have the sergeant with a las pistol and the marshal with a bolt gun and chain sword. In hindsight I think adding the bolt gun in that pose hasn’t really worked. I really should have rotated the hand more and had it on its side… hey ho never mind.
I will print off the failed bit tomorrow. He should get eight of the ten for his Birthday by Friday.
The one thing I found about this printer was the relief of just pressing print and off it went… none of the faffing on for half an hour trying to get the print head to come down.
Yes I managed to do another small bit on the helmet, I am beginning to wonder if the quick drying glue stops being quick drying if it gets old?
I am considering asking on the Facebook page if the glue can go off. If so I will order some more as it is useful stuff
At the rate I am going then it should be ready for at least Christmas 2022…it is sooooo slow!
Hopefully tomorrow I can move onto the other side. The stuff I did last night eventually stuck. Once all the heavy stuff is done then I will set to work on the less dense flock. This is definitely becoming a long term work in progress.
I got a wiggle I. With these this evening and managed to get a lot of the white covered up. I am liking the yellow more, but there is still something that is bugging me about the colour… I just cannot put my finger on it.
I think I will darken the mouth area and get some darker colour into the eye slits, that may help my niggle.
I will get the metallics done tomorrow This will be gold or brass on the chest decoration and on the shoulder decoration that two of them have. I will also add gun metal to the weapons. I do quite like these as miniatures and might sort myself out some …I actually have the multi part ones too…a few with riot shields and combat shotguns would go well… not to mention the sergeant and officer to go with these ones. Hopefully I will be bothered to get the printer running tomorrow evening.
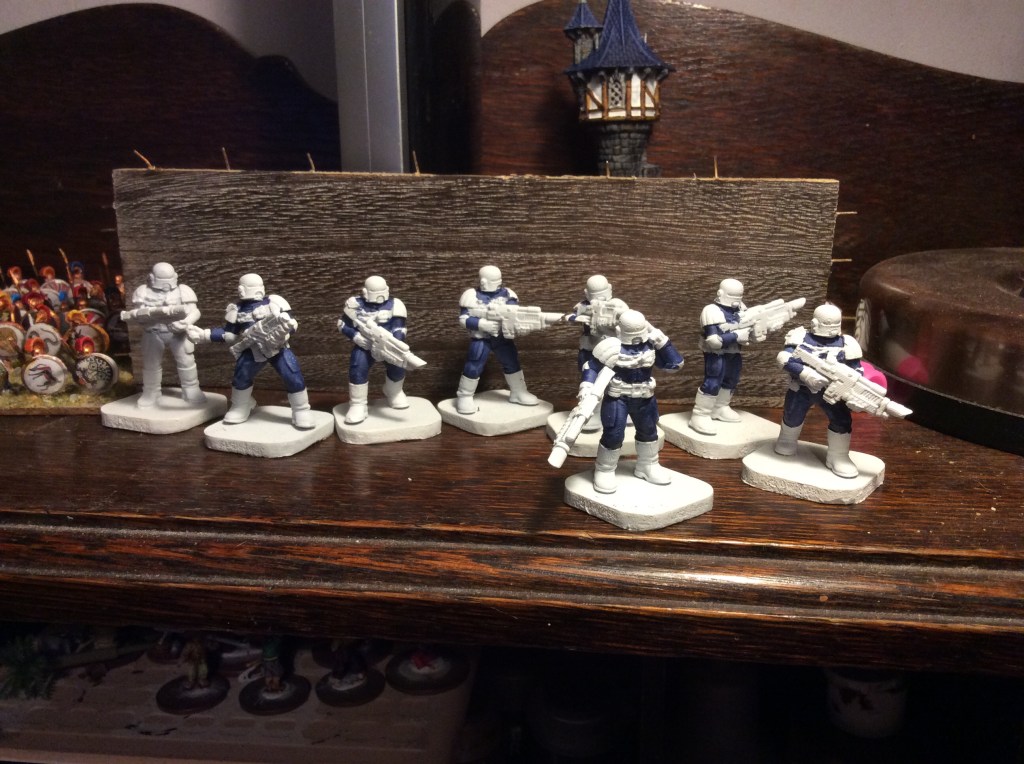
Tonight I got the black done on the Arbites , still a long way to go, but in a fit of excitement I added some yellow to the helmets…
Now it might just be because of the white that is still on the miniature, but I am not sure whether I like it or not. Once the rest is done then if I still don’t like it I can easily paint over it with a different colour…my mates birthday is on Saturday so I had better get a wiggle on tomorrow.
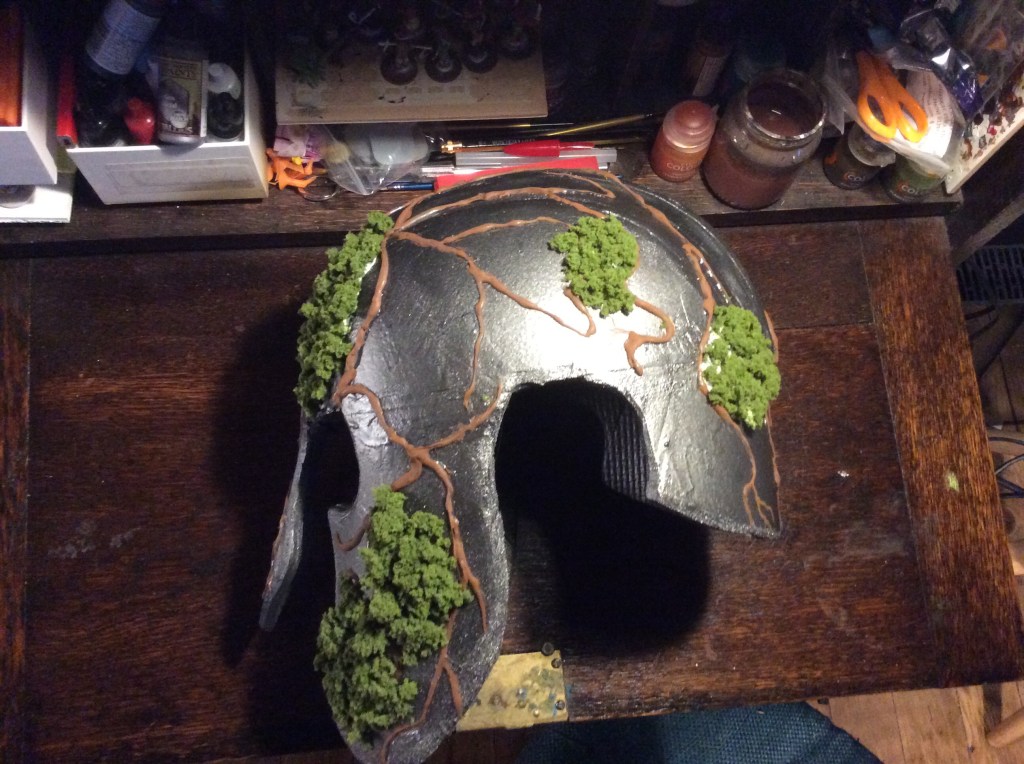
Tonight I set about using my basing glue and some clump foliage to get a base level on the cheek piece…
This seemed like a good idea, but it is annoyingly fiddly and difficult for the stuff to stick to the helmet. So I will leave it drying over night (so much for quick drying) and see what happens with it tomorrow.
In my mind there are going to be thick clumps like this as well as thinner areas too. Once it is all set (hopefully) then I will add different colours to this to get it looking more natural.
Tonight I bit the bullet sand set up the new Resin printer… I thought I would do the sensible thing and print off the test prints…
I do think it looks rather smart with its green cover… this thing has about 50% more printing space than the Zero, which is a big plus.
He test rooks look like this…
The white colour is residue form the ISO… I should have let them drain more
Speaking of draining, some absolute pillock packed up the arm for the wash and Cure machine and sent it off when the printer got returned. Whoops! Luckily I still had the basket.
I also managed a bit of painting too.
These will probably have black boots, belts and gloves. Probably yellow helmets and chest decoration…not sure about the rest yet.
So the helmet was looking naff with the metallic paint on it, so I was going to do the rough bits as rust and damage, but I suddenly came up with the idea as I is going to be an eleven helmet then why not make if more forestesque… imagine an elf picking up an ancient helmet that is covered in roots and moss… so voila…my starter for ten…
I am going to build things up with clump foliage as well as foam flocks… we shall see how I get on… basically I am going to make it like some terrain😉
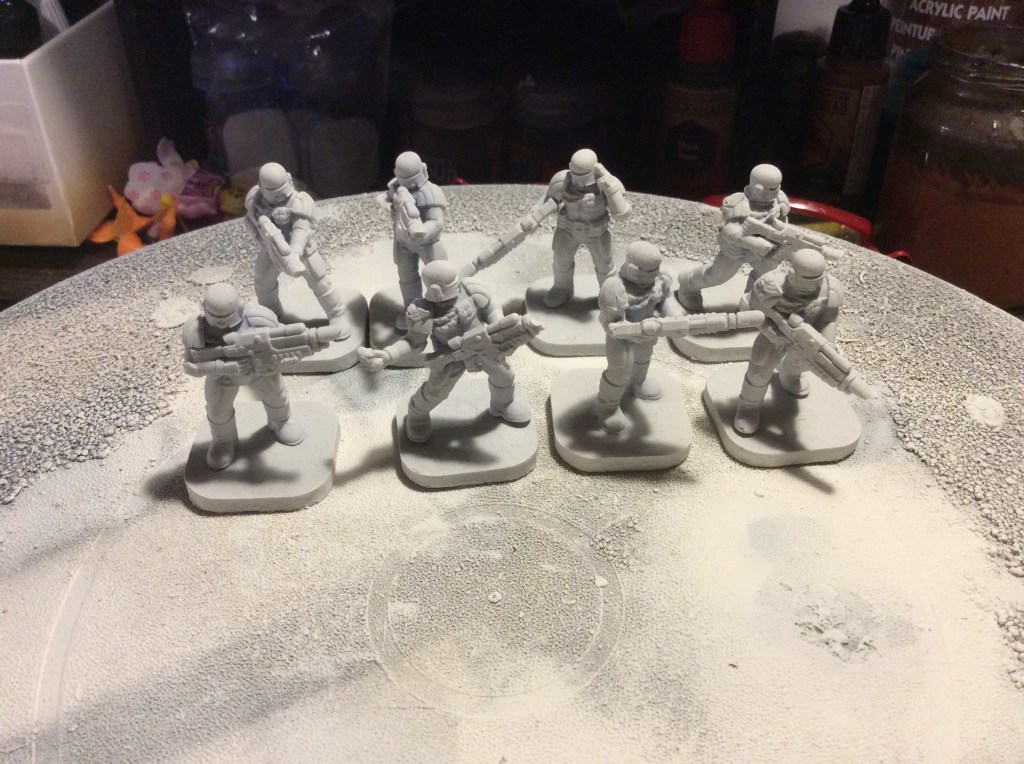
This evening I took my miniatures out to be sprayed. I duly put them on my spinning cake iced thingy and set to work…
I was merrily spraying and turning the thing when for some reason the top popped off the cake thing. My newly sprayed miniatures went flying…one managed to get about three metres away from me. Two snapped and three shed their bases. Luckily I managed to find all of the bits and re glued everything… well after fighting with the superglue nozzle that is.
These are ready for painting… not sure of the colours yet, but I am thinking blue with yellow helmets. I will hopefully manage to start tomorrow.
I Still haven’t unboxed the ELEGOO yet, I did download Chitubox and have a play with that… if I were to be picky then I would say the Anycubic slicer software is actually easier to use. Hoping I haven’t made a big mistake on trying a new machine and software.
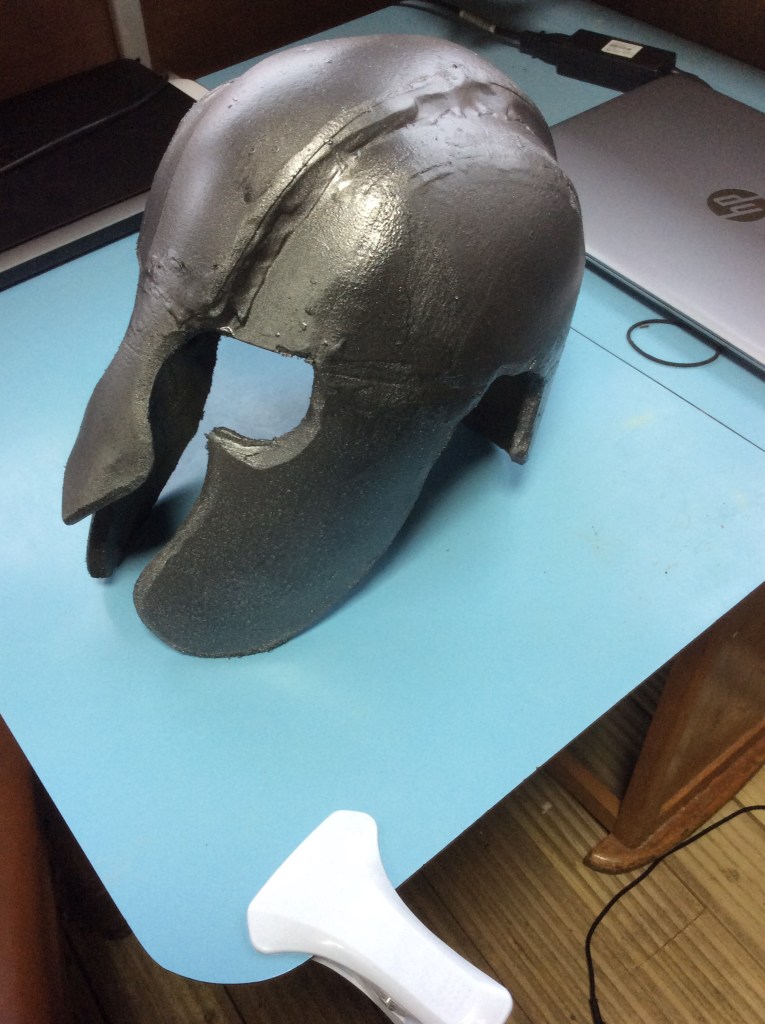
Today I managed to find some Rustoleum Gun metal spray paint. O thought I would give the old helmet a once over… probably should have tried it on some scraps first…
Now this thing is my test piece so perhaps this is the scraps but it is now a sort of metallic colour. I will give it another once over tomorrow.
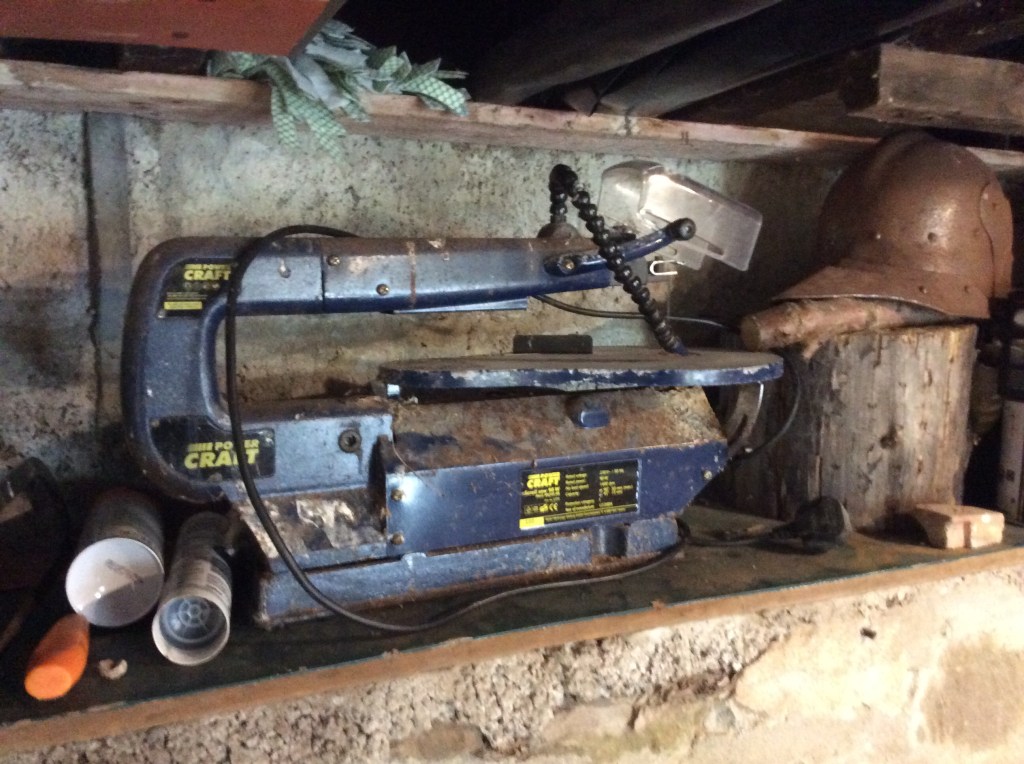
One of the interesting things I found was the nose guard bent, you can probably just see the line across it. This shows me that I need some kind of support in behind it… this is definitely a learning curve. I think over the next few days then I will try another one using my trusty, rusty scroll saw…
At least using this then the cuts should be vertical and not need filling as much. I am not certain but I think I bought this before we moved to Shetland in 2006… now to be fair I might have brought it back from an Aldi sometime after that, but I cannot remember doing so. There again, my good lady spoke about the gerbils we had when my eldest was small.. I have absolutely no knowledge of any gerbils in this house whatsoever
I will carry on fiddling with this aspect of a hobby as I do really enjoy it. on the next helmet I am going to try simple decorations too… plus someone very kindly shared a place where I can get faux horsehair crests (well I actually have a genuine horse hair crest, but it is for my Corinthian helmet 😉).
Now if we get back to the helmet above, I am going to have to work out how to ‘hide the messy bits. In hindsight some simple decorative features would have done the trick, but as we know hindsight is a great thing. I could actually just sand off the paint and add some embellishments…I will let you know what I come up with.
A cap of iron and leather would have been the easiest to achieve. I have some 2mm foam that would work for the metal part. The rest would be done like the bracer… big thinks, being thunk!