Severe Encounter With Mahdist Troops

Intelligence has been received from our reporter, Fanhard, who has been with a column near the troubled town of Khufurah.

As we reported last week, after a great victory and subsequent setback the Allied Garrison once more set out to retrieve the bodies of their fallen comrades.

Fanhard was allowed to travel with the Durham’s and returned his copy immediately after his return to camp.

It was decided by Stewarton that a large force should assemble to return once more to the Khufurah plain.

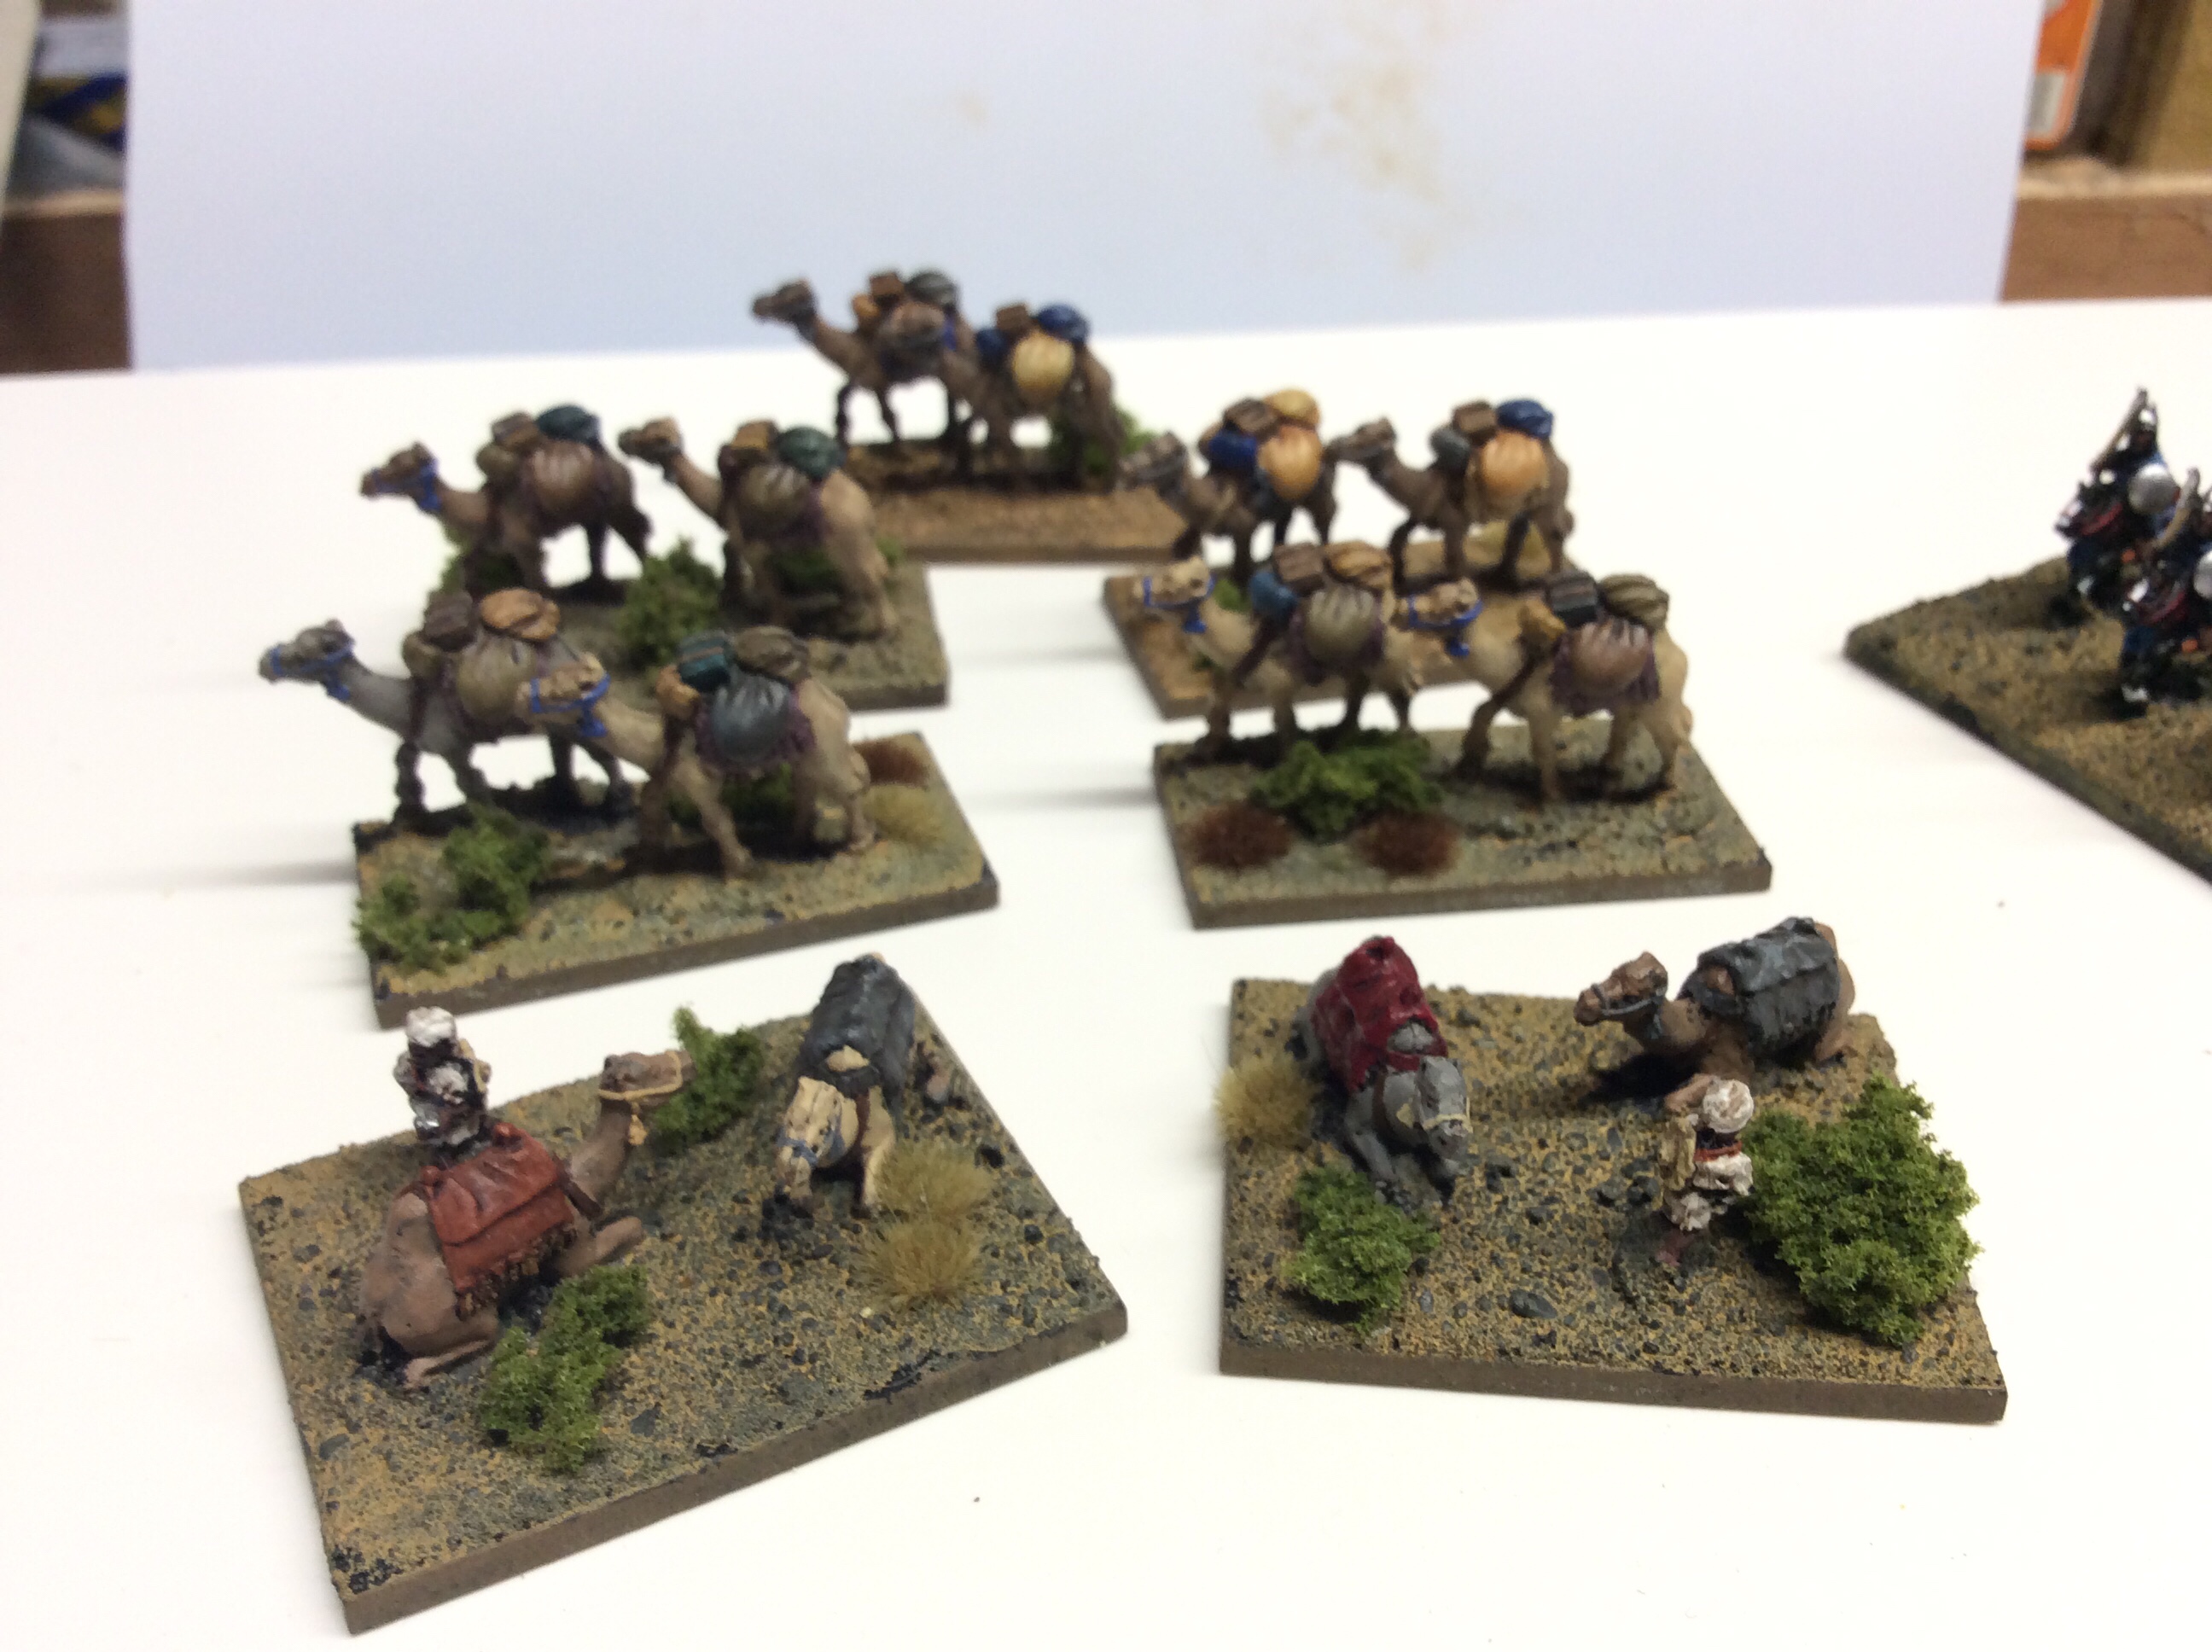
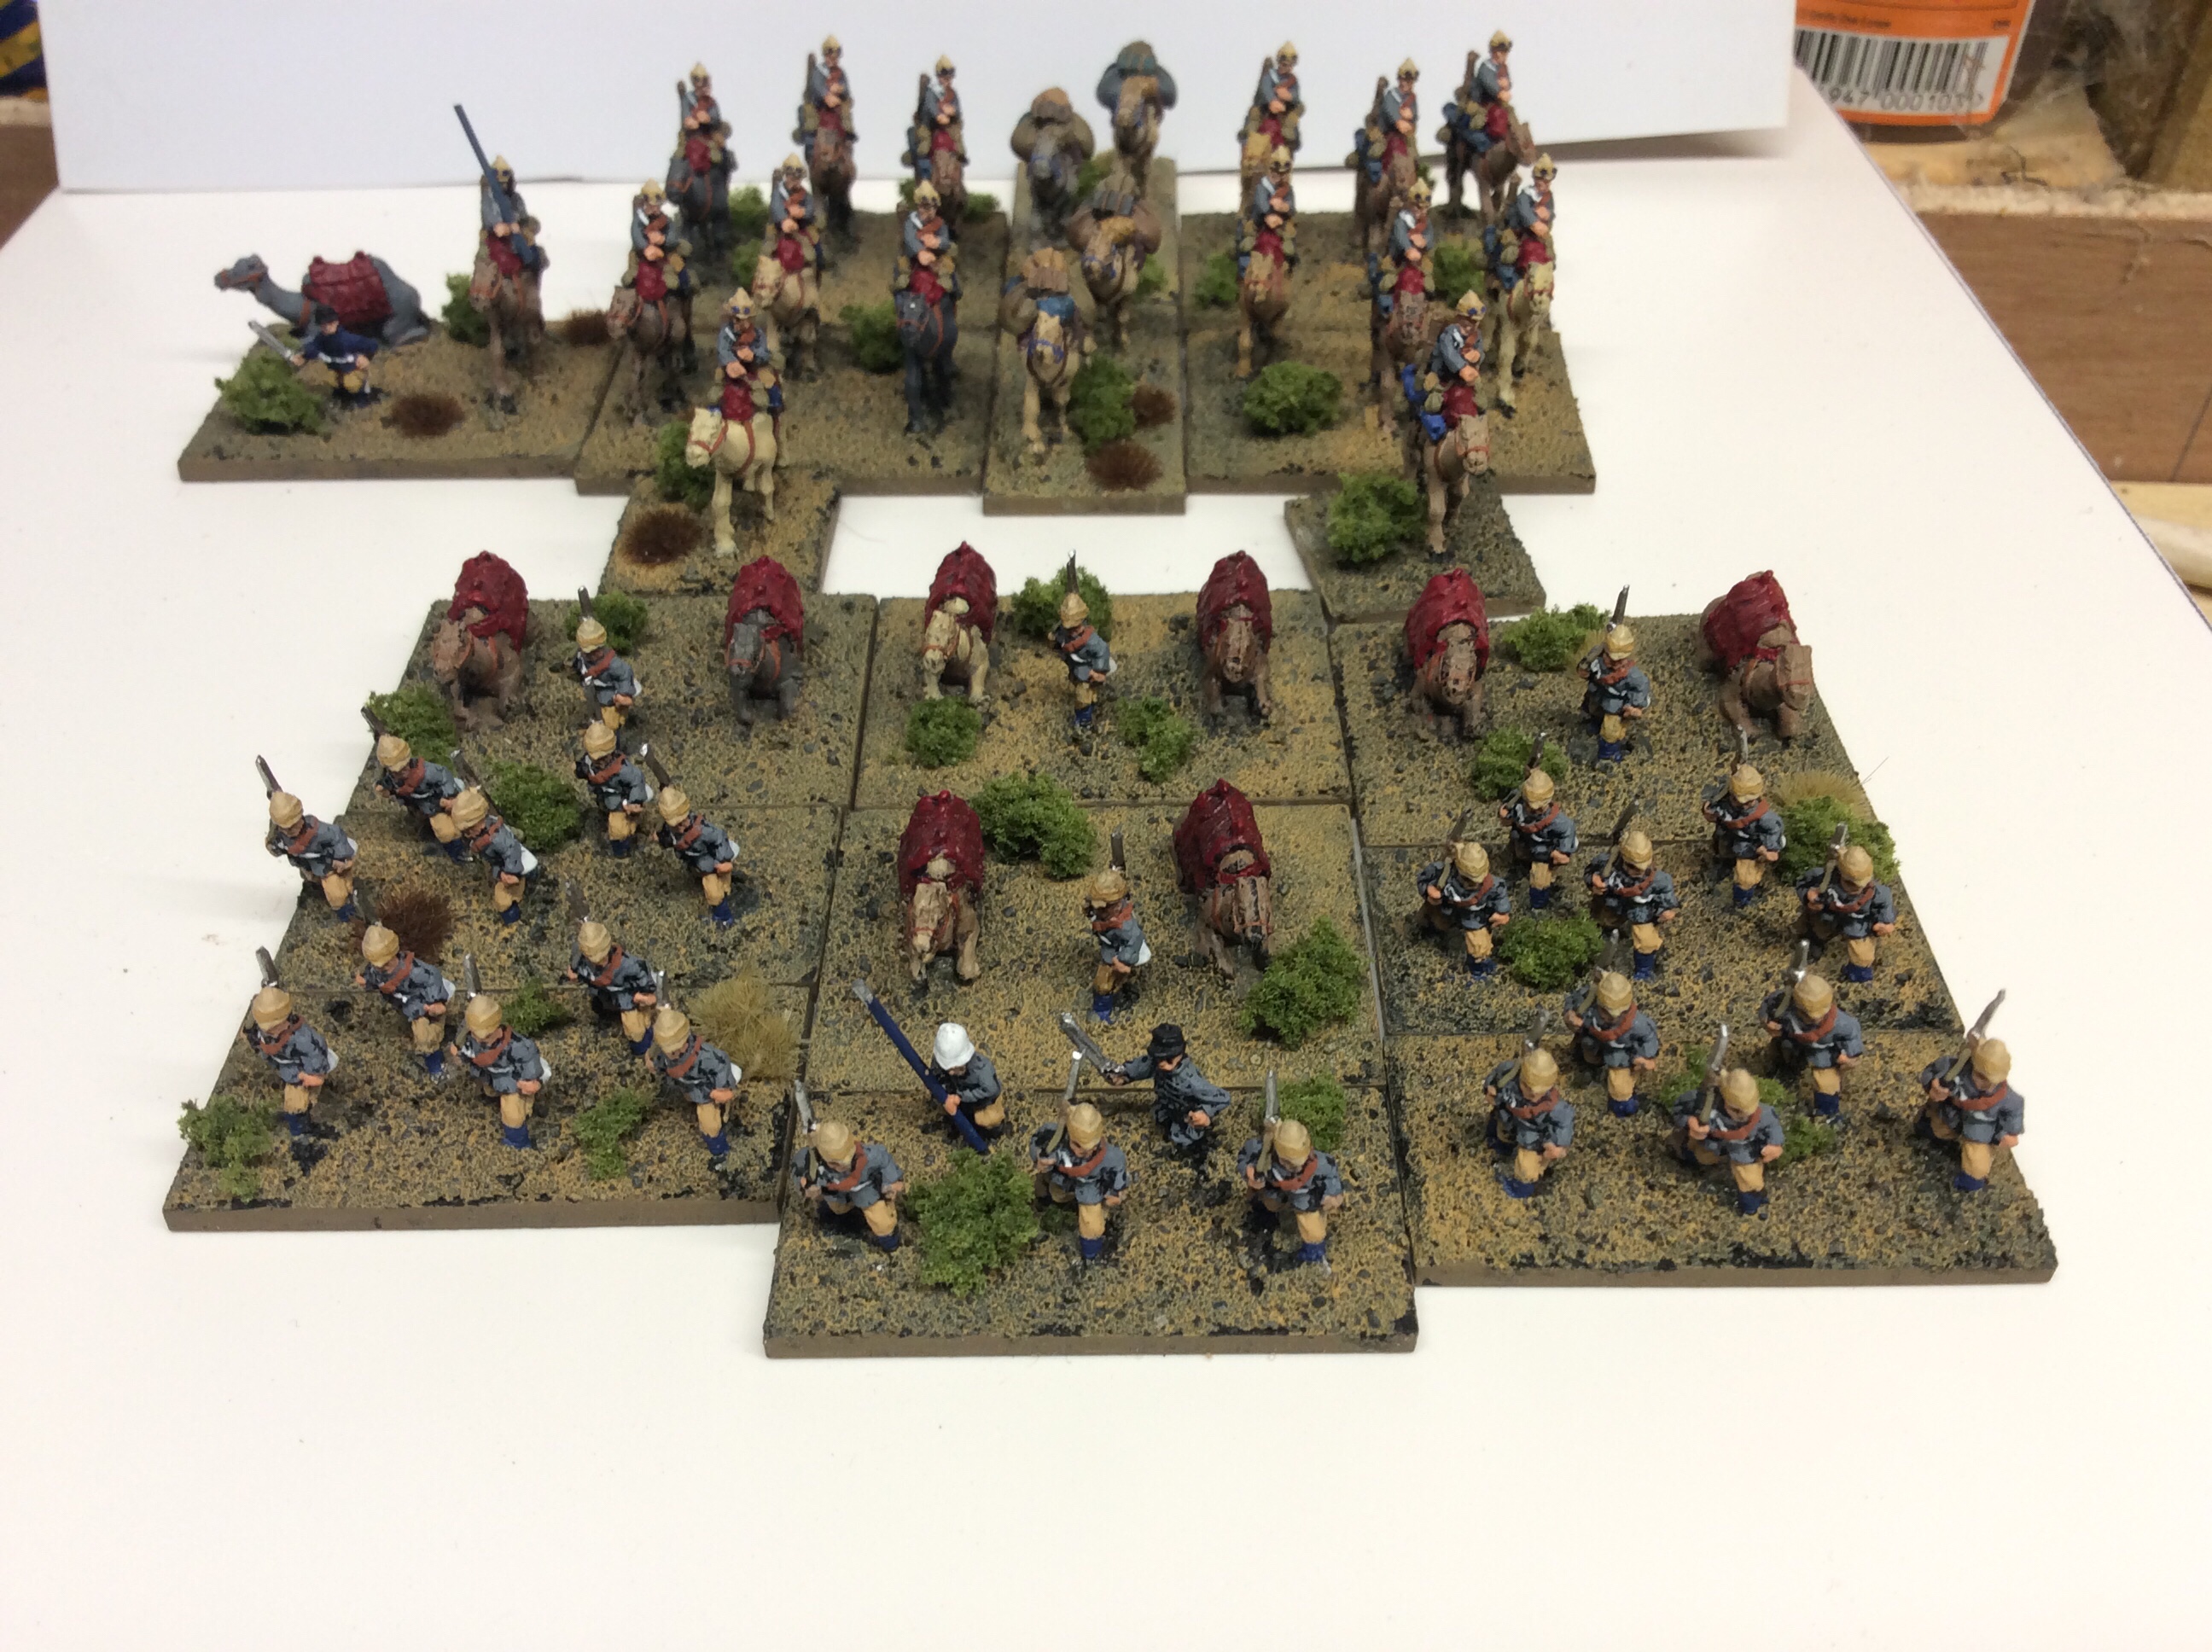
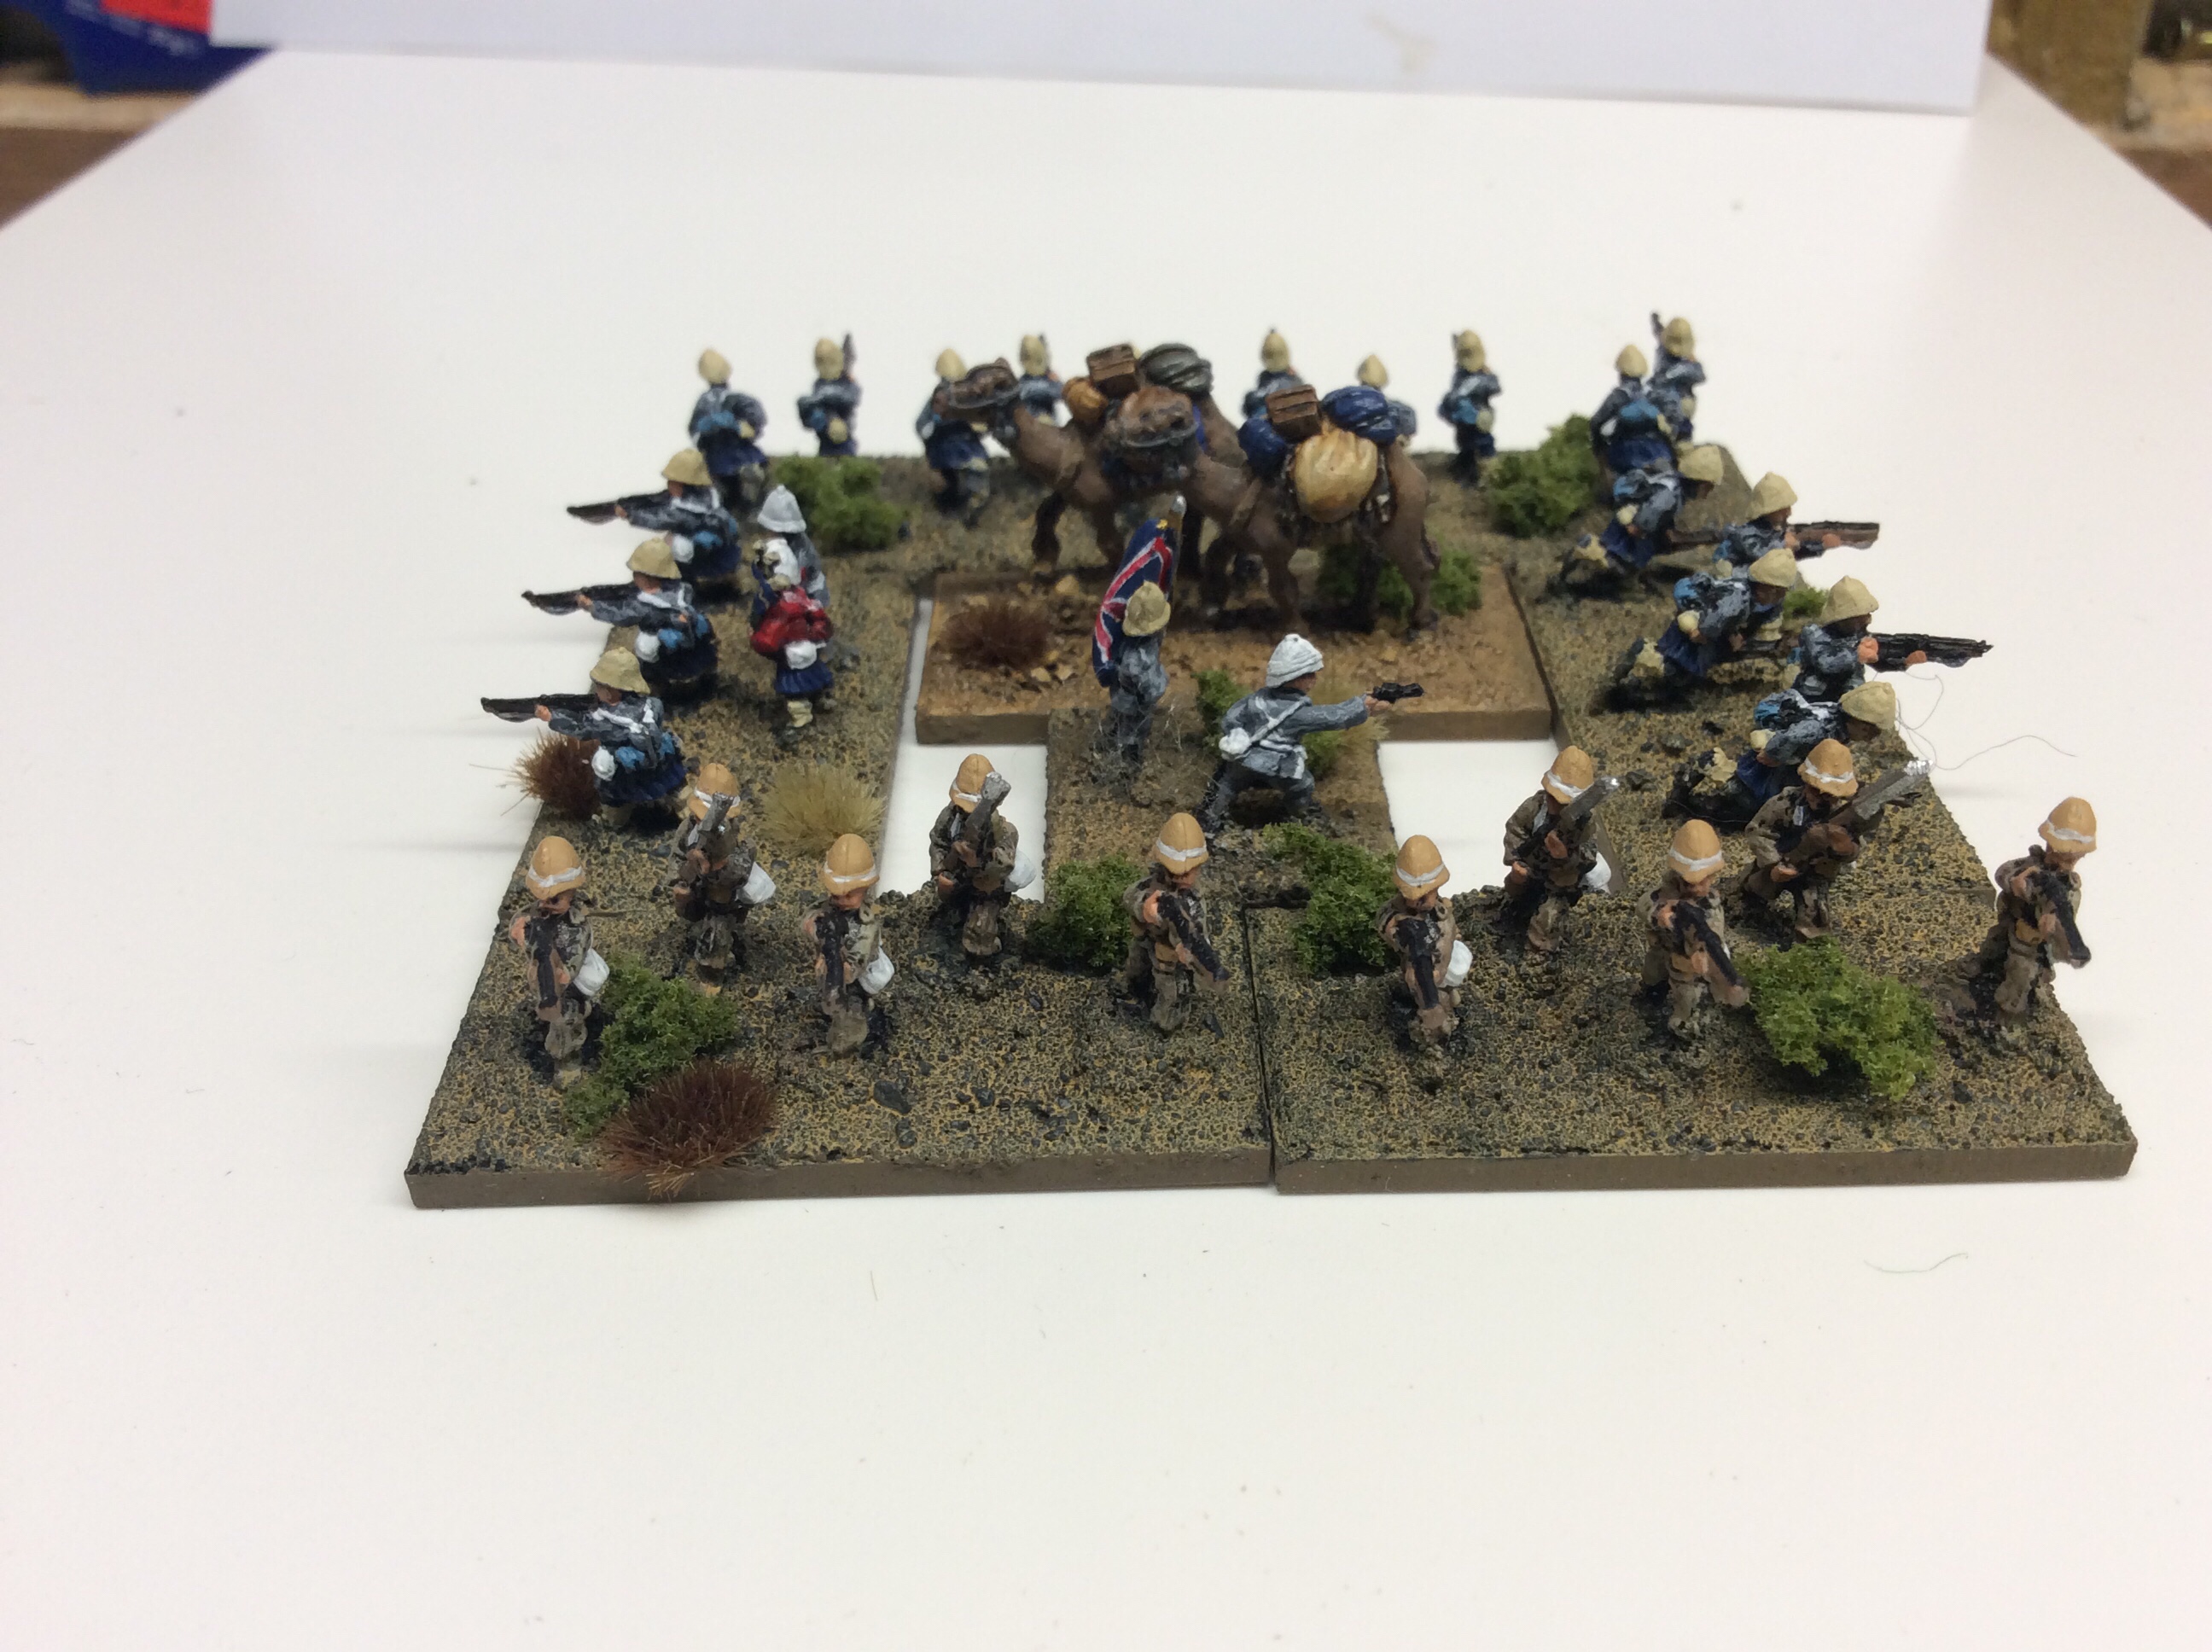
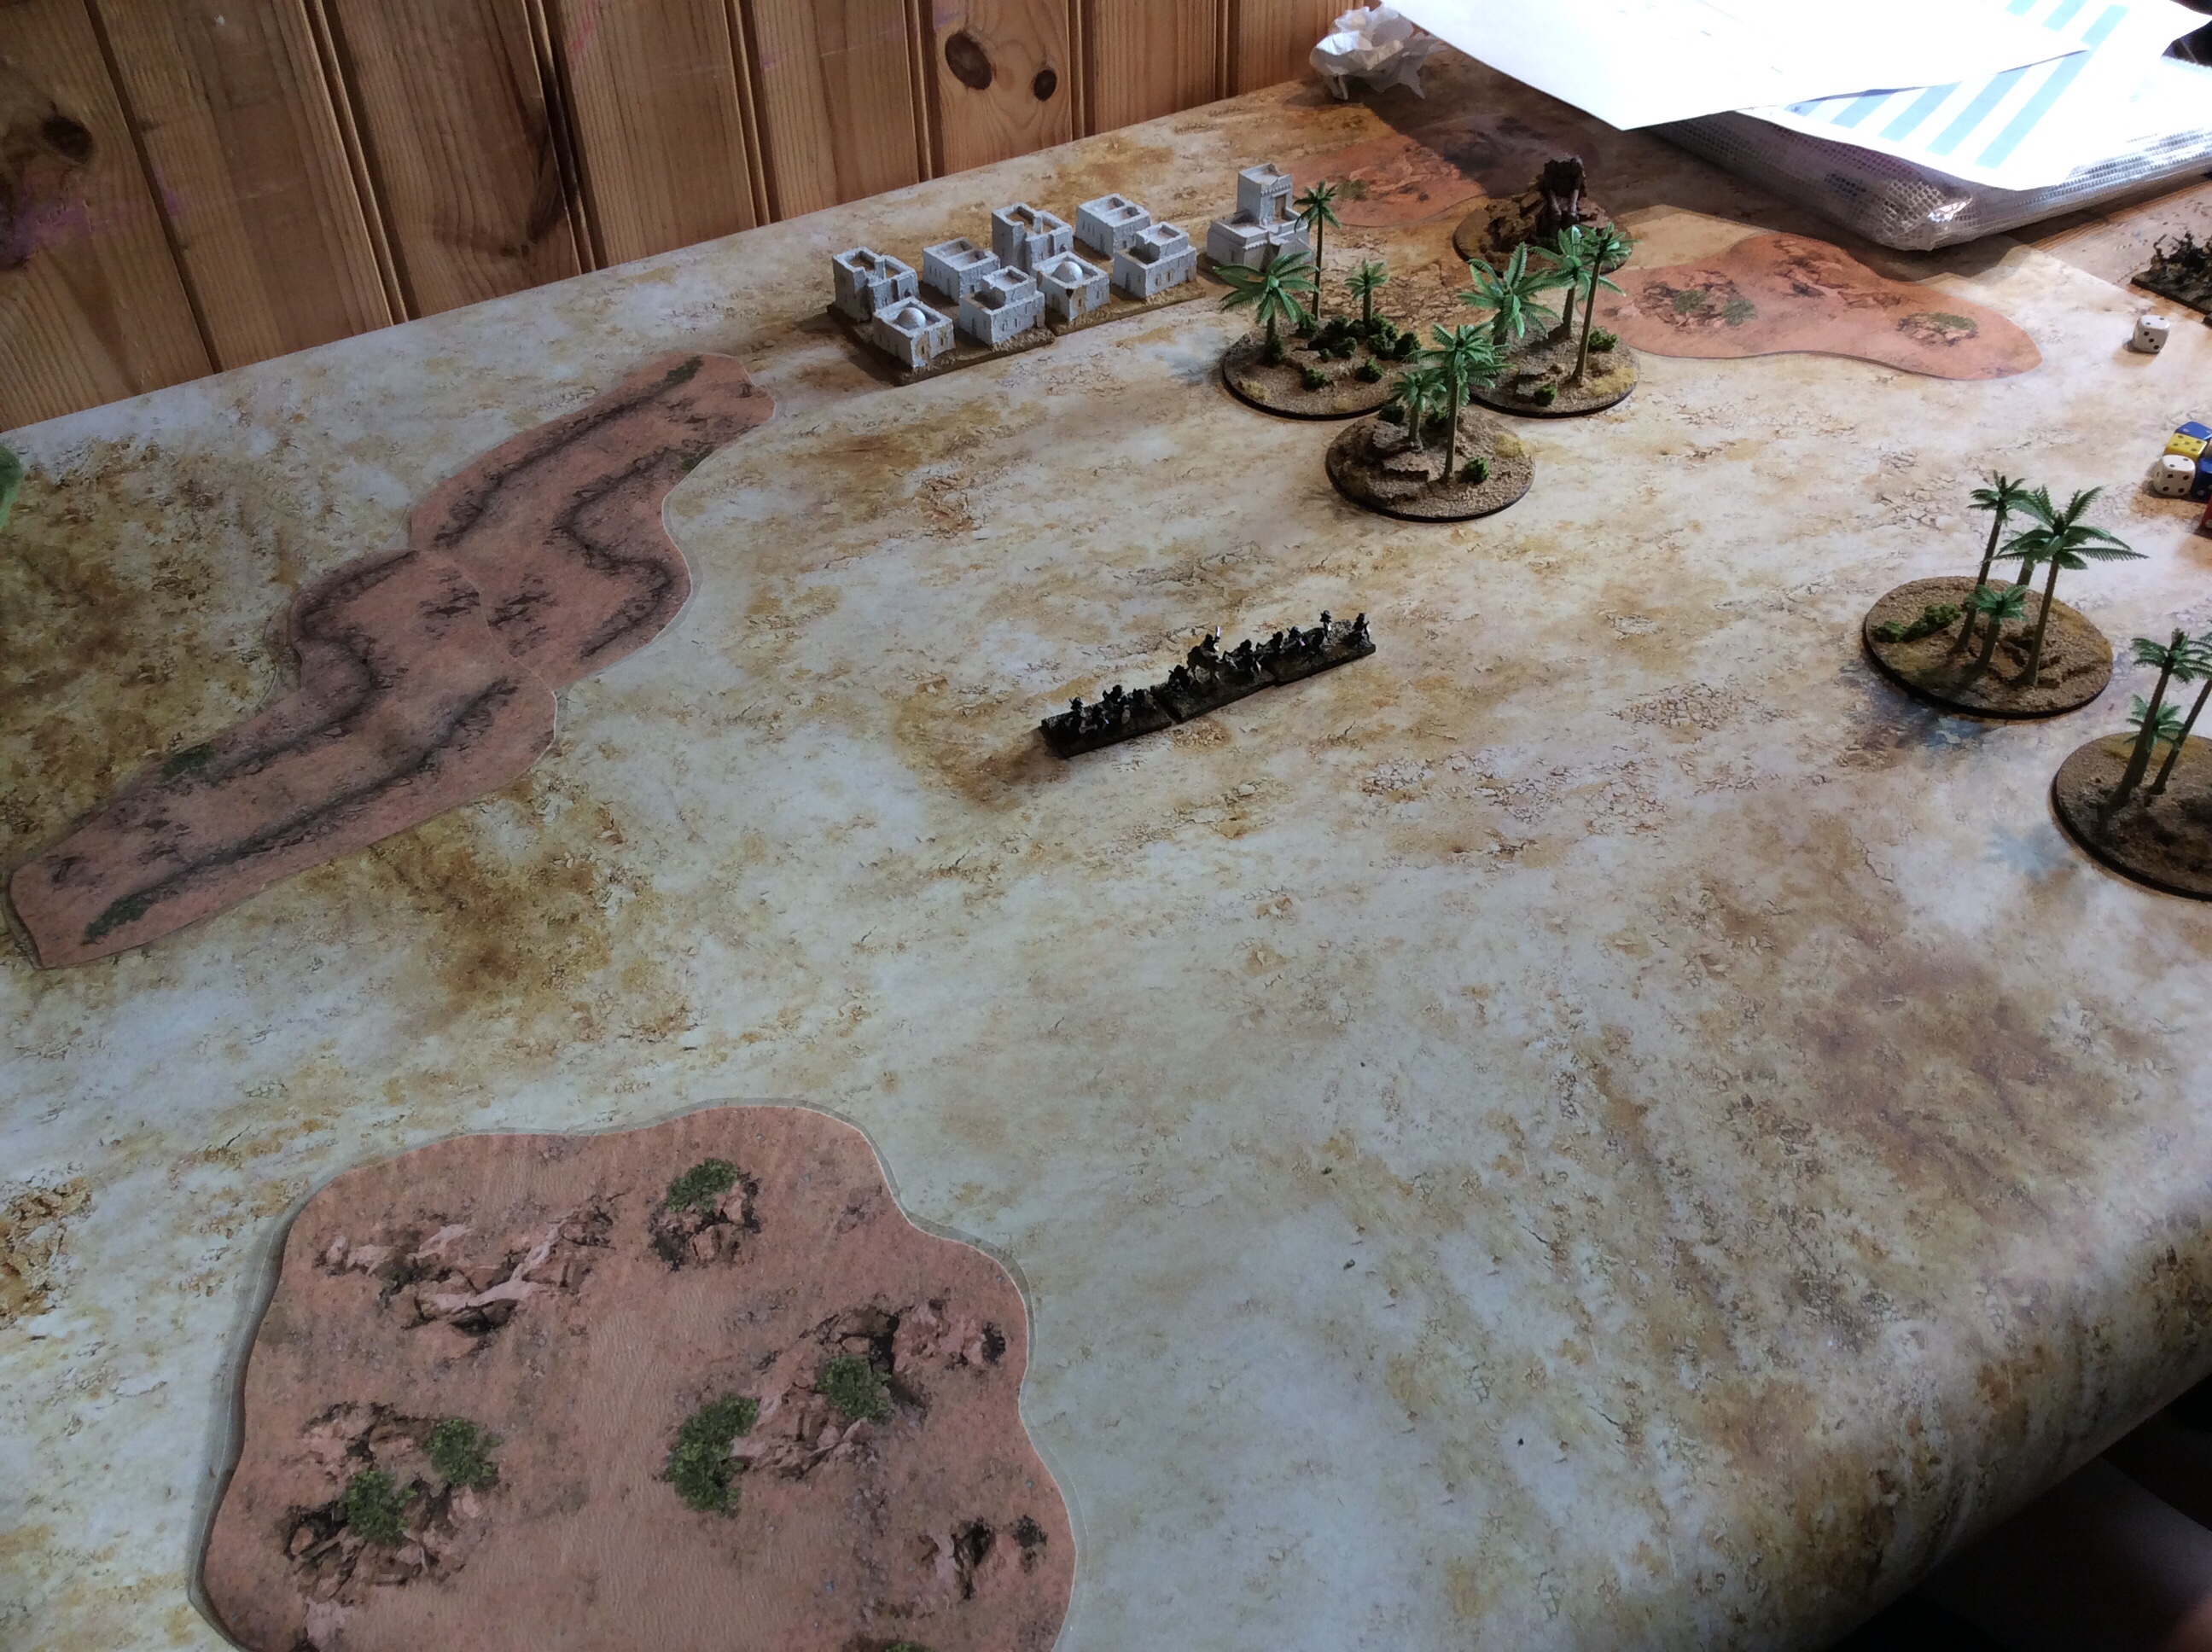
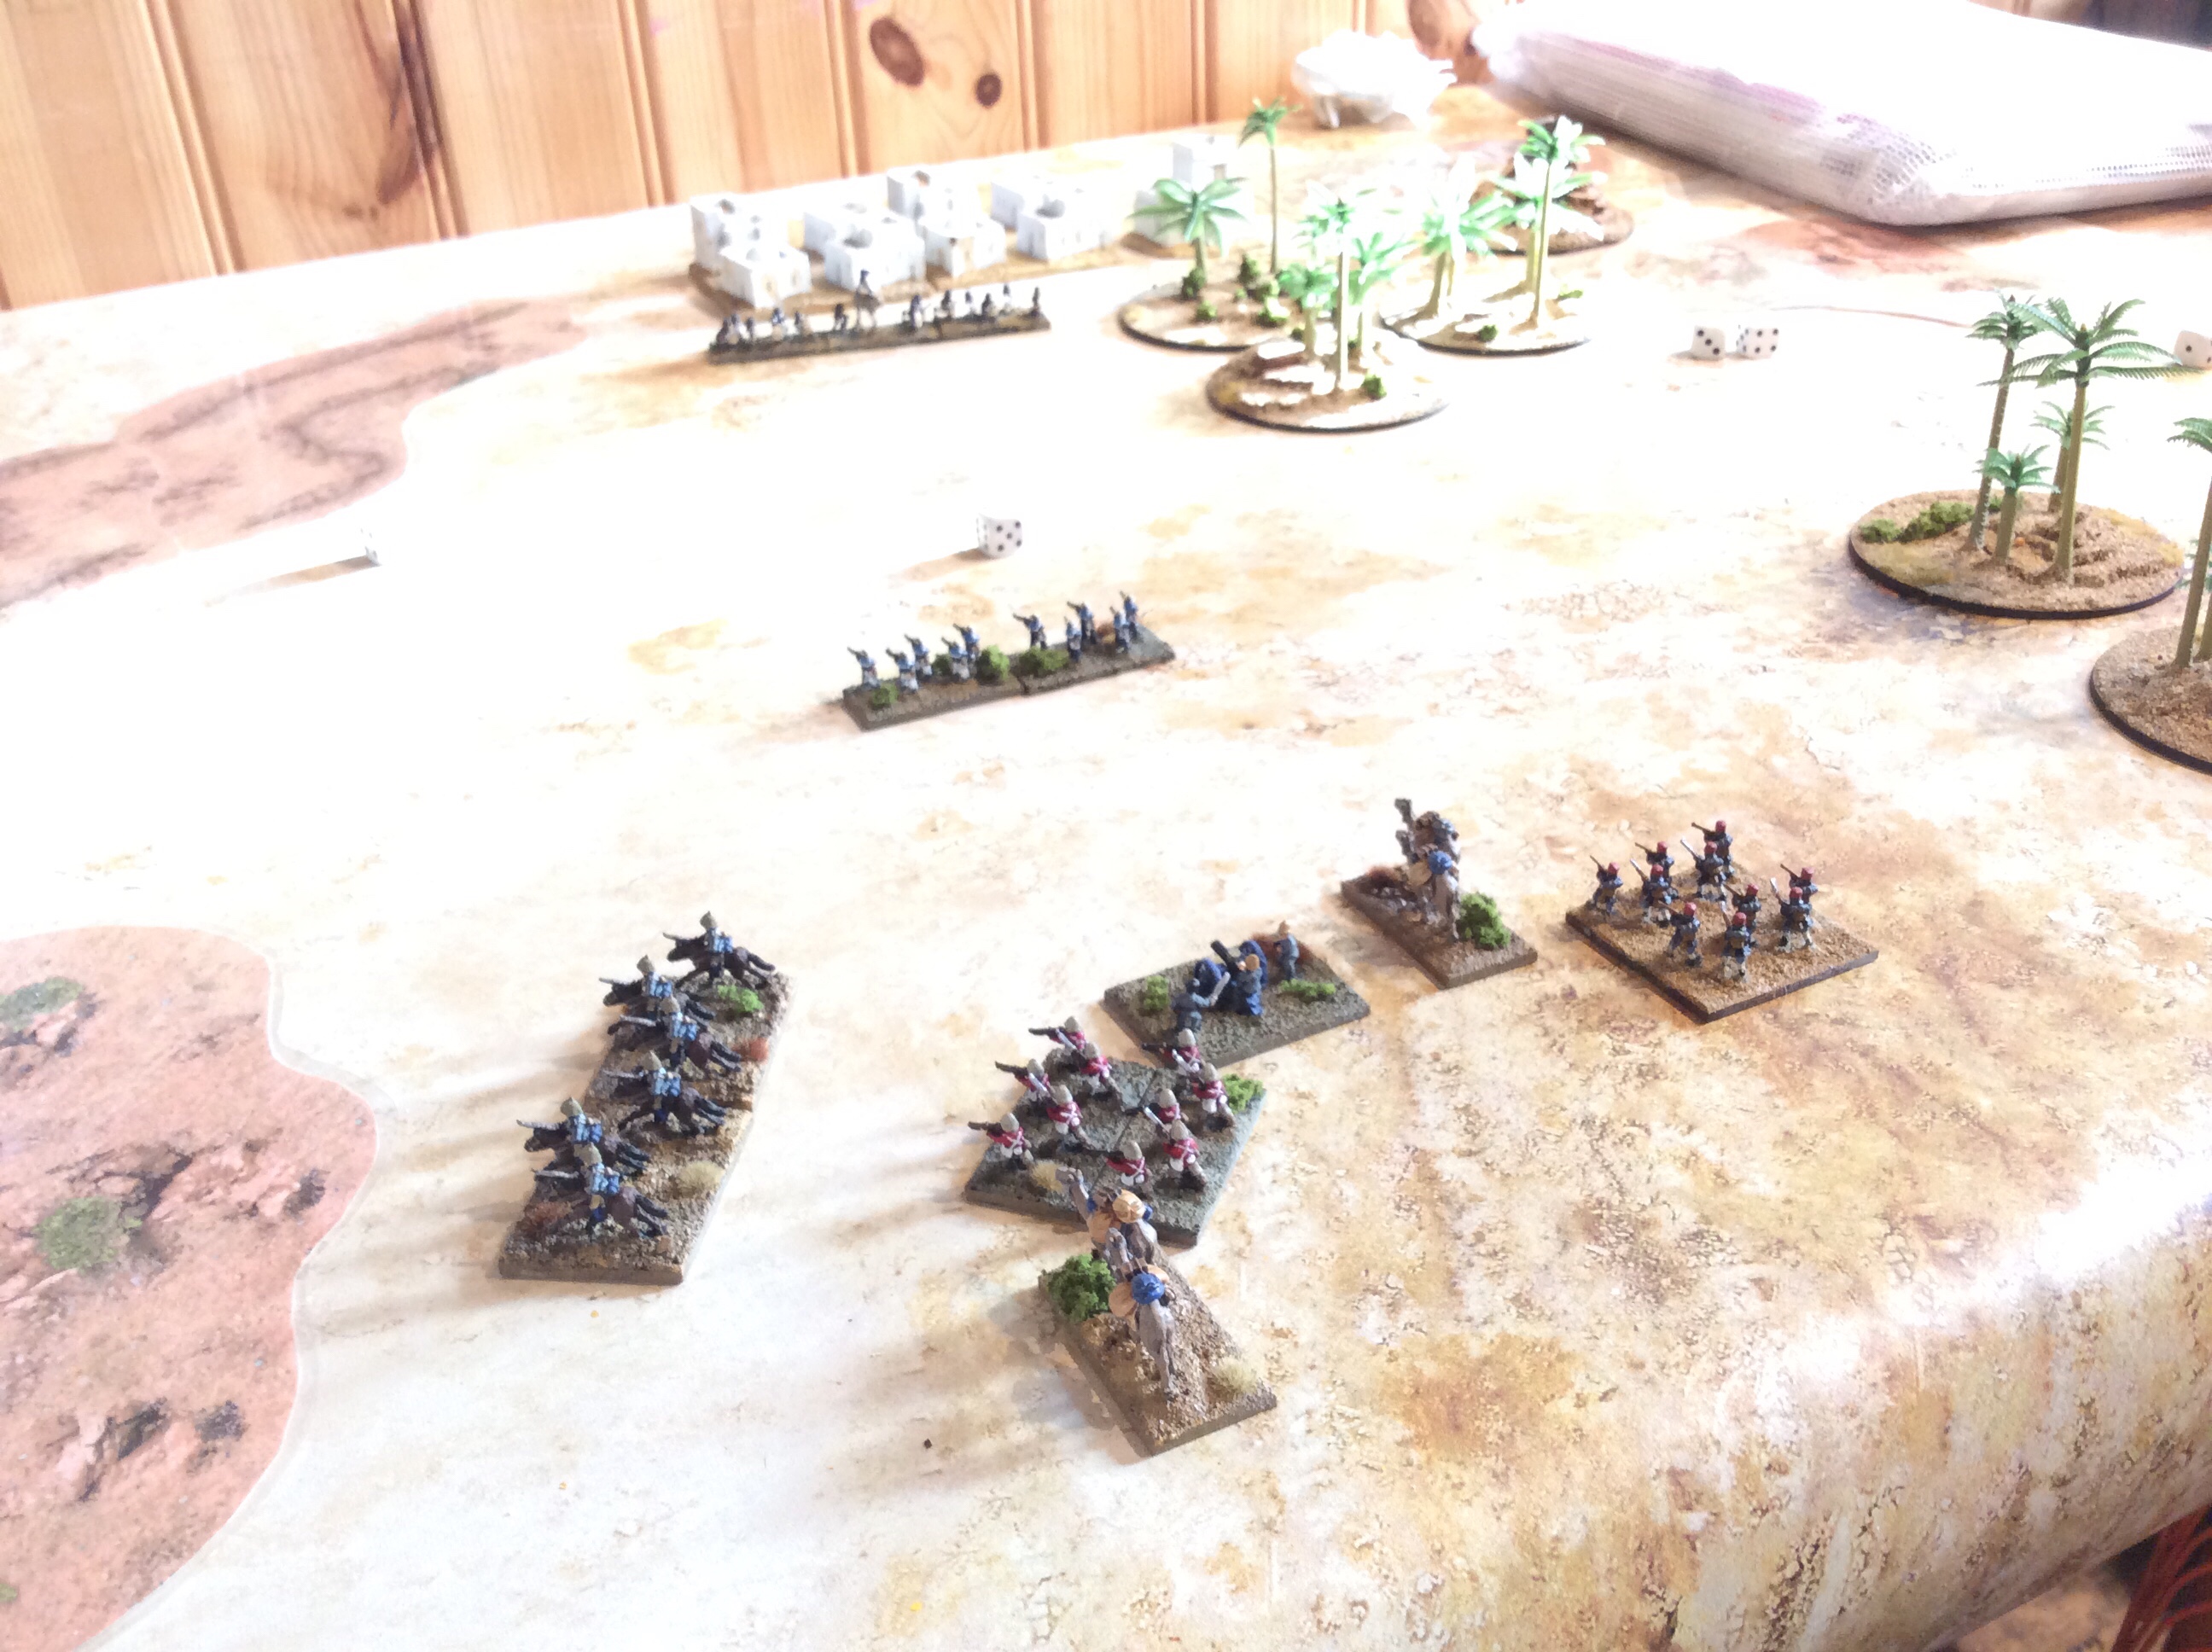
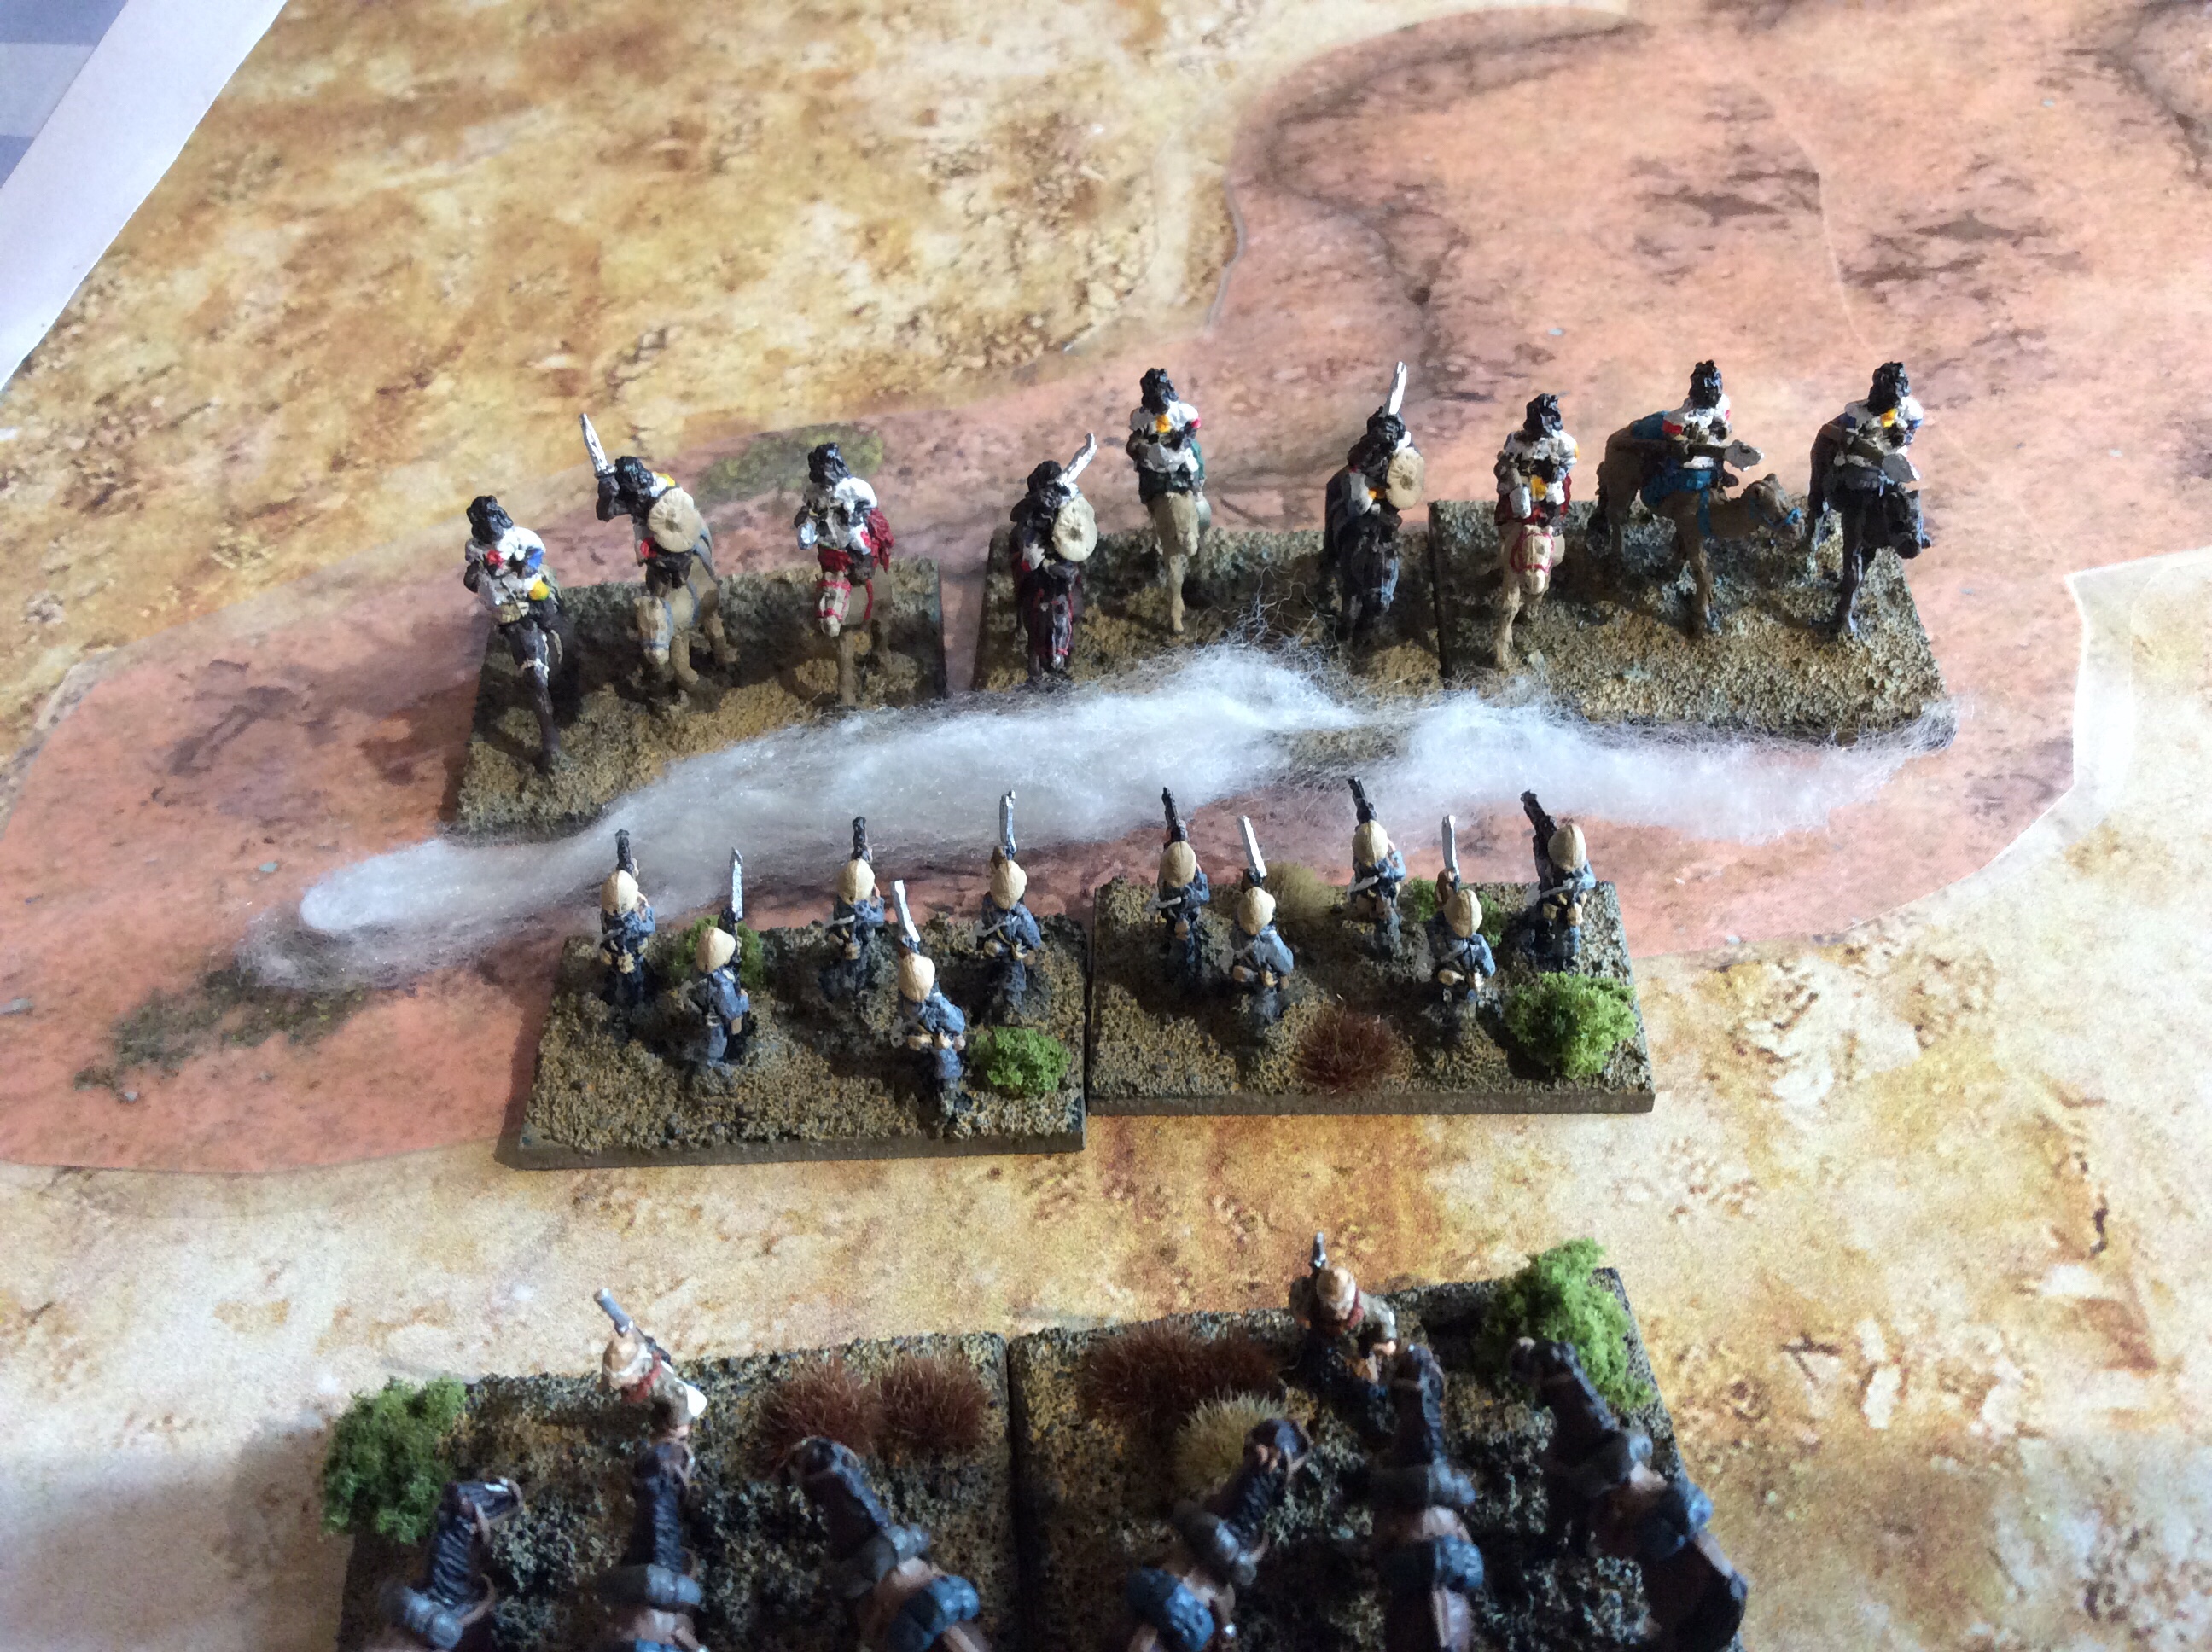
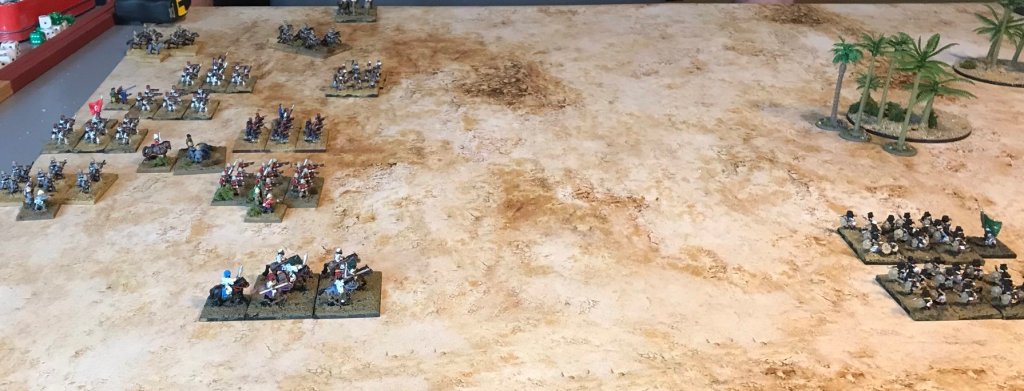
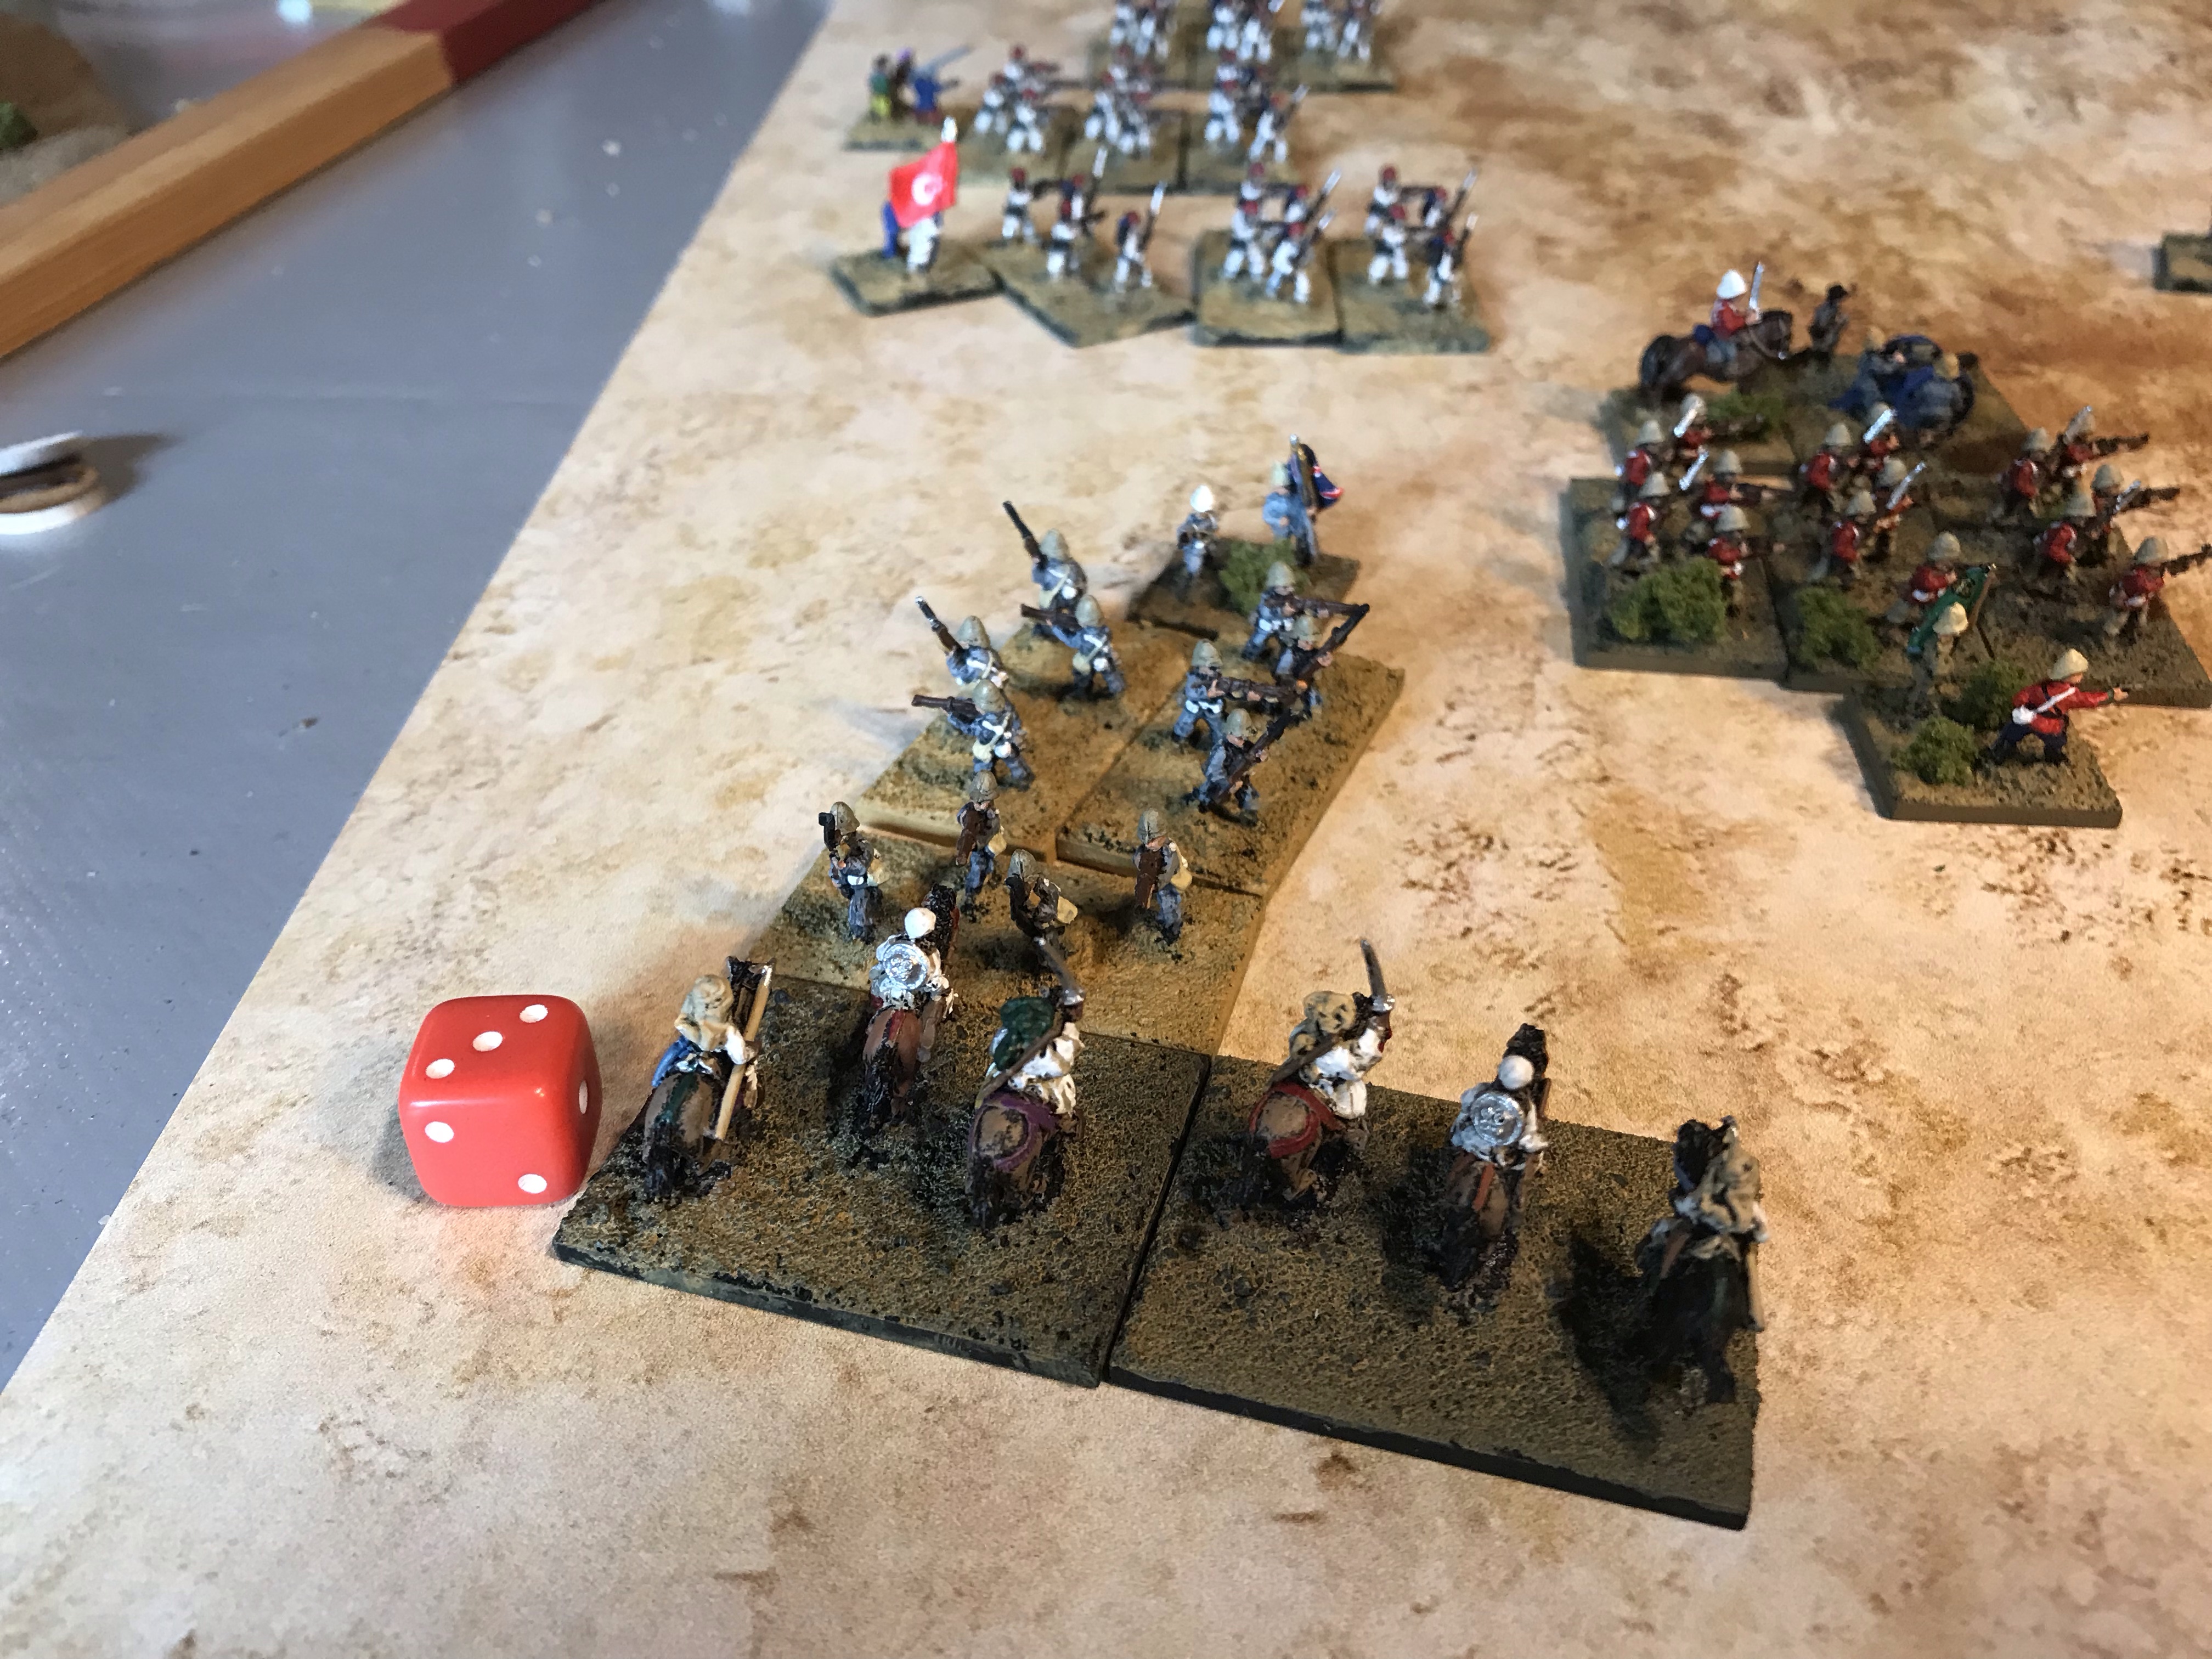
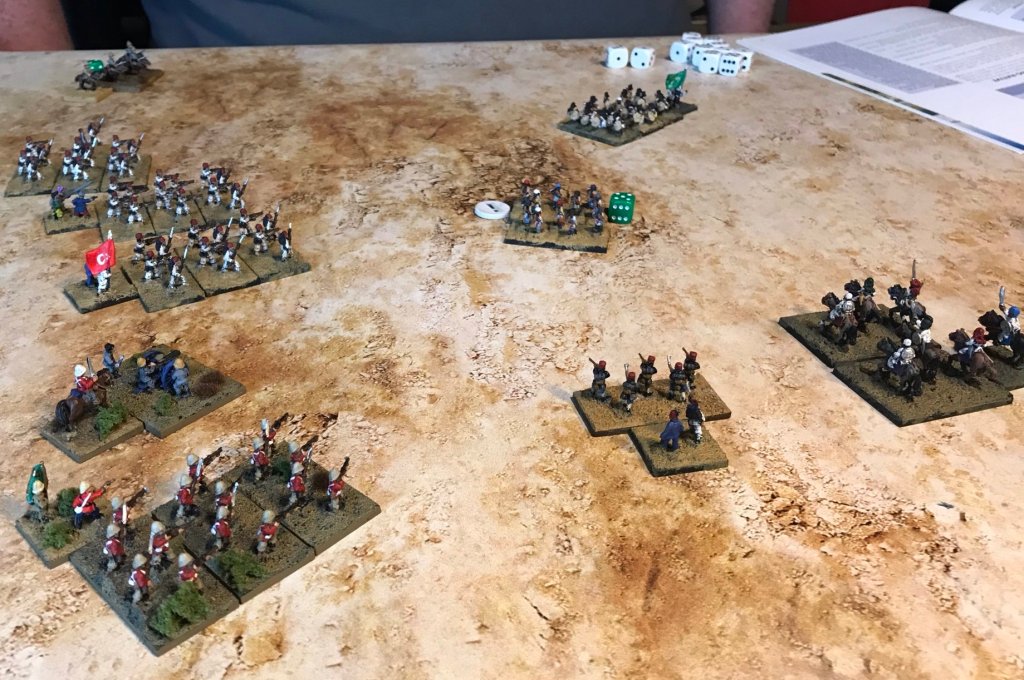
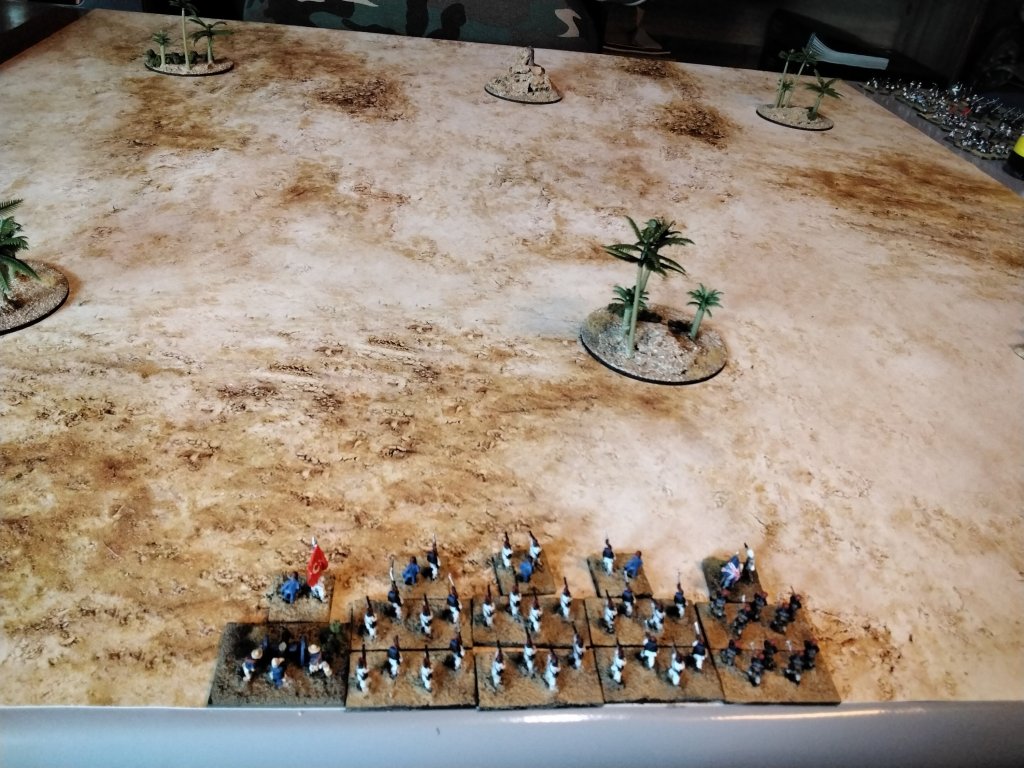
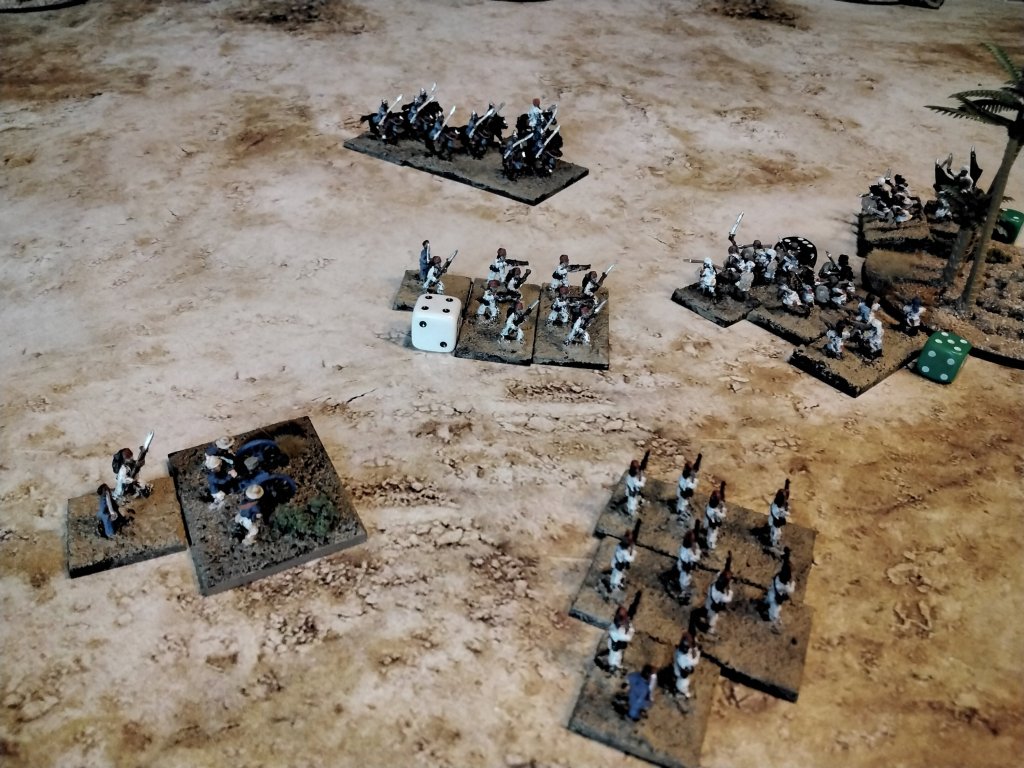
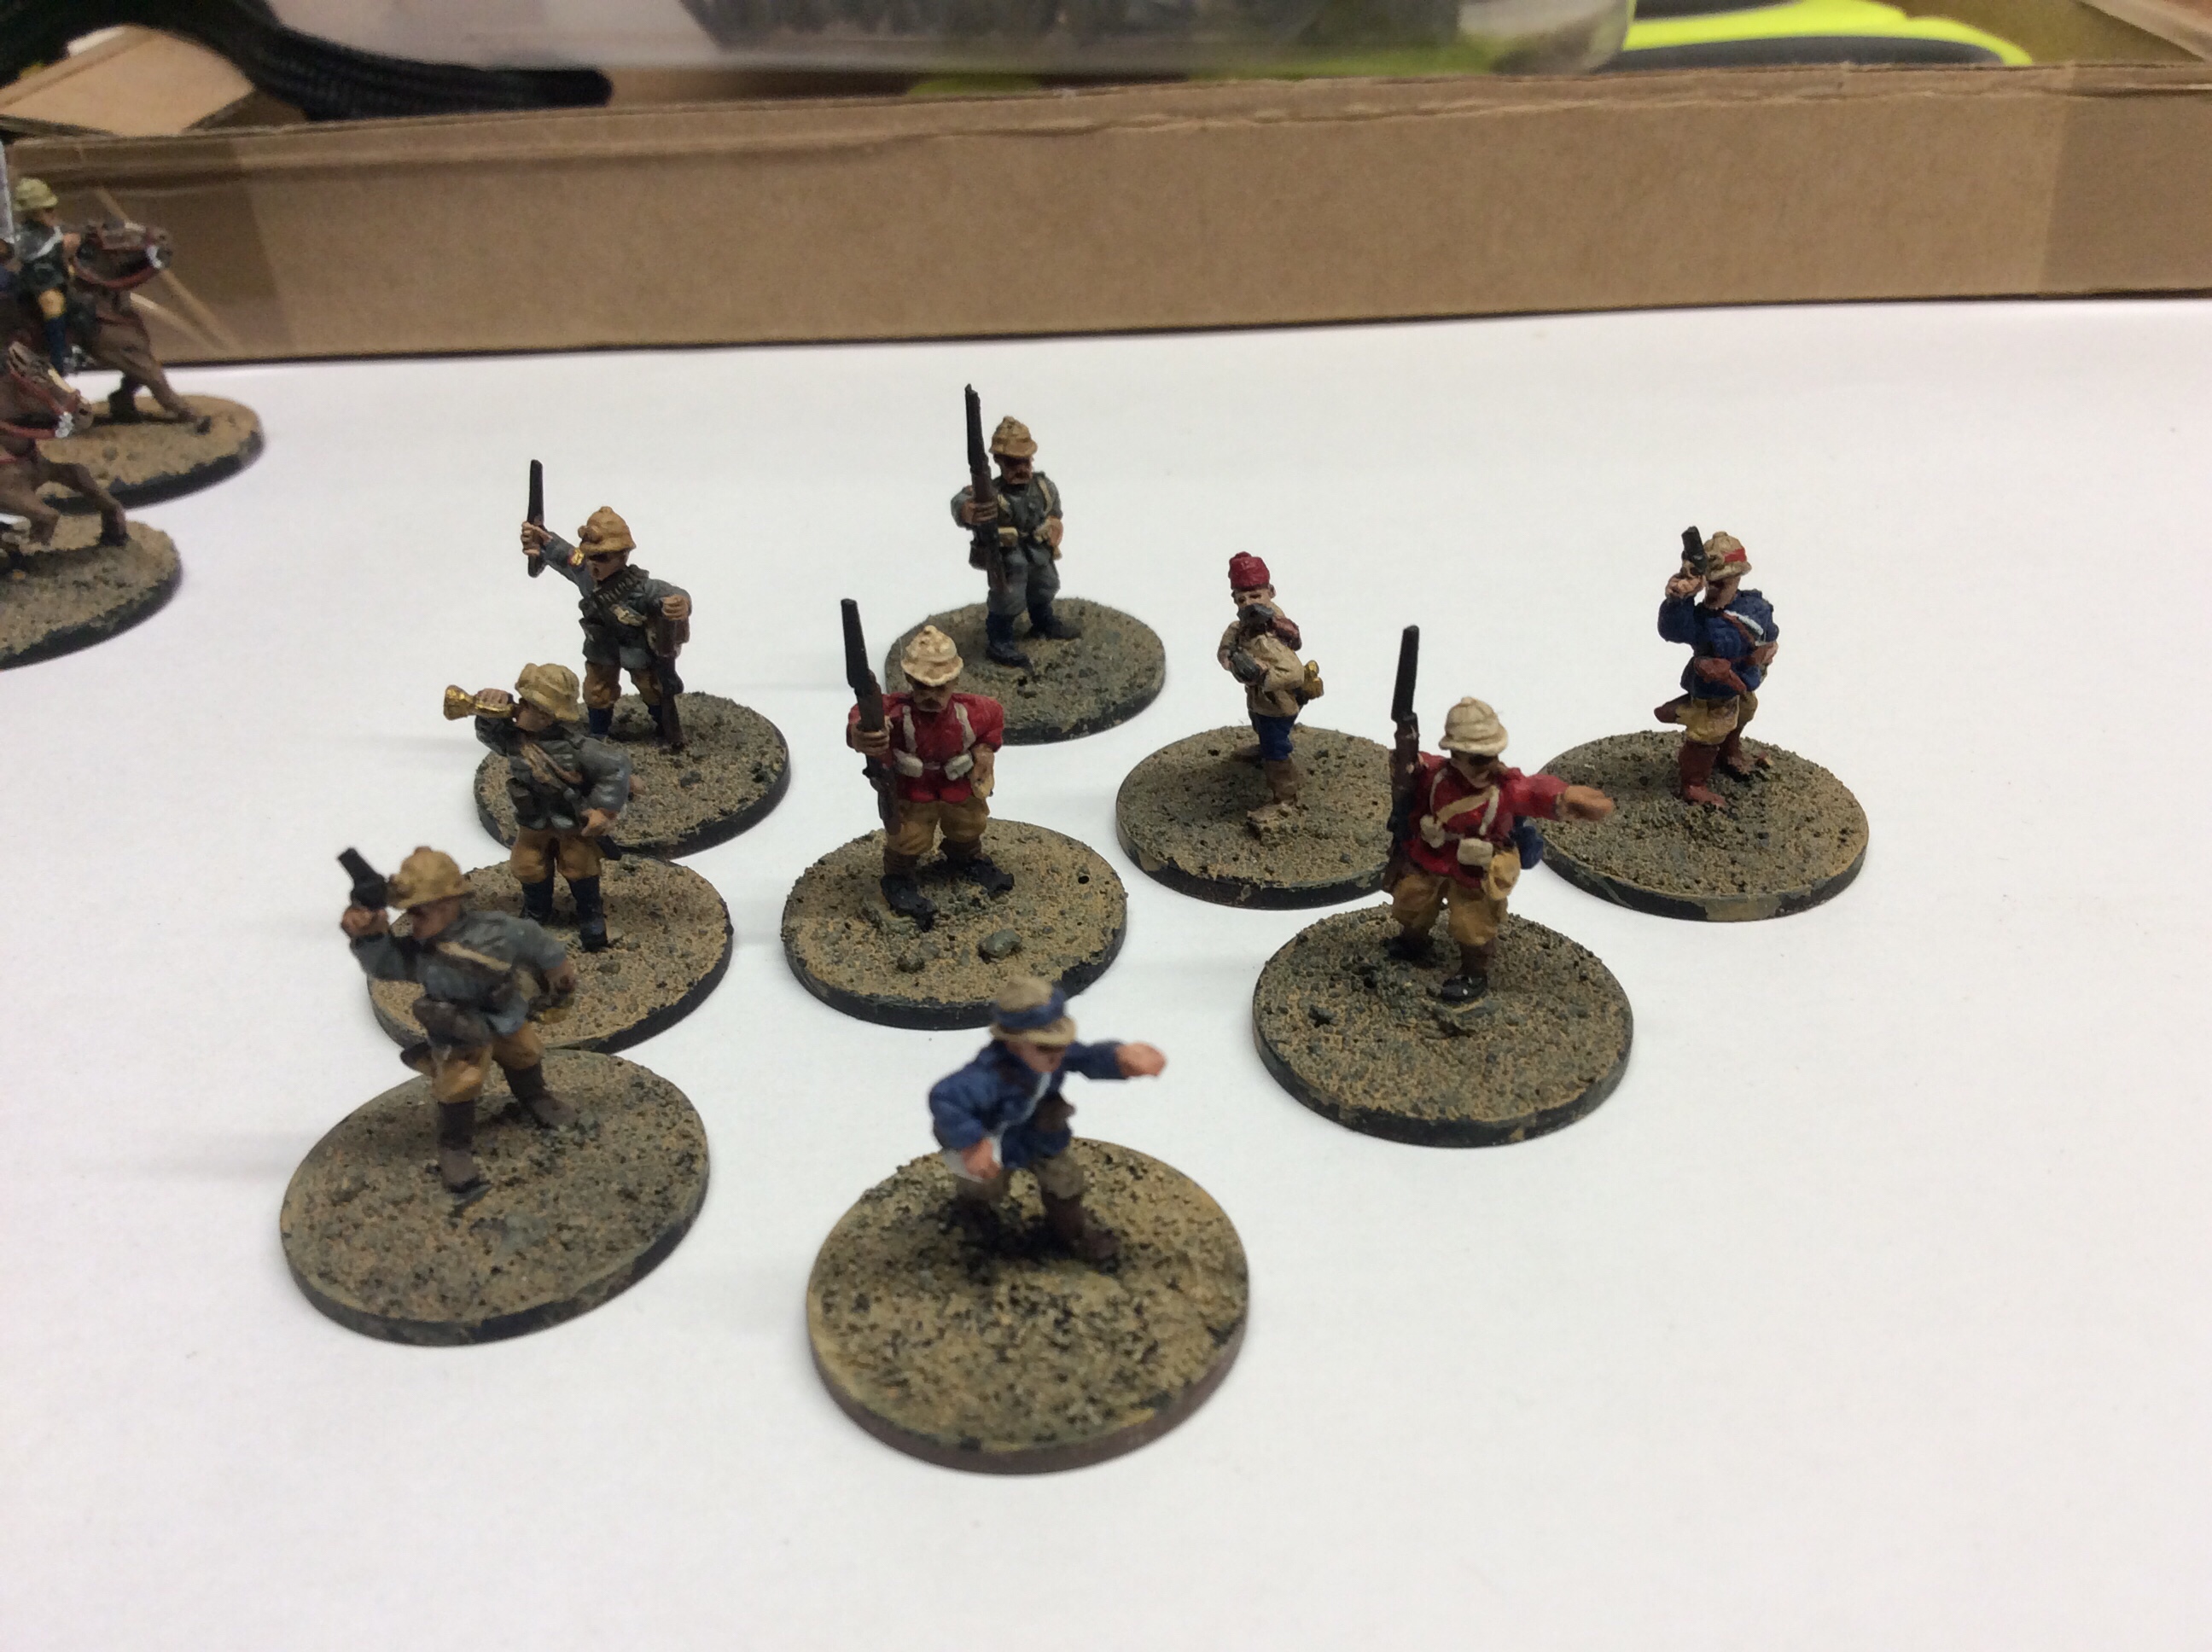
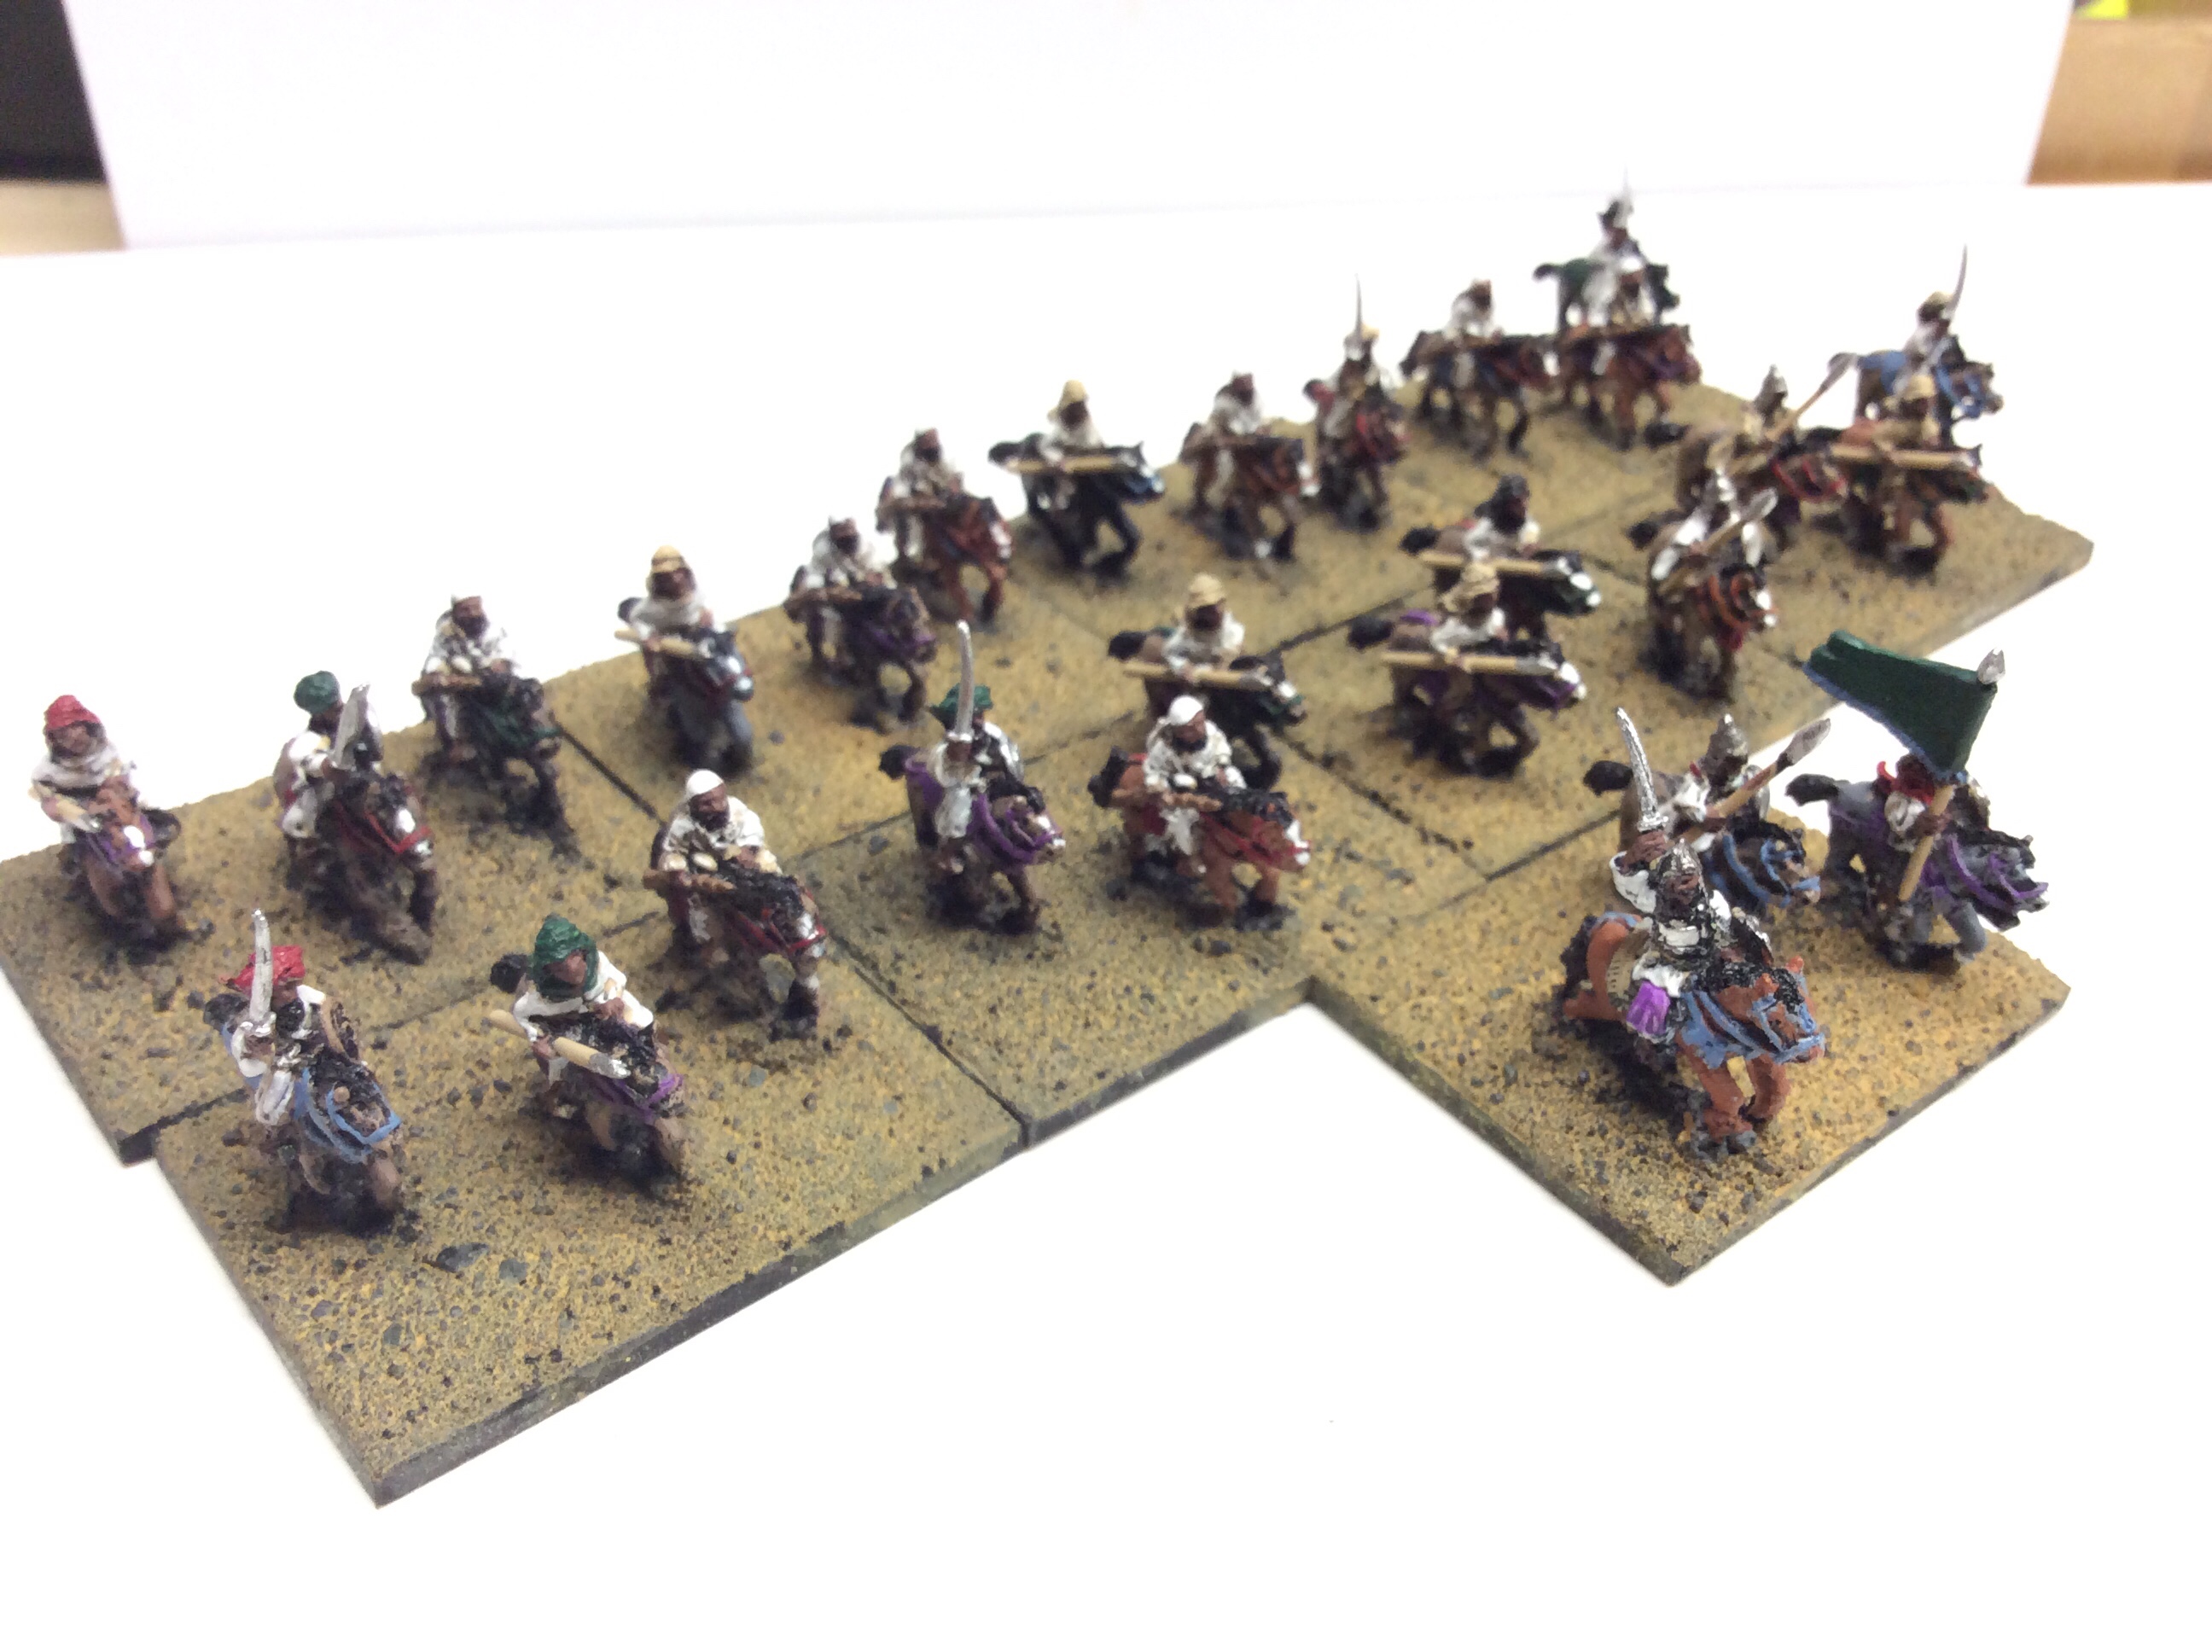
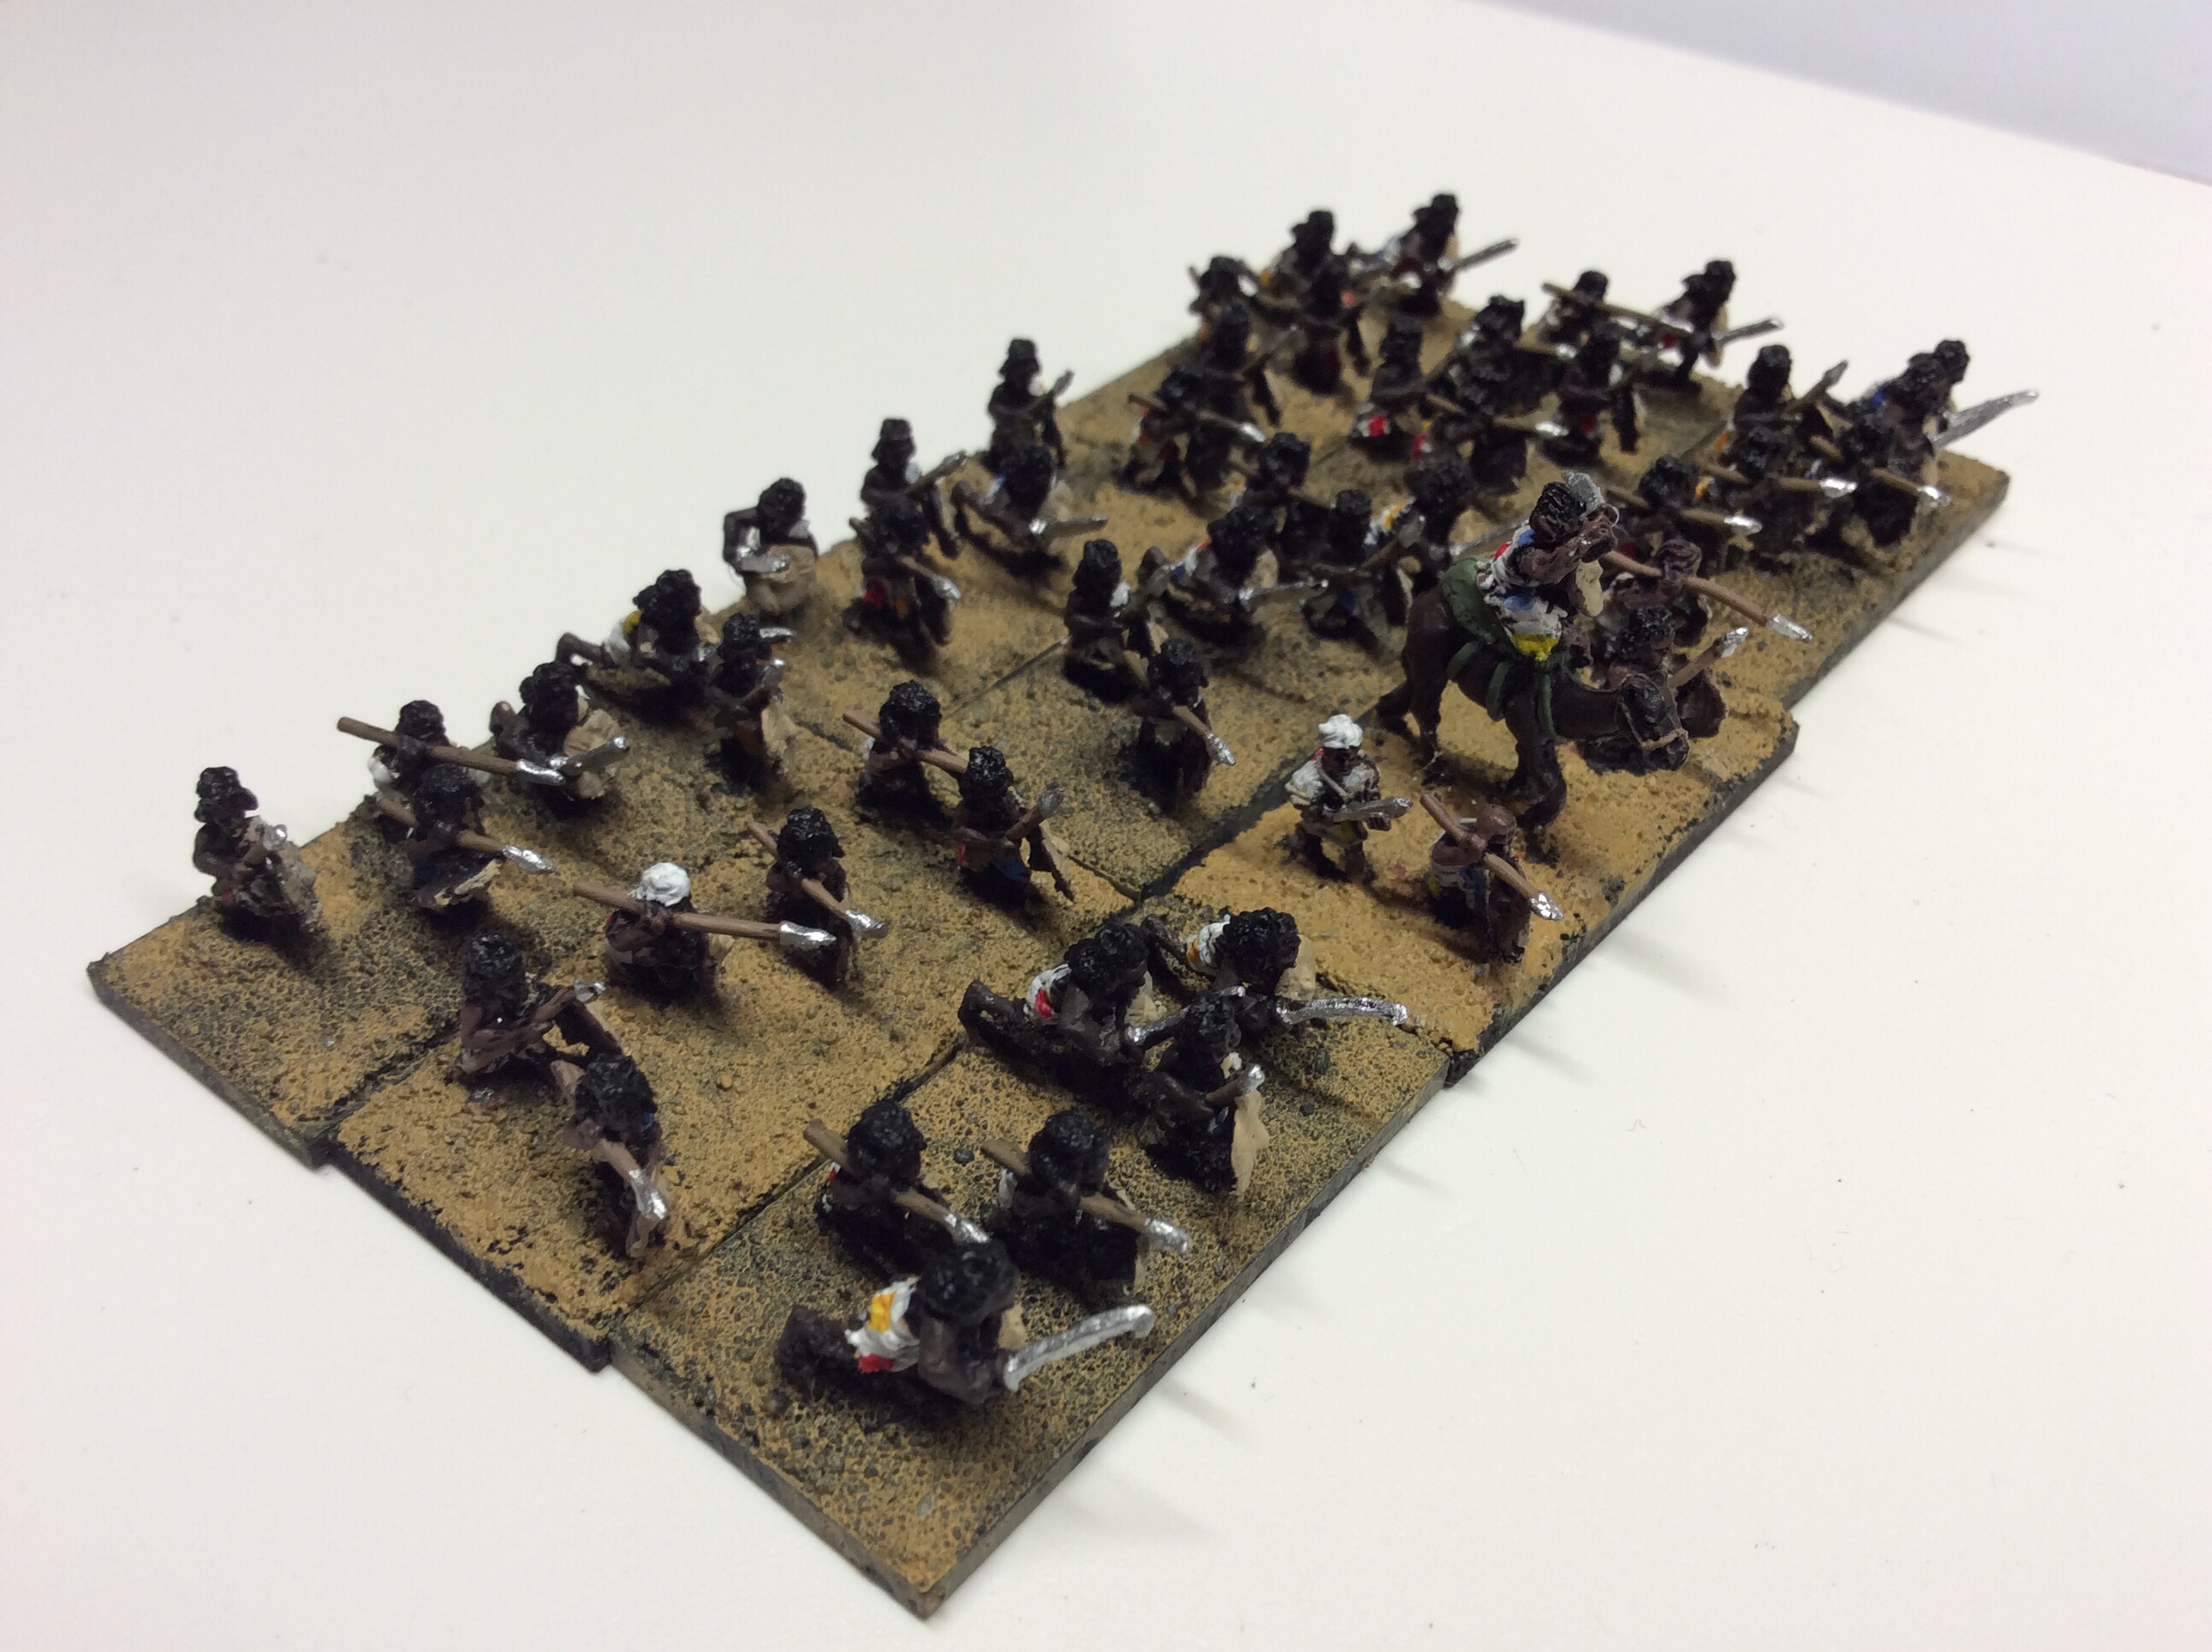
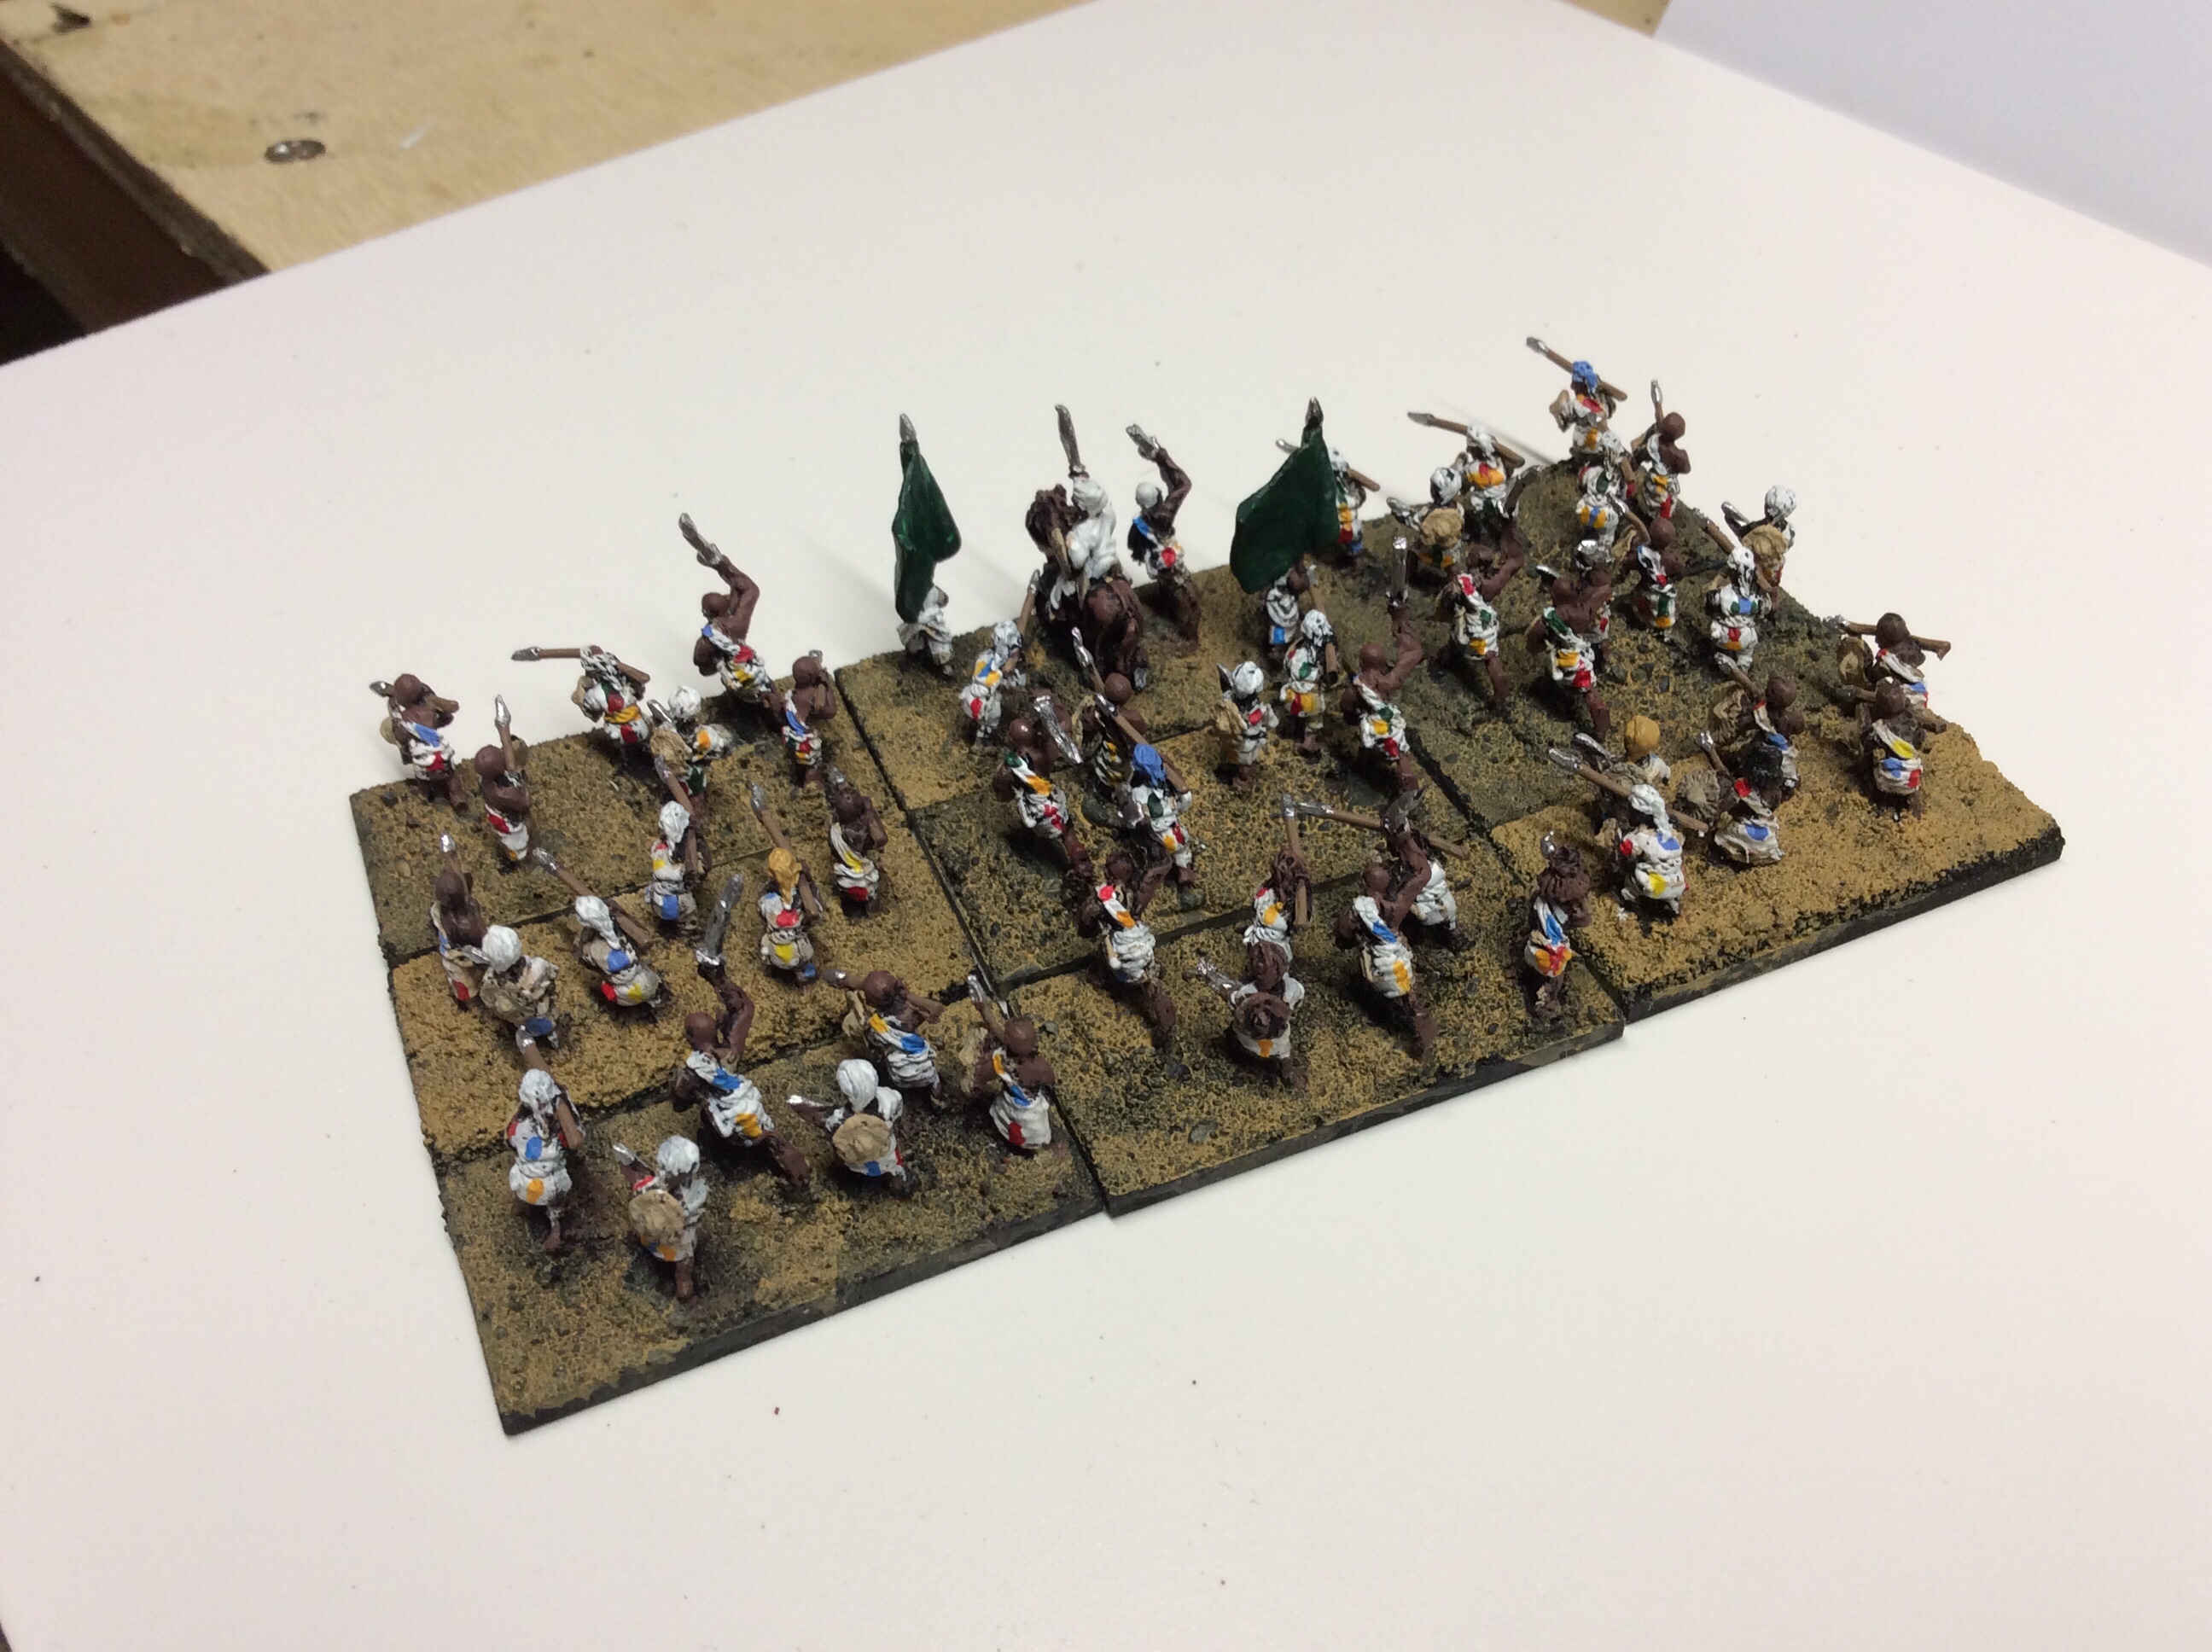
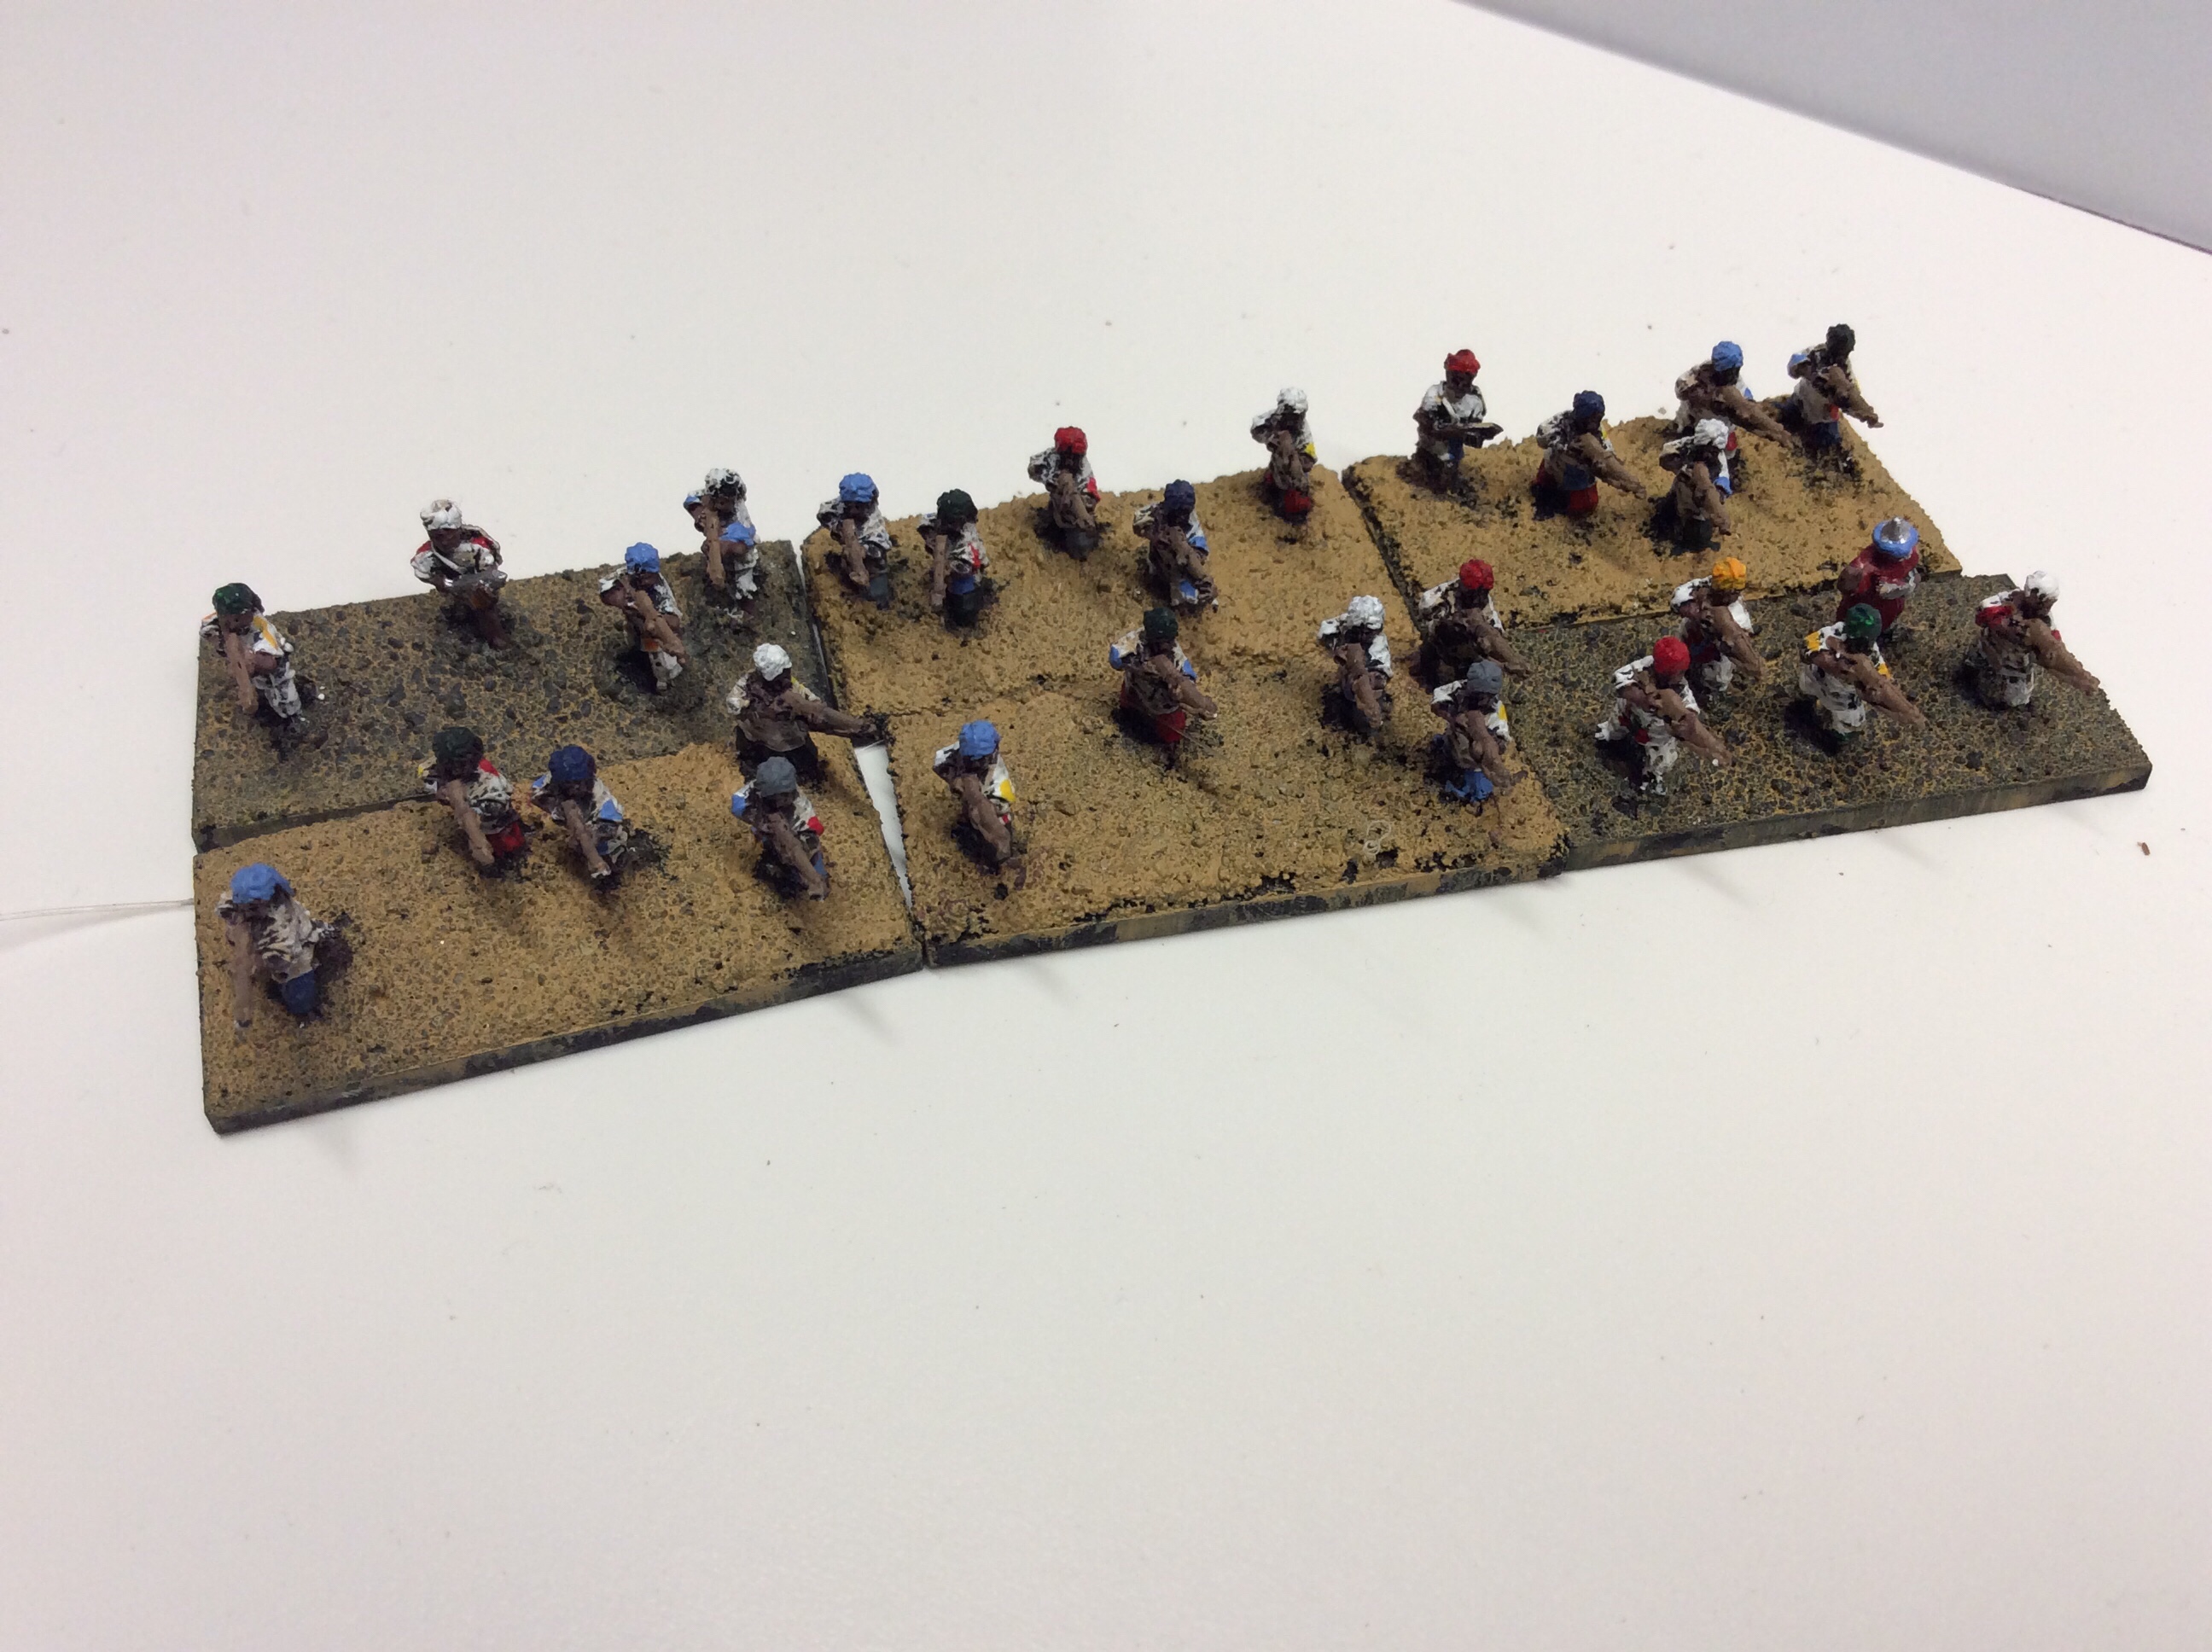
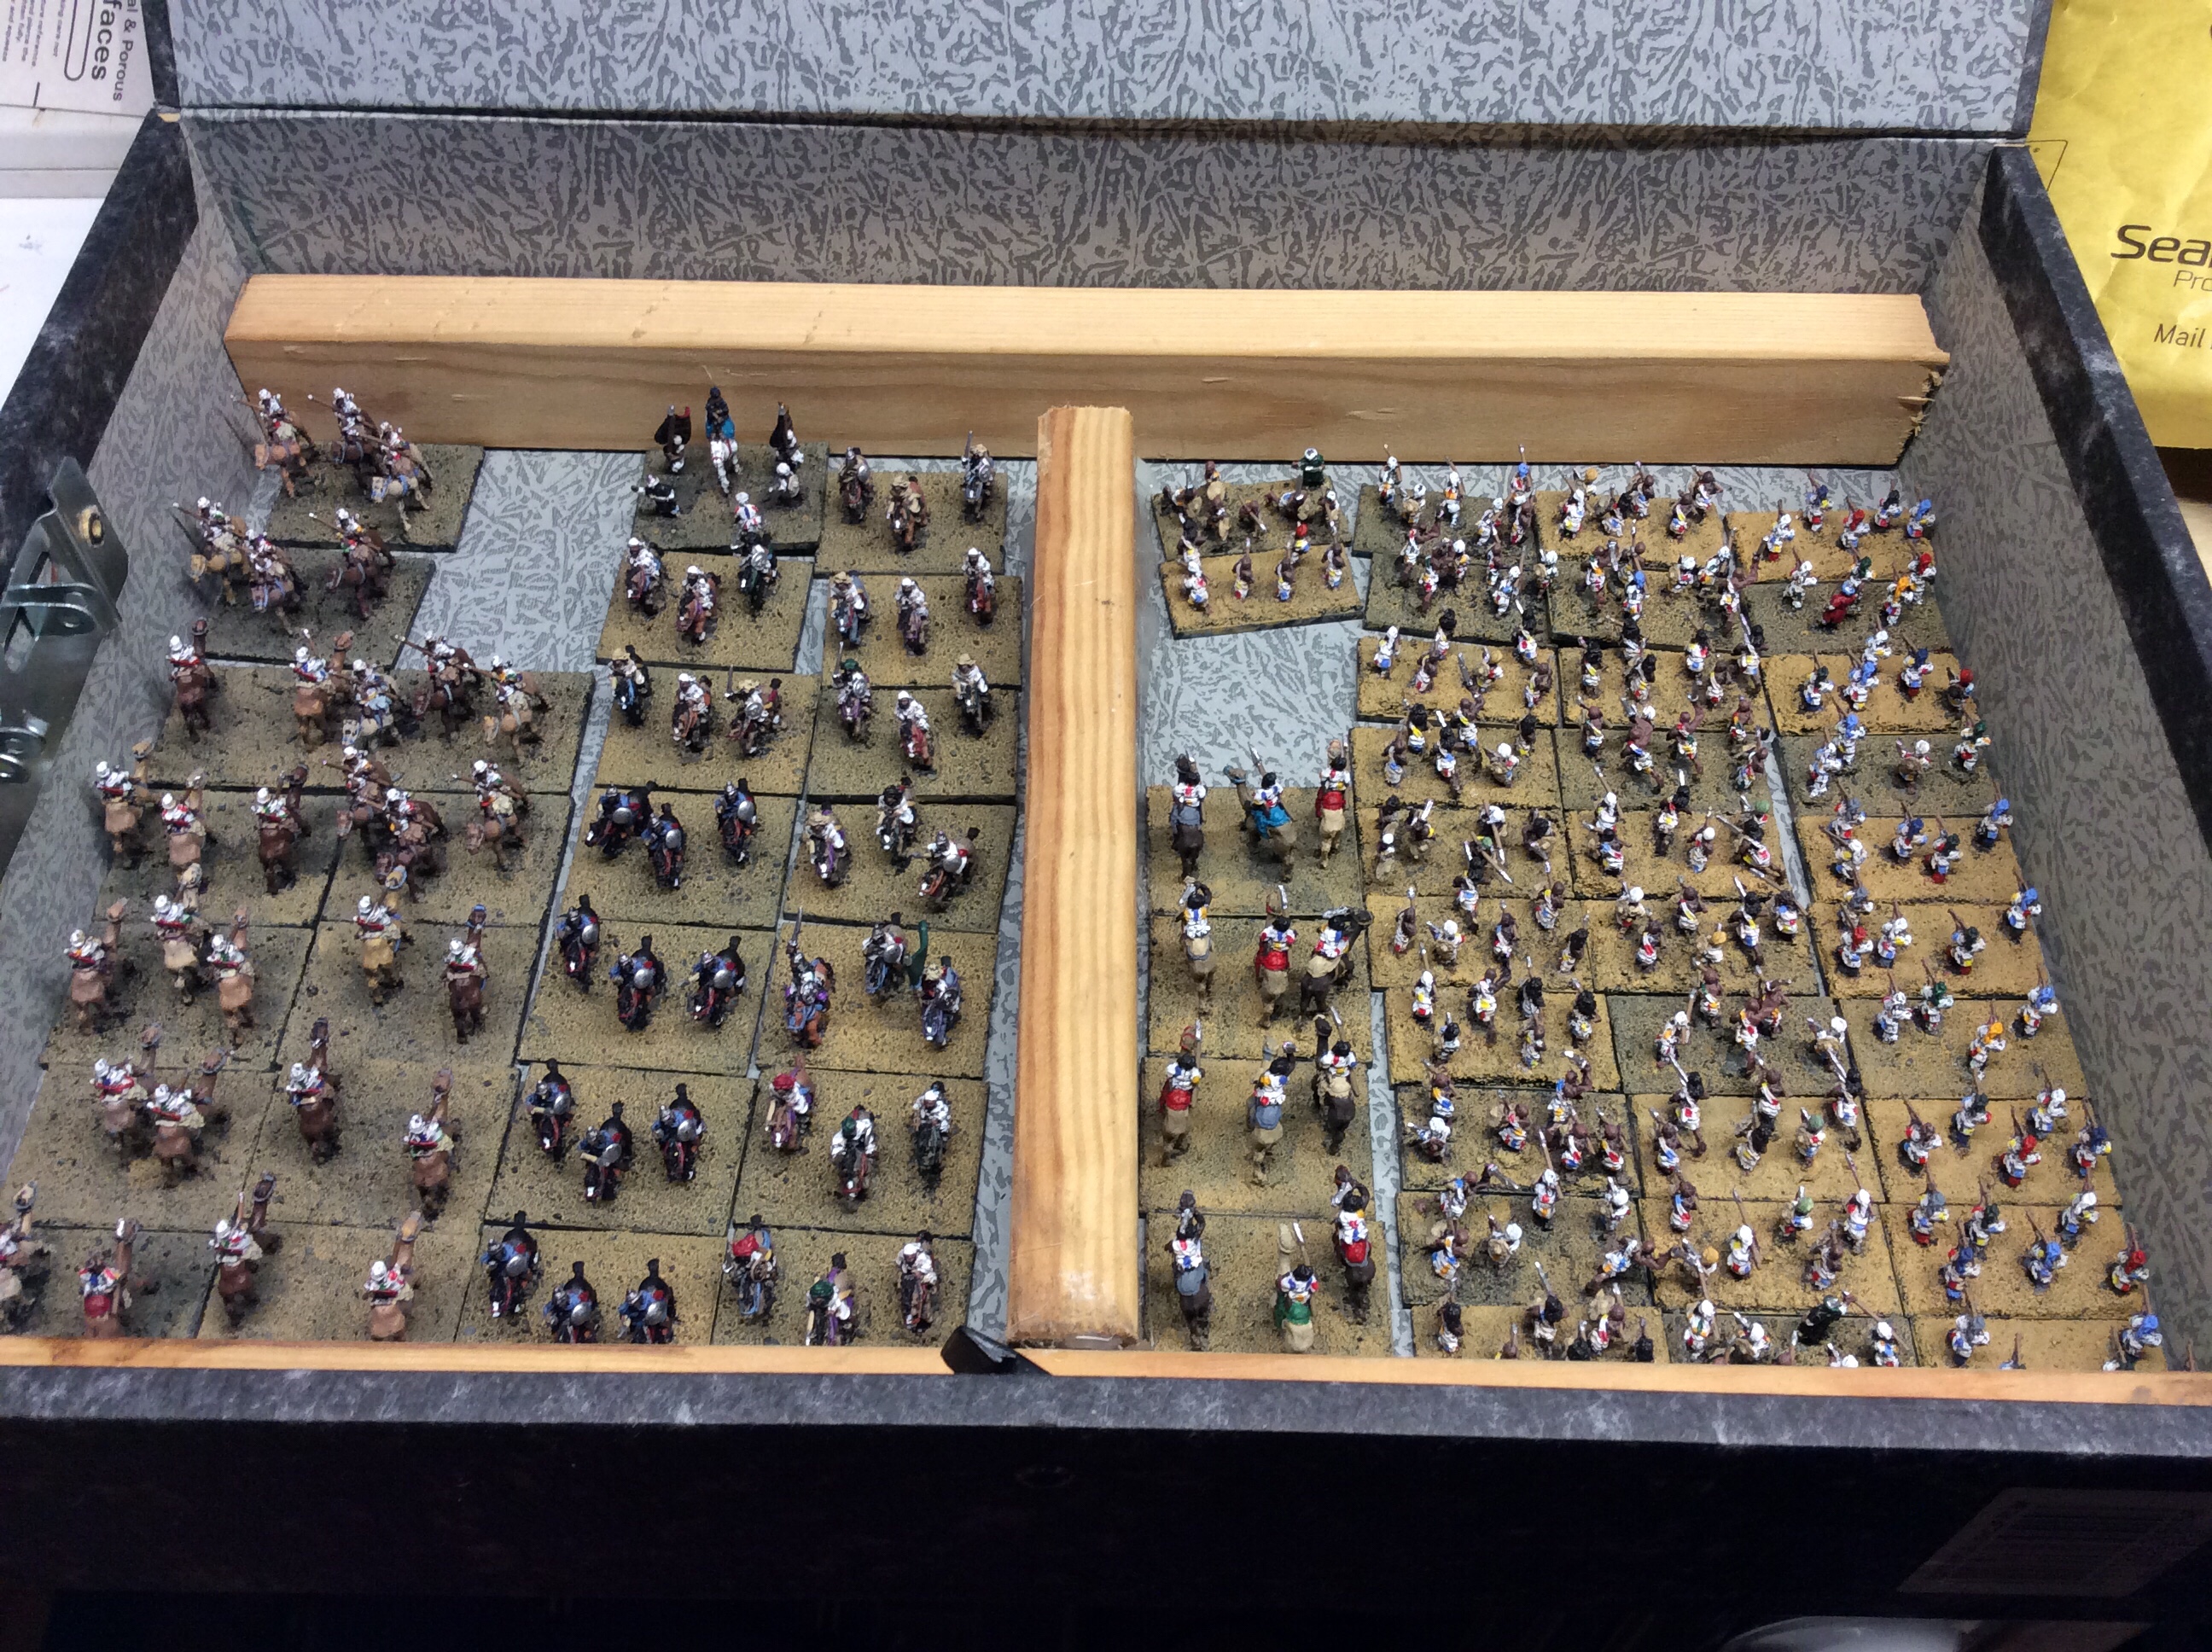
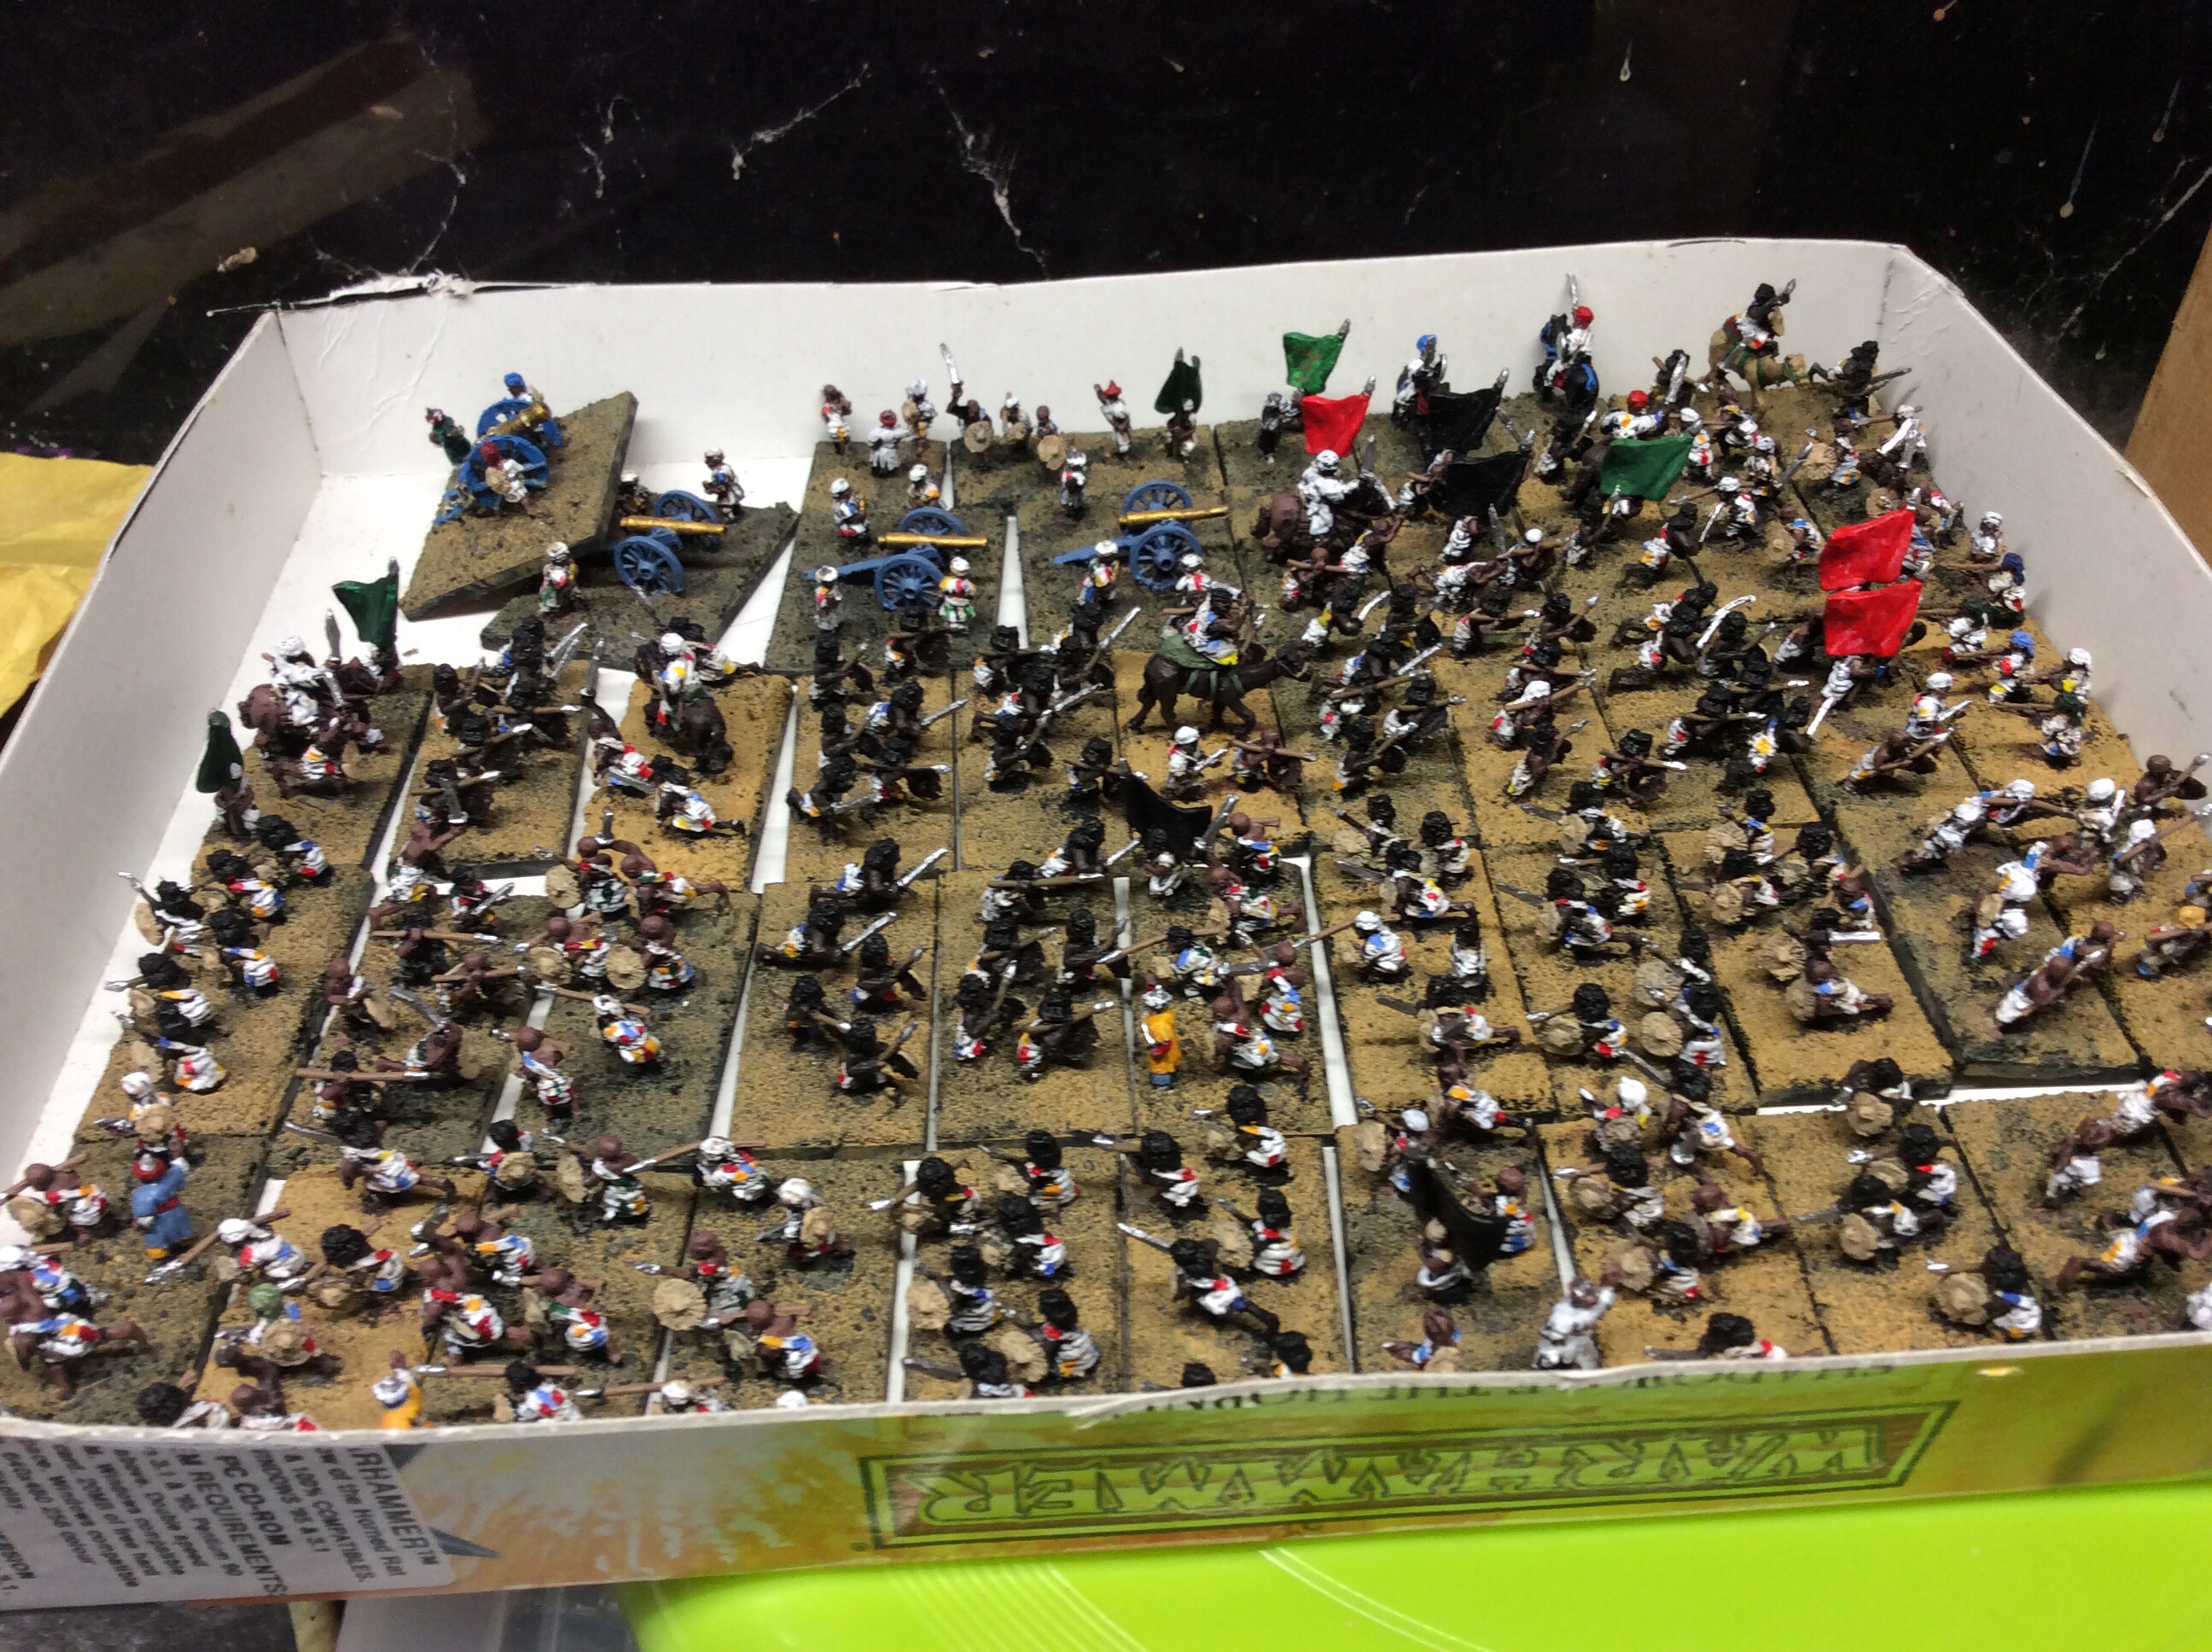
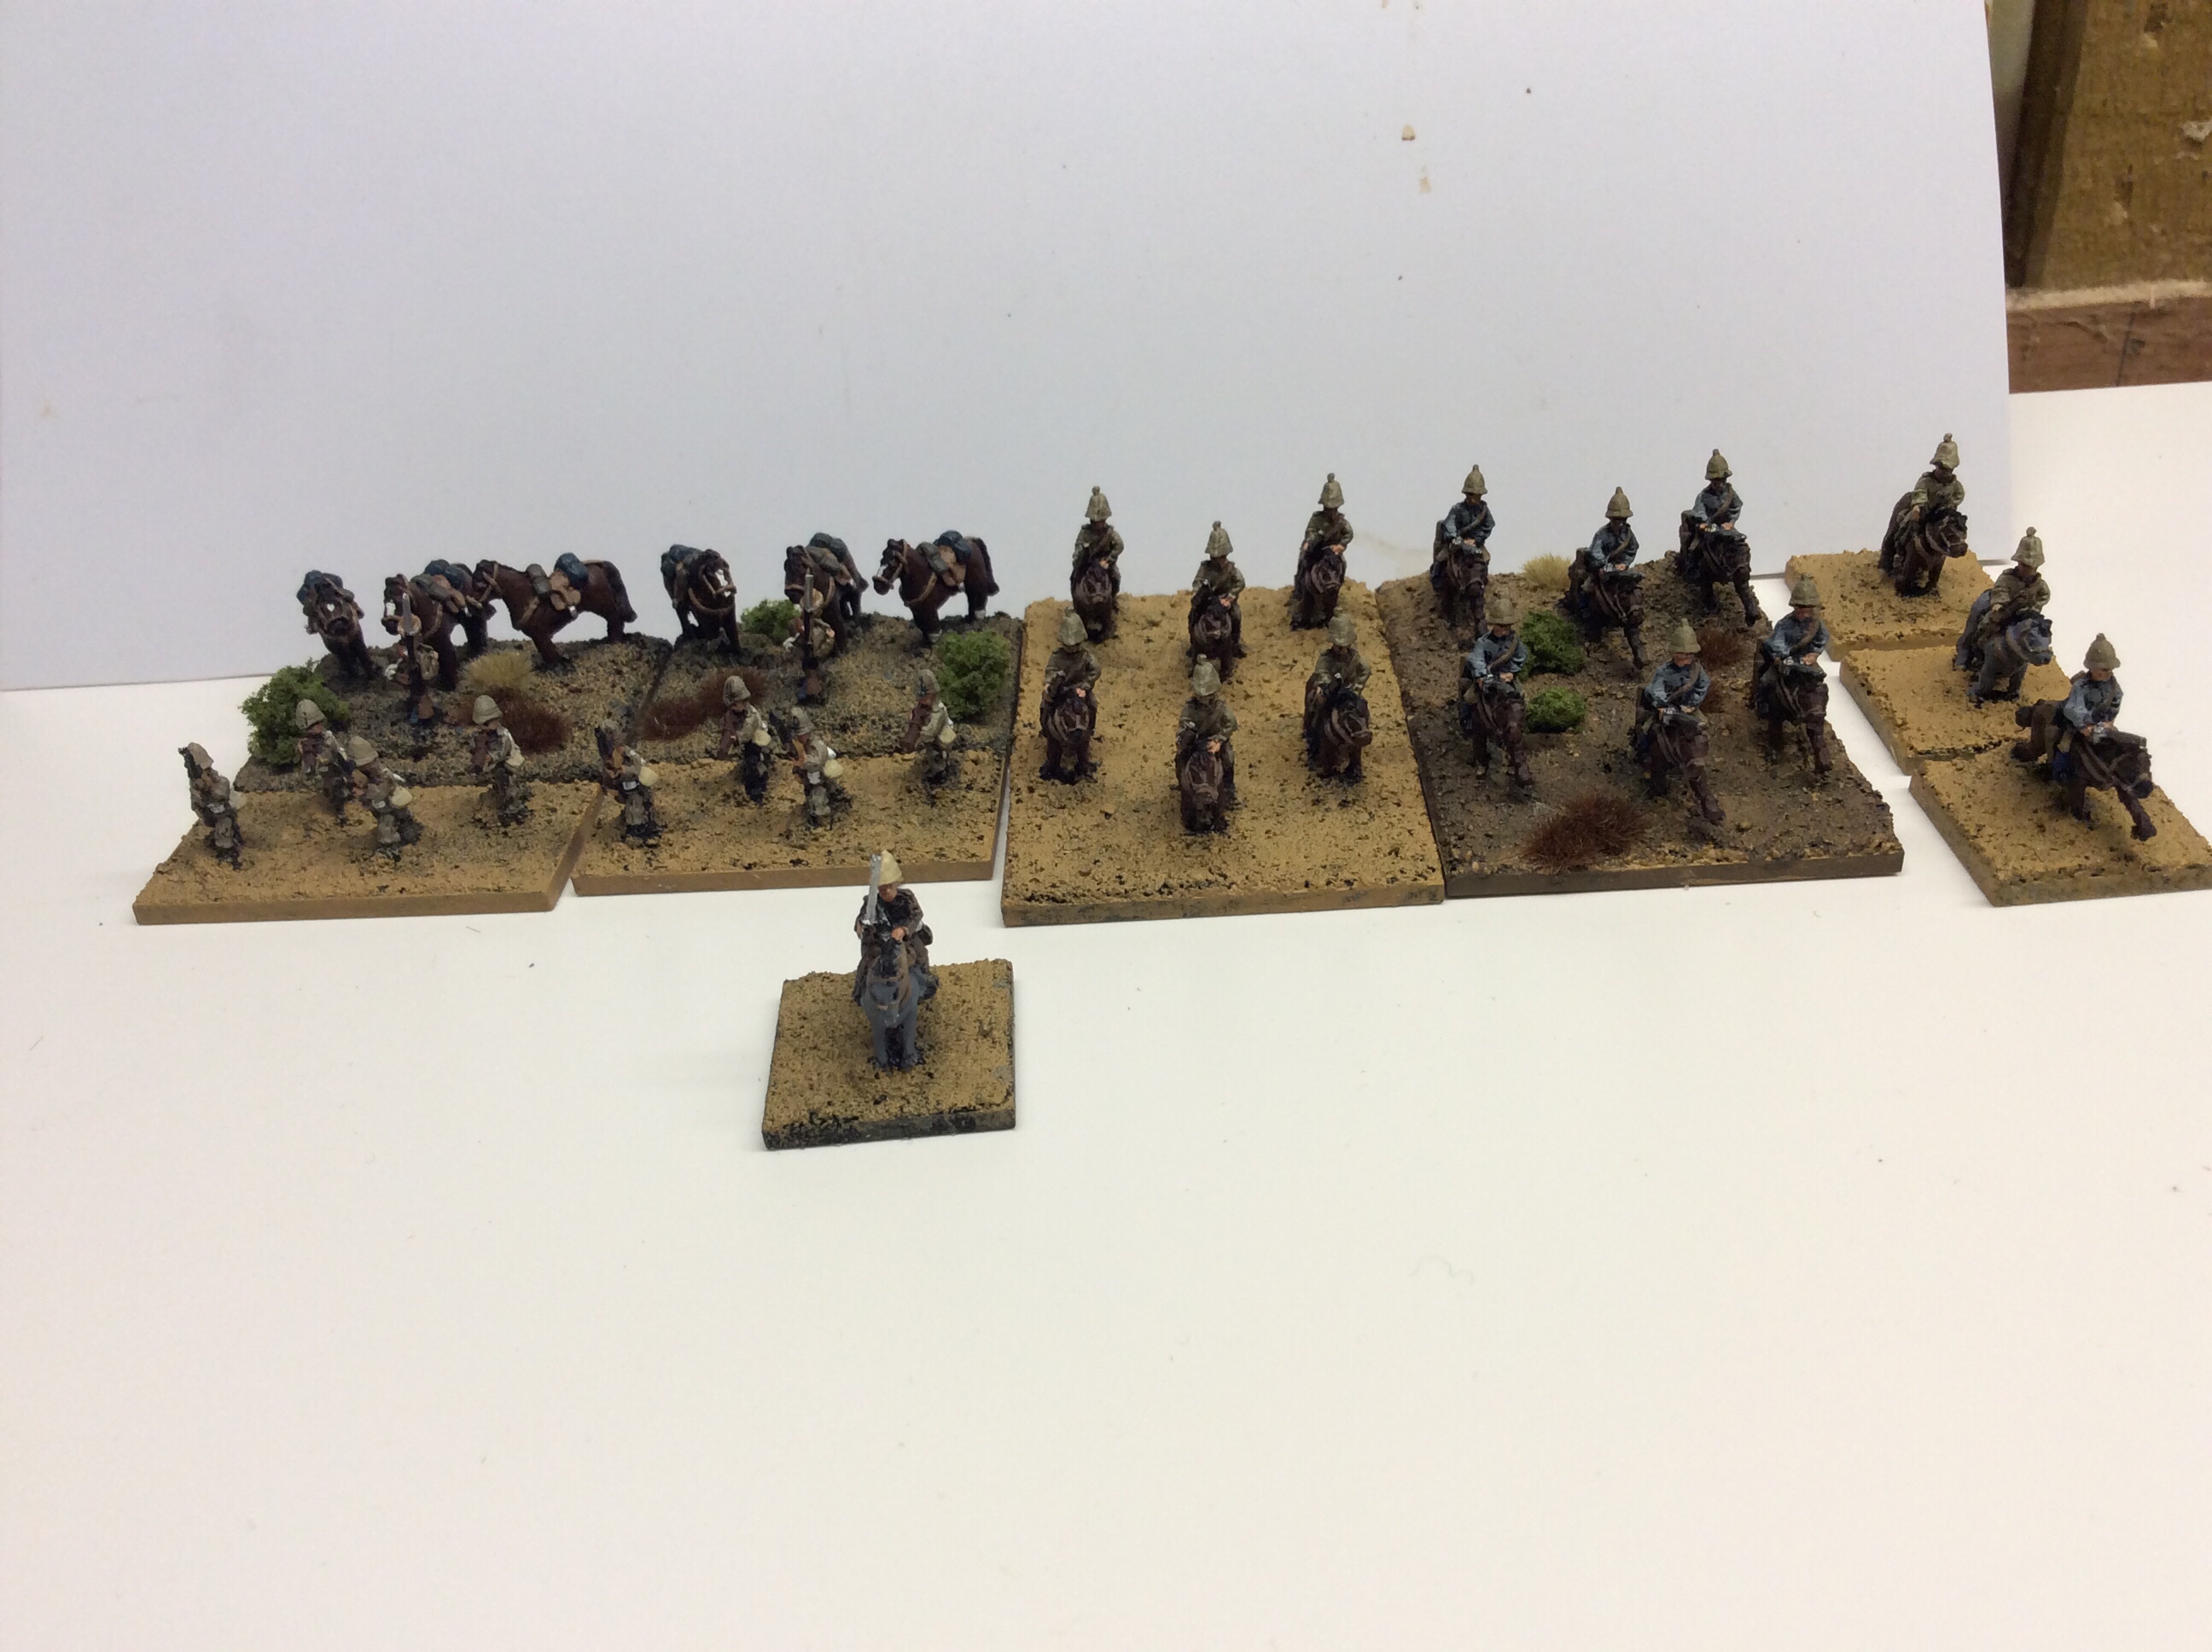
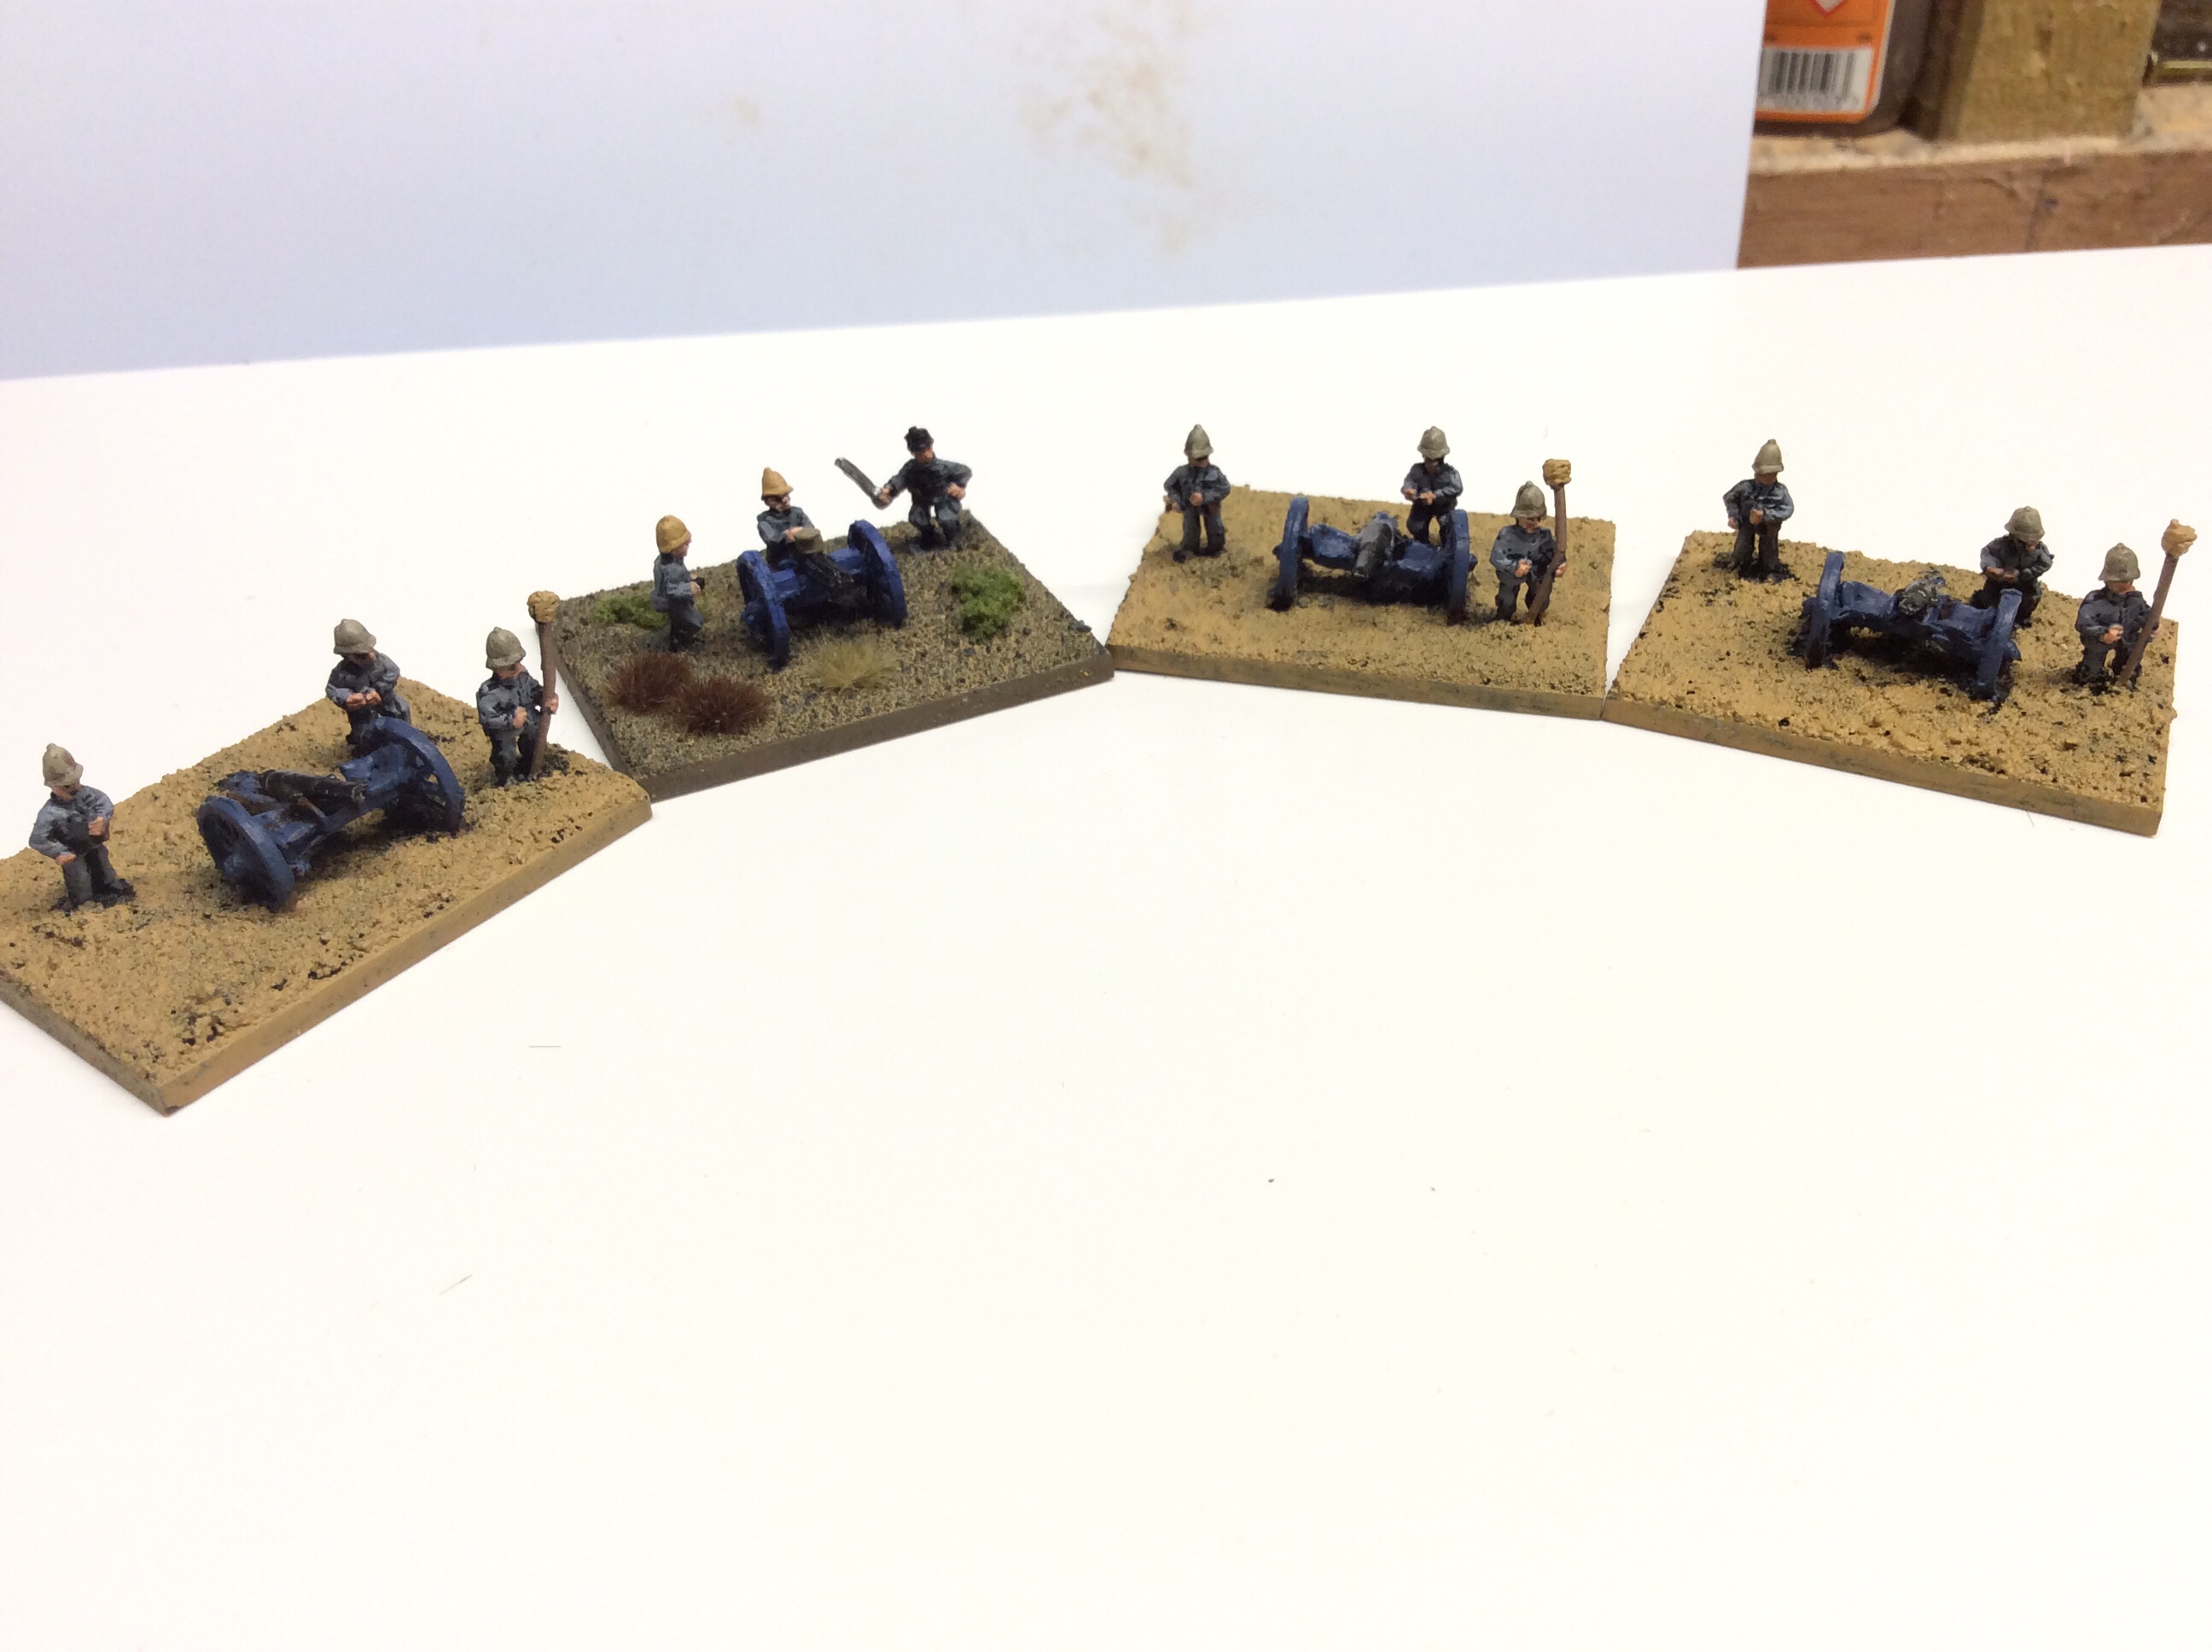
Our troops were an Anglo Egyptian force comprising the Durham’s, the Guards, along with a naval crew manning a gatling gun, protecting our right flank were the colourful gentlemen known as Bashi Bazouks. They carried more weapons upon their persons than was normal. To the left of the British forces were a mixed force of Egytians and Sudanese troops, with lancers and cavalry protecting the left. After we broke our morning fast the sun was already searing the sands. We set forth into the unknown, our target was a small wadhi where numerous vultures were circling. As we advanced a great shout came from our front and left flank as numerous enemy forces appeared as if out of the very earth itself. Their guttural war cries were, demonic as they bounded forwards, intent on our downfall.

The Bashi Bazouks sensing an easy prey galloped forward to engage the enemy. However, as they did so a unit of enemy horse appeared out of the heat haze behind them.

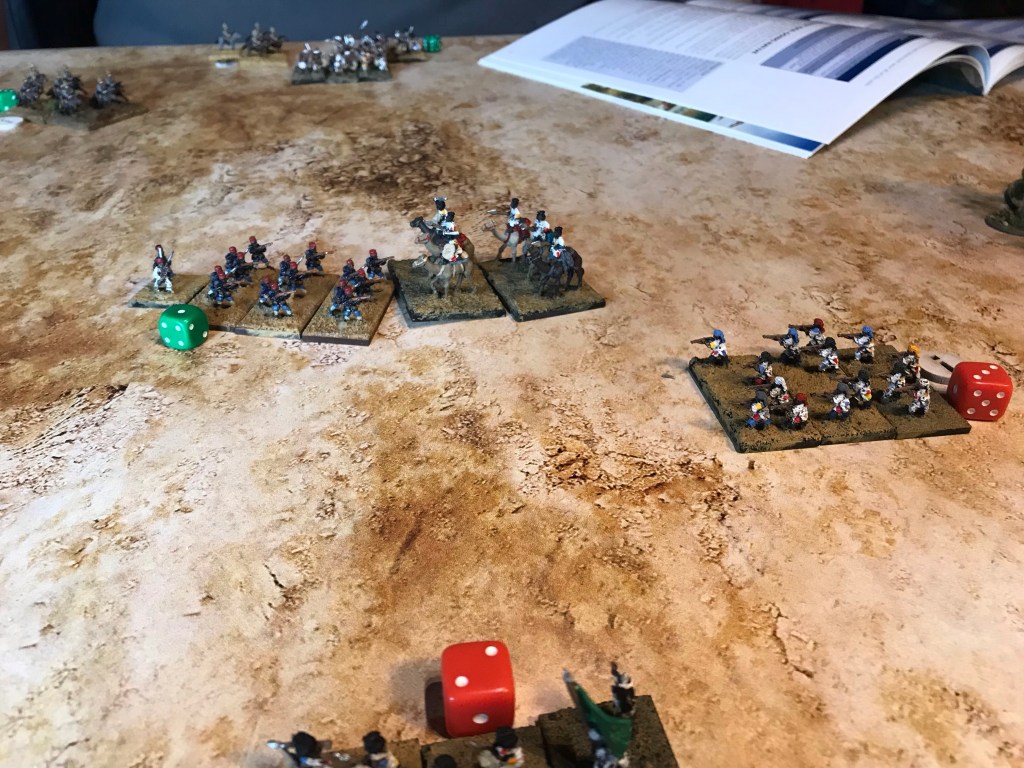
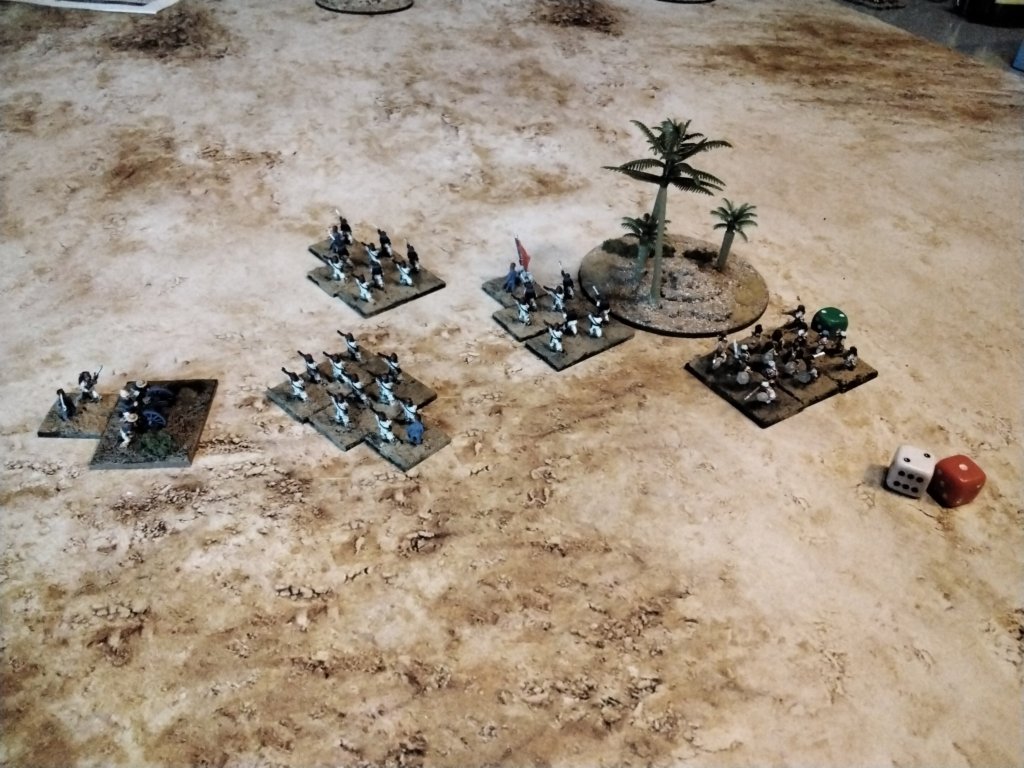
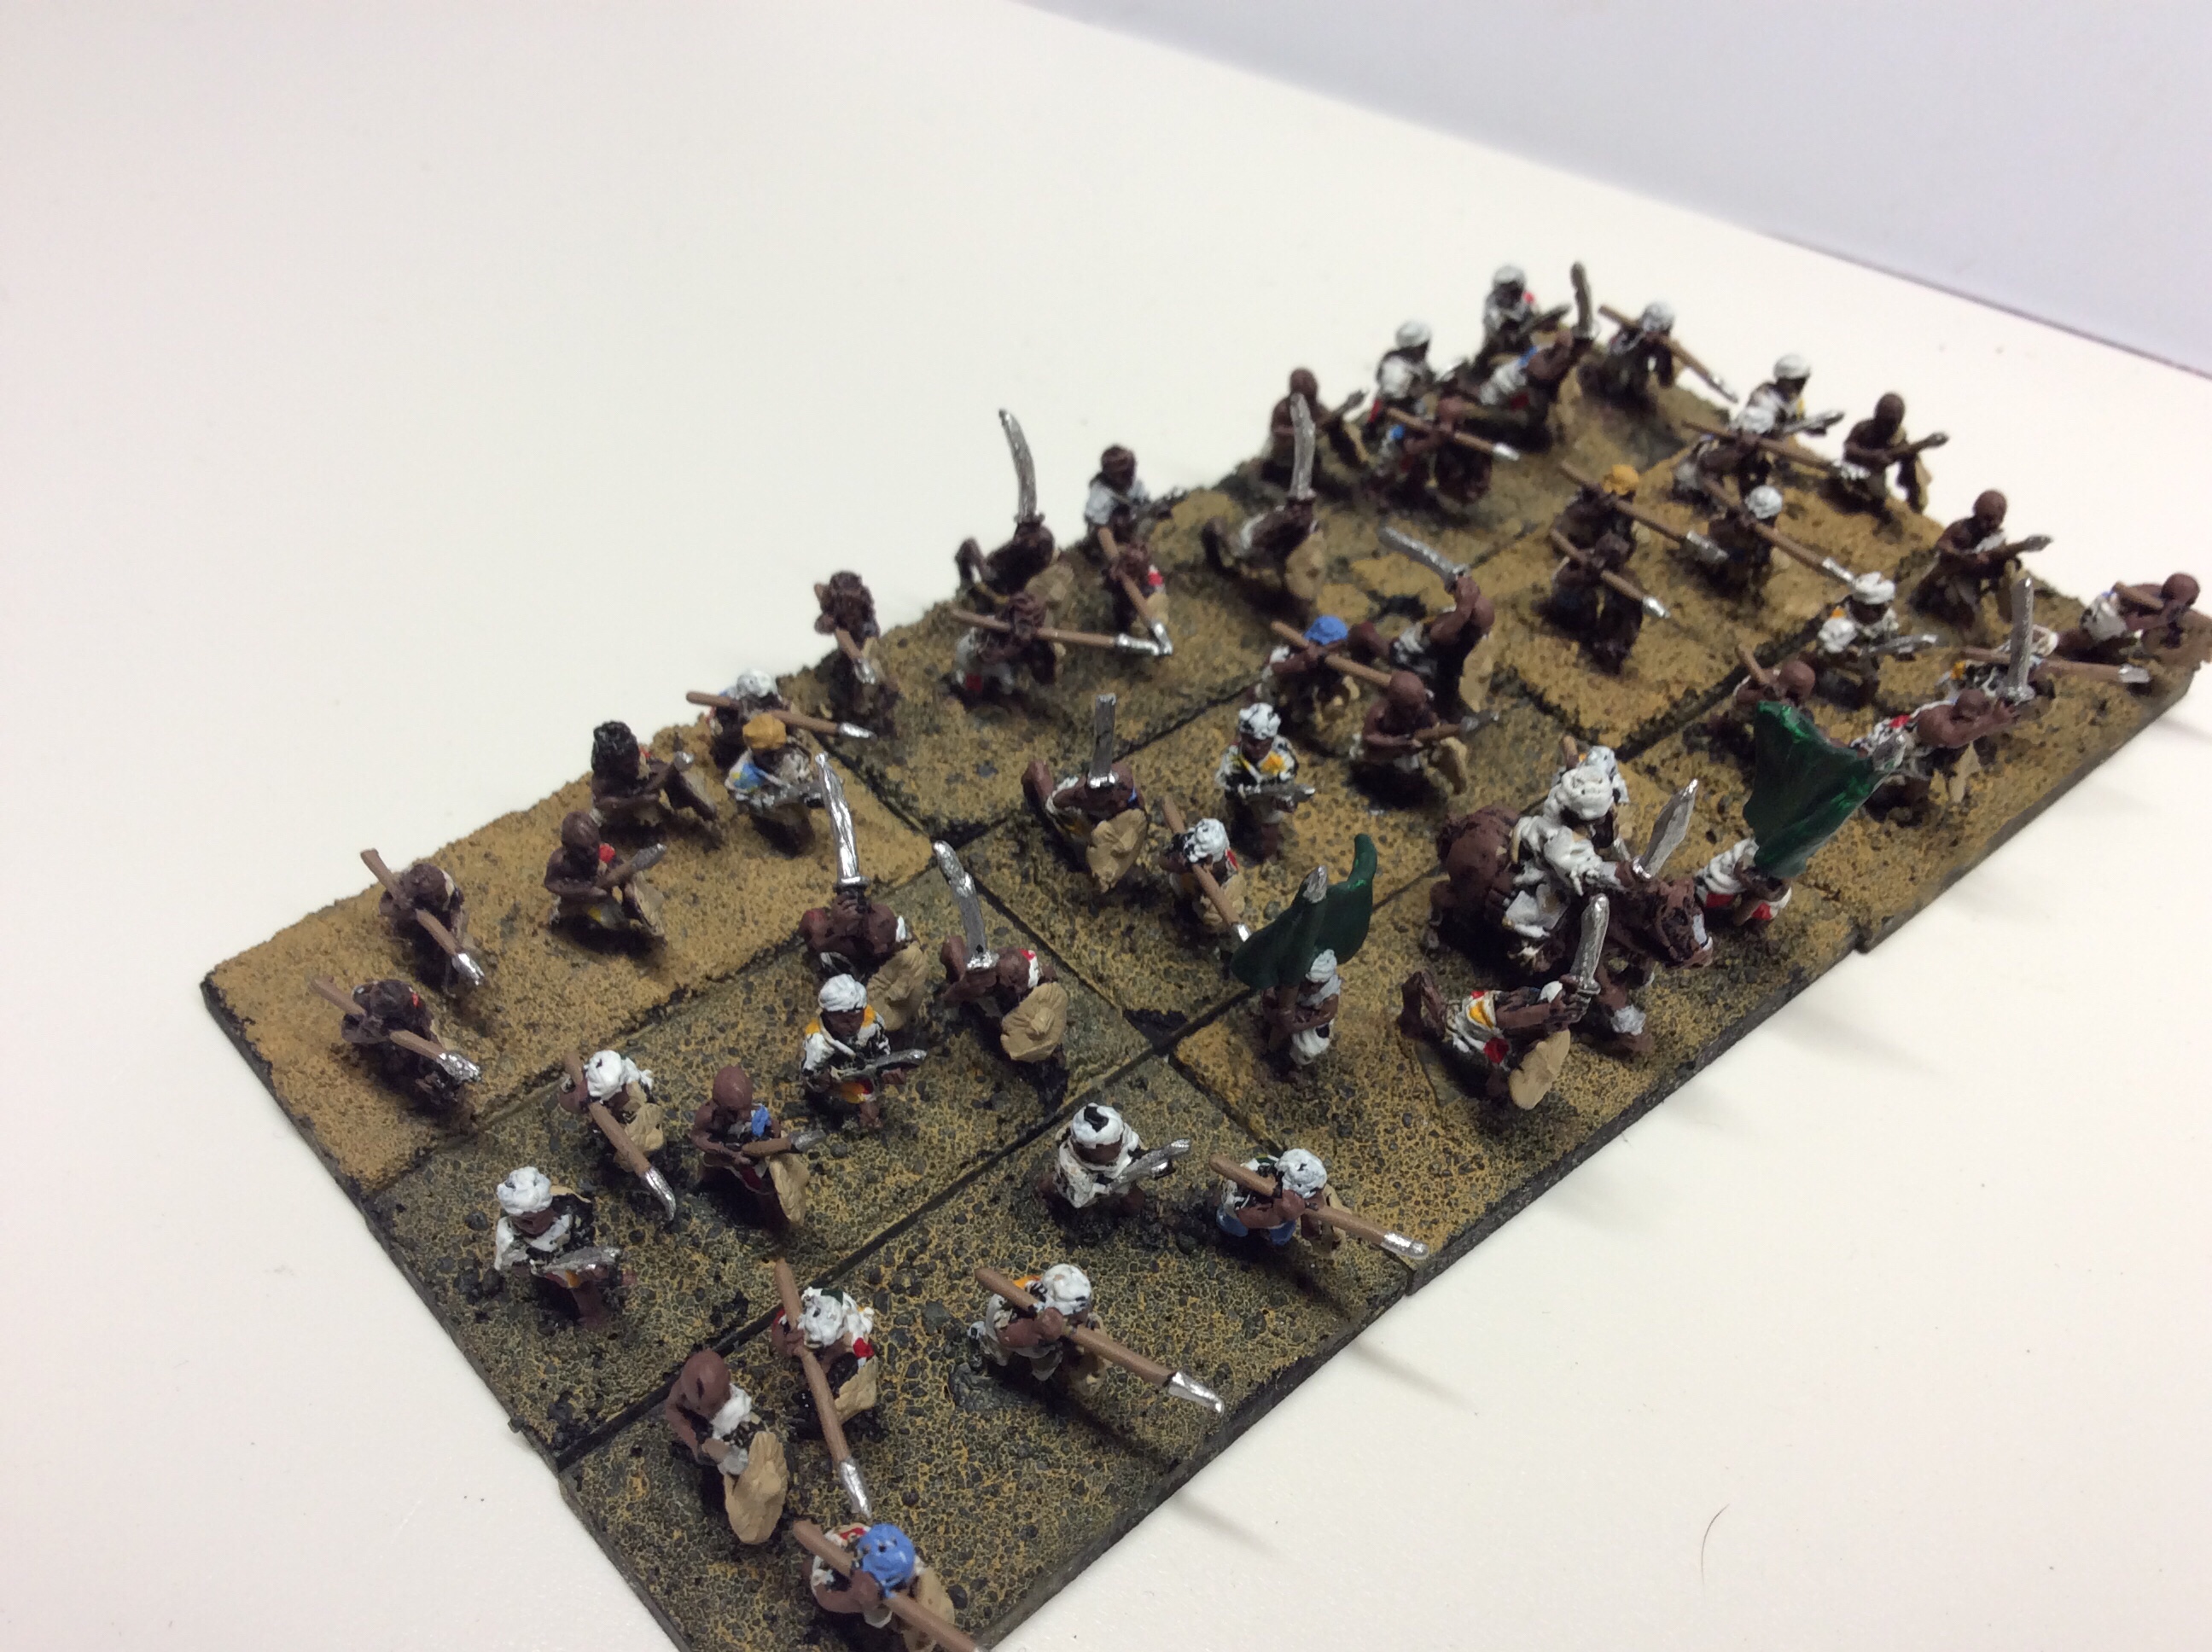
The Durham’s to which I was attached, fired at range and stopped the advance of the horse. The Guards poured fire towards the infantry to their front, as the range was extreme, few casualties fell. Off on our left more and more enemy forces appeared heading straight for our Egyptian allies. There seemed to be no rhyme or reason to the enemy’s strategy. Some units would attack without delay and others would merely melt away into the sands. On our left flank, the cavalry always ones for glory, rashly charged a unit of Mahdist infantry.

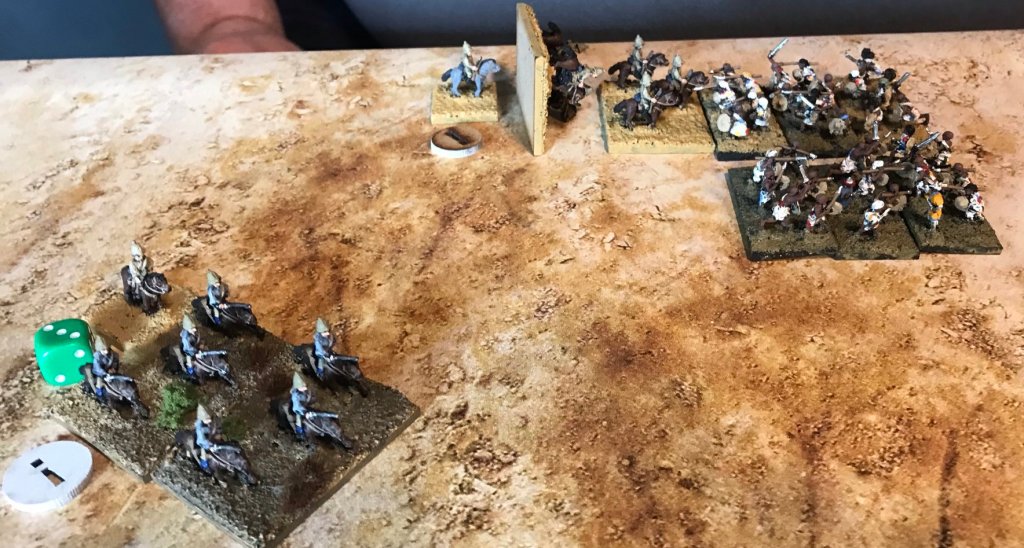
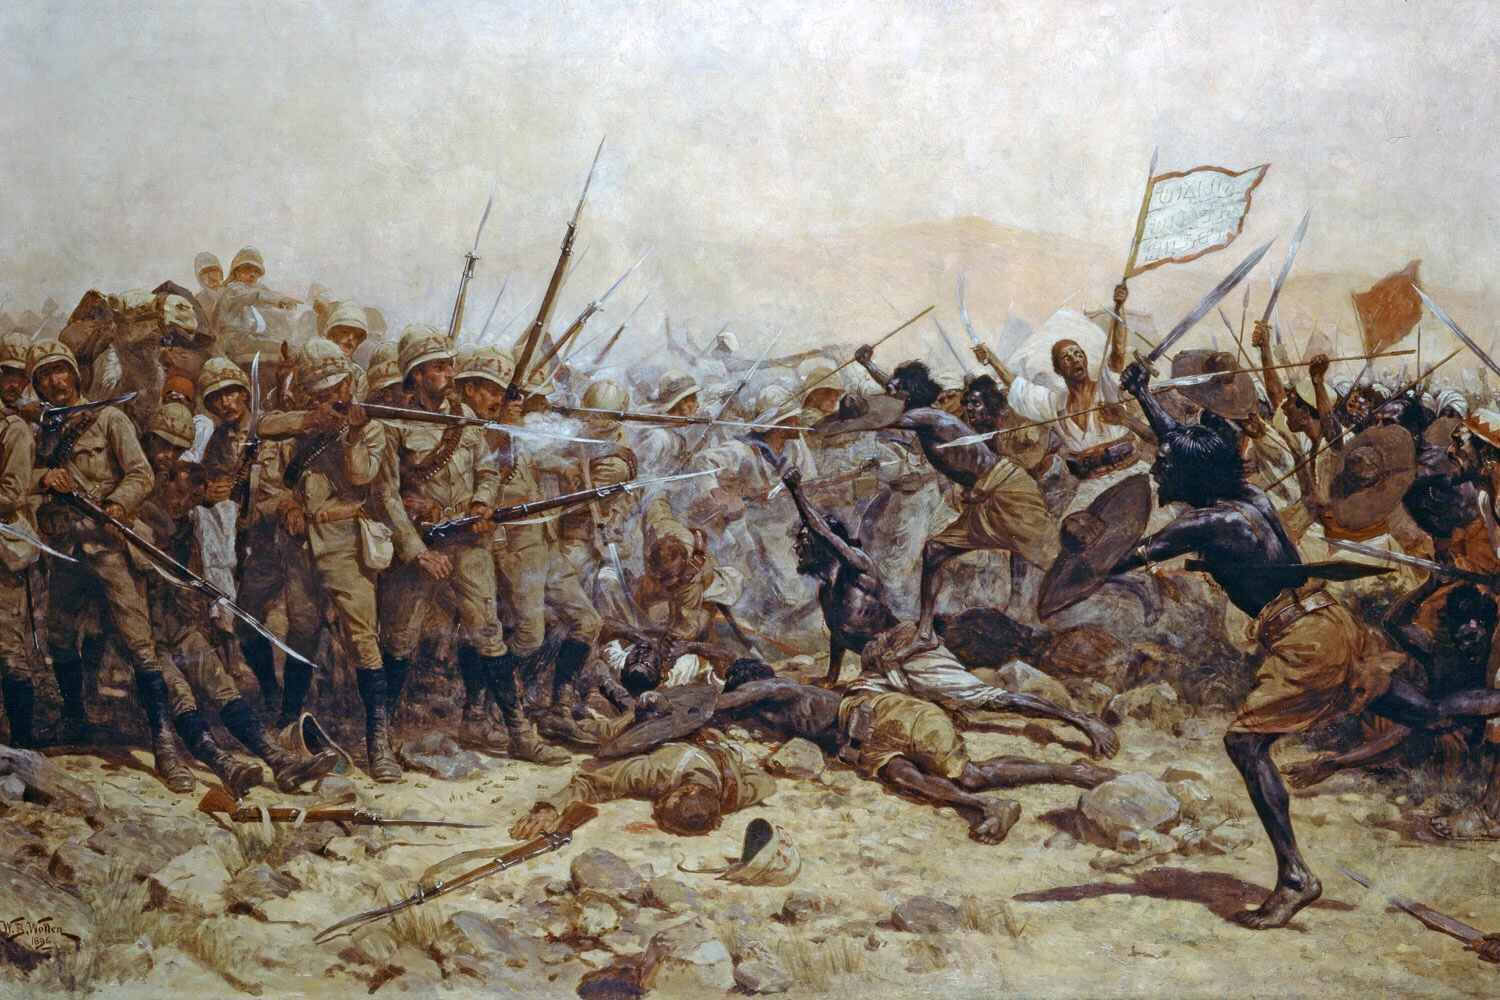
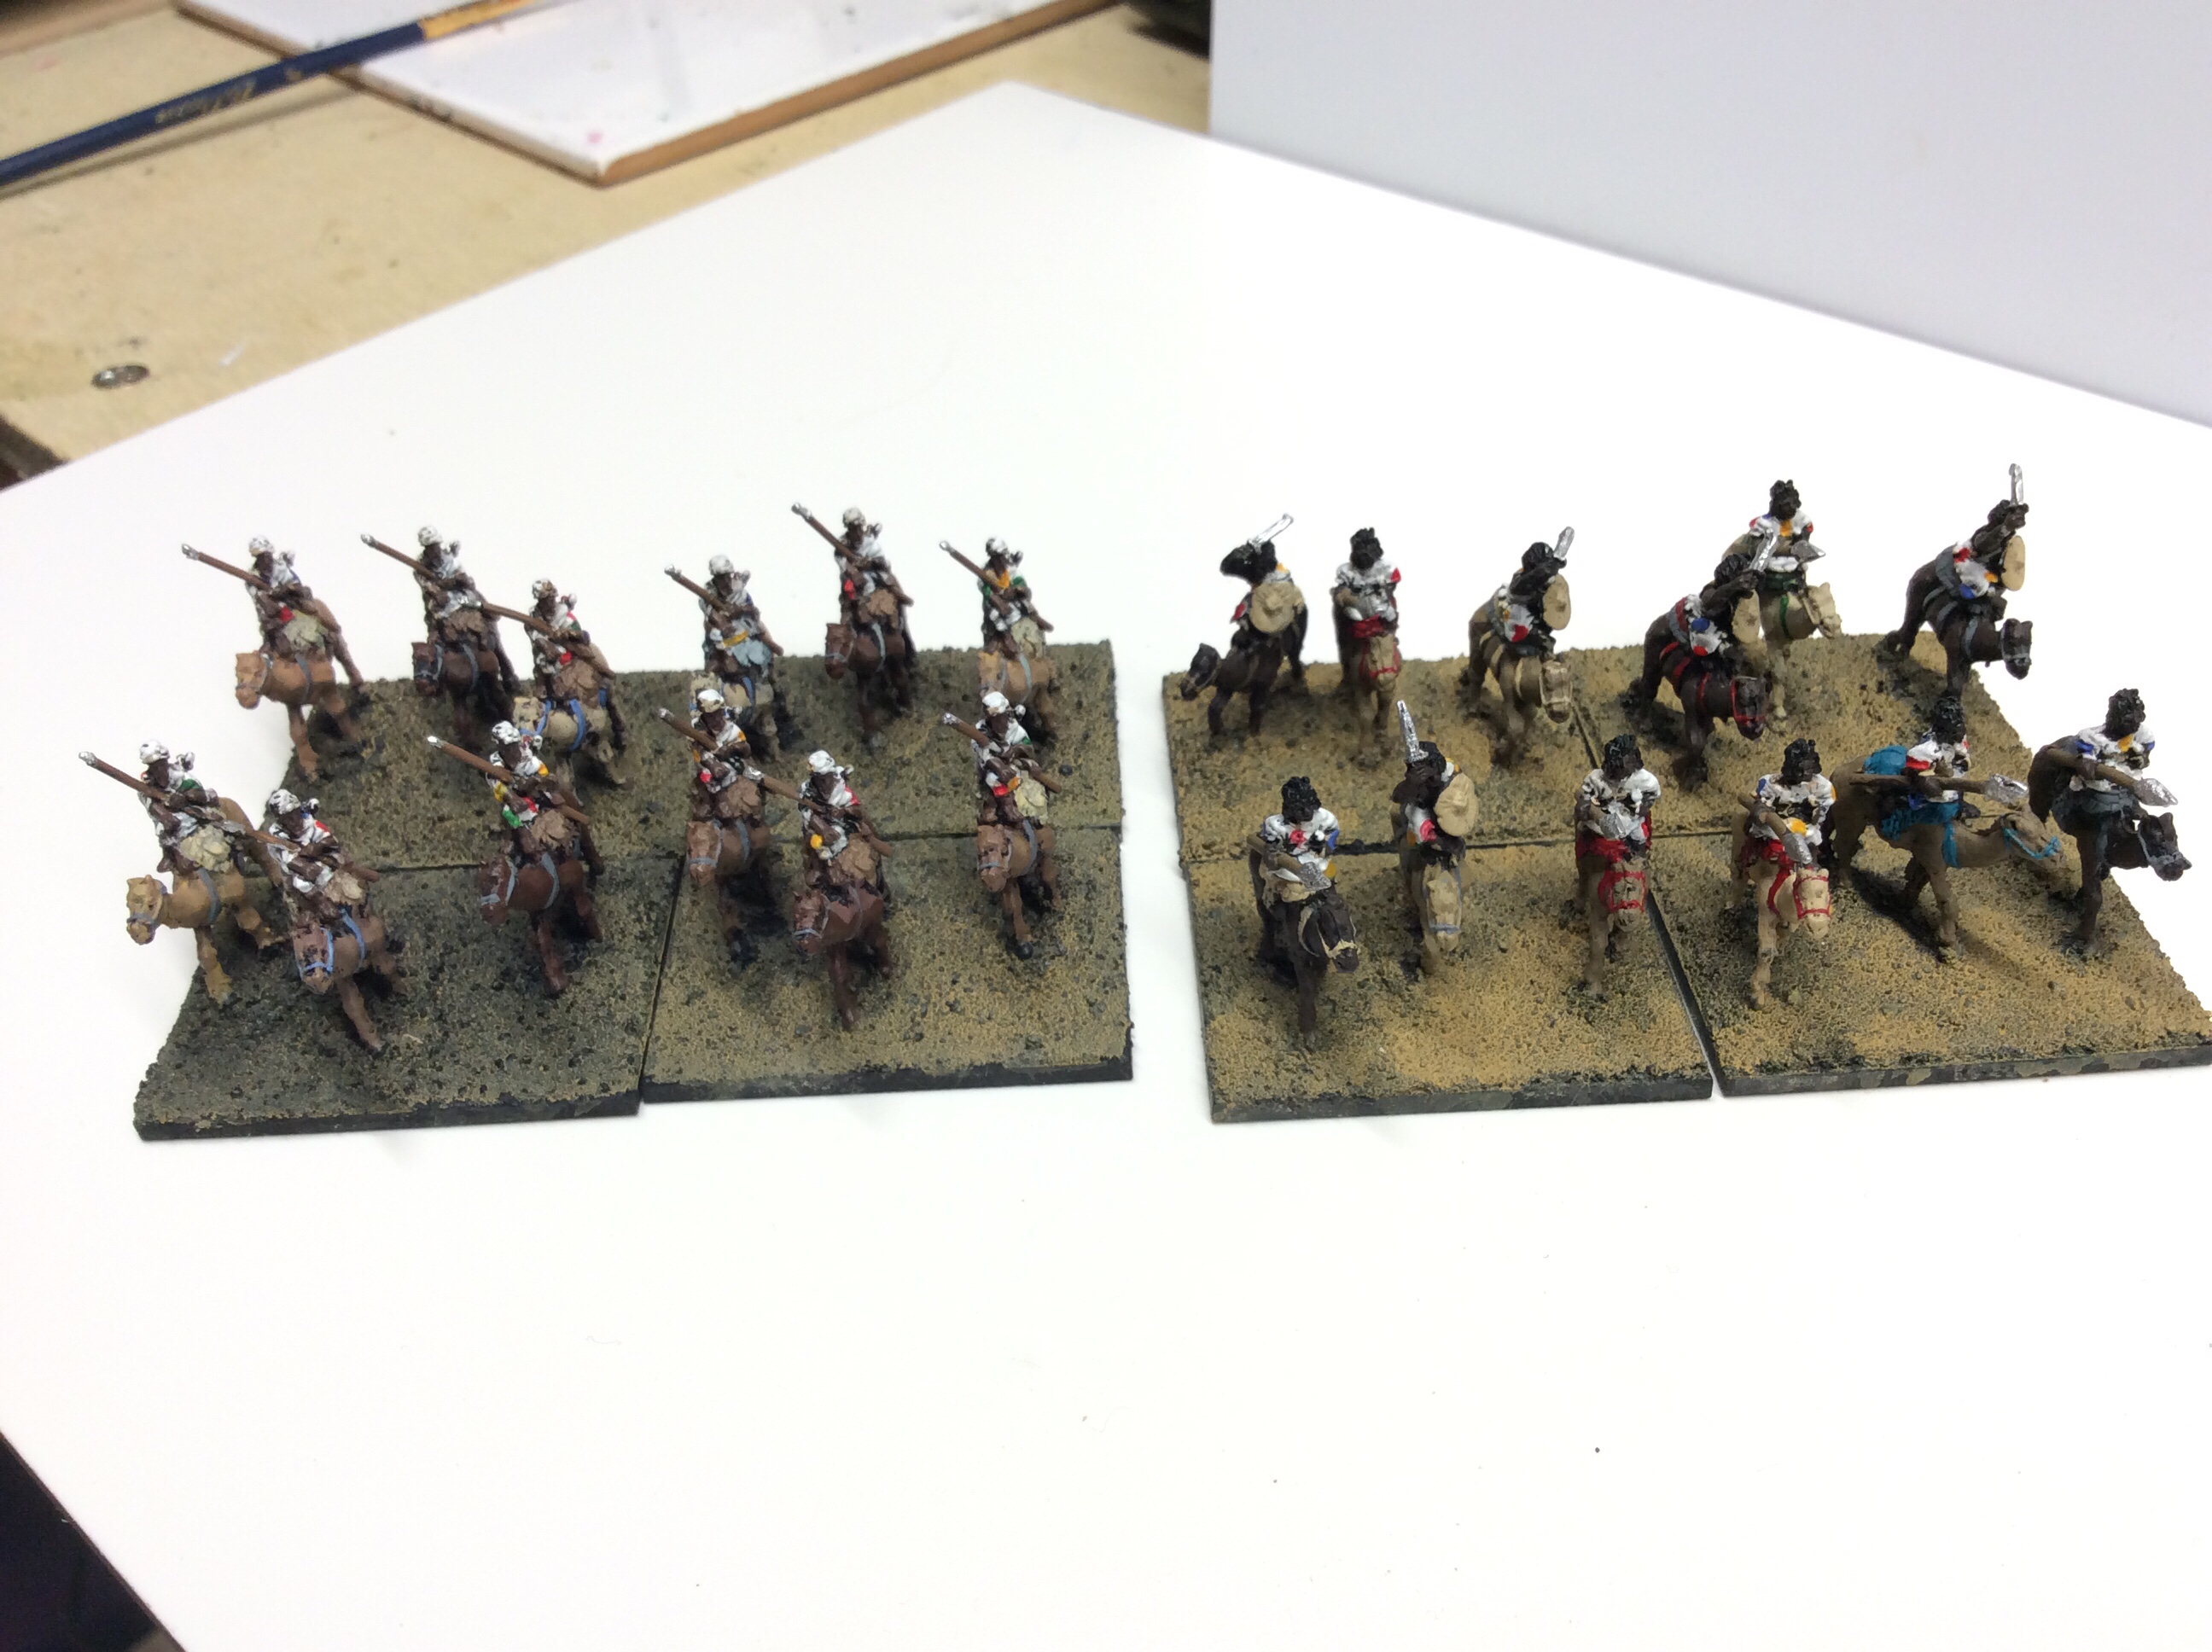
The cavalry on our right suddenly seemed to rally. The Officer commanding the Durham’s ordered a square to be formed, which they did with military precision. Fortunately, they did so as the enemy spurred their mounts and charged into a withering fire. Across our whole front more enemy appeared. With regular volleys, the Gurads and Durham’s kept the enemy at bay. The Sudanese troops were assaulted by fast moving camel riders and after taking heavy casualties were pushed back. The lancers on our extreme flank were unable to exploit any enemy weaknesses as their officer, unfortunately, dithered over what to do.

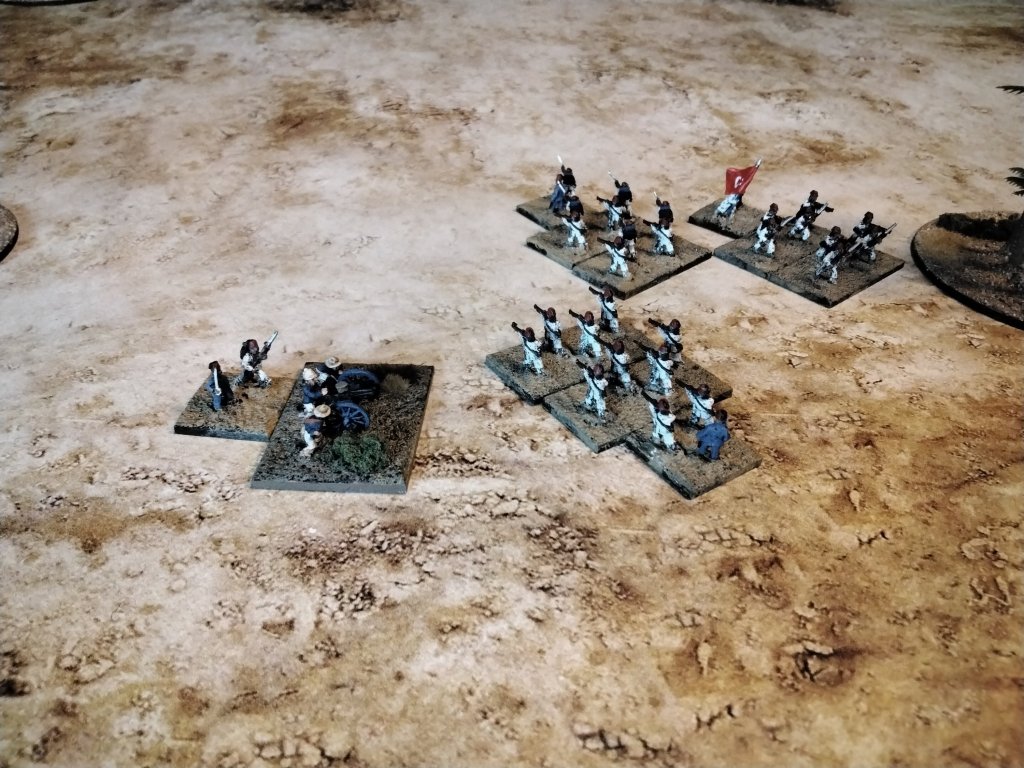
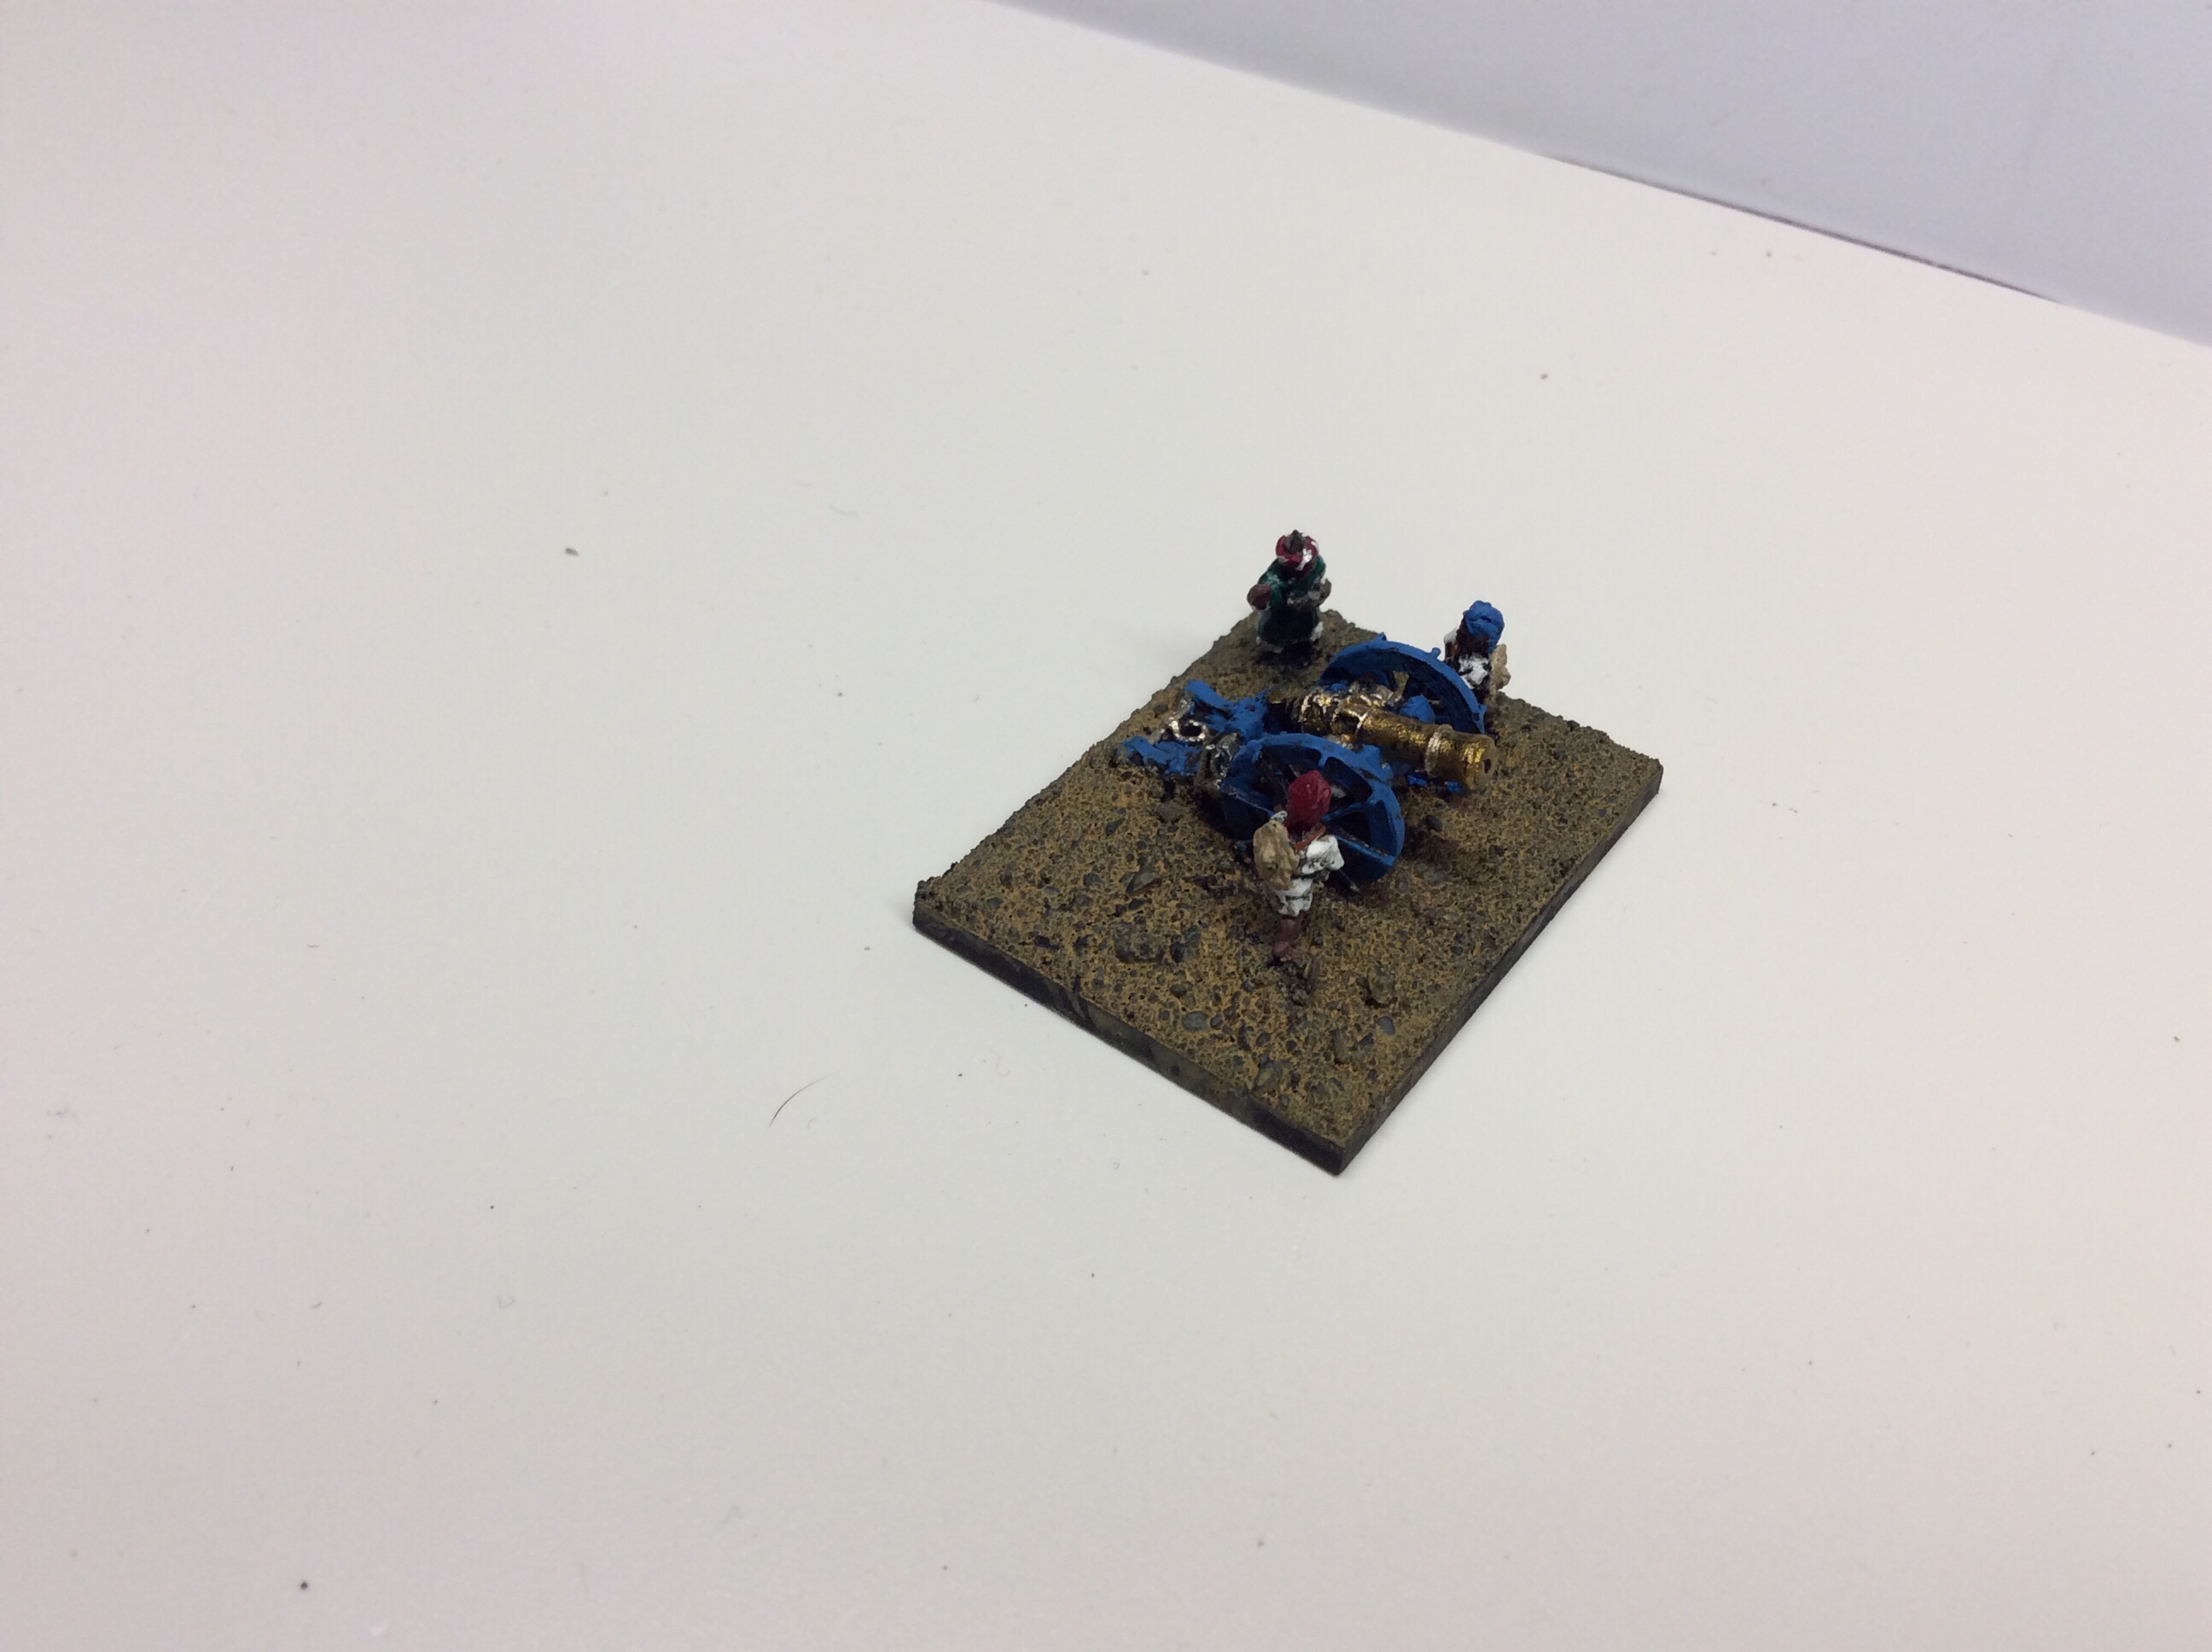
Sensing that the weakness in our force were the Egyptians, the the enemy threw everything at them, but our plucky allies managed to hold them and turn the tide of battle. After it’s initial problems, the Gatling gun was brought to bear on the camels and in a roar of fire reduced them to an insignificant trifle.

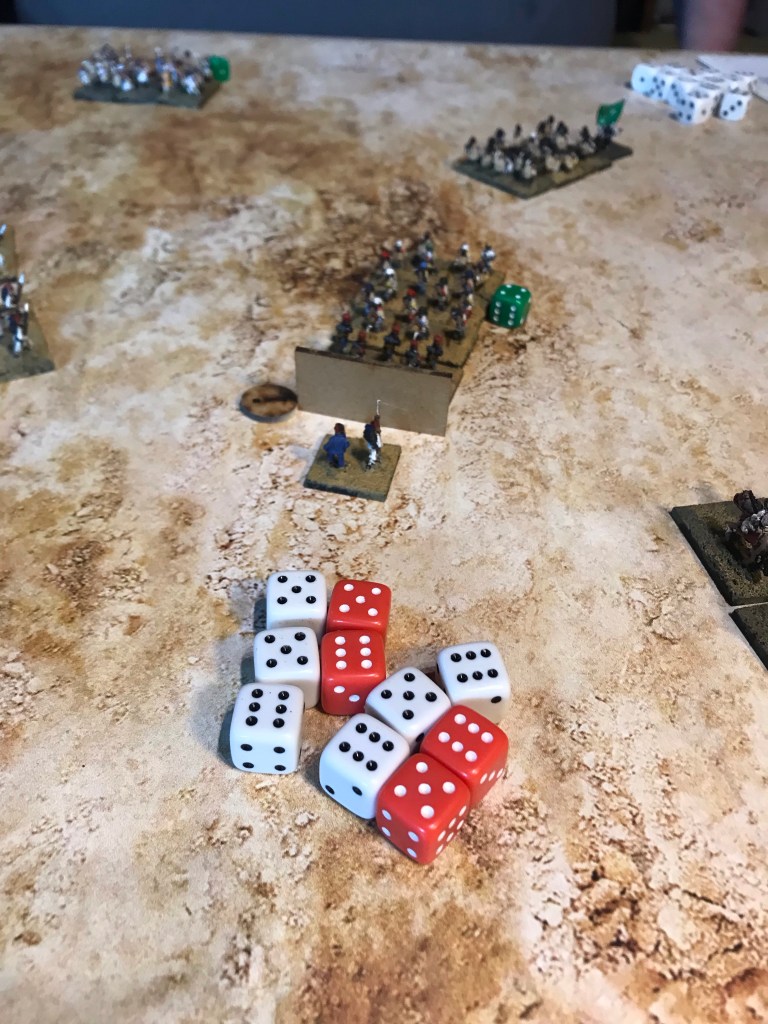
The gunners had certainly got their aim in and enemy after enemy were scythed down in their droves. The roar of the gun bolstered the morale of our Egyptian allies who advanced into the fray. Sadly the dithering of the lancers meant they were charged at the halt by overwhelming odds.

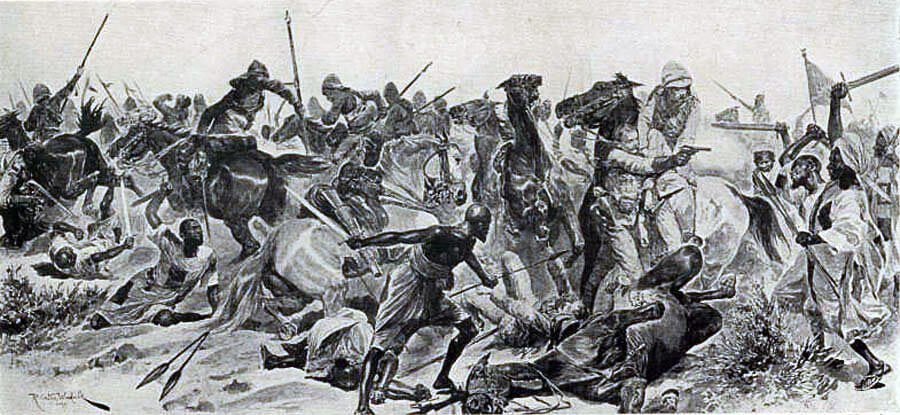
They fought bravely, but with mounting casualties they were forced to retire as a spent force. The Sudanese however, carried on with their advance even though reduced to less than half their number.

The Bashi Bazouks mopped up forces as they galloped along the enemy flank. With mounting casualties the enemy eventually melted away into the haze and our forces halted to help our wounded and collect our dead.

Wounded enemy were dealt with accordingly. Once everything was organised, with our wounded and fallen protected by a small force we marched onwards to meet the horror of the massacre the week before.

Letter to Her Majesty

Ma’am, it pains me to inform you of some severe losses that took place on Monday 2nd August near the town of Khufurah.

A mixed force of naval ratings from HMS Norfolk, Sudanese and Egyptians met with terrible losses and there are unfortunately few survivors to recount the terrible events.

The force had been tasked with scouting an area west of the town of Khufurah. They marched out of the town at 14.00 and were last seen at 14.30 as they crested a rise.

Unbeknown to all the Mahdist’s had returned to the area. As the Sudanese approached the first water hole a number of Dervish leapt from a hidden defile and charged the right flank. With military precision they wheeled and gave fire halting one unit with terrible casualties…

Sadly the second enemy force made contact and pushed the line back, butchering the wounded as they fell. The Sudanese withdrew in good order, but the enemy were on their heels and killed them to a man. Unfortunately Colonel Smythe and his adjudant Captain Smith were among those that fell.

The naval ratings swung their gun to protect the flank, but unfortunately major Twitt marched his men the way they had come and stopped the gun from firing. Unfortunately this occurred numerous times during the short battle.

The Egytian force nearest the threat did a smart about turn but unfortunately the horrific scene in front of them meant that they were unable to fire as they were shocked to the core.

Panic rippled throughout the Egyptian forces as unit after unit refused to obey their orders, Major Twitt managed to clear the way for the gun, only to March in front of it again momenrs later…

Cavalry appeared out of the smoke and attacked the right hand unit, who held for a while, but assaulted on three sides, as they were, then they too fell.

The gun opened up on the enemy to their front whilst Twitt contemplated his next move. It inflicted heavy losses on the unit, but it’s morale still held as they sensed victory.

As more cavalry appeared and threatened the rear of the gun, the gunners brought it to bear, but unfortunately the horsemen were upon the gunners, who with valiant effort pushed them back even though outnumbered three to one!

This gave the hard pressed matelots a chance to fire at close range, enough to cause the cavalry to pause, but unfortunately with enemies on all sides and Twitt once again masking the gun, things were very quickly over for out forces.

Wolsey has advised me that another large force is to be sent into the area to Bury the remains of our troops and to locate the forces who perpetrated the defeat. They will not escape justice.

I remain your must humble subject,

Colonel Moutard

This game was an absolute hoot, with sod all chance of an allied victory. Well the latter is not entirely true. With hidden set up for the Mhadist’s it makes it tricky to form a strategy, however if I had set up on the left flank instead of the centre then I wouldn’t have met any forces on turn three. Twitt was an absolute blast. If I rolled a one for his unit then Joe got to order him about, this happened four times in six turns, then again at the end of the game. I knew I was pushing my luck fielding an Egytian force, but things happened pretty much as they did back in the Sudan.

We are doing a double point game against Mr Babbage next week… we will see how that goes.

Back to the Sudan

On a course and I had to do homework… I mean Actual homework in a homework book.

Now I don’t want to be rude, but to be honest I checked twice in case I had been given a child’s spelling book in error.

We did a full day of training I then popped back to the office and ended up popping in for an hour and a half. This meant I had to go shopping later than expected, with the knock on effect that I haven’t had time to get anything painted tonight!

So tonight we have some of the terrain I use in my Sudan games.

These are 6mm buildings that work well to represent villages etc. The trees are imported palms from China. Cheap as chips, this is a small selection. The headless statue is a Hirst Arts one from some 28mm Egyptian stuff ain’t had spare.

The following hill was originally designed for my 6mm road wars stuff but to be honest it works for 10mm too.

Please ignore the pale splodge at the top of the slope. Some idiot dropped cream coloured paint on it.

Finally some figures. These are all 15mm. These were designed to act as characters during a battle. I should mention here that. I rather enjoy Science Versus Pluck. A set of rules in which everyone plays on the Anglo Egyptian side against an umpire.

In those rules if things get somewhat sticky for the brave souls it can lead to hand to hand combat. The larger figures are then placed on the side and the mini combat takes place. These are all Peter Pig miniatures. I decided on the 15mm as 28mm just sort of looked wrong.

Here we have a reporter in the foreground with various officers and sergeants further back. The reporter is there as one player didn’t want a combative role and was happy to send reports back from the column.

I also bought some cavalry as players can be cavalry or mounted infantry officers.

Finally the above need someone to spoil their day.

A selection of the chaps that poor Lieutenant Trapper is evidently about to meet, for what is probably an exceedingly short time.

Enemy Spotted…Battalion Will Form Square!

Now for the other side of the coin.

The Dervish

Before we go any further I suppose I should say why the Soudan and not Zulu or any other colonial game.

I suppose it was down to choice of forces with regards to the Zulu War. Basically the Impi..that’s it…..with a handful of rifles. North West Frontier and the Khyber pass, great selection of troop types but it is rather hilly in that neck of the woods and that would mean a rather large set of terrain, yeah I know they have valleys and the like, but the pass without the hills is just not the Khyber pass – if that makes sense.

The Boer War has never really interested me. Now the Boxer Rebellion, I was really interested in that conflict, however, at the time Pendraken wasn’t doing the Boxer Rebellion. Yeah I know there are other manufacturers out there but I like the Pendraken stuff and there I stayed.

I loved the four feathers from when I was a kid. Both the 1939 and the 1978 one. I haven’t seen the 2002 version.

My late father used to quote Kipling at times:

So ’ere ’s to you, Fuzzy-Wuzzy, at your ’ome in the Soudan;

 You ’re a pore benighted ’eathen but a first-class fightin’ man;

An’ ’ere ’s to you, Fuzzy-Wuzzy, with your ’ayrick ’ead of ’air—

You big black boundin’ beggar—for you broke a British square!

And let’s not forget…

The sand of the desert is sodden red,

Red with the wreck of the square that broke,

The Gatling’s jammed and the colonel’s dead,

And the regiment blind with the dust and smoke.

We all know they didn’t have a Gatling gun with them but a Gardner gun, which incidentally scans perfectly in the poem!

Anyway enough of the waffle…

First up the mounted troops

Once again these are a mix of Sudanese forces and those from the North West Frontier. I added the latter to add a bit of variety to the force.

Next the camelry

Beja on the right and river Arabs on the left.

Command bases.

From my reading a lot of the Emir’s rode into battle and had a pretty high casualty rate as it was obvious who was in charge.

Now for the infantry

Beja first and river Arabs second

To be honest though they look better from my perspective:

Maybe not better, but at least more colourful😉

Rifles next:

And of course the captured artillery

Oh and the Museum piece

This was a GW empire cannon from the Warmaster range. I gave it a crew and it fitted in well as an archaic weapon.

Finally I decided to make the Mahdi himself.

This is what my Dervish force looks like in full

I really do like the Pendraken range for both sides of this conflict.

Further into the Sudan

Tonight I took some more photos of the Anglo Egyptian forces.

The infantry are quite numerous and only a selection have been shown here and the previous post.

first up the mounted troops.

Mounted infantry to the left with both the mounted and dismounted troops

And the hussars… before they realised the lance was preferable to the sabre when some sneaky chap lies down to hamstring your horse as it hurtles past.

Not to mention the obligatory spare figures to act as scouts and messengers.

Next up the Egyptian troops.

First some repurposed WW1 Askari that were already painted. These are my Sudanese. In the earlier campaigns they were dressed as Egyptian infantry. This way they are obvious on the table.

Next some Egyptian infantry

And finally some Bashi Bazouks – actually ACW zouaves. I ordered these and painted them before I found Pendraken actually did Some proper figures.

Next are some civilians with their camels.

Royal Artillery with some large ordinance and a Gatling gun…they decided to leave the mountain guns behind.

Some cuirassiers who wouldn’t have looked out of place in the Middle Age. Baker’s force had a unit of these, but armed with sabres and not spears. I use these for either side as required.

And finally for this evening….

Camels

Some of these have appeared in earlier photos. I just ran them around the back of the camera to make it look like I had more 😉. I actually think I am missing some of the pack camels, they may be in the box with the Mongols.

Tomorrow, if I don’t manage to get any painting done, I will show the Ansar.

Foray into the Sudan

I was having a mooch in the shed this evening and came across these fine fellows.

Chaps of the Guards camel corps. Dismounted to the fore and mounted at the rear (guarding the baggage camels). The individual figures act as scouts or messengers etc. I know that by the time of the conflict the colours were left at home but that didn’t stop me converting a standard bearer 👍

Next up we have the fine fellows of her majesty’s Royal Navy.

Royal Marines in the centre with matelots either side. Someone allowed them to hand haul a Gatling gun with them. Beresford can be seen mounted with the colours.

Then we move onto the mixed battalions.

Highlanders form the rear and sides whilst The Durham’s form the front. Pack camels hide in the centre of the square. Amazing beasts camels…they need a pint of water a month😂😂😂.

Finally in this bunch (my IPad ran out of charge) are the Guards troops (yeah I know they didn’t wear the red jacket…but I like them plus it makes them easy to recognise mid game 😉.

The one thing not shown are the hussars and mounted infantry, further British infantry and artillery,Egyptian battalions, Bashi Bazouks and the civilians….oh and lots and lots of camels.

These are all Pendraken. I may still get some Sikh infantry to add in the Indian battalions.

Tomorrow I will photograph the rest. Today was hectic and I didn’t get anything done painting wise. Cinema with the youngest then my eldest’s play this evening. My middle child is off gallivanting on Orkney for her 10th birthday shenanigans.

The Soudan

Sorting out a short campaign in the Sudan. Suakin to Berber.

Interestingly later maps have the route heading South West, however Stewart’s plans head NNW. He was obviously following water holes. Some days he reckoned on a four and a half mile march.

The Men Who Would Be Kings

My eldest and I had another bash at TMWWBK.

After my Egyptian forces were utterly destroyed last time, it was decided to send in some British troops to capture the town.

They marched along the same road as the Egyptians and again threw out a cavalry screen. The one thing I wasn’t expecting was for the Hadendowah  to straddle the road. This must have surprised the cavalry screen as they failed their initial command roll – (something I was beset by for the rest of the game).

img_3543

I managed to slowly bring on the rest of my forces… The only ones who never failed a command roll were the Naval brigade (who chased off the infantry to their front). The Hadendowah retreated before my advance.img_3545

I decided to check out the rough ground to my left flank expecting a massed attack, but there was nothing there.

img_3547

As I pushed through with my cavalry a host of Green flags appeared in the Wadi. The troops dismounted and opened fire with their carbines  A few casualties fell, but with the range and cover from the wadi it wasn’t enough to make a big difference.

img_3548

The rest of my British foot advanced and poured lead into the unfortunates in the wadi. they lost a base and decided discretion was the better part of valour.

As the Wadi was Clear (or so I thought) I advanced my cavalry, again.

They had a bit of a shock as they crested the rise and found rather a lot of camels awaiting them.

img_3549

They dismounted and opened fire, sadly the dice gods were against me and although needing 4+ I managed only 4 hits.

img_3550

On the upside it caused them to take a pin test, which they failed allowing the rest of my chaps to wade in to support the cavalry.

img_3551

They didn’t stand much chance  against the volley firing of the British infantry. the wadi was cleared in a few minutes.

Unfortunately we had to finish there as She had to go out to Drama, we will conclude another time.

The camels were the bane of my life (as was often the case in reality) at one point the naval brigade supplies got ahead of their forces and as for the regulars… theirs failed more activation rolls than they passed. When we finished they were 4 turns behind the troops they needed to supply.

I am not sure how the Nordenfeldt would have fared as it never ever got a shot at anyone as with the Sudanese regulars on the right flank.