Yellow Tops…Further Work

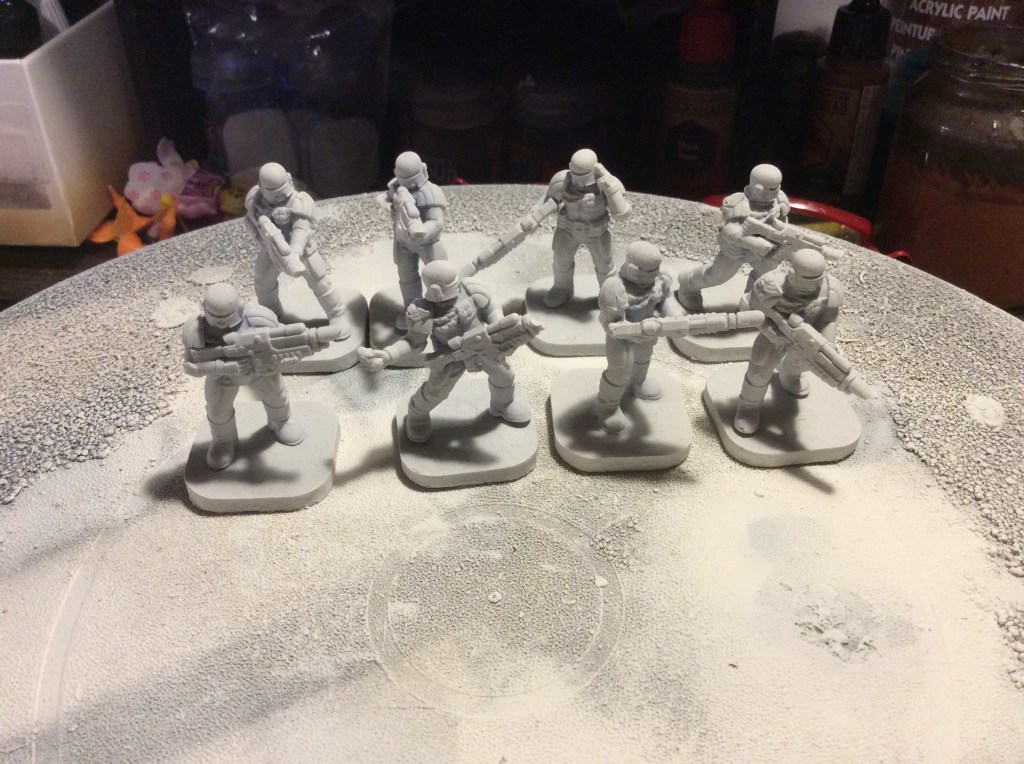
I got a wiggle I. With these this evening and managed to get a lot of the white covered up. I am liking the yellow more, but there is still something that is bugging me about the colour… I just cannot put my finger on it.

I think I will darken the mouth area and get some darker colour into the eye slits, that may help my niggle.

I will get the metallics done tomorrow This will be gold or brass on the chest decoration and on the shoulder decoration that two of them have. I will also add gun metal to the weapons. I do quite like these as miniatures and might sort myself out some …I actually have the multi part ones too…a few with riot shields and combat shotguns would go well… not to mention the sergeant and officer to go with these ones. Hopefully I will be bothered to get the printer running tomorrow evening.

Yellow Tops

Tonight I got the black done on the Arbites , still a long way to go, but in a fit of excitement I added some yellow to the helmets…

Now it might just be because of the white that is still on the miniature, but I am not sure whether I like it or not. Once the rest is done then if I still don’t like it I can easily paint over it with a different colour…my mates birthday is on Saturday so I had better get a wiggle on tomorrow.

Foresting the Helmet

Tonight I set about using my basing glue and some clump foliage to get a base level on the cheek piece…

This seemed like a good idea, but it is annoyingly fiddly and difficult for the stuff to stick to the helmet. So I will leave it drying over night (so much for quick drying) and see what happens with it tomorrow.

In my mind there are going to be thick clumps like this as well as thinner areas too. Once it is all set (hopefully) then I will add different colours to this to get it looking more natural.

New Helmet Plan

So the helmet was looking naff with the metallic paint on it, so I was going to do the rough bits as rust and damage, but I suddenly came up with the idea as I is going to be an eleven helmet then why not make if more forestesque… imagine an elf picking up an ancient helmet that is covered in roots and moss… so voila…my starter for ten…

I am going to build things up with clump foliage as well as foam flocks… we shall see how I get on… basically I am going to make it like some terrain😉

Astartes Airborne

This evening I took my miniatures out to be sprayed. I duly put them on my spinning cake iced thingy and set to work…

I was merrily spraying and turning the thing when for some reason the top popped off the cake thing. My newly sprayed miniatures went flying…one managed to get about three metres away from me. Two snapped and three shed their bases. Luckily I managed to find all of the bits and re glued everything… well after fighting with the superglue nozzle that is.

These are ready for painting… not sure of the colours yet, but I am thinking blue with yellow helmets. I will hopefully manage to start tomorrow.

I Still haven’t unboxed the ELEGOO yet, I did download Chitubox and have a play with that… if I were to be picky then I would say the Anycubic slicer software is actually easier to use. Hoping I haven’t made a big mistake on trying a new machine and software.

A Metal(ish) Helmet

Today I managed to find some Rustoleum Gun metal spray paint. O thought I would give the old helmet a once over… probably should have tried it on some scraps first…

Now this thing is my test piece so perhaps this is the scraps but it is now a sort of metallic colour. I will give it another once over tomorrow.

One of the interesting things I found was the nose guard bent, you can probably just see the line across it. This shows me that I need some kind of support in behind it… this is definitely a learning curve. I think over the next few days then I will try another one using my trusty, rusty scroll saw…

At least using this then the cuts should be vertical and not need filling as much. I am not certain but I think I bought this before we moved to Shetland in 2006… now to be fair I might have brought it back from an Aldi sometime after that, but I cannot remember doing so. There again, my good lady spoke about the gerbils we had when my eldest was small.. I have absolutely no knowledge of any gerbils in this house whatsoever

I will carry on fiddling with this aspect of a hobby as I do really enjoy it. on the next helmet I am going to try simple decorations too… plus someone very kindly shared a place where I can get faux horsehair crests (well I actually have a genuine horse hair crest, but it is for my Corinthian helmet 😉).

Now if we get back to the helmet above, I am going to have to work out how to ‘hide the messy bits. In hindsight some simple decorative features would have done the trick, but as we know hindsight is a great thing. I could actually just sand off the paint and add some embellishments…I will let you know what I come up with.

A cap of iron and leather would have been the easiest to achieve. I have some 2mm foam that would work for the metal part. The rest would be done like the bracer… big thinks, being thunk!

Work on the Temple

Tonight I did a bit more work on the Japanese Temple, now to be fair I have done no research on this thing, so the colours are probably a bit naff, especially the bronze roof tiles, but I do like it😉

Still knackered so I wanted something nice an easy to have a go at, this seemed to fit the bill.

Having an Easy Night

I had loads of training today as well as teaching and to be frank by time I had got home, done the horse, had dinner etc then I couldn’t really be bothered to do anything. I have got my two youngest into Primeval, the TV show so we watched a bit of that then I managed to get some paint onto my 6mm temple roof…

I will probably do the ridge tiles in a metallic colour…

On a totally different note… my new printer came today and it is still in its box.. must be ill or something!

A tower of Strength?

Or perhaps just the Crow Tower from the Frost Kickstarter by Iain Lovecraft…

So as you can tell, I did shrink it down a bit, it will work well for both 6mm and 10mm Armies, but sadly not the 15’s. Tonight was mostly spent adding spots of different browns and greys.

This was done on the Ender 3. The original size has useable rooms and in fact this has a desk, chairs ladders etc on each floor.

Not sure what I am going to get on with tomorrow evening, probably getting the Astartes undercoated, not to mention find them some bases.

Goodbye to the Greeks

So tonight, I followed advice and mixed the two Mediterranean base ready ranges together, gave them a sieve and then got to work on the bases. That is them pretty much done apart from some tufts and some varnish (oh a one base need their shield backs painting!).

So above we have the Phalanx and skirmish line followed by the support team and last, but not least the masses of Greek cavalry!

I am really pleased with how these have come out, yeah I rushed some of them, but en masse they do look rather effective.

They did take a bit longer than I expected, but hey they got there in the end, most of my Armies sit in stasis for at least 15 years, so getting them done in 3 weeks is super speedy by comparison. I might have a break tomorrow night and finish the tower, then get a start on my mates birthday present.

I had one of those days today, when everything went right, in fact I felt good about how things were going in work and then boom, someone makes a comment and I spent the early evening feeling inexplicably angry. What is worse it had nothing to do with me as a boss… obviously I need help 😂.

Two more days until my printer arrives. I am seriously considering getting one of the flexible plates that can be retrofitted. It makes getting the prints off waaaaaaaay easier!

Until tomorrow dear reader… I might eventually get around to writing the blog post for the other site….