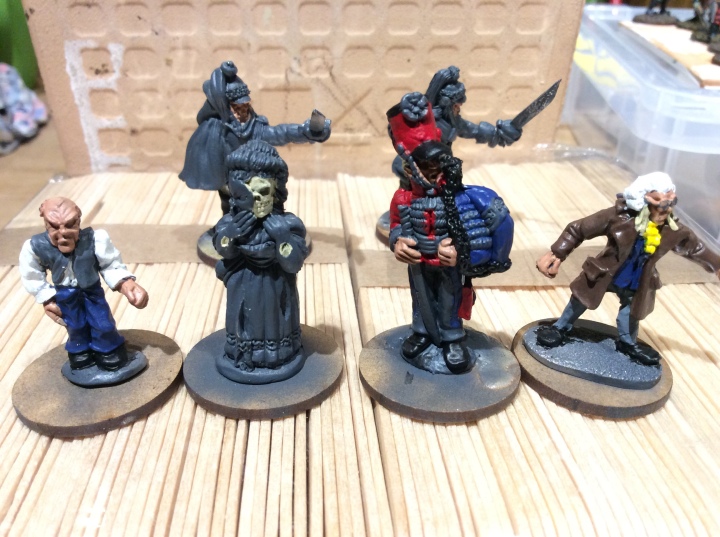
The undead are ahead in the arms race!
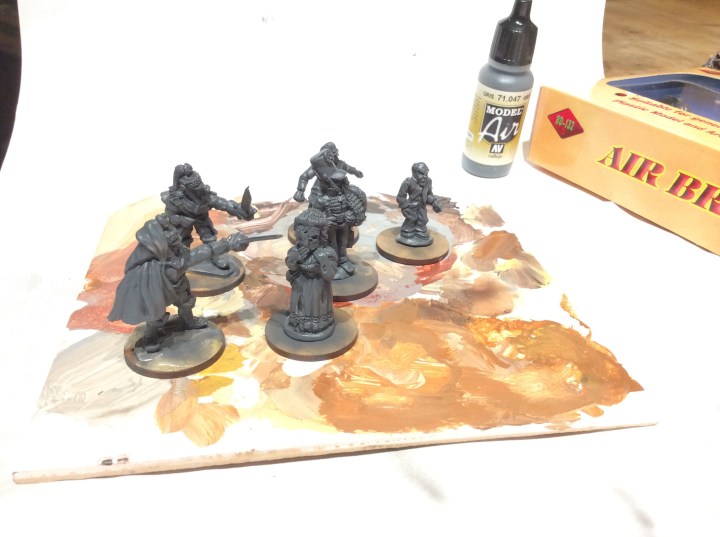
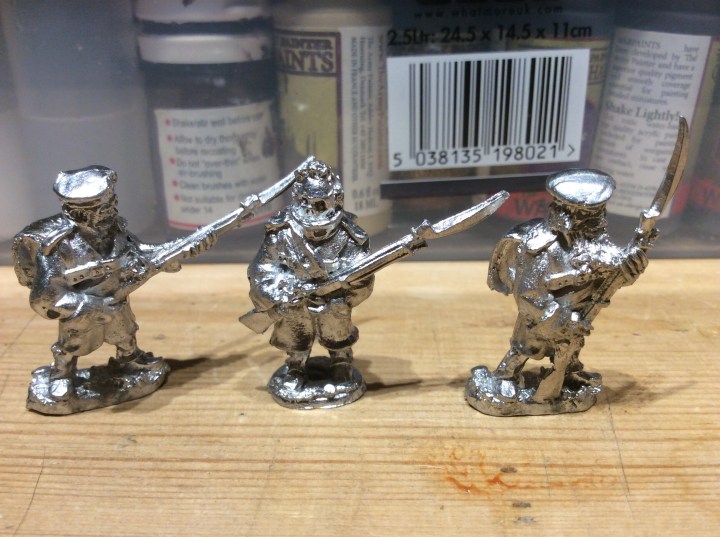
I eventually finished these. They are lovely figures. Really easy to paint. I do like the guy with the powder bag. It looks like the ball is in there with the powder. I have some extra zombies (6 of them) that need painting. I may paint these up in the same uniform to act as armed support.
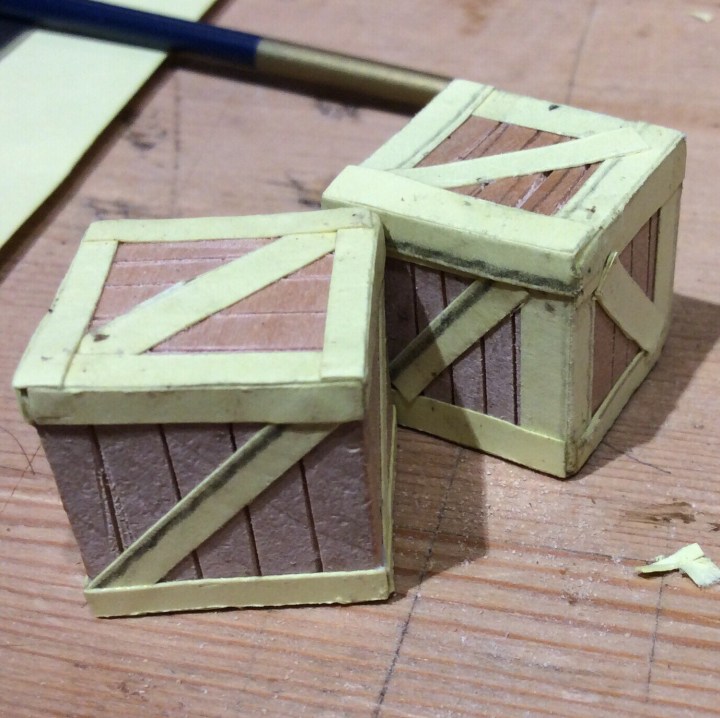
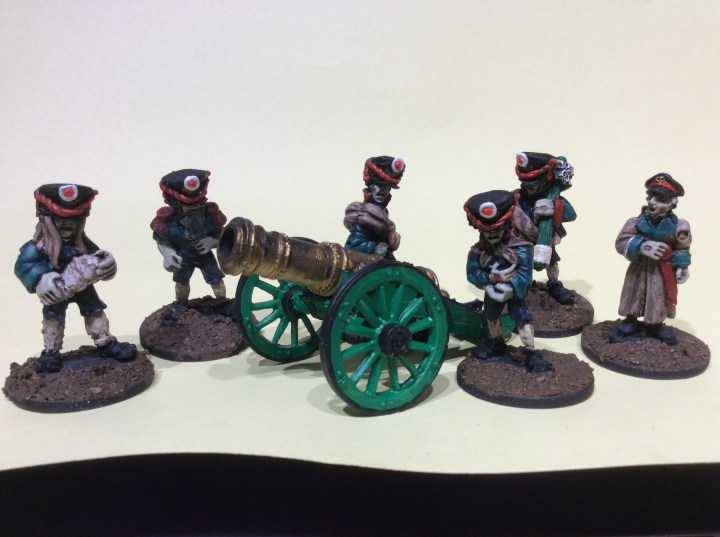
The gun carriage is from Alternative Armies whilst the barrel is a GW empire one. I decided to make a light gun however I felt that it was a bit small for what I wanted.
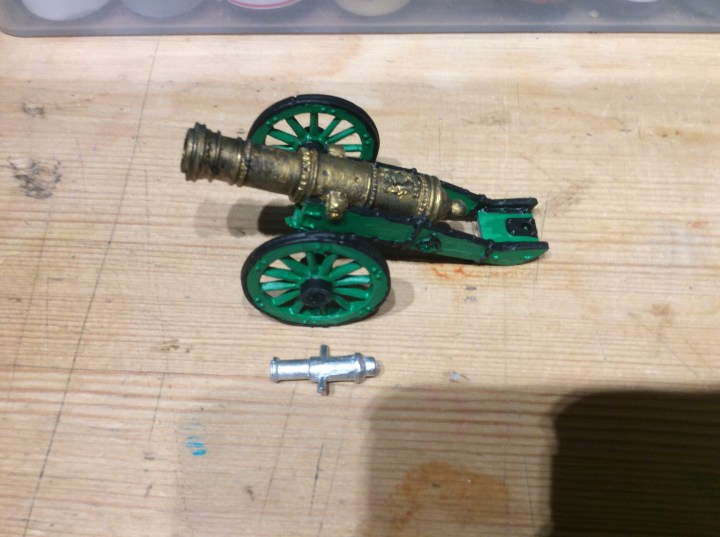
Hence the plastic barrel (I never got round to ordering a AA one – it didn’t help that I kept forgetting that I had the gun and the crew.
I really must get hold of the Grapeshotte schilling pack as this beast will rule the battlefield and I need something to be able to shoot back.
I have a couple of scenarios that this can be used for.
I also quite fancy a hunt the gun scenario as in the 1957 film the Pride and the Passion. The undead have to get their gun to help attack a town’s walls. Ok the gun in the film was massive.
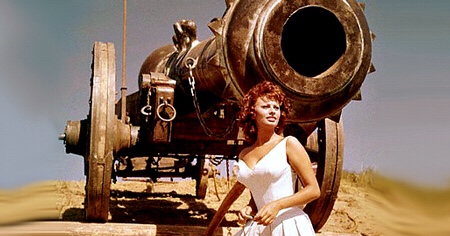
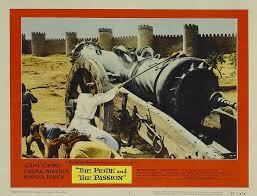
It does have Sophia Loren in it. I haven’t seen it in years… time to find it on eBay 🤣