A Night with the Printer

Tonight I decided to sort out the wash and cure pot of rather grubby ISO. This involved straining it through a funnel with a filter in. This got slower as the filter got gunked up more. I have my two settling jars, which actually work really well…. I just poured this straight into them. These leave a horrible sludge at the bottom, but I managed to get over half a litre of pretty clear ISO out of them. These are now refilled and I also have nearly a litre in a used bottle.

The Sludge is now sitting in the shed roof to get blasted by the sun. Once it cures then I will bin it.

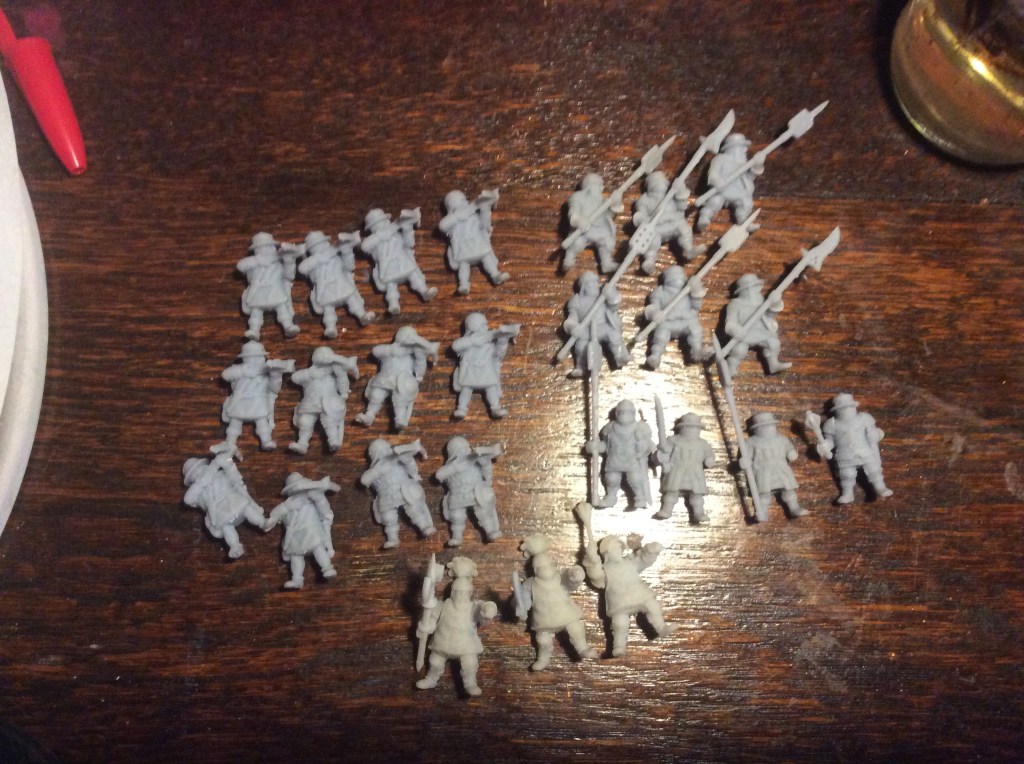
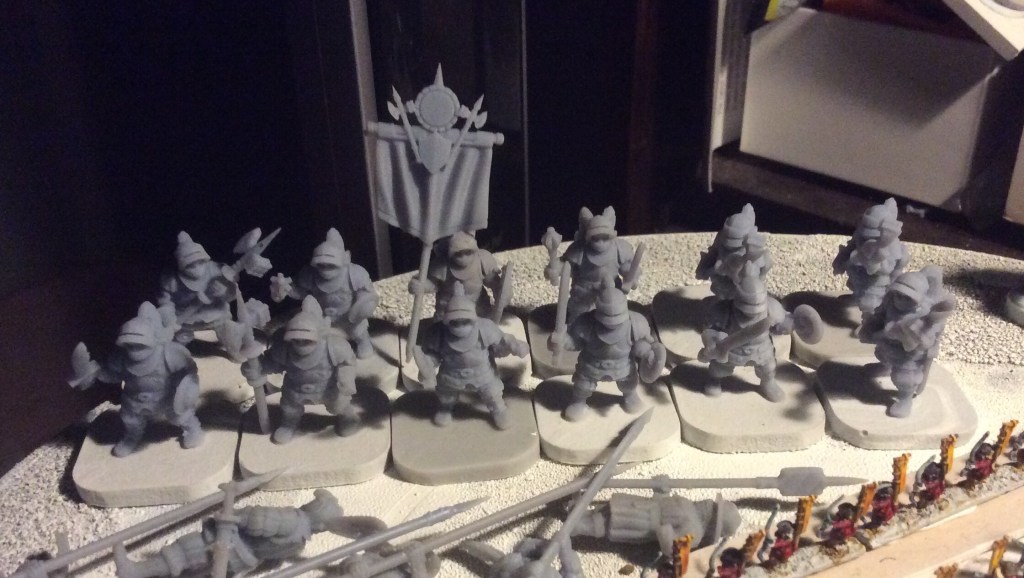
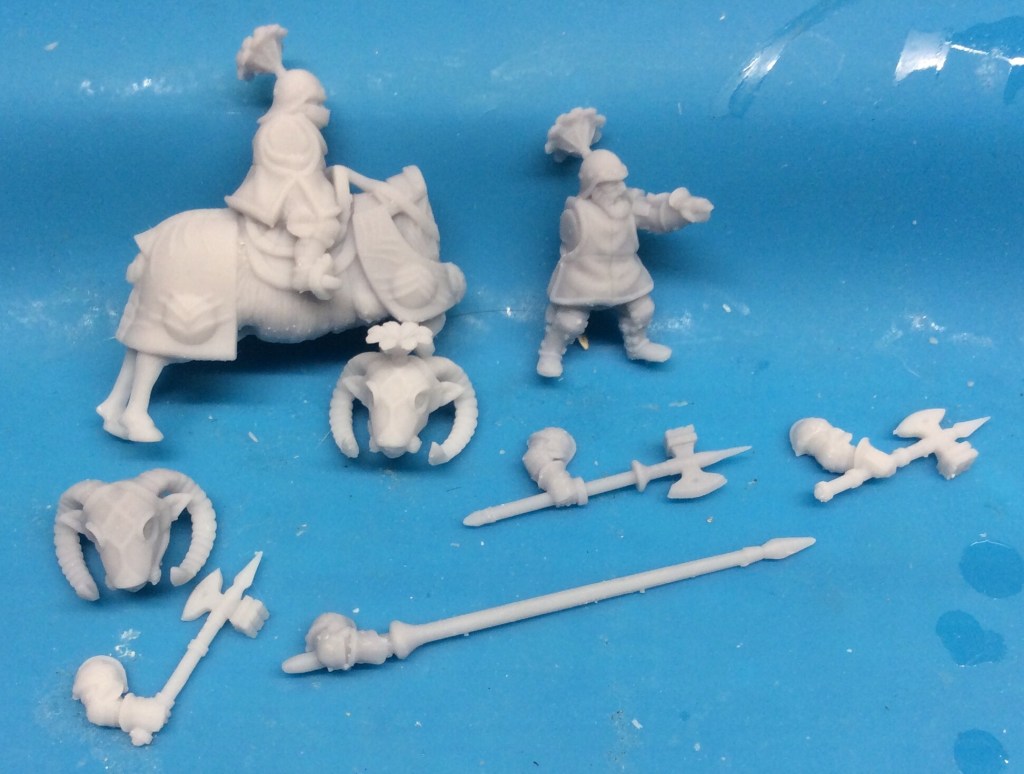
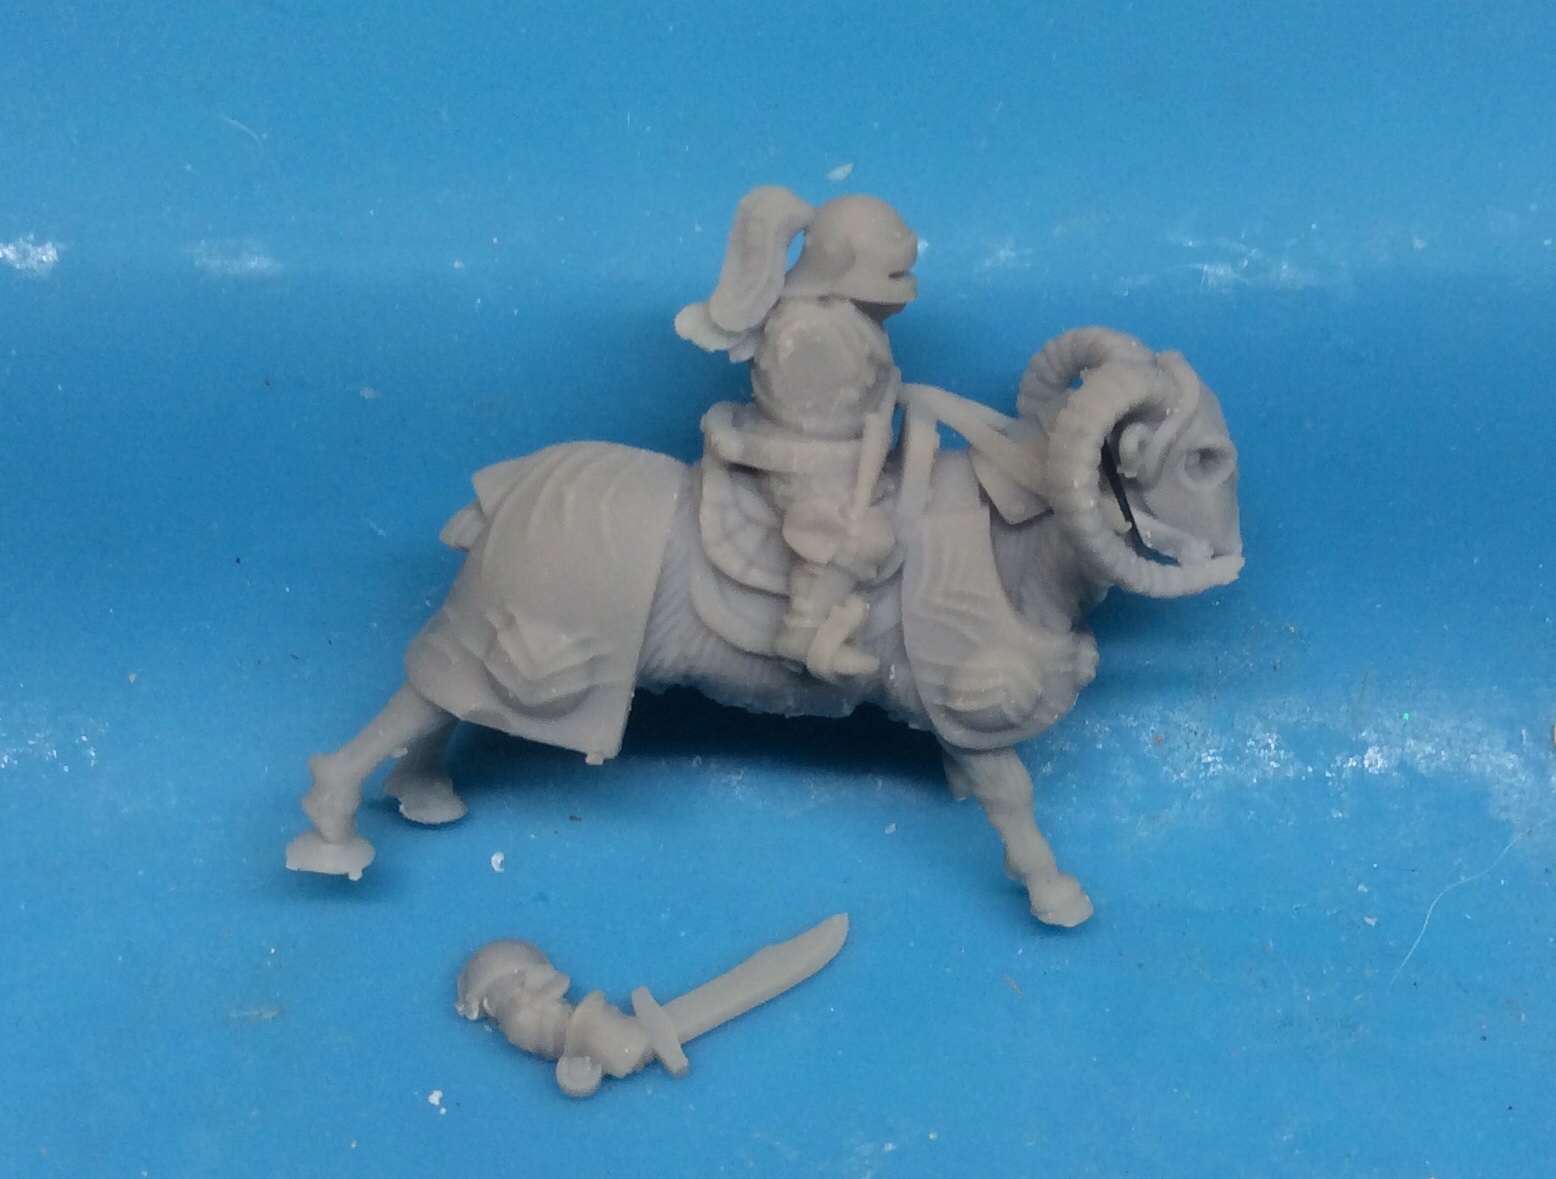
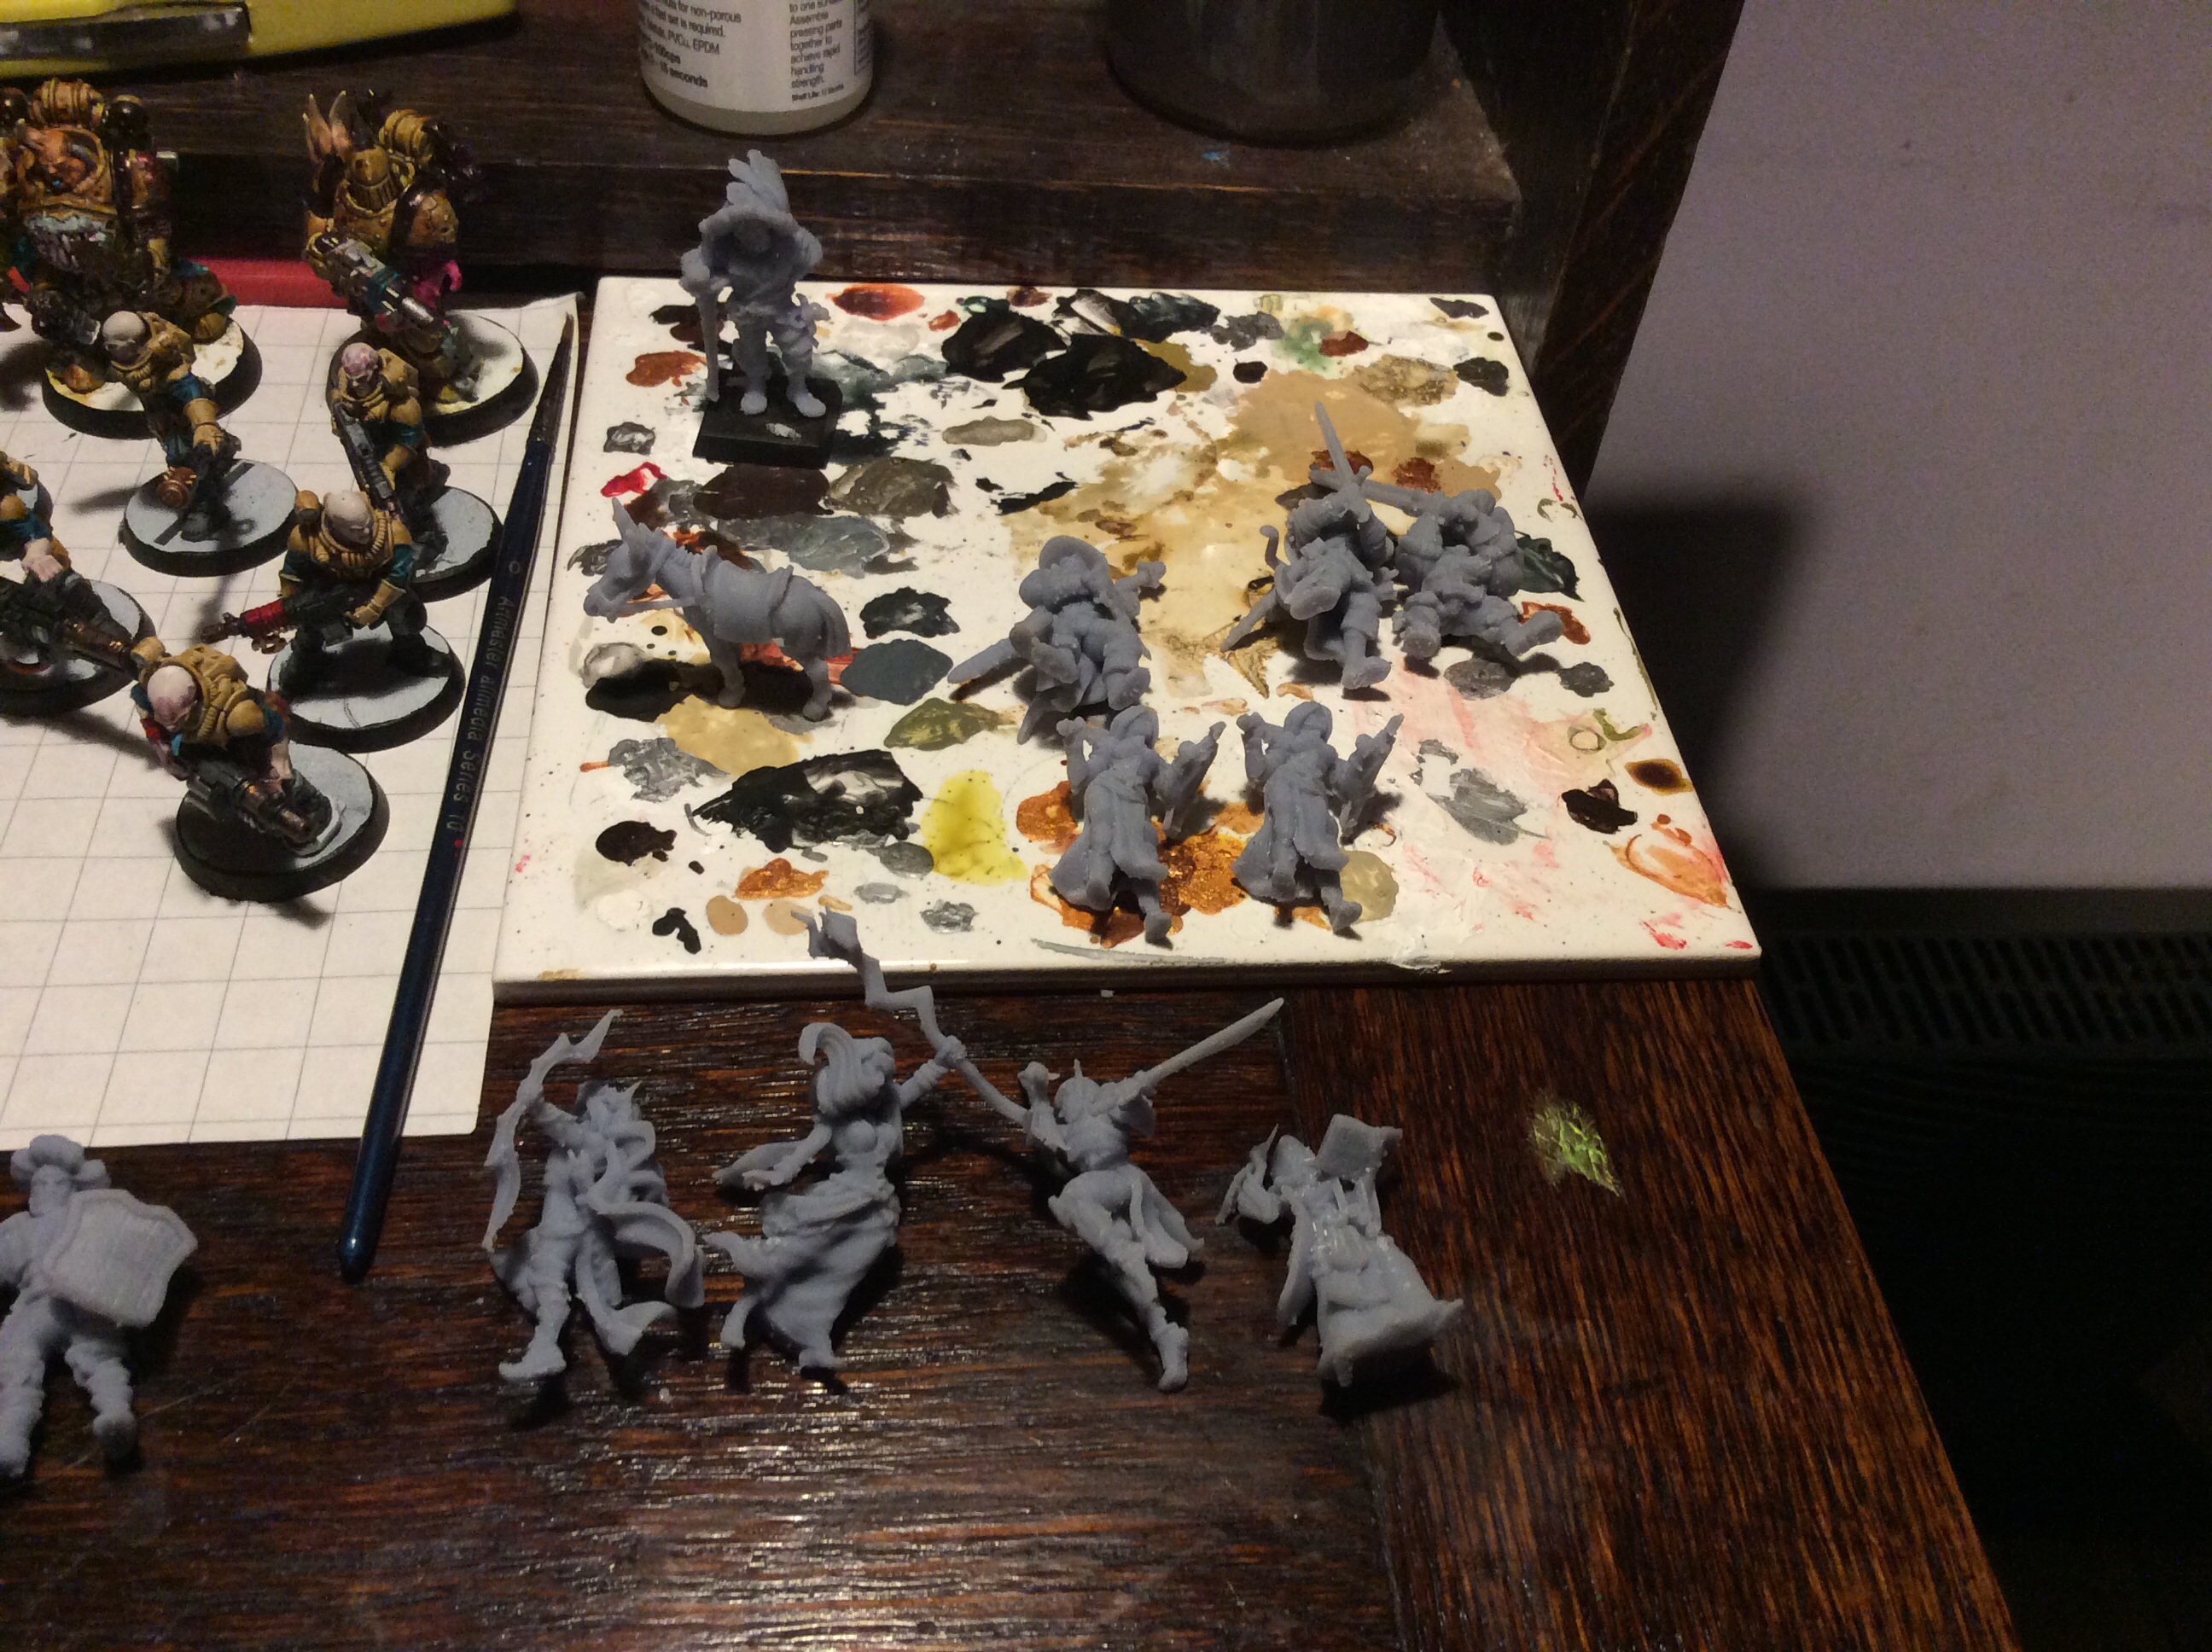
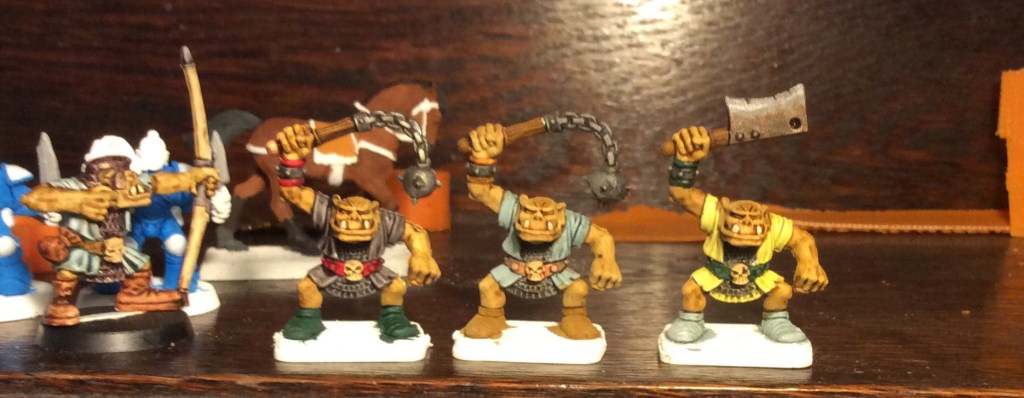
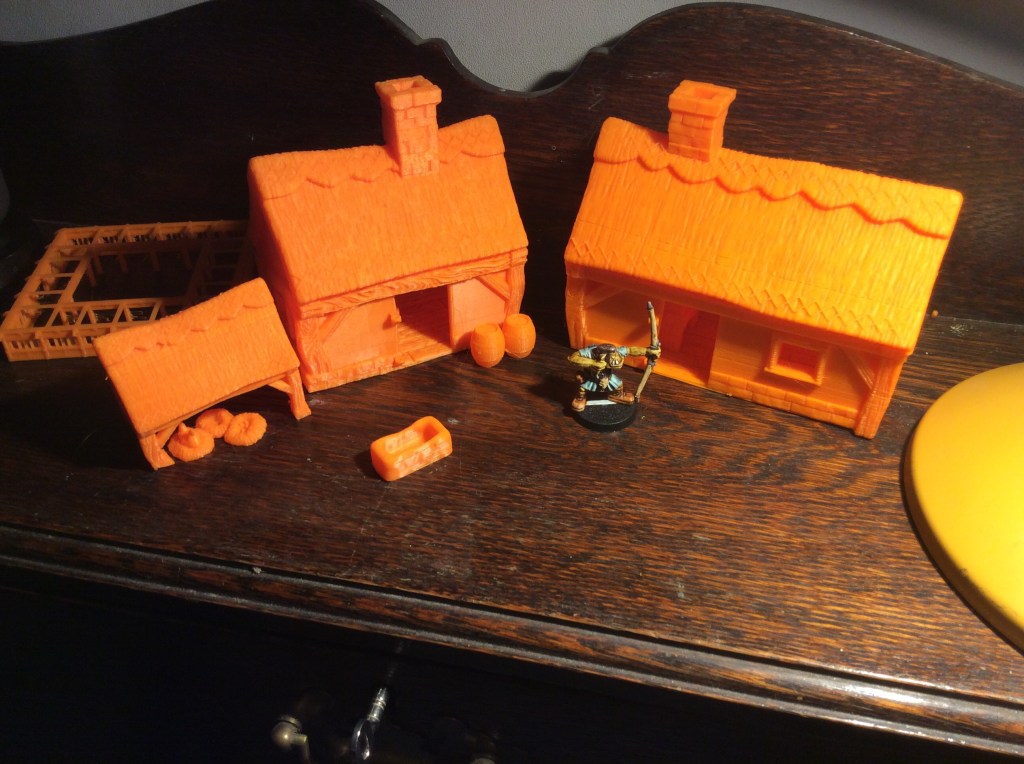
I managed to get some more dwarves printed too. Here they are with the front rank…

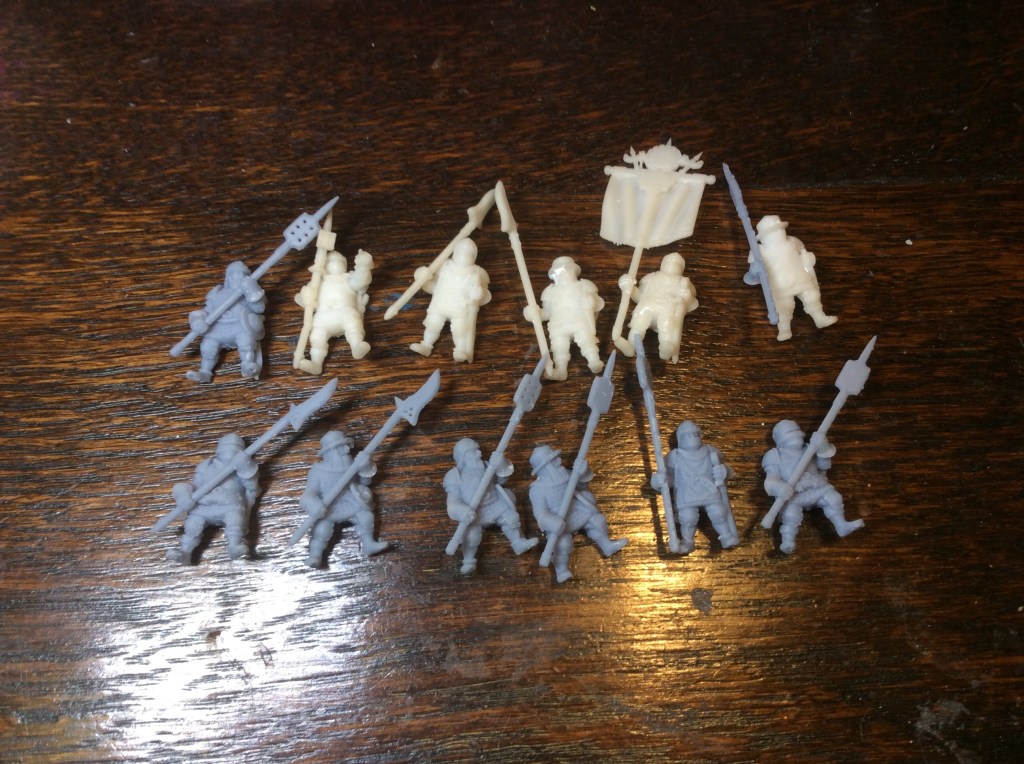
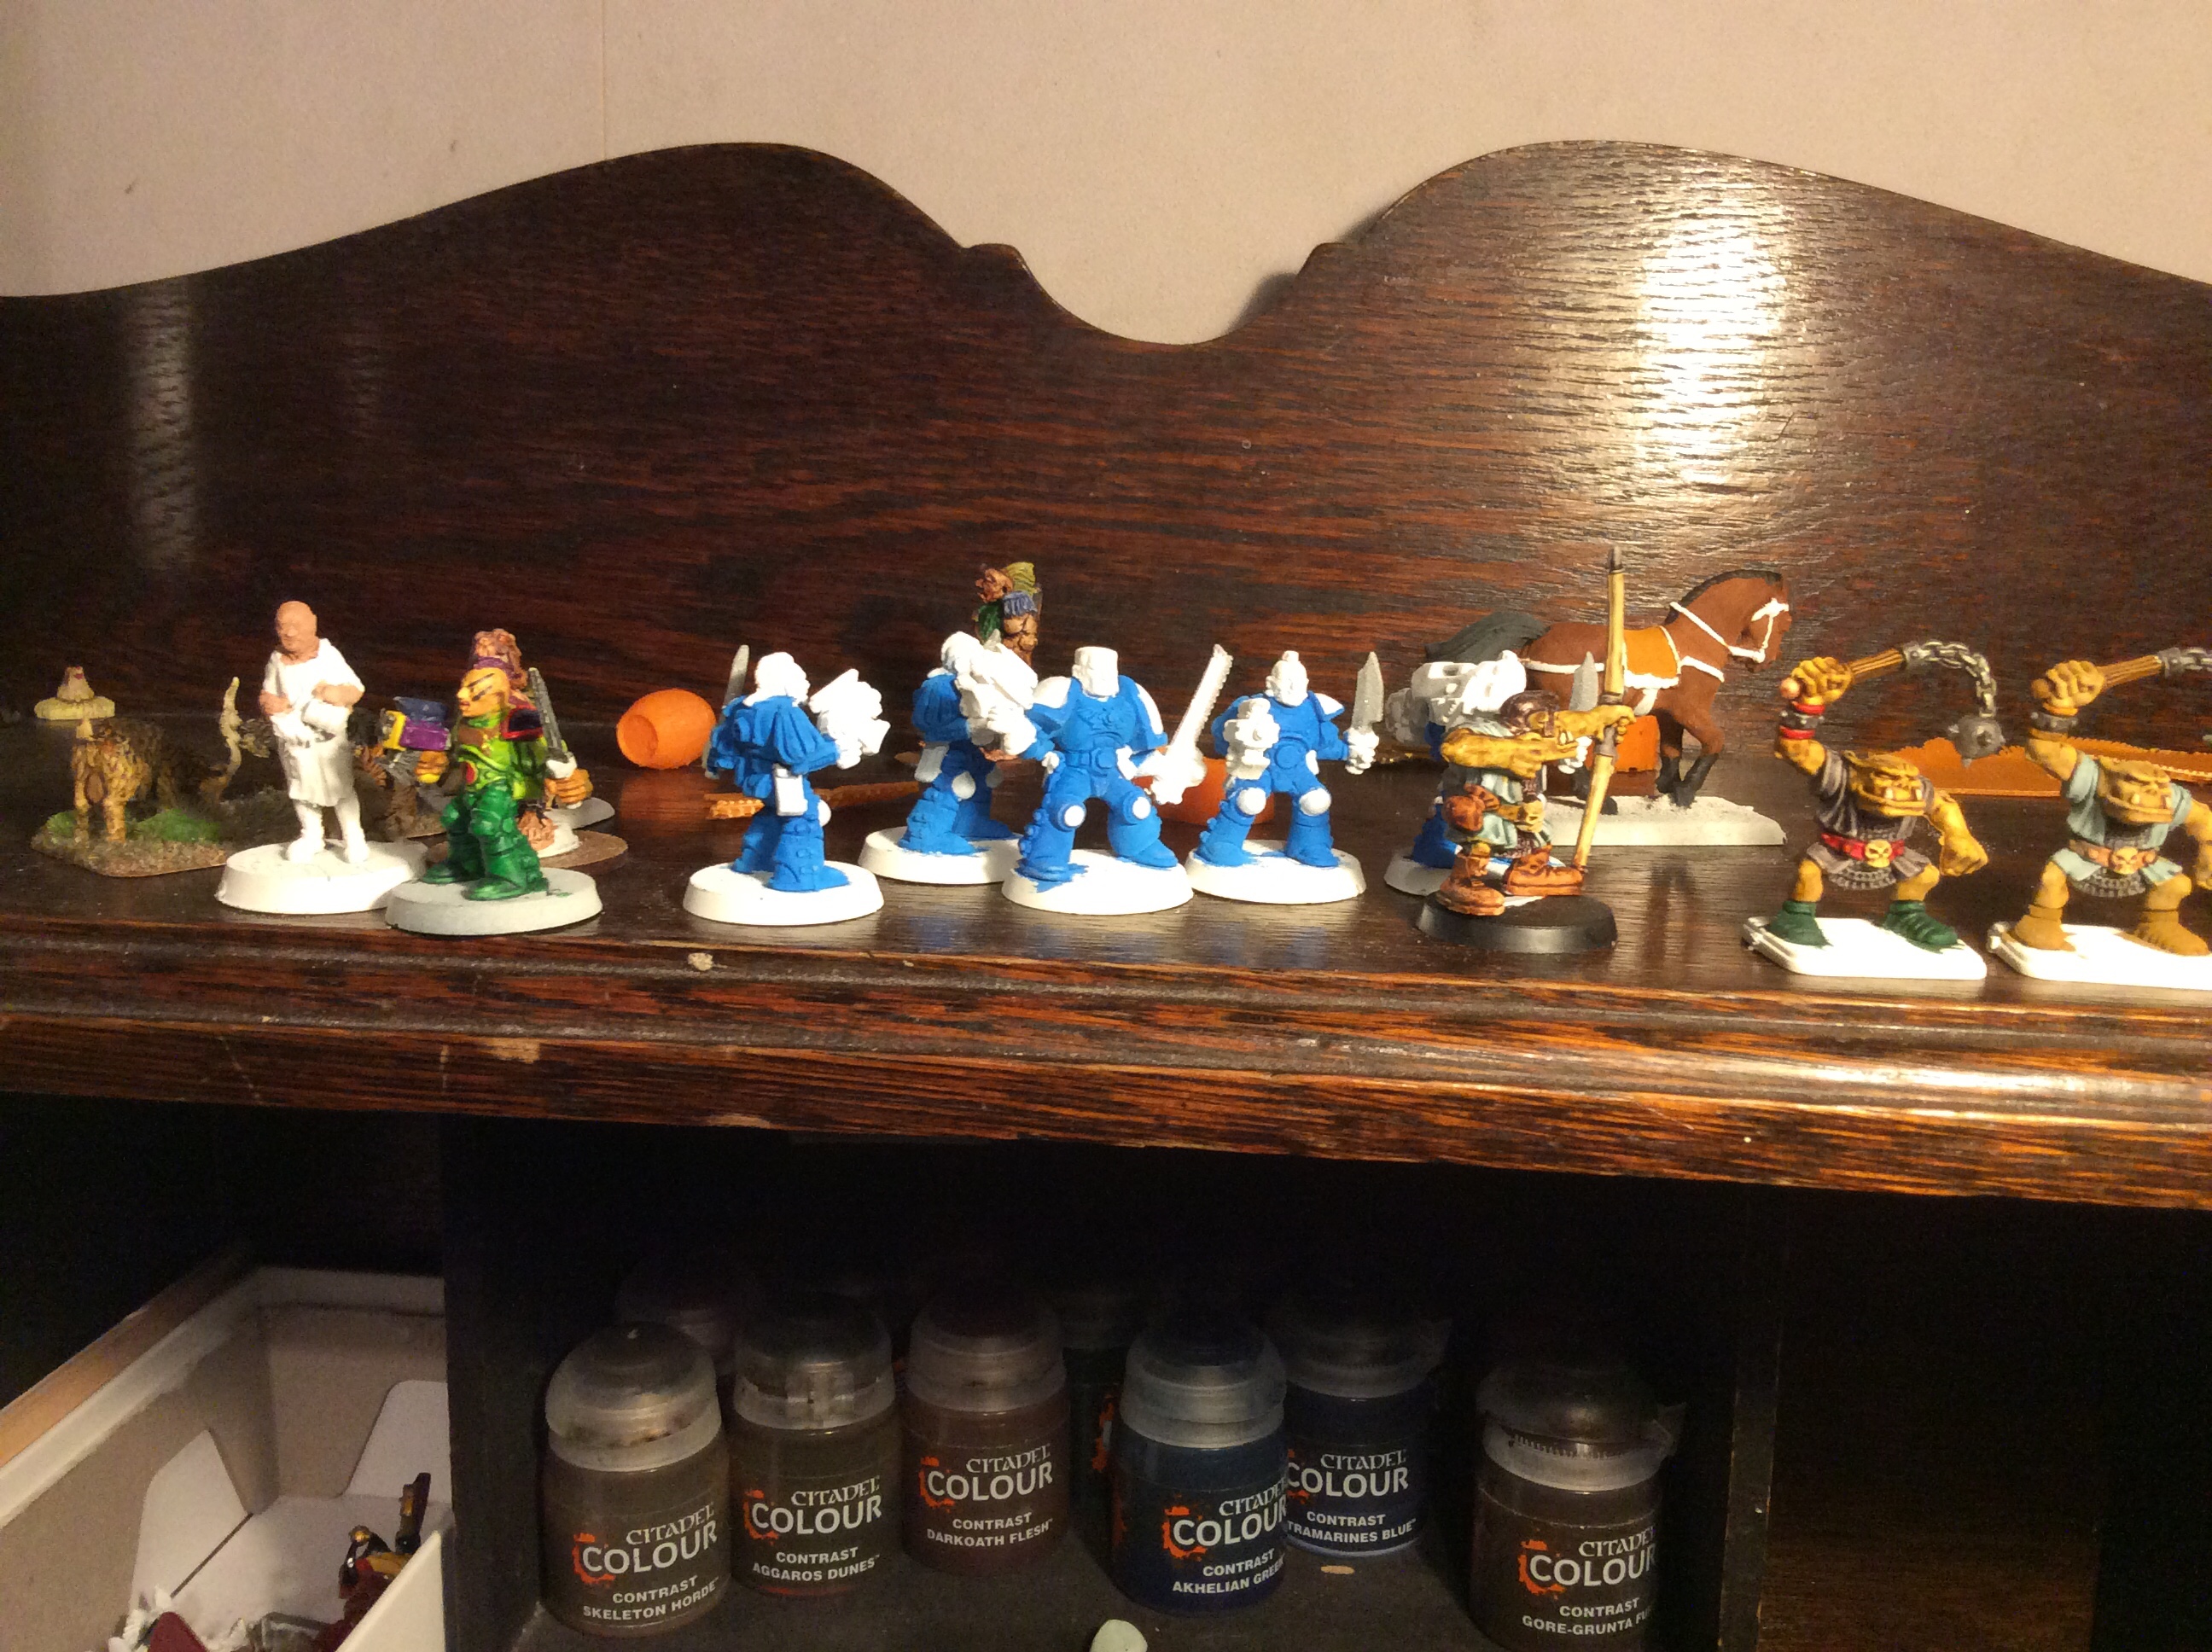
I tried shrinking down the Iain Lovecraft dwarf Landsknecht to add into the dwarf force… but unfortunately, even though I reduced the size, he was still too bulky compared to the others, funnily enough the human version worked fine.

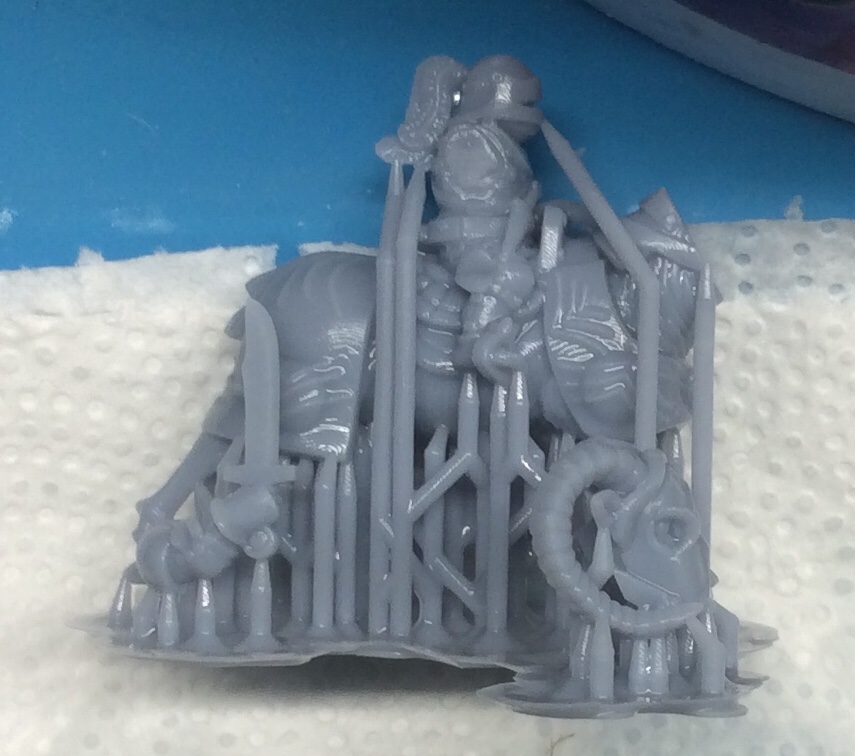
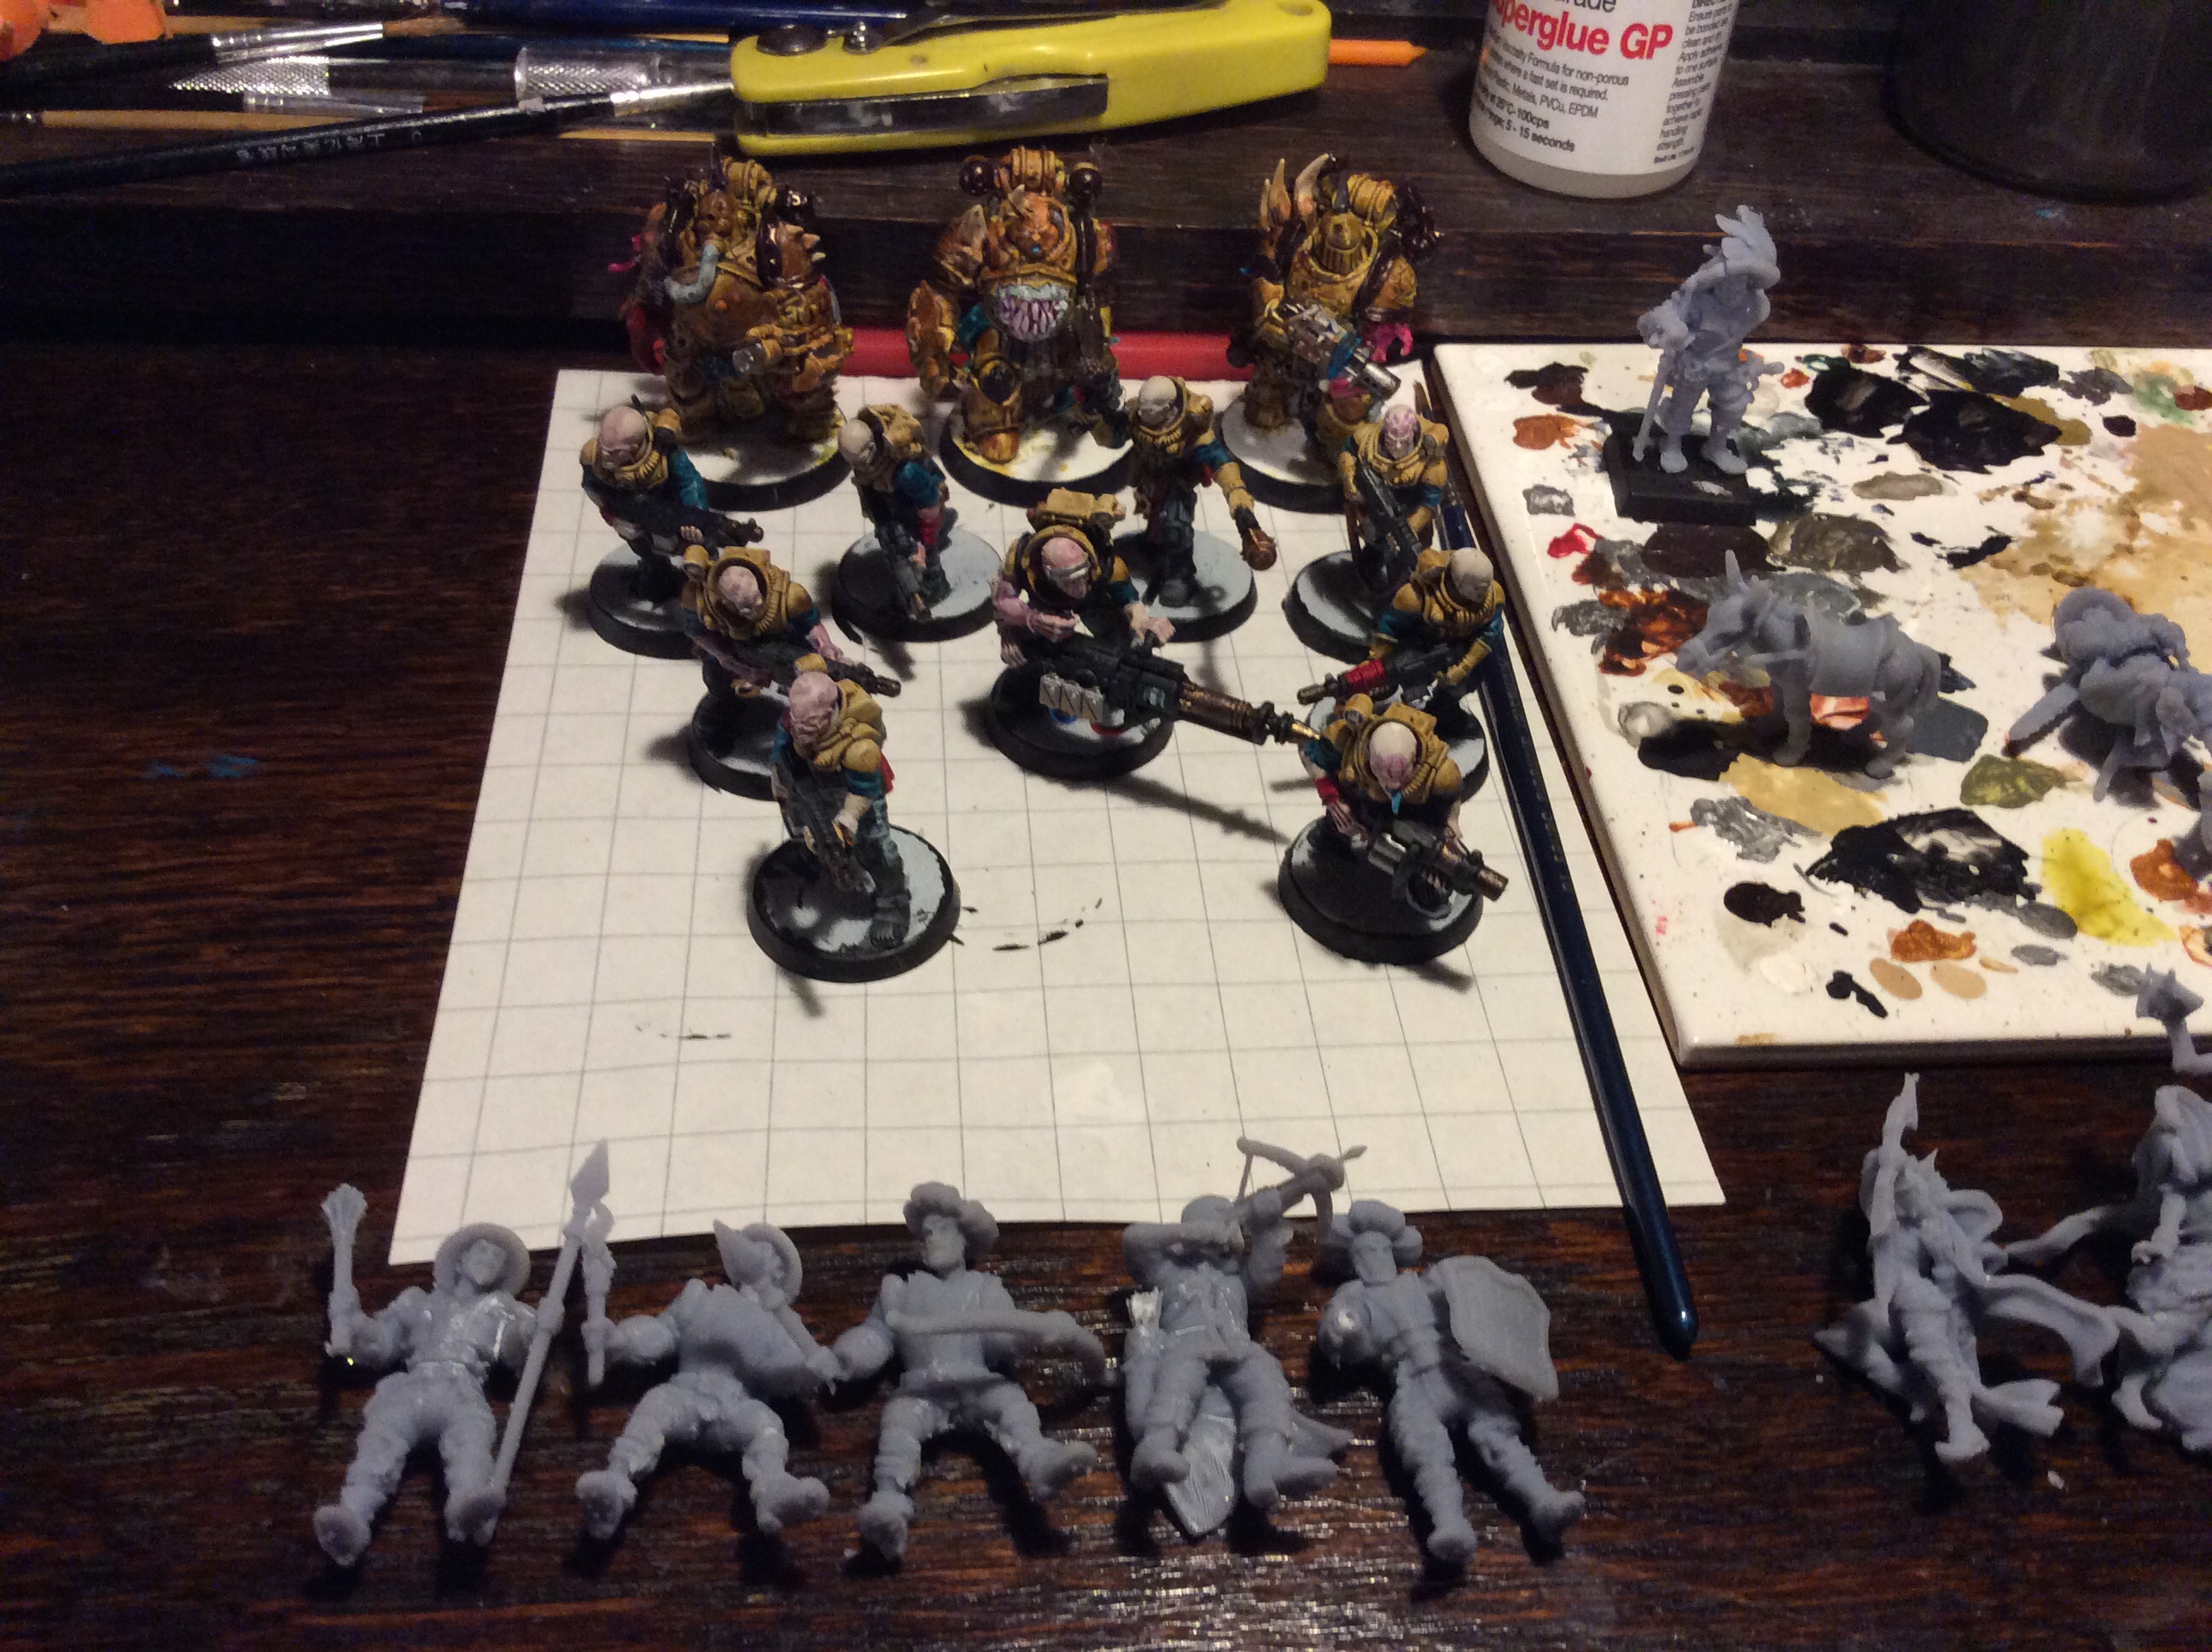
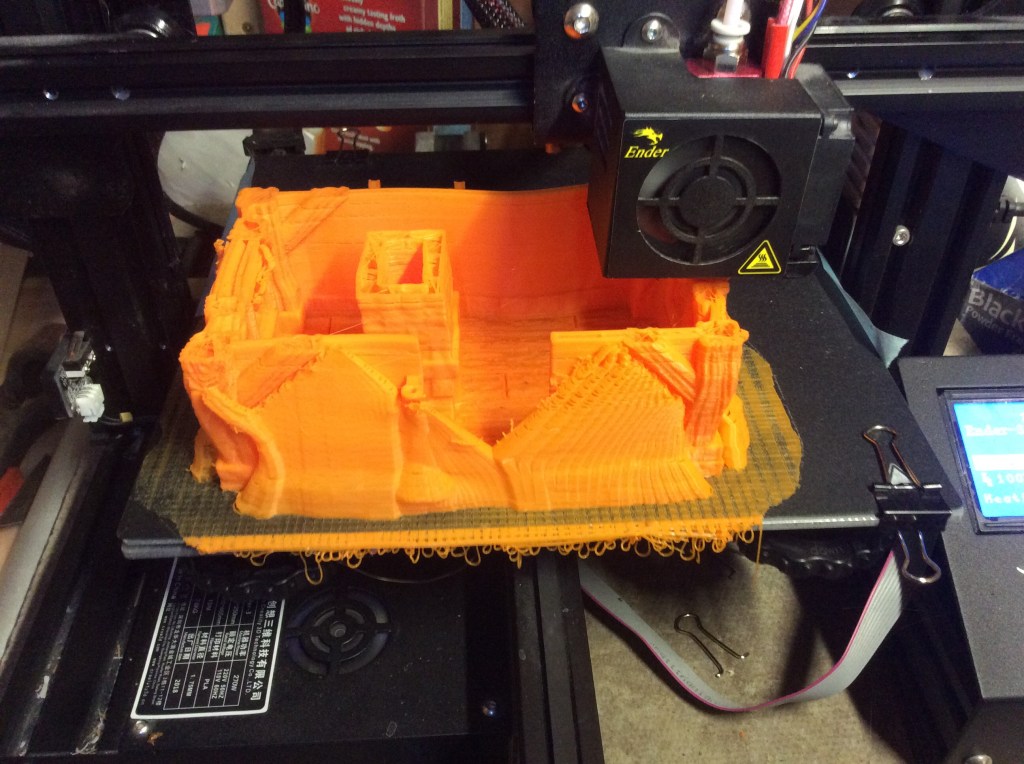
As the temperature has dropped a bit, I nicked the heater out of Esther’s office and stuck it in with the printer. I am printing a couple of sixes of light infantry (one after the other). Then I have a 10lb culvern and artillery crew to print tomorrow. After that another artillery piece and crew. I might actually get around to painting them too!

I knew I was knackered yesterday, I slept for 12 hours last night, I still feel a bit pooped just now. So it won’t be a late night tonight. Hence an early posting.

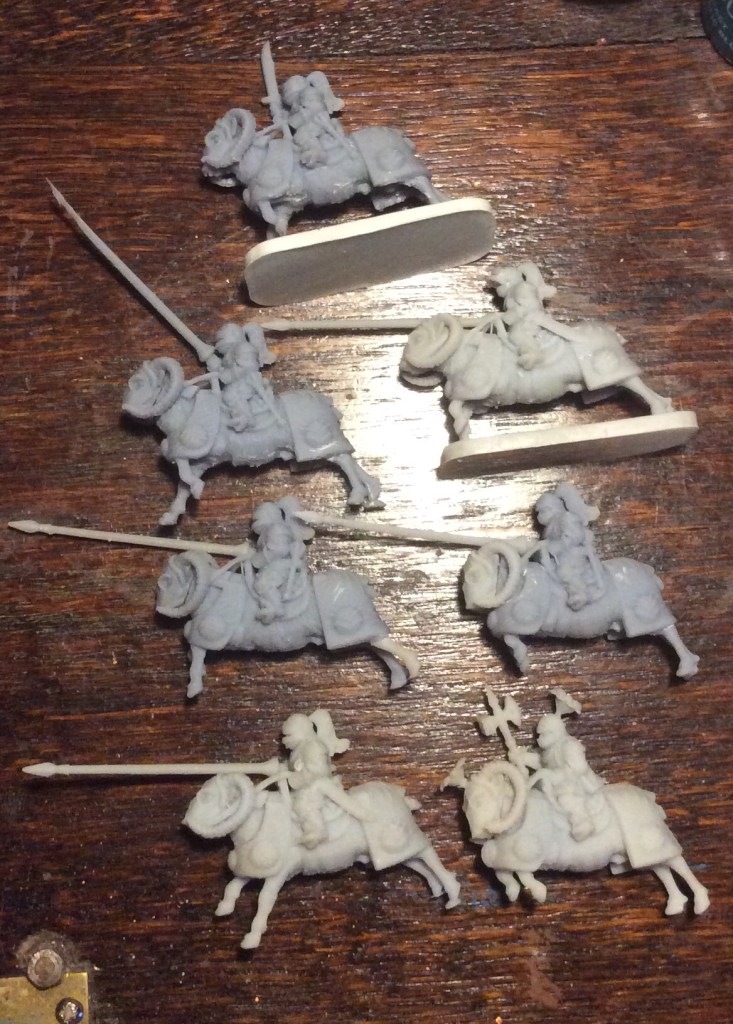
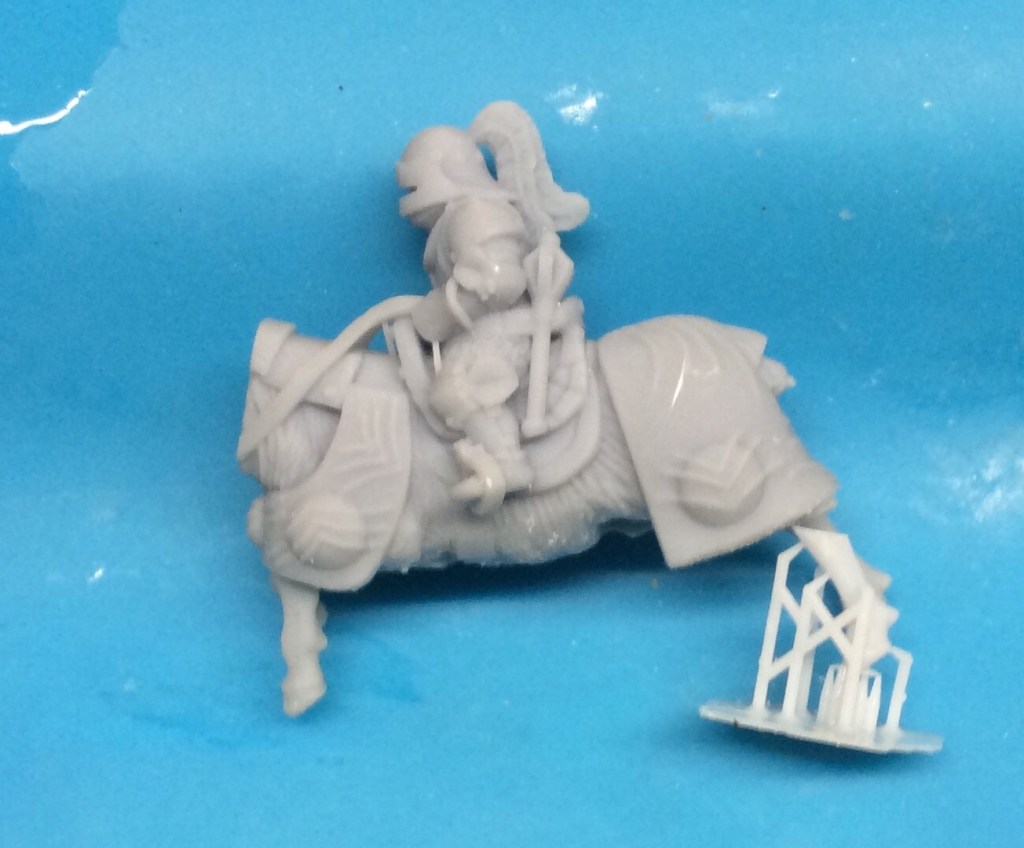
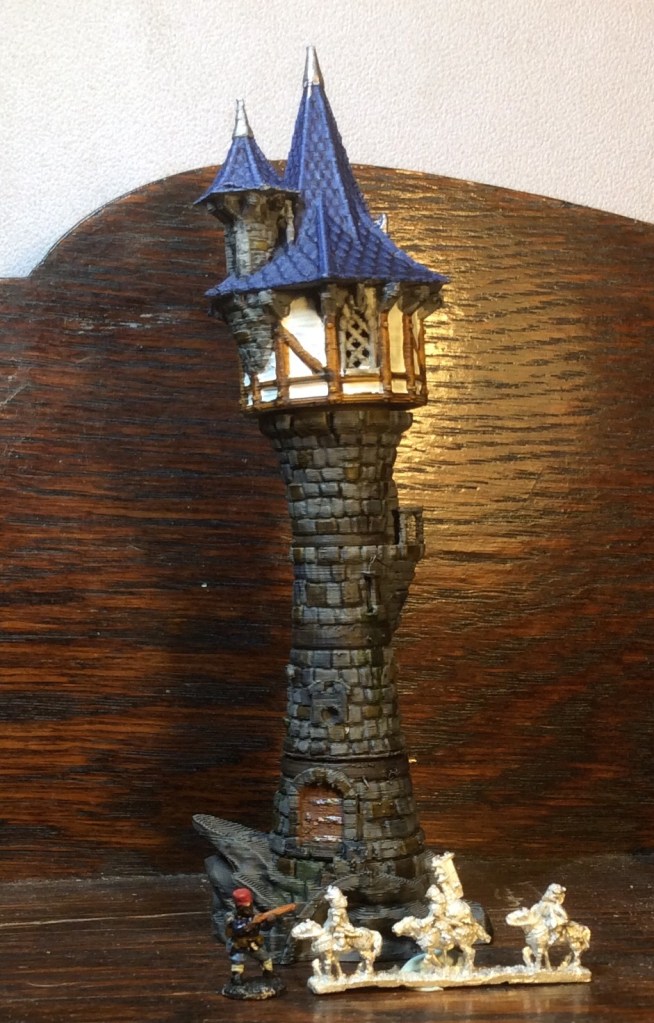
Tomorrow is the first proper day of leave, so I had better remember to turn off my alarms. I am hoping to get a really good go at the samurai tomorrow. My plan is to get going in the morning with them. I am still missing a bag of cavalry.. luckily I have a pile of leave to tidy up the shed and hunt for it.

The Dwarves Muster

Tonight I worked a bit more on sorting out the Dwarves. So I now have a unit of crossbows, one of heavy infantry, one of ram cavalry and half a unit of medium infantry.

Part of the infantry force
Ram cavalry with a mounted commander bottom right

I have a few banners like this one too…

Dwarf heavy Infantry

I still have the light infantry to do, they are the ones in the quilted gambeson on the four bottom right miniatures. There are also a unit of hand gunners and an artillery crew too. I actually tried printing them off today along with the three bottom miniatures in the top photo. It would seem that the supports weren’t up to the task, as there was just the support left for the commander and the gunner was missing a leg. The supports were the really light weight ones, so I will do my own ones and see if that helps. You may have noticed that some of the above are a lighter grey. That is because I was running out of the original colour and poured white into the vat whist the print was going on. I have ordered some more grey, but I reckon that I will be having some white miniatures for a while until it arrives.

On a totally different note, what is thought to be the oldest evidence of a shark attack has been found in Japan. https://archit.web.ox.ac.uk/article/reconstruction-oldest-shark-attack-human-tsukumo-shell-mound-japan?fbclid=IwAR3GTHFwN96iBRHDz52dXq8N_C0_9gWiBZsSlBVad-FmeRg-hmbJb6WaVBQ

Dwarf Cavalry

One of my poor rams has lost a leg 😢 somehow it didn’t print (might have got too cold) but anyway this evening I took matters in hand and made him a new one … or rather took the original ram and used mesh mixer to get rid of everything except the leg.

I have just printed it….

Prosthetic Ram leg…

I dropped it into the wire basket in the wash and cure and Lo and behold it fell through and I then spent 5 minutes with my hand in ISO and resin. Luckily I spotted it in a corner and managed to rescue it.

I also managed to print the dwarf commander in both his mounted and dismounted pose…

The extra rams head is for one of the other mounts. The spare arms are in case I couldn’t decide and the spares would then become available for other mounted troops. I am printing the last two cavalry now. Hopefully they will print ok overnight.

A Bit on the Wobbly Side

I have sat for about 45 minutes trying to get the energy to get off my backside. I am hoping that I am not coming down with the thing the rest of the family has got.

For this reason I am having an early night. I am going to head off now and check how the second ram is doing on the printer, but the first one came off perfectly. Here they are…one and two. I thought I would show you the auto supports for the miniature. I tend to do an auto support then add more as necessary. In this case I think I forgot to change to light supports before slicing.

I need six in total for a cavalry unit in Dragon Rampant. These are just the same model reprinted. I will slice some more. They come with a lance, sword and mace as well as having four different bodies. A separate ram is available too. This means I could have mounted infantry. Come to think of it there might be an unarmoured ram too. I honestly cannot remember.

I am printing off another three two handed pole arms. Once these are done then I will count up what I have in terms of bodies and arms and print more arms as necessary.

Today I Went against tradition and actually bought some GW undercoat. I got lead belcher as I thought that I had a lot of armoured models to paint up. I will spray them metal and then paint the cloth and flesh white so that I can use the Contrast paint. I might totally regret this! So I will do one unit and see how I get on with it.

Two more days to go before the summer holidays. We had sports day (indoors) today and are having a leavers presentation tomorrow. Typically it is going to rain tomorrow so we might not be able to let the parents attend. I was doing it outside to allow them to see it… bloody weather has put paid to that.

My new teacher is coming for a visit tomorrow to meet the kids so that is something to look forward to.

A Metal(ish) Helmet

Today I managed to find some Rustoleum Gun metal spray paint. O thought I would give the old helmet a once over… probably should have tried it on some scraps first…

Now this thing is my test piece so perhaps this is the scraps but it is now a sort of metallic colour. I will give it another once over tomorrow.

One of the interesting things I found was the nose guard bent, you can probably just see the line across it. This shows me that I need some kind of support in behind it… this is definitely a learning curve. I think over the next few days then I will try another one using my trusty, rusty scroll saw…

At least using this then the cuts should be vertical and not need filling as much. I am not certain but I think I bought this before we moved to Shetland in 2006… now to be fair I might have brought it back from an Aldi sometime after that, but I cannot remember doing so. There again, my good lady spoke about the gerbils we had when my eldest was small.. I have absolutely no knowledge of any gerbils in this house whatsoever

I will carry on fiddling with this aspect of a hobby as I do really enjoy it. on the next helmet I am going to try simple decorations too… plus someone very kindly shared a place where I can get faux horsehair crests (well I actually have a genuine horse hair crest, but it is for my Corinthian helmet 😉).

Now if we get back to the helmet above, I am going to have to work out how to ‘hide the messy bits. In hindsight some simple decorative features would have done the trick, but as we know hindsight is a great thing. I could actually just sand off the paint and add some embellishments…I will let you know what I come up with.

A cap of iron and leather would have been the easiest to achieve. I have some 2mm foam that would work for the metal part. The rest would be done like the bracer… big thinks, being thunk!

A tower of Strength?

Or perhaps just the Crow Tower from the Frost Kickstarter by Iain Lovecraft…

So as you can tell, I did shrink it down a bit, it will work well for both 6mm and 10mm Armies, but sadly not the 15’s. Tonight was mostly spent adding spots of different browns and greys.

This was done on the Ender 3. The original size has useable rooms and in fact this has a desk, chairs ladders etc on each floor.

Not sure what I am going to get on with tomorrow evening, probably getting the Astartes undercoated, not to mention find them some bases.

Sorting out the Resin

Tonight, I really couldn’t be bothered to do anything. So I went through my pile of prints to sort out what was worth keeping and what wasn’t.

I also managed to get some black onto the 40K base edges…

The hand holding the bow (from another set) took a bit of trimming, but it does give me a different missile weapon to the crossbow. I will have to get Mordheim out to see what things cost points wise.

I am printing the lion knight and some more militia bodies just now, but then I really do think I need to do something with them painting wise.

Talking of printing I realised that the ISO was getting pretty skanky so I decided to decant the two litres of it into my big jars and let it settle and pour off the cleaner stuff. But I, in my infinite wisdom, put it outside to avoid the smell… cleverly I forgot and came home this evening to something akin to Greek Yoghurt… Whoops!

Tomorrow I will try and print some bases for the models I have. I have an STL for cobblestones so that will do for my miniatures.

And Finally, I probably laughed far too much at this…


Painting Success

So yesterday, I said that today I was going to paint something, in fact anything… well I kept to my word and actually did a fair bit. First off I sprayed various things…

Now there were some spaying annoyances to deal with, first off my grey primer turned out to be an etch primer… luckily I realised as it had a different nozzle. I gave it a try on the small ‘goat shed’ to see if it would work. Luckily I had other cans of the basic grey so the rest got done in that. Then I moved on to spaying things white. I warmed up the can, I shook the blazes out of it and it came out like a watered down version. If you look at the right hand photo above you can see what I mean on the green and orange miniatures. It eventually came good on the grey. Now it might just be a bad batch or the coloured plastic needed going over with a different colour first. I sprayed the top of the mini tower white and it seemed to work fine. I will have another play with things tomorrow.

I also managed to get these three just about finished…

I need to sort out the bases, but apart from that they are done. I really enjoyed painting them to be honest.

I also got a bit more done on the Genestealer cultists as well as some other bits and bobs, mainly the original scouts…

I also got the hole in the roof finished too, so hopefully the leak of leakyness has buggered off, only time and heavy rain will tell.

Tomorrow I have the tyres to change on the car, but I am also hoping to get a start on the lighting and then ceiling insulation.

Building, Printing and Painting

Cor blimey, I have been busy today, shopping, building, sawing, Printing, Painting and making dinner to name but a few.

Well as you know I do like my 6mm Samurai and 3DAlien World’s has produced a very nice temple building. It came out today so I just had to get it. In 28mm it would be huge, in fact the Ender would only take one base bit at a time, luckily I was going 6mm. So I built bits in 3D Builder first and then reduced them down to 24% the base is printing right now, but the walls came off really nicely…

Unfortunately I don’t think I am going to be able to pre build the roof, but I will most definitely give it a go.

I also got the Trewell Common buildings finished too..

Now you may notice that the photo was taken on a different surface… this is because I now have a dedicated painting place I; the lounge…

This pretty much can store most of my paints miniatures and other bits and pieces. I tried it out this evening and did some more on the Cultists…

I also did some work on the conservatory. We are putting down decking as a different kind of flooring and to cut a long story short…short being quite appropriate here….

I swore….lots!

80cm short! It comes in 4.8m lengths… hopefully there will be a knackered piece that I can get cheap… wish me luck!

Printing Cock-Ups

My FDM has now been running for 26 hours straight and is making a rather lovely small cottage… there is however a bit of a problem, this one seems to be a bit on the large side, especially for a small cottage.

Considering that the build plate itself is 22cm square then you will see what I mean. I am just going to let it run its course and then shove some figures near to it and see what they look like. To be honest I can’t remember adding a raft or the tree supports, so I am now wondering if I had somehow clicked a button to increase the size.

My other balls up was my goblin Warg rider and Warg…

Now the more observationally astute will notice… a) the lack of any goblins, or Wargs for that matter and also b) its a 2 legged moose… evidently I pressed the wrong button last night on the resin printer too…

So as I was faffing on for so long, the prints have eventually finished, the FDM printer taking 27 hours plus to finish, and it is indeed bloody huge….

On the up side, the goblin and Wargs printed properly this time…

Diorama Idea number 2

Finally… when I was hunting through a box Then I came across some of my earliest ever painted miniatures and I thought it was time for their 25 (or more) year update. So they are going to get stripped and redone in a new paint scheme… let’s see how I have progressed…