Or two in this case!
Yes I know Halloween was a good while ago, but I needed a nice simple project this evening!
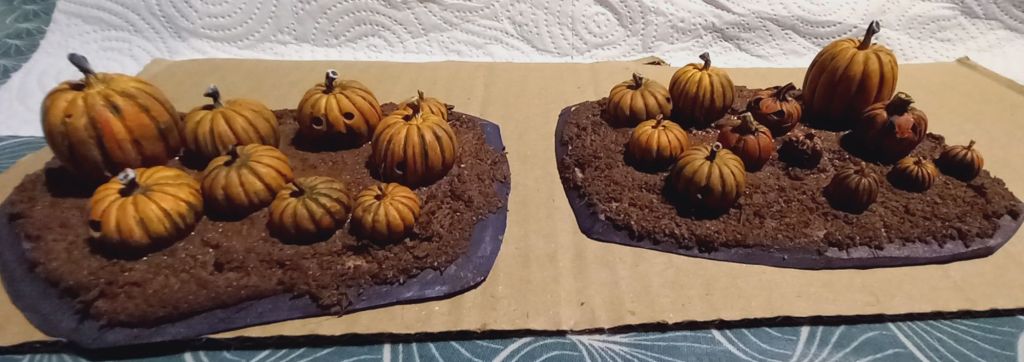
In hindsight I wish I had done the pumpkins over three bases instead of two… but I didn’t! Once the basing gunk dries then I will see how effectively it has stuck to the base and stuck the pumpkins into it. Again I probably should have glued these to the base and then gunked around them.
Ahhh well, time will tell!
I will be adding patches of grass in places with some tufts and some maple leaves… sadly I don’t have any pumpkin leaves 🙂
Hopefully I will carry on tomorrow and let you know how I get on.

They look good- will you be adding the vines they grow on too? I have some pumpkins of my own and not having any idea of how to make them look like they are growing I’m hoping to crib off you….
Cheers,
Pete.
LikeLiked by 3 people
Cheers Pete, another thing I forgot. These must have been moved lol!
LikeLiked by 1 person
Agreed that they look good – I think the easiest way might be to buy some pre-made vines (I think GW sells them) – a more hobby-centric way might be to PVA & dye some string/twine…
LikeLiked by 1 person
I actually had some string ready to be dyed and shaped… just forgot. A lot of the photos I saw were probably after harvest as there weren’t many vines visible. Part of my wonders if they whither a bit after the pumpkins are removed.
LikeLiked by 1 person
very nice!
LikeLiked by 1 person
Cheers Eric
LikeLiked by 1 person