Back with the Knights

This time I am talking about posh dudes on horses. Yes my two boxes of mounted Agincourt knights arrived today. So after spraying the big mech knight I did a quick build of half a dozen heavies, as opposed to lights. My plan is for three heavy units and one light.

The one in the rear middle definitely has something odd going on with his visor. This came as a separate piece and maybe I have glued it on in the wrong spot, either  that or I accidently moved it before the glue set it in place.

One thing I haven’t noticed with the Perry plastics is a lot of flash (apologies for the naff pic). All of the human sprues had some flash where tye plastic has squeezed between the two faces of the moulds.

Top left and bottom right are really obvious here. On the other spue the torso top right had a huge fan  from the top of his helmet to the lower back.

I shall hopefully carry on with these tomorrow.

My View on Games Workshop Miniatures

So as mentioned the other day I relented and purchased my youngest (13 years old) a Kill Team box. He wanted either the scouts or the enforcers. So as our local toy shop only had the scouts he went for that.

I may have commented on my view on these miniatures in an earlier post.

This evening I finished the last three. Sadly he had got some of the legs wrong in his early miniatures. As he was so disheartened I promised I would get them sorted. I used clippers, Greenstuff  and a whole load of expletives to make them usable.

So here we have three sort of generations of Scouts…

The painted one was done by me in the early 90’s the red ones in about 2012 and the grey ones last month.

My totally unscientific complexity build grading is as follows

Painted…. doddle… glue a couple of arms on a mini.

Red…. bugger at times…trying to make the arms line up with the weapons and each other.

Grey… Absolute Bastard… too complex, badly organised part layout. I spent more time trying to find a part than I did glueing things together.

To be honest I felt that the ‘snap fit’ Tyranids were a pain in the arsenal. The scouts just about finished me off.

Hopefully his motivation will have returned by time I get them undercoated.

I will also hopefully be motivated to carry on with my Scouts tomorrow too.

Protective Circle…Final Warrior

I got the final warrior built this evening so that is all four done, apart from their muskets which I am leaving off to allow me to ain’t the miniatures easier. I certainly had a Eureka moment this evening whilst working on this one. Evidently if you leave the arms off then you can get all the fiddly bits glued on a lot easier!

I really do like this set, and am pleased with how they have gone together. I still reckon they are going to be a right sod to paint, especially all the beadwork on pretty much everything!

After taking the photo I noticed at least a couple of mould lines that I had missed. Once the glue has totally set then I will get them scraped off. I will try and get these onto a wire tomorrow and then sprayed at the weekend.

A slightly different view of the same four

I am a bit worried that the right arm of the back warrior is in the wrong place and might cause his musket to get in the way of the seated miniature. Only time will tell.

Hopefully I will feel like painting something tomorrow. I also thought I might dust off the old 3D printers and give them a bit of a run.

Protective Circle, Part II

Tonight I was knackered so decided to just build another model, but ended up doing almost two.

These were not as straight forward as the first one as they have to sort of go together so thankfully I was using plastic cement which did give me a bit of movement until it went off fully.

The biggest problem I had was with the nearest model, the arm looked a bit weird no matter how I positioned it. The other annoyance was the hands on both of these are separate. Somehow I managed not to lose any of the small bits…

The nearest one still has his loincloth to add as well as his medicine pouch, powder horn, knife and war club.

I am actually looking forward to doing these, not sure why as I reckon they are going to be a sod to paint properly 🥴

BUUUGGGSSSS

Yep I am back into Starship trooper mode!

Today the postman brought me a very nice parcel…

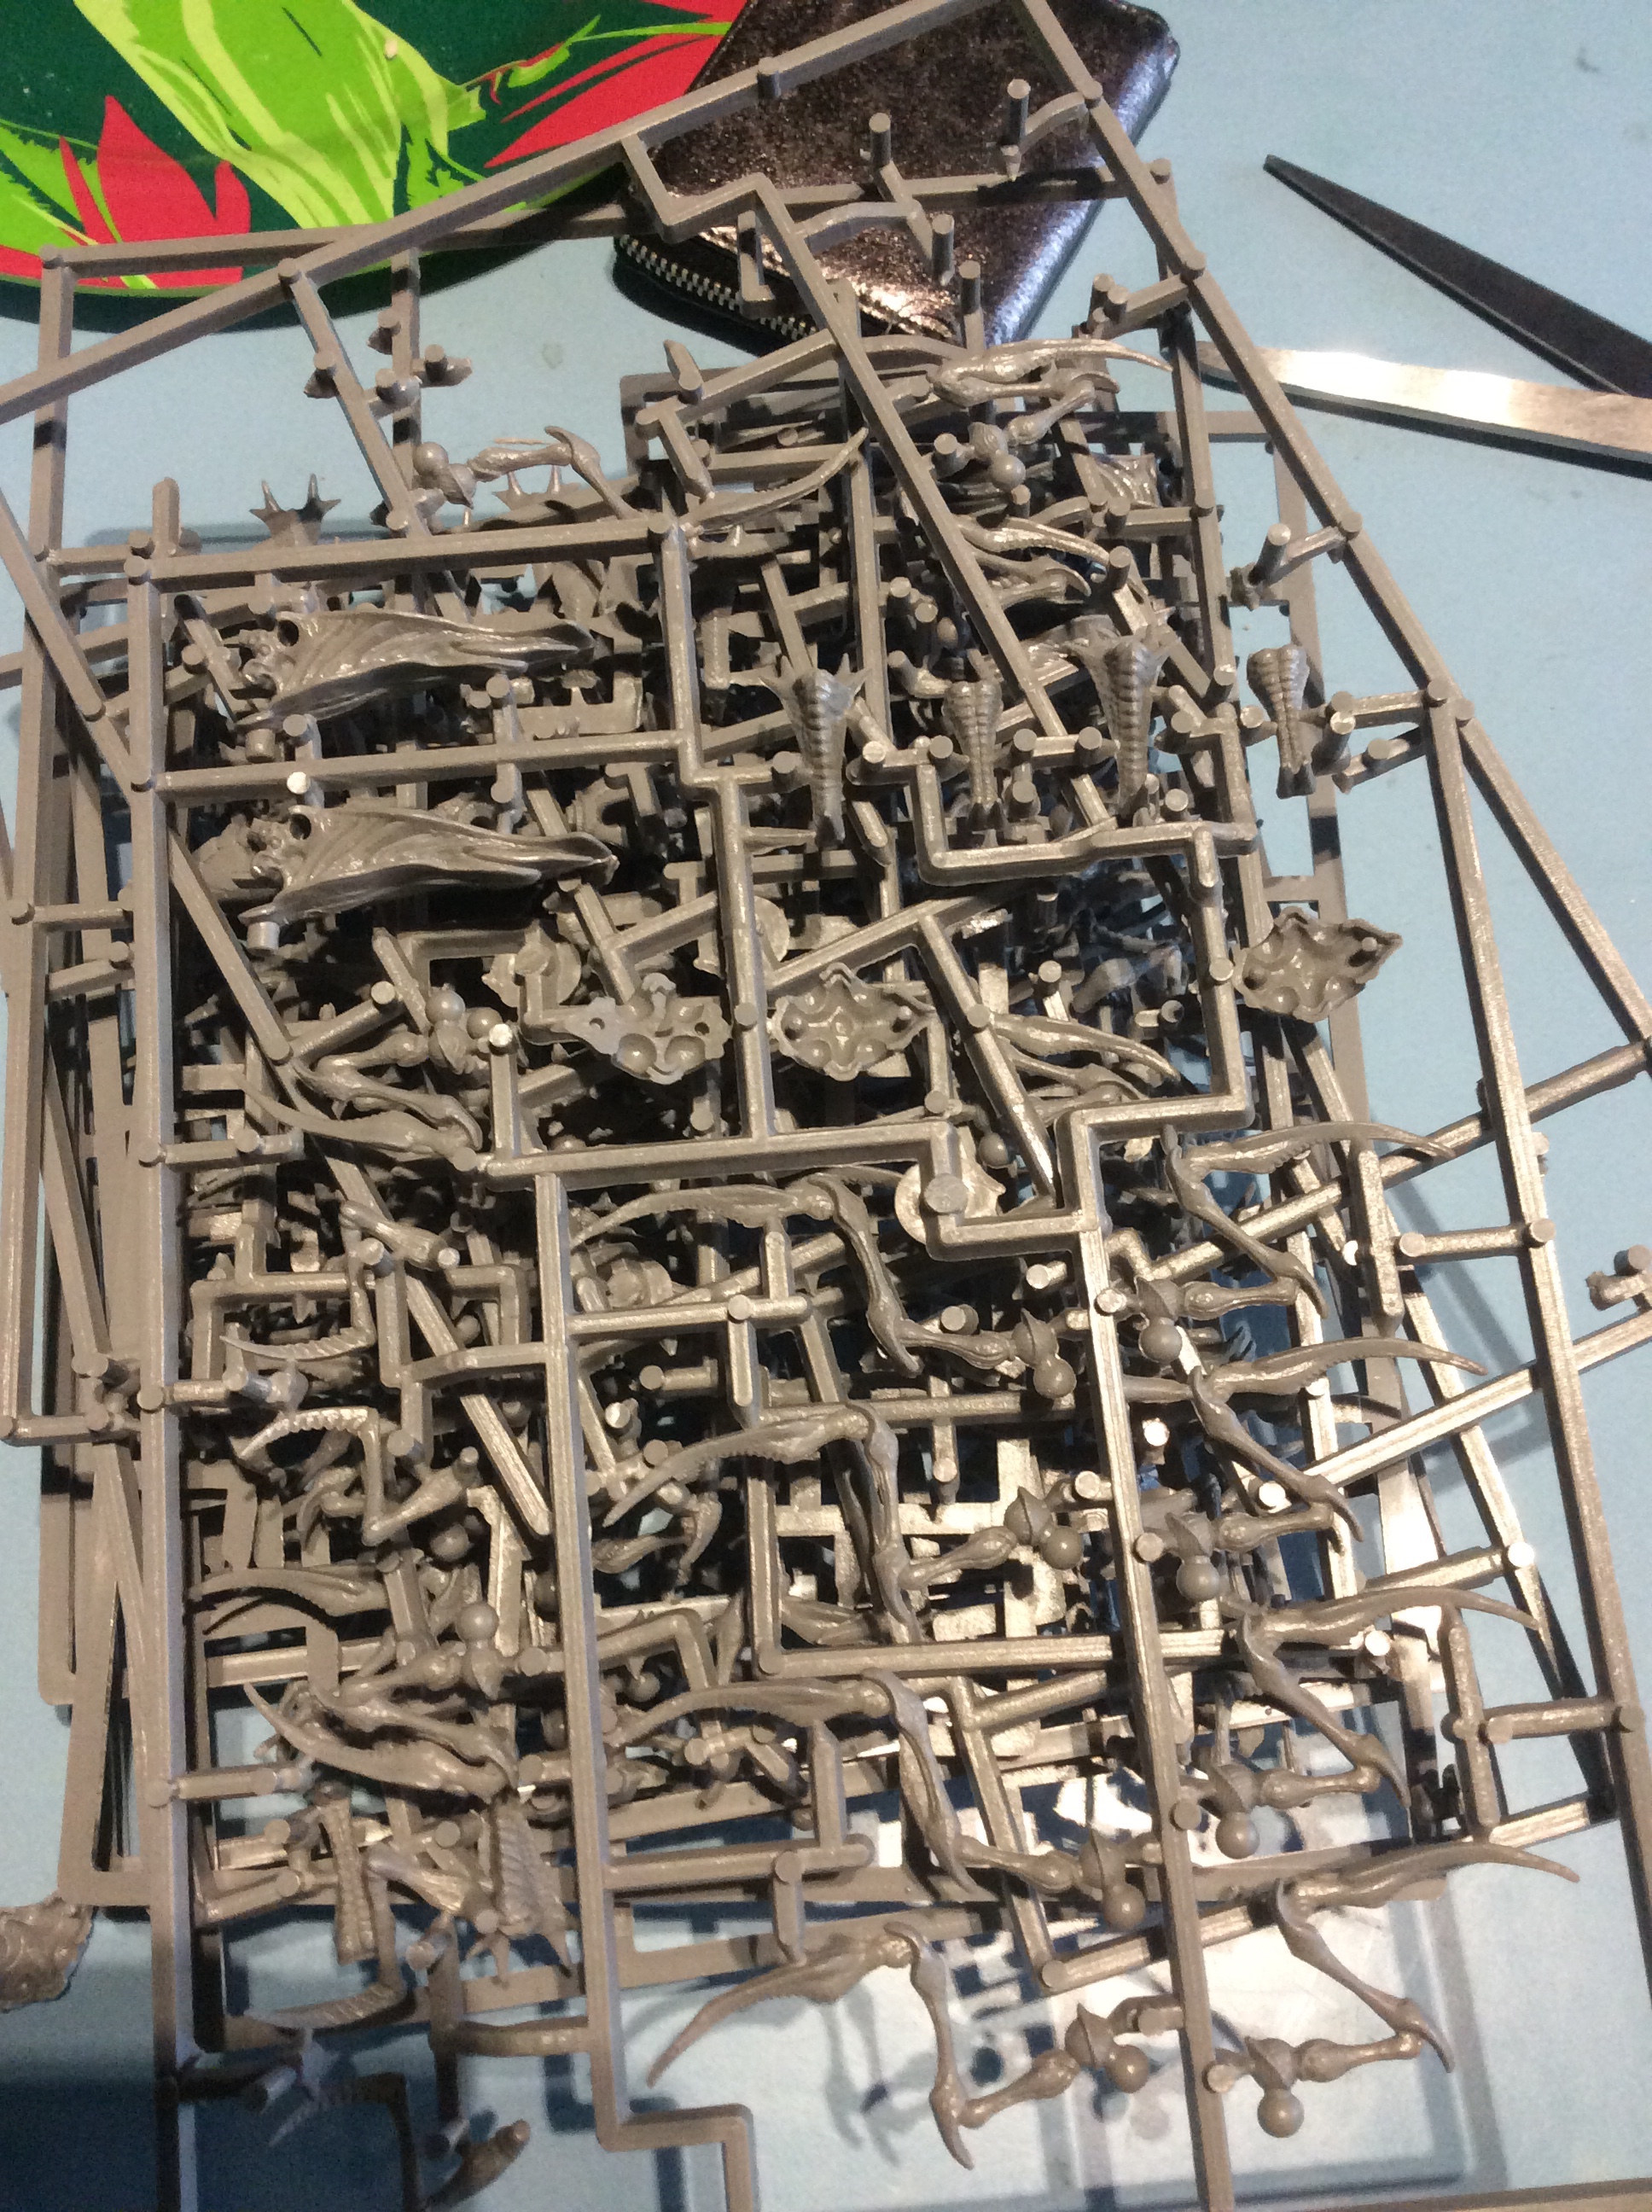
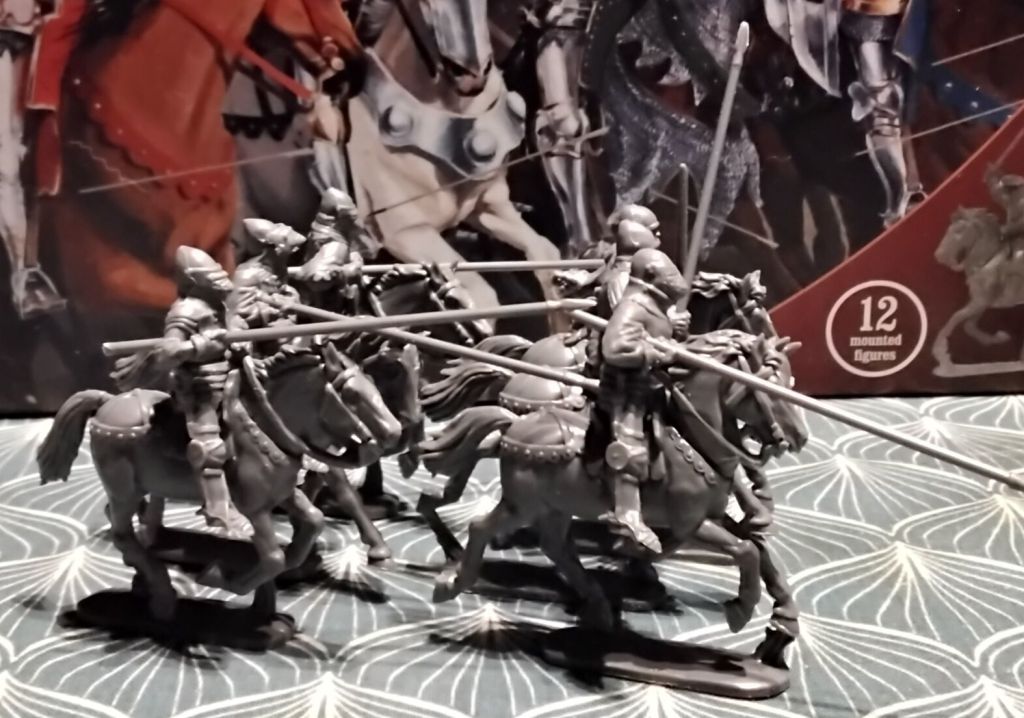
I managed to get a good deal on EBay … sixteen miniatures for £48 with free postage. Yeah that is a lot of money for plastic, but the Starship Troopers miniatures are like rocking horse droppings. I though £3 a mini wasn’t too bad, having a look at other things up for sale I could get six for £45 or one for £11. So all in all not a bad price.

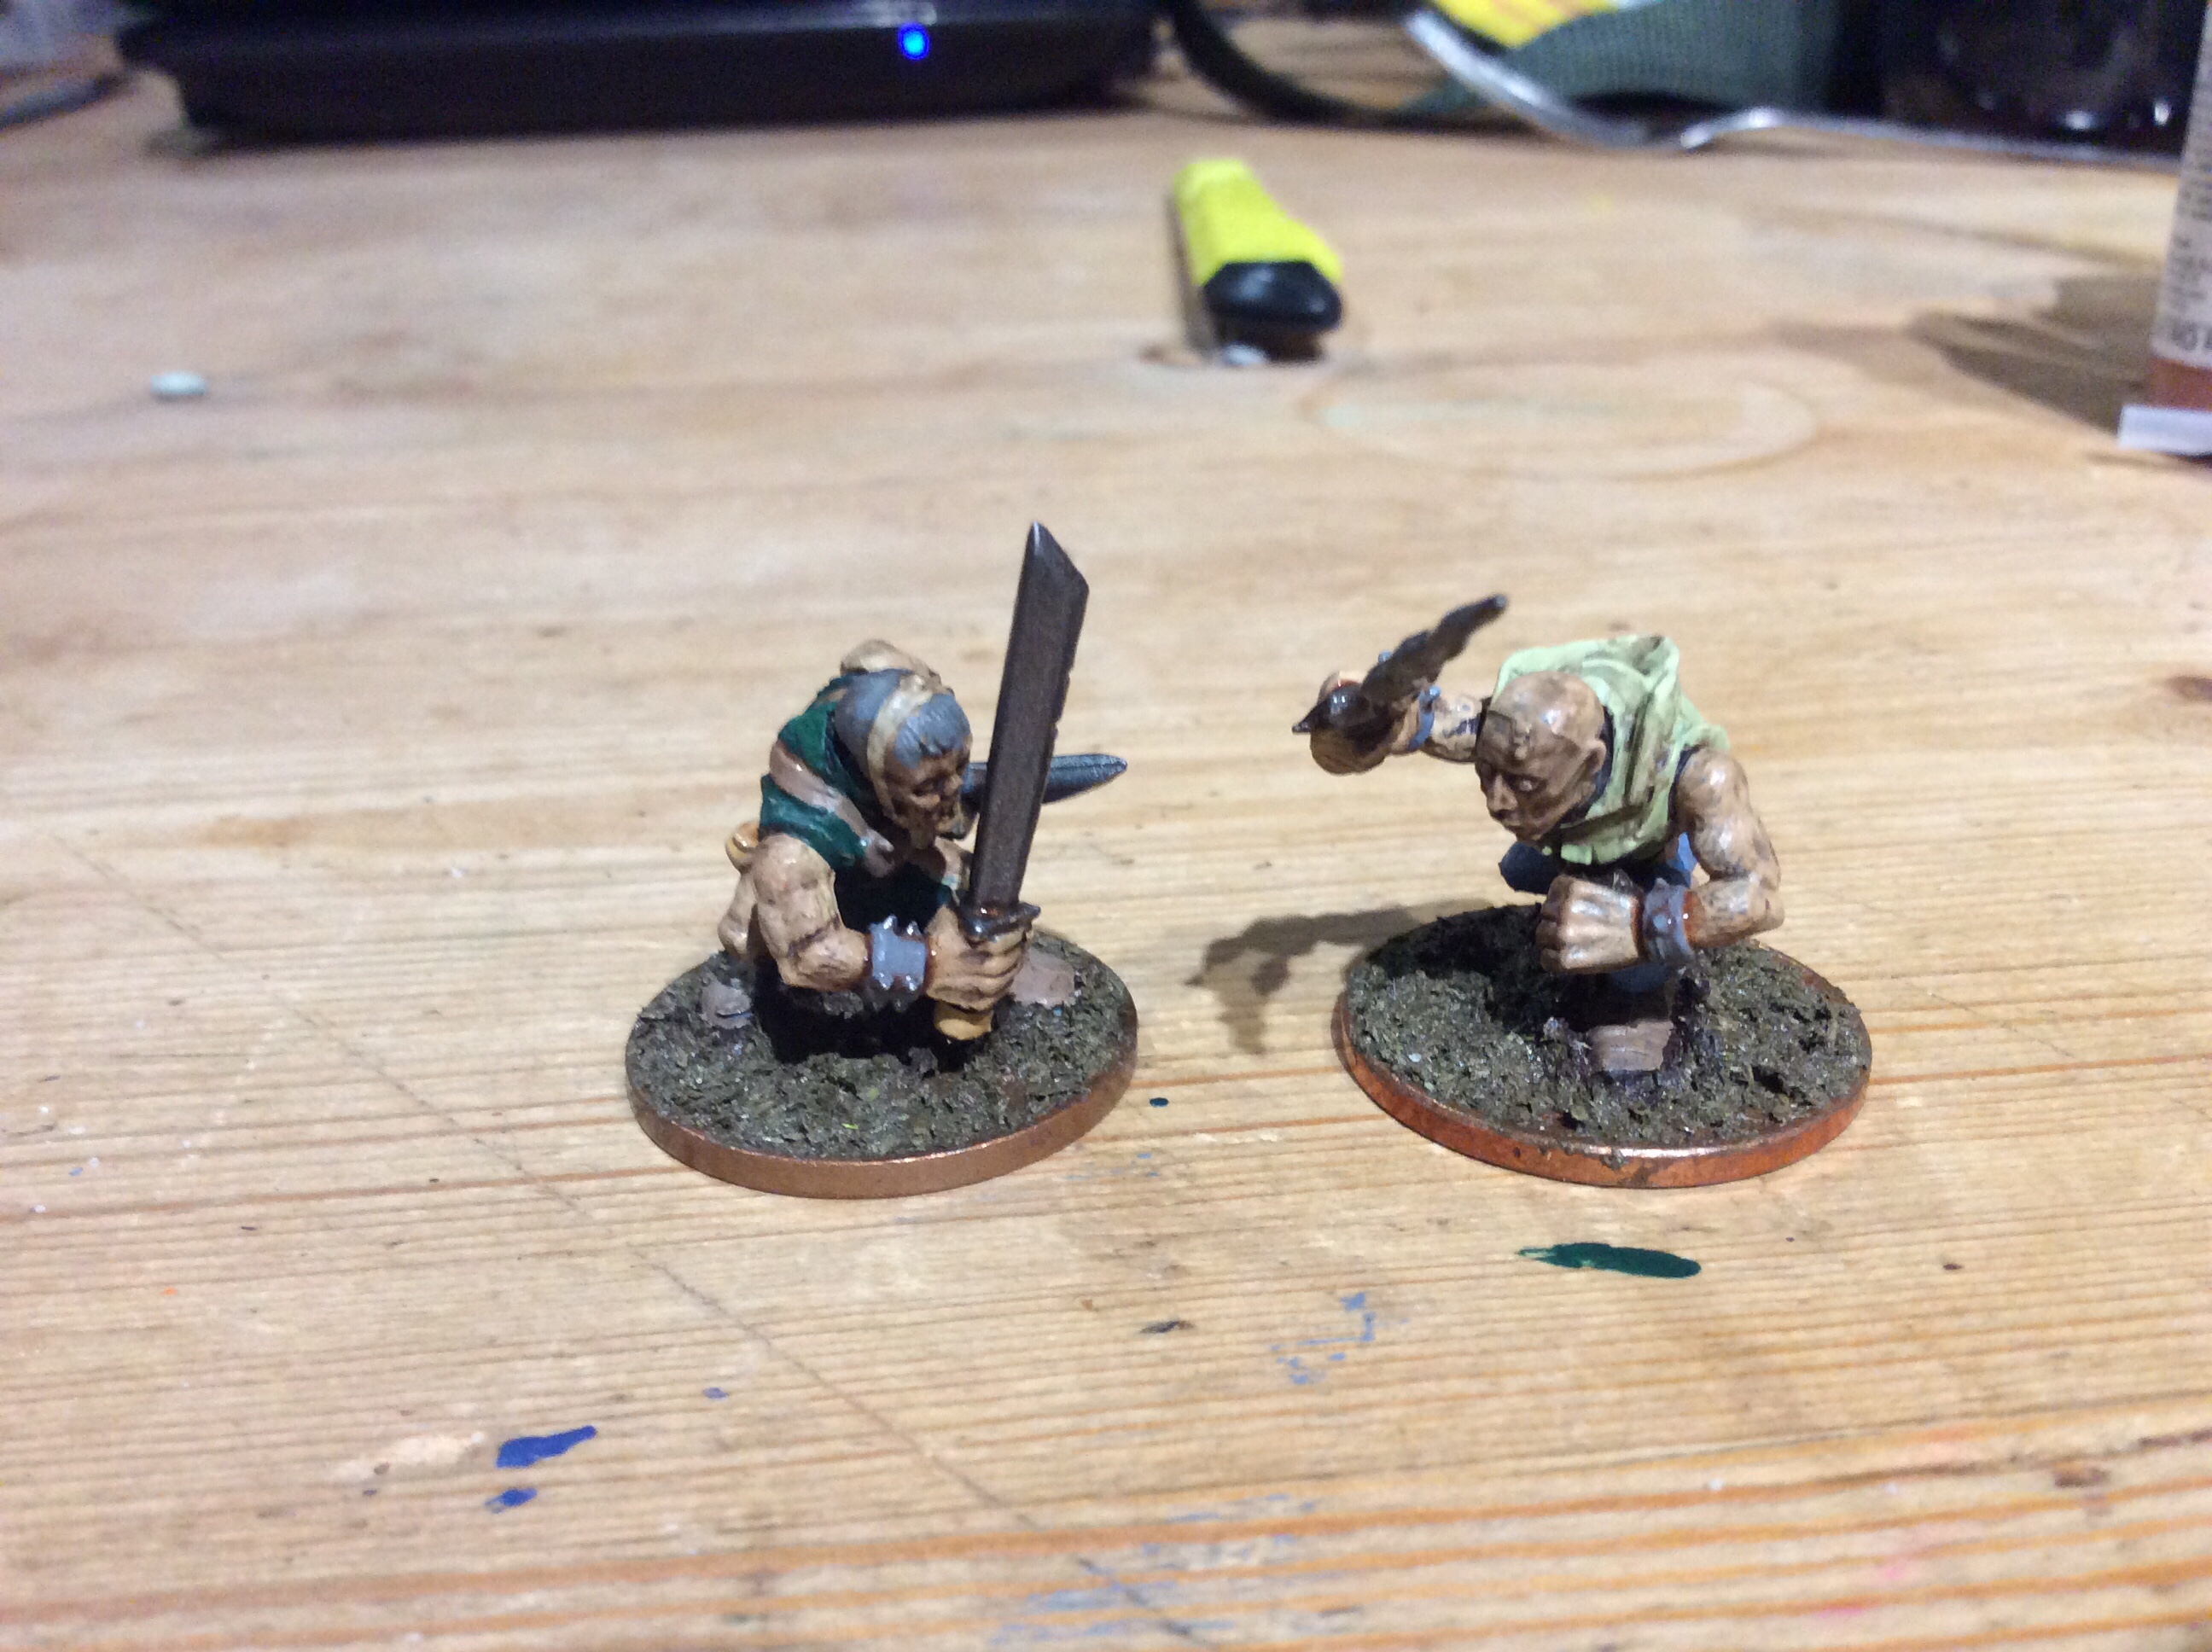
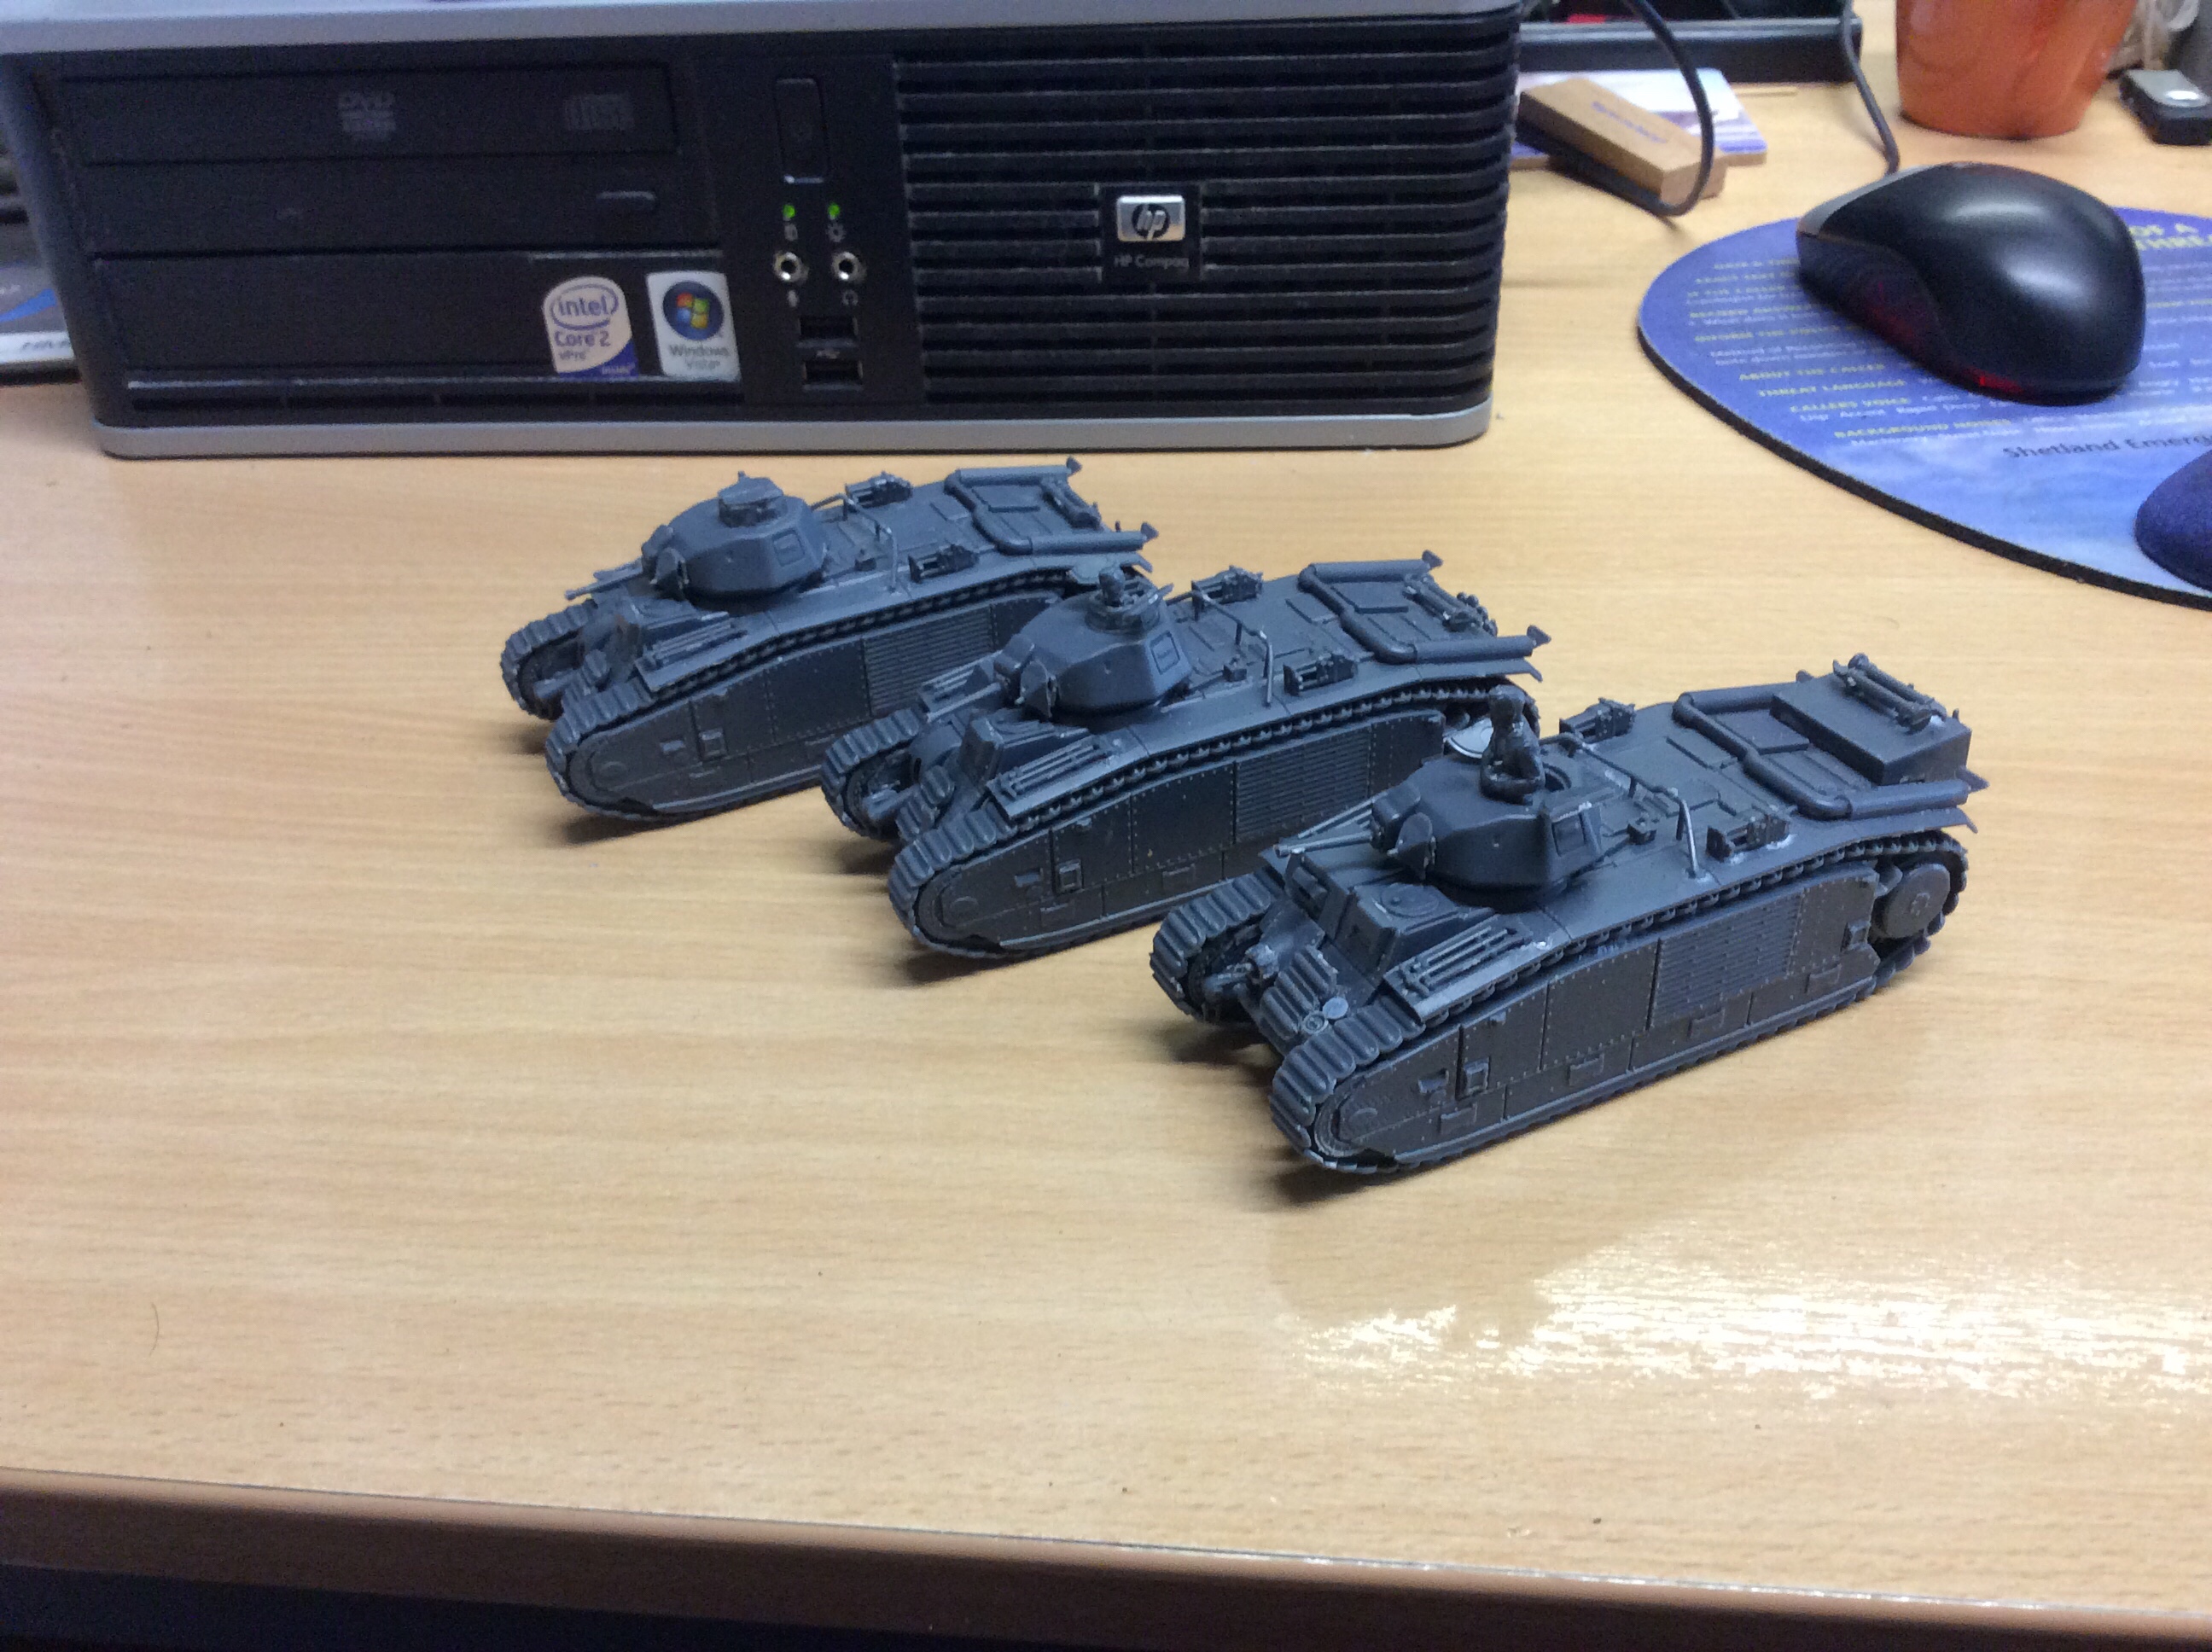
They are a whole lot smaller than the ones I printed… even my 60% sized one is big…

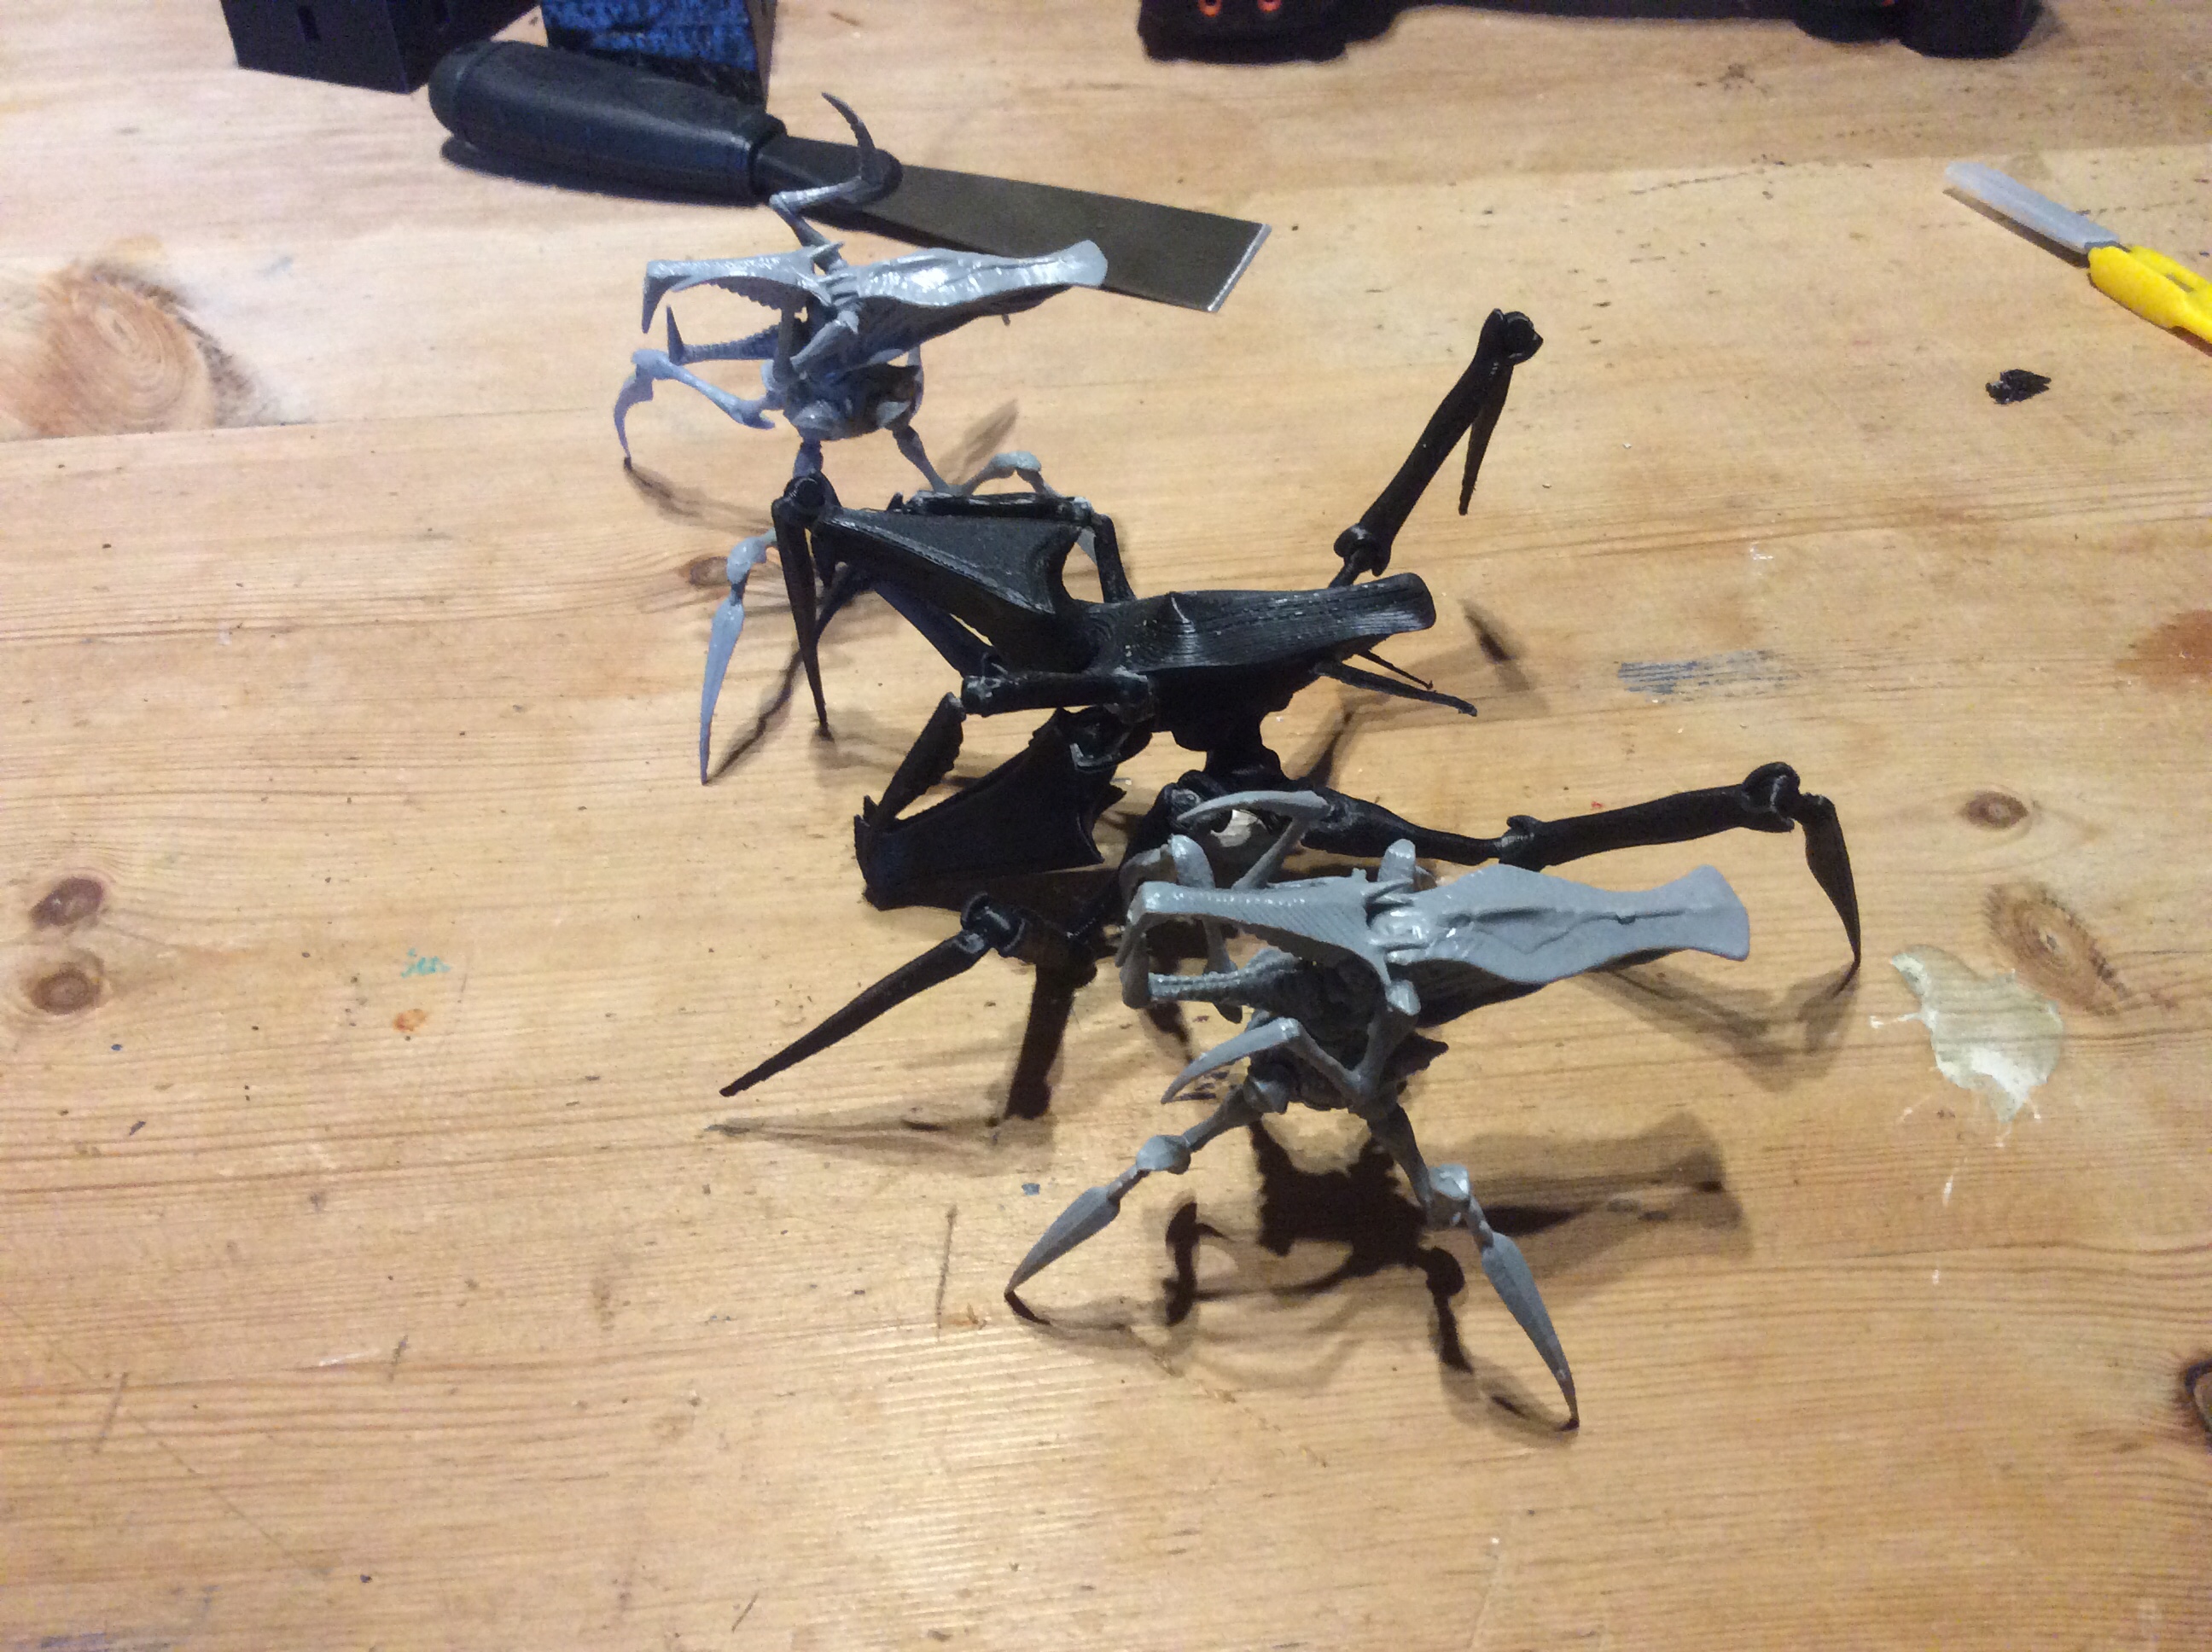
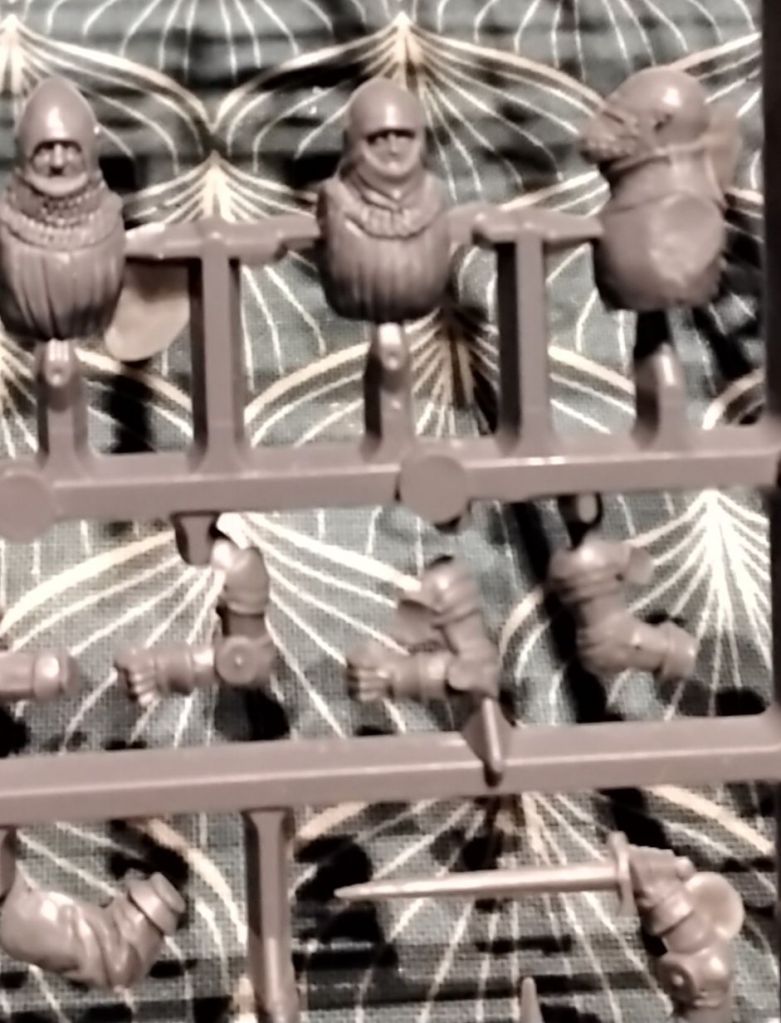
These two were pre assembled, the rest were still on the sprue. I need some flying ones and at least a Tanker bug, but once again these are going for silly money.

I would like some ST mobile infantry, there are less of them than there are bugs it would seem. There are more in the states than over here, £20 postage on top of £30 plus for the actual miniatures is putting me off – that and a poor track record of getting stuff actually to my house from the states.

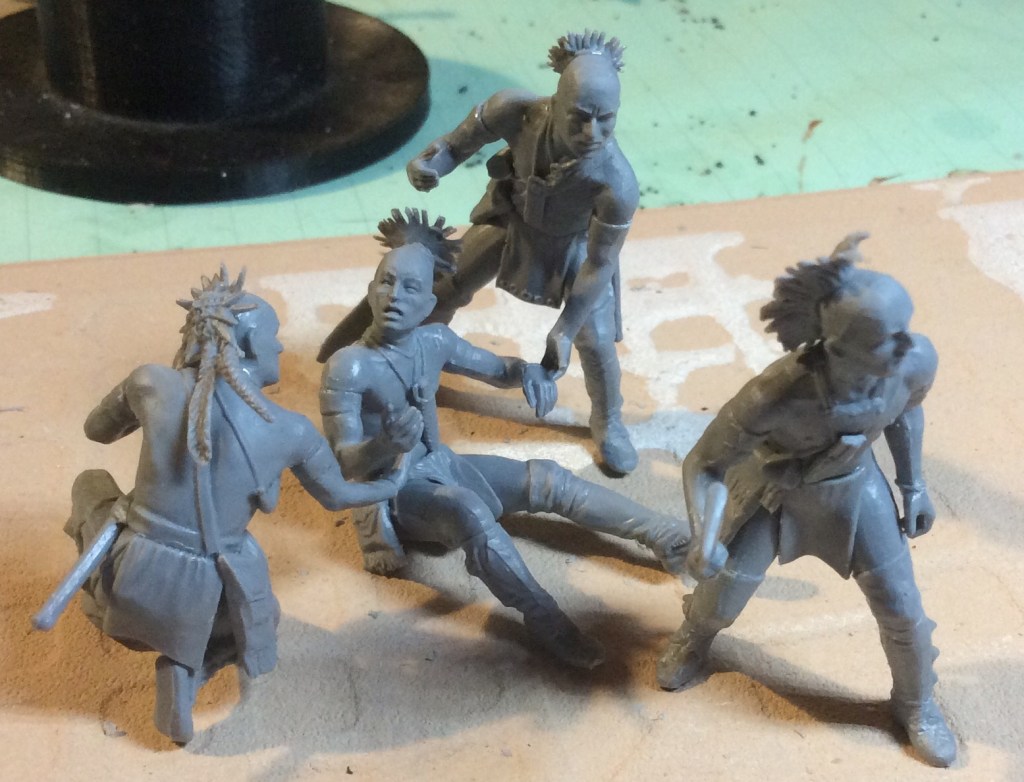
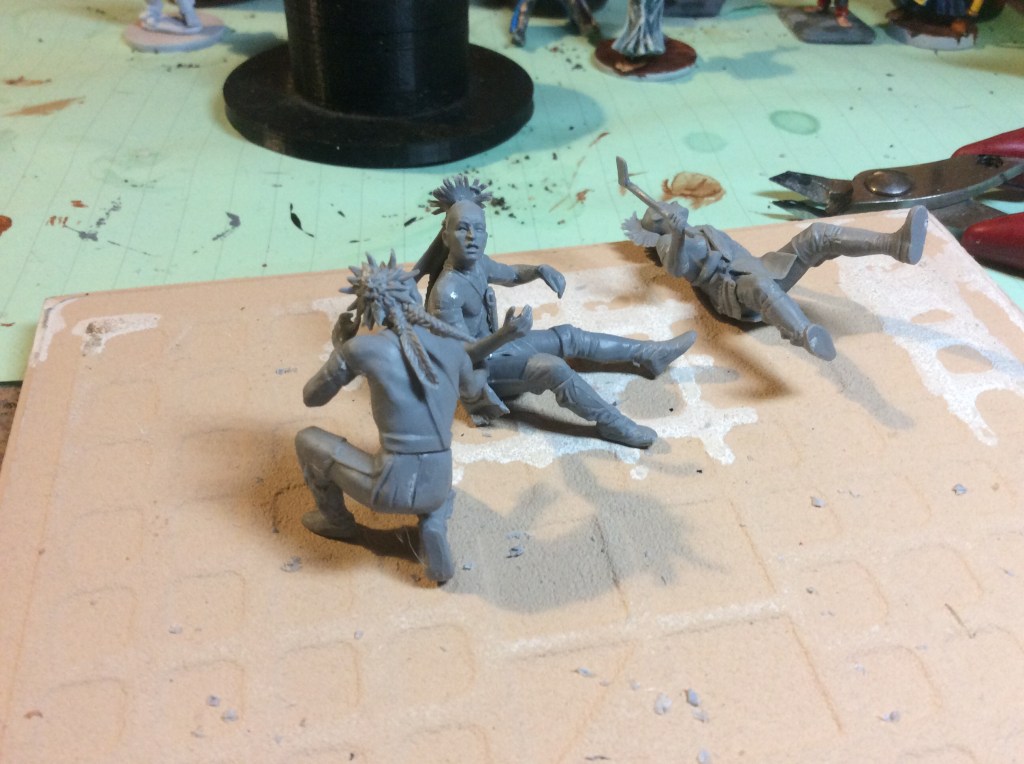
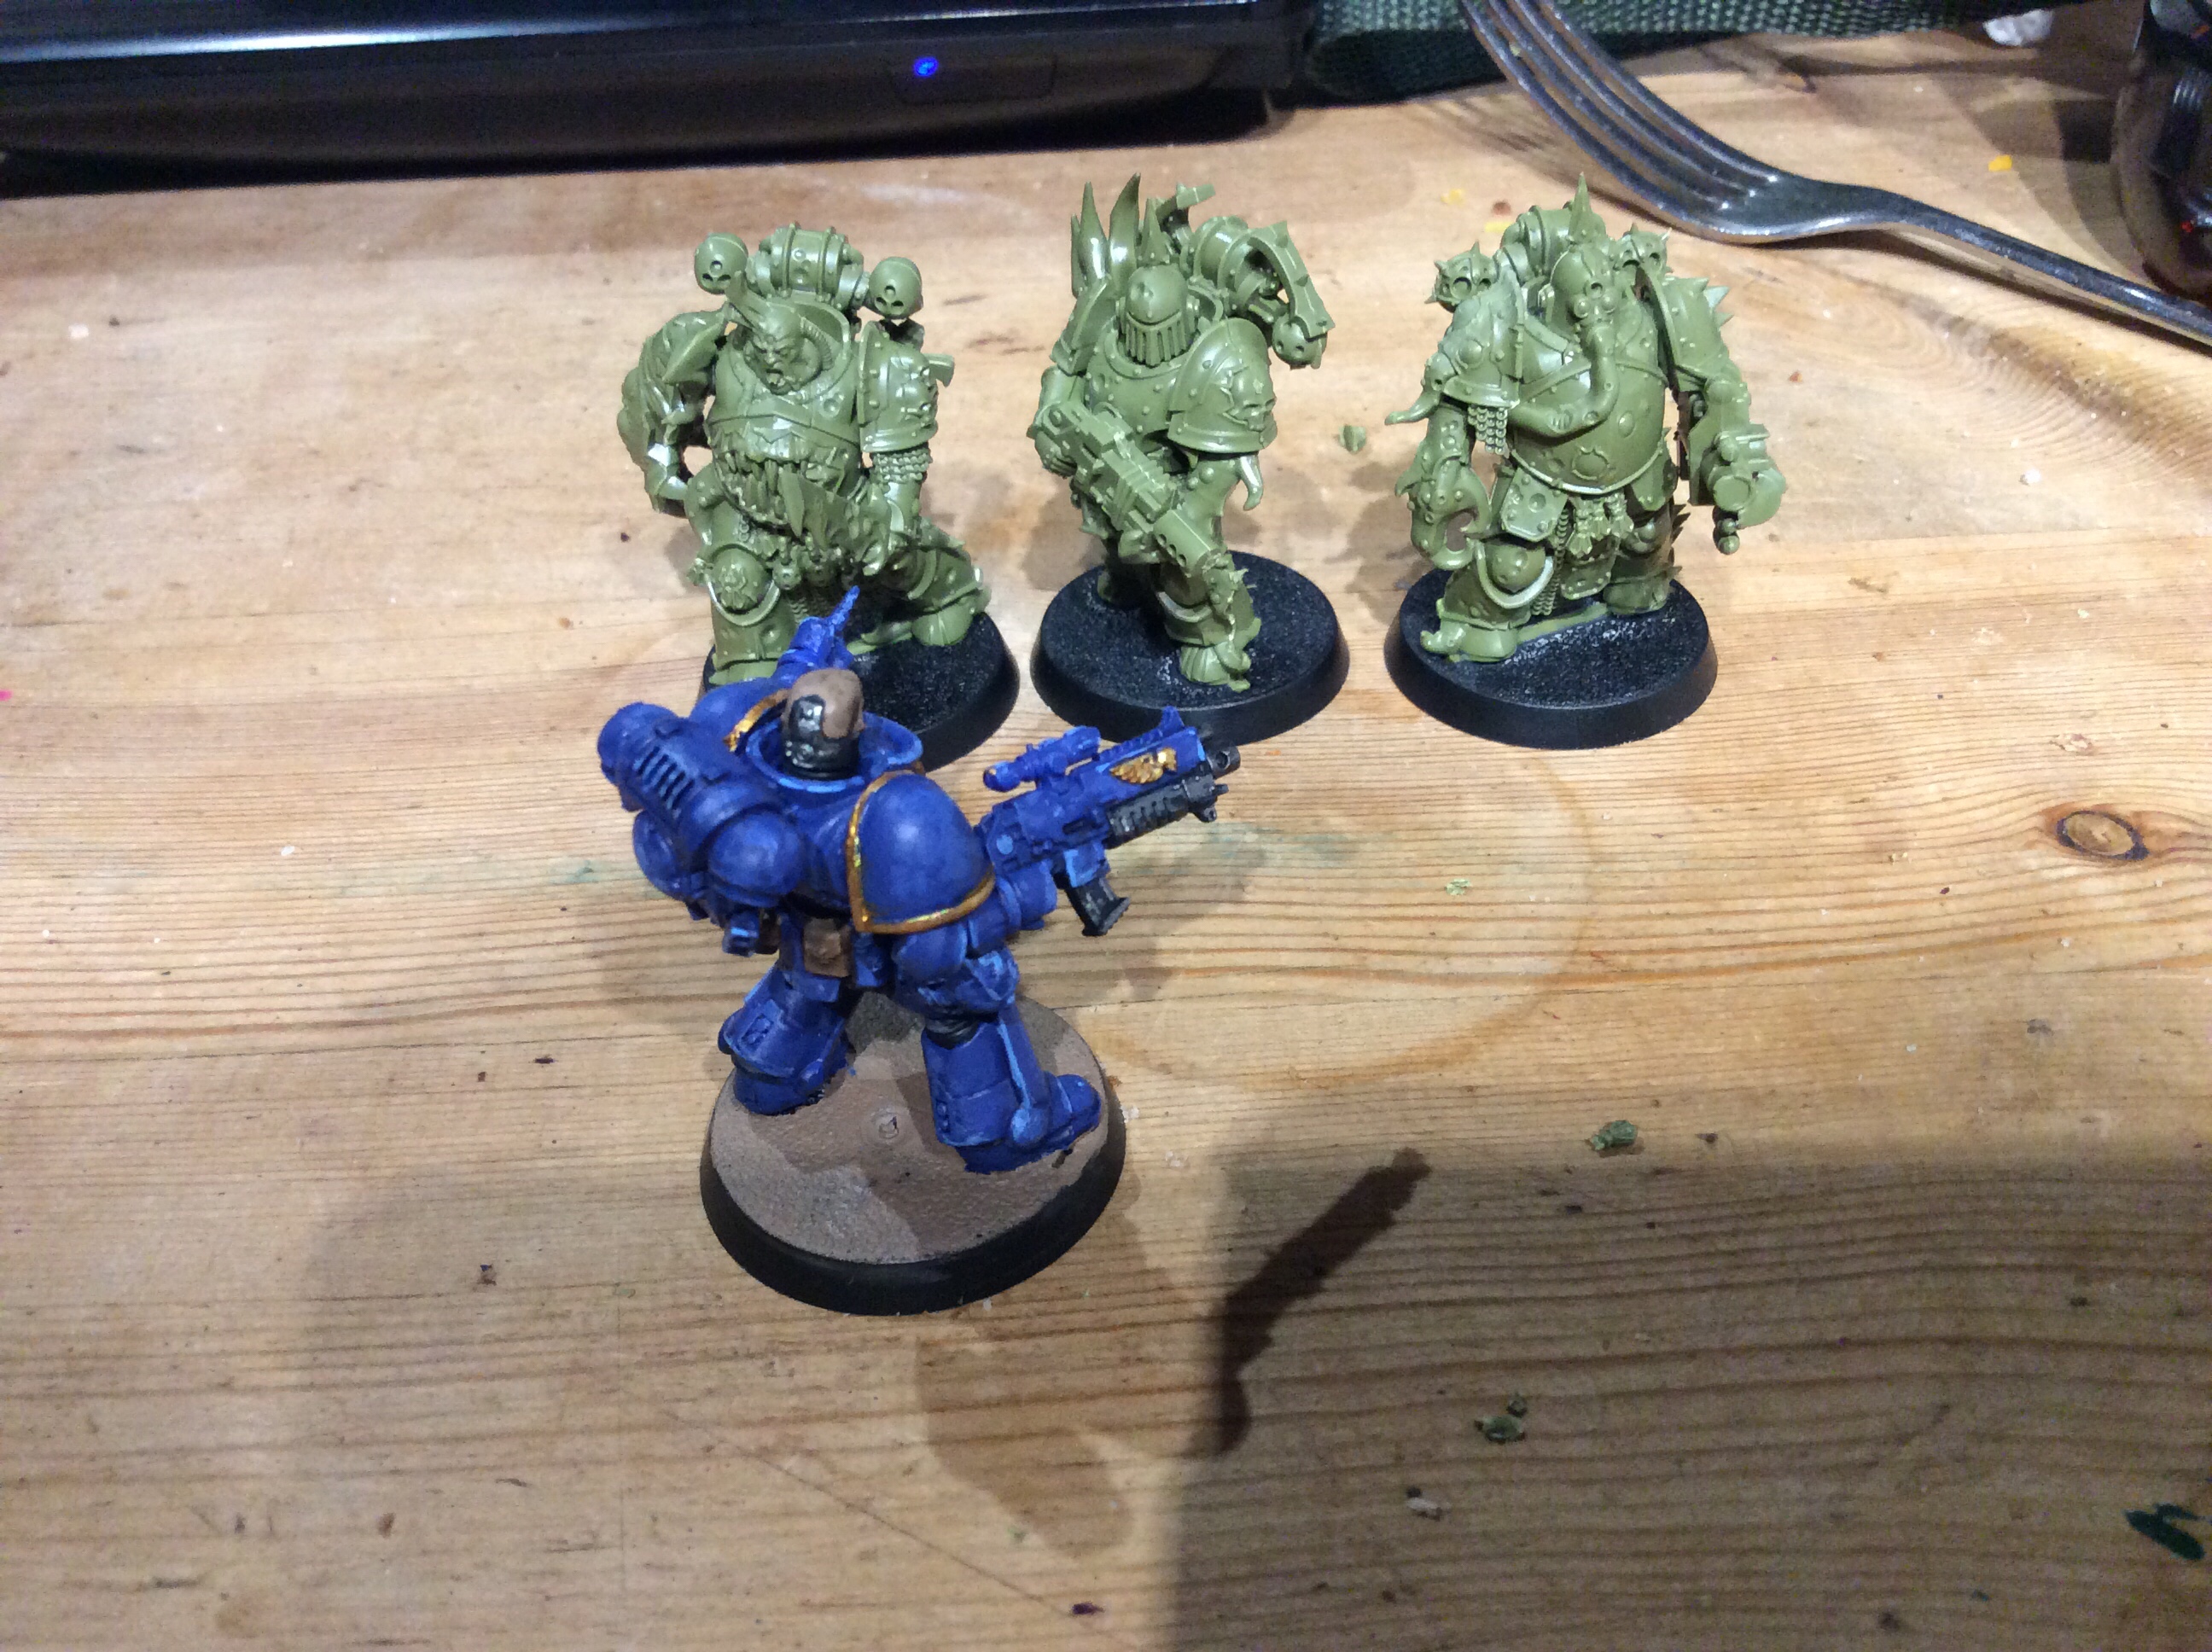
So to proxy the troopers I ordered some EM4 plastic troopers five miniatures for £2.55…

https://em4miniatures.com/collections/science-fiction-near-future-miniatures/products/troopers

For that price you really can’t go wrong…

I got four sets so have a fair amount to play with. Sadly the command conversion and in fact most of the conversion bits were sold out which was a bit of a bummer to say the least. I will give him a shout to see if they are going to be restocked at any point. These have been sold out for ages so I really don’t see that they will be… but as they say …Shy Bairns get nowt. At the very least I might get a contact for who made them.

So off I go back to EBay to see if anything ST is going cheap… I have more chance of spotting a flying pig!

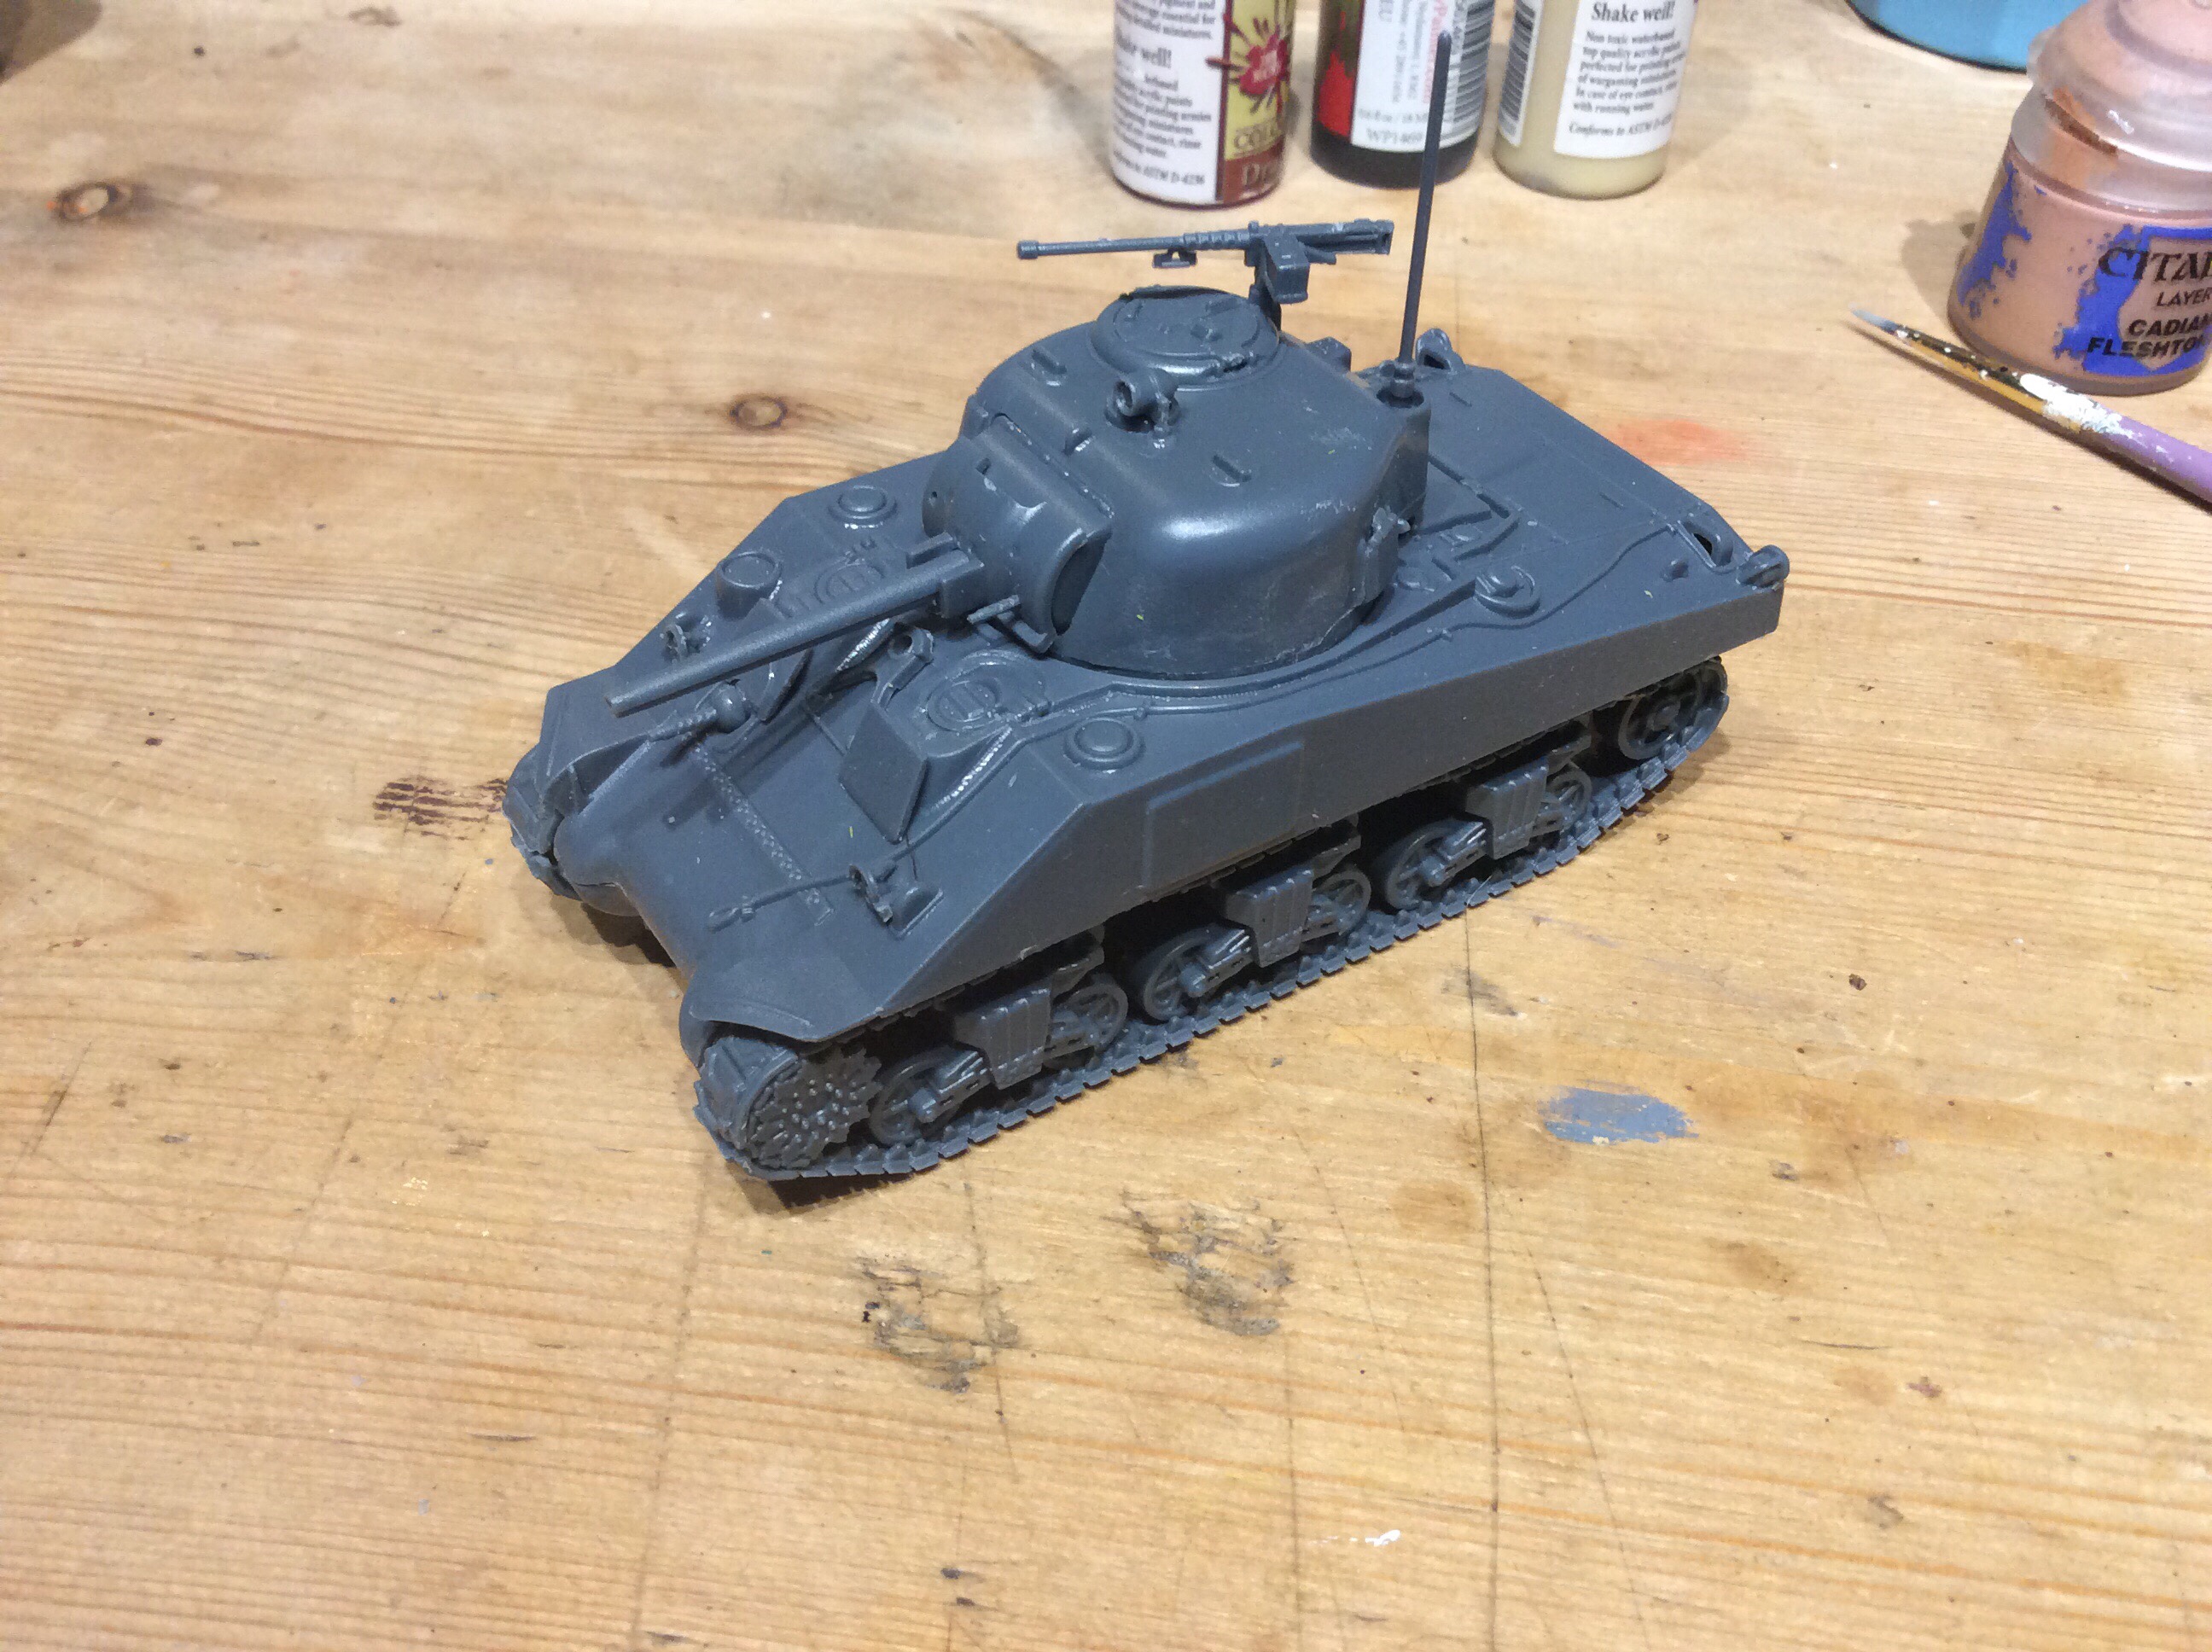
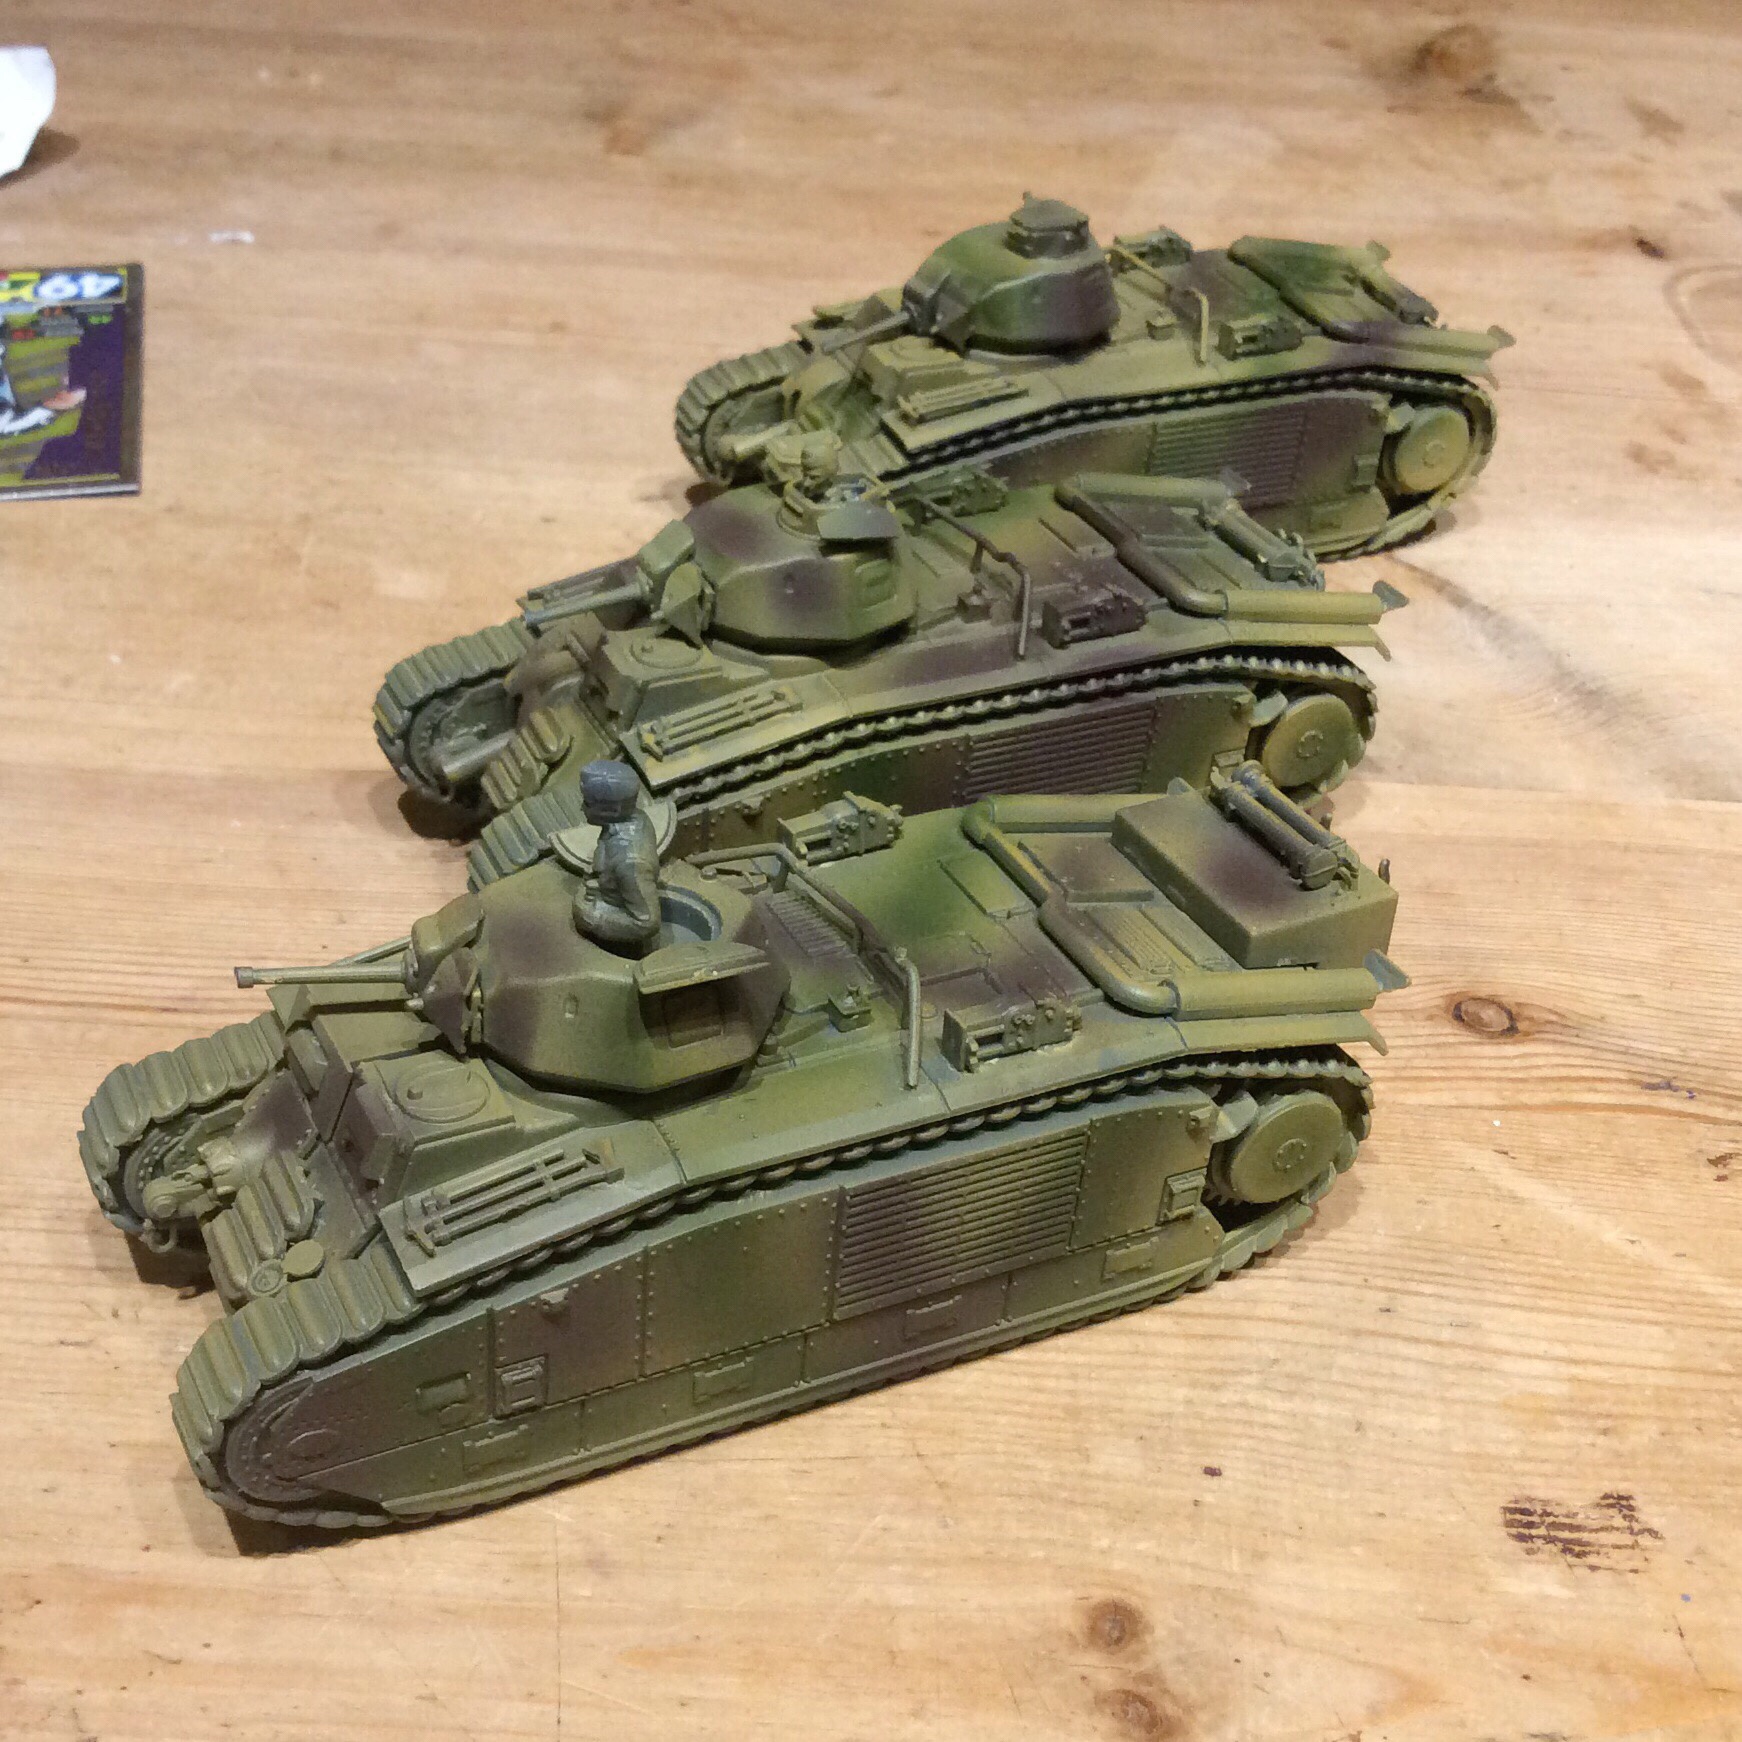
I have found a proxy drop ship on Thingiverse that I can print myself, as well as terrain and ground vehicles so that should keep me busy for a while.

Witchland…Thingies

These are thingies or even thingumybobs.

An evil combination of Skaven and zombie. I had a couple of zombie heads going spare and a pile of skaven bodies and I thought I would give it a go. Tail removed and the zombie head attached with Greenstuff. A down and dirty paint job and voila.. a couple of… whatever’s!

Funnily enough I did not enjoy painting these at all. I can’t say why I just didn’t. Strangely exactly the same thing happened with the Witchland Zombies I added to my Flintloque force. I just didn’t enjoy painting them.

I have painted plastics before and never had the same feeling of ‘meh’. It is not as if I haven’t painted plastics before and to be honest I just painted a plastic Space Marine that I quite enjoyed.

It shall probably remain one of those mysterious mysteries.

Speaking of space Marines I built some of the chaos ones.

To be honest I am quite impressed, even though you can’t do much to these ones apart from maybe move the position of the arms a bit and get the middle one to turn his head the other way. I am going to have a mess around with my green stuff tentacle roller tool and see if I can make the next lot look a little different.

Tanks …

I am calling these finished.

They could do with some weathering, but as I don’t have the water slide transfers, I don’t want to weather the sides and then have a white shiny insignia sticking out like a sore thumb.

I finished the M4 , the tracks were an absolute swine. I could do with filling in the gaps with Greenstuff.

No exposed commander on this one as I am not sure whether it is to be an American or British version.

Tank Spraying

As I had the German tank airbrush paint…

I thought I had better use it

This is the second time I have ever used an airbrush and the first time was to undercoat some 28mm figures.

To be honest I am quite pleased with the result. All the non camouflage colours are still to do, but my mate is wanting them a bit quickish, so I will see if he wants them as is or finished.

The Dunkelb colour has disappeared in places, but they still look camouflaged, which is a plus 😜.

Tanks for the Memories

Three Char B1’s finished

To be honest I am glad to see the back of them. Some of the bits were so fiddly to fit that it became a bit of a chore. I worked out various bit and pieces to make my life easier after the first one. This involved ignoring the instructions at times and building parts out of sequence.

I will get a base coat on them and then send them on their merry way.

These are all captured German versions.

After the battle of France the German’s captured 161 of the 369 built. They were slow, 16 mph, meaning the faster German tanks could flank them easily. That is not to say they were obsolete, they were a formidable fighting vehicle, designed as a breakthrough tank when the war would end in the stalemate of trench warfare. The 47mm gun was a danger to the German Mk1’s and 2’s. The 75mm howitzer would flatten most things.

Char B1’s for lunch

Two down and two to go. The next is going to be a Flampanzer. These two are already in the employ of the German army.

The last isn’t a Char B1 it is a Sherman with a 75mm gun.