Small Scale Accidental Agriculture

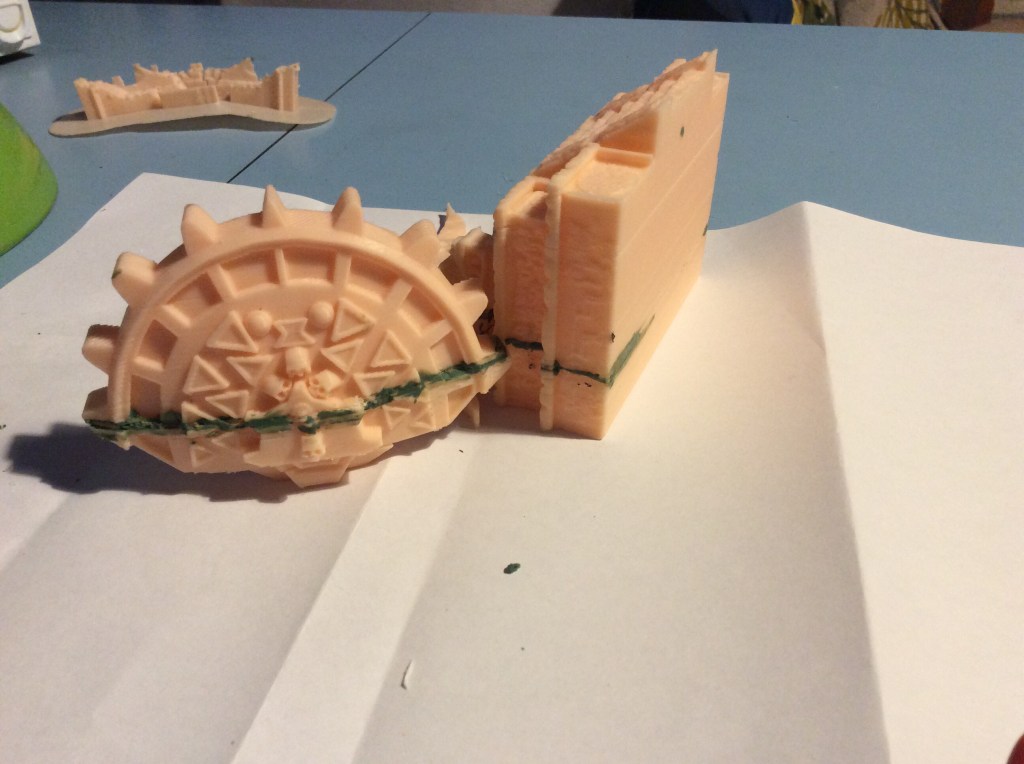
Today was another day pretty much spent in bed going bleurgh or other noises associated with feeling crap. But I did manage to go and hit print on the printer again. Unfortunately we had a power cut and guess what happened? Yep the printer stopped mid print. Now I had the option to carry on the print and I did consider it, even going as far as starting to heat up the bed and nozzle.

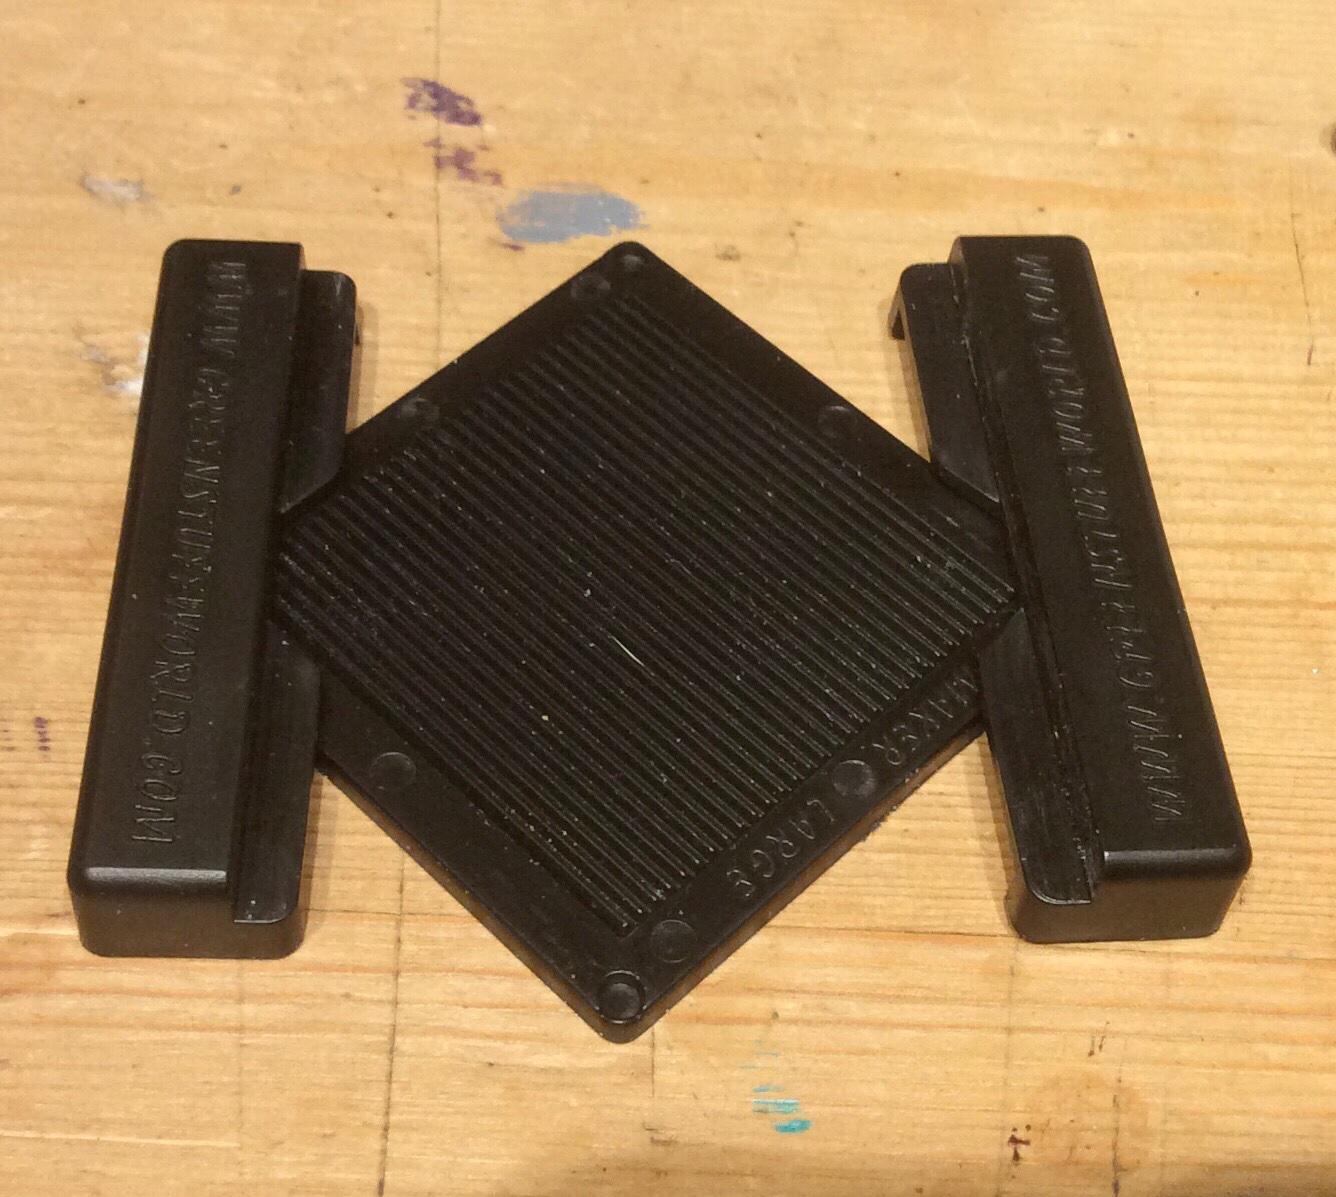
But then it struck me. I wanted to add some fields in Greenstuff to a flattish tile, and providence had provided a pair of them.

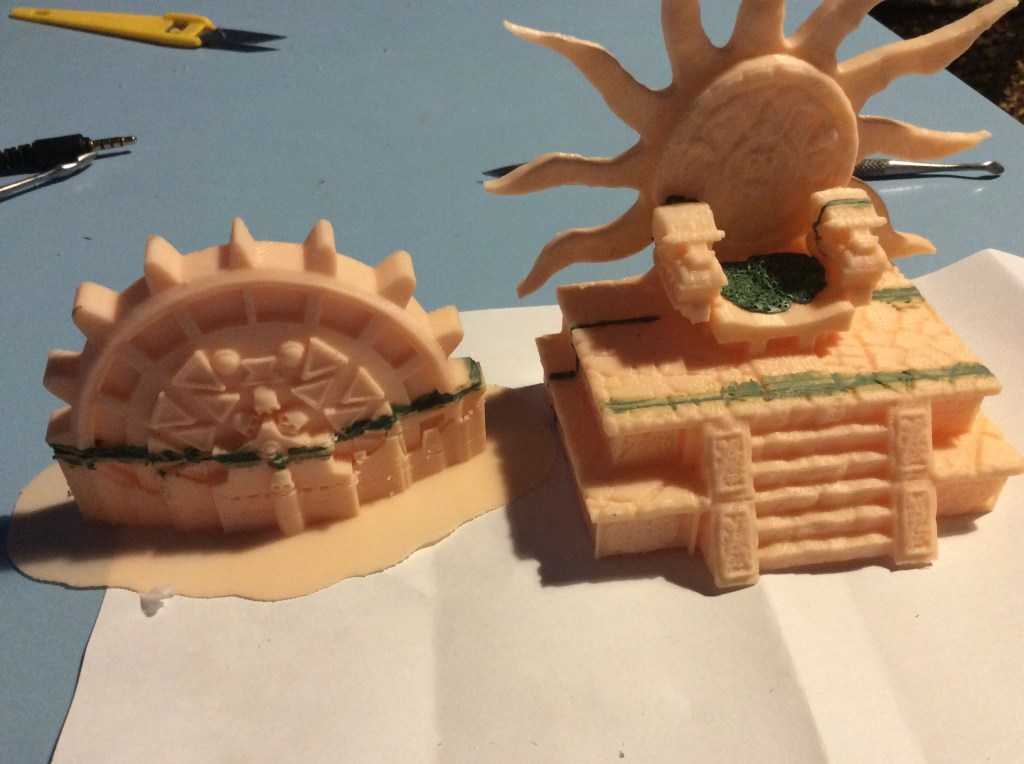
I quickly hit stop print and got them off the build plate. Now they still had holes where hills and woods were meant to go, so that became the basis for my field location.

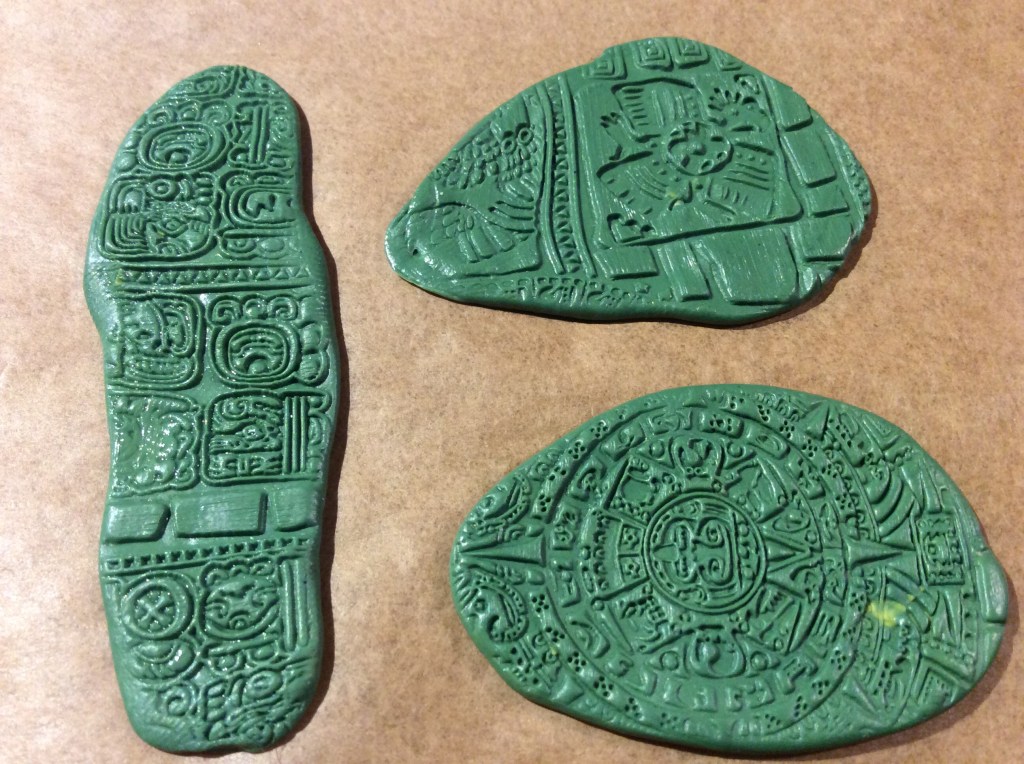
So without further ado, I give you three crop rotation in small scale…

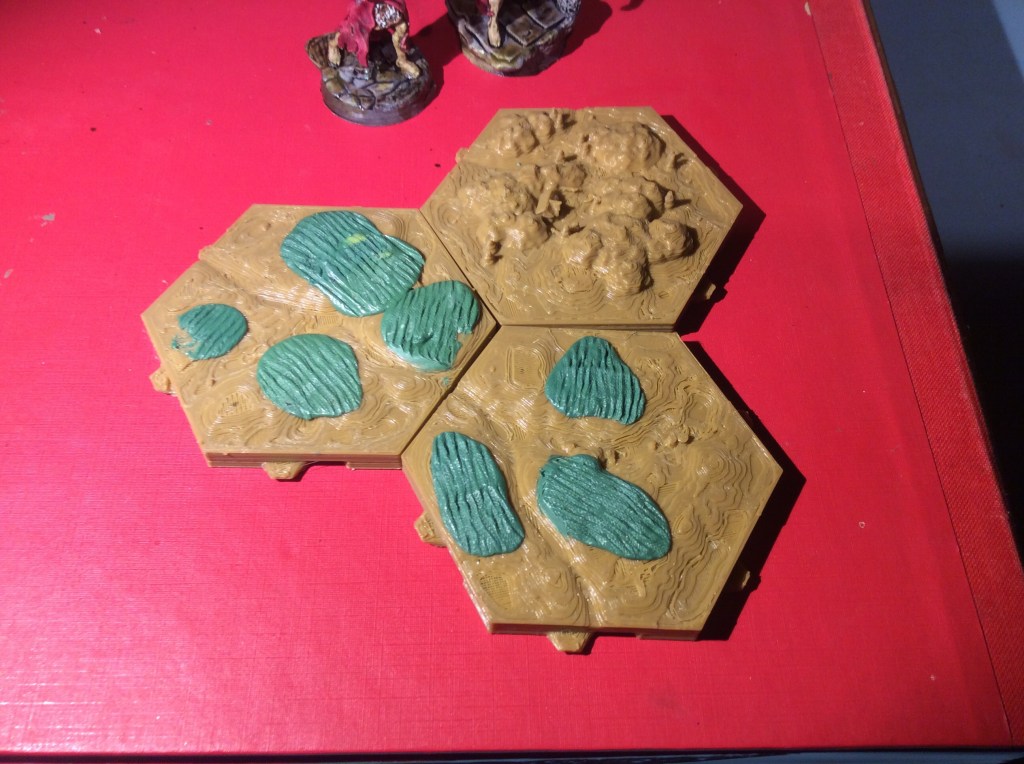
Now this idea is in no way, shape or form my idea. It came from a very talented chap by the name of Adam Clark over on the Hexon Hills Facebook group. He did something similar a good while ago and he very kindly sent me a link to a tool he has produced over on Thingiverse…- https://www.thingiverse.com/thing:4603809. You can see his villages on there too.

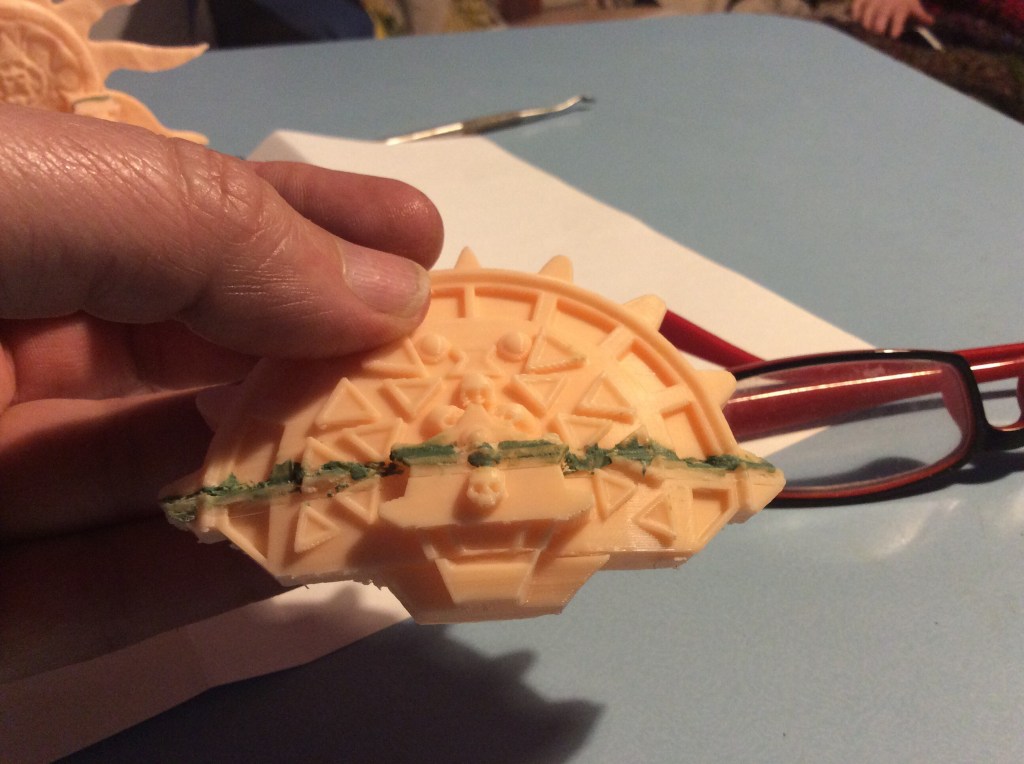
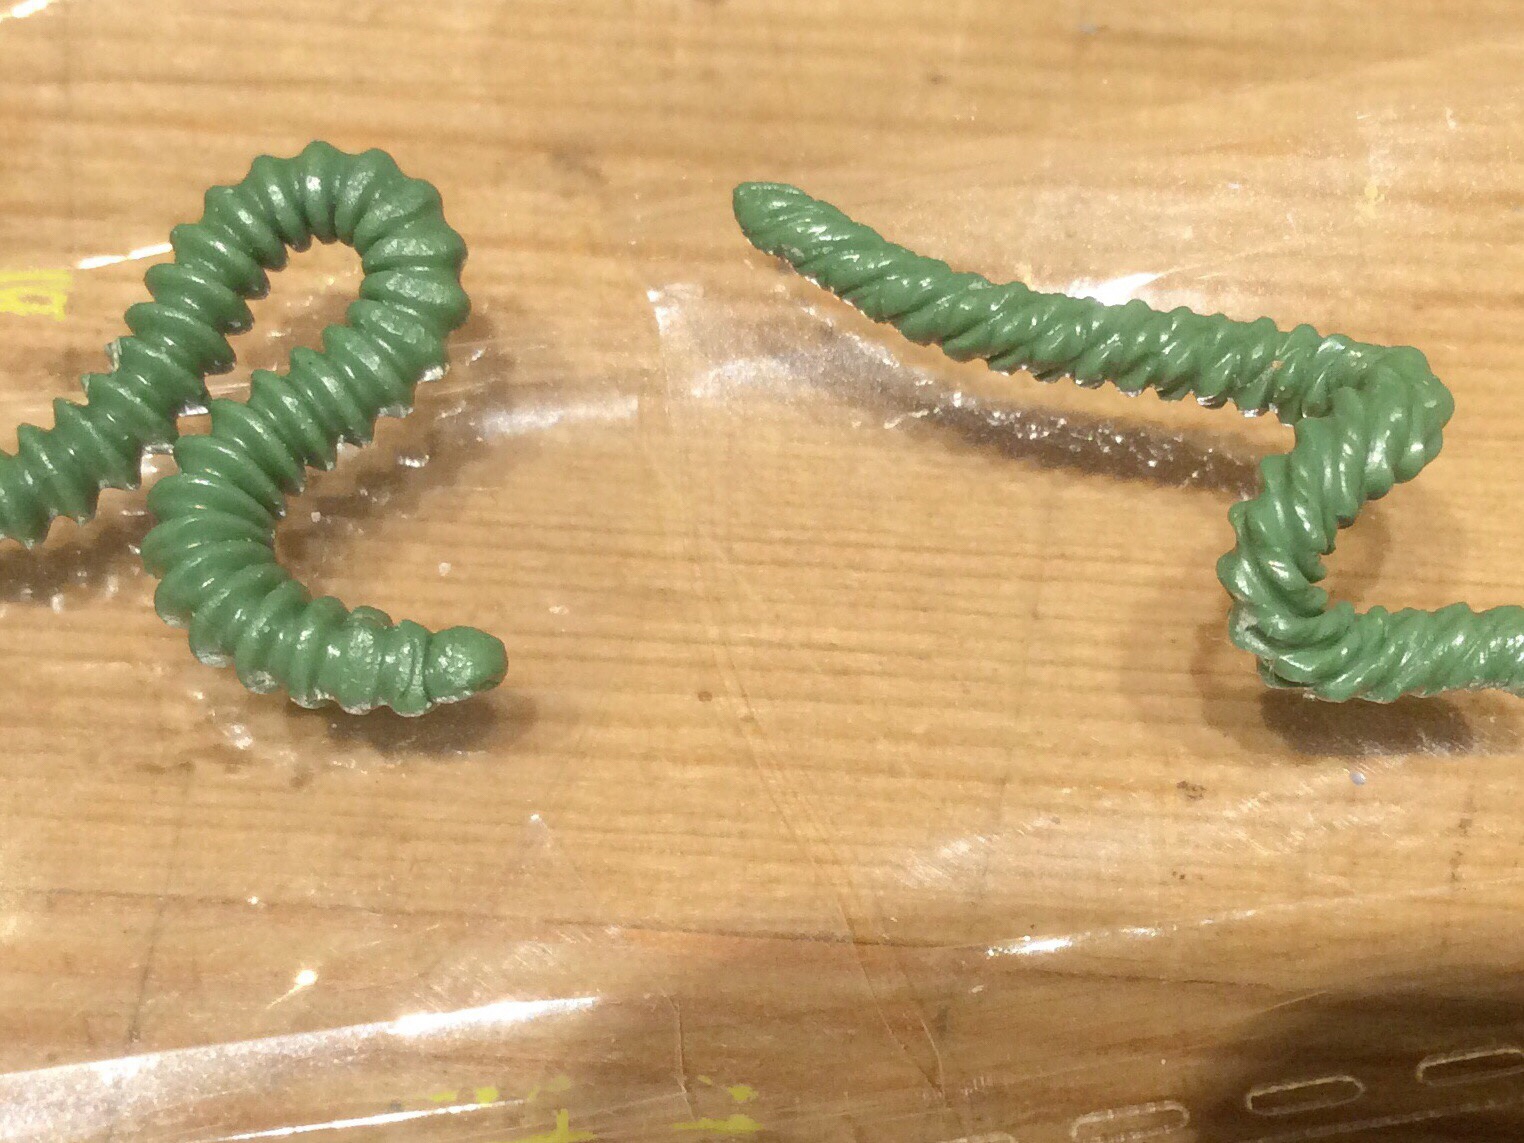
Now when he first started he used wire wrapped around a block. I couldn’t find a block or wire so used a round lollipop stick and some nylon string.

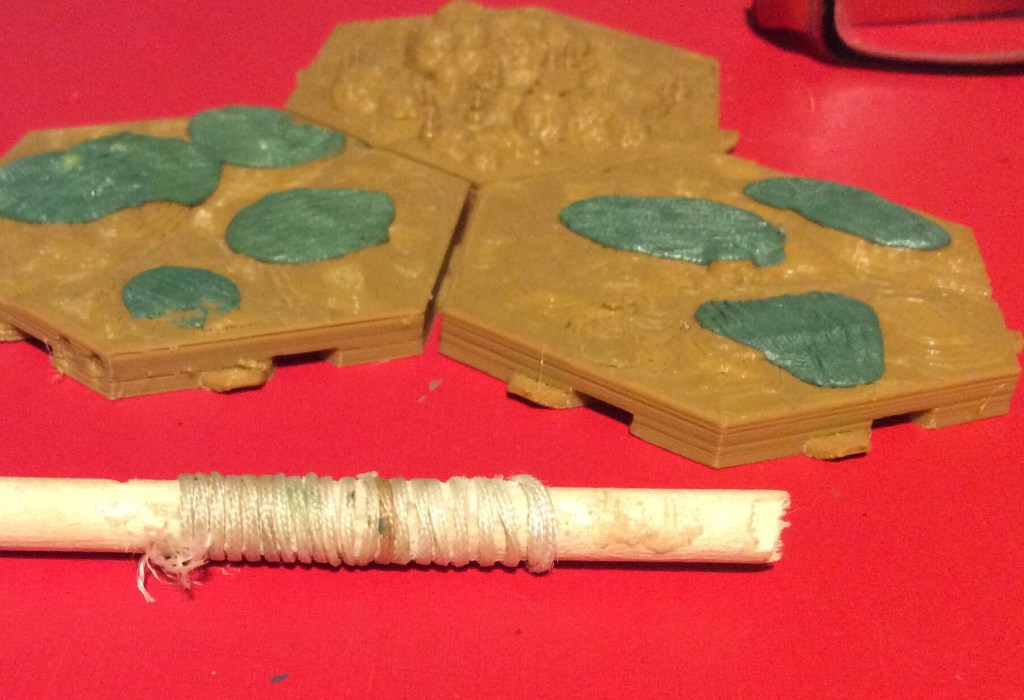
Now it is, to be fair a little crude, but it did do the job… I do intend to print the stamp very soon. Once I feel a bit better I will mess around in 3D Builder and nab some buildings to make small hamlets to go with the fields.

I managed to get a bit of work done on the wights too…

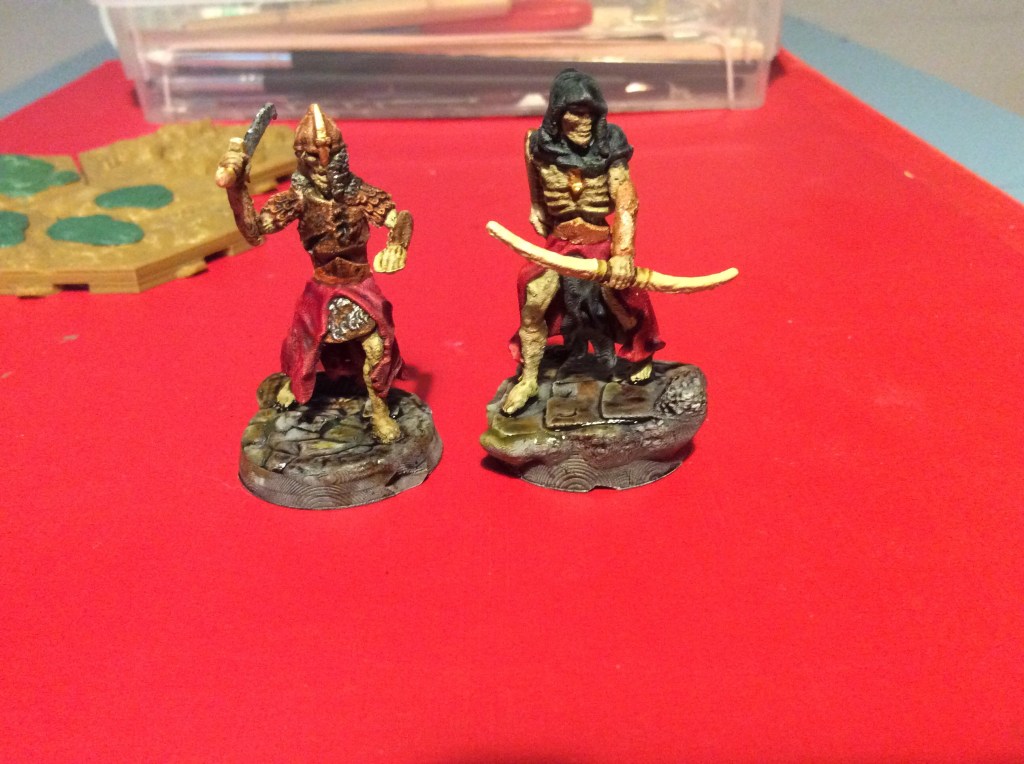
They will soon be finished. Unfortunately I cannot print any more as the resin printer is still sulking and Anycubic have unfortunately not replied, problem is, they haven’t even sent a holding email to say “whoops, Sorry we are snowed under!” therefore I don’t know whether anyone has received my plaintive email full of woe.

3D printing and Greenstuff

As suspected the top of the head armour has completely come adrift…

I swore!

So I got the two bits superglued together and then added some Greenstuff to the gaps on both the armour and the throne.

Interestingly, as I guessed the cracks are at exactly the same height…

Can you guess where the fault lines were?

Once this lot has cured, I will get some more added… especially to the bottom… guess which pillock snapped it off when removing the supports!

Whoops!

The body for the mega-Beasty is going to take 22 hours to print. For this reason I want to make sure that the above doesn’t happen mid print. If I get time this week I will relieved the bed and also check the nozzle and filament to make sure there is no problem there. I can also increase the spring tension on the extruder to ensure the cogs are biting into the filament properly as they feed it through the Bowden tube to the nozzle.

If it weren’t for the cracks I am really pleased with the prints

Roller… out for a spin

So tonight I didn’t have much time to get much modelling done so I decided to give the GS textured roller a go.

I am rather pleased with it. These three were rerolled a fair few times. There are still some blurred bits, but they will do for what I want. I will get a base or two out tomorrow and put a layer of Greenstuff on and then roll it out in situ.

I did consider getting some colour onto the big Beasty, but decided that I would try to cover over the permanent marker with brush on paint and then have an early evening in bed.

It didn’t really work….It spread it around a bit though!

Going to be a late night in work tomorrow night as I have bucket loads of things to do. So I am not sure what, if anything will get done in the evening when I get home.

Greenstuff World Roll Maker

I have looked at these for a while….

and eventually bit the bullet.

I had a quick play and am rather impressed with the results.

In the pack you get six ridged plates and two edges.

The ridged plates are large, medium and small. I only had a go at the large plates.

There aren’t any instructions on the box but to be honest the pieces fit together in only two ways.

Straight:

And angled (45 degrees)

Make a thinnish roll of Greenstuff…place on the bottom plate, slide the top plate back and forth until the desired result is obtained.

My results were pretty good straight off. Once or twice I pressed to hard and flattened the roll. This meant I needed to take it out and redo.

The bottom left was the first attempt.

The rest followed.

The nice thing is…you can redo it!

I did find the angled way a bit tricky…this was user error rather than equipment error.

I simply removed one edge piece and obtained instant success. It may be the case that this is what you need to do.

After playing with the kit for 10 minutes I had a hunt on YouTube and there is a fair bit out there to help. This is the first that came up.

Greenstuff Roll Maker

Am I happy with it… Yes I am. If pushed to give it a score out of 10 I would give it an 8 just on my initial play around. The third video in the series above shows how to make longer wigglers. There is however a larger version.

I got mine from the Greenstuff EBay shop at the price of £11.99. I am wanting to make Alien hive scatter terrain so it will be used quite a bit. In hindsight I should have got the larger version, which is only a pound cheaper, but at the time Of purchase I didn’t notice it..

My wife, however, is convinced that I have lost the plot. She can’t work out why I have purchased a tool for making caterpillars!🐛🐛🐛🐛