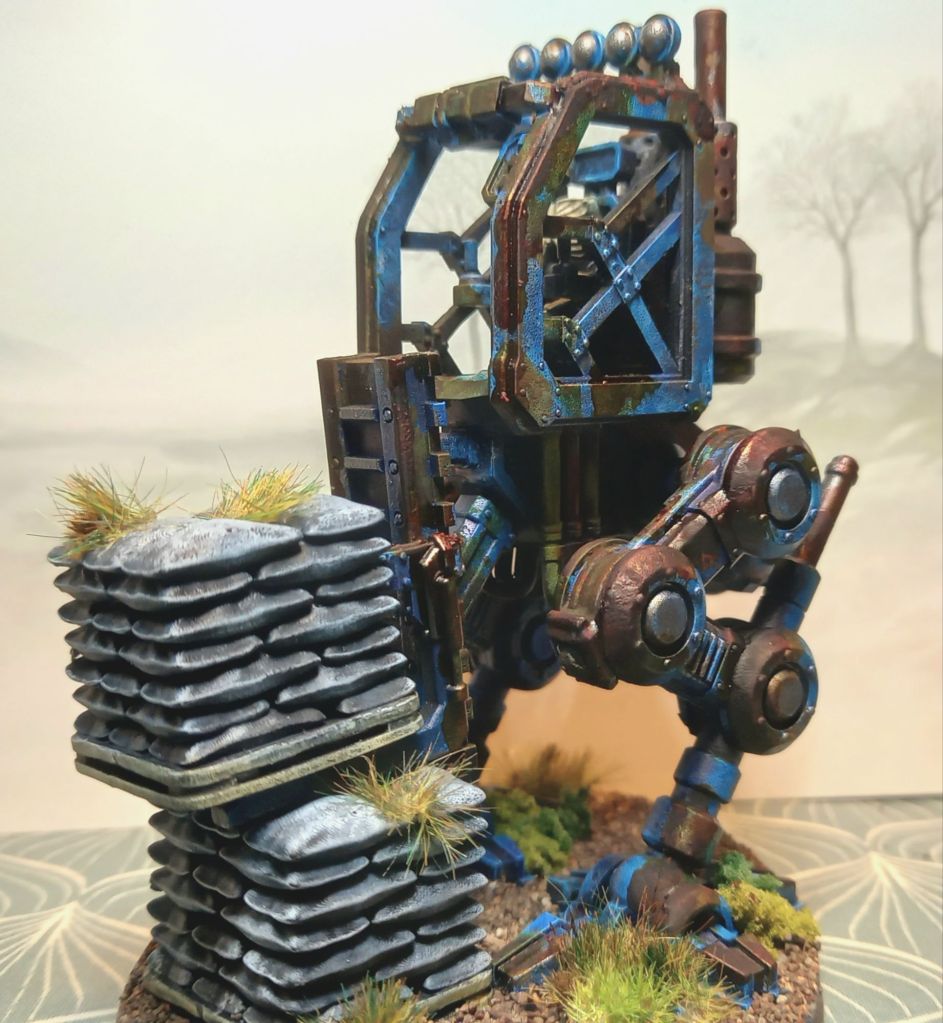
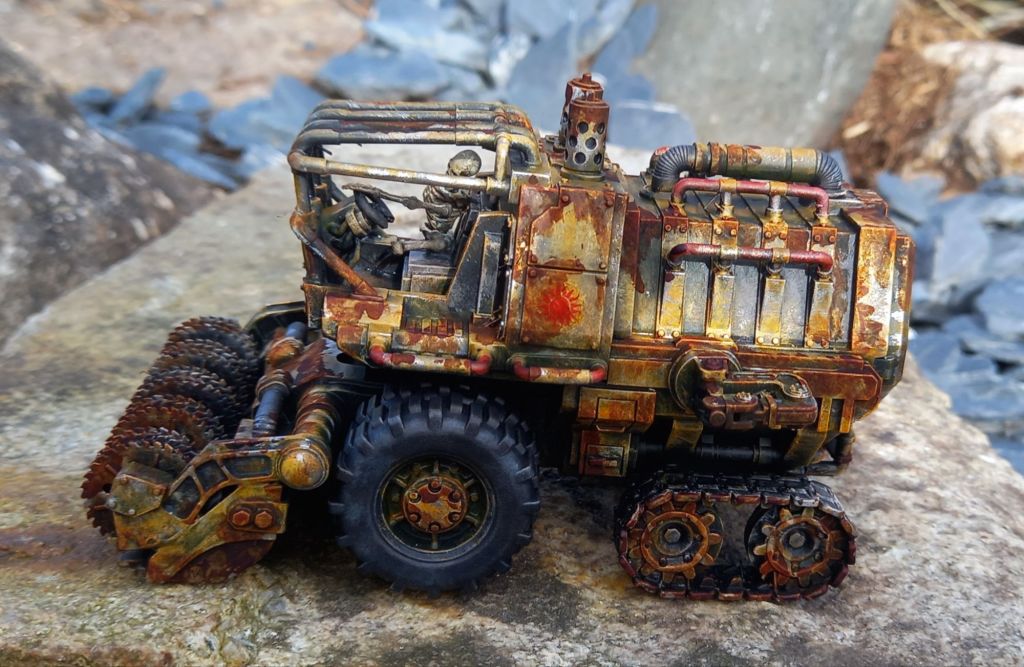
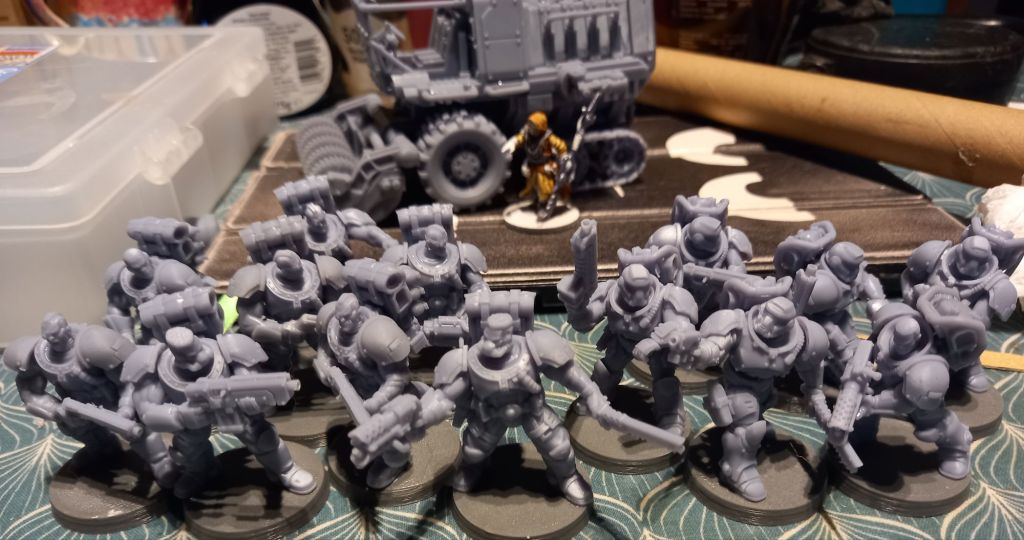
This evening I got all the pallets I had undercoated black ready to become some form of cover. I also found my next abandoned vehicle…

This will have a tarpaulin over the front to hide the windows which are solid. I can fit three pallets in the back. I have six sacks and six liquid chemical of them as well as five covered ones that need curing.
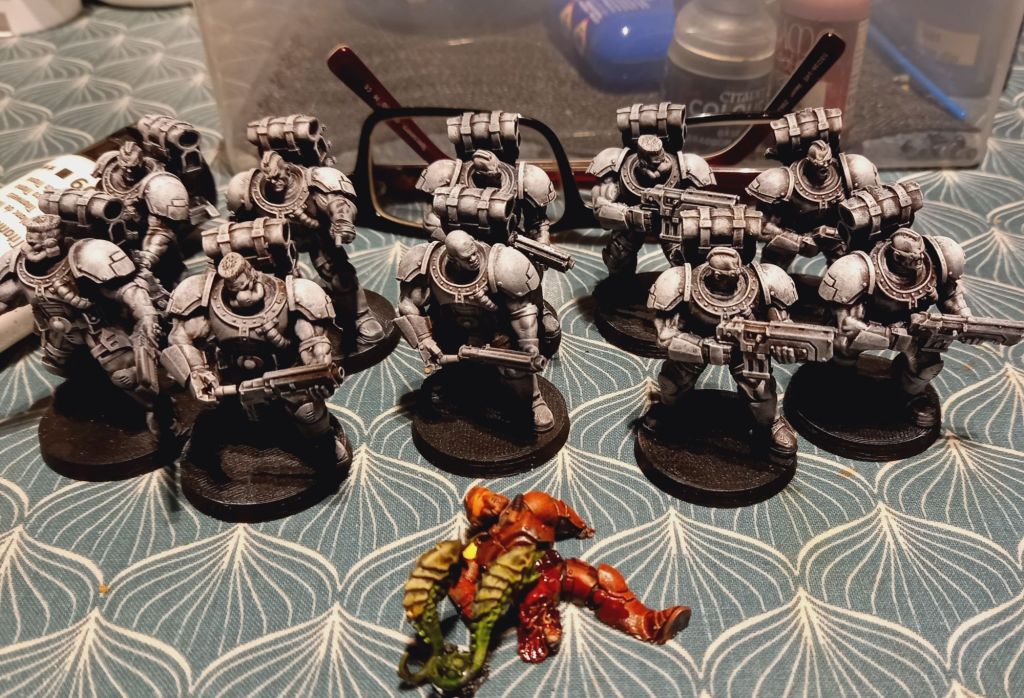
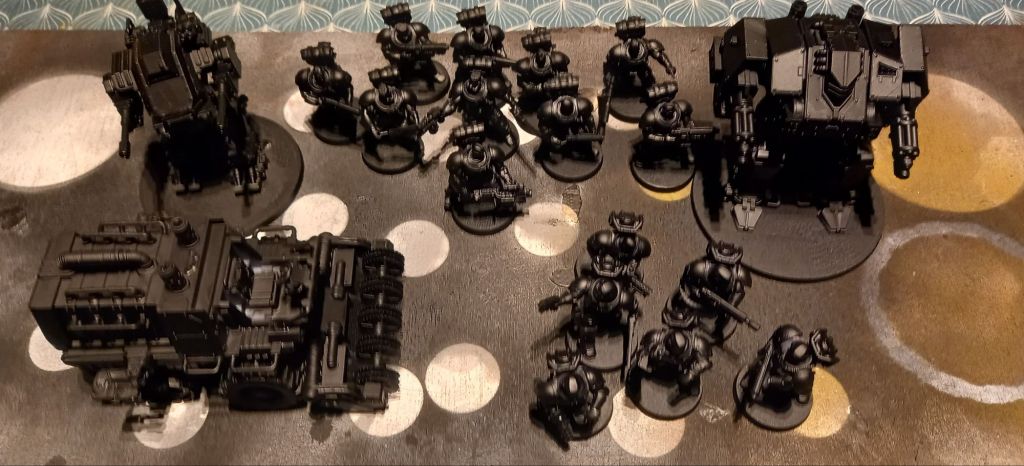
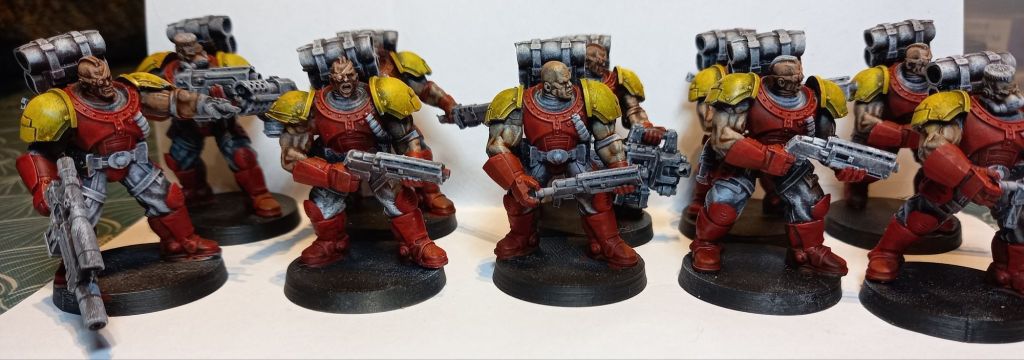
So onto the scouts – they all have their armour done. Next will be the cloth, backpack and pouches.
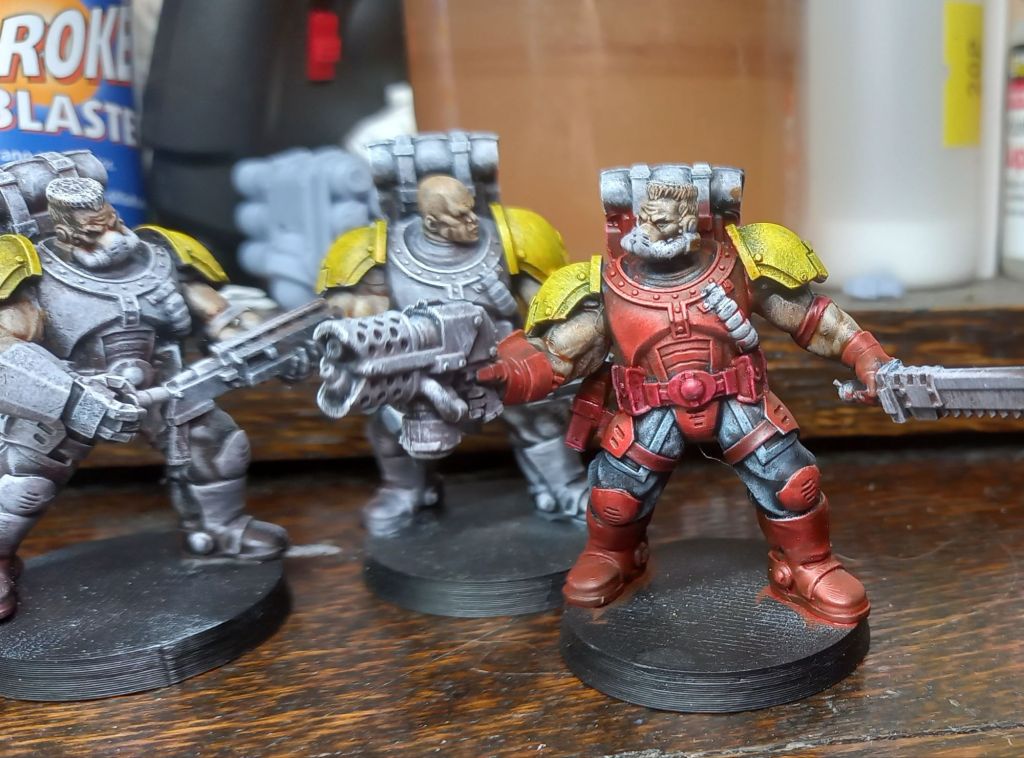
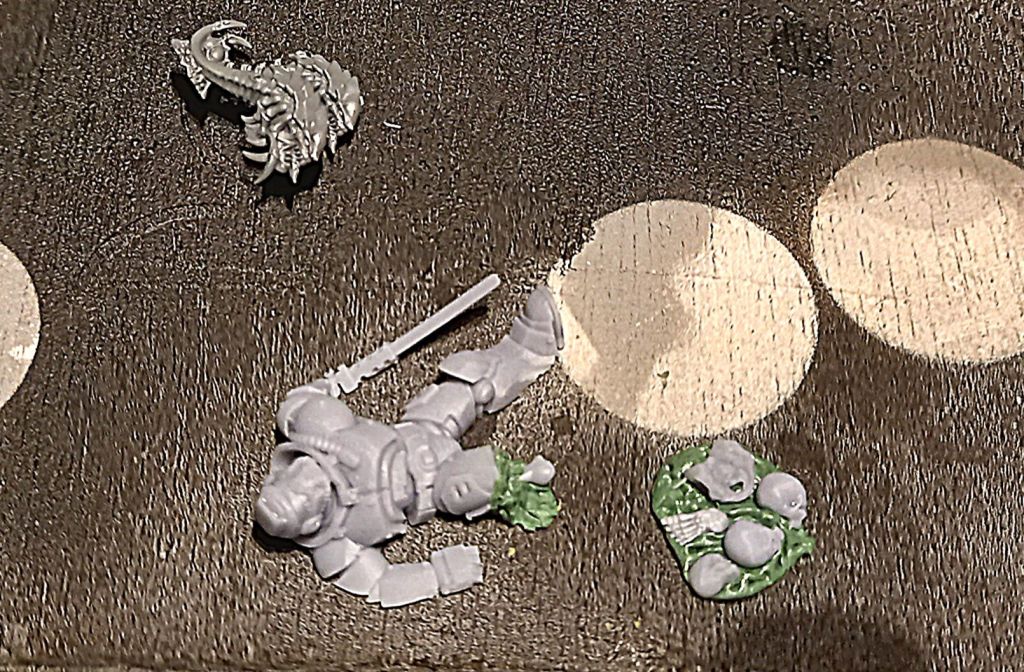
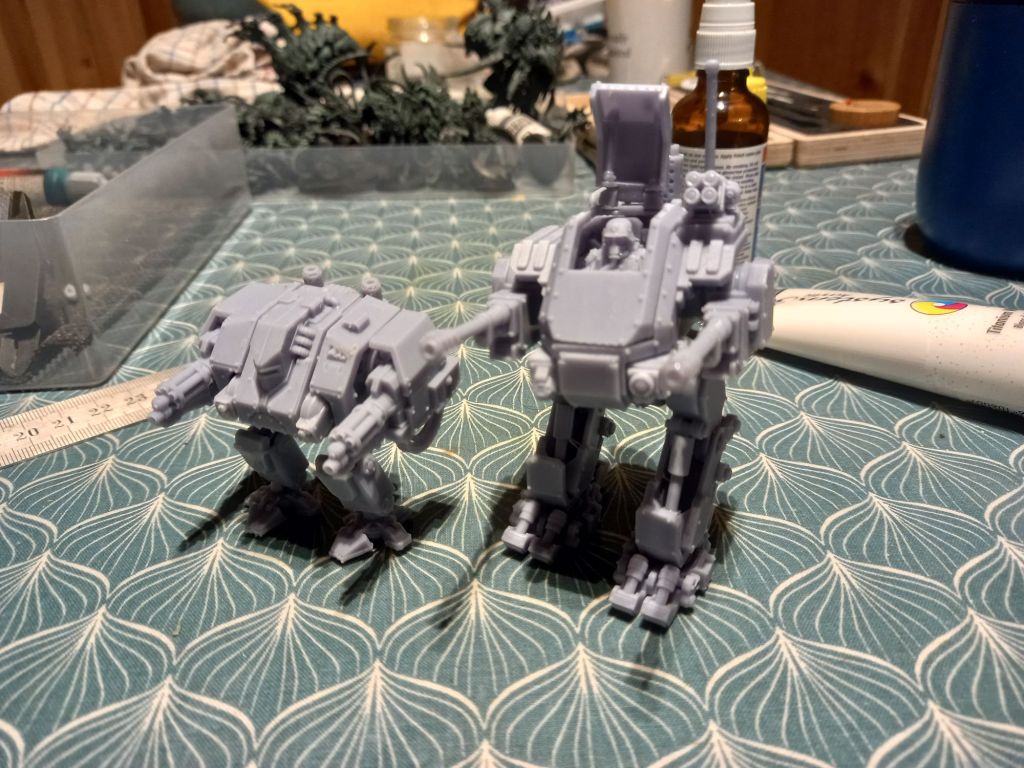
I am also in the middle of printing the last Marine as well as a captain and psyker for myself…I thought I had taken a photo, but evidently not.