My wife has got well into her Isopods so I thought a necklace and earrings as a bit of a daft present for her birthday 🙂
Oh yeah some twit forgot to take his steroids this morning then spent 3 or 4 hours sawing and using sanders… really not clever!
My wife has got well into her Isopods so I thought a necklace and earrings as a bit of a daft present for her birthday 🙂
Oh yeah some twit forgot to take his steroids this morning then spent 3 or 4 hours sawing and using sanders… really not clever!
Yeah… I think I need help!
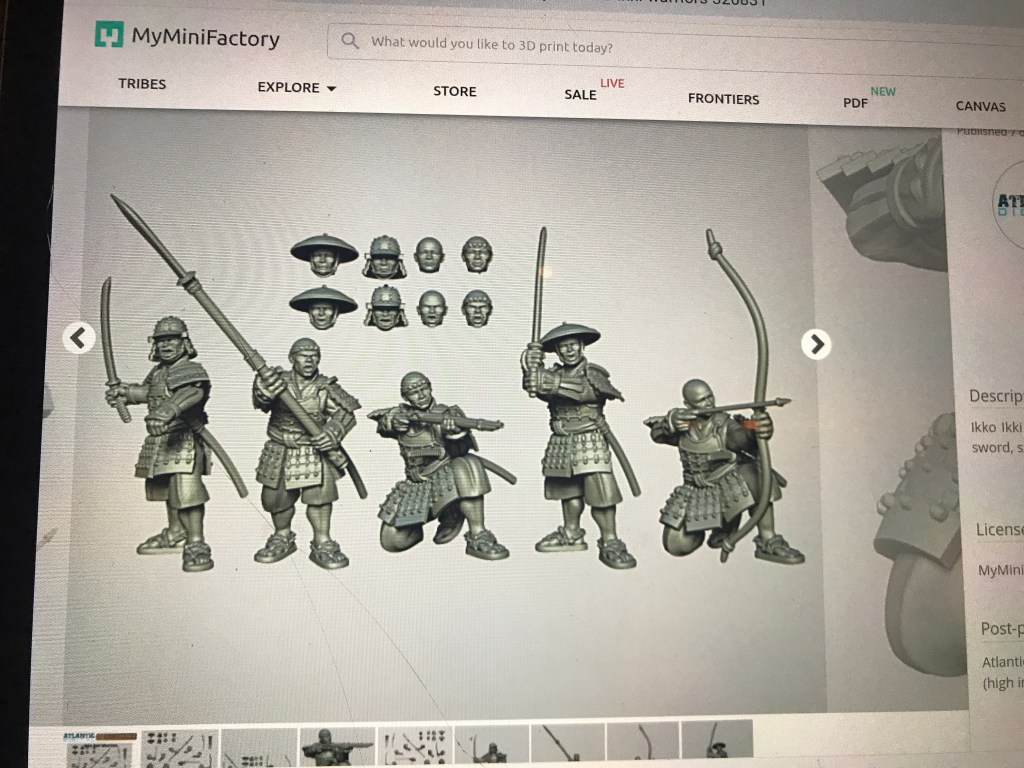
I have purchased these chaps from Wargames Atlantic online Tribe… why…. Not sure, but they kind of look cute!
This evening I was knackered… the poly myalgia does make me tired at times. So rather than lots of swearing as I was trying to paint anything. Instead I went for an easy win and stuck miniatures to bases.
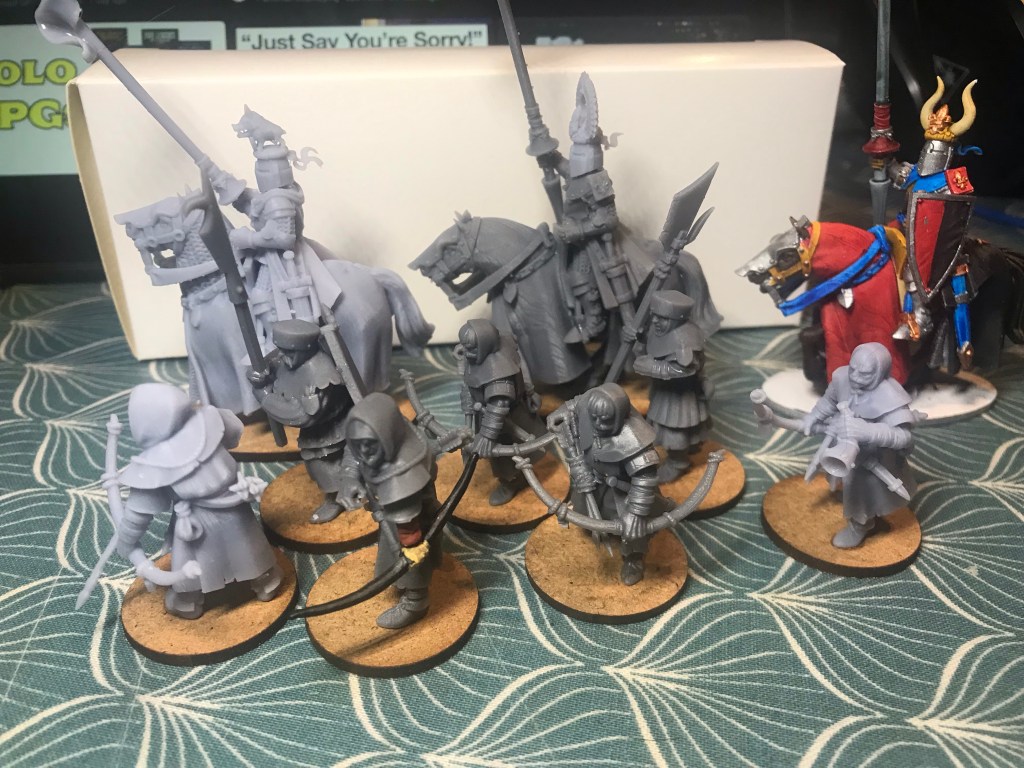
My chap to be is in the front with the boat on the helmet. It originally had a sword in it… but I removed it. Sadly I removed the tail too. I managed to use an old Mordheim archer arm to repair the damaged print (second from left).
I will get these sprayed tomorrow and hopefully get on with the painting.
Tonight I cured the Ikko Ikki heads and arms and randomly stuck them together… they look like this…
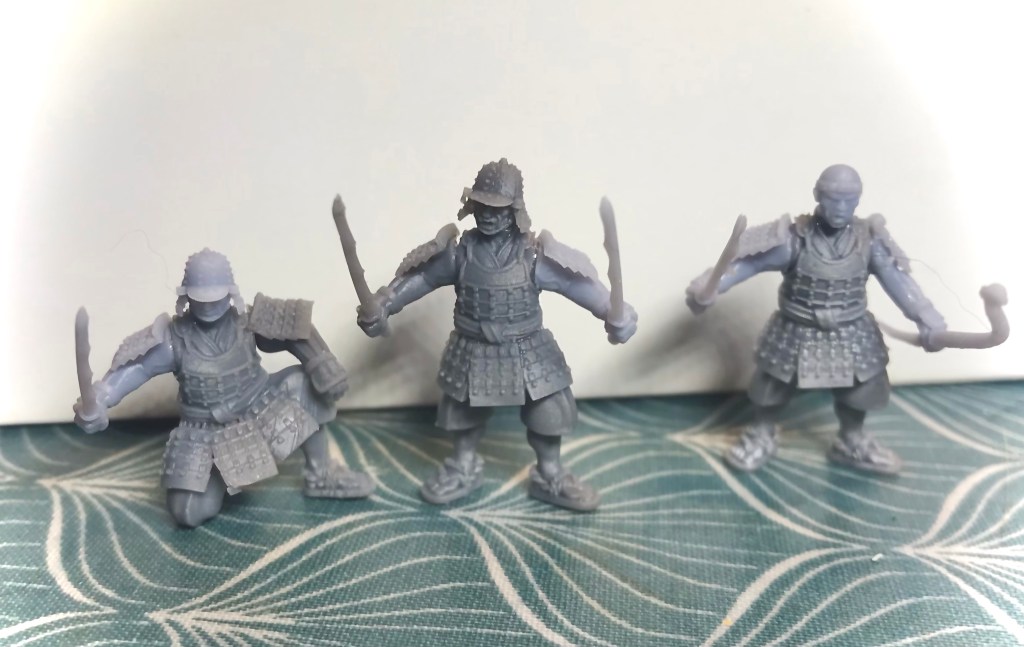
They are nice little dudes. There are three bodies and eight heads as well as a yumi, teppo, naginata and katana.
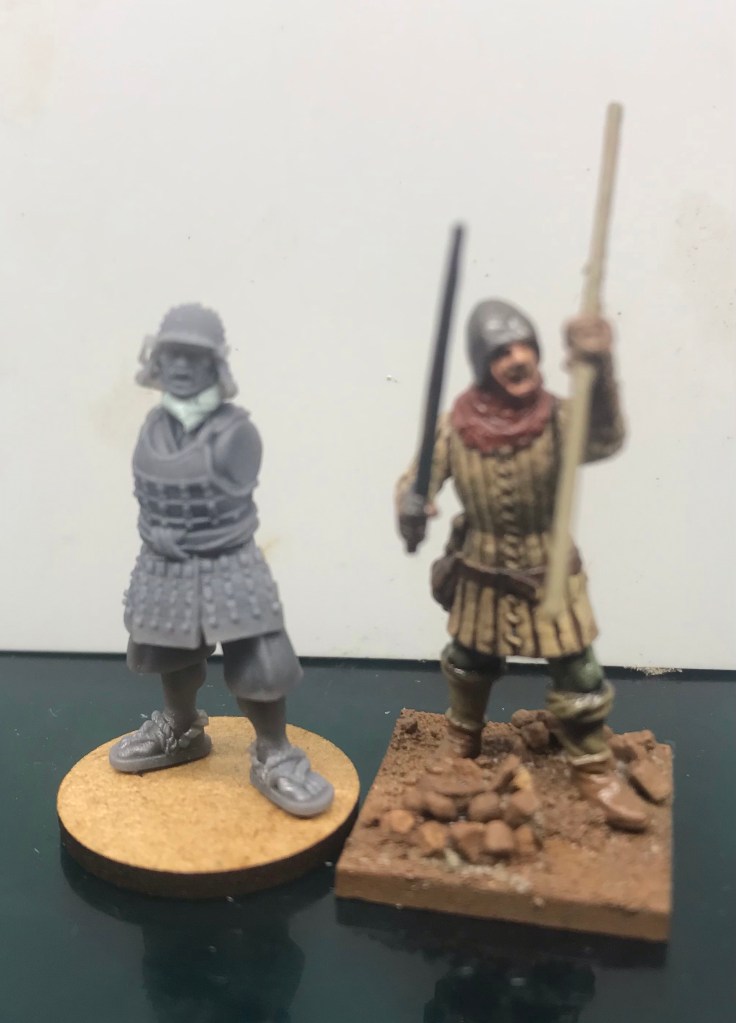
So these are small miniatures … I racked my brains and it suddenly dawned on me they are roughly the same as the Perry Plastics…
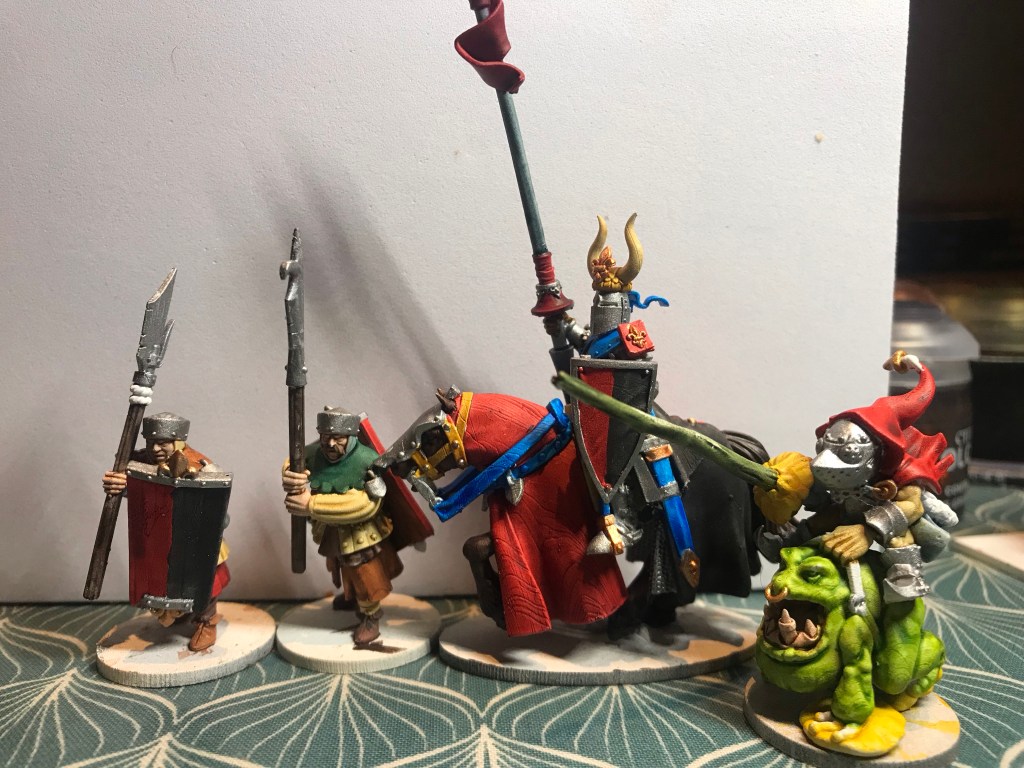
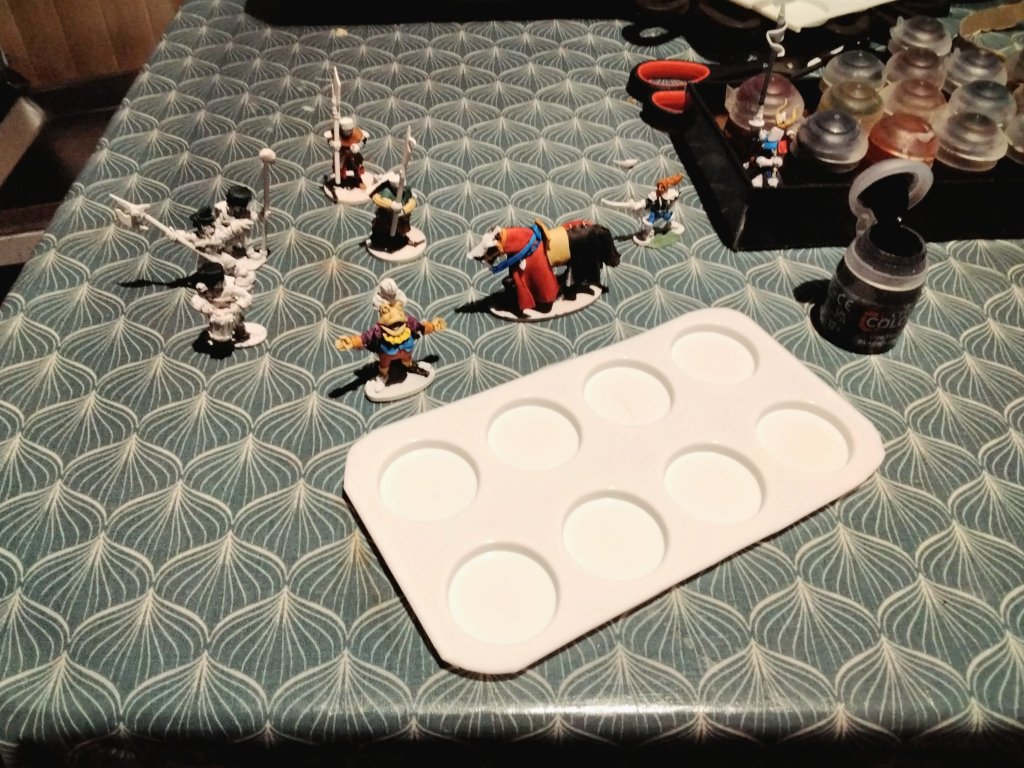
So this evening I set about adding the metallics to the knight and his pair of foot soldiers. I got a bit heavy handed on the gun metal so looked for anything I could to avoid wasting the paint. I found a box of various bits and found my armoured bear and a couple of goblins. Basically anything that needed a metallic colour got some.
I will hopefully carry on tomorrow and get the shading and highlights done on the armour.
This weekend I am embarking on a project I never though I was going to do…
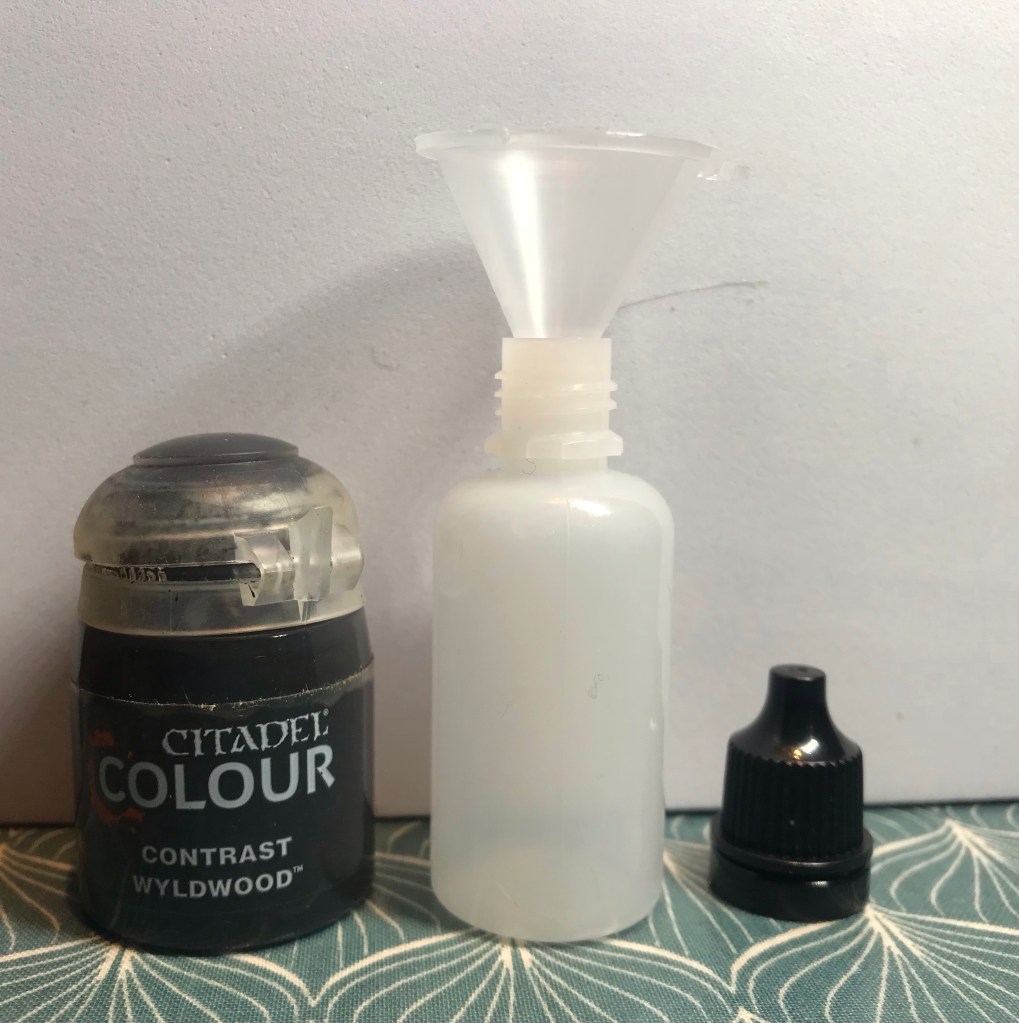
I am super annoyed that a whole pile of my Contrast Paints have dried up. I maybe haven’t used them for three months and I am going to have to bin a lot.
I used to say I preferred the pots as you can shove your brush in and get the amount you need, but at £4.50 a pot I reckon I have nearly lost £50 worth of paint. Pretty miffed about it to be honest.
So watch this space and listen for my fell voice on the wind as I drop pots, knock over bottles etc.
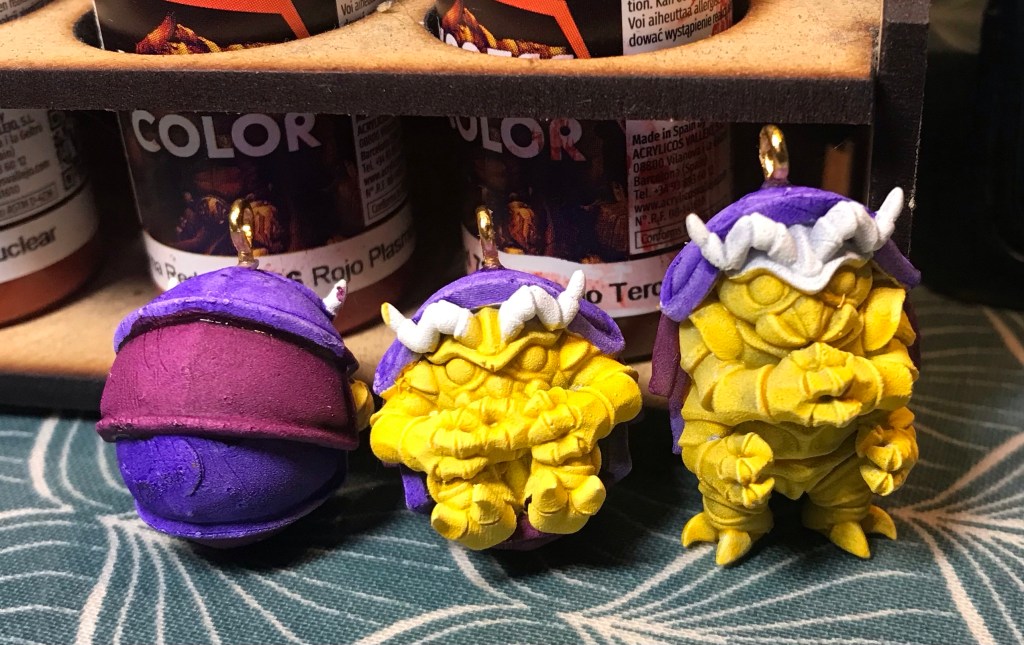
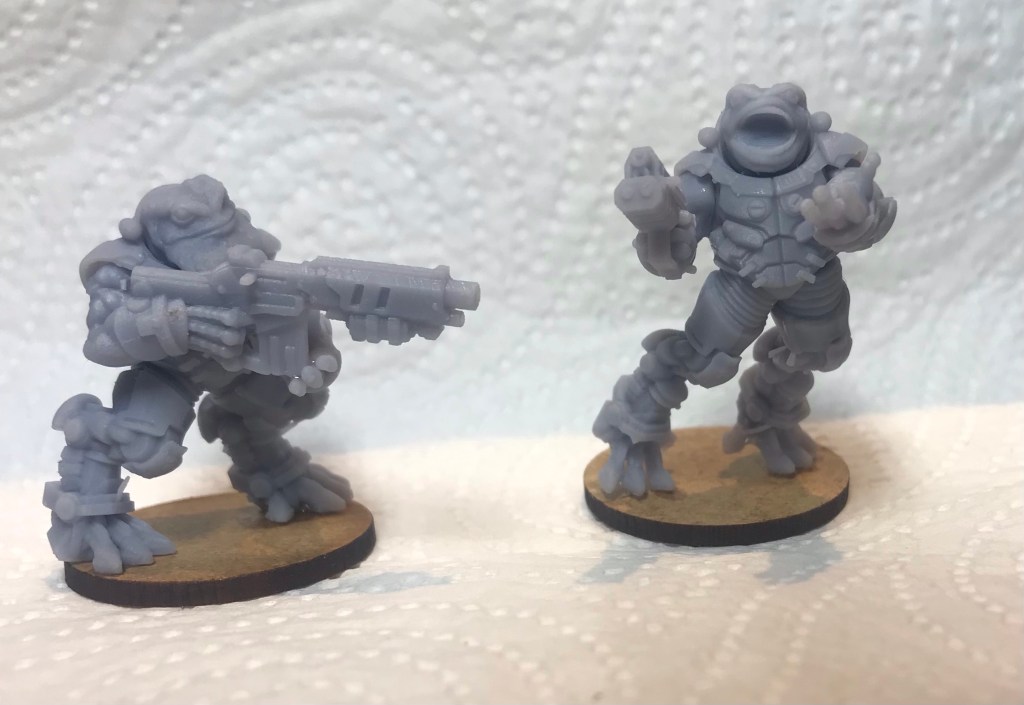
This evening I set to work with the Contrast paint. I did a bit more on the knight and his entourage as well as this Operatic Wide Mouthed frog from Alternative Armies.
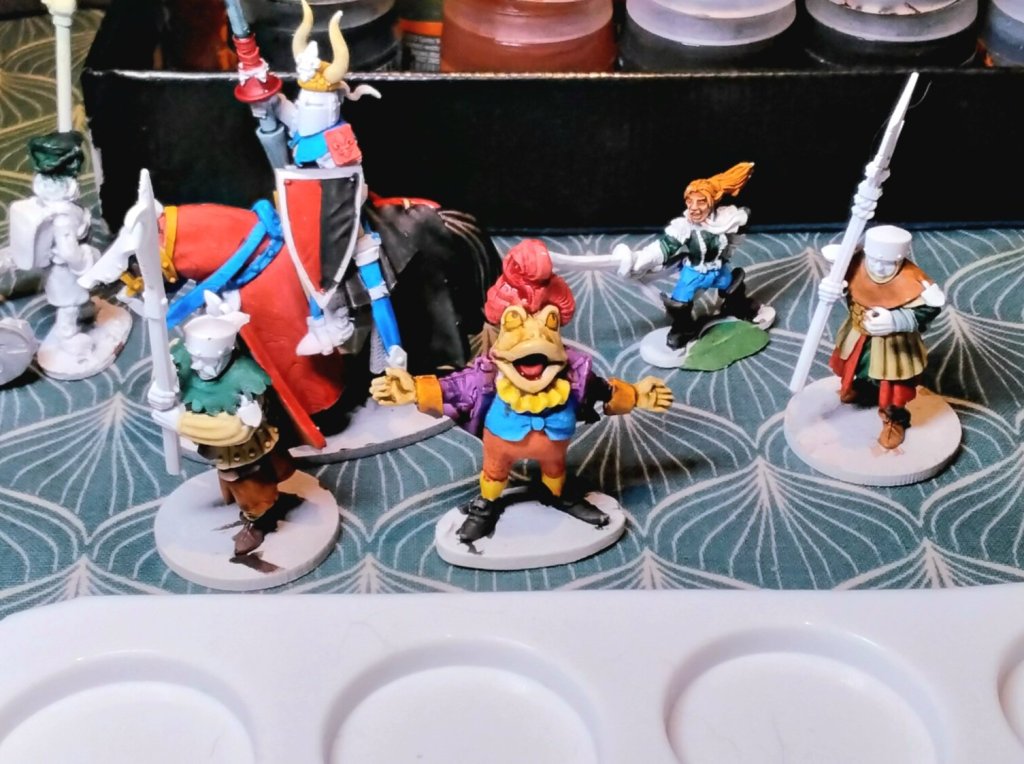
I really had to push myself to get going, but once sat down I set to work with gusto. Now the pallette in front arrived in the post today. It is made from silicone and is for either wax melts or chocolates… I cannot remember. Anyway it had 24 indentations and is about 30cm long and 18cm wide. This is it on Amazon Here (evidently it is for wax seals). I thought it was a bit on the large size so attacked it with the scissors…
So I am slowly getting back into painting regularly, I am really hoping that I will carry on with it. I did about 45 minutes this evening so it is do-able.
Well the other day my good Blog Buddy Eric was asking me about resin printer failures. I am no expert, but hopefully talked enough sense to help him out…
Anyway I ran a print for the Ikko Ikki and lo and behold a failed print.

I managed to print the bodies, but as you can see there seems a distinct lack of Japanese heads and arms. The bowman is also missing an arm. Anyway I emptied the Vat and checked the FEP ( the plastic film on the bottom of the vat that the light ravels through). As I was doing this I noticed about half of the screws were loose. I tightened these and went for something I knew worked…basically this lot:

It pretty much worked okay apart from the helmet.
So I redid the Ikko … this time I did the supports and once again a failure. I got the bodies and only a few arms.
Now if you compare the two images above. The first one is darker… then the wheels in my brain started working. I decided to add a bit of flexible resin mixed in with the ordinary stuff I use.
And??? I hear you ask. Well flexibility can cause problems as the miniature can twist away from the supports ( well I think that is how it works). The bodies are thick enough to survive this… arms and heads are small enough to allow the flex. Notice the missing arm on the bowman is his bow arm. I printed twice and voila… two dudes without their left arm.
I pretty much used up the mix, I used an old bottle to store the remnants and am printing a new knight and entourage with my straight resin… I will find out tomorrow if it worked… I could check now, but it is raining and pitch black… so you will have to wait.
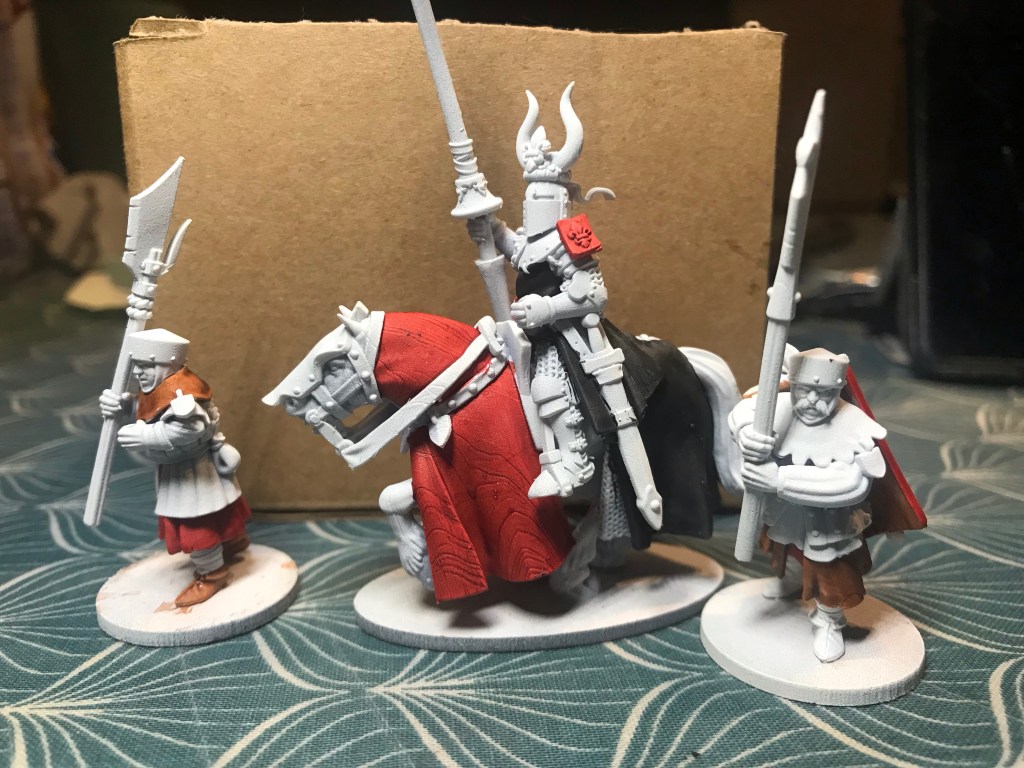
So after getting lots of paint on this knight I have decided to keep going on this one, but will then paint another one using a darker red and lighter black which is more like my original kit.
The other thing is, my crest is a Northumbrian Boar. One of the helms actually has a boar on it… I chose bull horns for this one. So all in all, a new knight is being printed. I have added a couple of foot soldiers to the plate too.
The other thing I am printing is some Wargames Atlantic Ikko Ikki. I decided to join them on Teams for a test period.
They do have some nice stuff… it’s a lot smaller than most things I have already, but that’s the beauty of 3D printing. From what I remember I basically need to increase x and y by 105% and z by 110%.
I will finish painting the above before starting on the next.
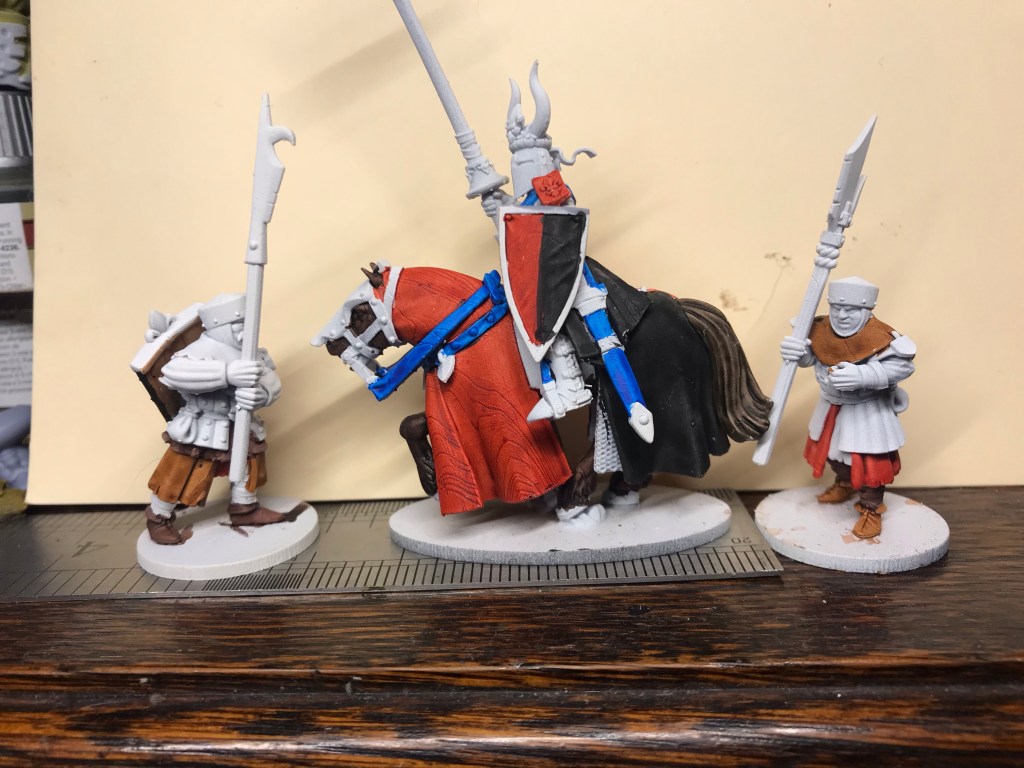
This evening I decided to slap some paint on the third Knight. As discussed the other day I went for my reenactment livery.
So this time I used my old favourite… Contrast. However there were some issues…. Dah, Dah, Daahhhh!!
As you probably noticed I haven’t exactly been going hammer and tongs with my painting over the last three or four months. Because of this a whole pile of my contrast is now the equivalent of coloured tar. Luckily for me the livery colours had unopened pots so I managed a speedy paint job.
I was pleased with how they went on, sadly though the ‘Black Legion’ isn’t really Contrast in the same way as the others are.
The big question I am now pondering is whether I actually start to replace my Contrast or go Xpress and Speedpaints…. Watch this space.
This evening I got this trio cured and glued onto some bases. It was my plan to get them undercoated for painting tomorrow.
This one is going to be done in my re-enactment colours. These colours will be matched on the large shields, but the foot soldier clothing will be in random colours as befits the period.
The more astute of you will notice the lack of undercoat… I have two words ‘Effin midges.
They were so bad I actually ended up finding my net hood to go into the shed to retrieve the above. They were so numerous around the door it seemed misty.
